One of the enrollment requirements at school is the PSA (Philippine Statistics Authority) authenticated birth certificate. My son will be a Kinder 2 student in the next school year so I decided to get his certificate at PSA ahead of time to avoid from rushing soon.
I learned that this time, we need to book for an appointment before going to the PSA Office for faster transaction.
How to book an online appointment?
I search for a PSA online appointment and book my appointment HERE.
Upon opening the site, you will see this on your screen - A PSA Online Appointment System.
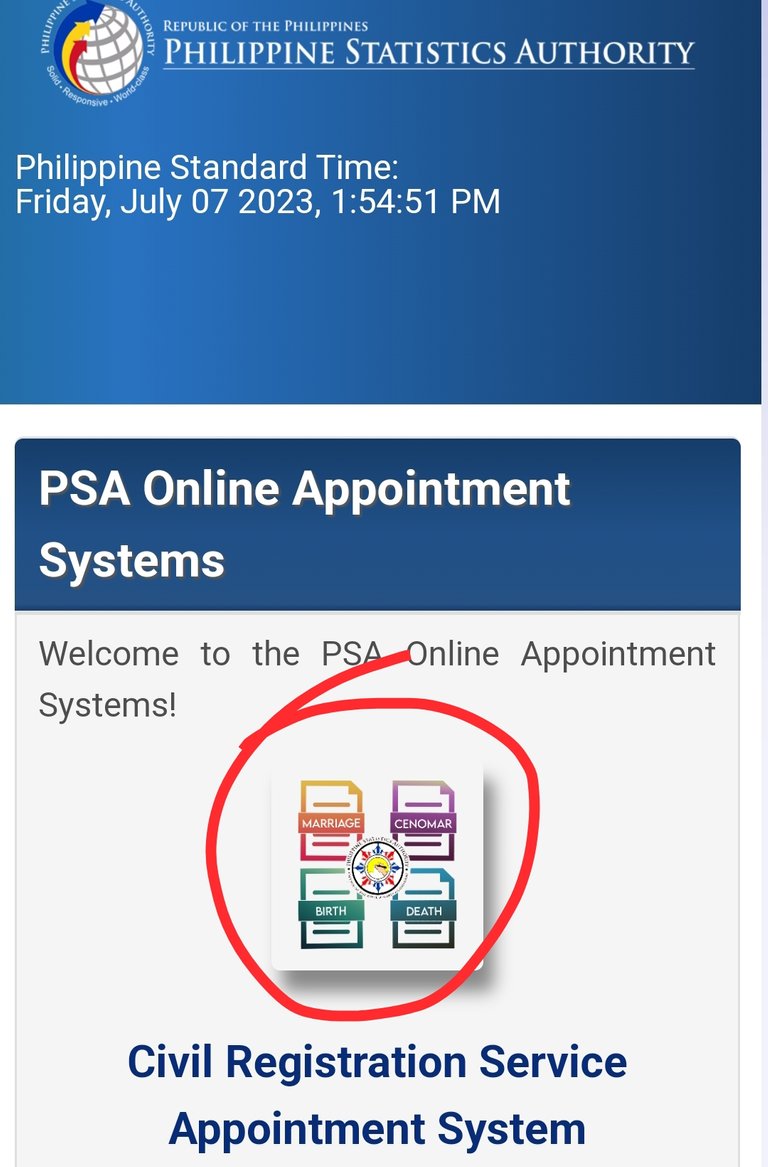
Click the encircled picture to proceed on the online appointment. Then, it will show the step by step instruction. Read, understand and follow it carefully. At the bottom of that instructions, check the check box with I Agree to proceed.
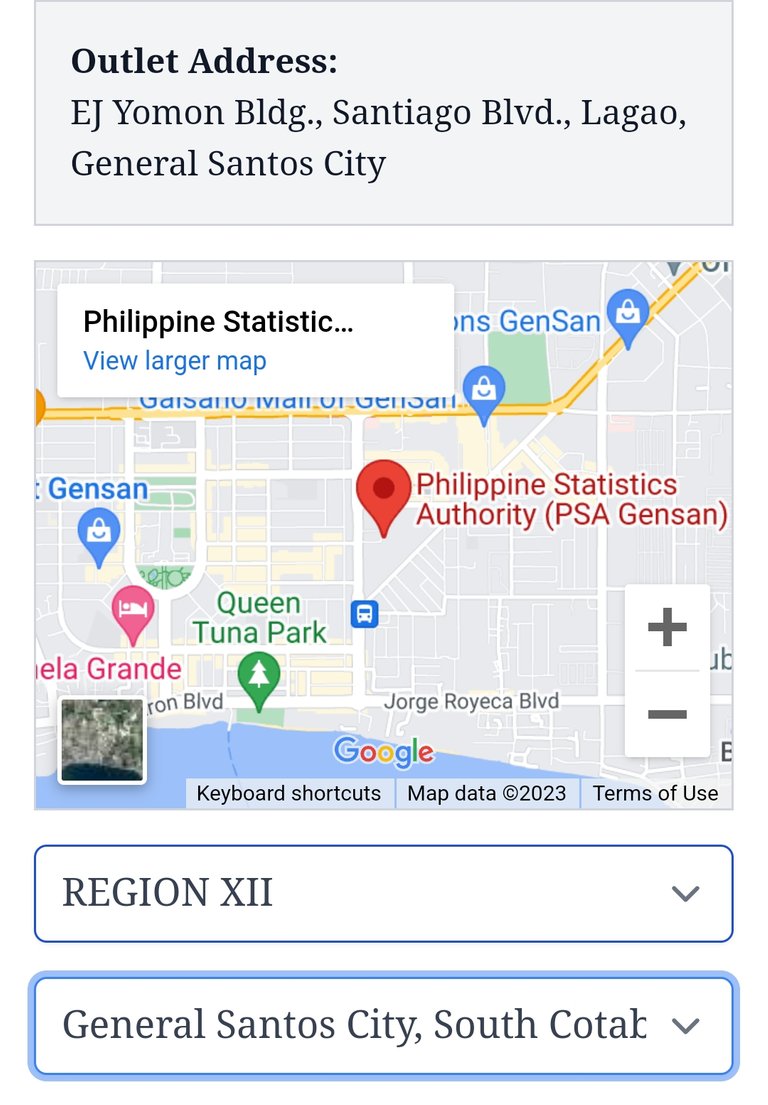
Step 1. Choose PSA outlet where you want to book an appointment. In my case, I choose Region XII and General Santos City.
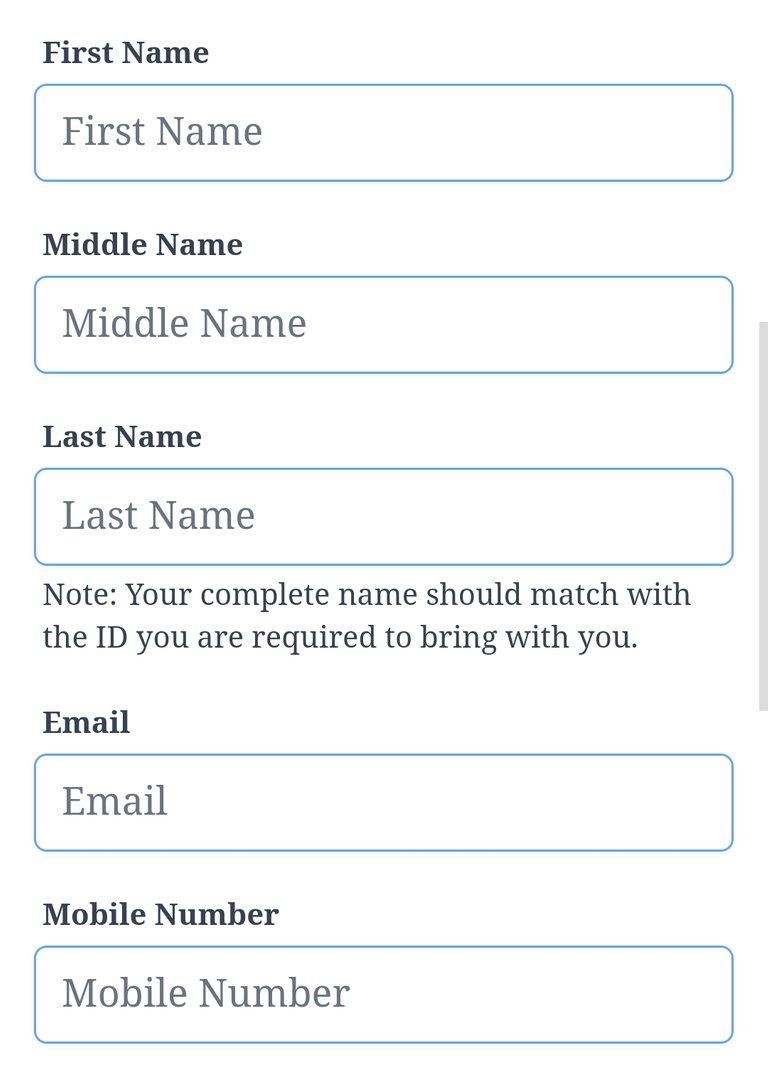
Step 2. Input your name, email address and contact number. Make sure to input the name of the person who will do the transaction at the chosen outlet and input a name that will match on your valid ID.
Step 3. Choose what Certificate you want to get. Input the name and your relationship if you are requesting for other people.
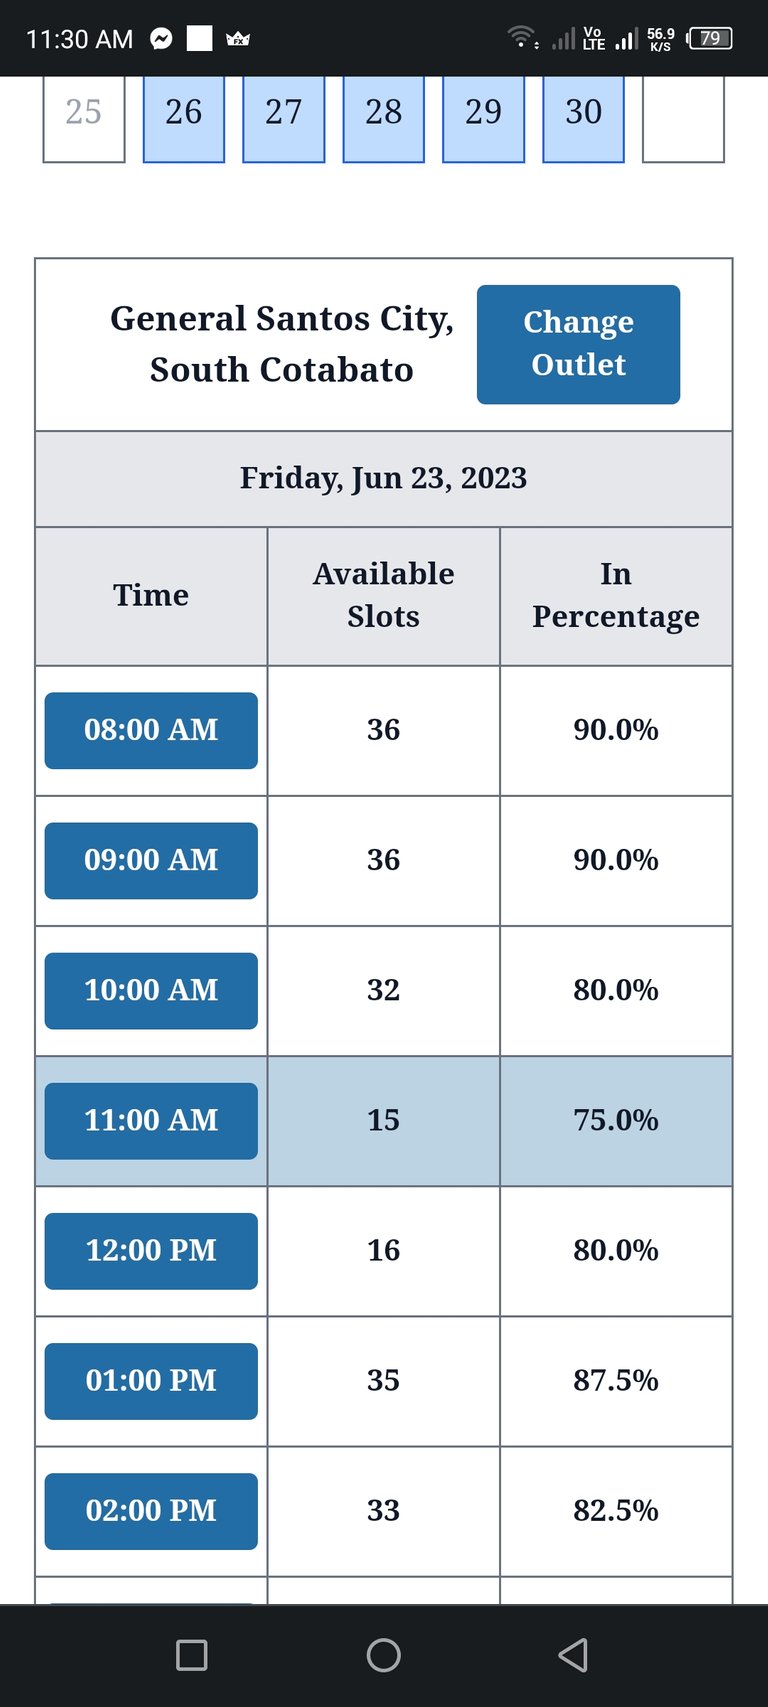
Step 4. Choose the date and time you want to go to the PSA outlet. In my case I choose Friday because my son don't have classes that day and 9am so I still have enough time to travel.
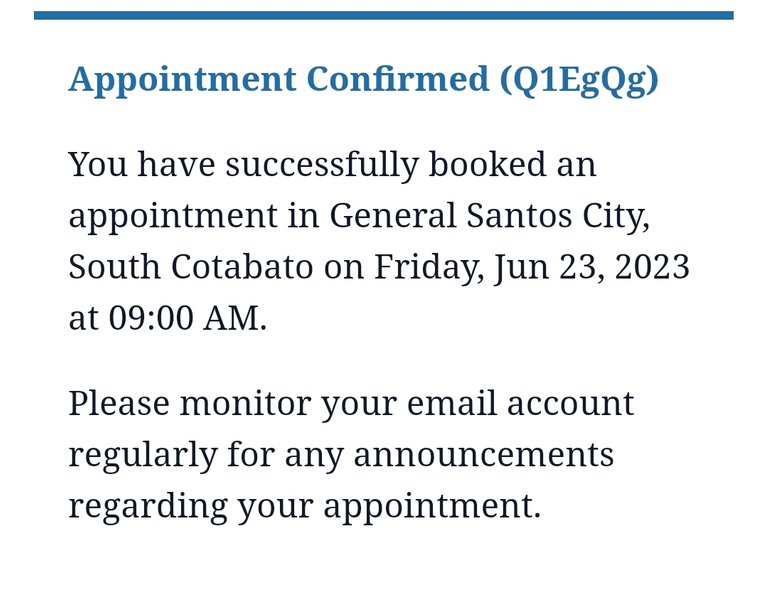
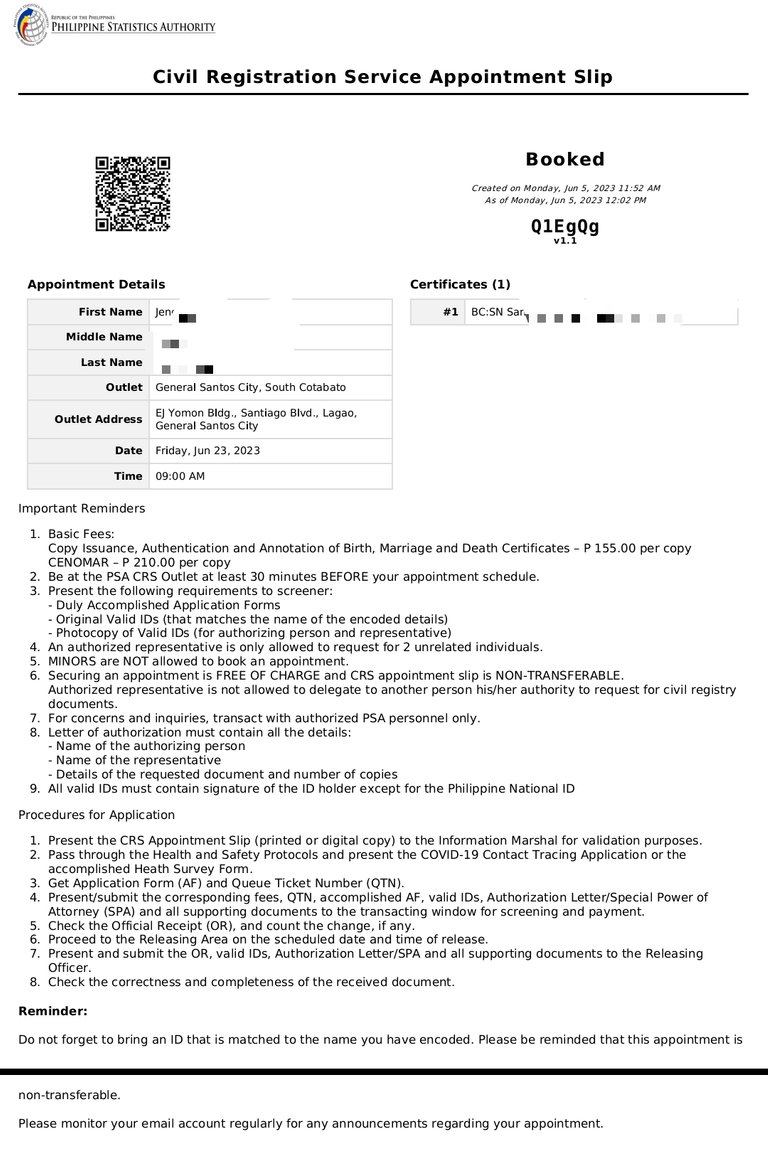
If everything is done, you will see a message like in the screenshot above and you will receive a copy of your appointment slip like the screenshot below. You can save it on your phone so you will have something to show at the office or you can also print it.
Steps to do at PSA Office
Step 1. Go to the PSA outlet you have chosen on the date and time of your appointment.
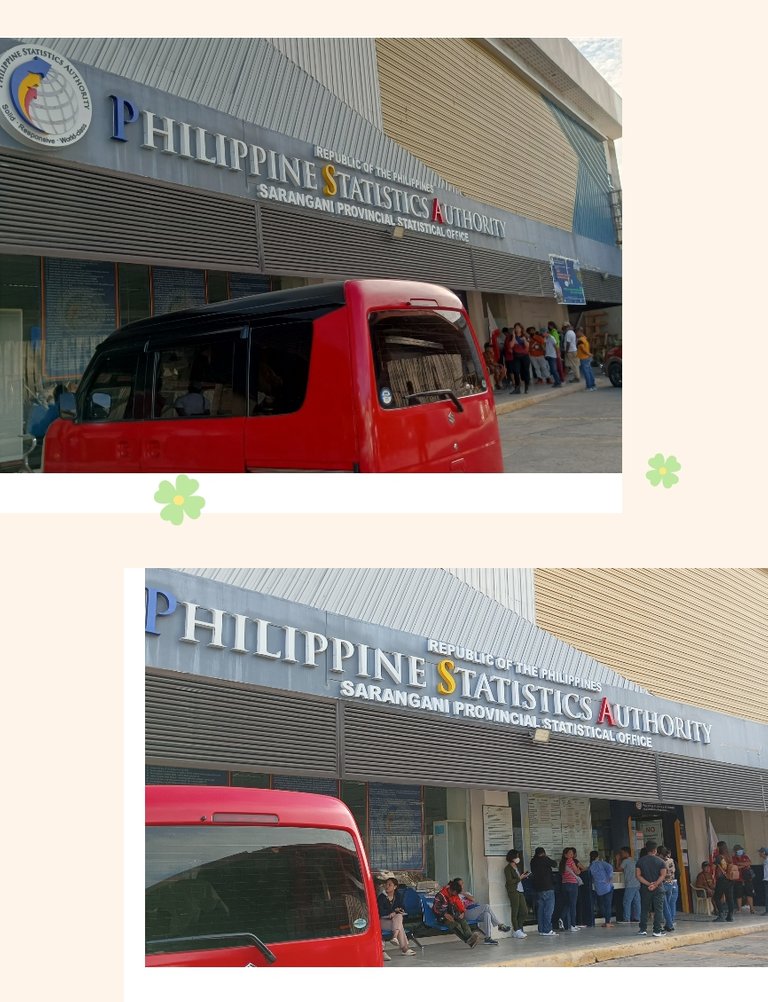
In my case, I and my sister in law travel earlier to avoid being late. Fortunately we reached at the PSA Office a half and hour earlier before our appointment and found people queueing outside the PSA Office.
We look for the form we need and fill it up accordingly. We also joined on the queue but when the office officially opens at 8am, the security guard assigned at the entrance called for those people who have an appointment at 8am. So we left at the queue and gave way to those who have an appointment at 8.
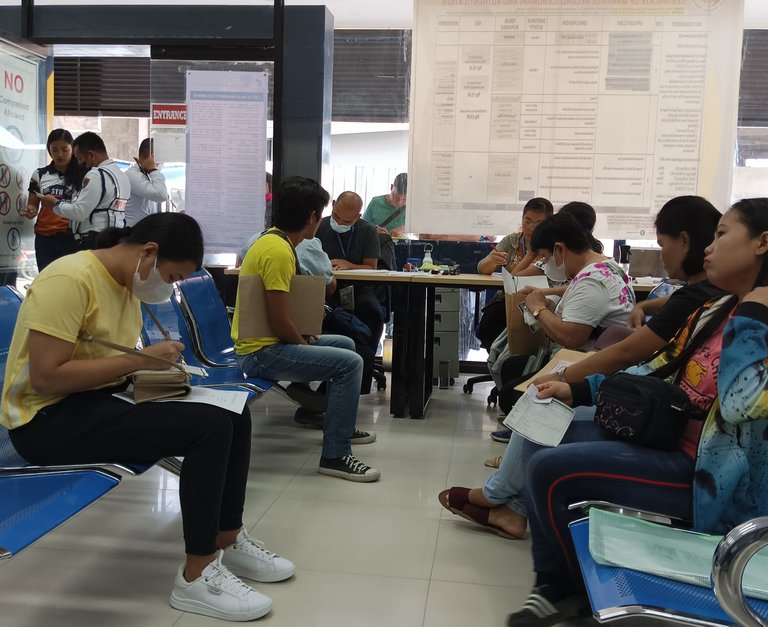
At around 8:45, the security guard assigned at the entrance allowed us to go inside and queue for verification of appointment and get queque ticket number.
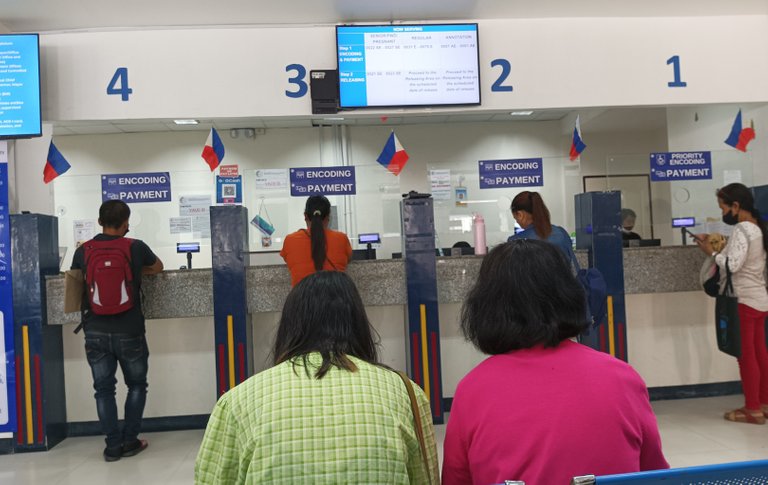
Step 2. After verification, proceed to the encoding and payment. There are four windows allocated for this process. We wait for our queue ticket number to be called.
When your number is called, proceed to the window and give the form you have filled out earlier and pay for the given fees.
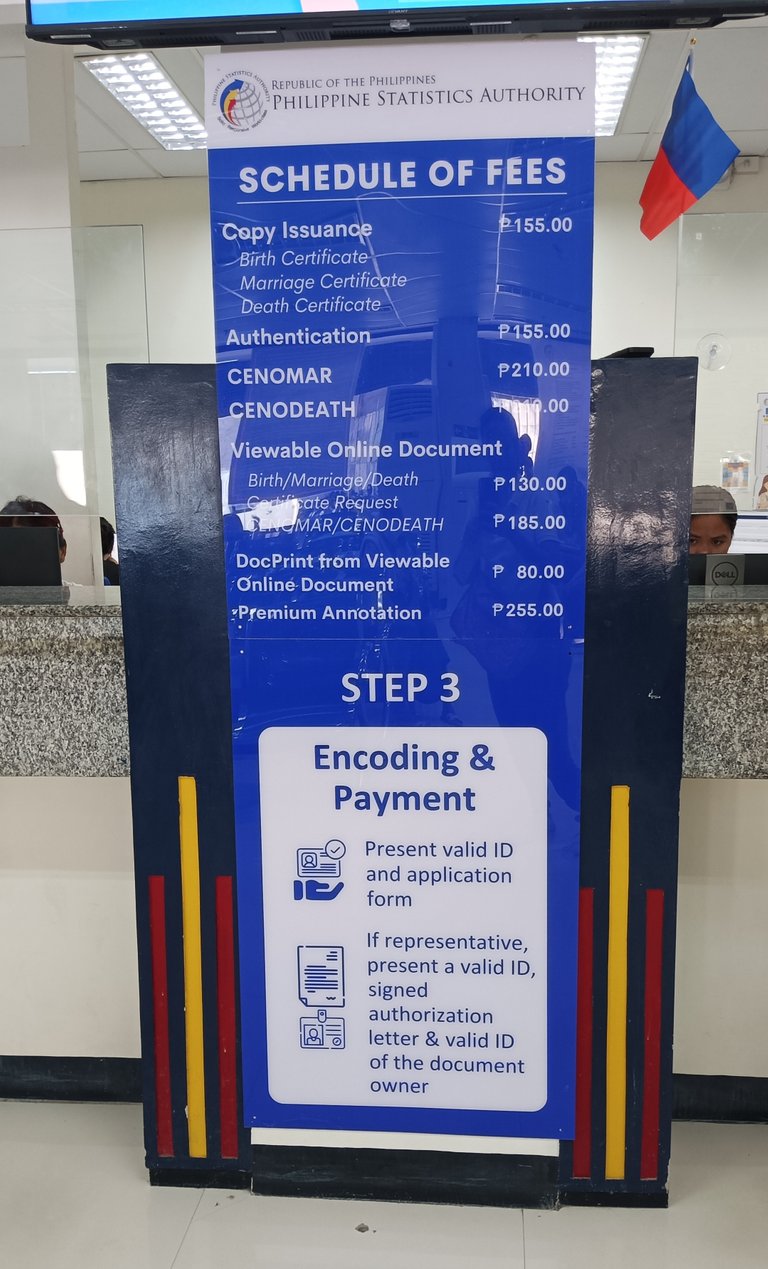
Here are the fees for the needed certificates:
Marriage certificate 155.00 or $3.1
Death certificate 155.00 or $3.1
CENOMAR 210.00 or $4.2
CENODEATH 210.00 or $4.2
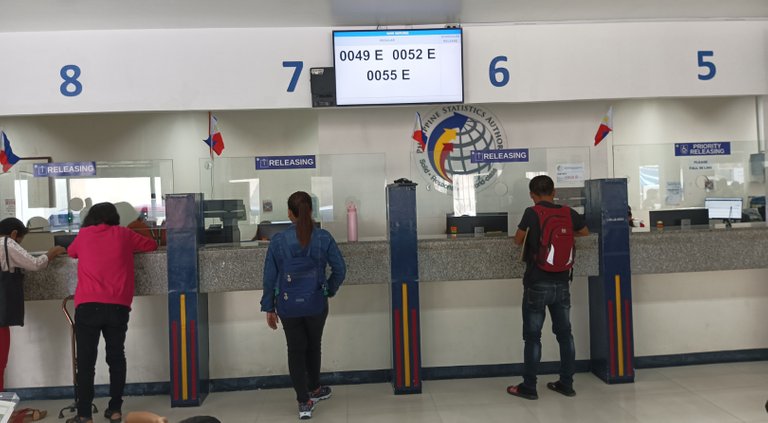
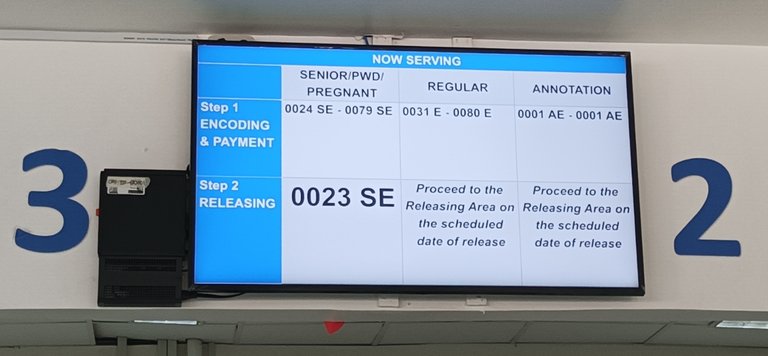
Step 3. After payment, wait for your number to be called for releasing. There are four windows for this process.
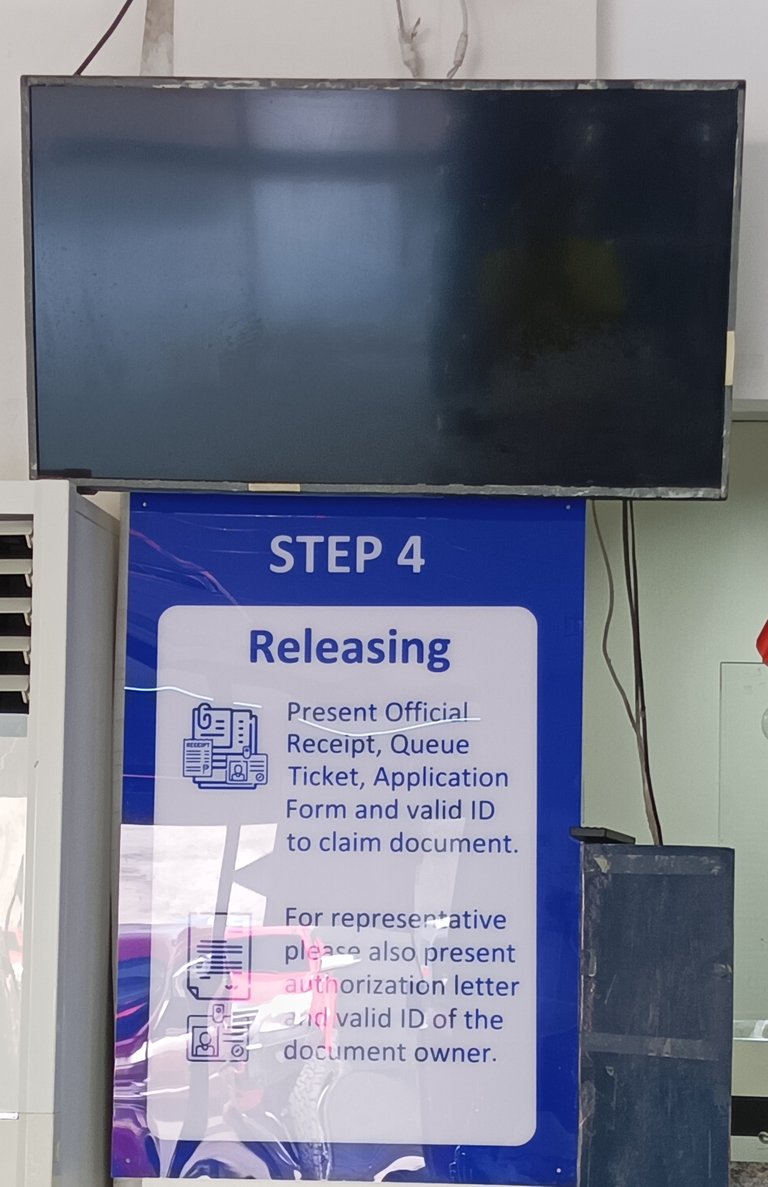
Here you need to give your queue ticket, application form, receipt and valid ID to claim your document.
Upon receiving, always double check the information in the certificate before leaving and you're DONE.
We are so happy that we were done on our transaction after half an hour. The process is so smooth and fast.
I hope this blog could help to Filipinos like me who planned to get Certificates from PSA.
To those non-filipino friends, how much is the cost of certificates like these in your country?
This is also my participation for #MarketFriday initiated by @dswigle.
Photos are mine and screenshot from PSA site.