One of the teacher's goals is to develop the students' READING skills. Parents are sending their children to school expecting room improvement for their kids. By identifying letters to recognizing their phonic sound. Since the majority of the students are now homeschooling, there are many chances for them to enjoy learning. The common way we taught our children is by reading with them by holding the books, but let's make it innovative and encourage them to keep reading in a creative way. This Saturday, I will show you how to make the storytelling or reading more lively.
BENEFITS OF READING
- Students will gain new vocabulary words and know its definition.
- Level up the reading skills of the students.
- A good development of his or her communication skills.
- Learn the elements of a story (Characters, Setting, Time, Theme, Plot)
- Guided with the correct pronunciation of the words.
- Retell the story and paraphrase them.
- Practice the phonic sounds of the letters.
LET'S BEGIN!
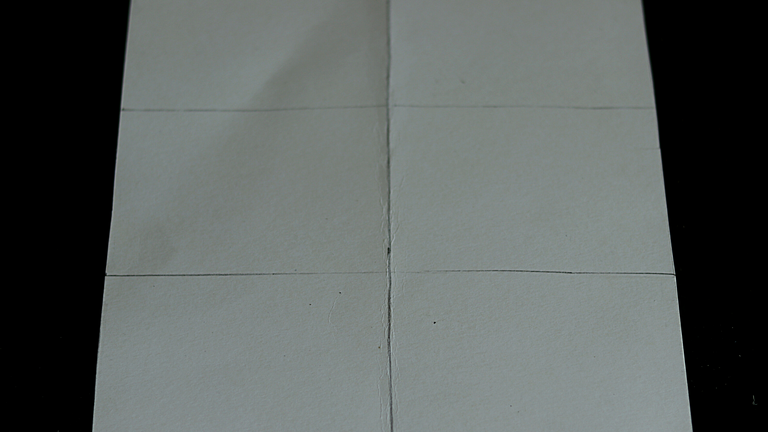
- In one whole white paper, divide it according to how many scenes or pages the story has. The sizes of each box should be equal. Better to use a ruler for the exact measurement.
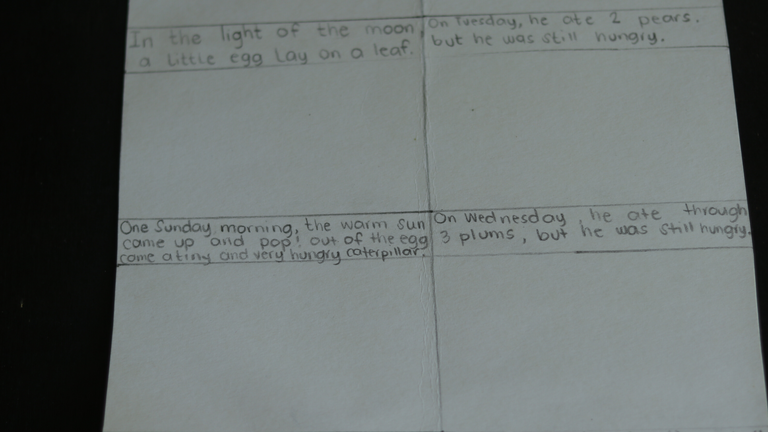
- Create a one-inch size where you have to write the description or sentences of the story. Let's use a pencil for writing to adjust the space and easy to rub in case you will be mistaken. You have to make sure the words are visible and readable.
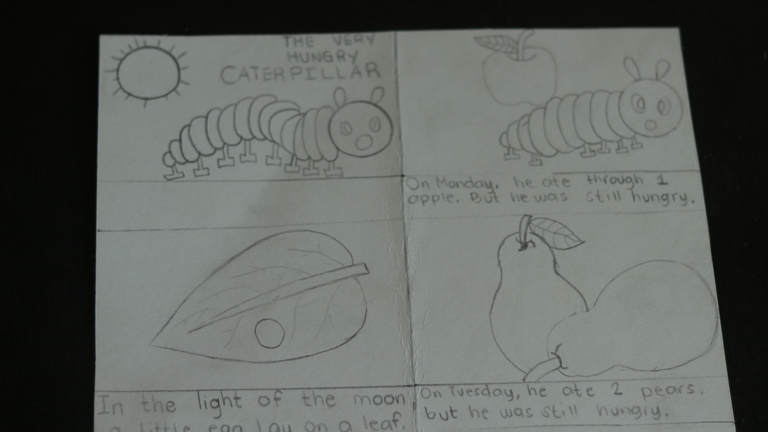
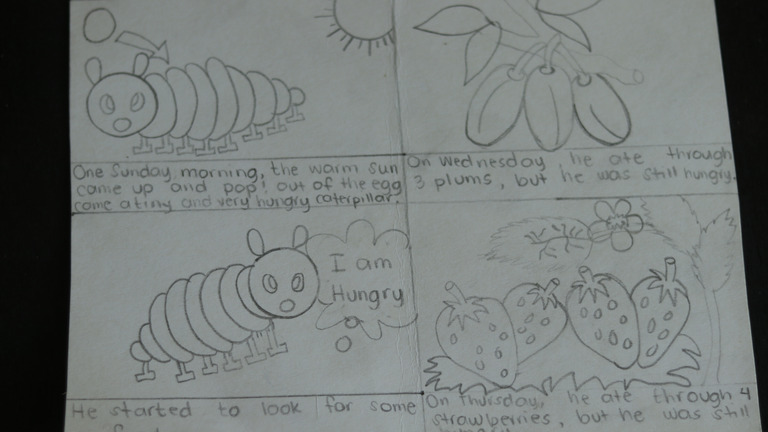
- This time, I started to draw each scene of the story. For "The Hungry Caterpillar", will sum up to 14 scenarios. I am proud of myself because I was able to draw these beautiful images. I never expect that I can make it since it's been a long time I didn't draw lots of images. I am not an expert artist but I love what I am doing and watching the result made me happier.
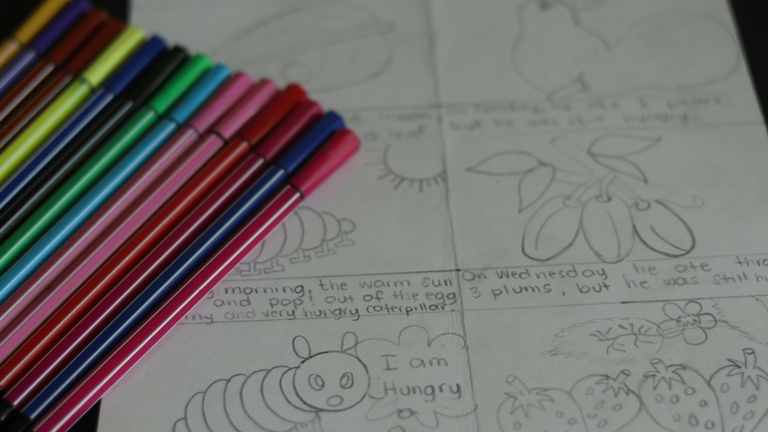
- I would love to suggest using markers as the outline of your drawing because it will call attention to the readers. We have to consider as well those visual learners who love to see more with the pictures.
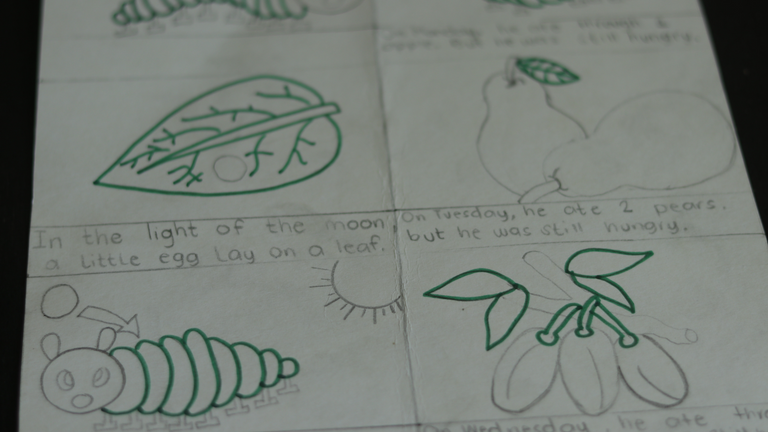
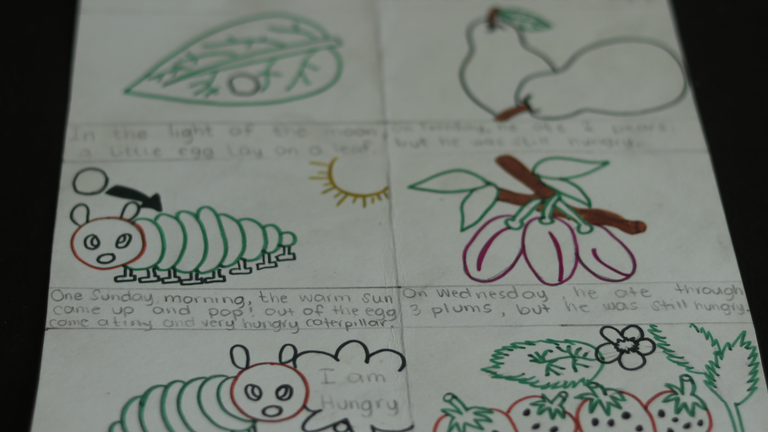
- As you can see here, I started outlining using the color dark green. My technique is, I will outline it by color. For example, all green. Next, black than brown. But if you prefer to outline it by scene, that's fine. The important is, you are enjoying what you are doing and learning from it.
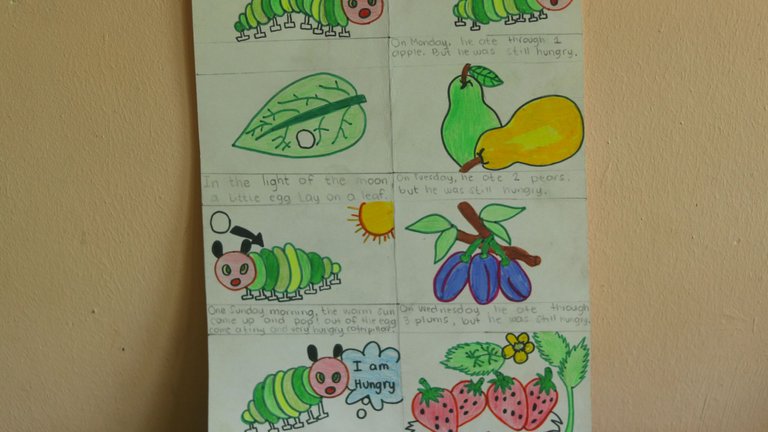
- Finally, I am done coloring these stunning drawings. I just love how I mixed the different shades of green for the caterpillar's body. I was not only using color markers but also coloring the drawings with colored pencils to give the light shade.
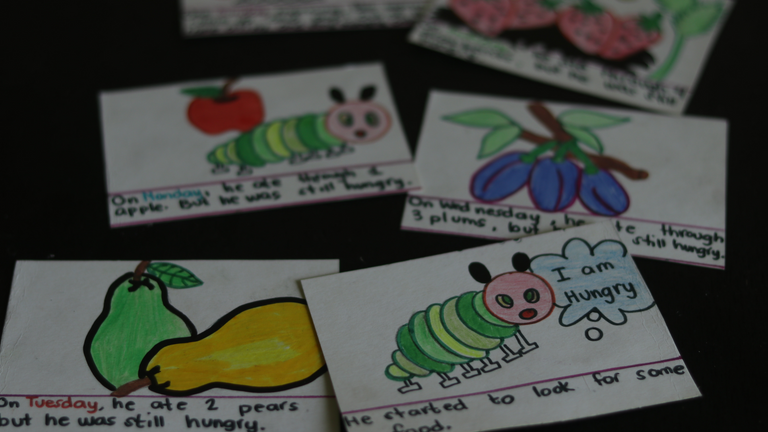
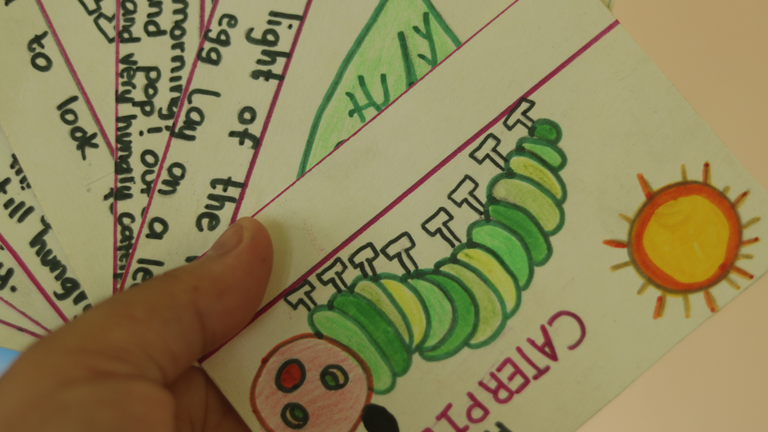
- Start cutting your drawings and carefully collect them accordingly.From the first page to the last one.
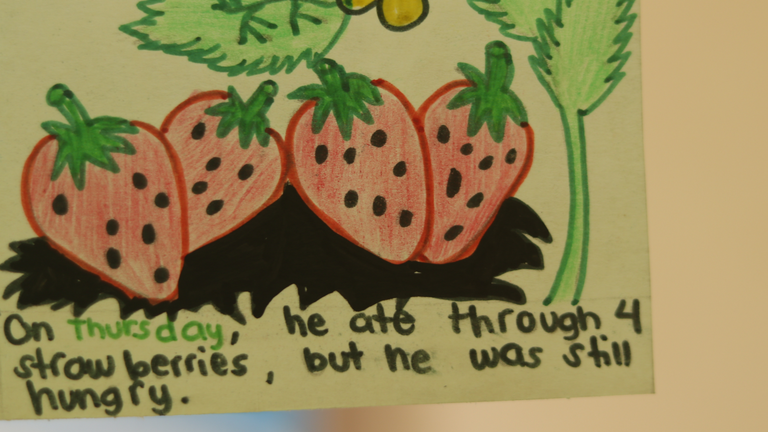
- You have to finalize the sentences by applying a black marker. I change the color of the days to make it different. After leaving it for 2 minutes, you can now start rubbing the excess traces with the pencil.

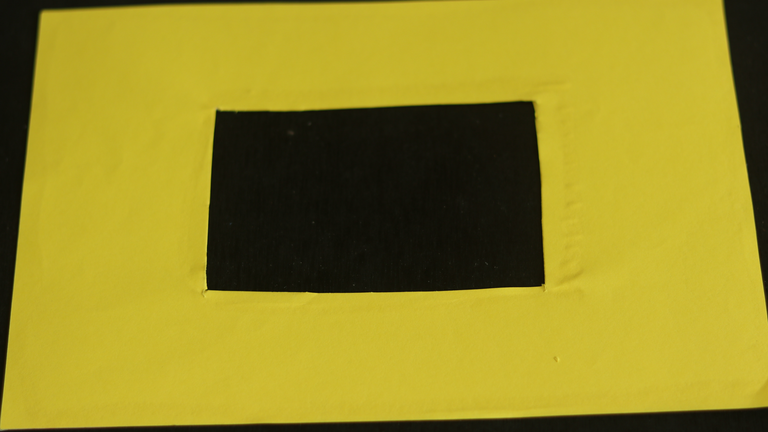
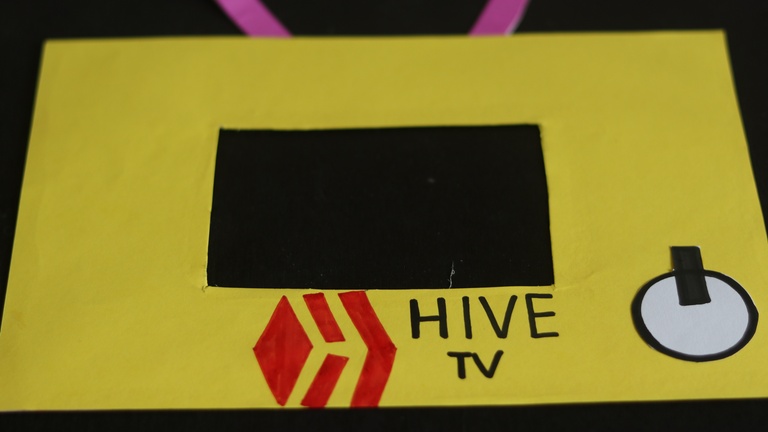
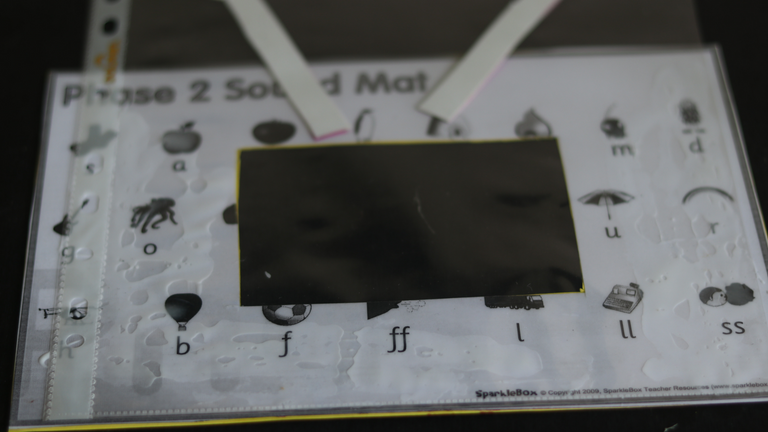
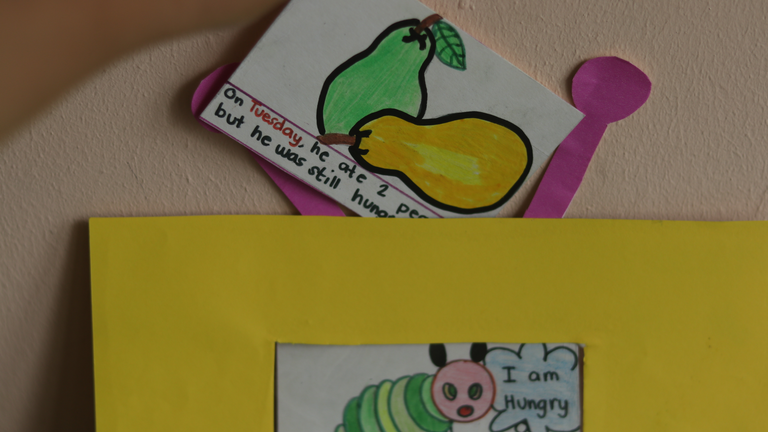
- Now, you can start your storytelling with your students or children. Once you are done with the first page, simply insert the next scene on the top and so on.
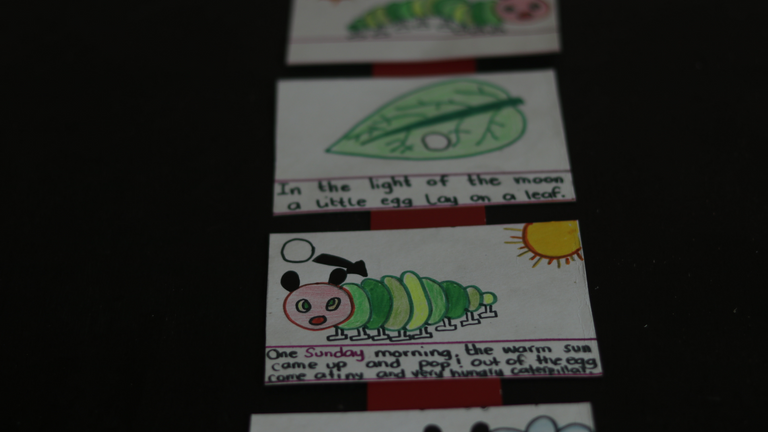
- Here is another way to make it simple. Kindly stick each page on a long strip of hard paper. Be conscious of the proper plot of the story.
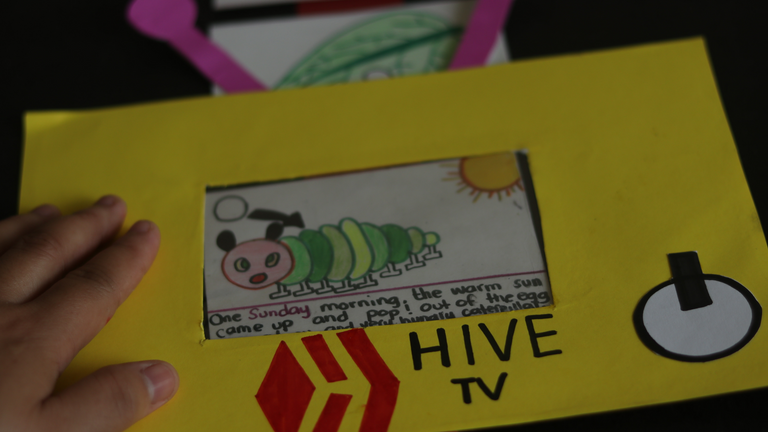
- You can place the tv screen on top of the story and let your child read the sentences. Then for the next part, simply drag down, and there you go! another scene to read. That how it goes.
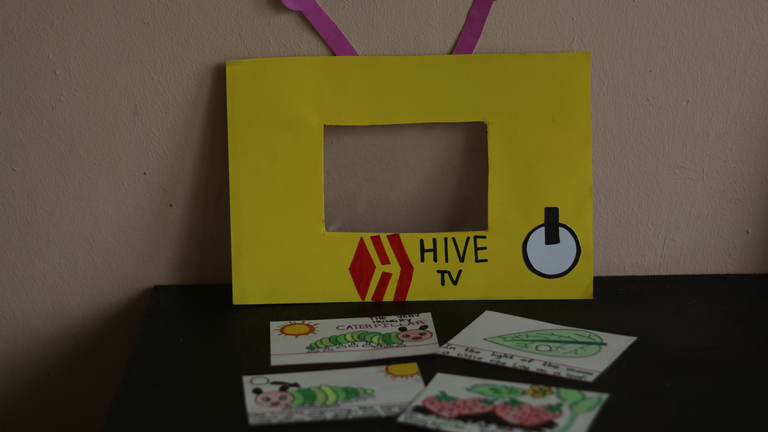
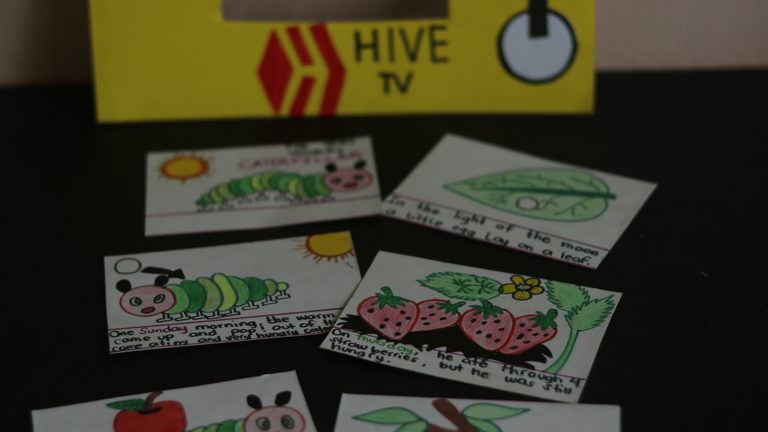
I am hoping that you are enjoying reading with the steps on how to make it and you can apply this to the young learners to make their storytelling more creative. There are many great stories you can choose from and let them be part of your story creation.