English
Hey and Hello Guys :)
Deutsch
Hey und Hallo Leute :)
I have now done everything and have attached a trailer hitch to my Audi A4. I show you today step by step how I did it, a picture gallery follows at the end :D
This is a detachable trailer hitch from Westfalia approved for 85kg drawbar load
Ich habe jetzt alles geschafft und habe an meinem Audi A4 eine Anhängerkupplung angebracht. Ich zeige euch heute Schritt-für-Schritt wie ich das gemacht habe, eine Bilderstrecke folgt am Ende :D
Es handelt sich hierbei um eine abnehmbare Anhängerkupplung von Westfalia zugelassen für 85kg Stützlast
Preparation // Disassembly:
- First I disconnected the battery, of course you will need it later but if you do it right at the beginning you can't forget it :) later when you reconnect it you will have to reset the time and other settings but that's no problem.
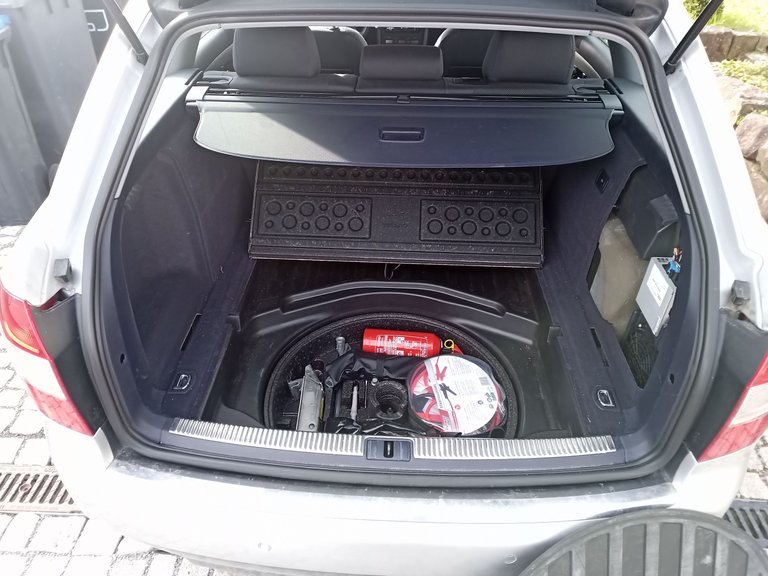
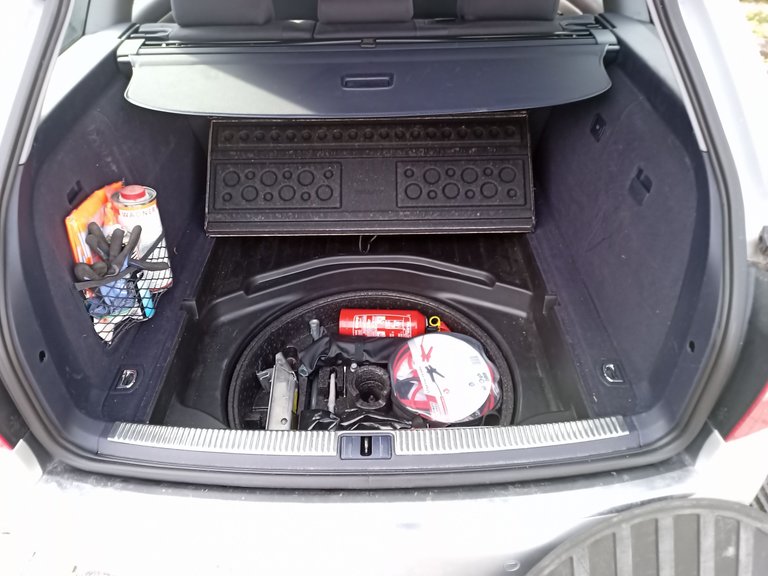
- after that I removed the side covers and the floor from the trunk. For this you didn't have to loosen any screws, the floor is for insertion and the side panels are fixed with the help of small lugs (click technique)
- When you have removed these parts, you can see the amplifier and the bass box behind another panel. These panels on the right and left must also be removed. This is a bit more difficult because it is attached with MEtall clips. So you have to lever it out so to speak, don't be discouraged :)
- You also have to remove the bass box and the amplifier.
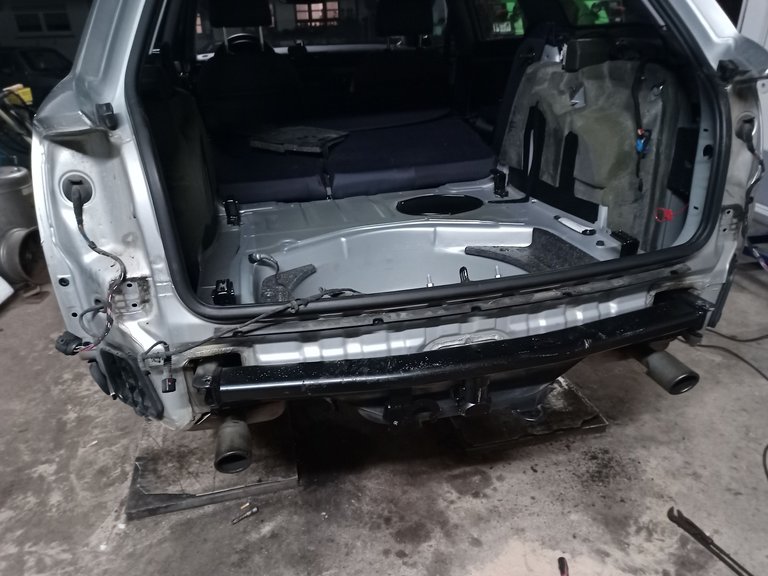
- The next step is to remove the rear lights. Because we took off the covers inside, we can easily reach the screws and remove the lights.
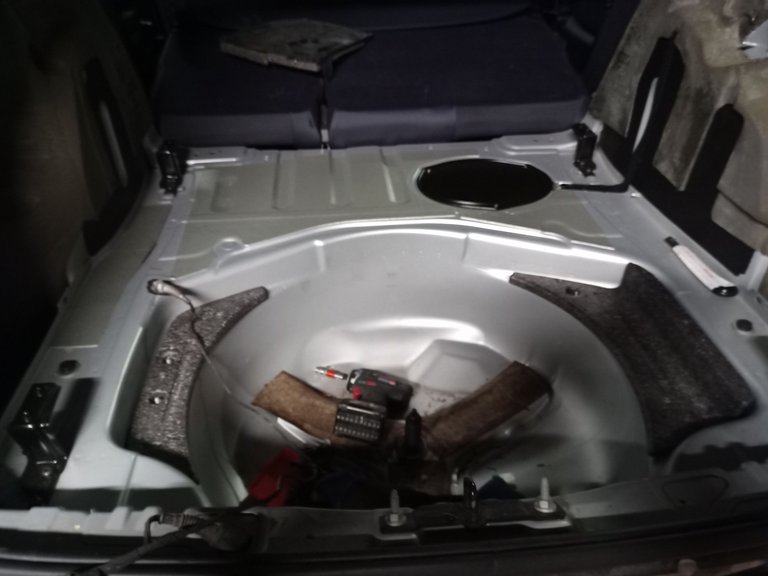
- Now you only have to remove the impact absorber, which you do with the help of the 4 screws (2 on each side) through the trunk floor.
Vorbereitung // Demontage:
- Als erstes habe ich die Batterie abgeklemmt, diese brauch man später natürlich wieder aber, wenn man das am Anfang direkt macht, kann man es nicht vergessen :) später, sobald ihr sie wieder Anklemmt müsst ihr die Uhrzeit und andere Einstellungen neu setzten aber das ist kein Problem
- danach habe ich die Seitenabdeckungen und den Boden aus dem Kofferraum entfernt. Dafür musste man noch keine Schrauben lösen, der Boden ist zum einlegen und die Seitenteile sind mithilfe von kleinen Nasen befestigt (klickstechnik)
- Wenn man diese Teile entfernt hat, sieht man Den Verstärker und die Bassbox hinter nochmals einer Verkleidung. auch diese Verkleidungen rfechts und links müssen abgenommen werden. Das ist etwas schwieriger, weil es mit MEtallklammern befestigt ist. Also muss man es quasi raushebeln, nicht enmutigen lassen :)
- Die Bassbox und den Verstärker müsst ihr ebenfalls ausbauen
- Als nächstes kommen die hinteren Lichter an die Reihe. Weil wir ja die Abdeckungen innen abgenommen haben, kommen wir jetzt gut an die Schrauben und können die Lichter somit ganz einfach ausbauen und abklemmen.
- Jetzt muss nurnoch der Pralldämpfer entfernt werden, das macht ihr mithilfe der 4 Schrauben (2 an jeder Seite) durch den Kofferraumboden
Assembly of the trailer hitch:
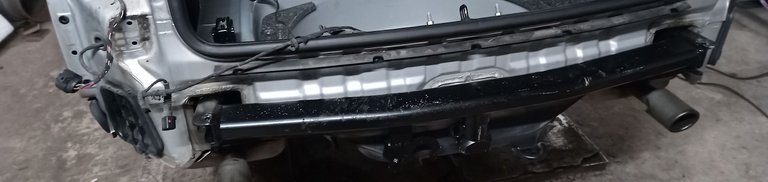
- First we mount the black frame of the trailer hitch to the body.
- Now you should also directly lay the cables for the E-socket. For this you pull the cables through the left side of your underbody and leave it in the trunk, it will be needed later.
- Then you can fix the impact absorber to the black frame.
- Now we start to mount everything backwards. First the lights then the outer fairings.
At the lower fairing you have to mill or flex a recess and then grind it a little bit. This recess is important so that you can attach your trailer hitch (a small hole on the underside through which you can put it).
Montage der Anhängerkupplung:
- Als erstes Montieren wir den schwarzen Rahmen der Anhängerkupplung an der Karosserie
- Jetzt sollte man auch direkt die Kabel für die E-Dose legen. Dafür zieht ihr die Kabel durch die linke Seite eures Unterbodens und lasst es dann erstmal im Kofferraum liegen, es wird erst später benötigt
- Dann könnt ihr den Pralldämpfer an den schwarzen Rahmen befestigen
- Jetzt fangen wir an alles Rückwärts wieder anzubauen. Erst die Lichter dann die äußeren Verkleidungen.
Bei der der Unteren Verkleidung müsst ihr eine Aussparung Fräsen oder Flexen und im Anschluss etwas schleifen. Diese Aussparung ist wichtig damit ihr eure Anhängerkupplung anbringen könnt (quasi ein kleines Loch an der Unterseite durch das ihr sie stecken könnt)
Assembly of the electrical box:
- The cables that you have inserted through the trunk, must now be connected with the help of current clamps with the lights
- for this you mount the E-set as described in the mounting instructions (exact information is difficult to give here, because these are very vehicle specific)
- when you have done this, check the functions by connecting a trailer (only the electrical connection, this is enough to test the functions)
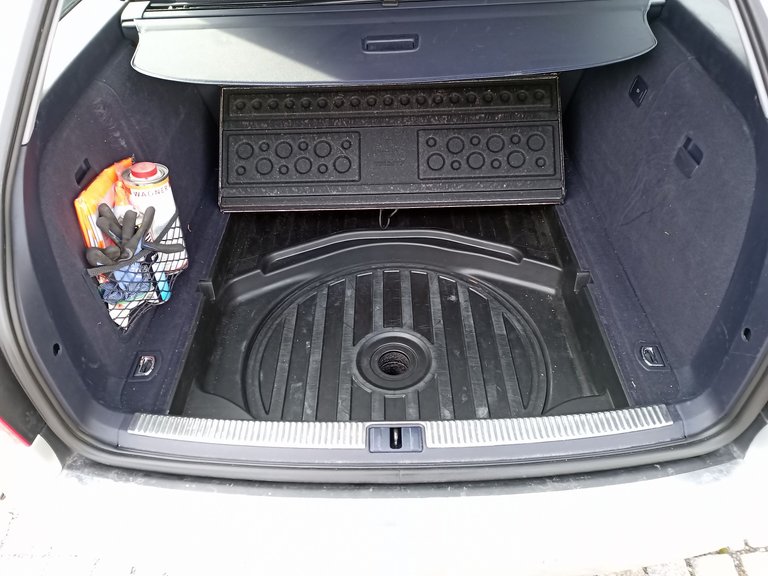
- if everything is ok, you can start to reinstall the inner panels
Tip: start first with the floor panels and then with the side panels, otherwise it won't fit :D
Montage der E-Dose:
- Die Kabel die ihr durch den Kofferraum eingeführt habt, müssen jetzt mithilfe von Stromklemmen mit den Lichtern verbunden werden
- dafür montiert ihr den E-Satz wie in der Montageanleitung beschrieben (genaue Informationen sind hier schwer zu geben, weil diese sehr Fahrzeugspezifisch ausfallen)
- wenn ihr das geschafft habt prüft die Funktionen durch verbinden eines Anhängers (nur die elektrische Verbindung, das reicht um die Funktionen zu testen)
- wenn alles in Ordnung ist, könnt ihr beginnen die Inneren Verkleidungen wieder einzubauen
Tipp: fangt erst mit den Bodenverkleidungen an und dann mit den Seitenteilen, sonst passt es nicht :D
- Abdeckungen entfernen
- Innere Abdeckungen entfernen
- Lichter abbauen und Kabel durch den Unterboden ziehen
- Rahmen an der Karosse befestigen
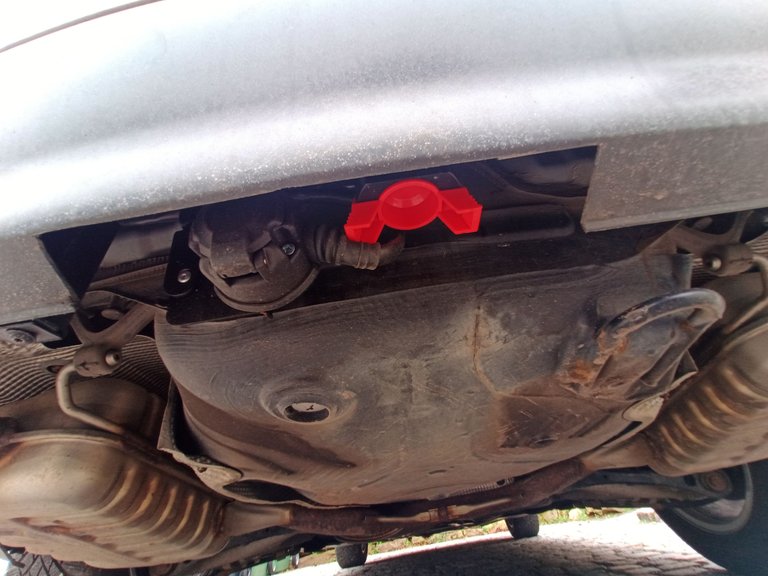
- Aussparung und E-Dose
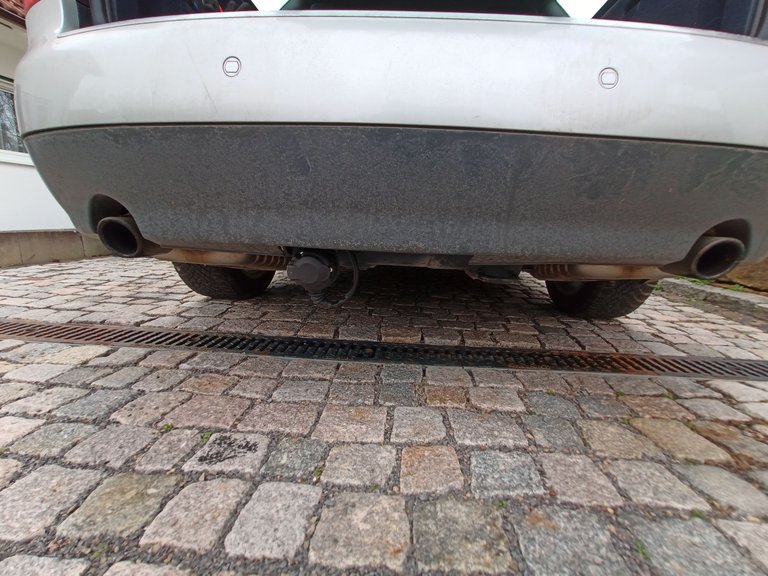
- abgenommene Anhängerkupplung
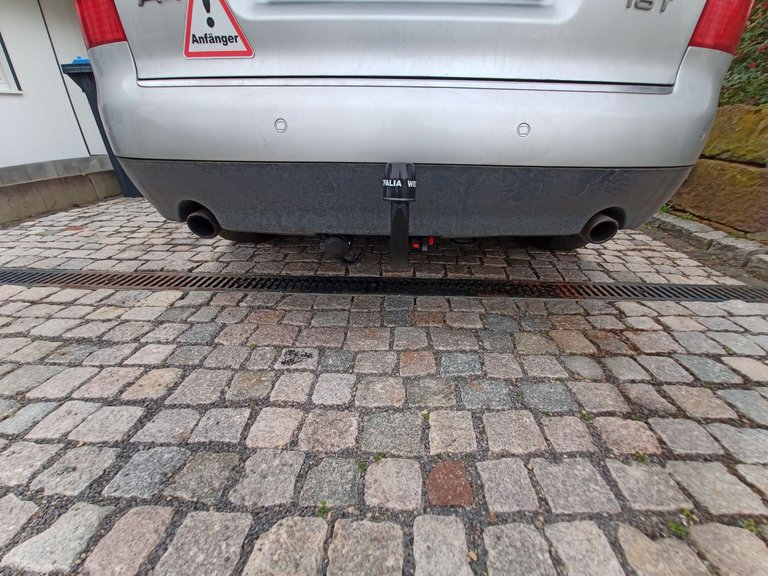
- montierte Anhängerkupplung


