¡Holaaa! Espero este siendo un buen día para ti.
Hello! I hope this is a good day for you.
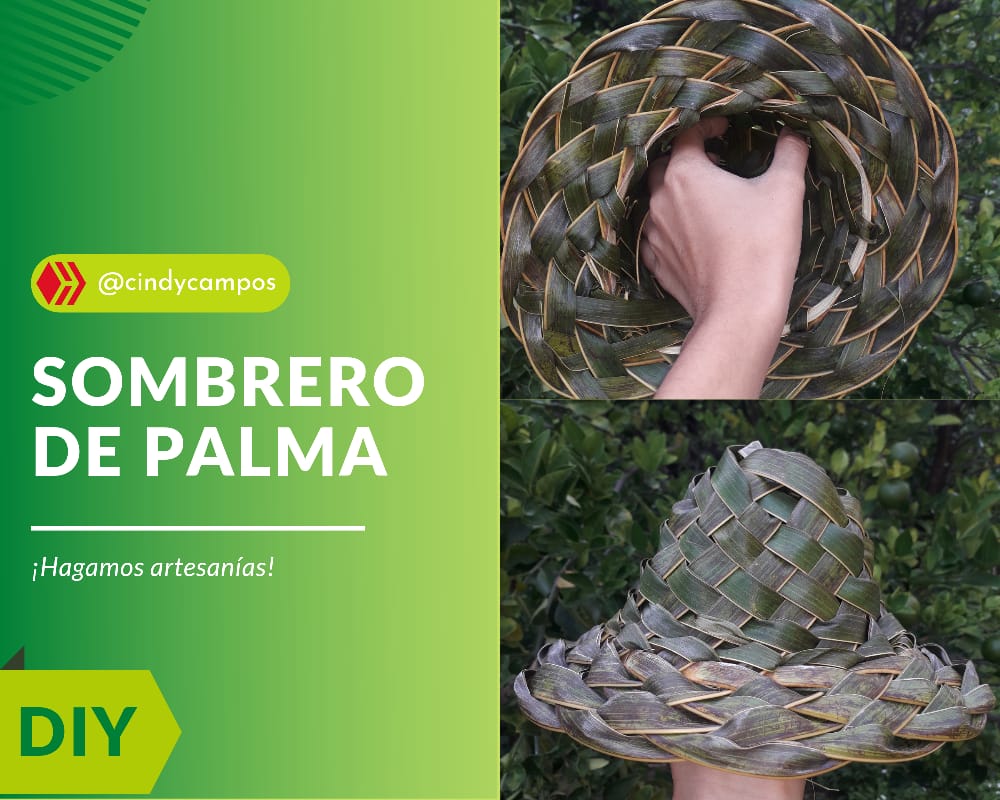
Hoy me complace compartir contigo el paso a paso de un sombrero tejido con palma de coco. Te confieso que es la primera vez que lo hago, así que, se aceptan pequeñas imperfecciones. Con la práctica iré mejorando, pero ahora mismo tu aprenderás conmigo ¿te parece?
Today I am pleased to share with you the step by step of a coconut palm woven hat. I confess it's the first time I make it, so, small imperfections are accepted. With practice I will improve, but right now you will learn with me, do you agree?.jpeg)
📍Materiales |📍Materials
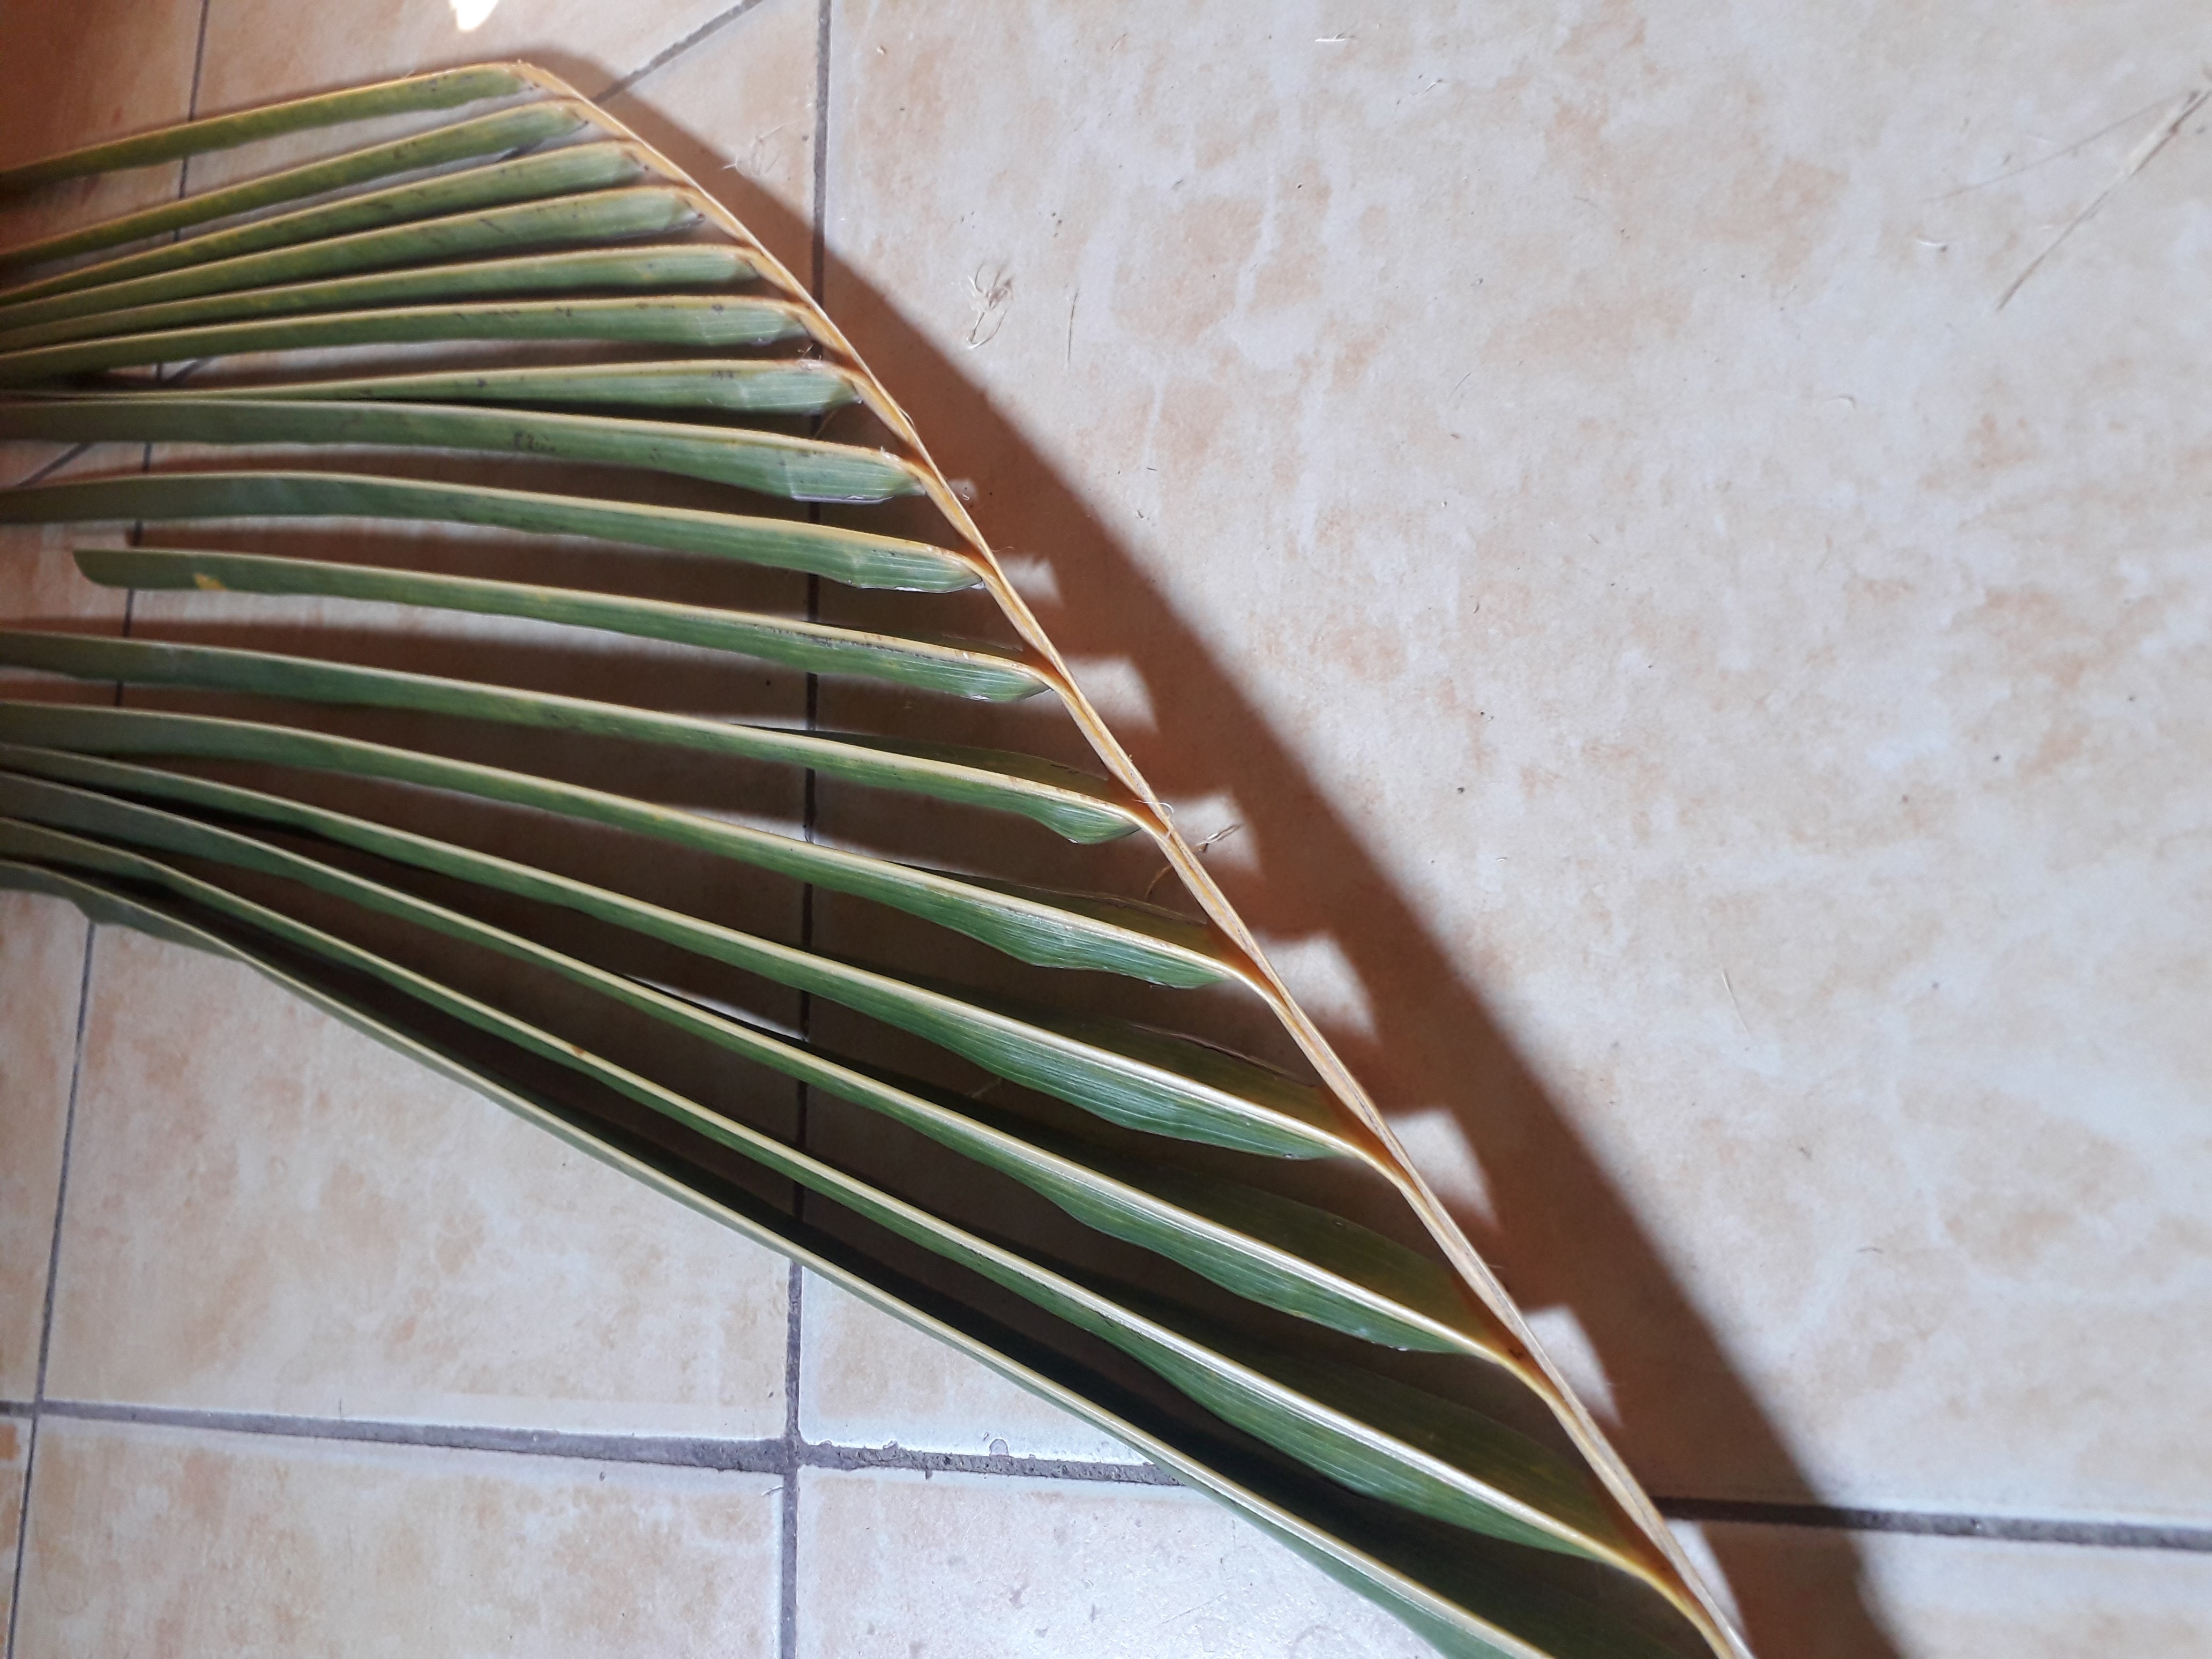
Una palma de coco de preferencia tierna. Eso facilitara el tejido en gran medida.
A coconut palm, preferably a tender one. This will make weaving much easier.
.jpeg)
¡Manos a la obra! | Let's get to work!
Paso 1- Selección de medidas |Step 1 - Selection of dimensions
Debemos seleccionar en número de hojitas que queremos tejer de la palma y luego cortarlas (solo se utilizan las de un lado de la palma) . En mi caso seleccione 16 hojitas.
We must select the number of leaves we want to weave from the palm and then cut them (only the leaves on one side of the palm are used). In my case I selected 16 leaves.
De este número dependerá el tamaño del sombrero. Por tanto, el mío será pequeño. Pero para una persona adulta el tamaño estándar se logra con 20 hojitas.
The size of the hat will depend on this number. So mine will be small. But for an adult person the standard size is 20 little leaves.
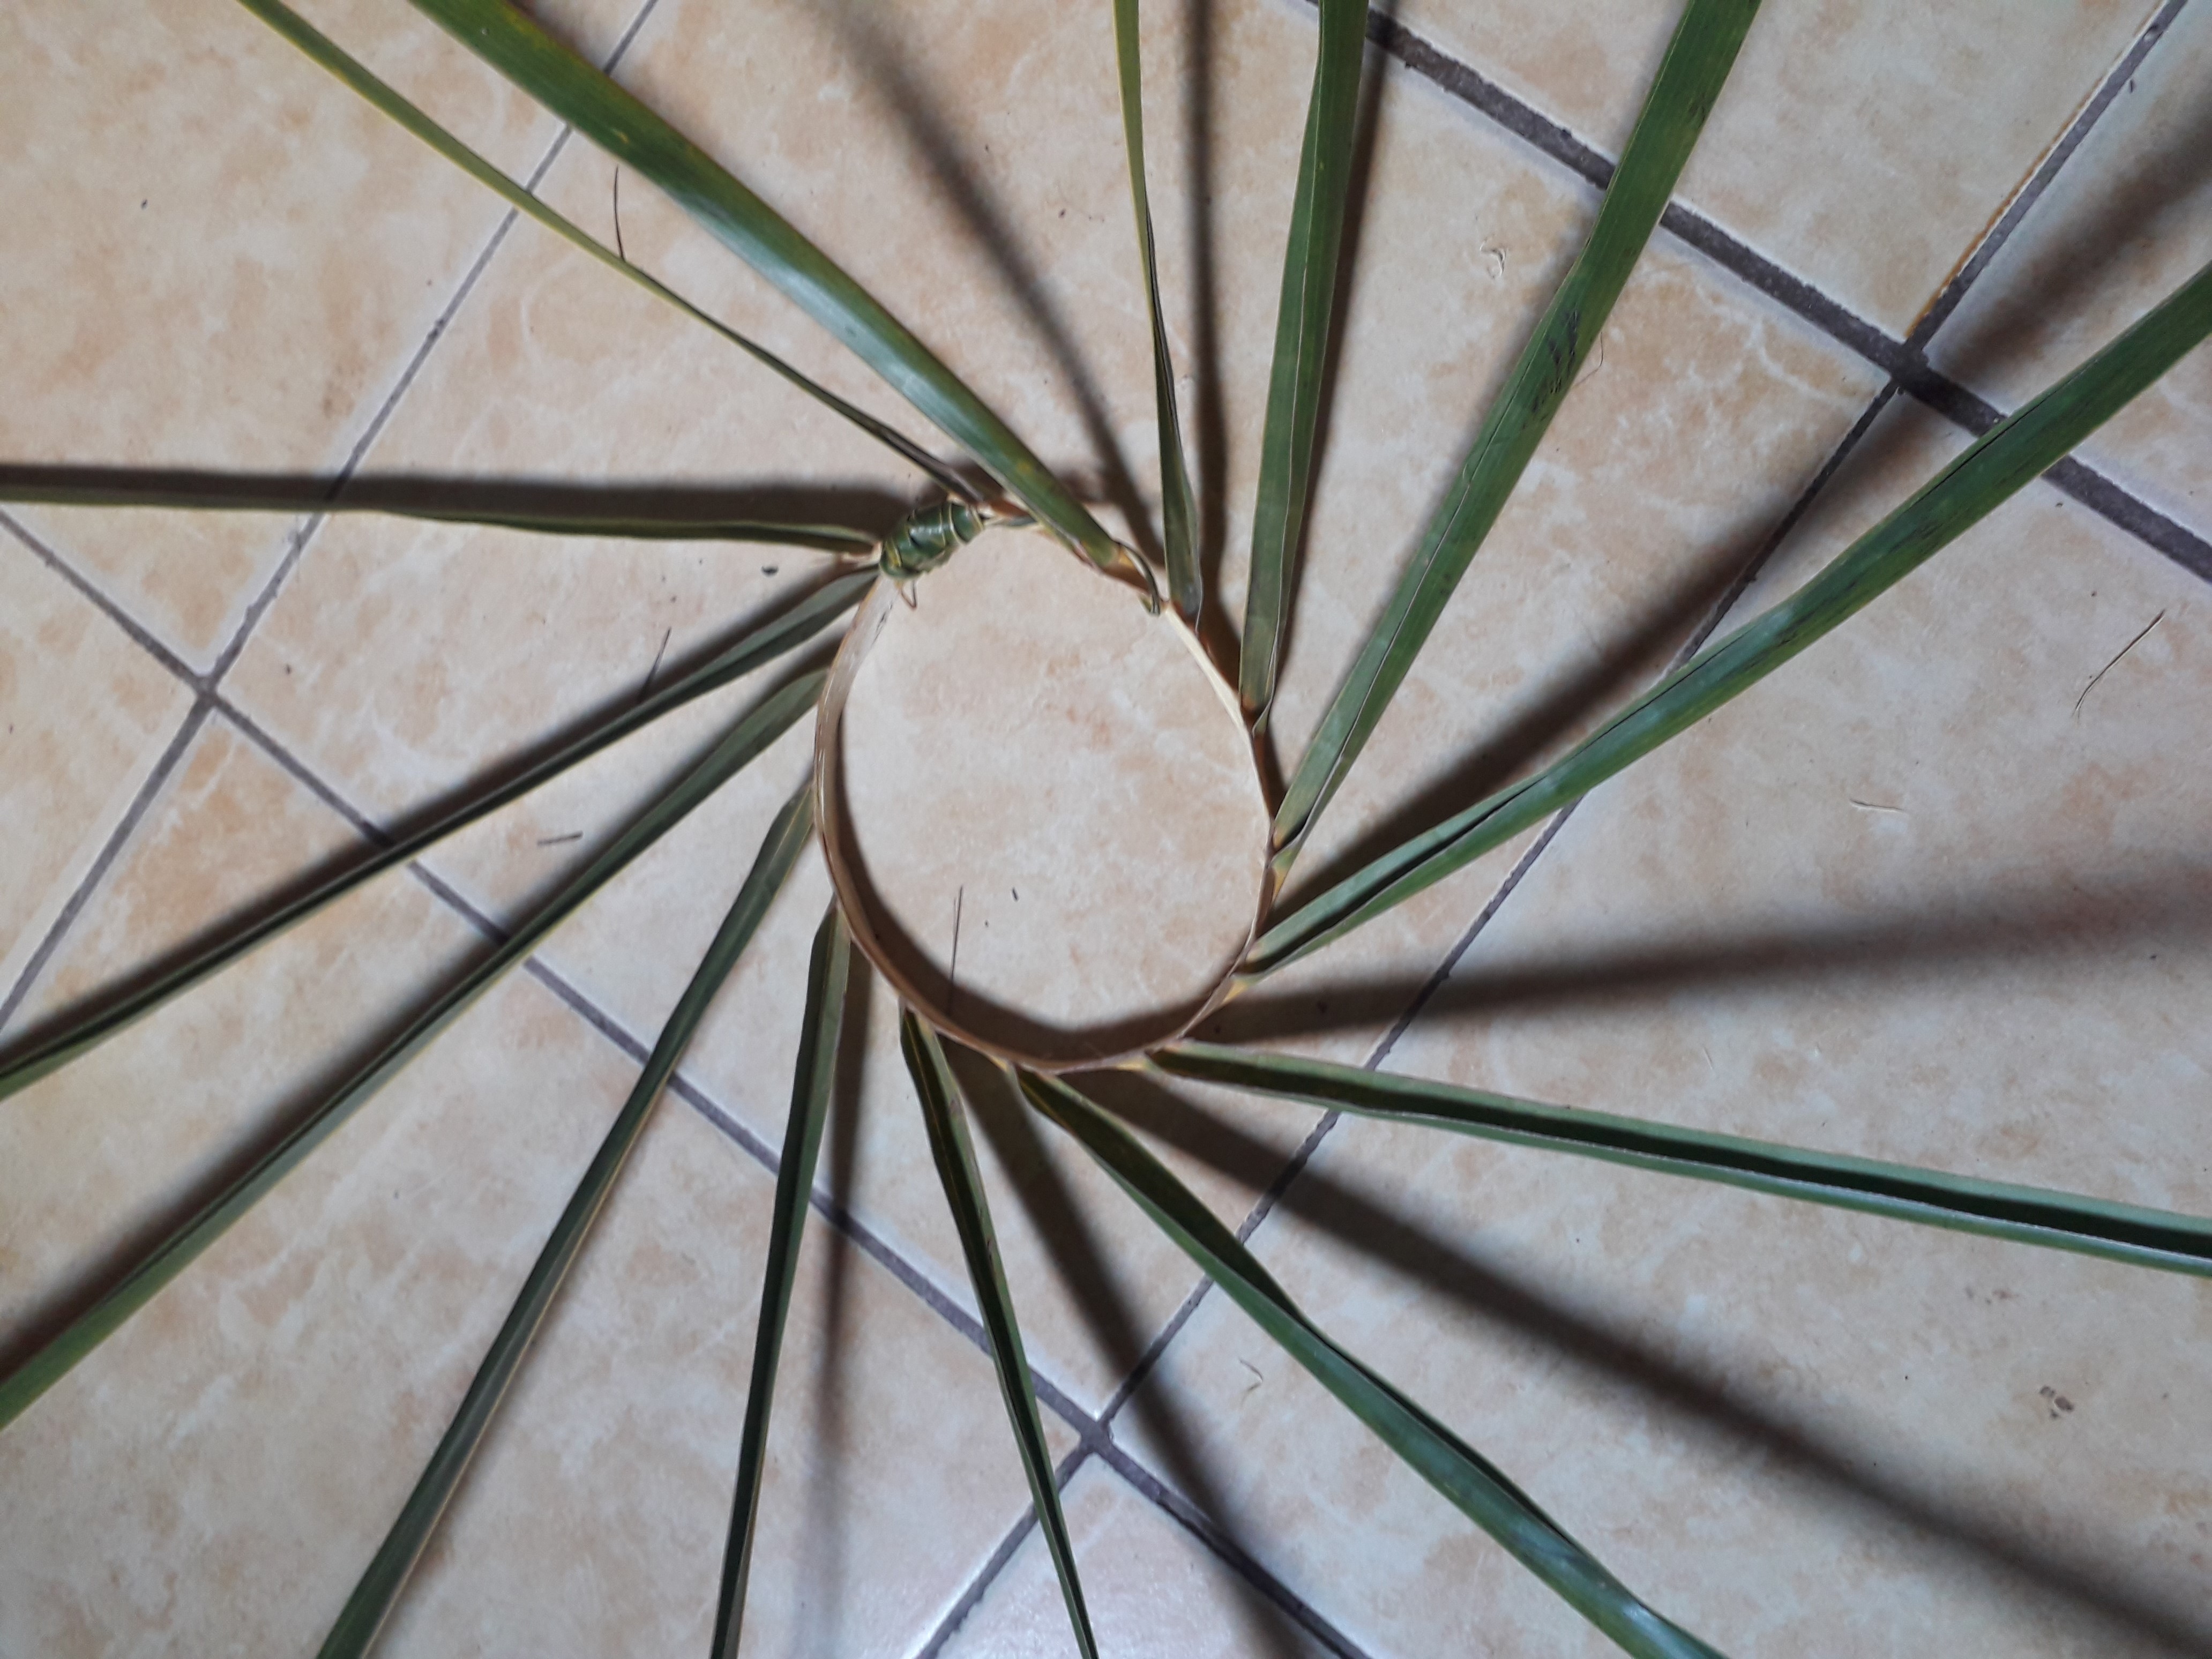
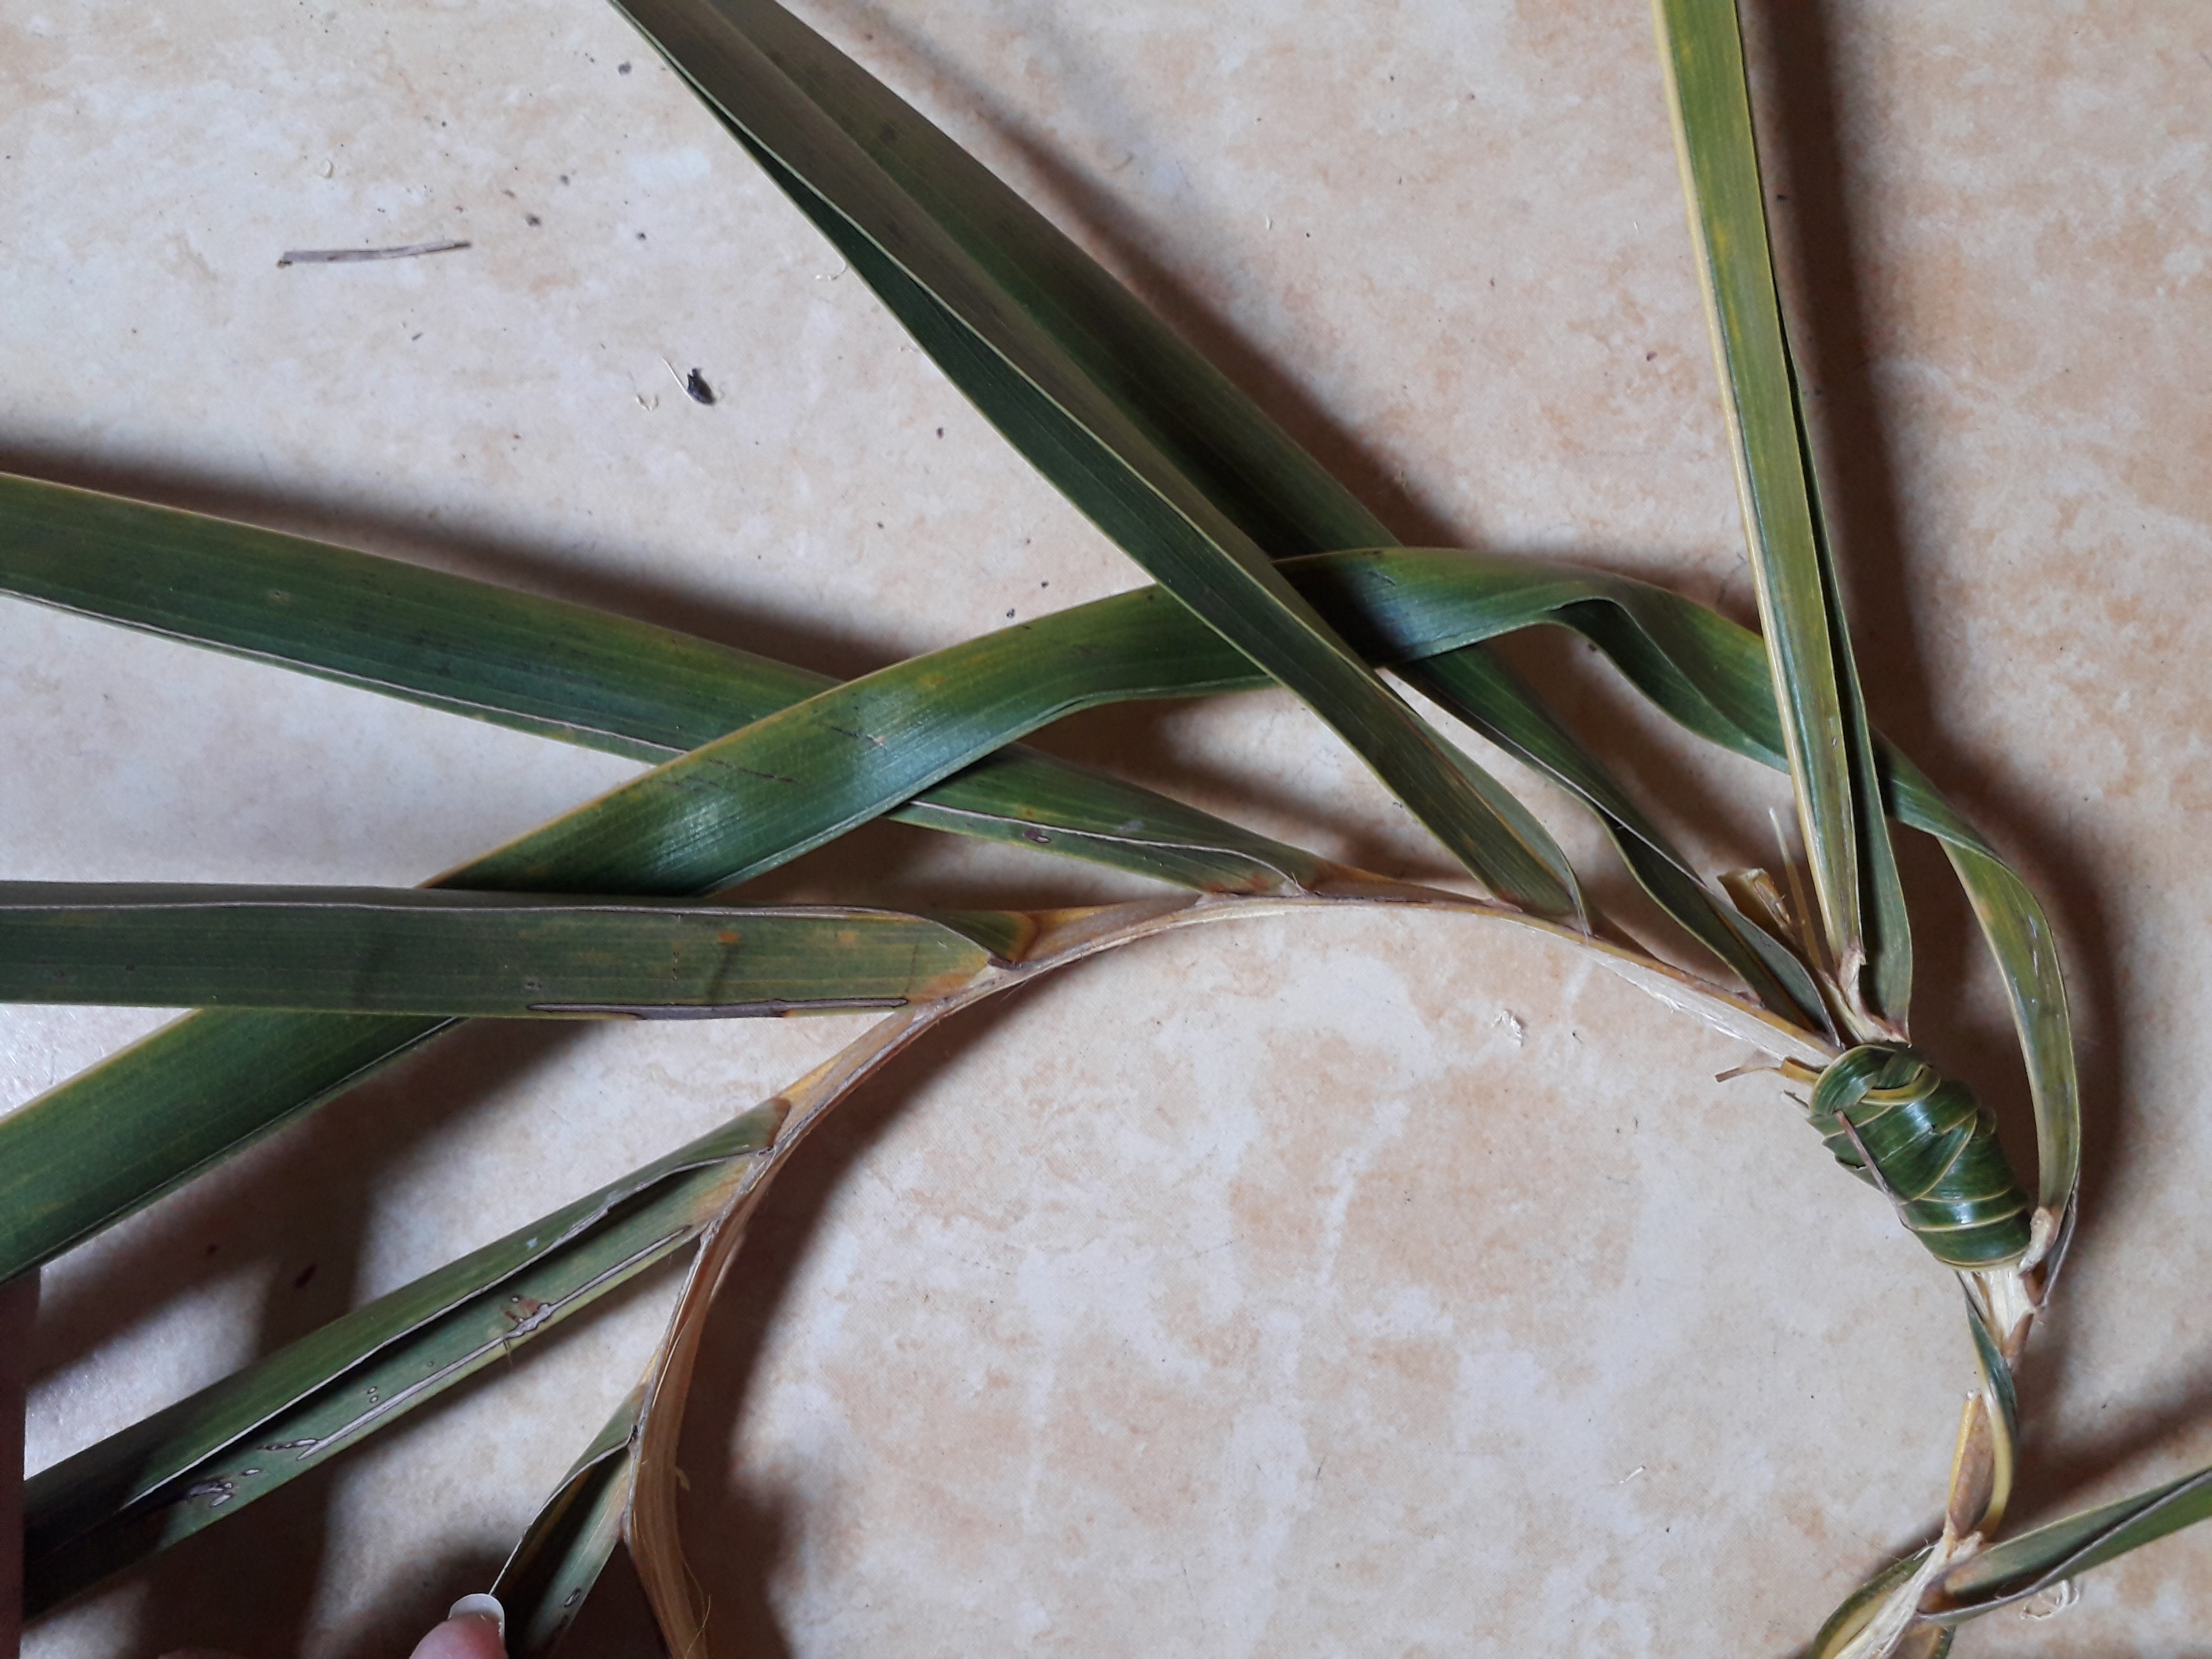
Paso 2- Formando la base |Step 2- Forming the base
Si quieres tejer 20 debes seleccionar 22 hojas. Ya que es necesario formar un círculo uniendo ambos extremos. Asi que, una hojita de cada extremo debes quitarla para que tengas espacio y así unir con un cordón. Yo lo hice una una tira de la misma hoja.
If you want to weave 20 you must select 22 leaves. It is necessary to form a circle joining both ends. So, one leaf from each end must be removed so that you have space to join with a cord. I did it with a strip of the same leaf.
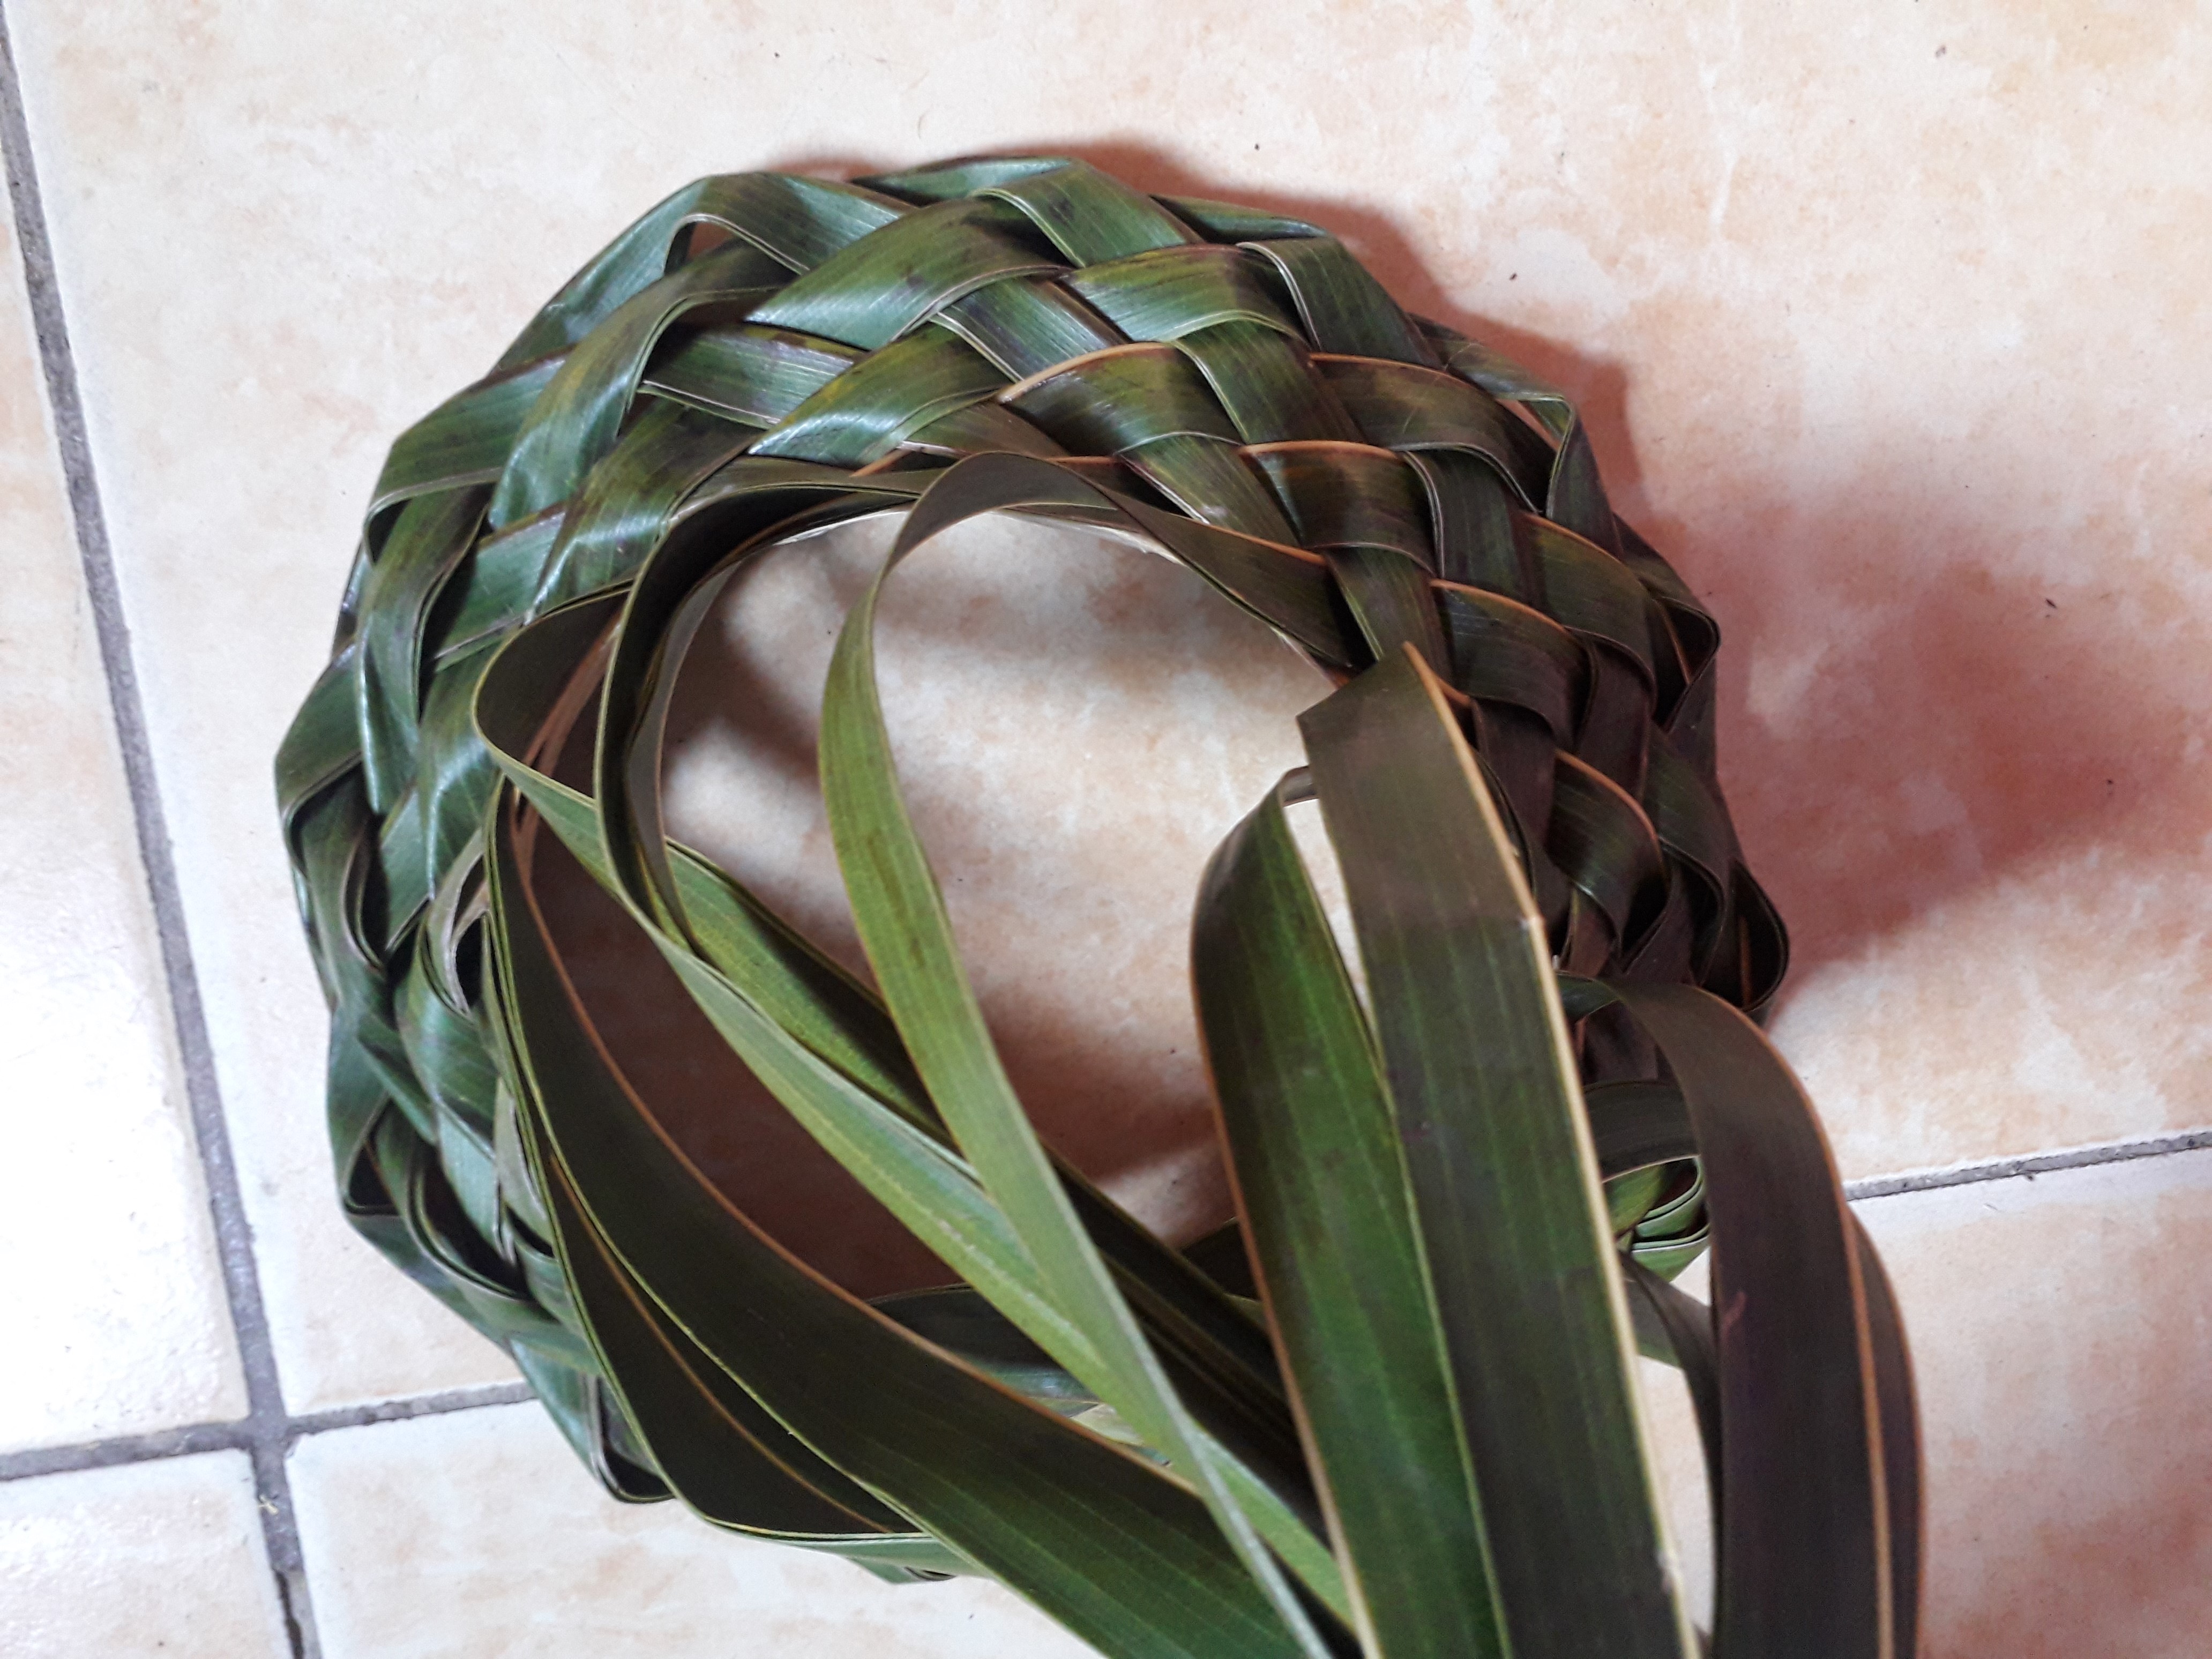
Paso 3- Tejido | Step 3 - Weaving
Inicias el tejido seleccionando una hoja y la vas pasando por arriba y luego por abajo de la siguiente. Así sucesivamente. PERO, solo vas a hacer eso hasta llegar a la hoja número 5. Luego, haces el mismo procedimiento con la siguiente, y la misma regla de las 5 hojitas.
You start the weaving by selecting one leaf and passing it over and then under the next one. So on and so forth. BUT, you are only going to do that until you reach leaf number 5. Then, you do the same procedure with the next one, and the same rule of the 5 little leaves.
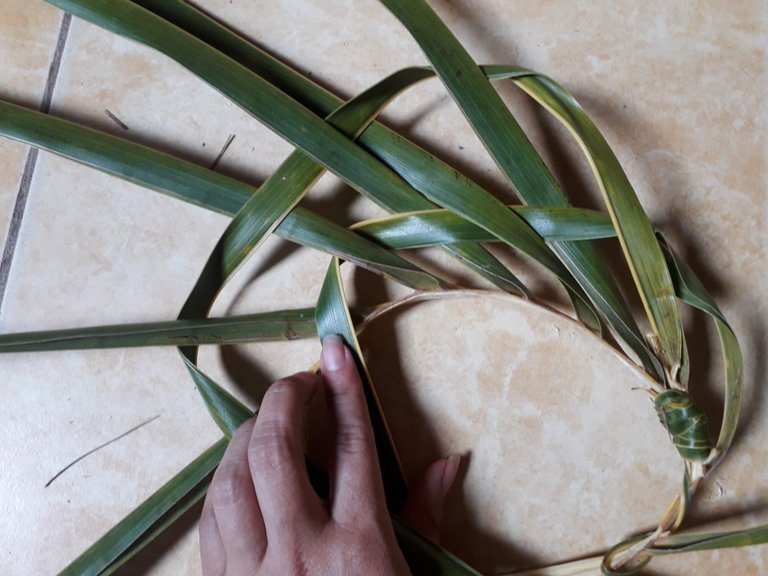
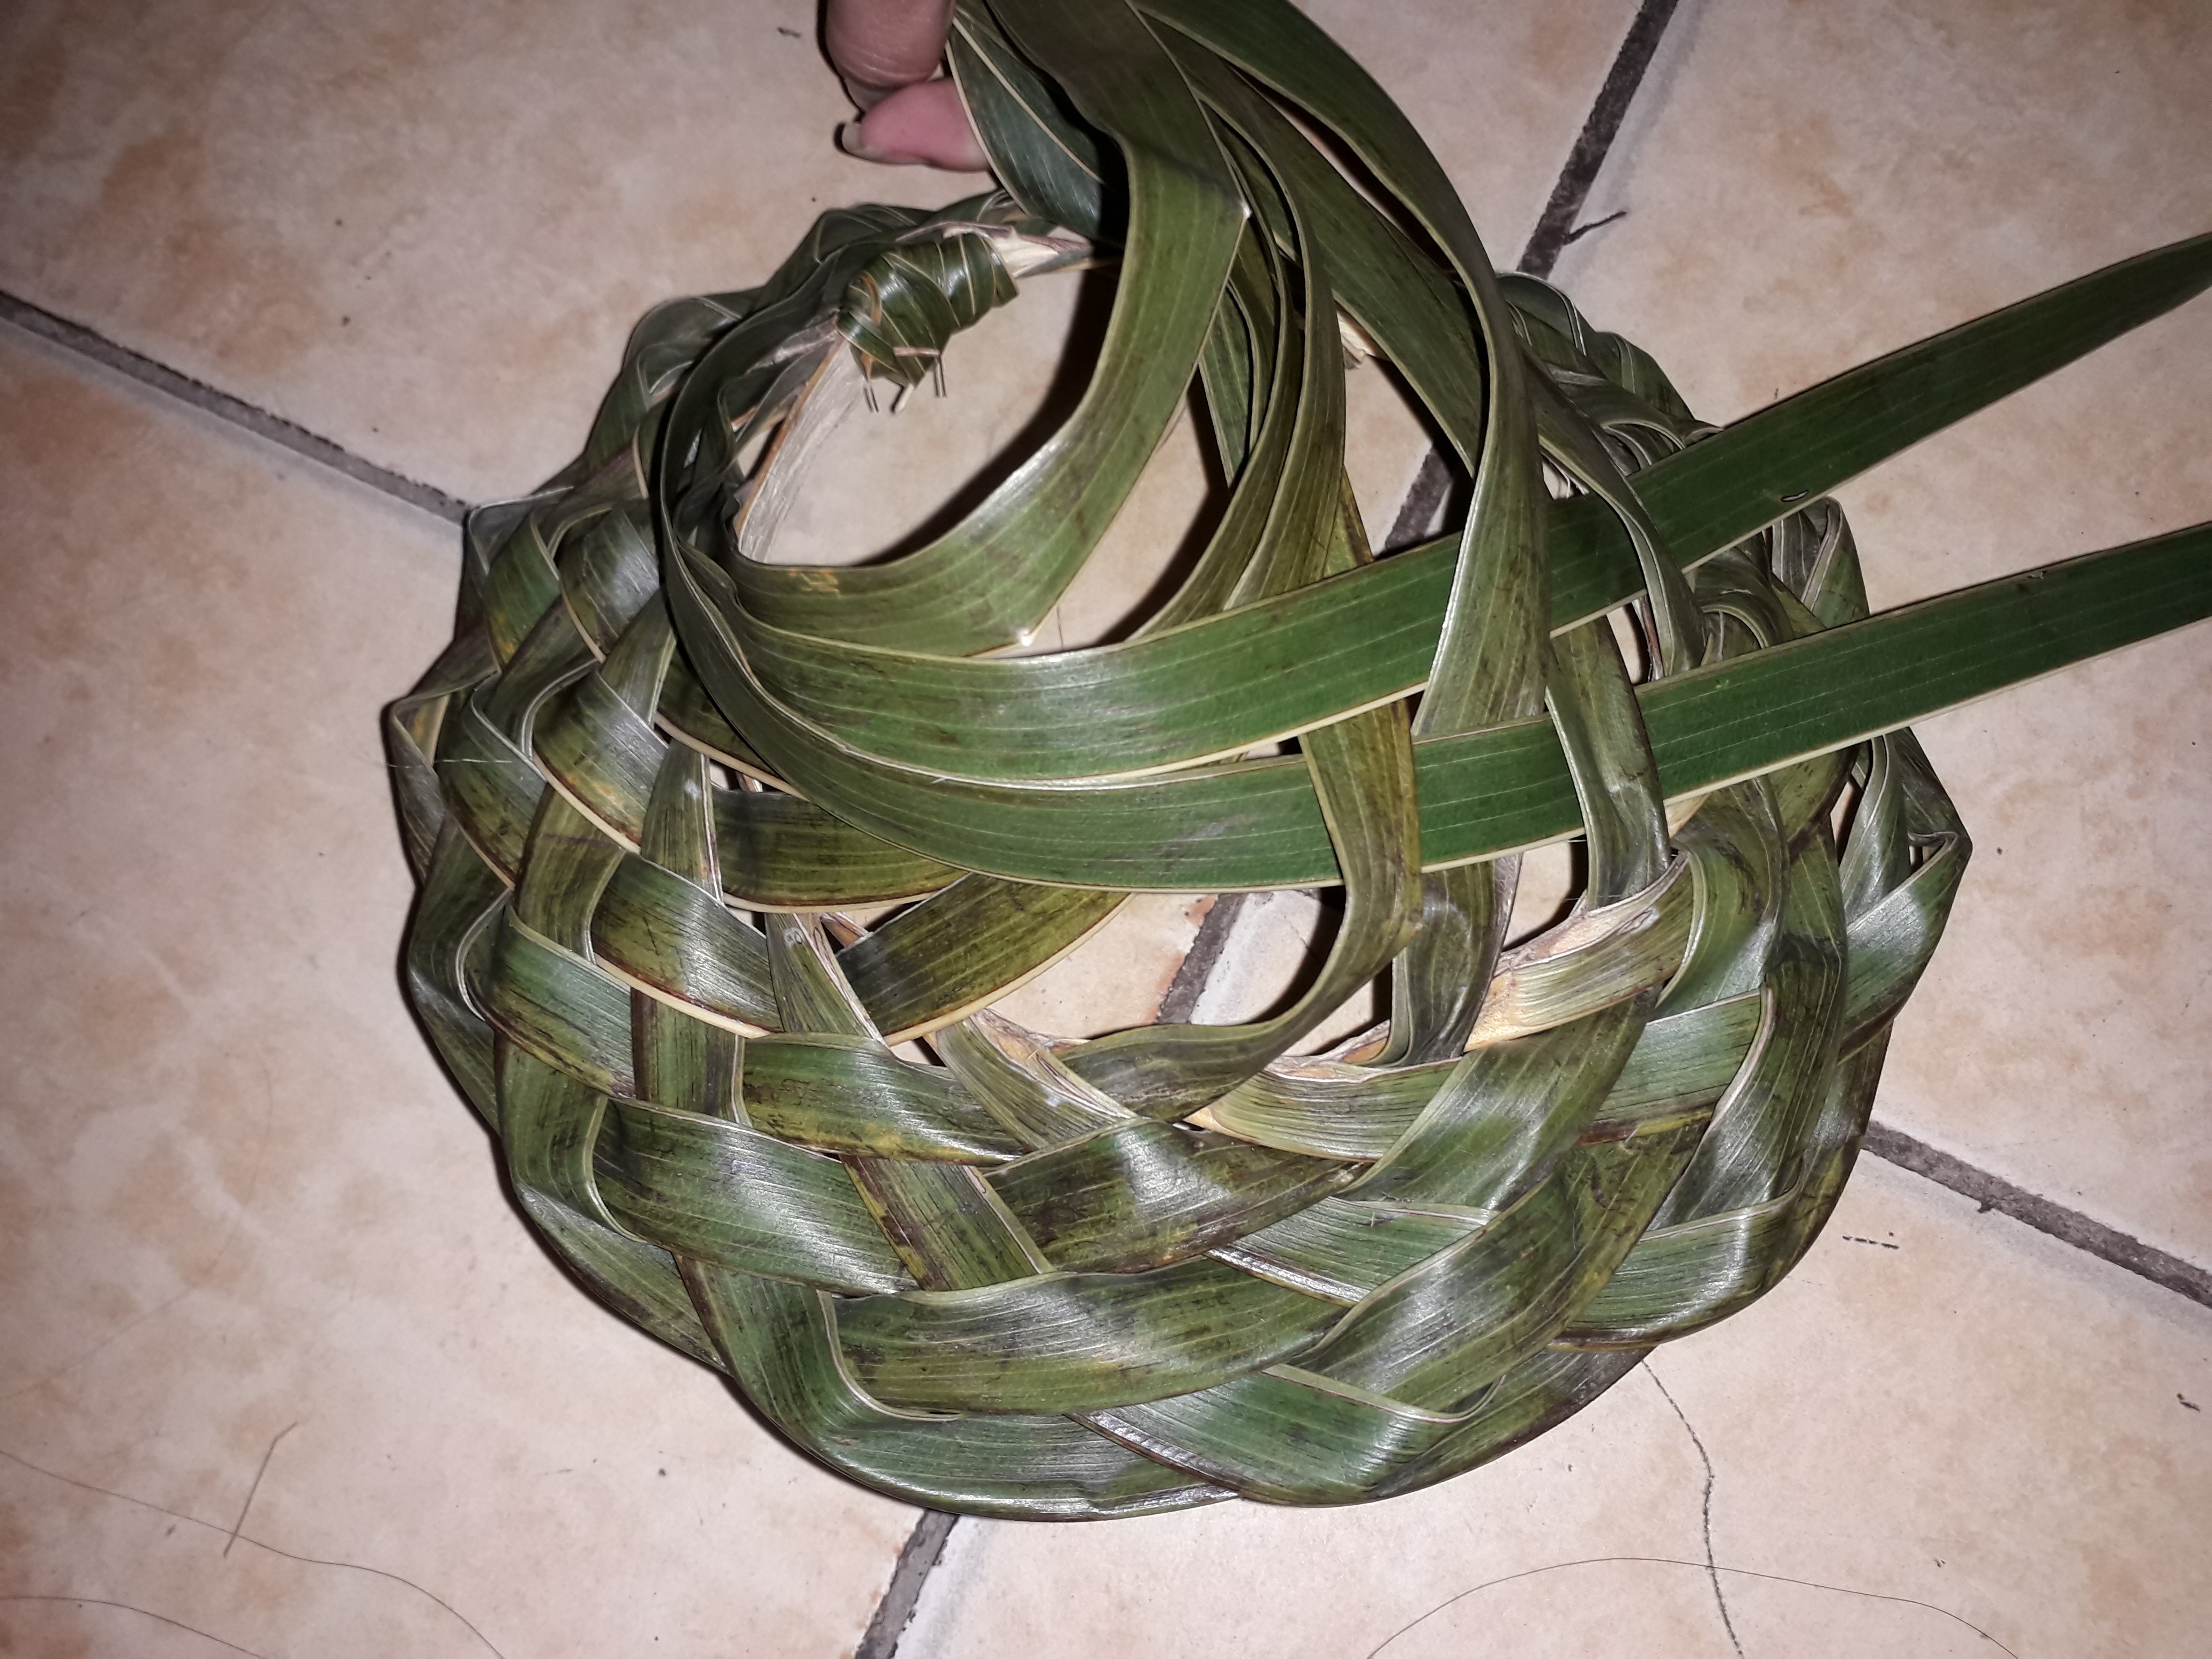
Llegara un punto donde ya no tendrás más hojas sin tejer para que sigas pasando, pero, en este caso solo debes hacerlo por el agujero correspondiente a cada hojita. Como puedes ver aquí⬇️.
There will come a point where you won't have any more unwoven leaves to continue weaving, but, in this case, you only have to weave through the hole corresponding to each leaf. As you can see here⬇️.
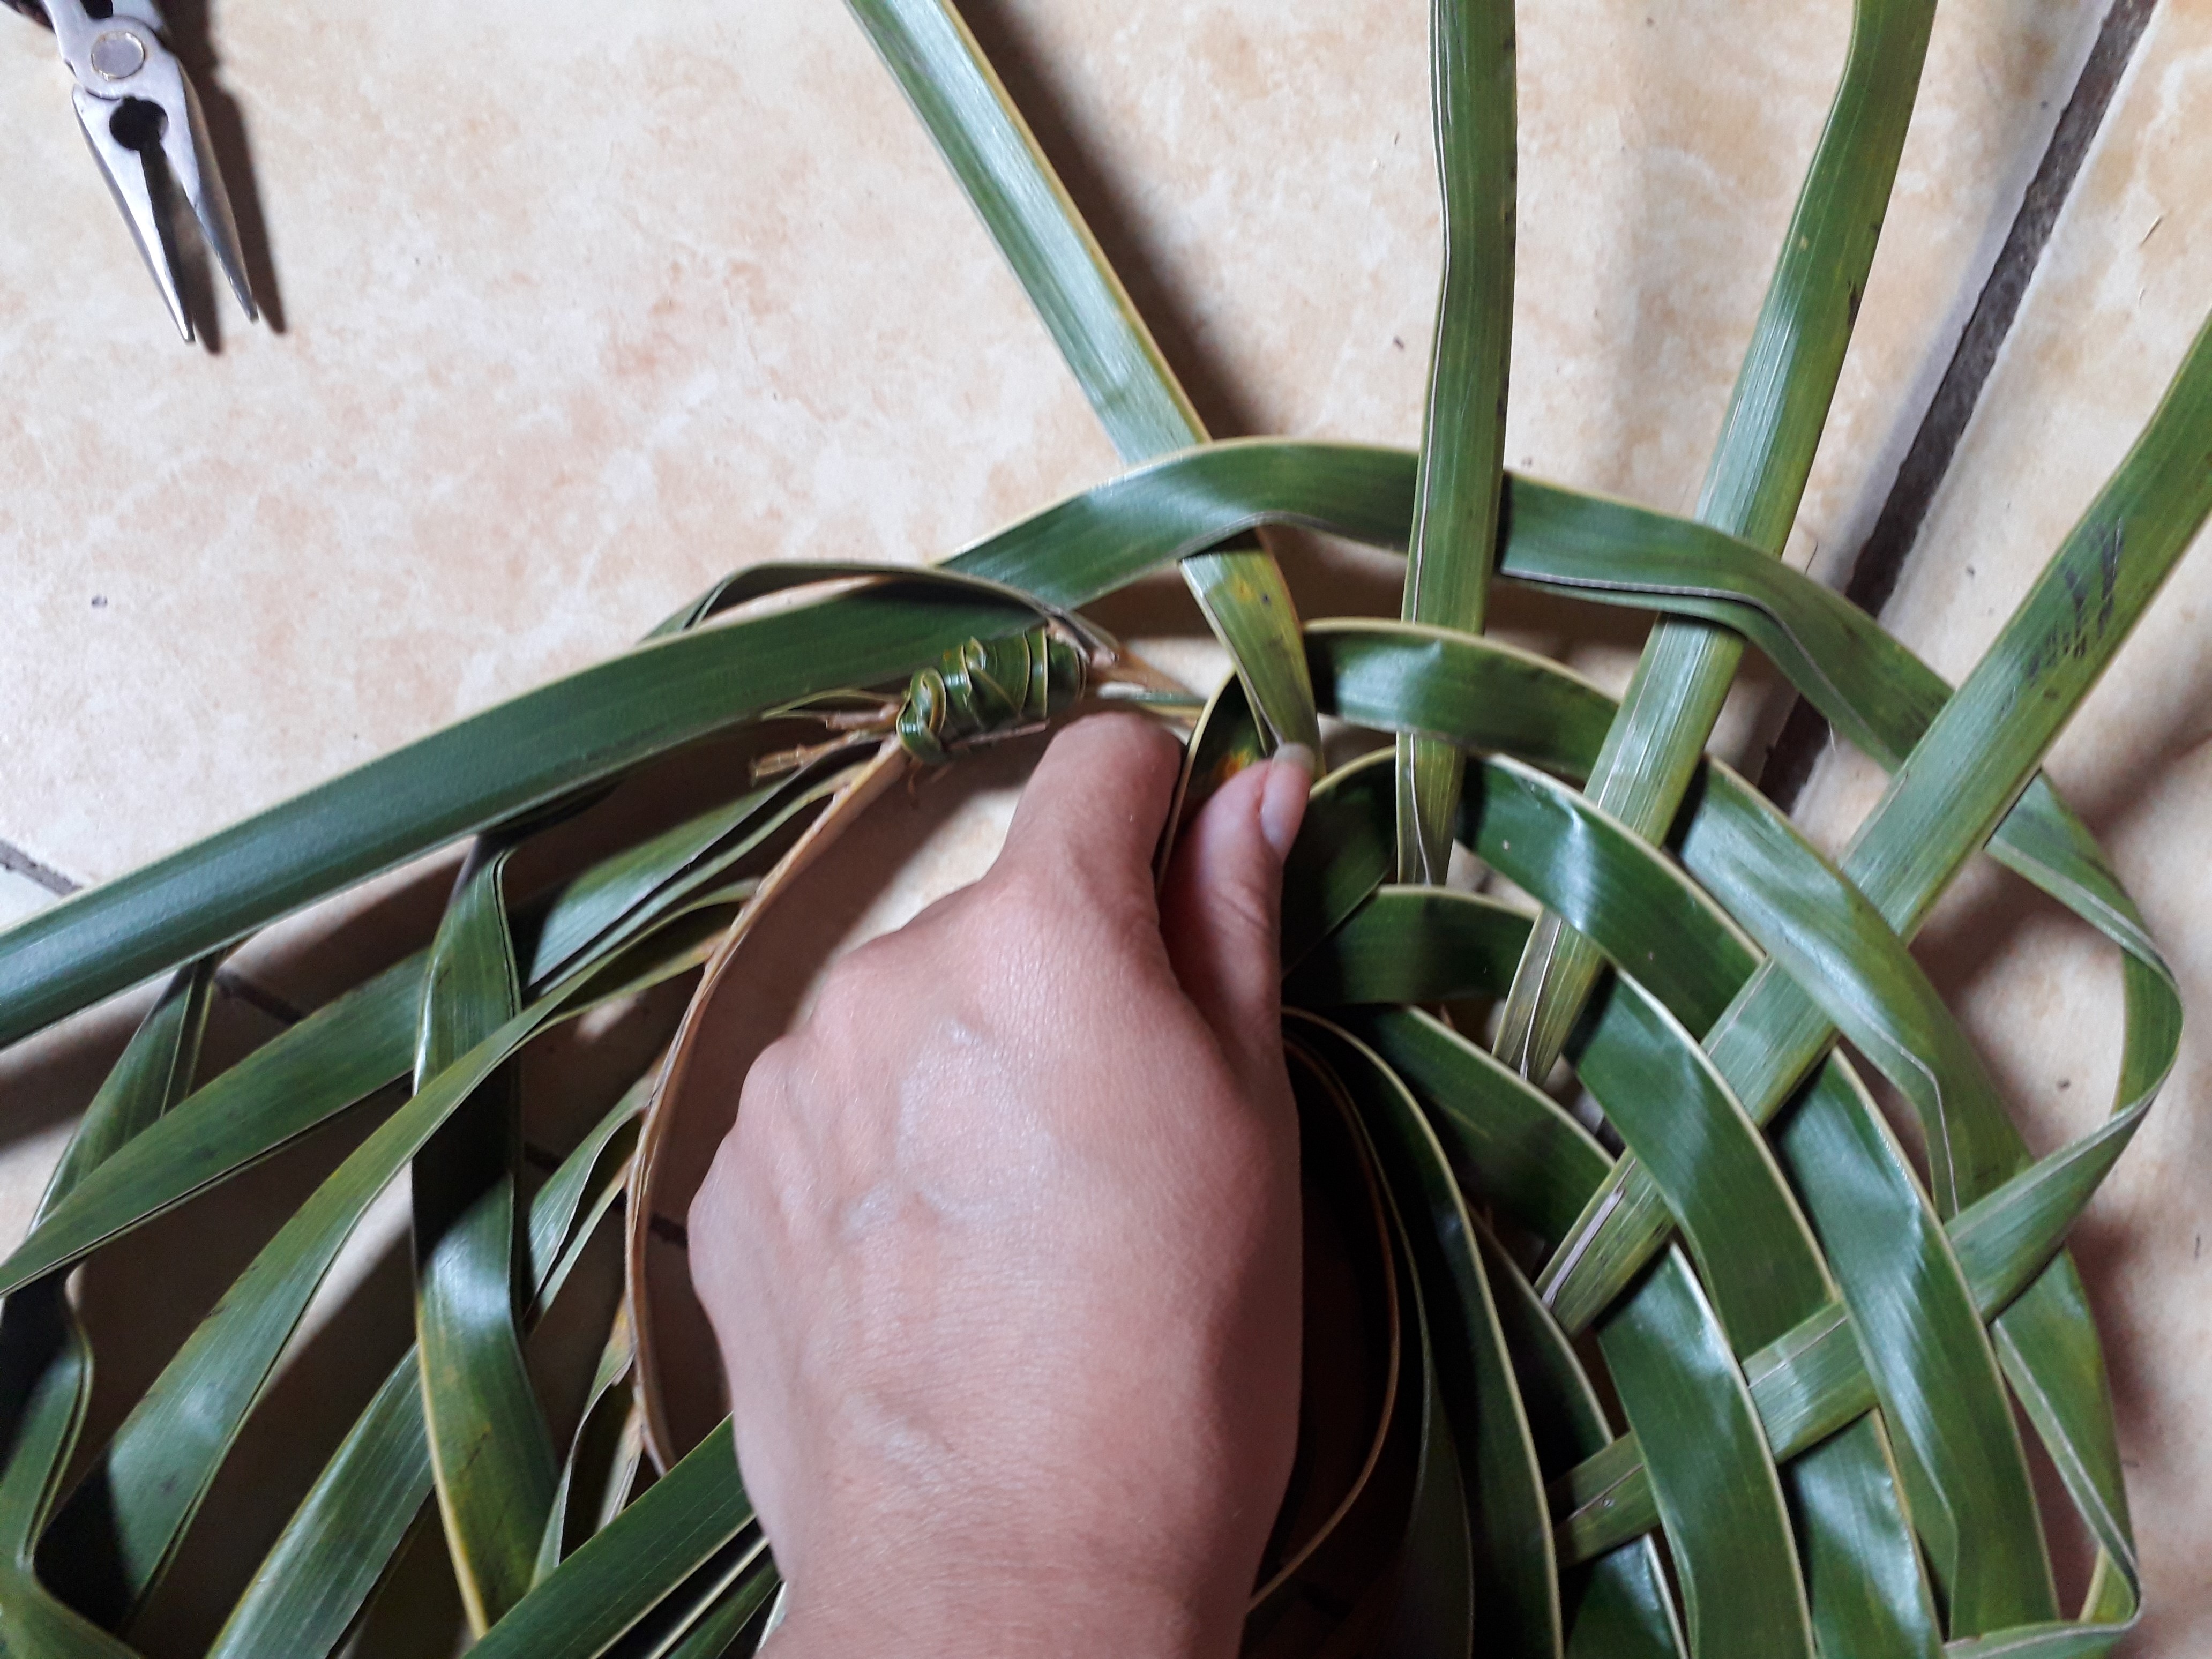
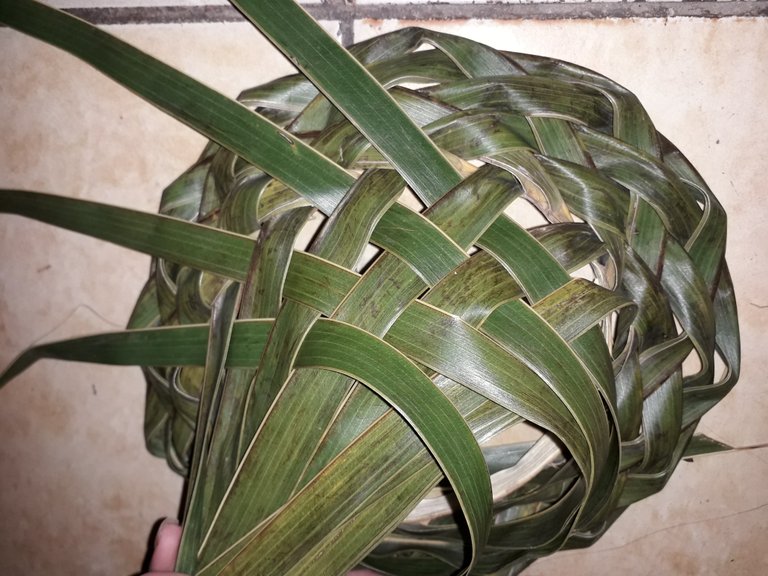
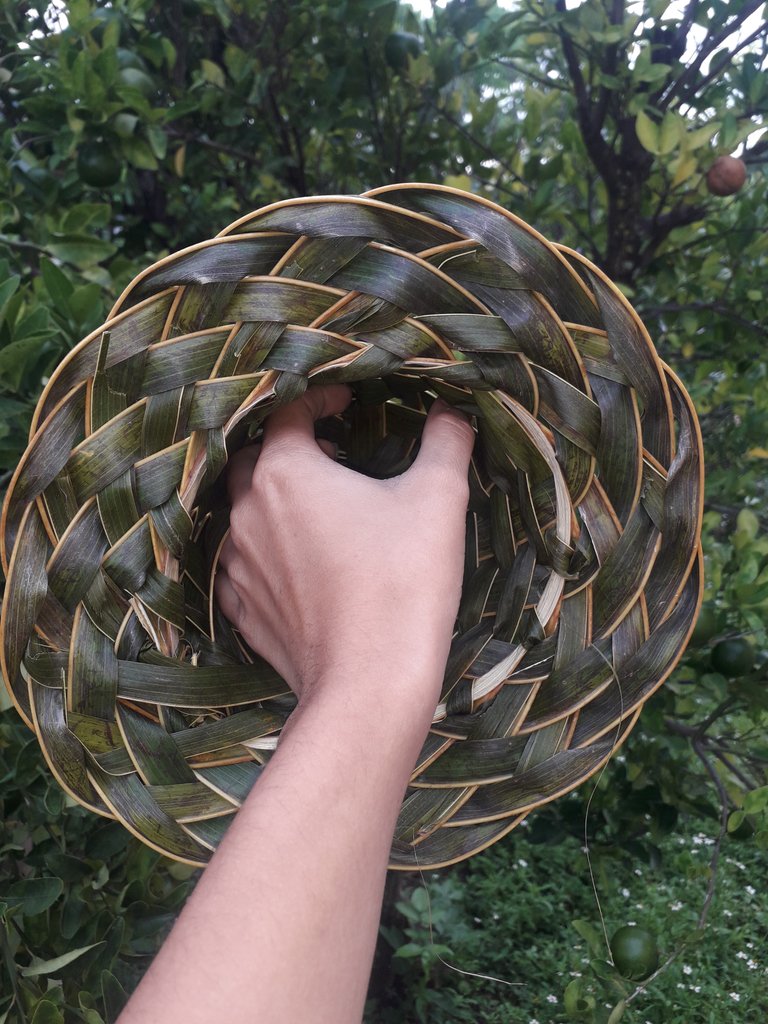
Paso 4- Ajustar| Step 4 - Adjust.
Ahora, una vez tejido todo, lo siguiente es ajustar en orden poco a poco cada tira de palma, para que el tejido vaya tomando mejor forma; mucho más cerrado. Cuando termines notarás que no queda un círculo perfecto, pero esto es normal. Queda más bien como un óvalo. Pero el ajuste permitirá que tome una muy buena forma.
Now, once you have woven everything, the next thing to do is to adjust each palm strip in order, little by little, so that the weave takes a better shape; much tighter. When you finish, you will notice that it is not a perfect circle, but this is normal. It is more like an oval. But the adjustment will allow it to take a very good shape.
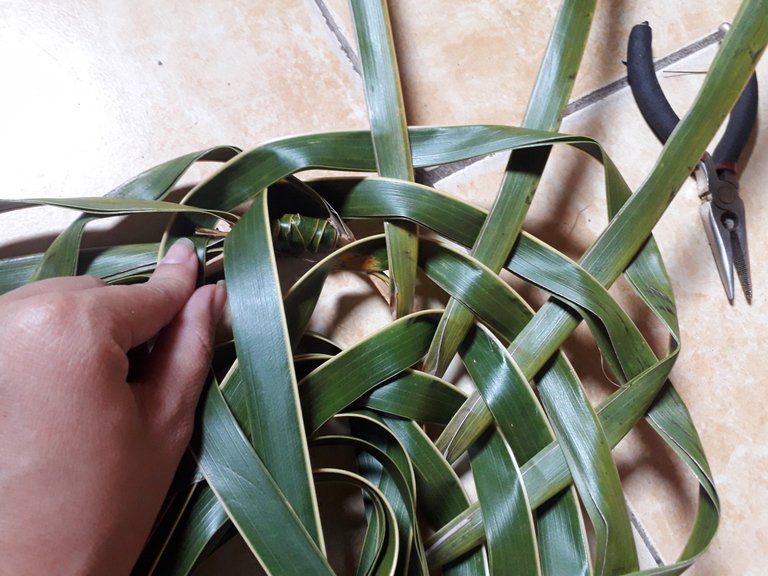
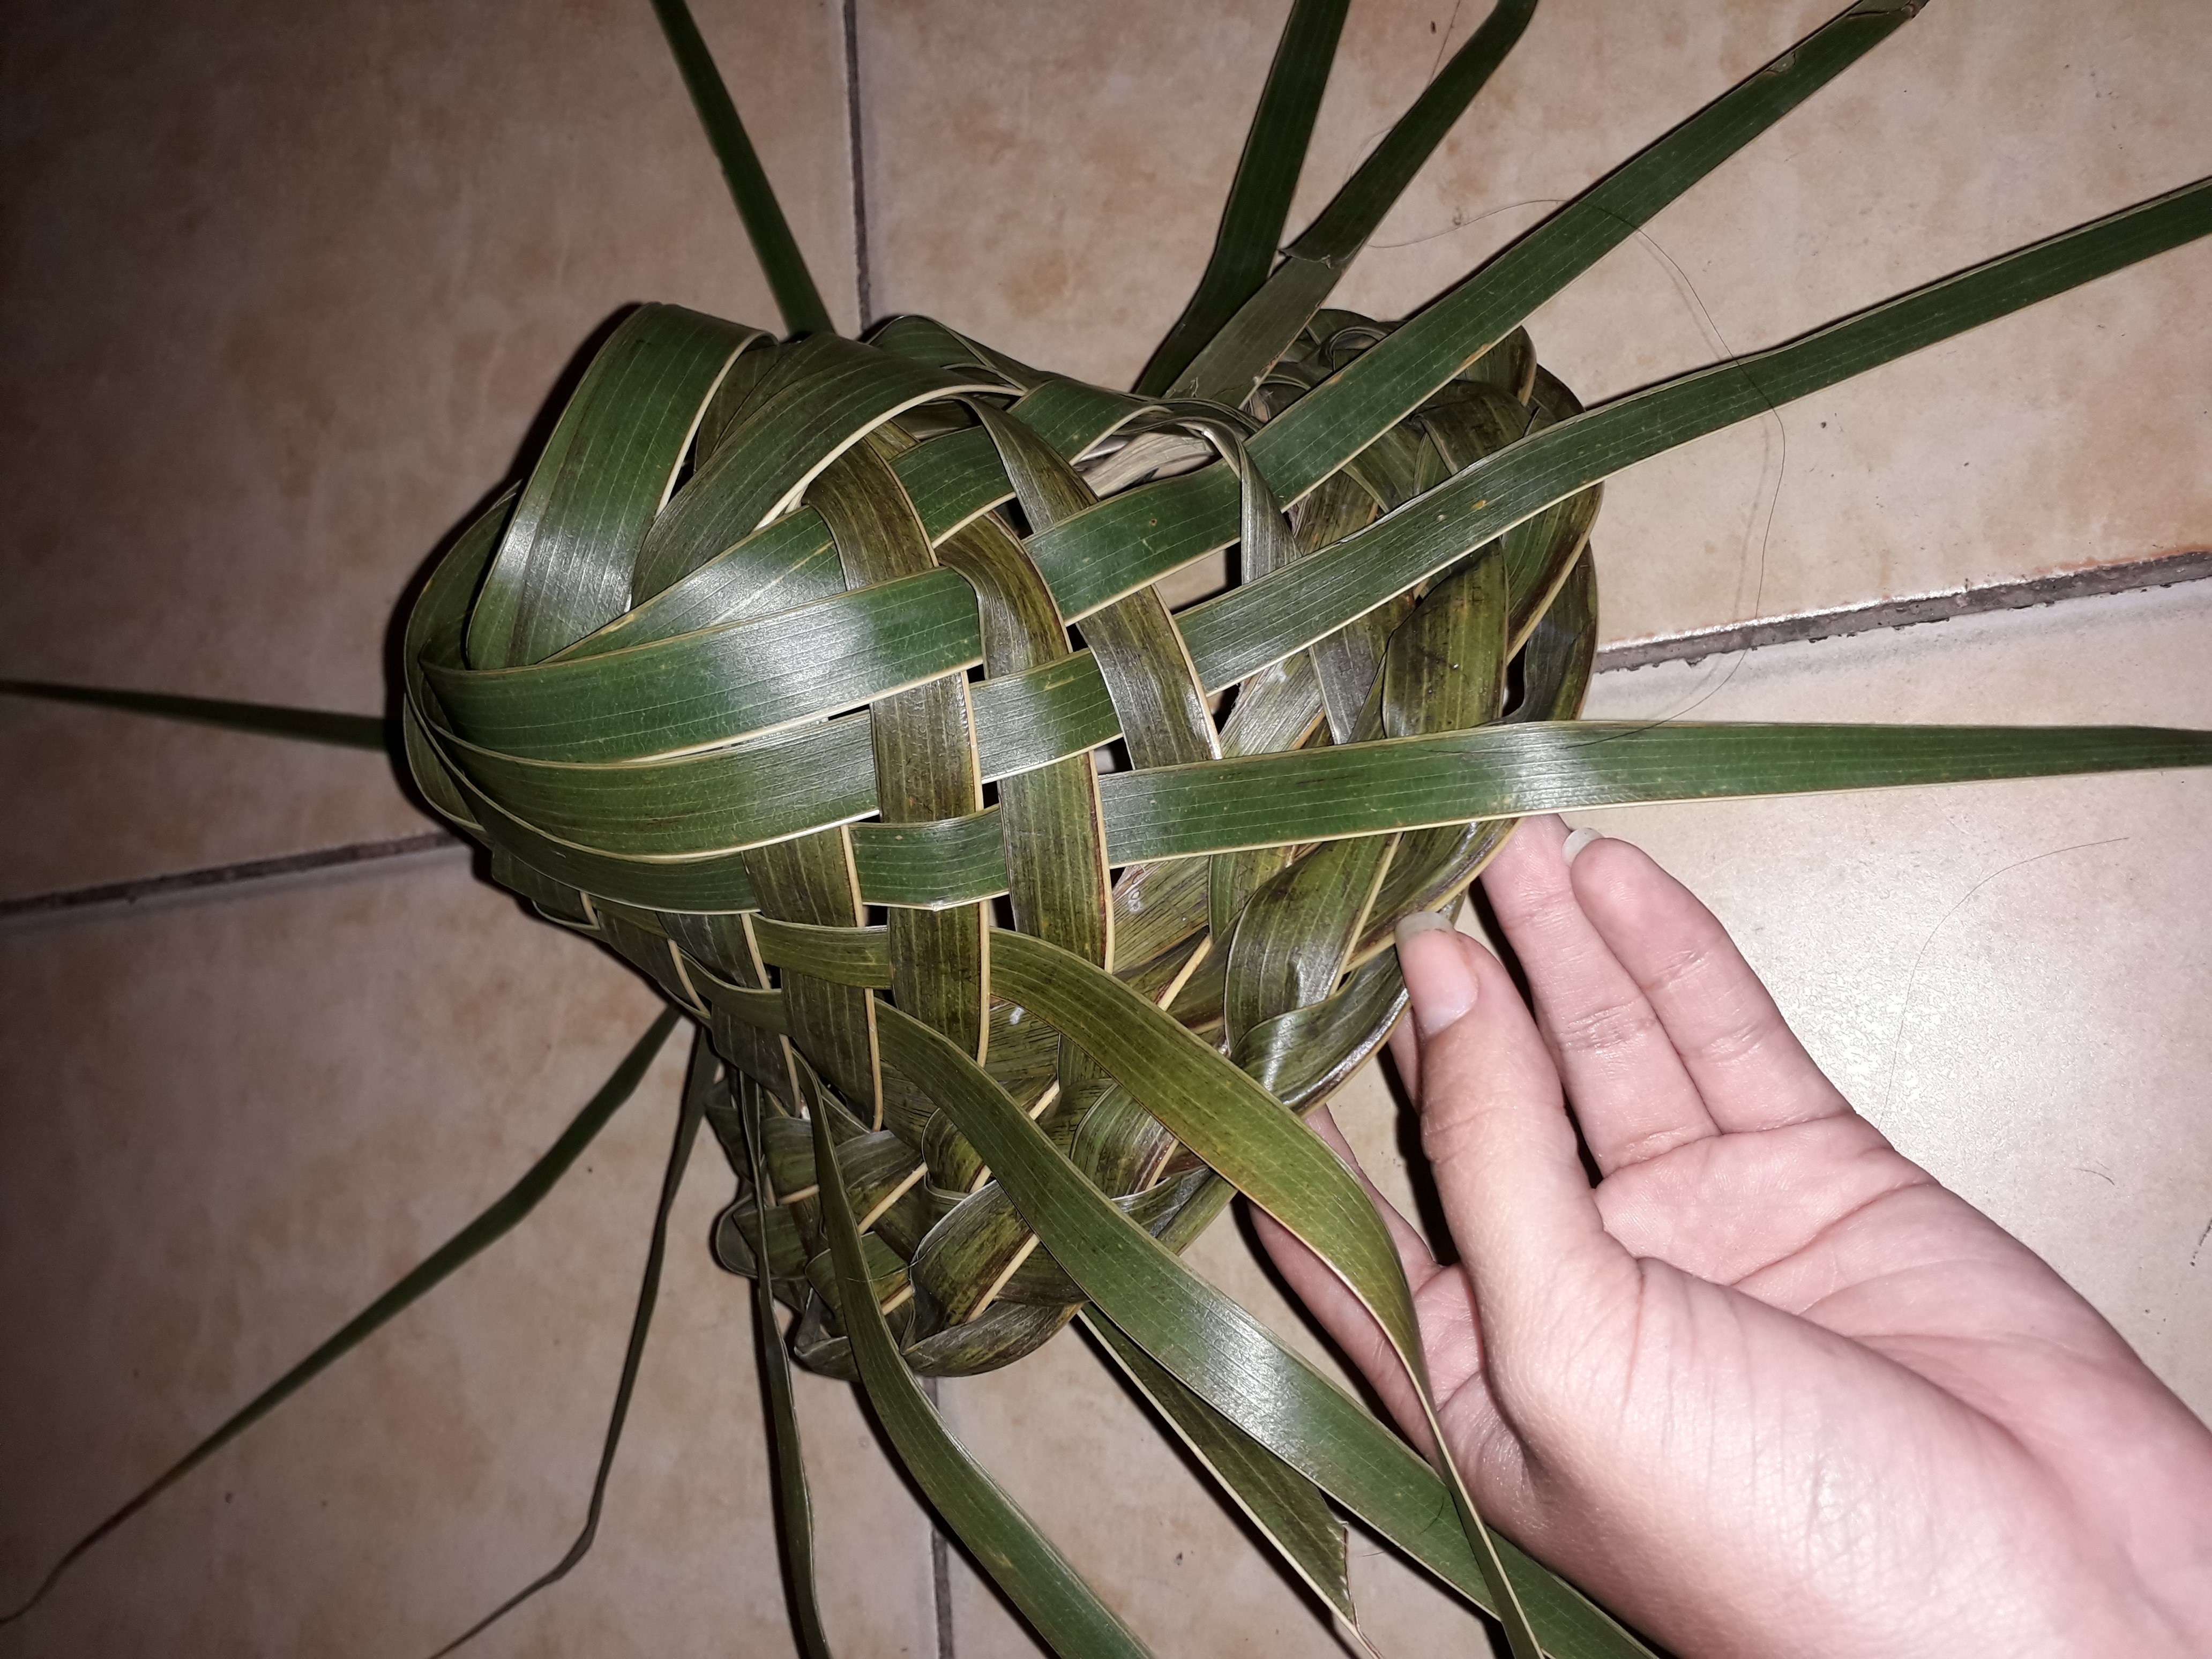
Paso 5- La copa | Step 5- The cup.
En este paso te sugiero concentrarte mucho, pues a mi me costo un poco lograrlo.
La disposición de las tiras queda en una dirección que forma una especie de remolino o espiral. Hacia esa dirección comenzarás a tejer.
In this step I suggest you concentrate a lot, as it took me a while to get it right.
The arrangement of the strips is in a direction that forms a kind of swirl or spiral. Towards that direction you will start weaving.
Primero, selecciona una tira y luego cuenta 5 tiras por encima, a partir de la 6 comenzarás a tejer de la misma forma como ya venías haciéndolo; una por abajo y luego por arriba, pero esta vez, vas a tejer solo 3. Es decir, hasta la 8. Y luego, seguirás con la tira siguiente.
First, select a strip and then count 5 strips on top, from 6 you will start weaving in the same way as before; one on the bottom and then on the top, but this time, you will weave only 3 strips. That is, until the 8th strip.
No lo olvides, te saltas 5 y tejes la 6, 7 y 8.
Don't forget, skip 5 and knit 6, 7 and 8.
Cuando no tengas más tiras sueltas por donde pasar, solo pasas por las que están tejidas siguiendo la misma regla.
When you have no more loose strips to pass through, just pass through the ones that are woven following the same rule.
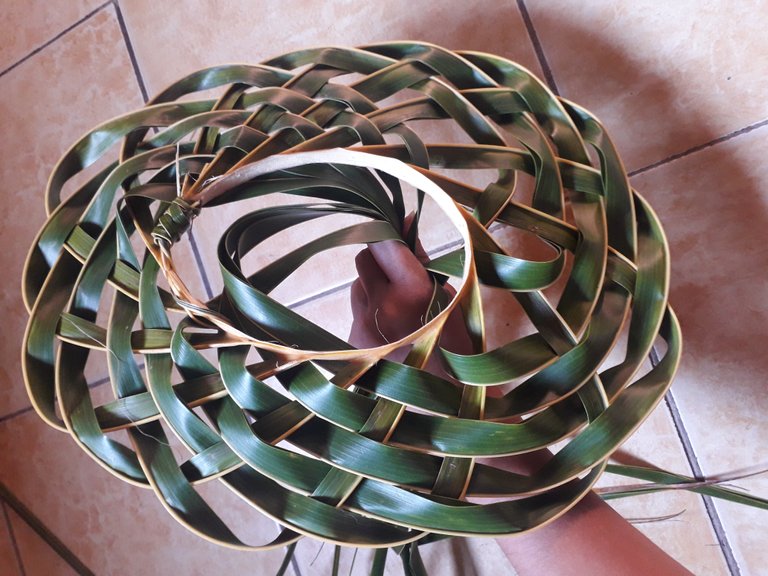
Paso 6- Ajustar y pulir la copa| Step 6- Adjust and polish the cup.
Una vez termines de tejer todas las hojas, verás que quedan ordenadas y justo donde inicia la copa. Ahora solo debes ir halando cada una cuidadosamente para que el tejido quede completamente cerrado.
Once you have finished weaving all the leaves, you will see that they are neatly arranged and right where the cup begins. Now you just have to pull each one carefully so that the weave is completely closed.
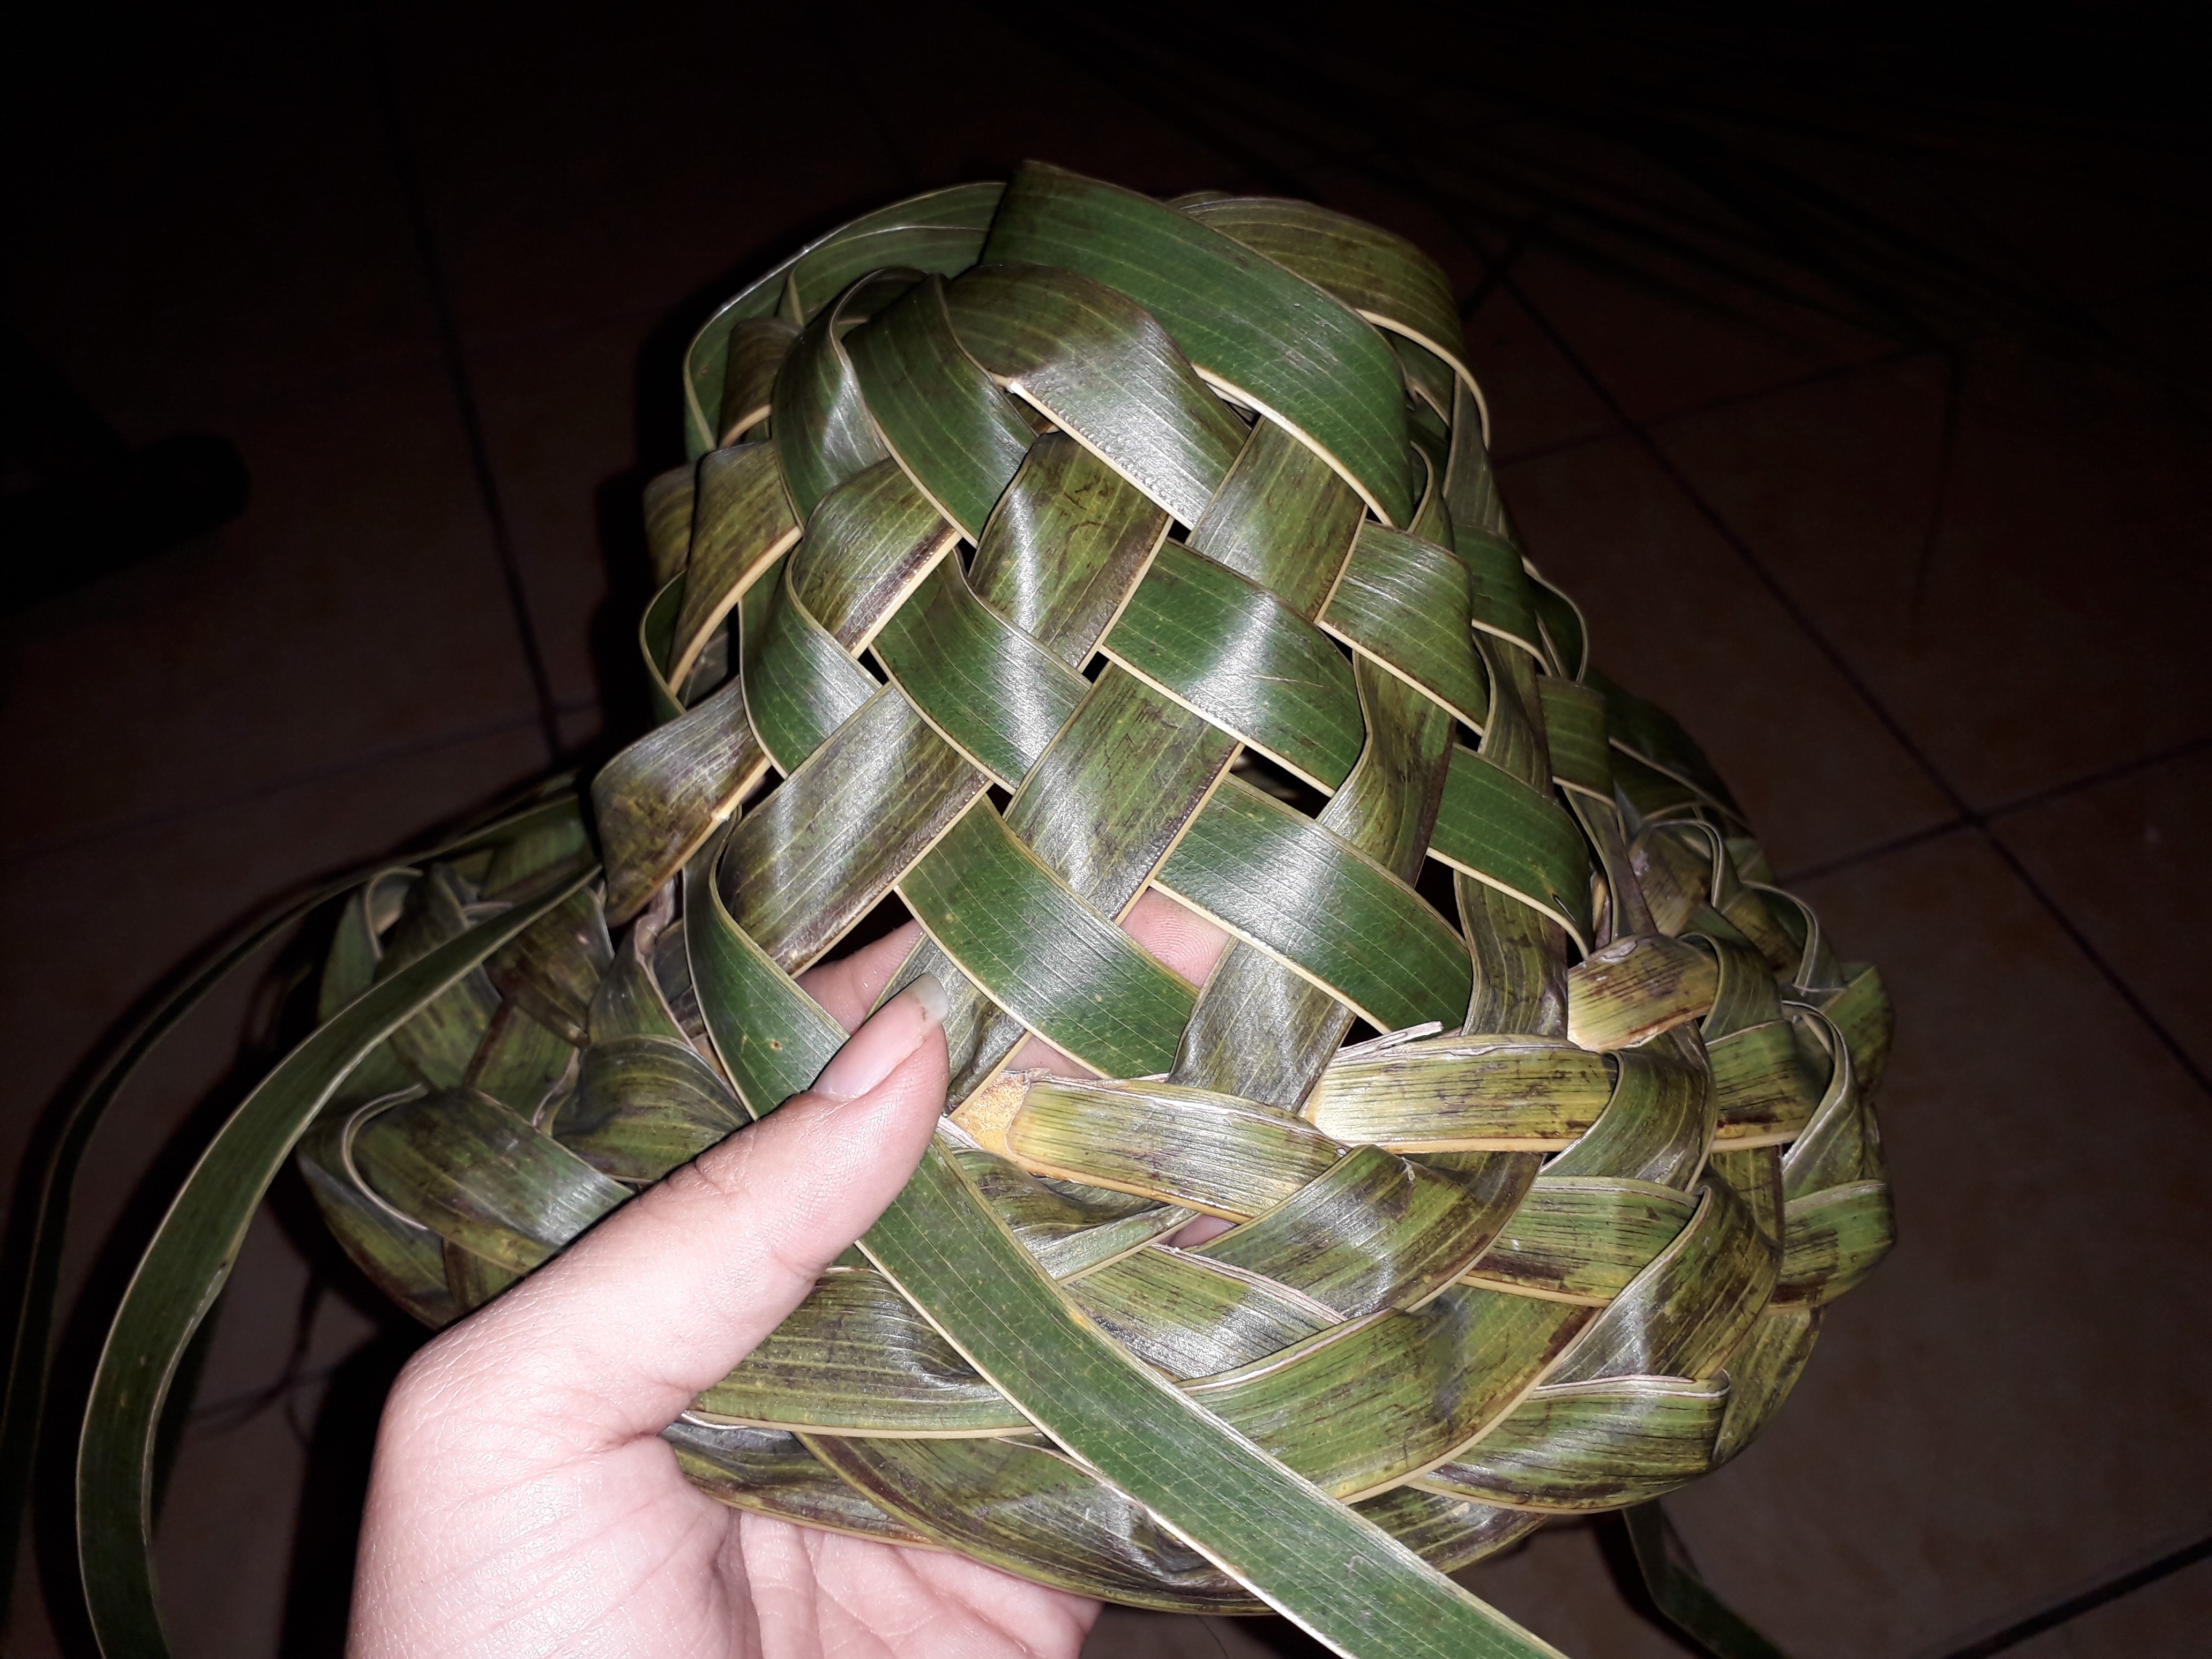
Para un mejor y bonito acabado, pasarás las tiras hacia el interior del sombrero por el espacio correspondiente dada su ubicación. Eso evitará que se suelte el tejido.
For a better and more beautiful finish, you will pass the strips towards the inside of the hat through the corresponding space given its location. This will prevent the fabric from coming loose.
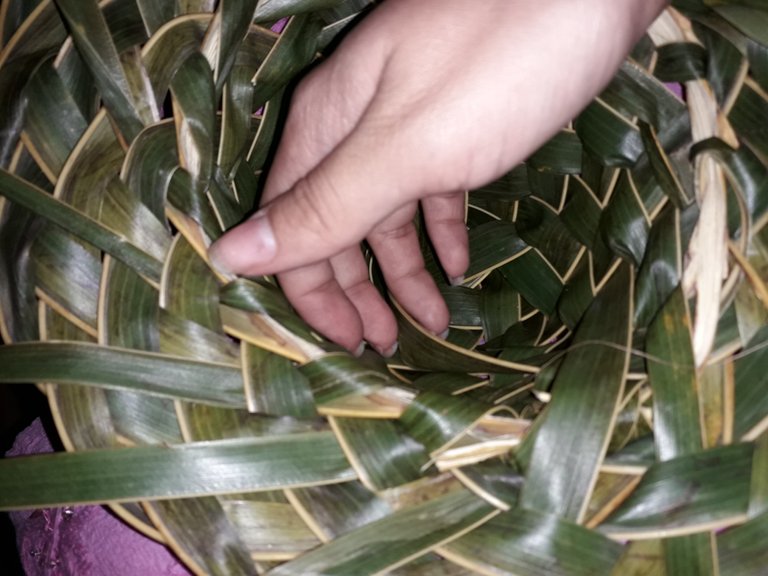
Una vez todas estén ya del lado interno, solo debes ocultarlas en el mismo tejido, y cortar lo que sobre.
Once they are all on the inside, just hide them in the same fabric, and cut off the excess.
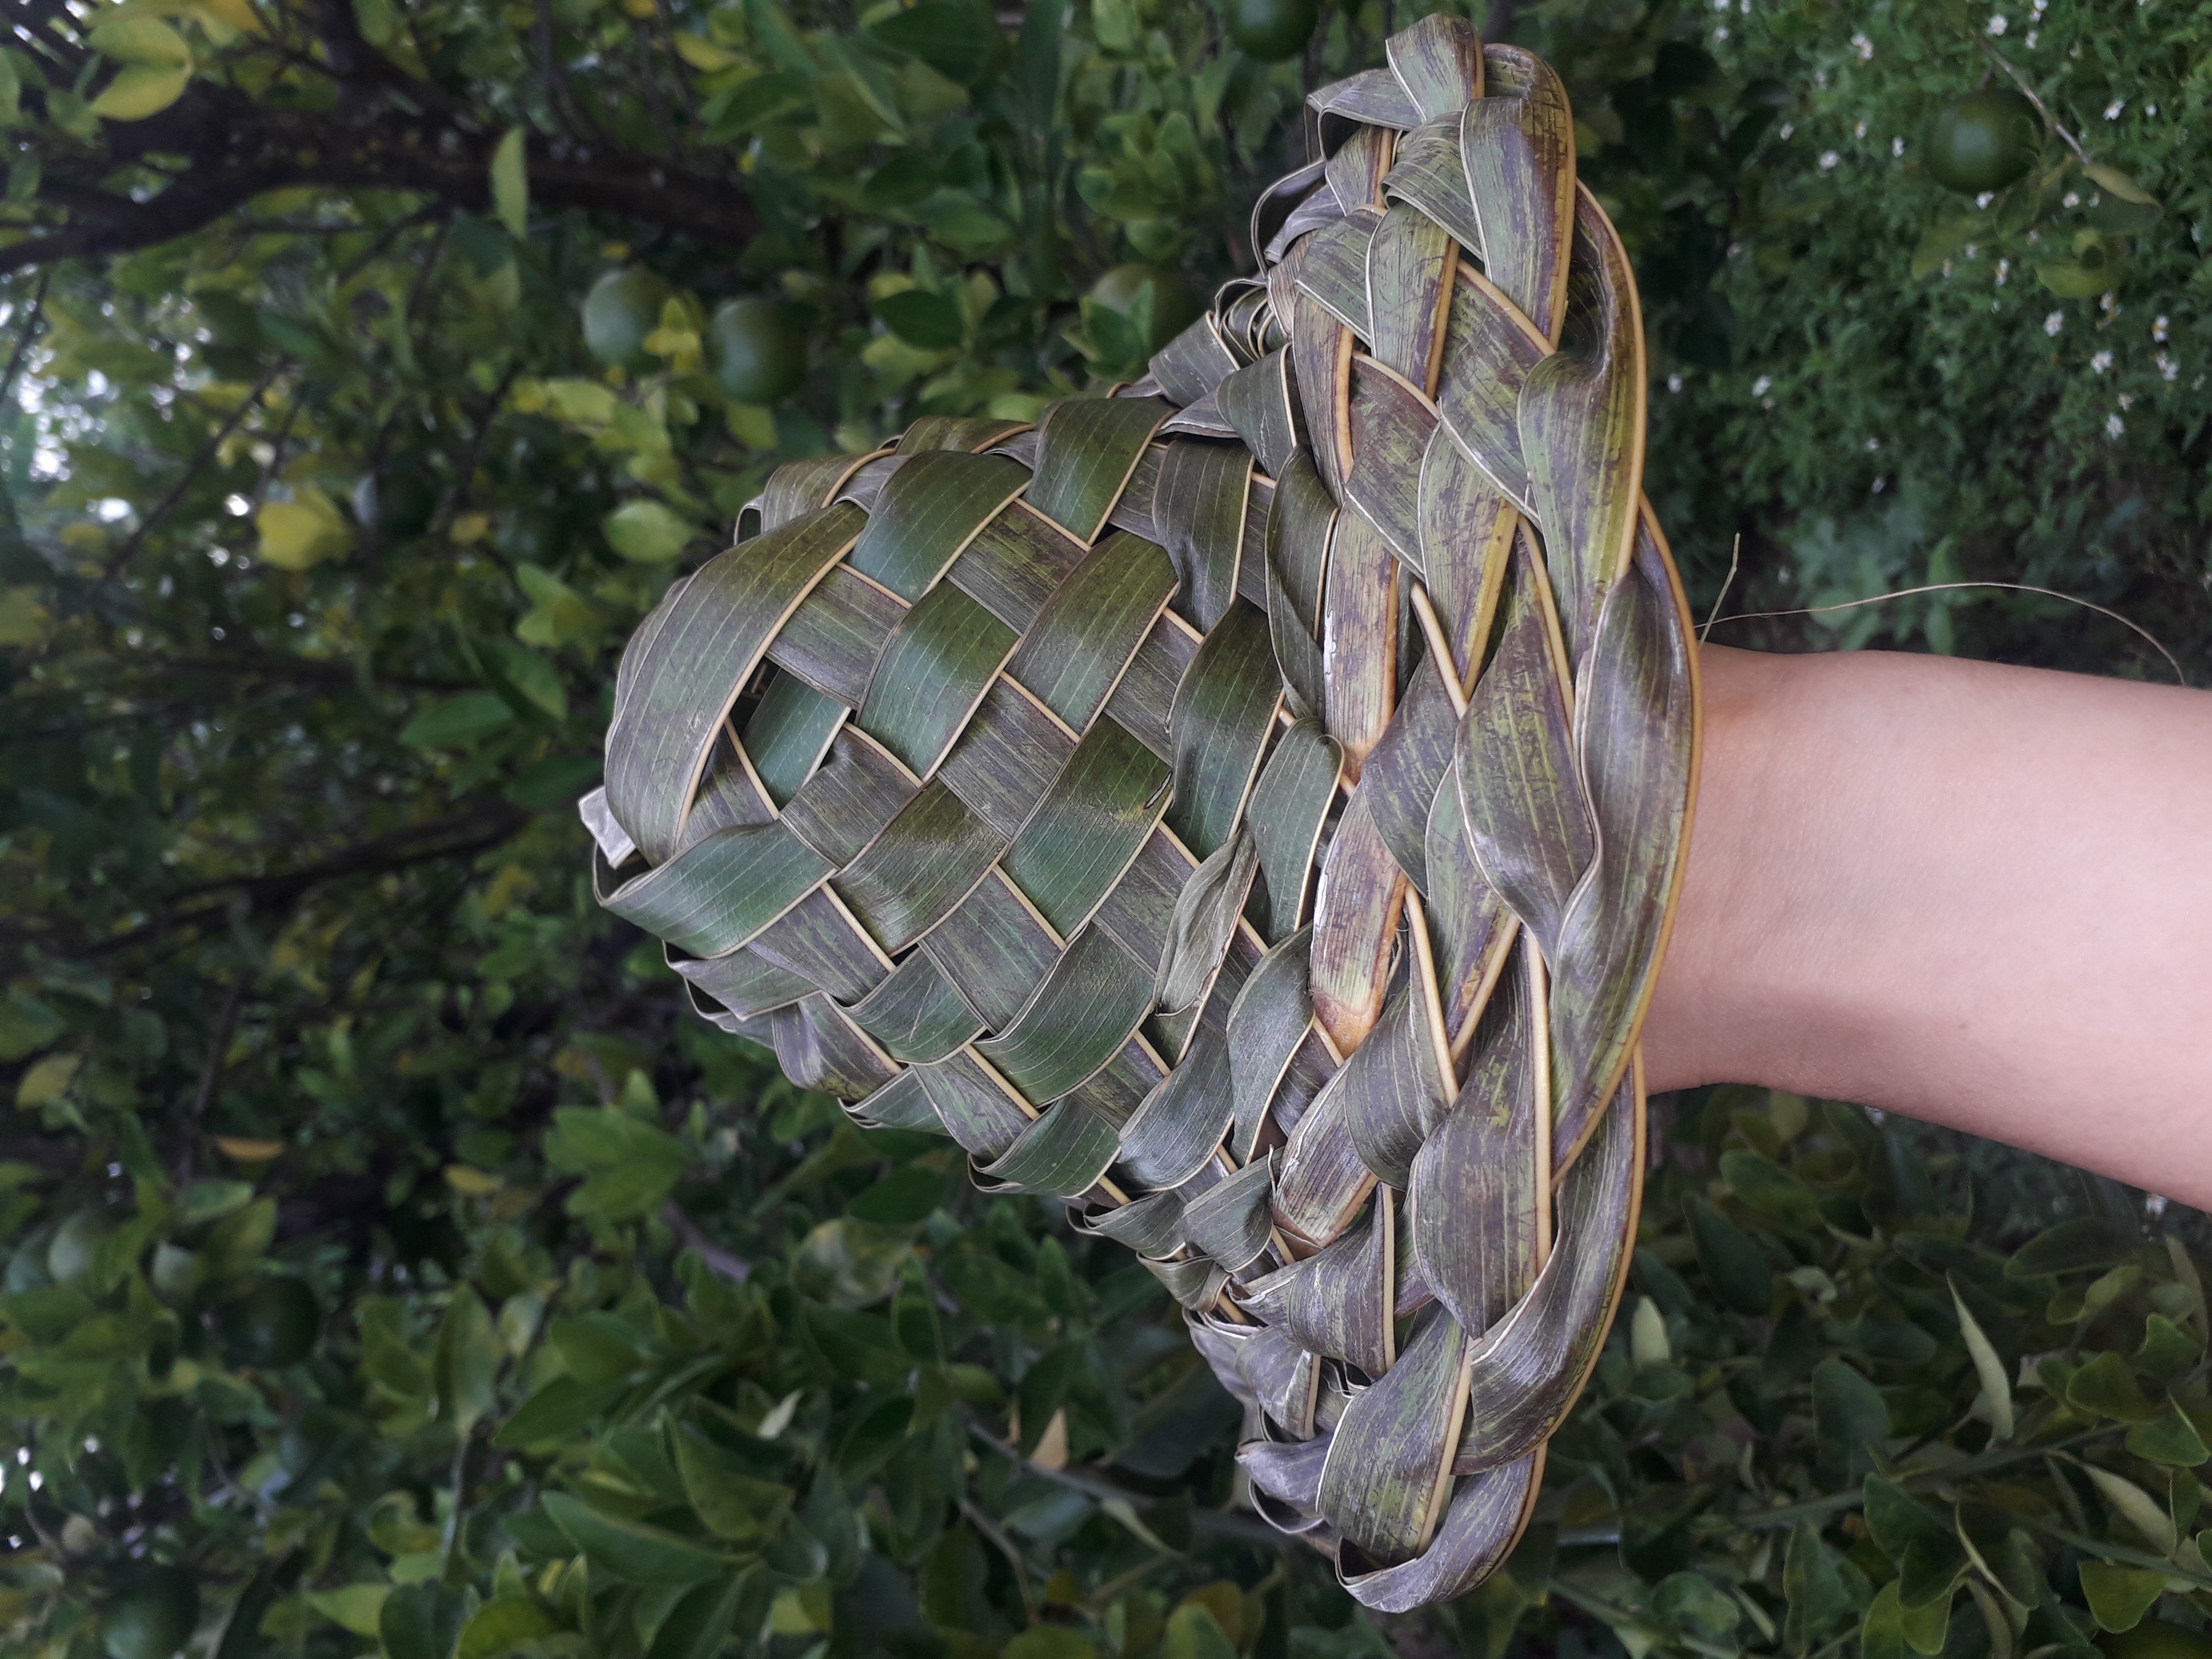
¡¡¡LISTO!!!🥳🌴🤠 Ya tenemos nuestro sombrerito hecho de palma para el sol.
READY!!!🥳🌴🤠 We now have our little palm tree sun hat.
Te cuento que dure más o menos para que me quedara bien, porque me detenía pensando que estaba haciendo todo eso mal, pero hay que tener paciencia, bien dicen que algunos procesos son lentos. Pero, se que si continuó haciéndolo mejorare en términos de tiempo y por supuesto, también en resultados.
It took me a while to get it right, because I kept thinking that I was doing it all wrong, but you have to be patient, they say that some processes are slow. But, I know that if I keep doing it I will improve in terms of time and of course, also in results.
Ahora bien, si llegaste hasta aquí, lo aprecio mucho. Espero este tutorial paso a paso pueda ser útil para ti en algún momento. Hasta una próxima idea creativa querido hiver.
Now if you made it this far, I really appreciate it. I hope this step by step tutorial can be useful for you at some point. See you next creative idea dear hiver.
Importante: el texto a inglés fue posible mediante el traductor DeepL. Las fotografías son de mi autoría y la edición la realicé mediante la plataforma Canvas.
Important: the text into English was made possible by the translator DeepL. The photographs are my own and I edited them using the Canvas platform.