Los amantes de la naturaleza y la decoración de interiores saben lo importante que es incorporar plantas en el hogar para darle un toque de frescura y vitalidad. Una excelente manera de hacerlo es creando tu propio matero de plantas. Además de ser una actividad creativa y relajante, te permitirá personalizar tu espacio de acuerdo a tu estilo. ¿Listo para comenzar? Sigue estos simples pasos para hacer tu propio matero de plantas.
Materiales que necesitarás:
Unas Tablas de madera: Elige uno que se adapte a tus preferencias de estilo y que sea de buena madera acuerdate que tendremos que hacerle un buen drenaje en la parte inferior para evitar el encharcamiento de las raíces.
Plantas de tu elección: Puedes optar por suculentas, cactus, hierbas aromáticas, o cualquier planta que se adapte a las condiciones de iluminación de tu hogar.
Tierra para macetas: Asegúrate de utilizar una mezcla de tierra de buena calidad que sea adecuada para las plantas que elijas, prefiero abonarlas con las conchas de platano, huevos, y cafe aunque es mejor hervir todo los restos y despues vertir esta agua agua a la planta
Piedras o guijarros: Estos ayudarán a mejorar el drenaje en el fondo de la maceta.
Decoraciones opcionales: Puedes agregar piedras decorativas, conchas marinas, o elementos que se adapten a tu estilo personal.
Tela: La tela es para forrar la base madera ya construida esto nos ayudara a que no se pudra la madera y que solo absorva el agua por lo orificios con que drena el agua de la planta.
Pasos para crear tu matero de plantas:
Preparación de la maceta: Comienza colocando una tabla y sacarle las medidas recuerda que la tabla base va tu maceta para garantizar un buen drenaje hay que abrirle unos huevos. Esto es esencial para evitar que las raíces se pudran debido al exceso de agua.
Nature lovers and interior decorators know how important it is to incorporate plants in the home to give it a touch of freshness and vitality. A great way to do this is to create your own plant pot. Besides being a creative and relaxing activity, it will allow you to personalize your space according to your style. Ready to get started? Follow these simple steps to make your own plant pot.
Materials you'll need:
Some wooden planks: Choose one that suits your style preferences and is made of good wood, remember that we will have to make it a good drainage at the bottom to avoid waterlogging of the roots.
Plants of your choice: You can opt for succulents, cactus, aromatic herbs, or any plant that adapts to the lighting conditions of your home.
Potting soil: Make sure you use a good quality soil mix that is suitable for the plants you choose, I prefer to fertilize them with banana shells, eggs, and coffee although it is better to boil all the leftovers and then pour this water over the plant.
Stones or pebbles: These will help improve drainage at the bottom of the pot.
Optional decorations: You can add decorative stones, seashells, or elements that suit your personal style.
Fabric: The fabric is to line the wooden base already built, this will help us to prevent the wood from rotting and only absorb the water through the holes that drain the water from the plant.
Steps to create your plant pot:
Preparation of the pot: Start by placing a board and take the measures remember that the base board goes your pot to ensure good drainage you have to open some eggs. This is essential to prevent the roots from rotting due to excess water.
HERRAMIENTAS DE USO:
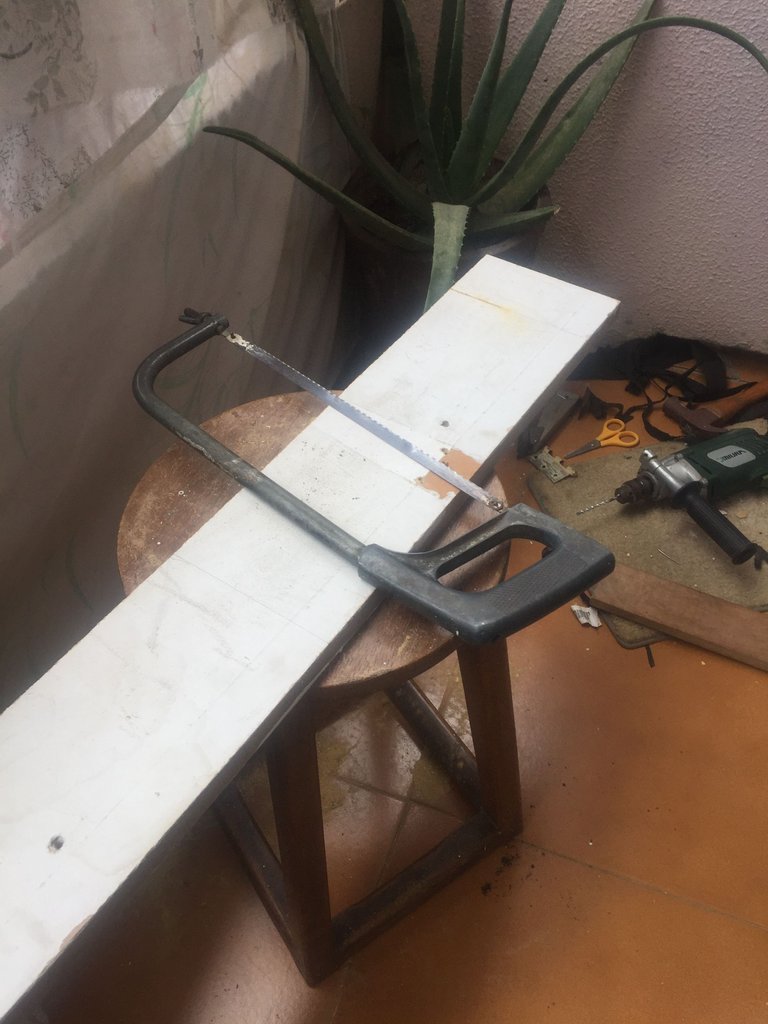
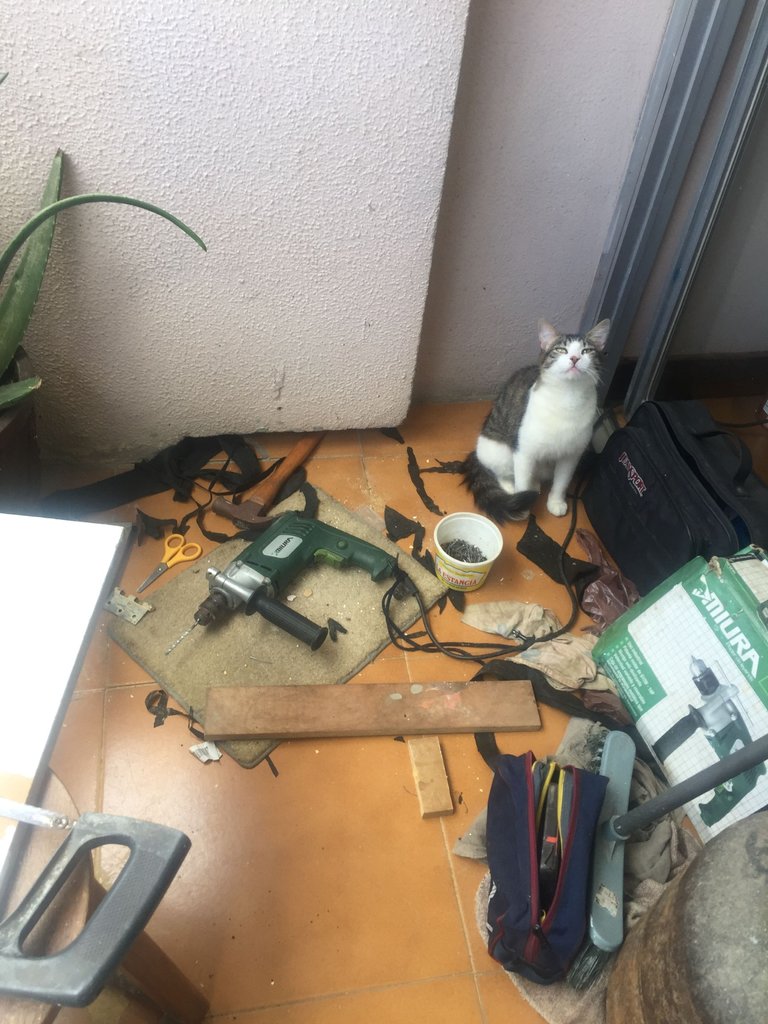
TALADRO
SERRUCHO PARA MADERA
CLAVOS
MARTILLO
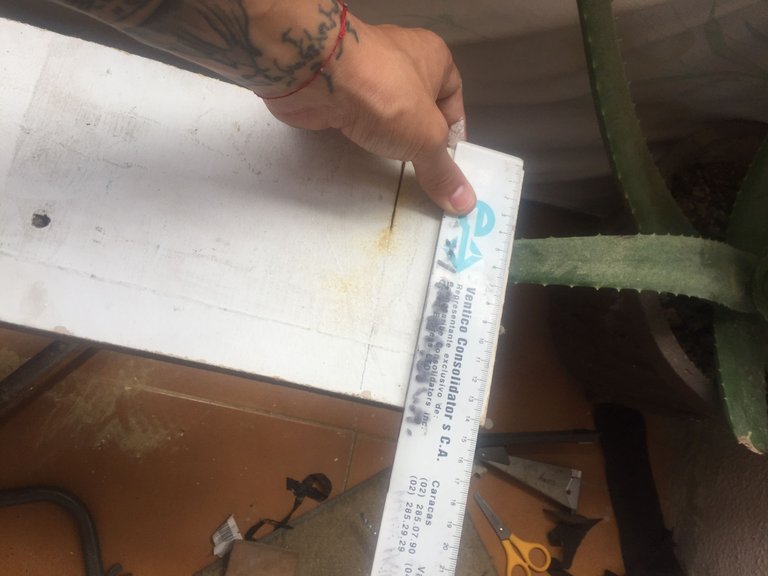
REGLA
TOOLS FOR USE:
DRILL
SAW FOR WOOD
SCREWDRIVER
HAMMER
RULER
AGARRA LA REGLA Y DIVIDE TU TABLA DE MADERA EN DOS, CORTA TUS TABLAS POR LA MITAD
EN MI CASO ERA DE 20CM ASI QUE DIVIDI 10CM para hacer las bases o paredes al matero.
TAKE THE RULER AND DIVIDE YOUR WOODEN BOARD IN TWO, CUT YOUR BOARDS IN HALF, IN MY CASE IT WAS 20CM SO I DIVIDED 10CM TO MAKE THE BASES OR WALLS OF THE MAT.
IN MY CASE IT WAS 20CM SO I DIVIDED 10CM to make the bases or walls to the mat.
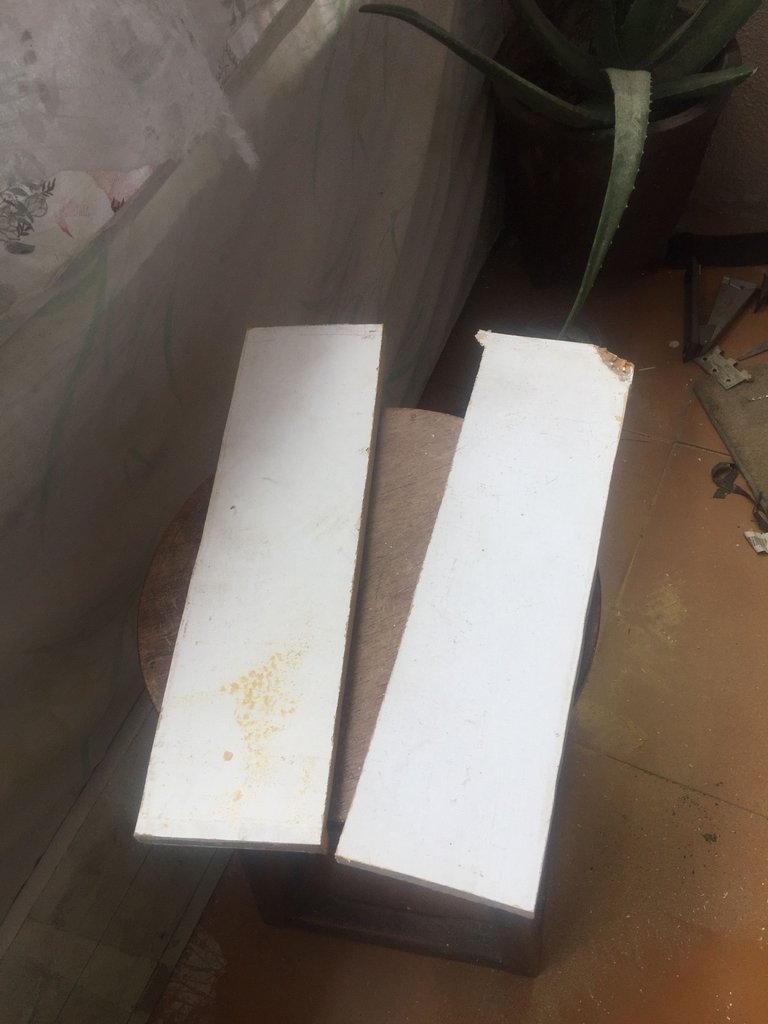
PERFECTO SALDRIAN DOS DE 10CM
Estas las usaremos como paredes del matero.
PERFECT WOULD BE TWO OF 10CM
These we will use as walls of the matero.
La base que seria la de abajo se hara con otra tabla que tambien equivalga 12cm o 10 de ancho con el mismo tamaño de las tablas que se picaron en dos como paredes.
The base that would be the bottom one will be made with another board that also equals 12cm or 10 wide with the same size of the boards that were chopped in two as walls.
AL PICAR SE PONE COMO BASE Y SE UNE LAS DOS PAREDES Y CON LOS RETASOS HAREMOS LAS BASES DE ARRIBA Y ABAJO.
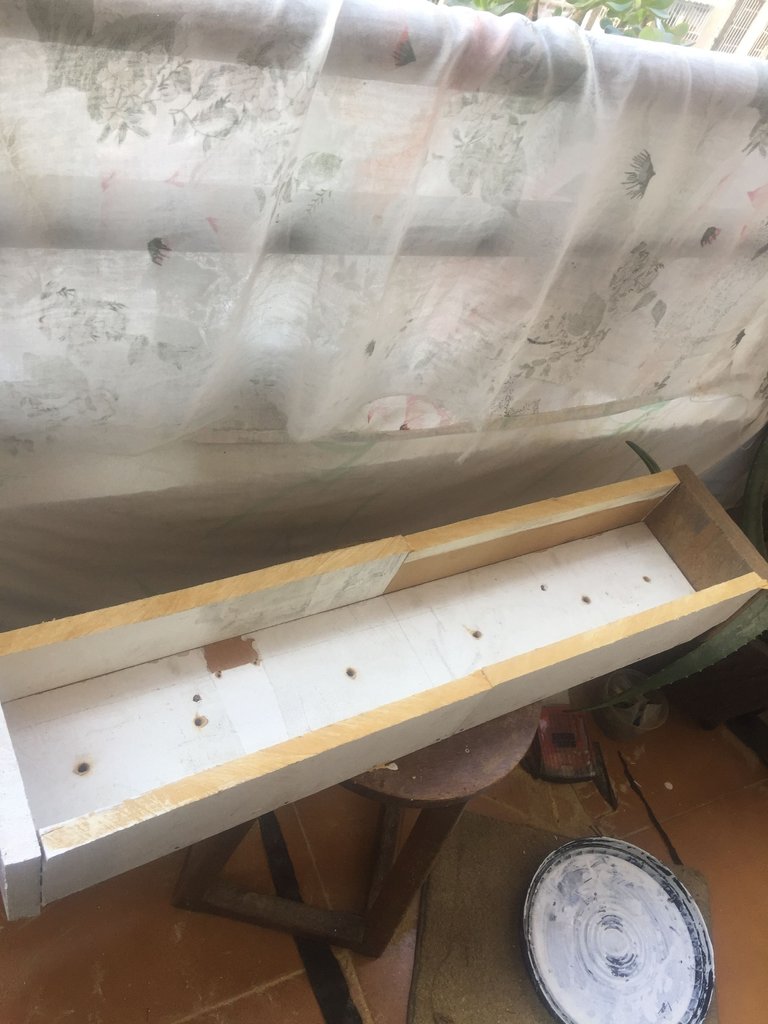
Para abrir los huecos para el drenaje del agua con el taladro hice 6 orificios de entre 10cm a 15cm
Se coloca una tela si quieres para que absorva mejor el agua y no dañe la madera y listo
DEBE QUEDARTE UNA MACETA ASI
WHEN CHOPPING IS PUT AS A BASE AND JOINS THE TWO WALLS AND WITH THE RETASOS WE WILL MAKE THE BASES ABOVE AND BELOW.
To open the holes for water drainage with the drill I made 6 holes of between 10cm to 15cm.
Place a cloth if you want to absorb the water better and not damage the wood and that's it.
YOU SHOULD HAVE A POT LIKE THIS
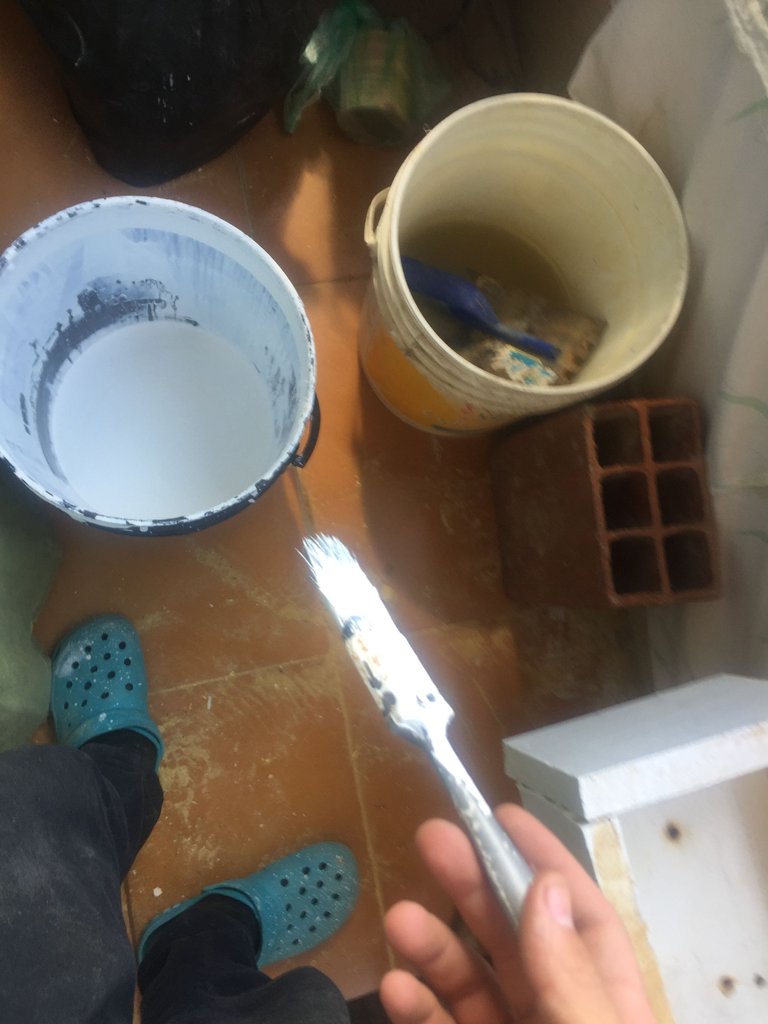
Para decoracion y que luzca estupendo pues pintamos con pintura reclicada del estudio de grabacion.
For decoration and to make it look great we painted it with reclaimed paint from the recording studio.
Añadir la tierra: Llena la maceta con la mezcla de tierra adecuada, dejando suficiente espacio para las plantas. Asegúrate de que la tierra esté nivelada y ligeramente compacta.
Selecciona y planta tus plantas: Elige las plantas que deseas incorporar en tu matero. Antes de plantarlas, retira suavemente el exceso de tierra de las raíces si es necesario. Haz agujeros en la tierra de la maceta lo suficientemente grandes para acomodar las plantas y colócalas en su lugar.
Añade decoraciones: Si lo deseas, agrega piedras decorativas o cualquier elemento que le dé un toque personal a tu matero. Esto puede ayudar a realzar la estética de tu arreglo.
Riego adecuado: Después de plantar, riega tus plantas de manera uniforme pero evita que el agua se acumule en la parte inferior. Asegúrate de conocer las necesidades de riego específicas de las plantas que has elegido.
Coloca tu matero en un lugar adecuado: Coloca tu matero en una ubicación que coincida con las necesidades de luz de las plantas. Algunas plantas prefieren la luz directa, mientras que otras prosperan en lugares con luz indirecta.
Cuida tus plantas: Mantén un ojo en tus plantas, asegurándote de regarlas según sea necesario y retirando cualquier hoja o flor marchita para fomentar un crecimiento saludable.
¡Listo! Ahora tienes un hermoso matero de plantas que no solo agregará belleza a tu hogar, sino que también mejorará la calidad del aire y promoverá una sensación de bienestar. El cuidado de tus plantas puede ser una actividad terapéutica y gratificante, así que disfruta de tu nuevo rincón verde en casa.
Espero sea de su agrado. Estoy en remodelacion del estudio de grabacion y vivienda asi que pontro les subo un post del cuidado de las plantas que sembre y como tener un vertedero pequeño en tu apartamento
Adding the soil: Fill the pot with the appropriate soil mix, leaving enough space for the plants. Make sure the soil is level and slightly compacted.
Select and plant your plants: Choose the plants you wish to incorporate into your pot. Before planting, gently remove excess soil from the roots if necessary. Make holes in the potting soil large enough to accommodate the plants and set them in place.
Add decorations: If desired, add decorative stones or any items that add a personal touch to your planter. This can help enhance the aesthetics of your arrangement.
Proper watering: After planting, water your plants evenly but avoid letting water pool at the bottom. Make sure you know the specific watering needs of the plants you have chosen.
Place your pot in a suitable location: Place your pot in a location that matches the light needs of the plants. Some plants prefer direct light, while others thrive in indirect light.
Take care of your plants: Keep an eye on your plants, making sure to water them as needed and removing any wilted leaves or flowers to encourage healthy growth.
That's it! You now have a beautiful pot of plants that will not only add beauty to your home, but also improve air quality and promote a sense of well-being. Caring for your plants can be a therapeutic and rewarding activity, so enjoy your new green corner at home.
I hope you enjoy it. I'm in the process of remodeling my recording studio and living space so I'm uploading a post on caring for the plants I planted and how to have a small landfill in your apartment.

Las fotos son de mi propiedad / the photos are my property
Translated by https://www.deepl.com/
• Youtube+ Oficial» https://www.youtube.com/@dobleveofficial
• Instagram+ Oficial» https://www.instagram.com/dobleveofficial/
• Facebook+ Oficial» https://www.facebook.com/dobleveofficial
