Hello All! How is everyone doing today? I hope all is well with you and your families. Here it is all good just tired, been a long couple of days working on the step van. Had some kinks to work out and had to change gears and do something different than planned.
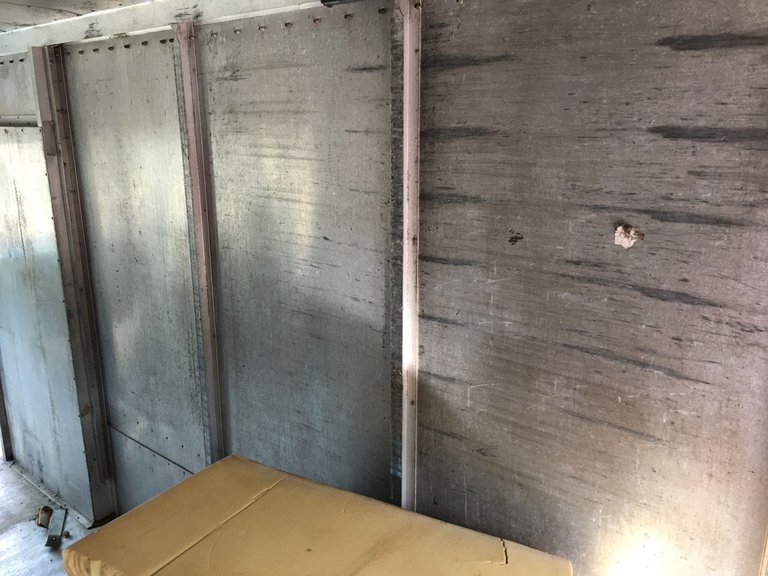
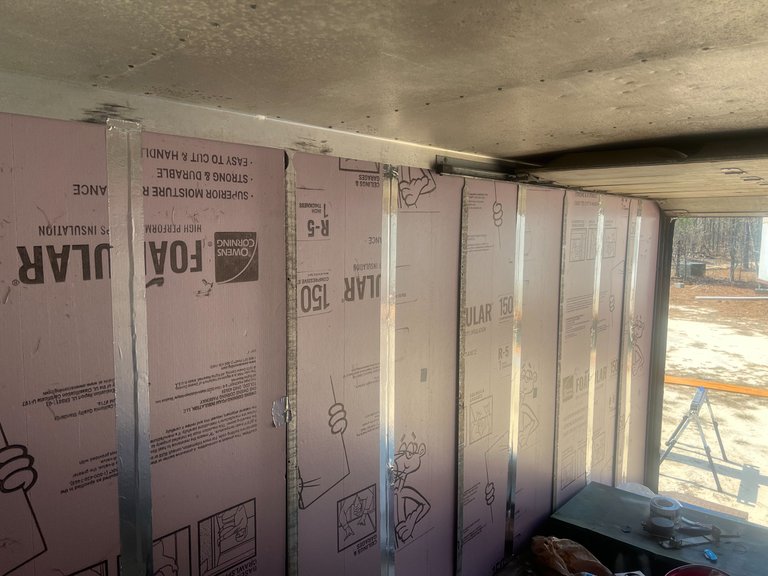
Just to let you see what the step van walls looked like before I started. It is an aluminum body on this step van. So I was hoping that some self-drilling screws would work on the ribs running up and down the walls. Put insulation between the ribs and then wood screwed to the ribs of the step van. That was the plan! The insulation went well and that idea worked fairly well. Just had to cut the insulation panels in half to get them to slide in the "I" of the ribs. The fun part was waiting on the insulation board I wanted to come back in stock at Home Depot or Lowes. That took about three weeks. When I get the notification it was in I got there and got what I needed and a couple of extra pieces just to be sure I had enough.
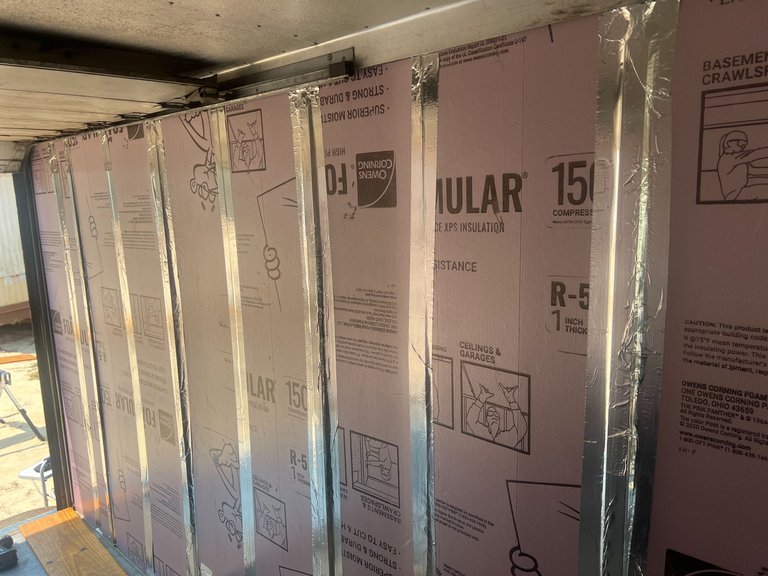
I taped the seams up with some of the metal ducting tape that is used on A/C and Heating ducting. It seemed to work out really well. The side that the sun was hitting stayed cool but the metal ribs of the step van still warmed up. I decided it would be an idea to tape up the exposed metal of the ribs to help keep the heat from the walls down on the inside.
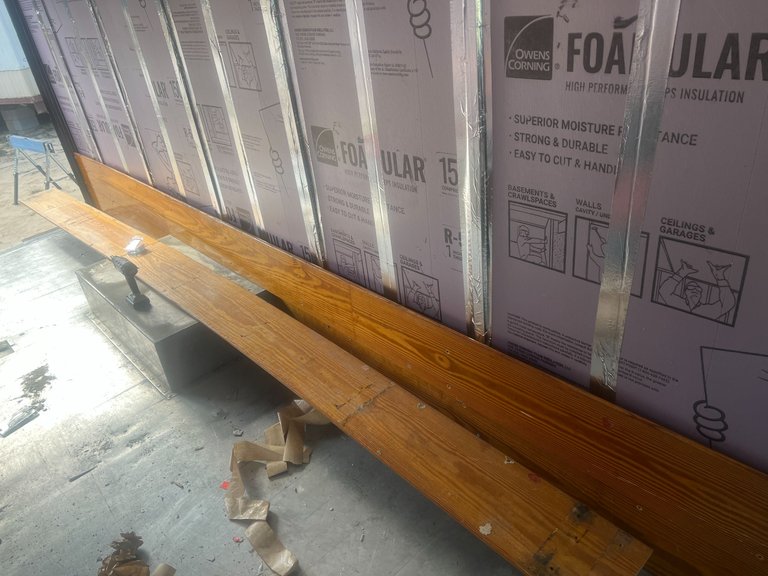
That worked out well and it was cool to the touch after about 2 hours of the tape being on the ribs. All was going well so far and I was really happy. This was my first time doing something like this and I was a little nervous about it all. So I moved on and started putting the wood on the walls, it was recycled bleachers seating I got and it was about 10 inches wide and it was long enough I could make runs all the way across the walls of the step van. One side was 17 feet and the other was 12 feet. I had the squared-up wheel wells to deal with so they were 10 inches tall so just ran a piece from the back door to the wheel well and then from the wheel well to the front of the step van. That was all good.
I then started running them the length of the step van walls. The one thing I did not think about was the boards had been walked on and sit on and being bleachers moved as in closed and opened for quite a few years. So many of them were warped and it was going to be a problem. I put them up and screwed one side in, put in the other side, and popped the screw out of the other side I just put in. So I decided that I needed to cut it into shorter pieces and stagger the joints. The same thing happened then also.
So this is the part I had to change gears, I mean sitting still it was popping screws loose, so moving down the road it would really pop screws loose and I do not want falling boards going down the road. Not a good idea! So the bleacher boards on each side of the wheel wells are good, I will leave them and go get some 3/8 plywood and use it to cover the walls. I hope that will go better and I think it will be better in the long run. I was hoping the bleacher boards would work because plywood is so expensive, no matter how I cut them it will take 8 sheets of plywood to do the walls. I will have a canvas to paint on the walls of the step van then. I will paint them white high gloss or semi-gloss, so they will be easy to wipe down. Might even attach a piece of metal to make a magnet wall and get magnets from the places I have been to put on it.
I have more stuff to do and it will be a fun project. cleaning up the inside dash area and painting it, fixing some other little things on the inside. I have not got to figuring out the furnishing on the inside yet, running over some ideas about that. I might make an IBC tote shower for the inside. Lots of ideas there just not sure yet. I guess one step at a time right! One thing is for sure it will be at the block party that @thealliance and @enginewitty are putting on. Be sure to check that out! I will be buying and giving away two silver tickets to this, more to come on that in a later post! So if you are there you will get a chance to see how far along I have got in person.
https://peakd.com/hive-123585/@thealliance/the-block-party-final-docket
This will be my home for a while so there will be changes as I go. Life is an adventure so live it to the fullest. I hope everyone has a good day/night, whatever it is in your part of the world!


