One of my hobbies is Napoleonic re-enactment. For those who don't know, it means that a few times a year I'll go away for a weekend and put on a show for the public, living for the weekend as close as possible to the life of a Napoleonic soldier, and usually putting on a display for the public. Although I admit we do make a few compromises to reduce the discomfort - people back then were a lot hardier and fitter, we're a lot softer now than people back then were !
One thing about re-enact6ment is that almost every piece of uniform and equipment has to be made in-house.
Right now, I am working on an habit longue, which was the standard uniform coat of a French soldier from the start of the Revolutionary Wards until the 1812 Bardin Regulation uniform came into use.
Making one of these is a complex project which takes about 6 months, although very much as an on-again, off-again affair, fitted around my real life job and commitments.
For this week's post, I've made the parts which will be fitted to make the cuffs.
The first part is the cuff itself. While the coat is blue, the cuffs are madder red drap ordinaire cloth - a heavy, closely woven wool which is really good to work with and allows for invisible stitching if I can be accurate enough.
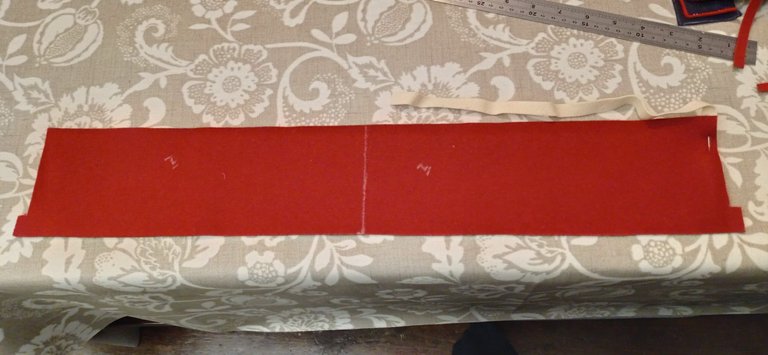
The photo above shows both cuffs measured and cut. I used a marking pen, and you'll see I've written "In" on the cuffs, so that later on I'll know which side goes inward !
I'm making the cuffs as a mirror-image pair on a single piece of cloth which can be cut apart later. That helps ensure that I don't accidentally make two left (or right) ones, and that the piping matches. I've already started attaching the white piping.
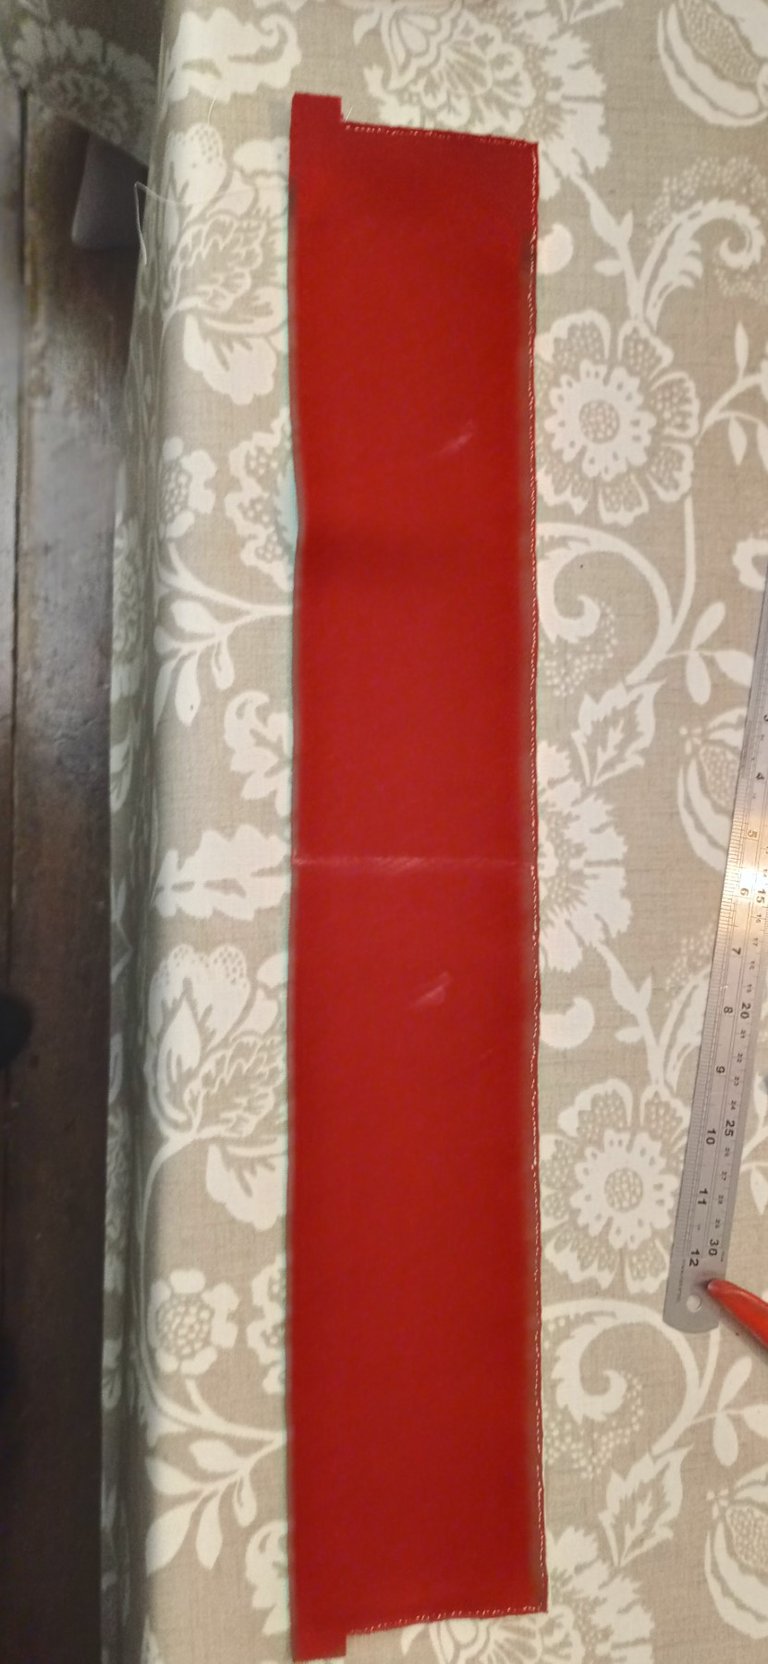
This photo shows the piping strip sewn on. We're looking at the inside here; the piping starts off sewn to the front, and is then turned and sewn to the back.
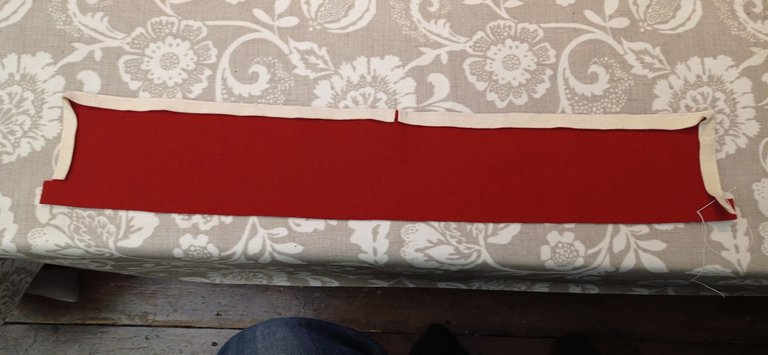
This is the front side, showing the piping strip sewn all the way along.
As well as looking awesome, piping creates an incredibly hard-wearing edging for the fabric. But it's a slow process; you can spend a whole night sewing and realise you've only done a few inches of piping.
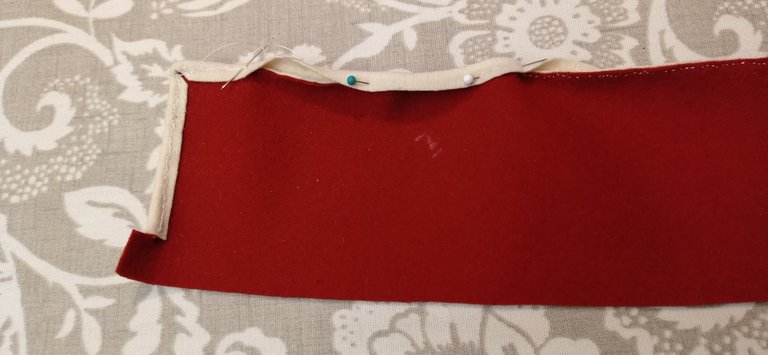
This photo shows the piping being turned and stitched back on from the inside. At the corner, it's a case of cutting out a "V" shape so that the piping strip doesn't overlap and make a bulky mess.
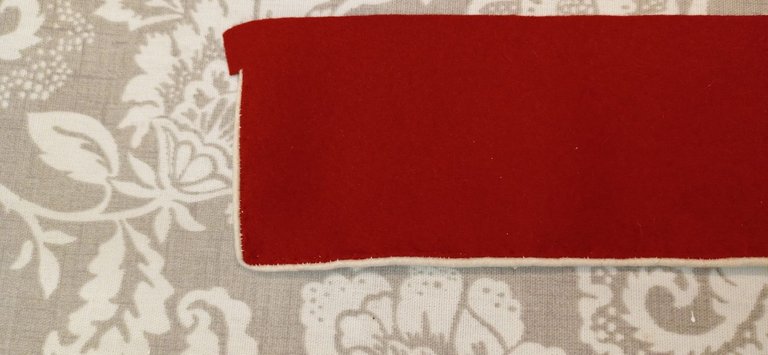
This shows the end result. I must admit the corner isn't one of my best, but it'll sharpen up when I press it, and it's still better than the work of the majority of people making Napoleonic uniforms.
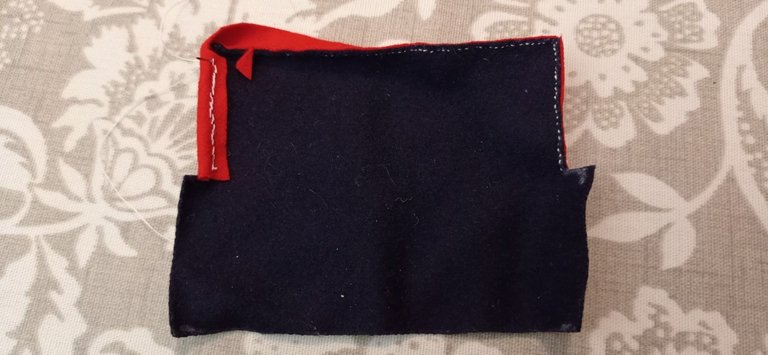
The next part to make is a pair of cuff flaps. These will cover and protect the slit in the cuff that allows the hand to go through while buttoning up to make a nice close fit.
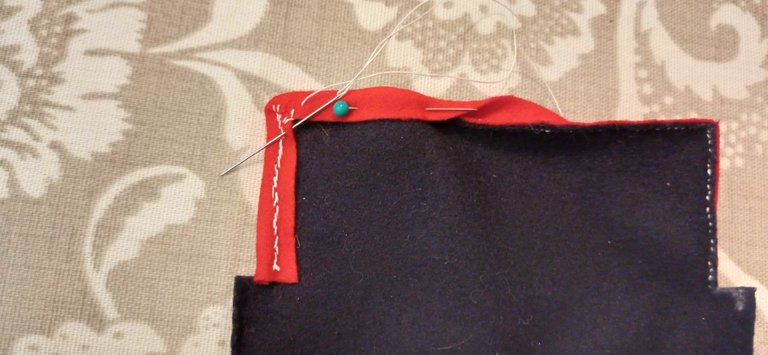
The piping is done in exactly the same way as the cuffs themselves, with the difference that the flap is blue to match the coat with red piping. It's not the same shade as the cuff. It's a brighter scarlet colour, but because it's a smaller area (and tends to get grubby quite quickly) it actually matches the cuff visually surprisingly well.
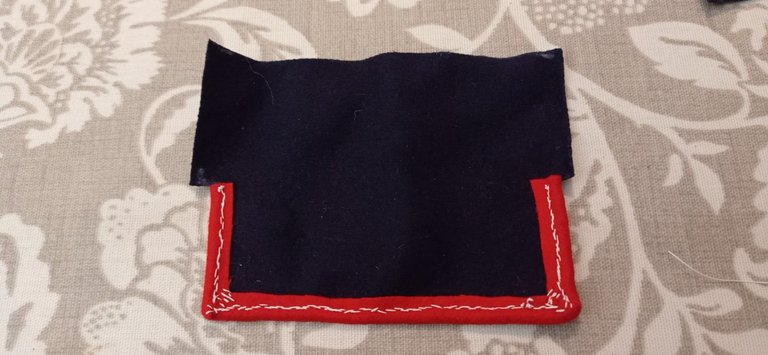
Here's the piping all done, seen from the inside. This won't show once complete, so the stitch work this side doesn't have to be particularly neat as long as it's good on the outside.
Note the way the corner piping is sewn to itself in a kind of spiral; this reduces the number of stitches going through to the outside.
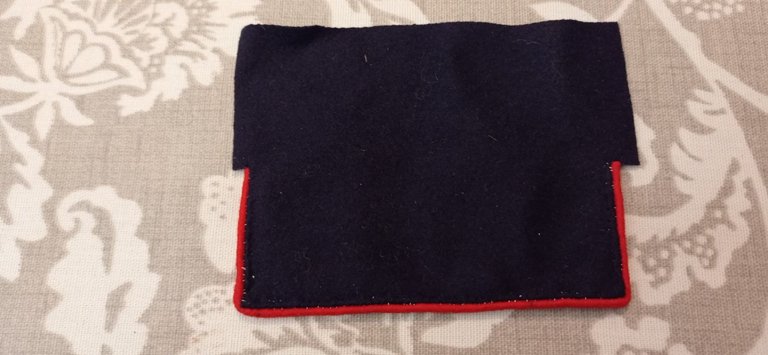
This is the view from the outside; as you can see, most of the stiches are invisible.
The flap is double thickness, with the excess material at the top of the photo above folded and sewn onto the front of the flap. You'll see I cut it wider so I can trim the excess off afterwards.
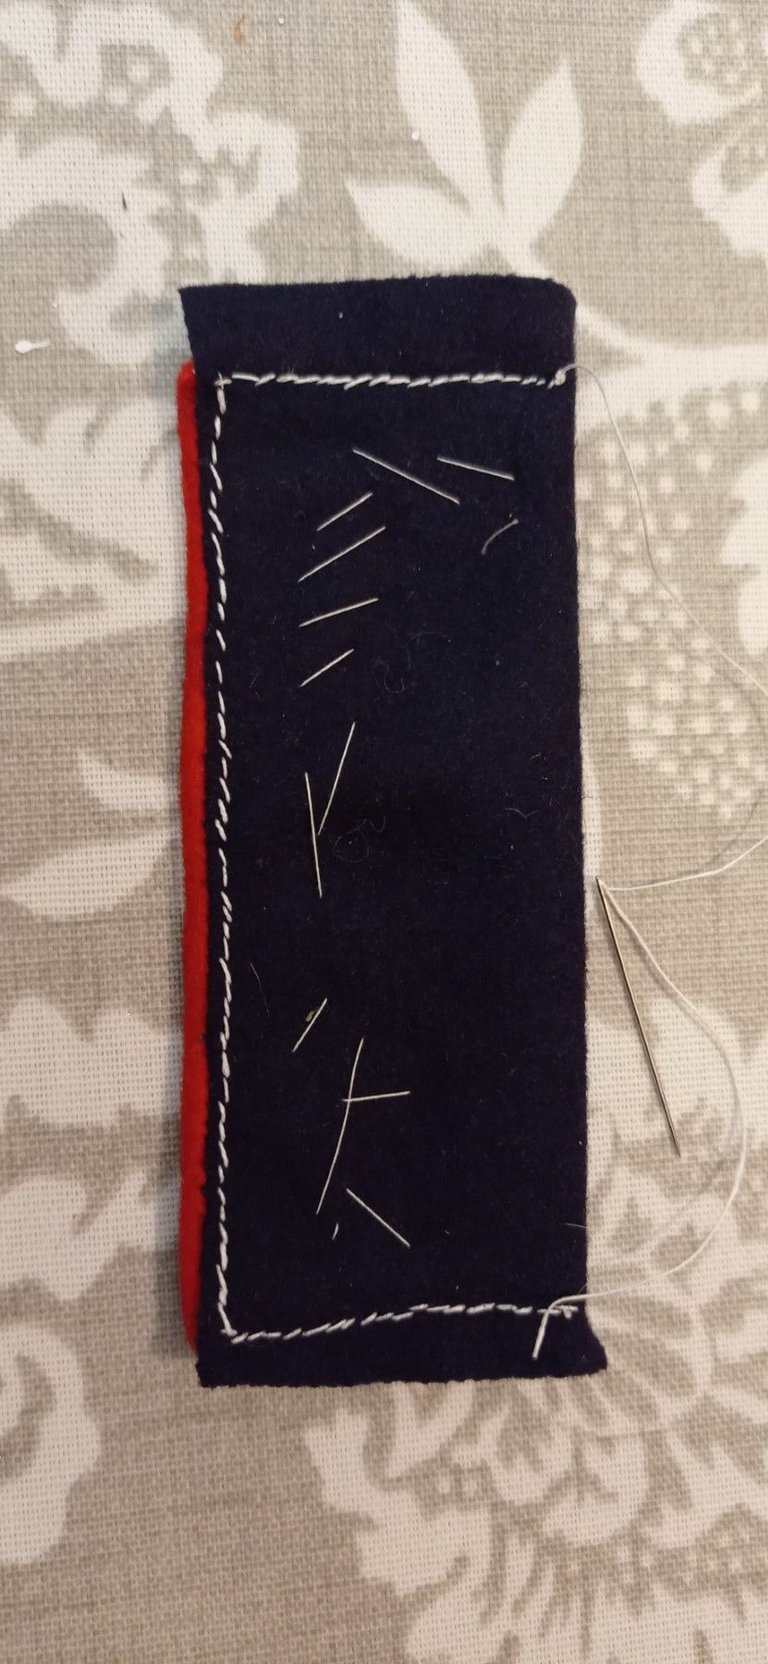
This is the excess folded over and sewn down. The tacking stitches will come out later, but I leave them in place while I'm sewing buttonholes.
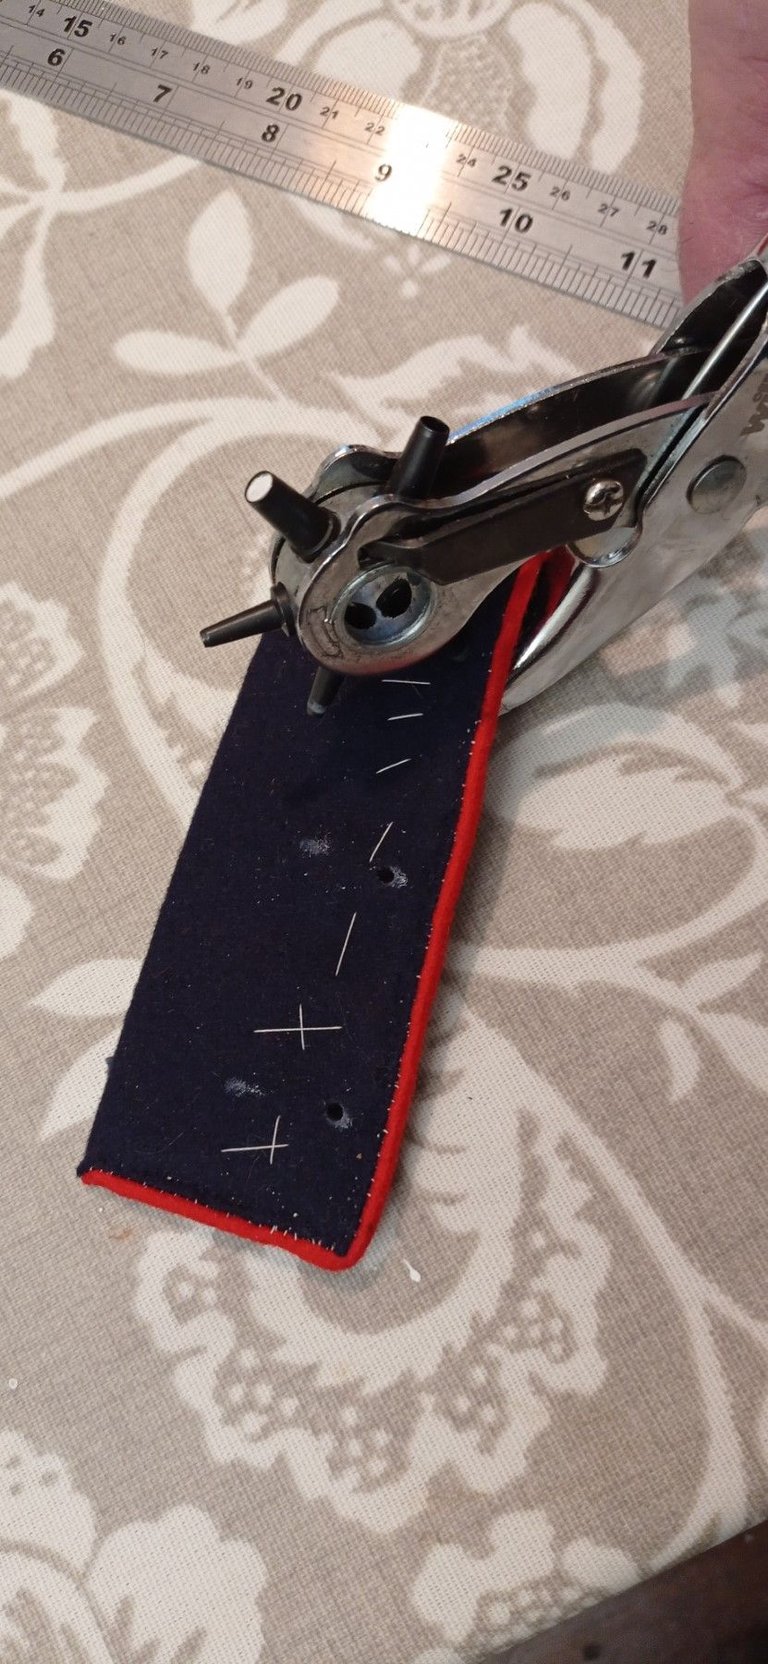
Using a hole punch to start the buttonholes. I marked the locations with my chalk marker pen; this is definitely one of those cases where measure twice, cut once really matters !
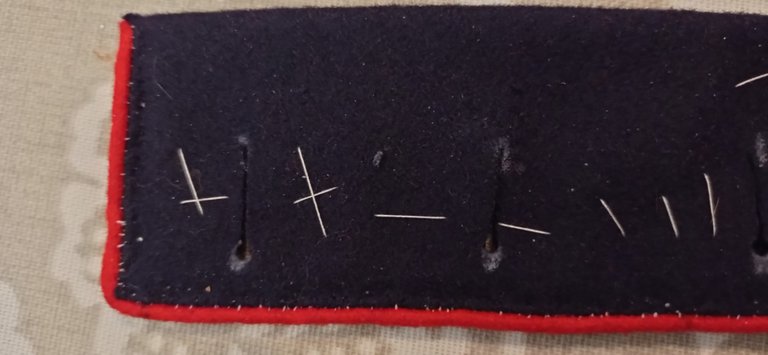
The buttonholes are cut in this photo. Hand sewn buttonholes are very, very different to the machined ones in modern mass-produced clothing. For a start, they are far, far more durable. They're a very elongated tear-drop shape. The rounded end is where the button shank fits, and the shape means it takes the strain of the button and spreads the load. The slit is made with two cuts; that way, you get a slight slot which allows the edging stitches to go in and the end result to still lie flat.
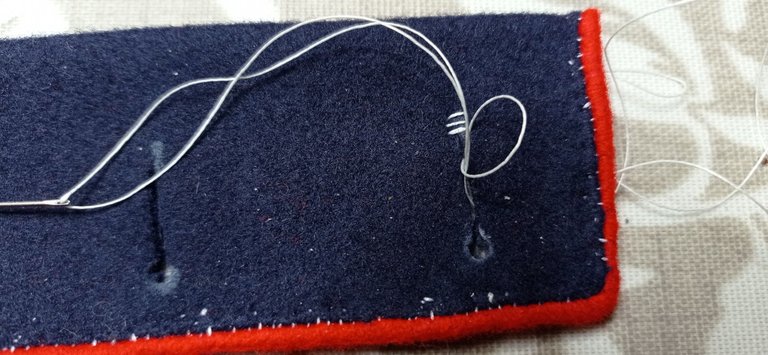
The start of the reinforcing stitches; two or three (I always do three) stitches at the end of the slot. That should stop it ever tearing open !
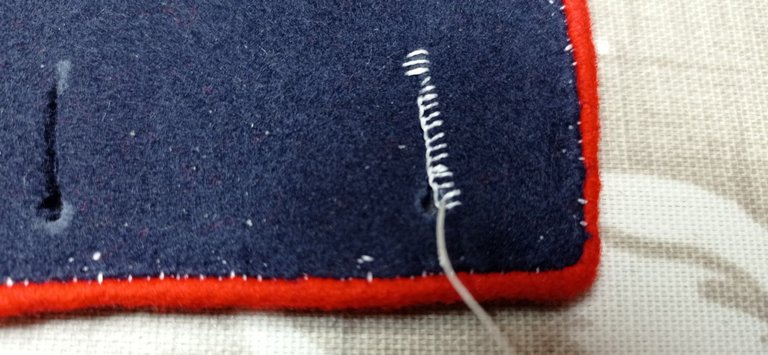
The reinforcing stitches in progress. They are basically a very, very small blanket stitch. The needle is passed through the loop on each one so that when it's pulled tight it forms a small knot, and the line along the edge is continuous. Very strong.
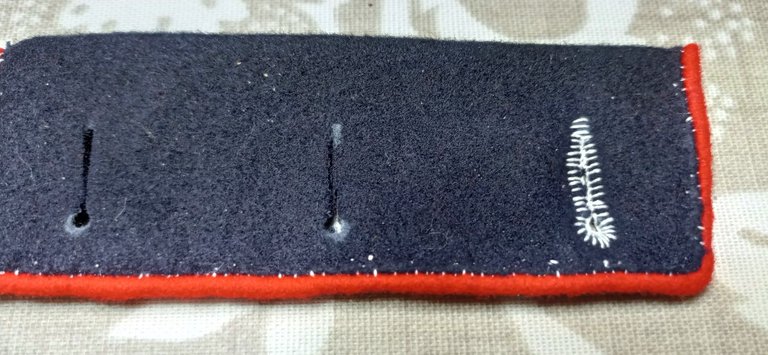
The finished button hole. The photo makes it look less even than it actually is, and quite a bit larger; the reality is that it's quite small, the opening is for a button approximately a centimetre in diameter.
I should also add a note about the thread I use; it's all natural coloured linen thread. At the time, dye was expensive and all natural not synthetic. Most vegetable dyes don't work very well on linen, so in almost all cases I've seen in museums the thread was used in ait's natural state. It is massively stronger than cotton or polyester thread, although it's also a lot stiffer meaning that working with it is a very different kind of experience.
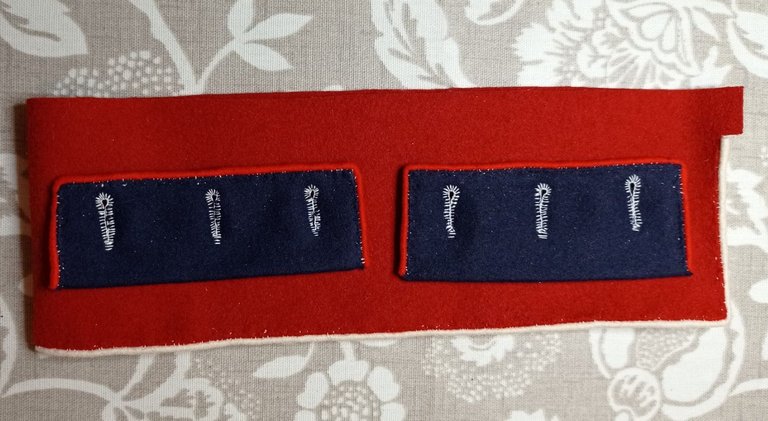
Here's the end result. It doesn't look like much, but because it's all hand sewn, it's actually the result of hours and hours of work ! Also, yes, the two cuff flaps aren't an exact match. I don't expect anyone will notice once I'm wearing the coat.
All photos by me


