Happy Tuesday @diyhub community.
How are you all doing today? I hope you all are doing pretty well. I am very happy to share this post here in this community today with you guys; it's all about a simple DIY post on how to reupholst a car seat.
If you check my previous post here in this community I have shared with you guys some simple processes on how to sew and cover an old car seat to turn you here i come again today with another cool project, today I will be sharing an old car seat that was given to me by my customer to sew it for him due to because the whole one has expired and tear out.
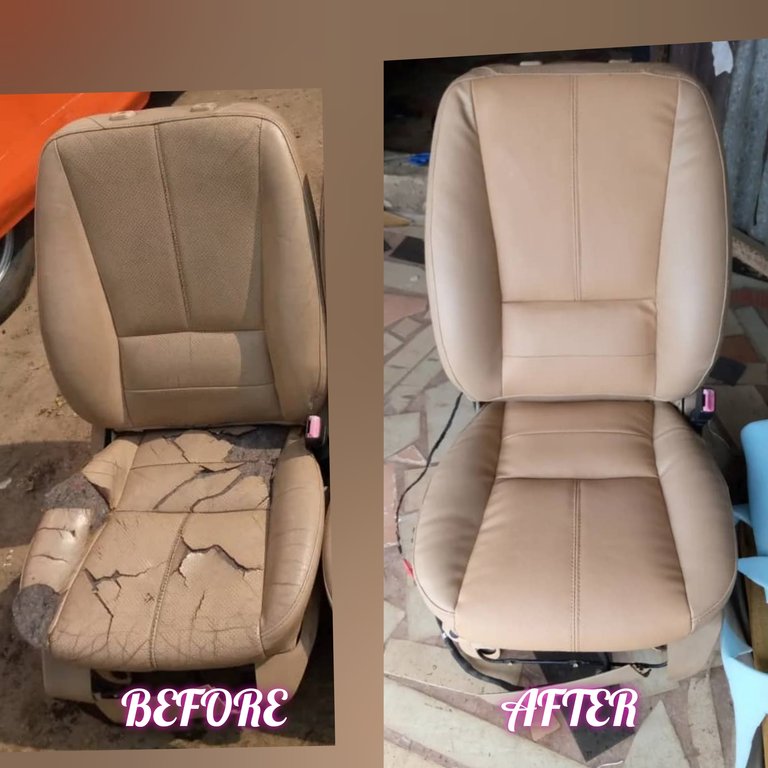
The above picture shows the before and after sewing of the whole car seat, and if you look at it, you will see that the old has turned new.
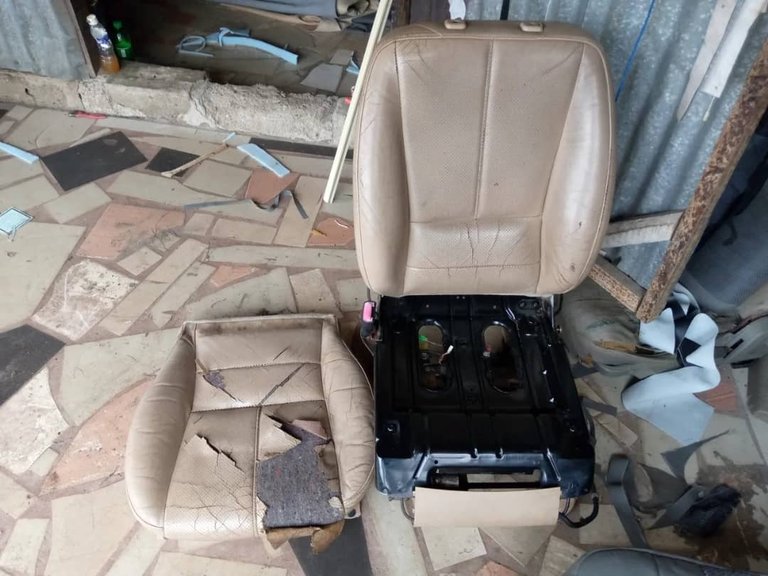
The owner told me he had dumped this seat for almost a year because his car had a problem with the engine and there was no money for him to fix it, so he told me the money he had expected had entered, and he wanted me to sew all the car seat in the car.
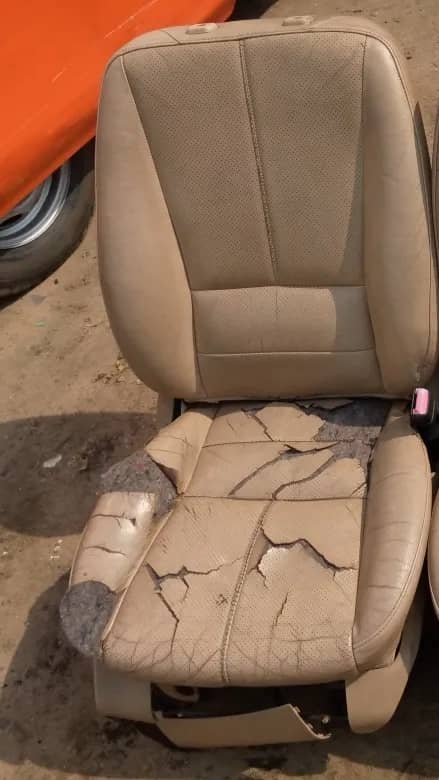
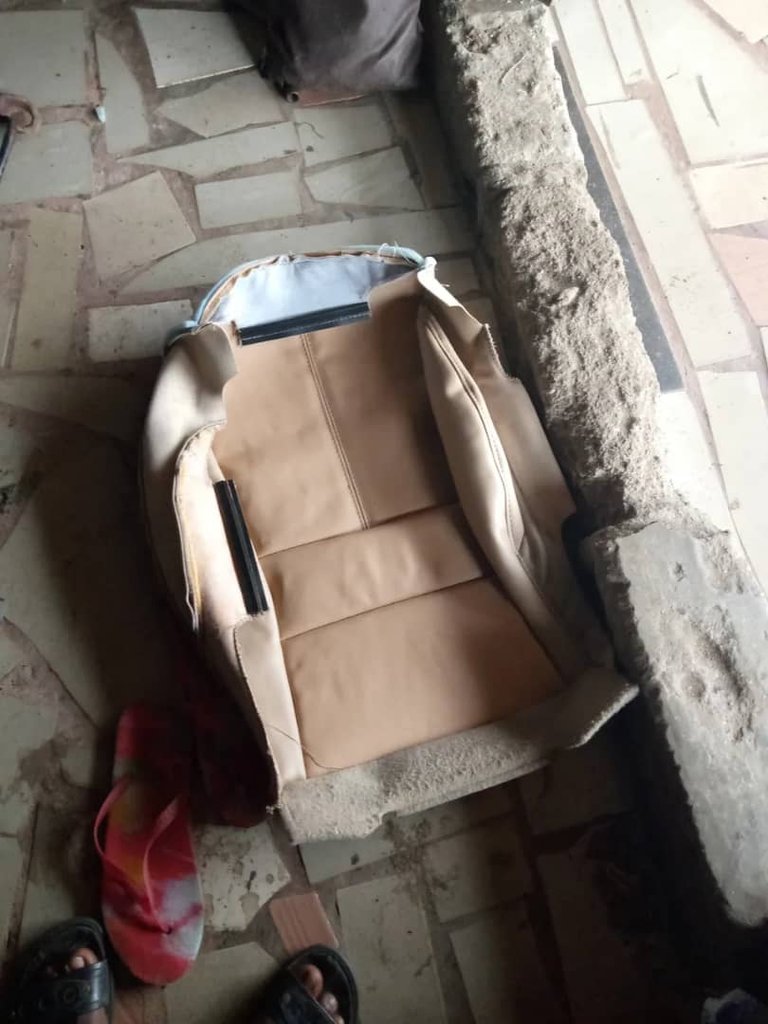
Here is the seat before
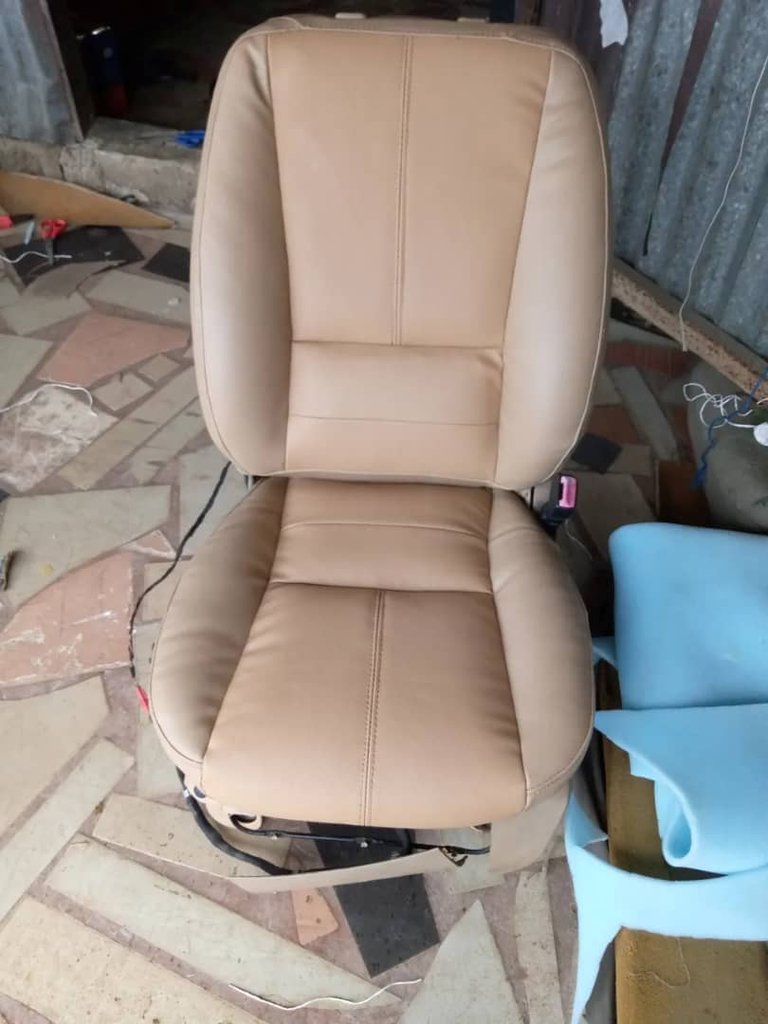
Here is the seat after sewing
Since this is a DIY project, I will share with you guys some steps I took to achieve the finished work. I will be using images to give more explanation of the process.
Material/tools needed
- new leather
- sewing machine
- screwdriver
- clip
- plier etc.
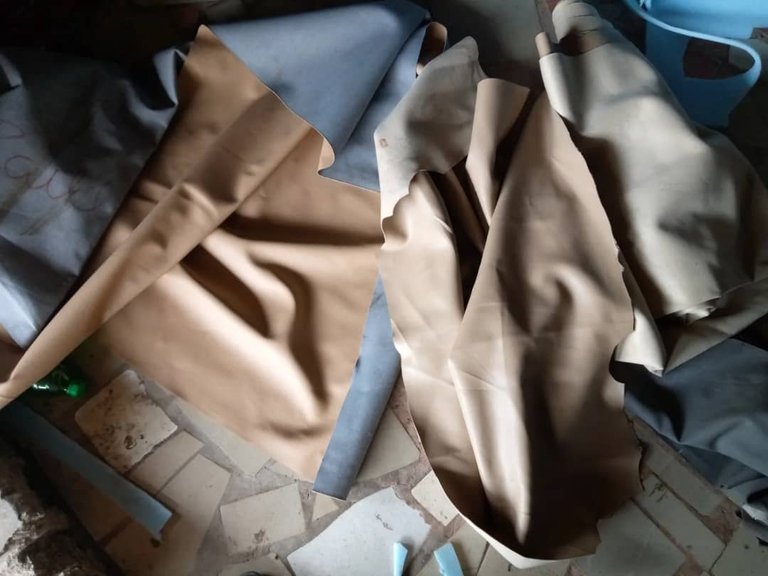
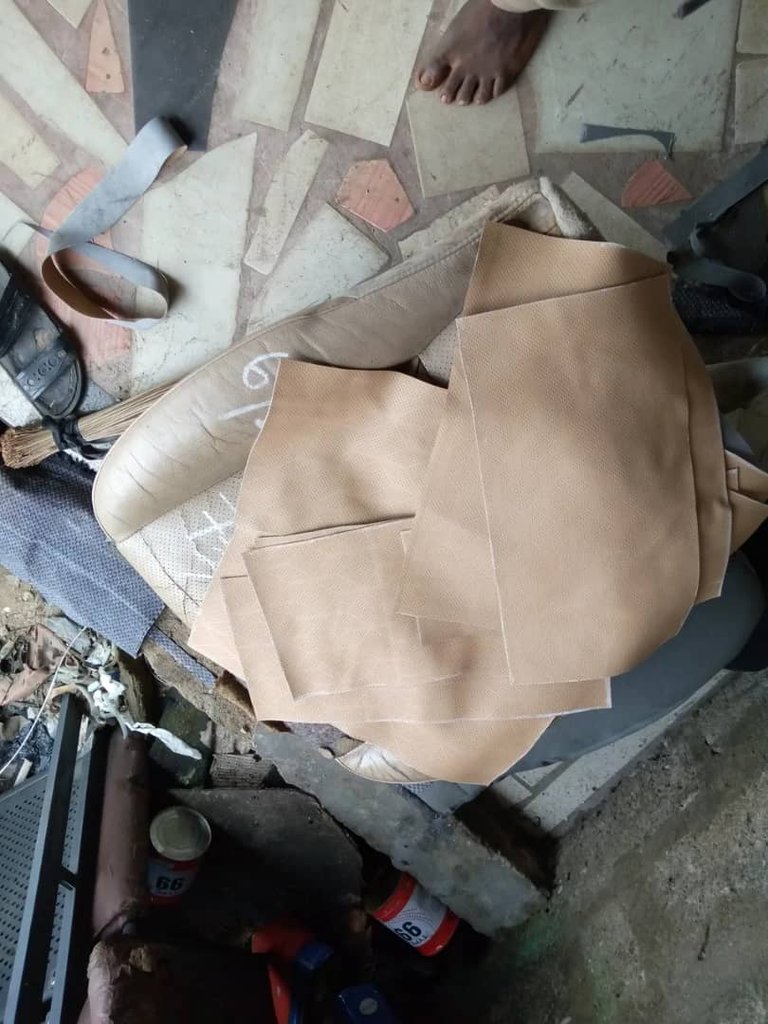
Here is the new leather
To get started, I first lose the back seat from the main seat with the help of a spanner and screwdriver, so that I can access the hidden part of the seat
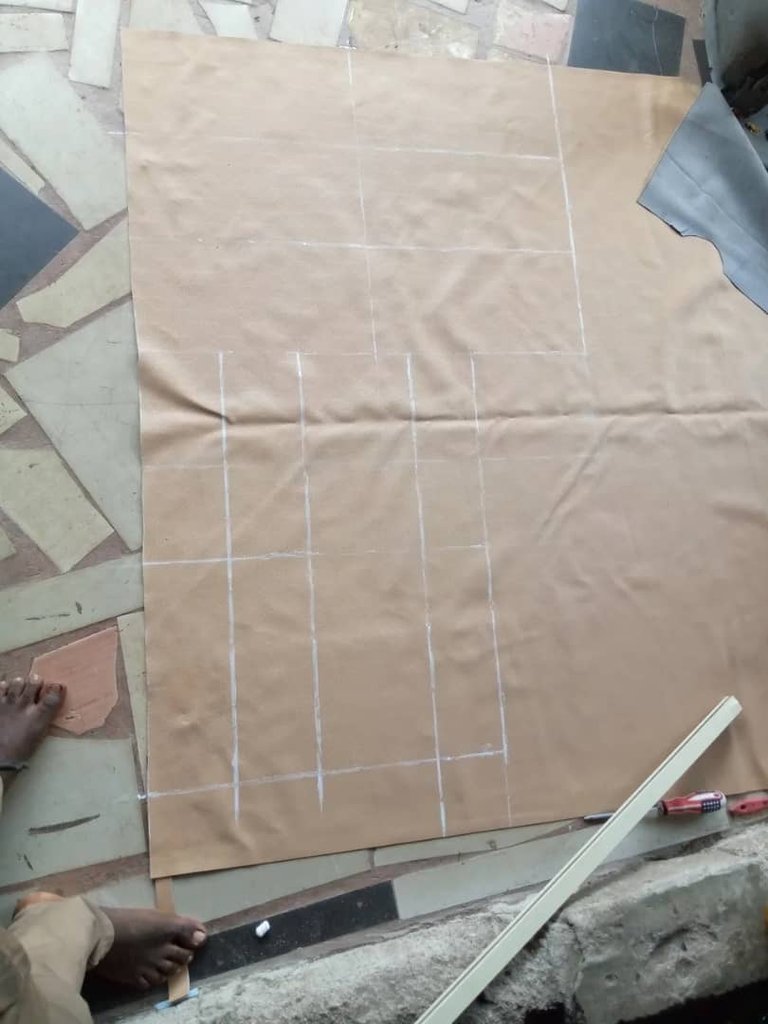
After losing the seat, I then use measurement taken to take the measurements of each pattern on the seat and write them down

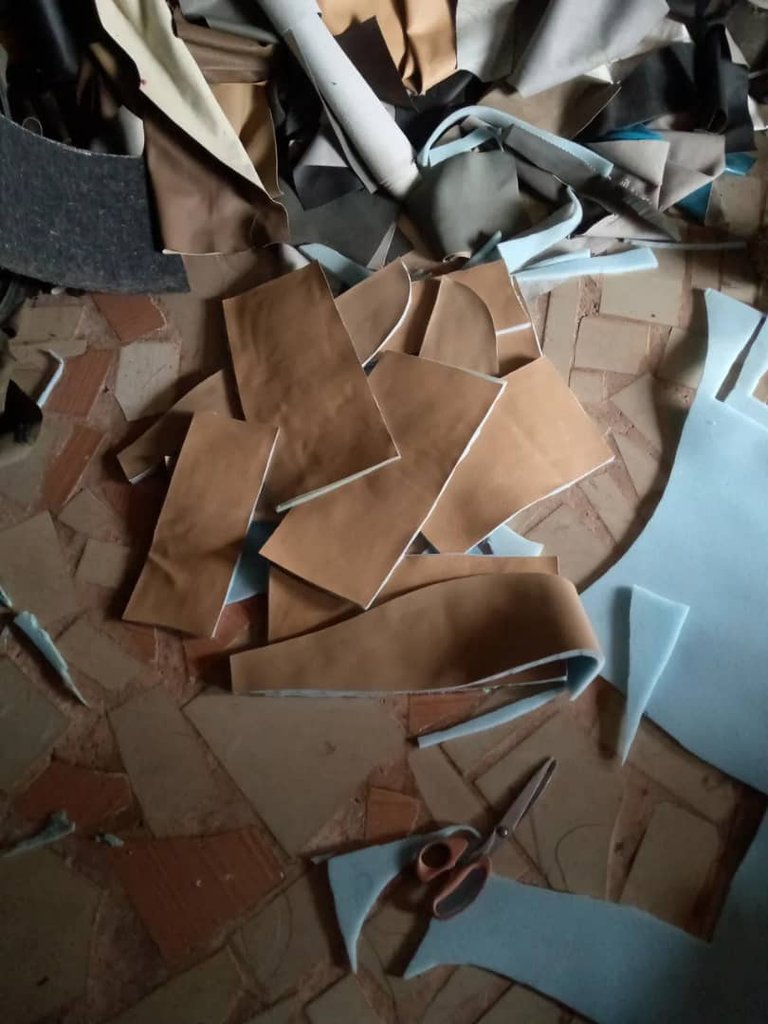
After getting done with the measurements, I then transfer the measurements to the new leather and draw it out, as shown below.
I then use scissors to cut them out, following the line I draw on the new leather.
I then place the cut material on its position and trace out the pattern, place it on an inch of foam, and gum them together.
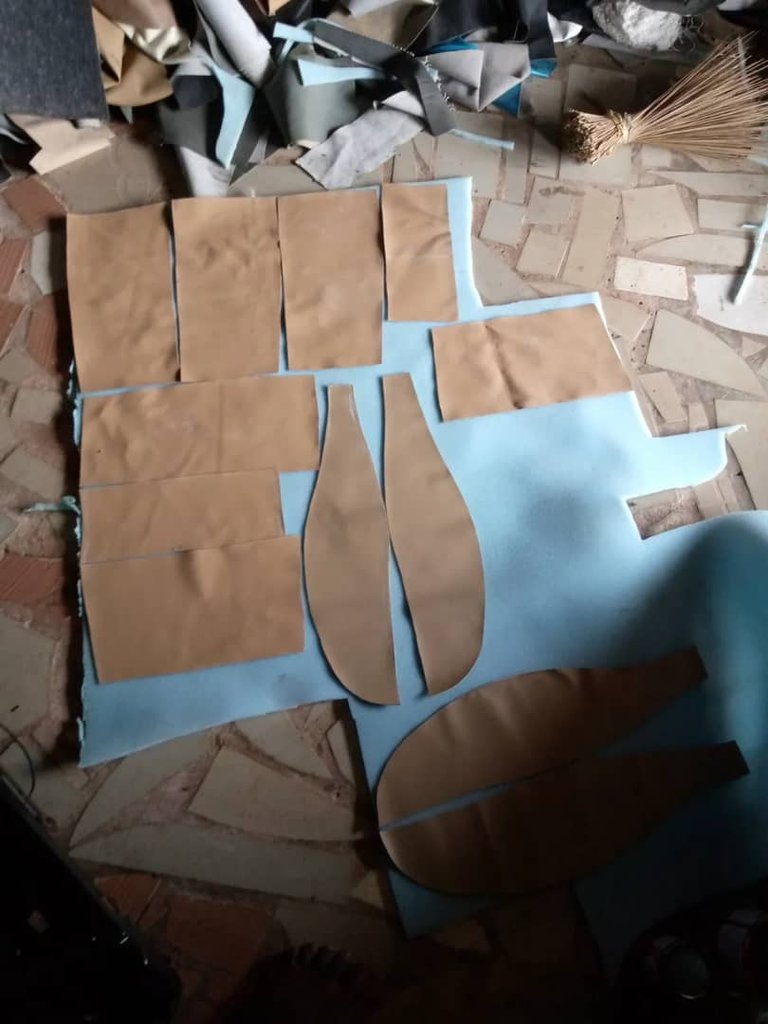
I then cut it out for the sewing process to start.
With the help of a sewing machine, I sew those patterns together carefully, making sure each of the points entered has an I mark. Following all those steps, I was able to sew my new seat cover.
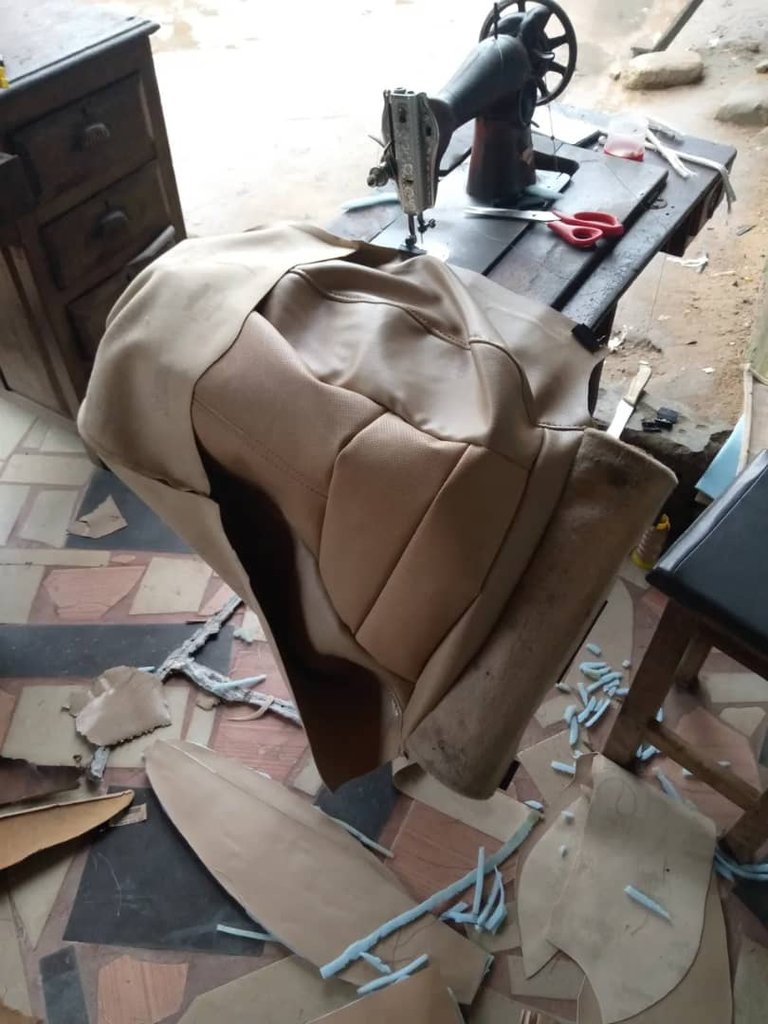
I then clip the new seat cover to the foam of the seat and one after the other
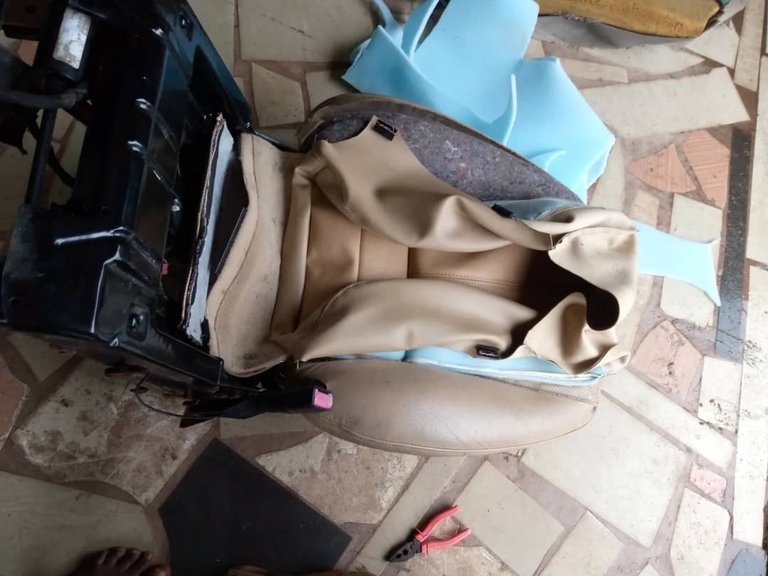
Here is what it lookss like.
I then clip the seat also
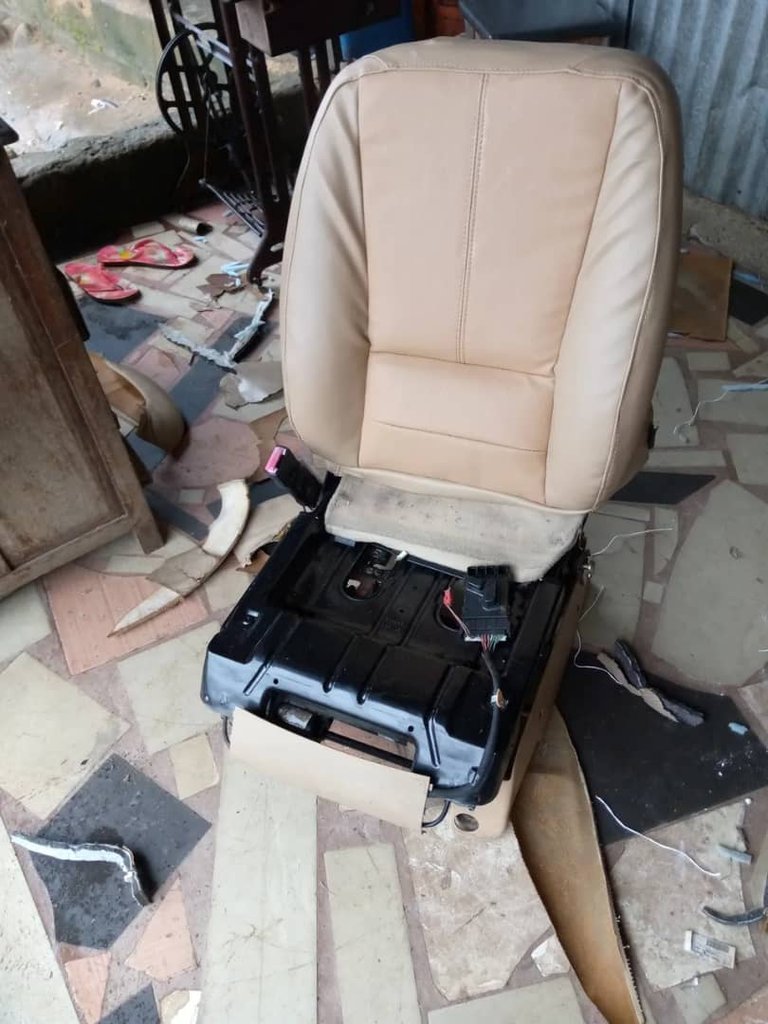
After clipping the seat, I tightened it back, and here is the finished work.
Comparing the seat, you will see that the old seat has turned new, and if you do not see this process, you will think it is a different seat. This is my skill, and I hope you learn from me.
Thanks, guys, I am loyal.
Posted Using InLeo Alpha
