Welcome back to operation shed, now as you’ve gathered Annabelle and I aren’t what you call DIY people, don’t get me wrong we do try and sometimes we even succeed - but with the shed wow… It’s not quite as straightforward as we thought.

I’ve read some pretty bad instruction manuals in my time and this as far as it goes isn’t so bad except they do omit from instructions where you’re supposed to use said things… like washers yes rather important and even though shown in the pictures they’re not actually mentioned in the bit that tells you what you need for example, a screw a washer and a bolt.
Which is somewhat challenging.

Therefore we’ve reverted to good old YouTube videos with random people putting together Outsunny sheds and so far, it’s been what we’ve needed.
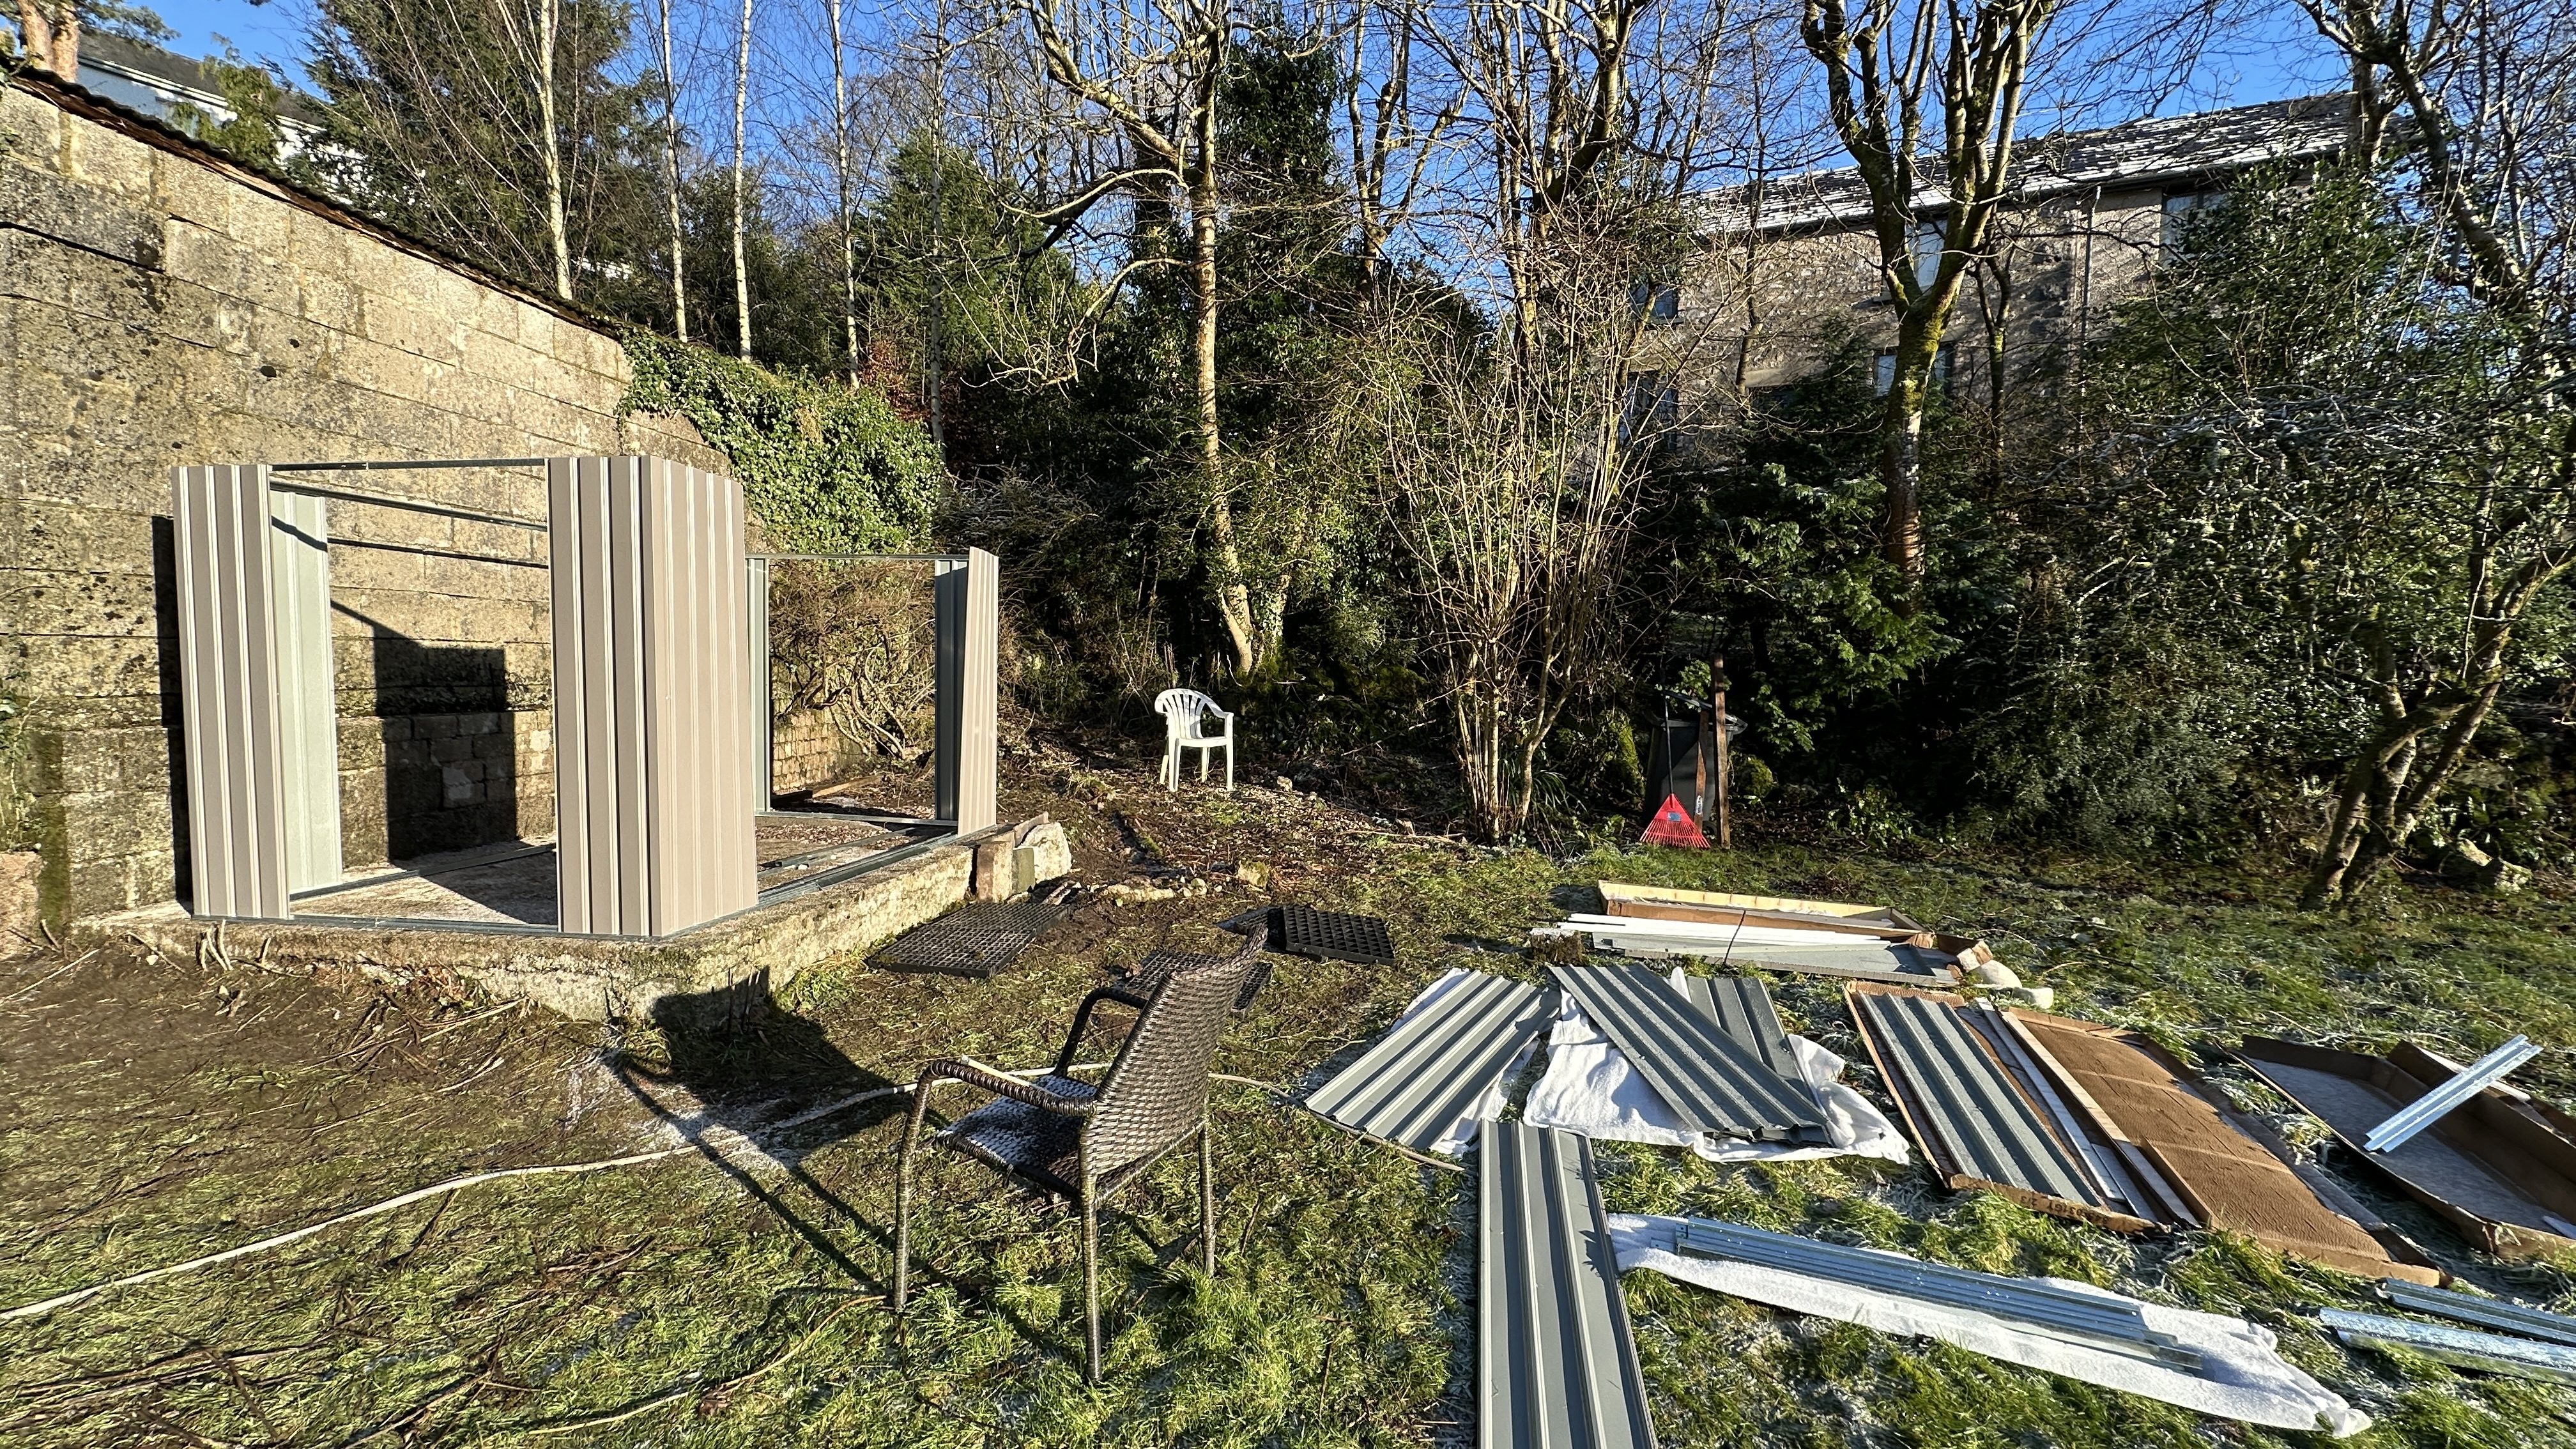
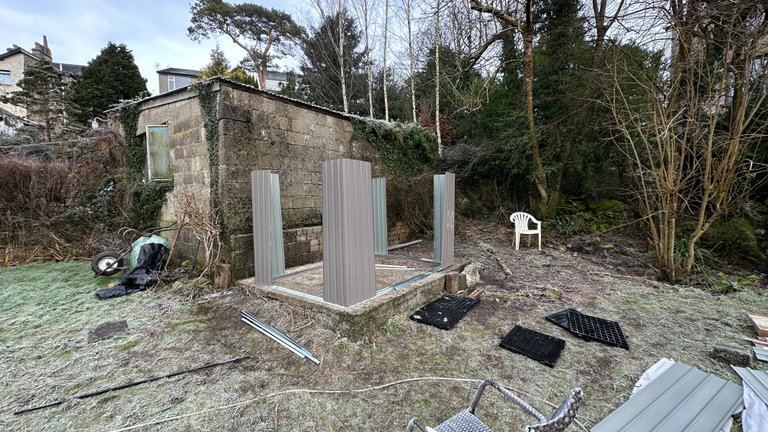
As you can see from the pictures it’s going quite well. It’s like a giant Meccano set and that’s becoming more apparent every time we return to it, first thought very flimsy, we then realised that when you actually start bolting some of the structure together it becomes quite rigid - it looks like it was bargain of the century.
We’ve now started finding dents and little creases but none of it’s actually affecting putting it together.
As for our concreting it did the job it’s not particularly flat but we can always shore it up with some slate or rock.
I’d say we’re about 70% there - now the initial frame wasn’t a problem, we just had to work out what order we built it, weirdly you put the walls on but you don’t attach it to anything at the top next, so when a windy night that we didn’t expect hit, all the walls were just clanging.
The next morning we bolted the remaining walls together and added the framework it then became far more rigid.
Now, if you’ve done something like this before

You’ll be aware that it’s easy and then it’s not, and it’s not for lack of trying on your part either.
For example it was going together really well the walls were connecting up properly, everything was straight everything was aligned the screws fitting beautifully and then it was time for the roof supports-and could we work out which angle they were going to be on?
No, we first bolted it together upside down technically… the screw holes that were for the roof to a fix were facing downwards not ideal. Luckily we caught that before fitting it but then even when we stripped off the part and tried to put it on the right way we kept overthinking ourselves and re-correcting it.
Eventually though we got it right and now they’re up, well two of them.
Parts that need aligning and bolting together work rather well and as far as the shed goes, it’s not quite as complex as we thought it would be, mind you we have never seen so many plastic washers in our life, plus the bag of bolts with nuts while they’re in the same bag which as you can imagine, it’s a little bit challenging apart from little niggles like that the experience is pretty good.
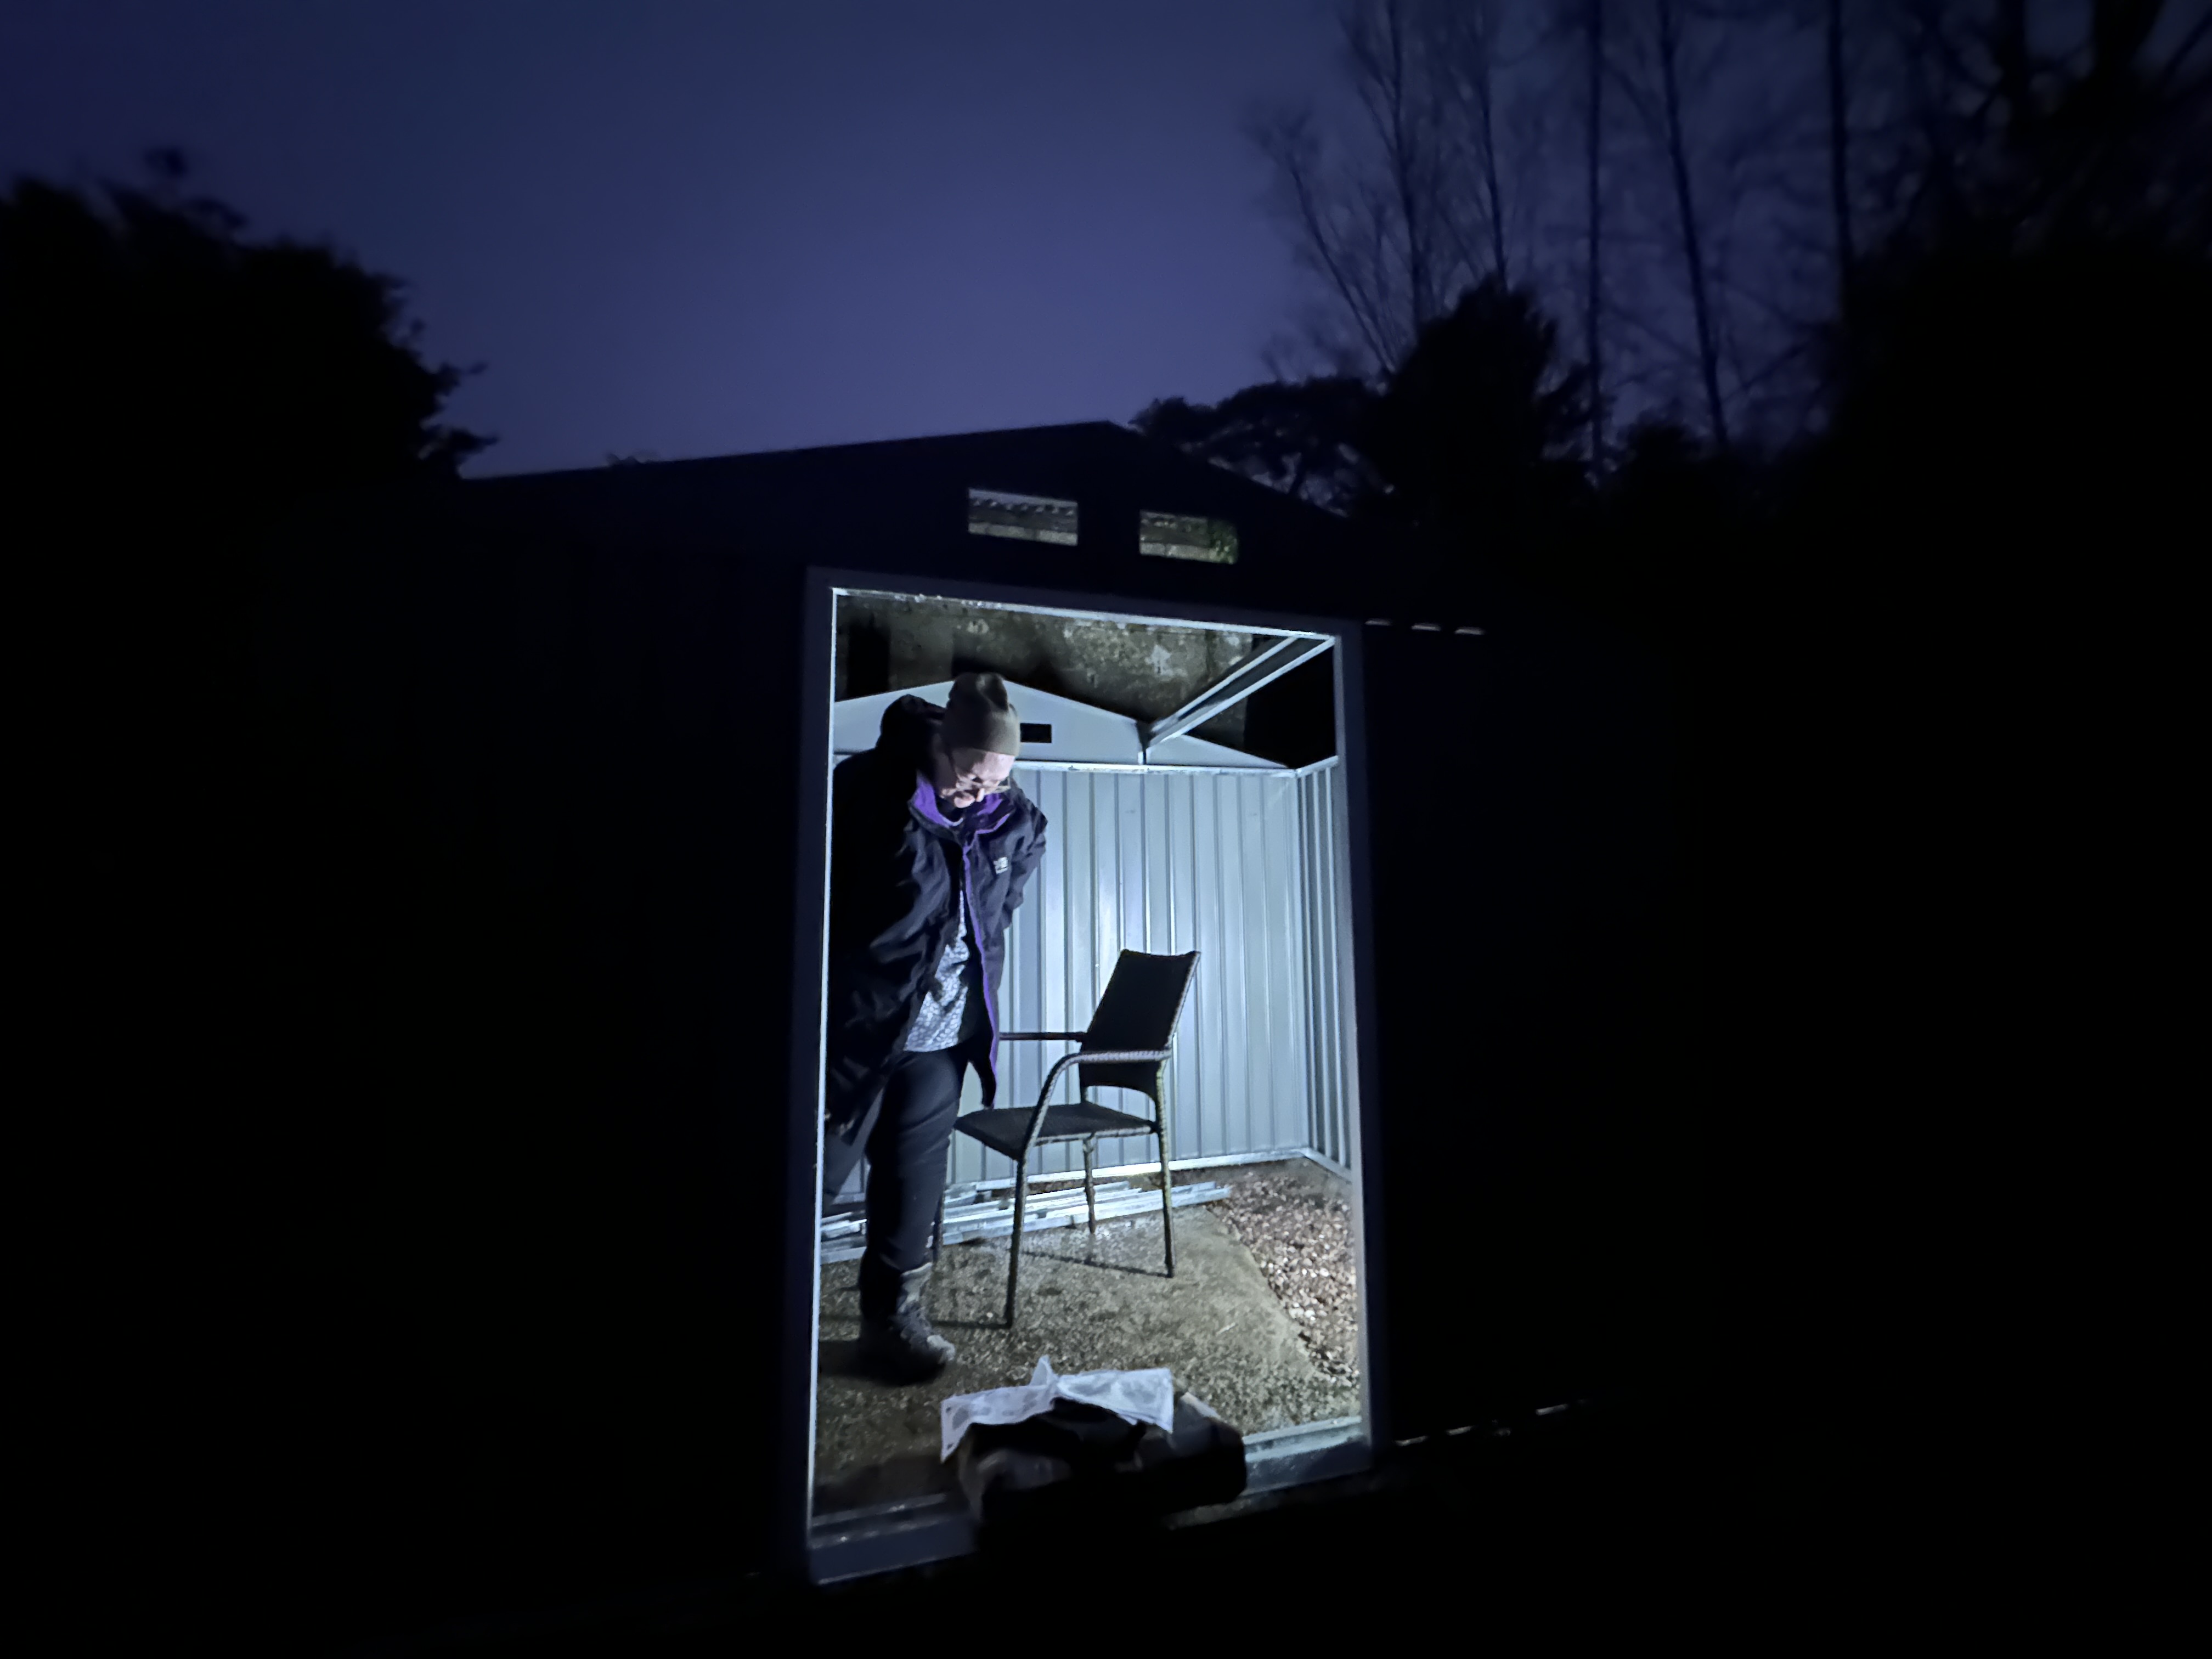
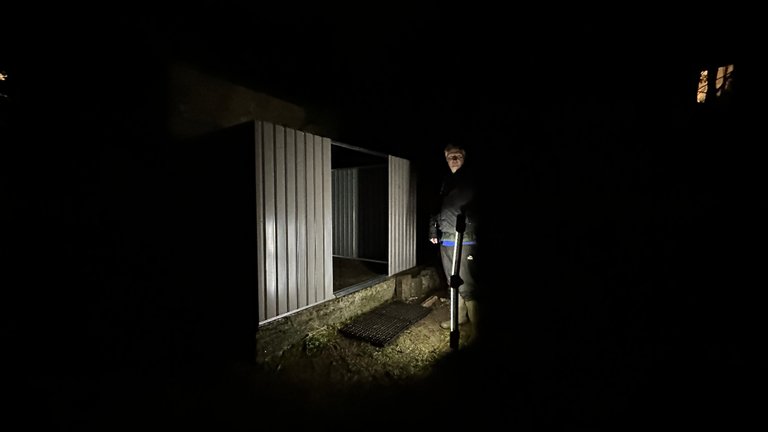
It’s been quite the adventure and completely out the norm for us two and it’s amazing how much of it we ended up doing in the dark or real Wintery weather everything from 9° down to -6 and yes that did feel rather chilly however my heated gillet worked wonders as for Annabelle to keep moving was the key. The aim is to have it completed by the end of the weekend, not that much left now and it’s just buckling down and doing it.
…more so now as it’s the roof, meaning we have to be higher than the shed in order to bolt it together … eek

I see 6 foot 3 not cutting it so that means ladders, step ladders, cherry picker you name it.
One thing we’ve noticed is the sense of accomplishment you feel when you look at how much of the shed is now upright. Initially you’d just be looking at the base, but now the walls are there even though it hasn’t got a roof, bar a few beams - it’s starting to resemble what we bought and that in itself is awesome.
Stay tuned for the next part of shed of taken the money toombs.