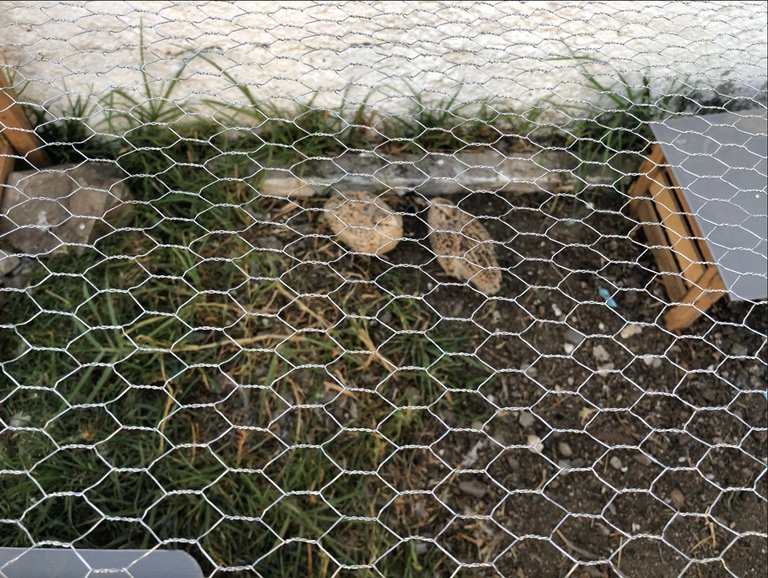
The best part of being actively looking for ways to improve my Quail's habitat, is that there is always something to upgrade. My Quail habitat is pretty bad, but it does the trick.
Building this habitat gave me enough experience working with wood and Quails that now whenever I have the time to actually build a perfect habitat I will have the expertise the build one that actually holds predators out.
I don't have predators around my house, the only vermin I could think of are mice and rats, but the neighbor has two cats so I don't have to worry about them attacking my quails, and since I have dogs, these cats do not come near the Quails. There are some barn owls around though, and even though they didn't get any of my Quails so far, I think I was playing with fire there so when a couple of Hivers that I don't want to tag in order to not become a pain in the ass (I already tagged them twice in two of my previous Quail Tales posts) mentioned I should build them a chicken wire roof, I decided to get to it as soon as possible.
I didn't do a great job, but it is good enough to keep potential cats and the roaming owls away from my defenseless Quails. Check it out:

It is a removable roof so I can pick up the eggs and put the little ones inside the cage so they sleep with an extra layer of protection both from the predators as well as from the cold nights and strong winds. All I have to do is roll the chicken wire, clean the habitat and finish my tasks and I can then let them roam freely.
In order to keep the roof tense, I just nailed a few support spots on every corner and I set some nails to the wall to have one side fixed, then I set a nail above those to put the rolled chicken wire there while I clean, get the eggs and do whatever I need to do.
Let me walk you through the process of building this simple, fast roof:
First I needed a beam made of wood that I got left from the first batch of wood I got from my neighboring carpentry, a few concrete nails, some chicken wire left from the first post about the quails, some wire pliers, a hammer and a wood saw.

I measured the roof space on top of the habitat and gave a couple of inches to both sides so I had some wire to maneuver with, and then I nailed it to the beam. The beam will server as extra support as well as a rolling spot.
You can see Noia and Kiri watching me work. I love that every time I mow the lawn, work in the garden or build stuff they are always right there with me getting some sun, watching me, and keeping me company.

Then I had to measure where to put the nails in order to set the wire at the same level as the habitat walls. I had to remove a huge spider web before getting to business.
 |  |
|---|
It was a pretty simple process, but I realized that even though the wire is tense as hell, of course the part of the wire that has no support from the habitat walls or the nails would bend. To solve this I just used a couple of cable nails - like the ones you use to fix cables to the wall - and leave a small space in order to remove and put back the wire every time I need to.
 |  |
|---|
I told this would be a short post.
In the end, it looks amazing. I mean, as amazing as a rookie carpenter can make a Quail habitat look.
I am planning on building a better habitat somewhere during early 2023, I just have to find the required 5-6 hours I'll need to build a proper habitat.

As you can see in the picture above, the space for the chickens is almost ready on the right side of the photo. I will have 4 hens in that space - there's more space behind me but I still need to work on that area before showing it to you.
 |  |
|---|
The Quails are happy as hell man, and they are now 100% safe from barn owls, rats and the neighbor's cats that might wander too close when the dogs are not around.