I’ve been waiting for 8 months to make this post. It took a lot of failed experiences and patience in order for me to be able to deliver this “baby”: a recipe for sourdough bread.
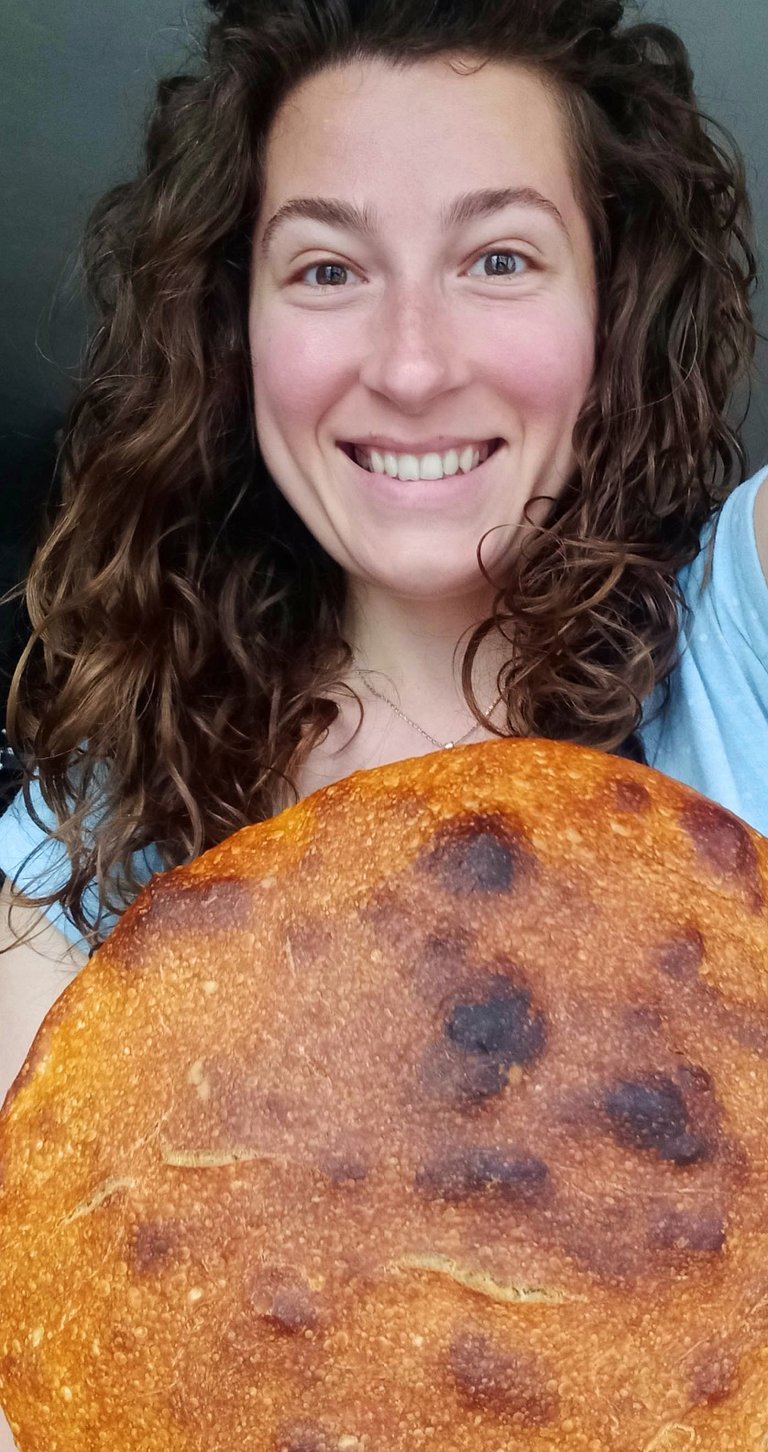
I am sure that my first supporter here on Hive @vincentnijman will be more than happy to see this sourdough bread post finally happen before Christmas hahaha.Well...So am I!
I will give you a bit of a warning: there will be a lot of pictures, more than usual, and some lenghty explanations. The sourdough bread is like an aristocrat princess: she loves to be explored with patience and good manners. You can’t rush a sourdough!
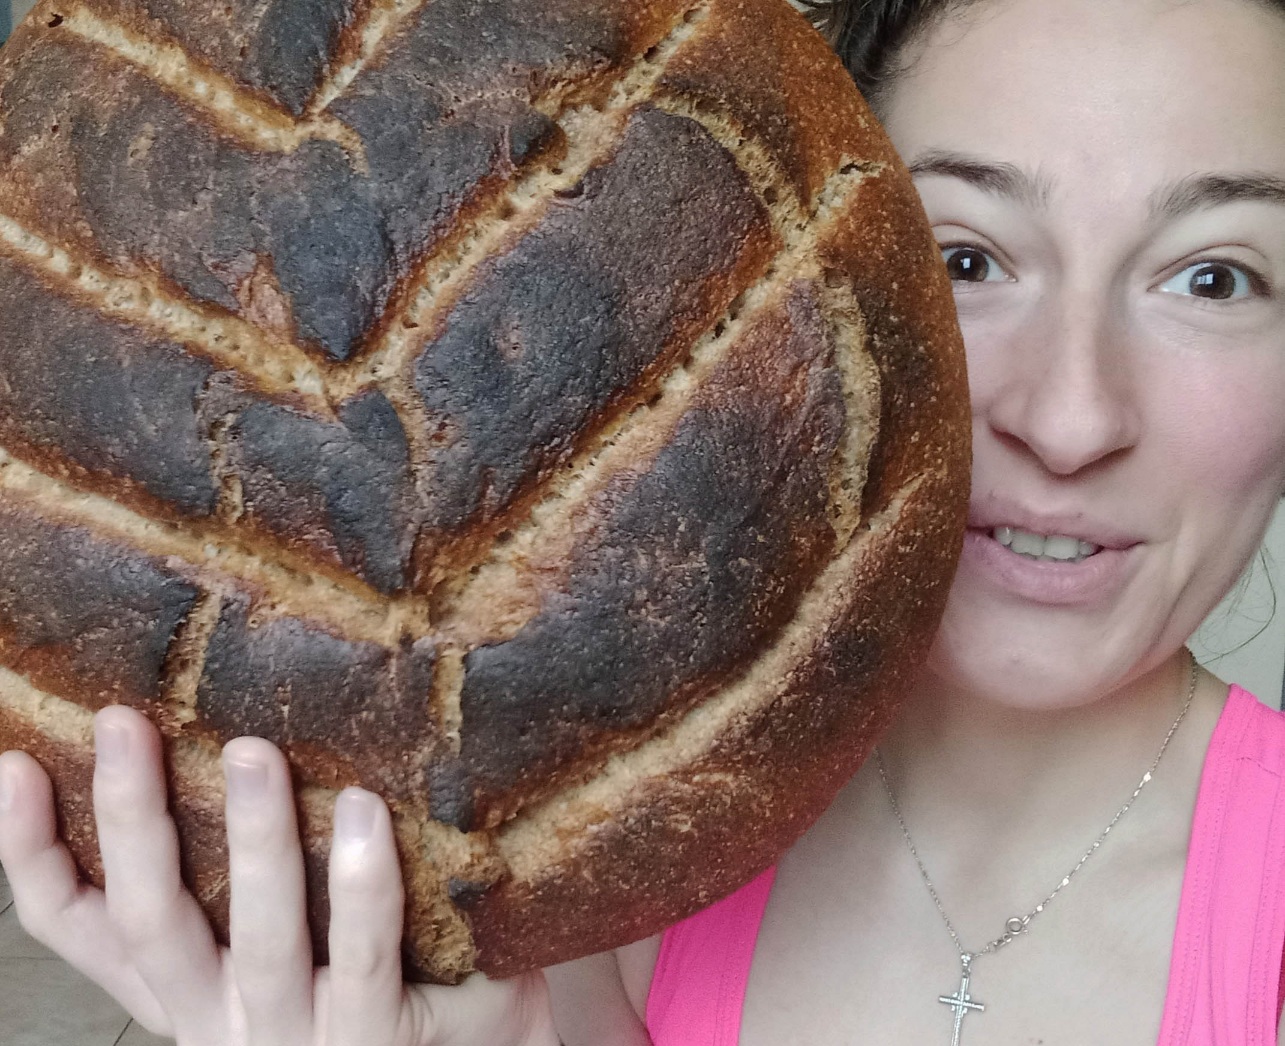
I will share my personal tips and things that I have learned since I started my journey of making my own bread. I would not go back to supermarket bread even if you would give it to me for free:) I am commited to a healthy lifestyle and I notice the good effects it has on my overall health and mood. Cutting out sugar and making my own bread since January 2024 really improved my life.
.jpg)
I do not know at what point in your existence you are right now but I guarantee you that there are just two simple things than anyone can do in order to get out of a rat hole: exercising and eating healthy. The rest takes care of itself because you take better decisions with a healthier brain. I like to think of my body as the most luxurious Ferrari. I have chosen to only put in the best of the best when it comes to food, energy and information.
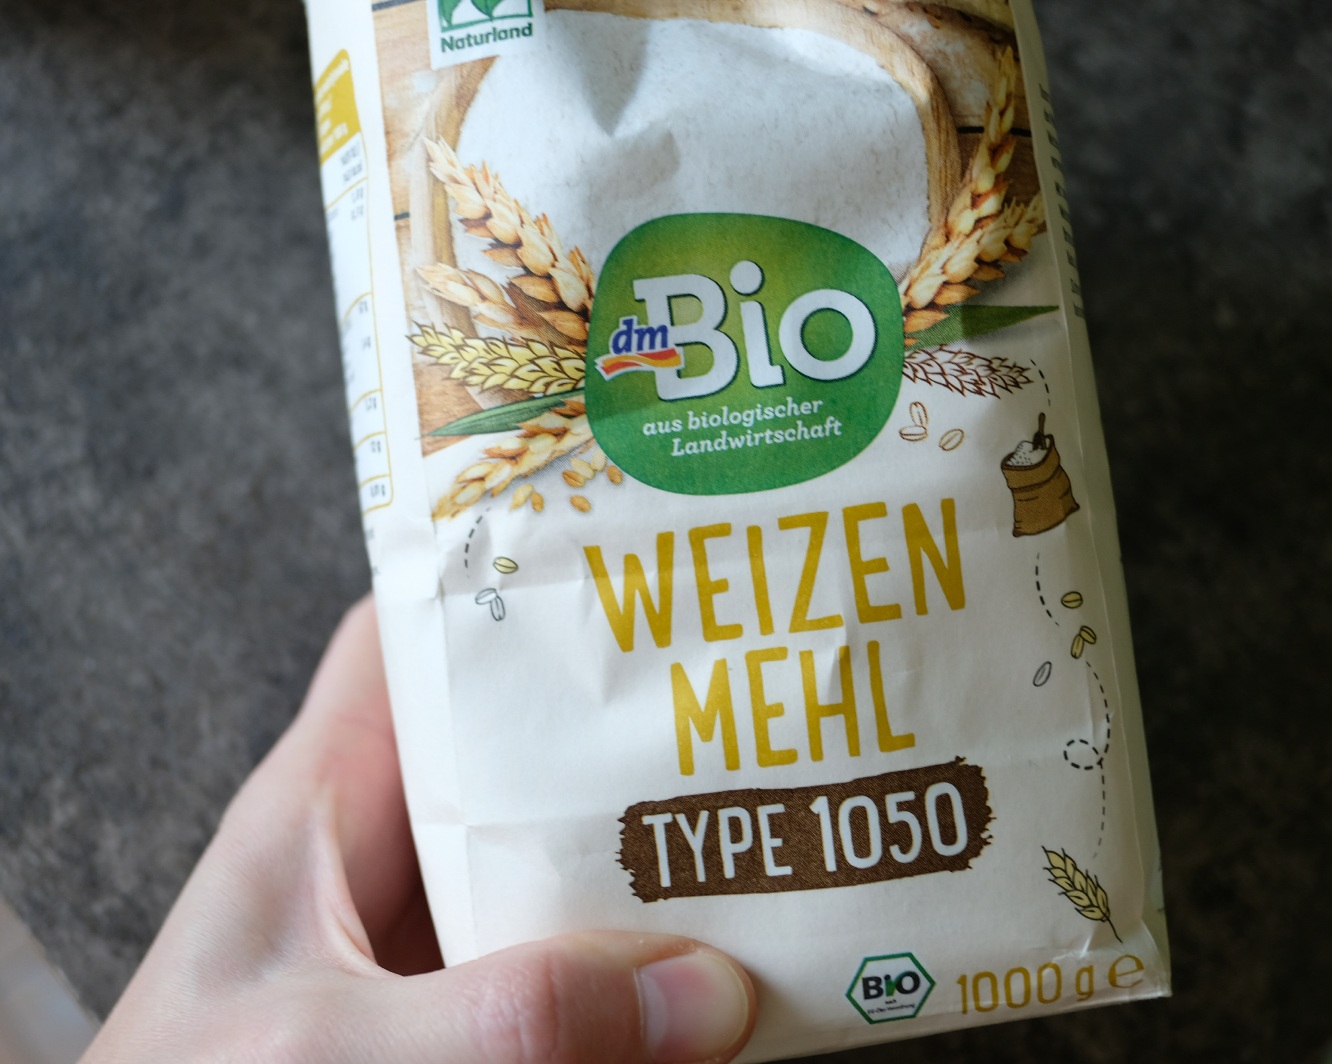
In order to make sourdough bread you need a sourdough yeast. This is something that you can keep in the fridge until you die. You feed it every week or more often if you bake on a daily basis. Think of it like a little pet that needs food haha. Use quality flour only and bottled water .
Sourdough yeast recipe
100 grams of whole wheat flour
100 grams of water ( do not use tap water, use bottled water instead, sometimes I use sparkling water but you can keep it simple)
For feeding the starter from day 2 to day 7 you will need:
100 grams of white flour (with 9-10% protein so choose a quality one)
100 grams of water/day
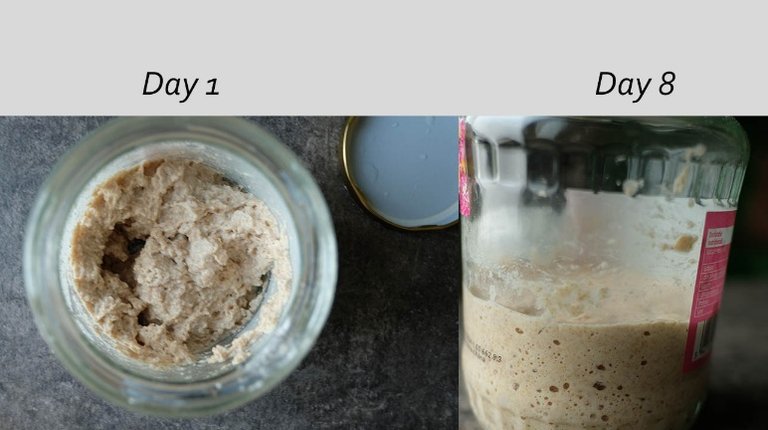
Day 1: In a glass jar put 100 grams of water and 100 grams of whole wheat flour. Mix it with a wooden spoon. Cover the jar partially and let it for 24 hours at room temperature (21 degrees Celsius)
Day 2: You will use a spoon to mix what you have in the jar . Use another jar and transfer 100 grams from the initial mixture in it. Add 100 grams of water and 100 grams of whole wheat flour. Cover the jar and let it sit for 24 hours.
Days 3 and 4: You can see the starter starting to develop bubbles as it is fermenting. If it smells bad or gets moldy you will have to throw it away and start all over. Repeat the steps from day 2.
Days 5-7: Now we are going to start to feed our hungry pet every 12 hours. You need almost 12 days of doing this in order to obtain a really strong sourdough starter. After you are happy with the result you leave it for 8 hours at room temperature before placing it in the fridge. You feed this every week like this: you take out the jar from the fridge, let it sit for 8 hours, then pour equal quantities from the old jar into the new jar – for example 25 grams of old starter + 25 grams of water (mix it) + 25 grams of white flour. Mix and let it ferment for 8 hours. Put it back in the fridge. Before preparing your bread always take out the necessary “yeast” 8 hours prior so it would be at room temperature. Okay.. it sounds really complicated, so much hassle for a bread? The initial steps are tricky but after this you have your own homemade yeast that you can feed as long as you live! Hooray! Sounds pretty awesome and low cost, right?
Now let’s get to the bread moment! We need these 12 days in order to have our homemade yeast for making the sourdough. I told you that this bread is an aristocrat!
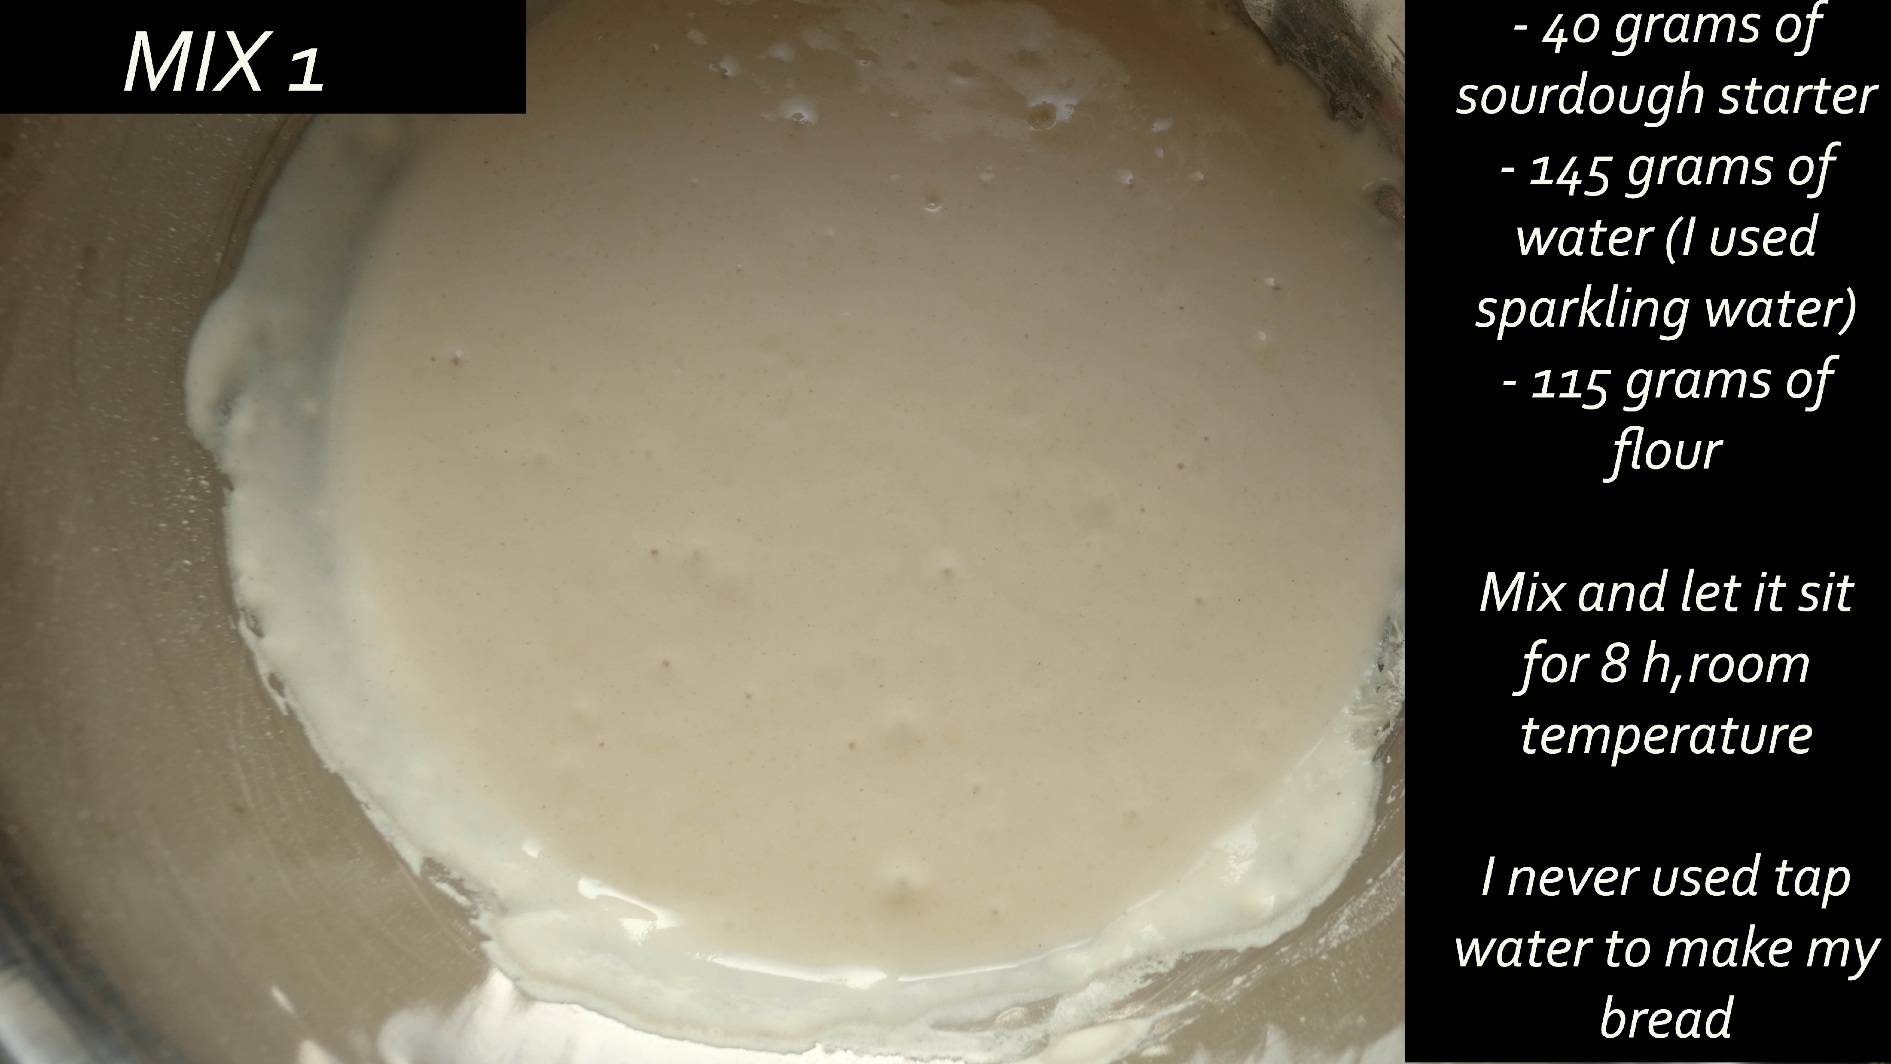
Mixture 1
This is the initial starter for the final bread. We prepare this one day prior to baking. Always remember to add water first before the flour and mix the water with the yeast well before adding the flour. Extra tip: I tried using sparkling water instead of bottled water (never use tap water for this bread) and the dough rises like never before! Huuuge….
You will need:
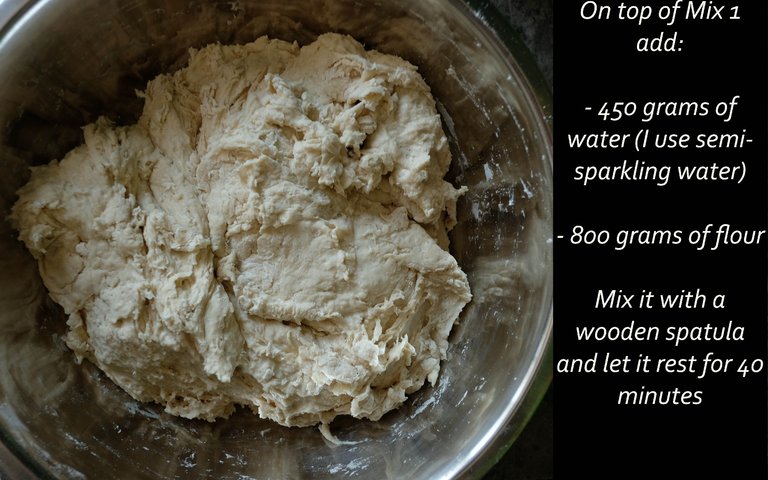
After eight hours this mixture will have bubbles. Now you are going to do this
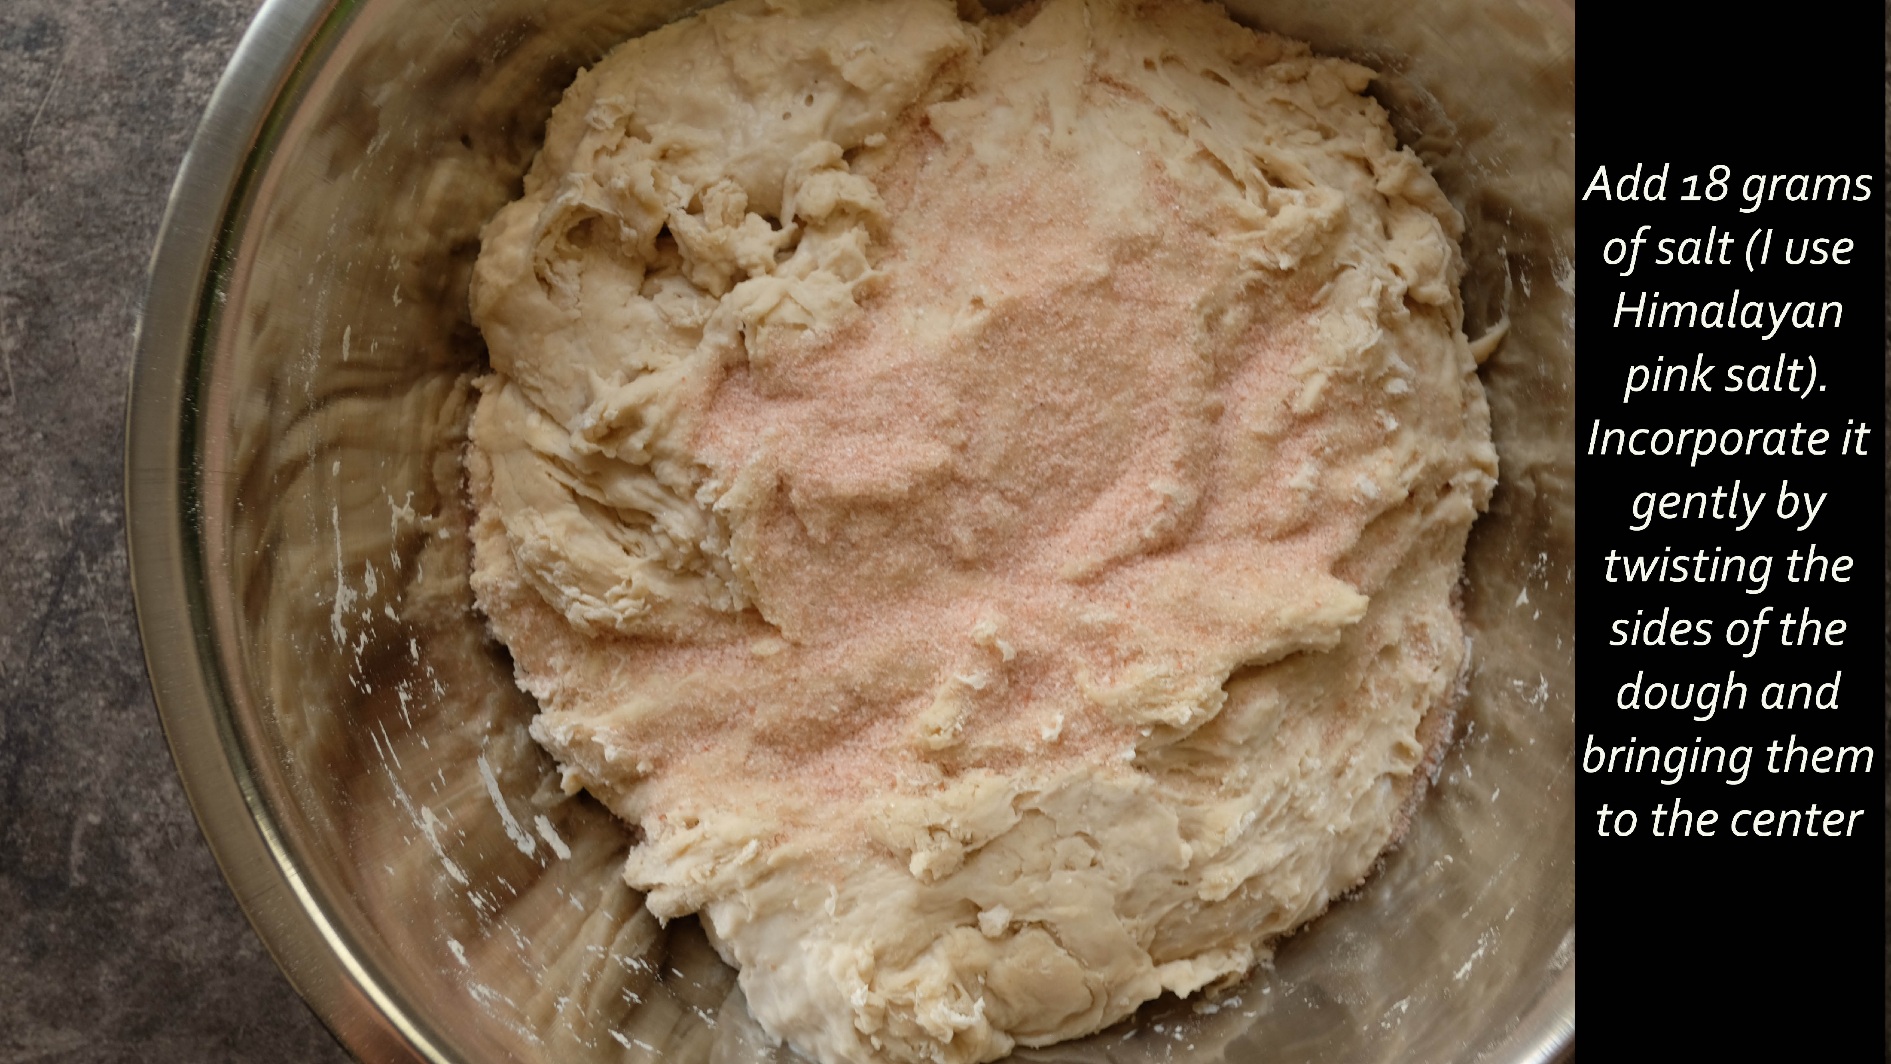
After the 40 minutes nap the dough is ready for the salt.
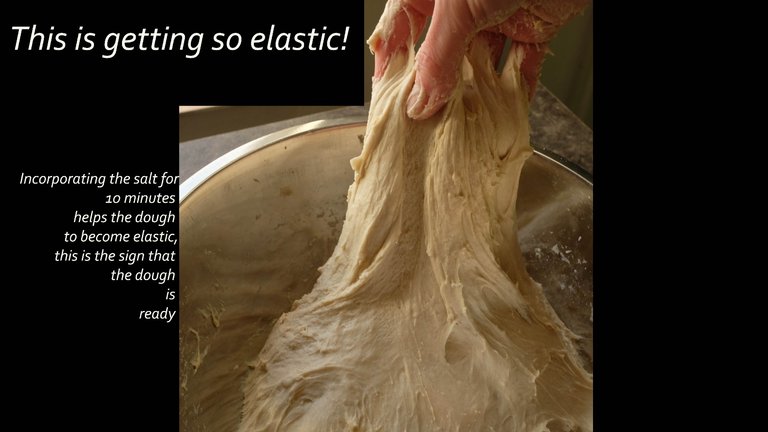
Now the magic happens.
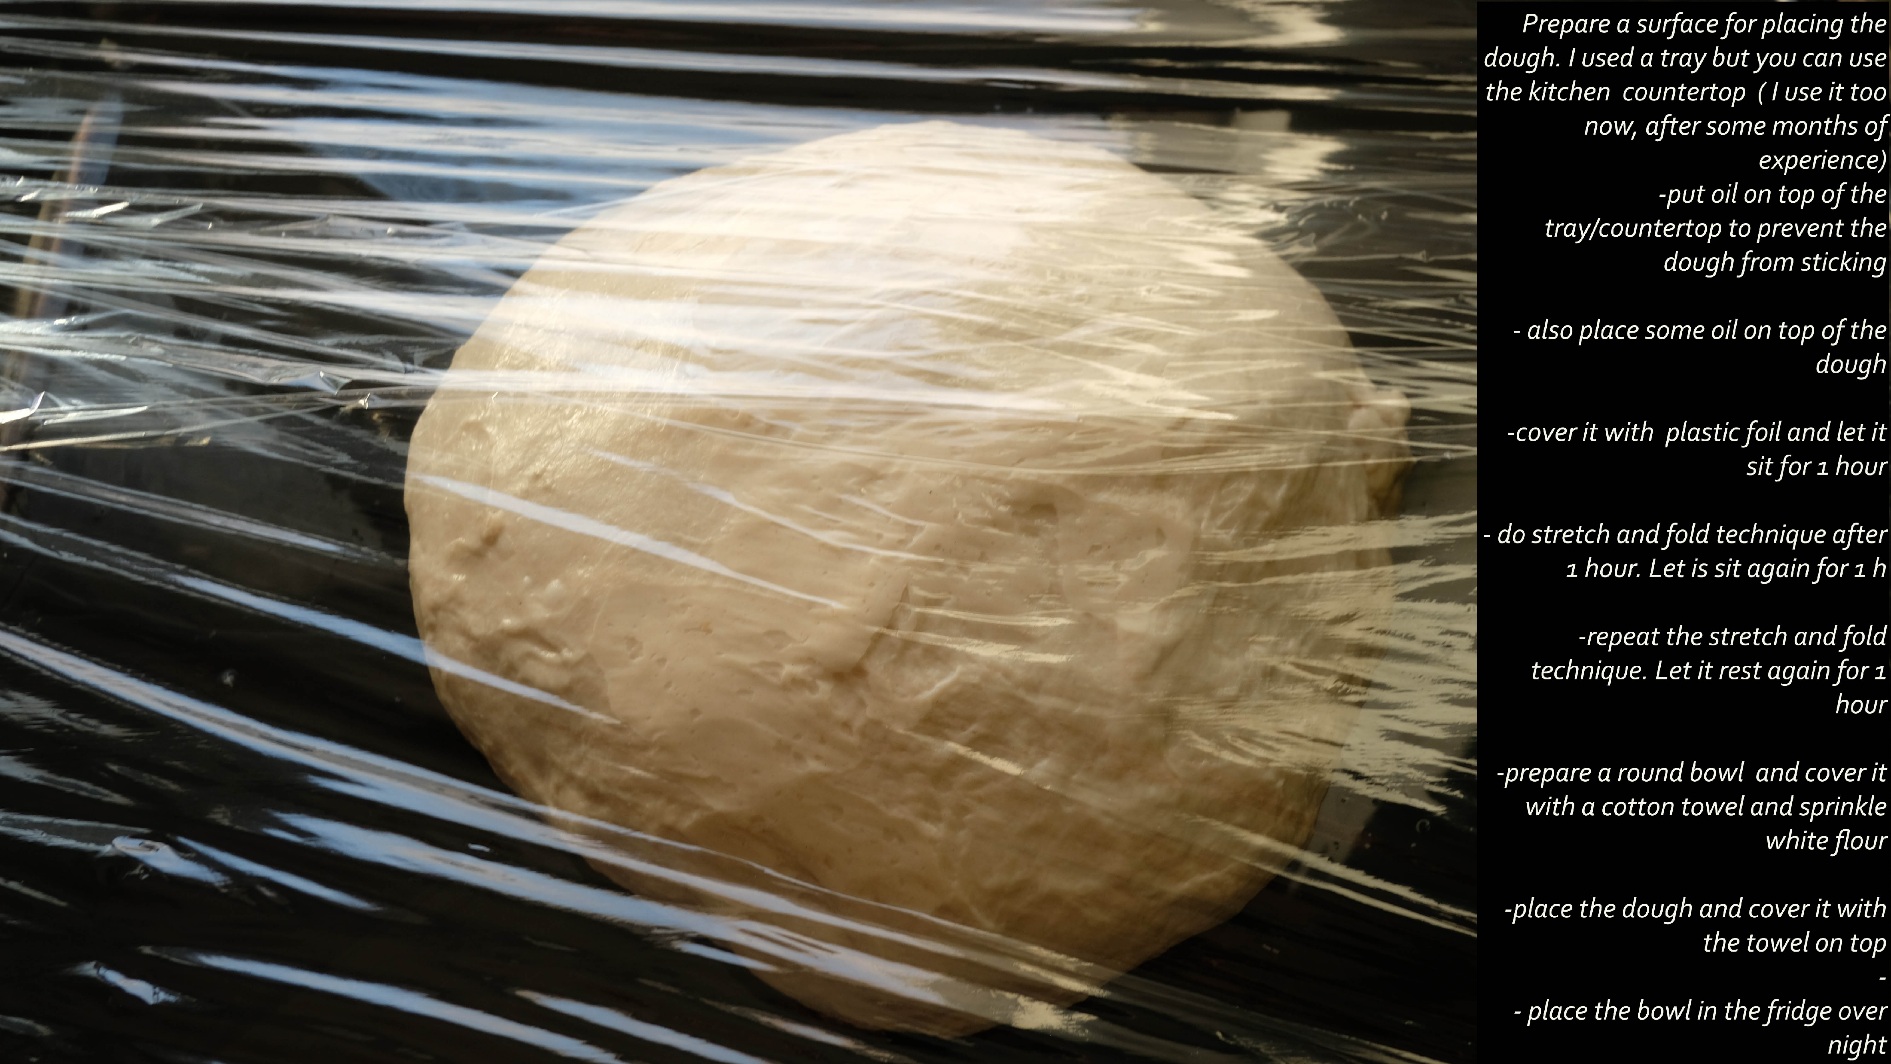
After placing the dough in the fridge you will feel so happy and excited. The next day it's going to be ready for baking!
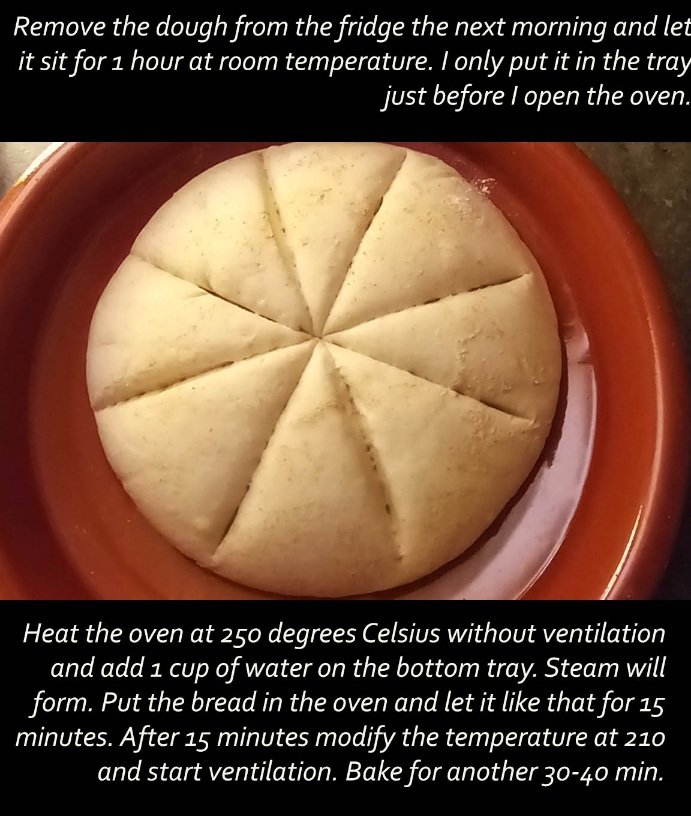
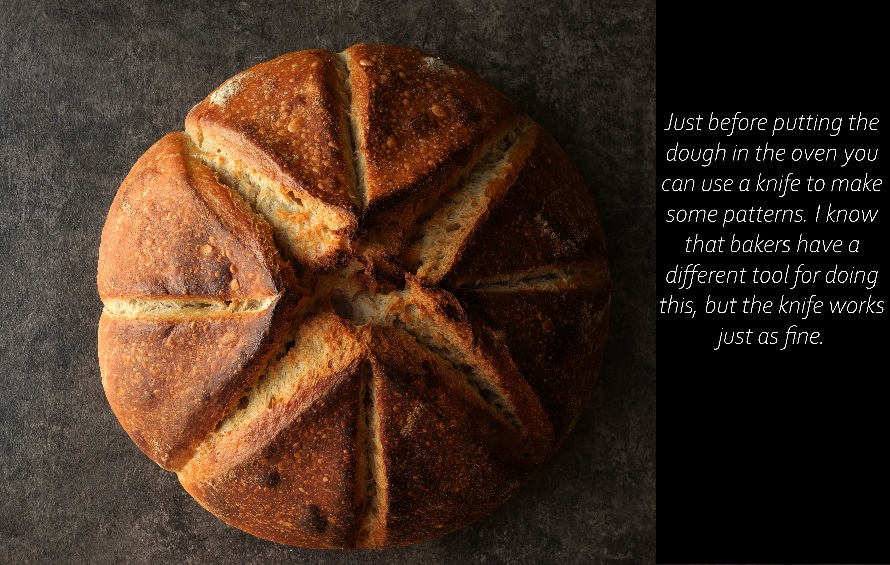
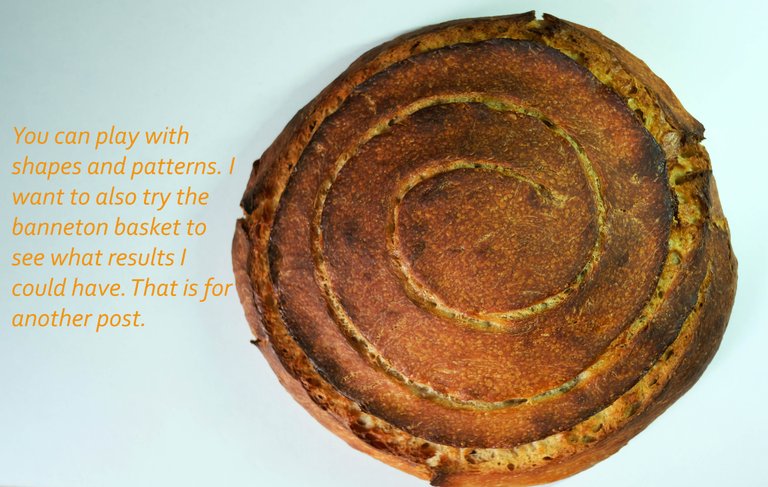
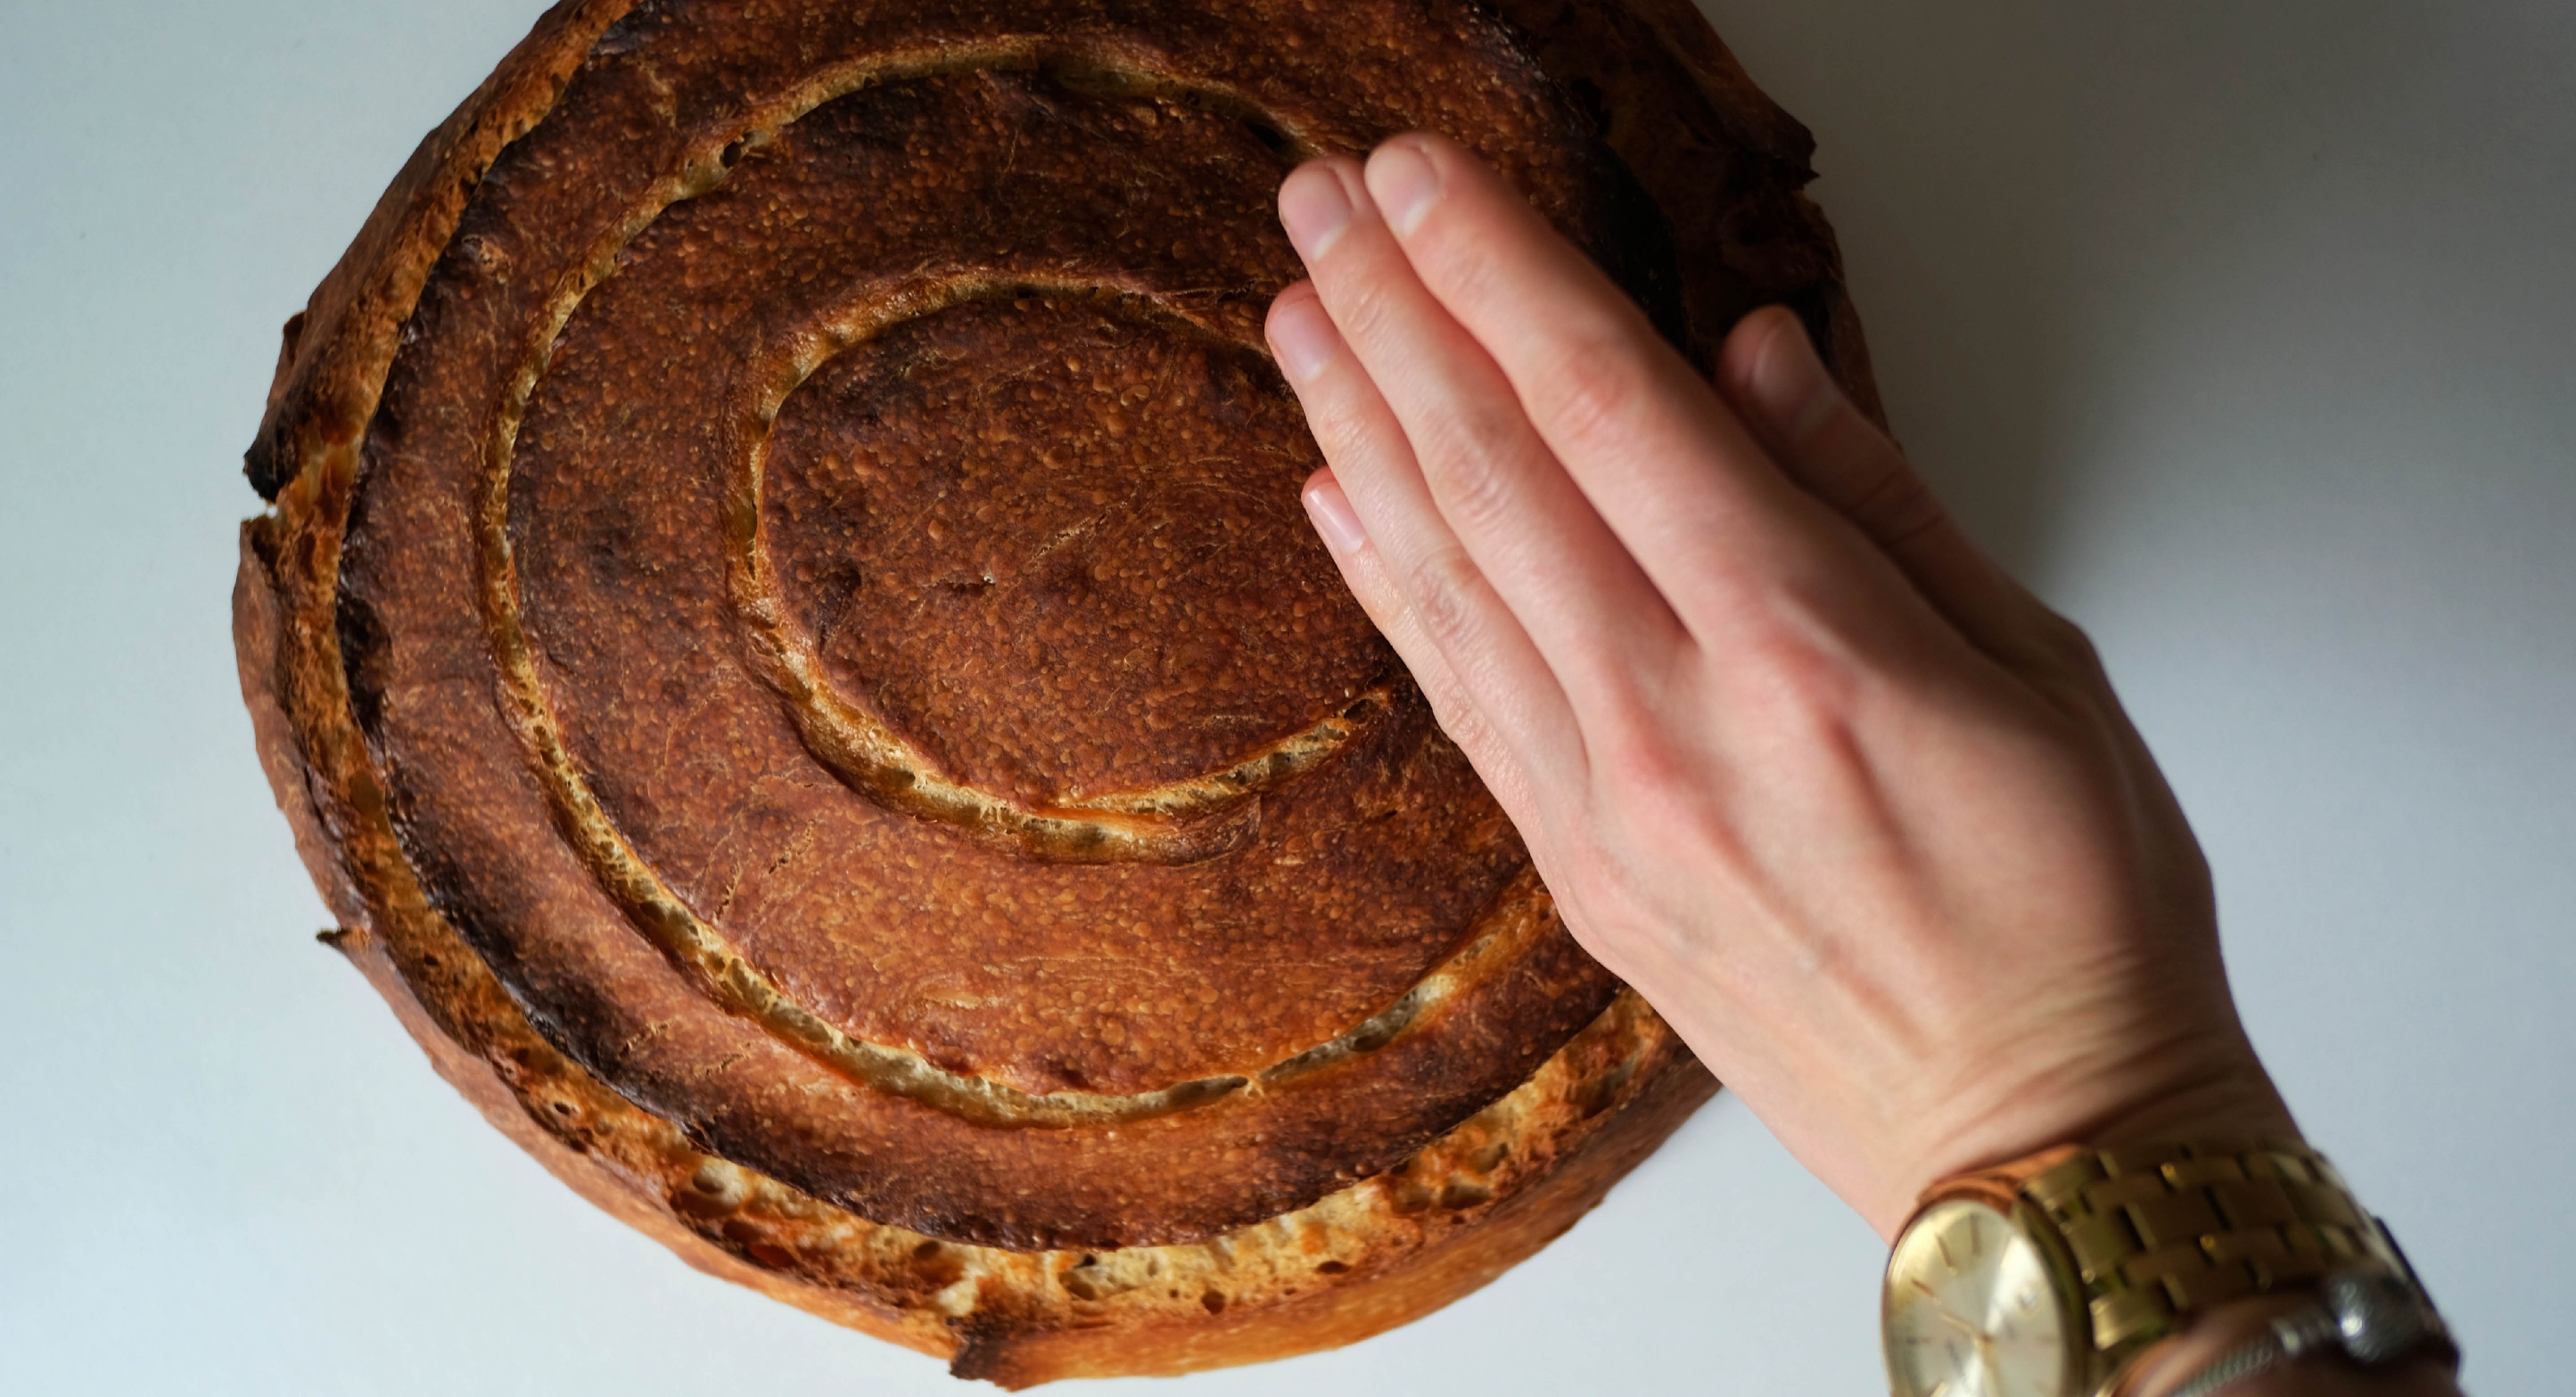
You can play with all sorts of shapes.
I always love to grab myself the crunchies part of the bread and eat it with butter
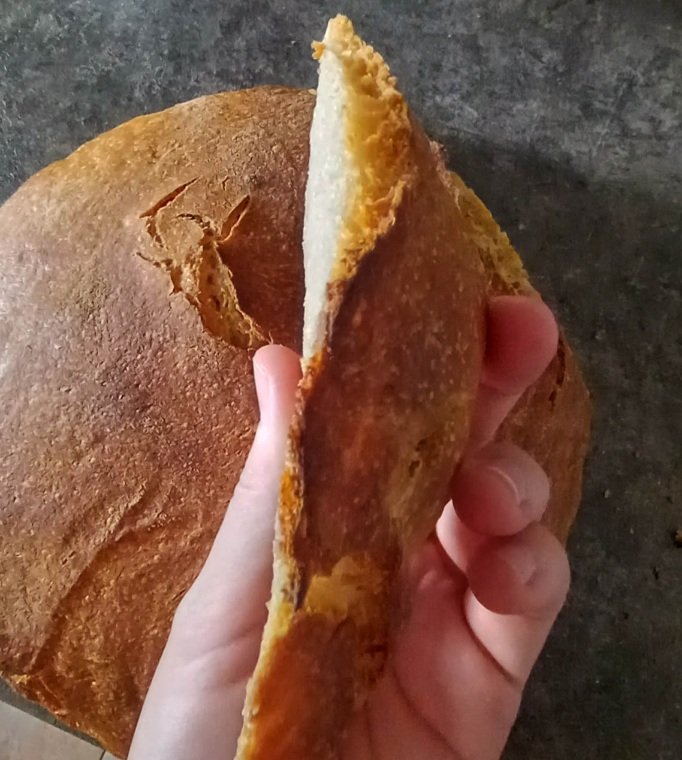
I have learned some things about the sourdough bread experience
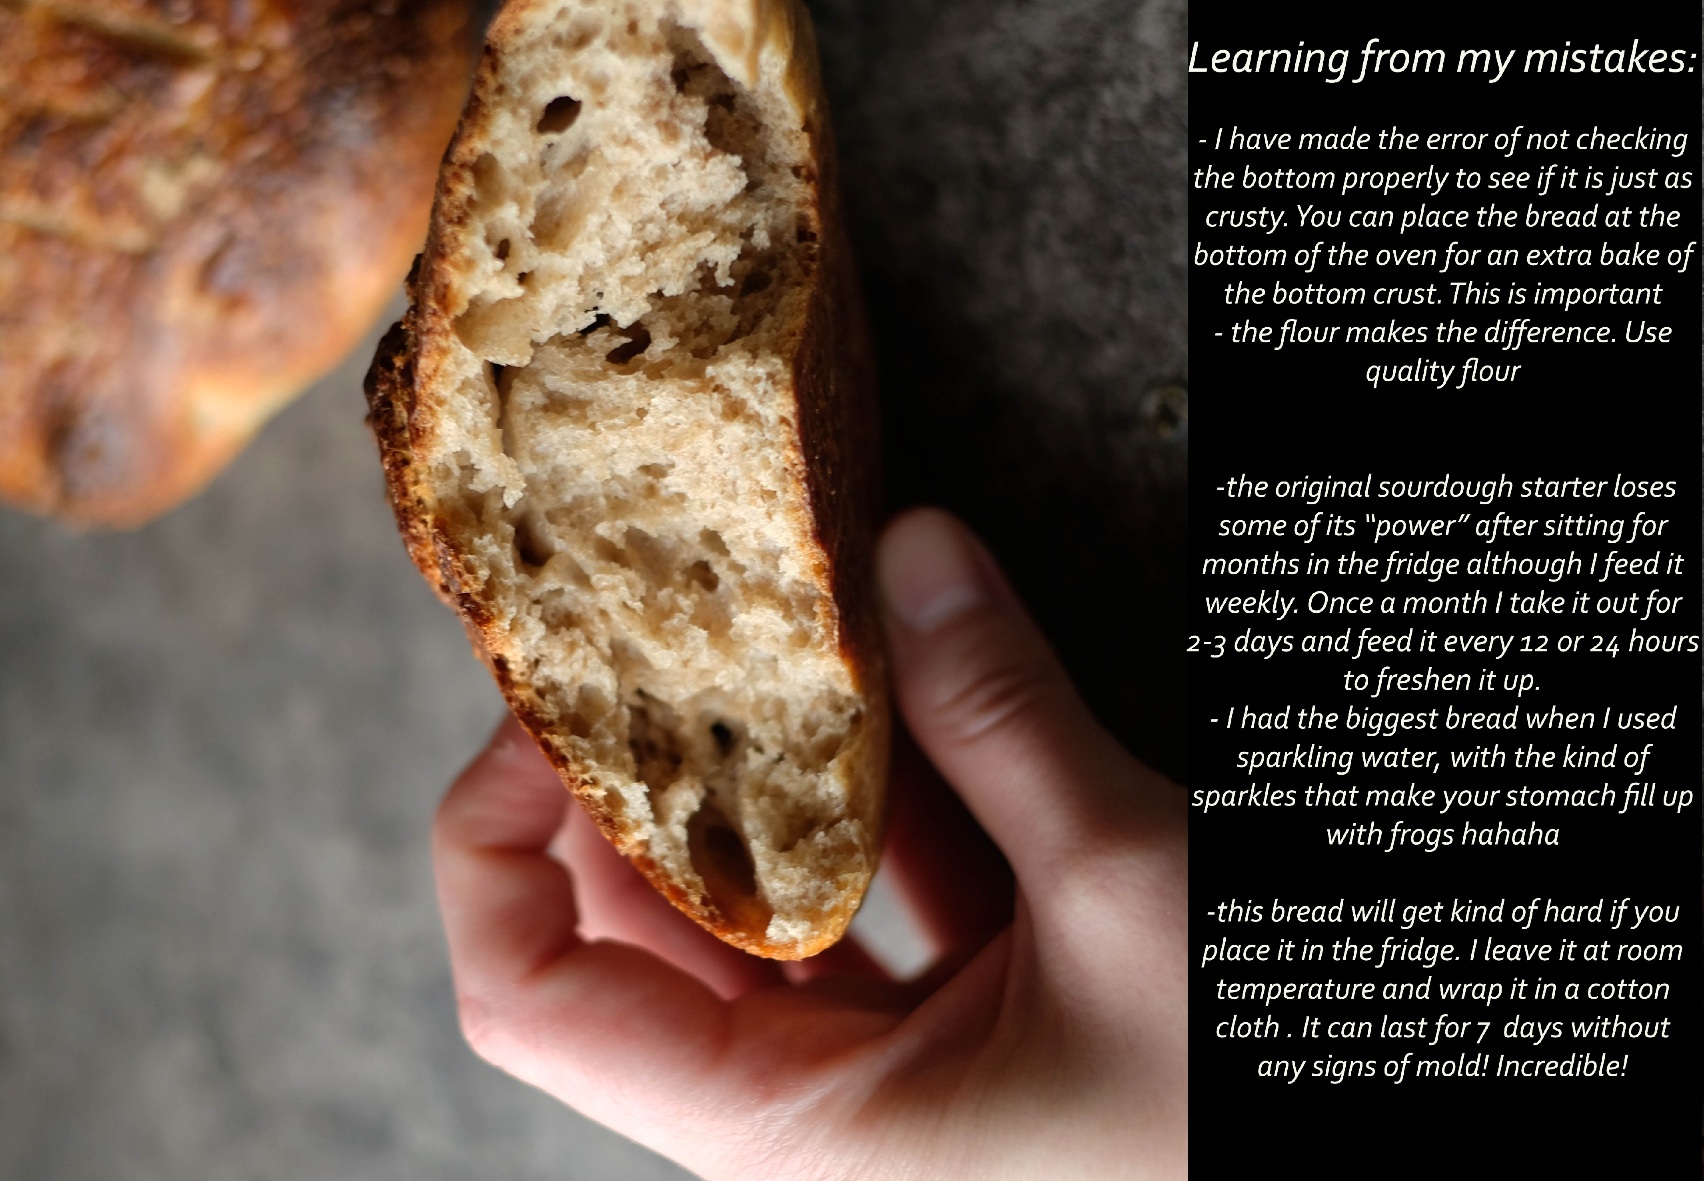
I have added some text on the pictures otherwise this post would have been a little novel in the making hahaha. I know that the preference for sourdough is something that is particular only for some people. I have come to truly enjoy baking my bread and it is almost therapeutic to work that dough, knowing that you made it with love.



 )
)


