Hello
Recently, I started to get questions about my posts. Especially the Gifs I added were attracting attention and I was getting questions about how I did it. Instead of answering everyone one by one, I wanted to explain it through a post.
We all want our articles to look good. I try to take care of this as much as I can. Sometimes it's not enough to explain things with photos, that's when I use gifs. In the past, instead of gifs, I used to upload short videos to Youtube and share the link here. Of course, this could take a while. Then I discovered the Giphy application and this job became easier for me...
In this way, I can easily deliver the parts I want to show you from the videos I shoot. You can prepare gifs online without downloading the application to the phone, but my preference was the application. I like to have it always at hand. Now I want to tell you how I prepare gifs through the application.
You can download the application from the link above. After downloading, take the first step by becoming a member.
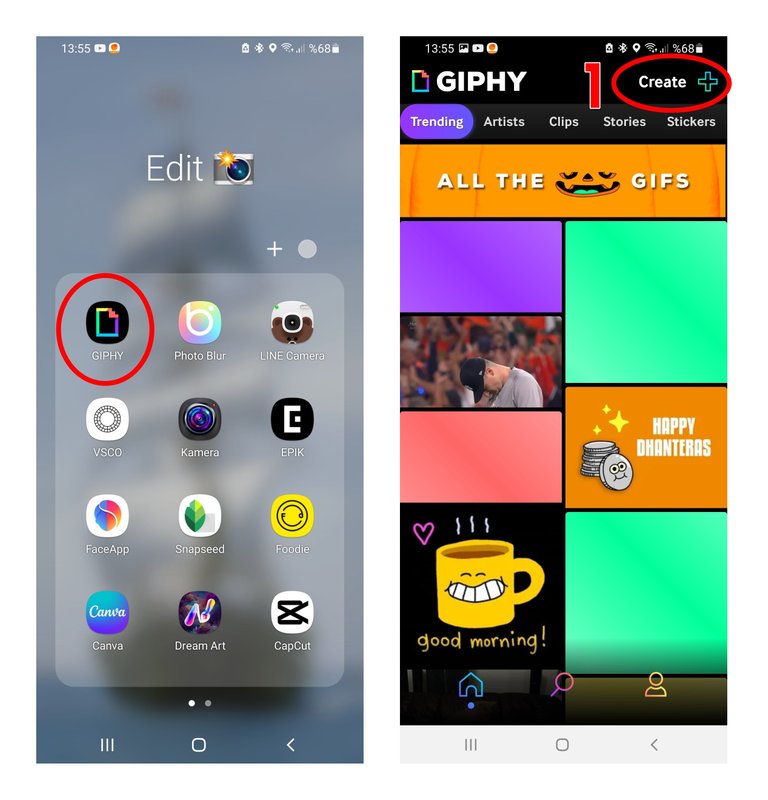
1- After signing up, press the "Create " button in the top corner. Here we will choose from the videos we want to turn into gifs.
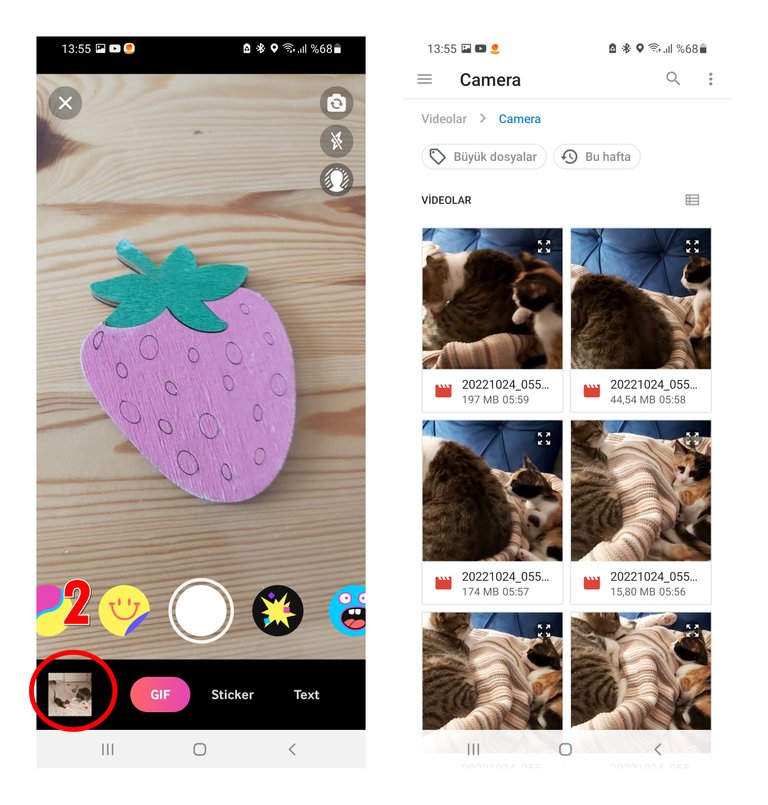
2- Select any video you want to convert to Gife and proceed.
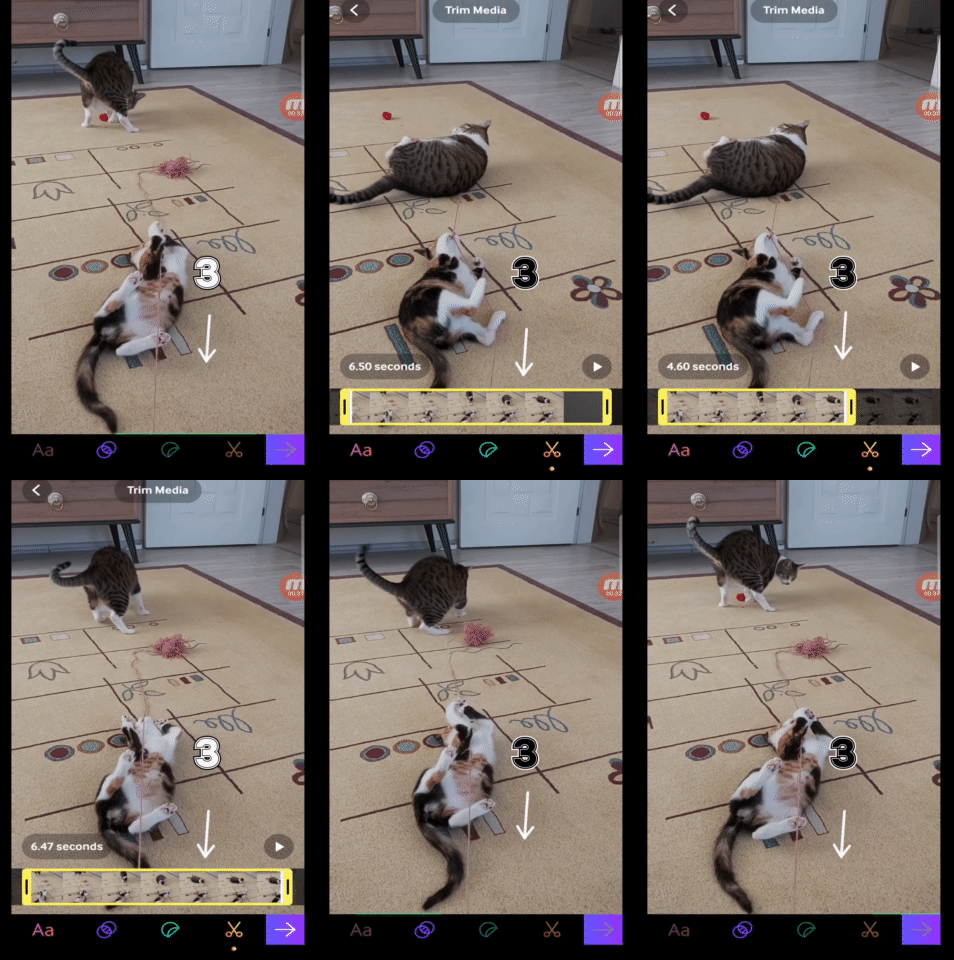
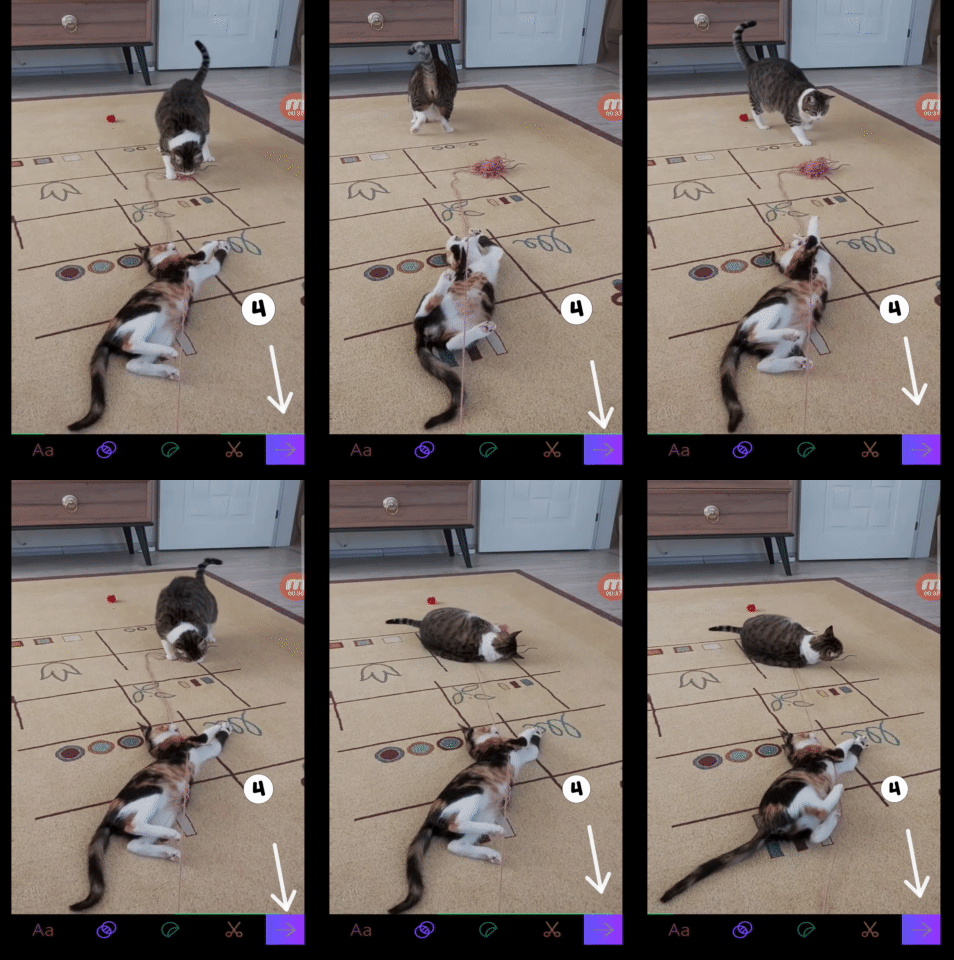
3- After selecting our video, let's select the 7-second part that we will turn into a gif. Drag the bottom part for this. Stop when you get to the part you will select. If you wish, you can shorten the gif by holding and dragging the yellow box from the ends.
4- After selecting the section you want, you can go to the step of recording your gif by pressing the arrow sign at the bottom right.
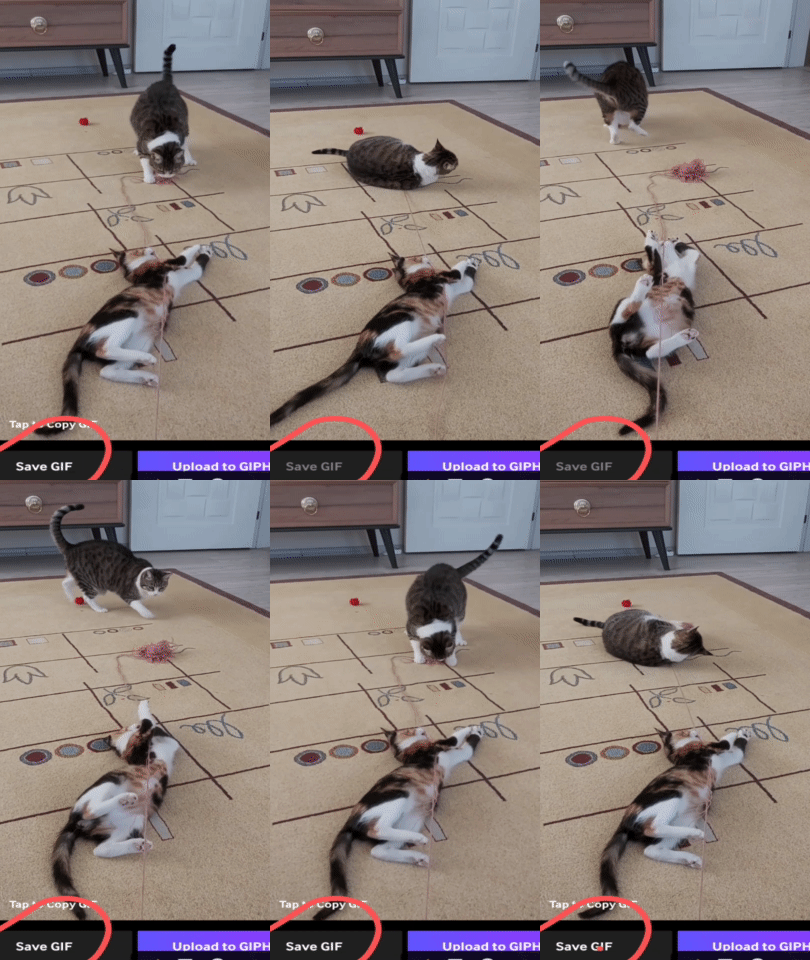
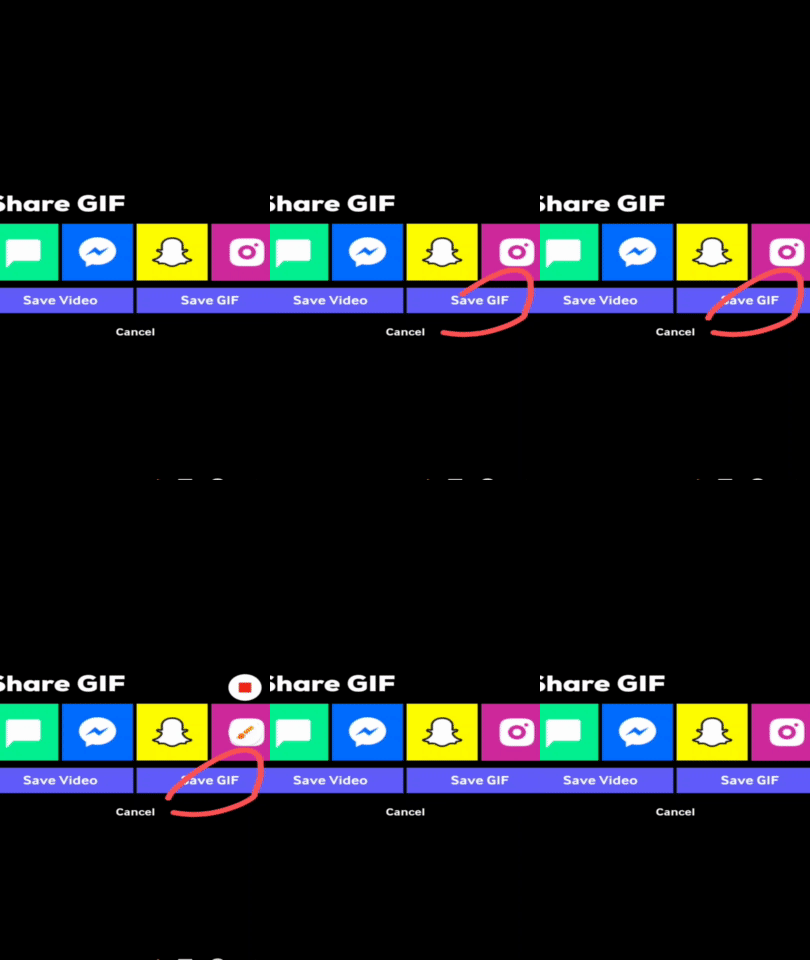
You will see a new screen and click Save GIPHY. Sometimes you have to wait a few seconds to click this button. Now your gif is ready. You don't need to do anything extra to add your gif to your article. You can upload it just like uploading a photo. I hope this was a useful content for your article. If you have any other questions, feel free to ask.
I also get questions about how I design the cover photos for this and my other articles. Maybe I will post a short article about them too. Take care until we meet again.
love.
TÜRKÇE

Merhabalar.
Son zamanlarda postlarımla ilgili sorular almaya başladım. Özellikle eklediğim Gifler dikkat çekiyordu ve nasıl yaptığım konusunda sorular alıyordum. Herkese tek tek cevap vermek yerine bir post üzerinden anlatmak istedim.
Hepimiz makalelerimizin güzel görünmesini isteriz. Ben de elimden geldiğince bu konuda özenmeye çalışıyorum. Bazen bir şeyleri fotoğraflarla anlatmak yetmeye biliyor işte o zaman mutlaka gif kullanıyorum. Eskiden gif yerine kisa videoları Youtube yükler linkini burada paylaşırdım. Bu tabi ki biraz uzun sürebiliyordu. Ardından Giphy uygulamasını keşfettim ve bu iş benim için artık daha kolay olmaya başladı...
Çektiğim videolardan göstermek istediğim kısımları bu sayede kolayca sizlere ulaştırabiliyorum. Gifleri telefona uygulama indirmeden online olarakta hazırlayabilirsiniz ama benim tercihim uygulama oldu. Her zaman elimin altında bulunmasını seviyorum. Şimdi sizlere uygulama üzerinden gifleri nasıl hazırladığımı anlatmak istiyorum.
Uygulamayı yukarıda ki linkten indirebilirsiniz. İndirdikten sonra üye olarak ilk adımı atın.

1- Üye olduktan sonra en üst köşede bulunan "Create" butonuna basın. Buradan gife döndürmek istediğimiz videolardan seçim yapacağız.

2- Gife dönüştürmek istediğiniz herhangi bir videoyu seçiniz ve ilerleyiniz.


3- Videomuzu seçtikten sonra içinden gife donustureceğimiz 7 saniyelik kısmı seçelim. Bunun için alt kısmı sürükleyin. Seçeceğiniz kısma gelince durun. Dilerseniz sarı kutucuğu uç kısımlarından basılı tutup sürükleyerek gifi kısaltabilirsiniz.
4- İstediğiniz bölümü seçtikten sonra sağ alt kısımda bulunan ok işaretine basarak gifinizi kayıt adımına geçebilirsiniz


Karşınıza yeni bir ekran gelecek oradan Save GIPHY tıklayın. Bazen bu butona tıklamak için bir kaç saniye beklemeniz gerekiyor. Artık gifiniz hazır. Gifinizi makalenize eklemek için ekstra bir şey yapmaya gerek yok. Tıpkı fotoğraf yükler gibi yükleyebilirsiniz. Umarım makaleniz için faydalı bir içerik olmuştur. Başka herhangi bir sorunuz varsa çekinmeden sorabilirsiniz.
Bu başlıkta ve diğer makalelerimin kapak fotoğraflarını nasıl tasarladığım konusunda da sorular alıyorum. Belki onlar hakkında da kısaca bir makale yayınlarım. Tekrar görüşene kadar kendinize iyi bakın.
sevgiler.
