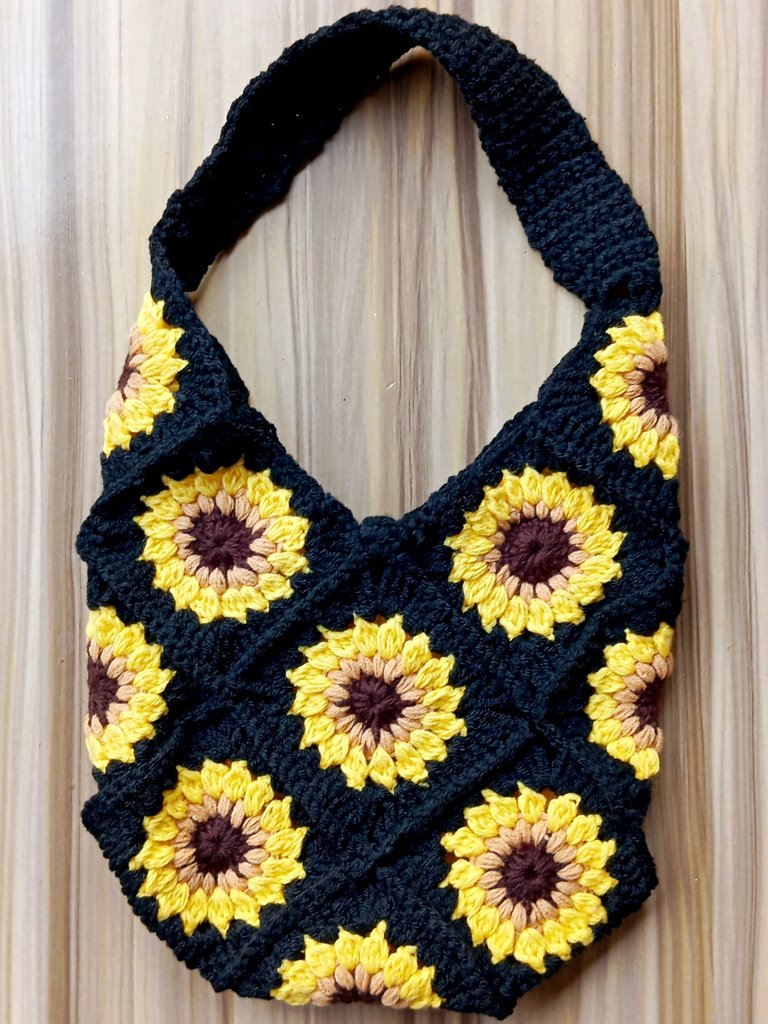
Hi needleworkers, great Monday here. So the project that I'm sharing today is kind of like a spin off from the clown bralette that I made for myself last year. The bralette was so pretty and beautiful beyond words that my aunties plus other relatives could not stop gushing over it. It was more like the ugly duckling that became the beautiful swan lol.
My older aunt, who was also the birthday gal that we had all travelled to felicitate with, was even more fascinated as she has never seen me crochet before. Without hesitation, she asked that I repeat the bralette for her too. She was specific about the X design at the back and even called it times which is what multiplication (X) is popularly called in Nigeria.
I had the mind to make her a beautiful tote bag and present to her as a birthday gift, I had wanted it to be a surprise and her asking for a bralet sort of ruined that surprise. The thing is, I didn't carry enough yarn to cover a bralette for her and still get on with the bag. So, it has to be either one of them and I needed her to choose.
She didn't hesitate nor thought it twice as she immediately jumped on the bag offer asking me to leave the bralet first. I asked her what type of bag she had in mind and she said she needed something colourful and casual that she could hang on her shoulder.
Well, choosing a design wasn't such a difficult task but crocheting it??? That's where the difficulty lied and I did myself dirty procrastinating a lot.
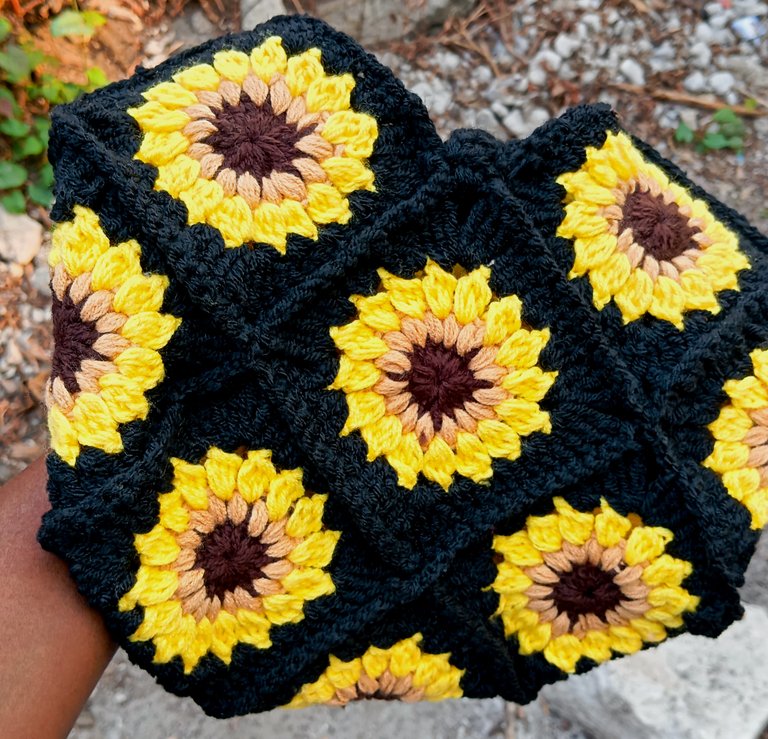
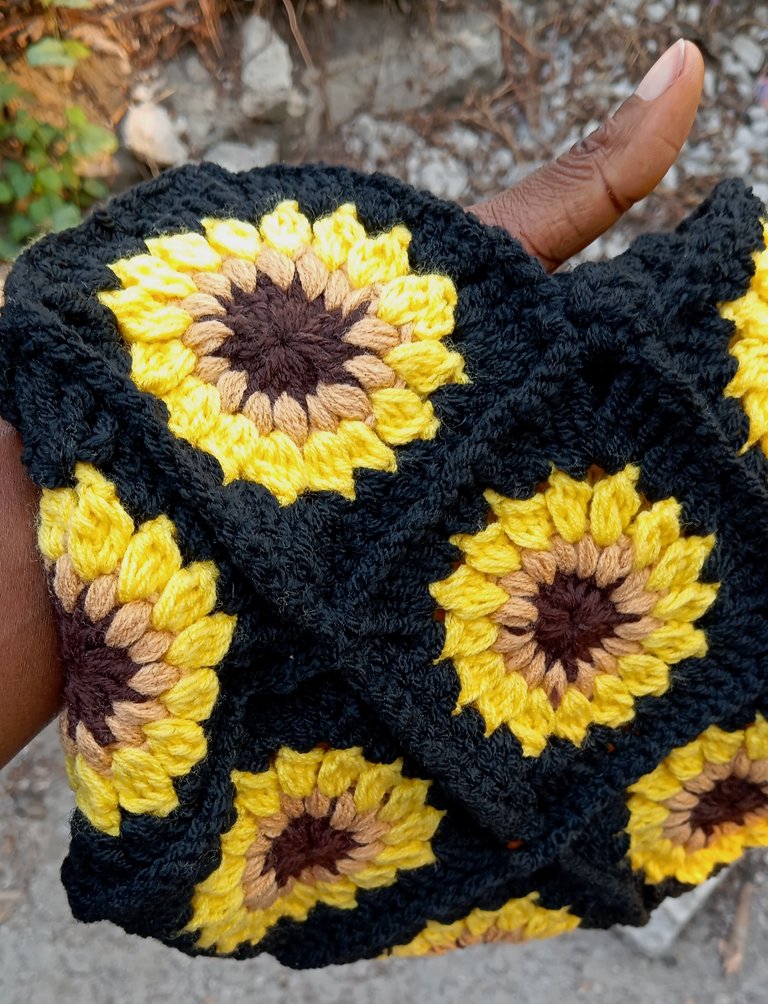
The time for delivery drew closer and became really short too. I had just 24 hours so I got on the bag and it was OVERWHELMING but thank goodness as always lol, I succeeded. The bag took me a whole day and I had no sleep but the outcome and my aunt's reaction upon receiving the bag was priceless and highly satisfactory to me. It was a sunflower inspired bag made using the granny square pattern.
MATERIAL
Yarns
4.5mm crochet hook
Crochet needle
PROCEDURE
I made the bag with a total of 15 sunflower designed granny squares. Given how I was crocheting under so much pressure, I had forgotten to take pictures while crocheting the squares. I only got on picture taking when I was done with the squares and needed to assemble. So the pictorial will start from there.
Step one
You can start with a magic circle but I didn't because magic circle is such a struggle for me. I made use of the circle hack that I was taught back then in primary school during crochet and craft class.
For the first row, I made a circle hack. Between my thumb and index finger I circled some yarn about three times leaving behind some yarn string. Still holding the circled yarn in place with my thumb and index finger, I inserted my Crochet hook and yarn over. I made 3 chains, after which I made 15 double crochet. I drew on the string of the circled yarn to tighten and bring all the crochet stitches close. I made a slip stitch at the top of the 1st stitch in the row to join. I fastened off the 1st color with a total of 16 stitches (the first three chains plus 15 double crochet)
Step two
This row consists of puff stitches. I started by attaching the 2nd color in any stitch of choice and then chained 2. I yarn over, inserting the hook into the same stitch as joining. I pulled up a loop to the height of a double crochet (3 loops on the hook). I yarn over again and inserted the hook into the same stitch and pulled up another loop making 5 loops on the hook. I yarn over again, inserting the hook into the same space, pulling up another loop to make it 7 loops on hook. I pulled a yarn through all the loops, then chained 1 to lock in the stitch. First puff stitch made. Repeat the same procedure in the rest stitches to arrive at 16 puff stitches.
Step three
I started this row with a bobble stitch. I first slipped a stitch of the new color on my hook. Carefully, I yarn over then insert a hook into the space between 2 puff stitches and pull up a loop. I yarn over again and then pull through 2 loops (this leaves 2 loops on hook). I made 3 more incomplete double crochet stitches. There are now 5 loops on the hook. I proceeded to yarning over and pulled through all 5 loops. I then chained 2 to lock in the bobble stitch. I continued to work the bobbles across the row into the spaces in the previous row. At the end of the row, I slip stitch to top of the 1st bobble stitch. I now have 16 bobble stitches.
Step four
Join the new color in any space in the previous round. Chain 3 to count as 1st double crochet. Insert 2 dc in the same space.
In the next space, work all of the following: 3 triple crochet, ch 2, 3 triple crochet this makes the corner. Insert 3 double crochet in the next space, then 3 half double crochet in the next space and another 3 double crochet in the next space. Repeat the pattern and join with a slip stitch to the top of the 1st double crochet in the row.
Sewing together the squares
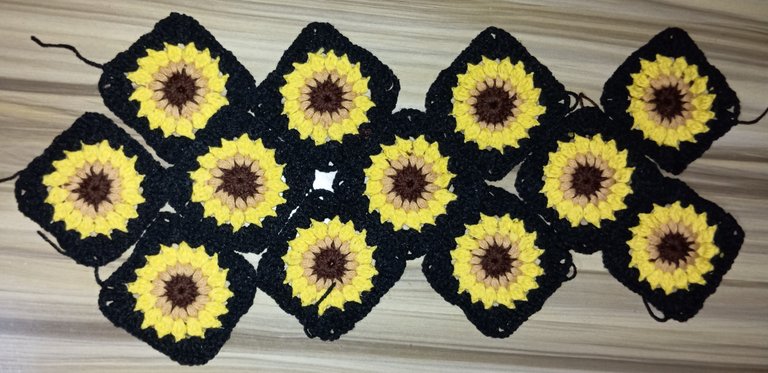
I lined out the squares, although after crocheting through this pattern, I discovered that the bag didn't lap and close properly.
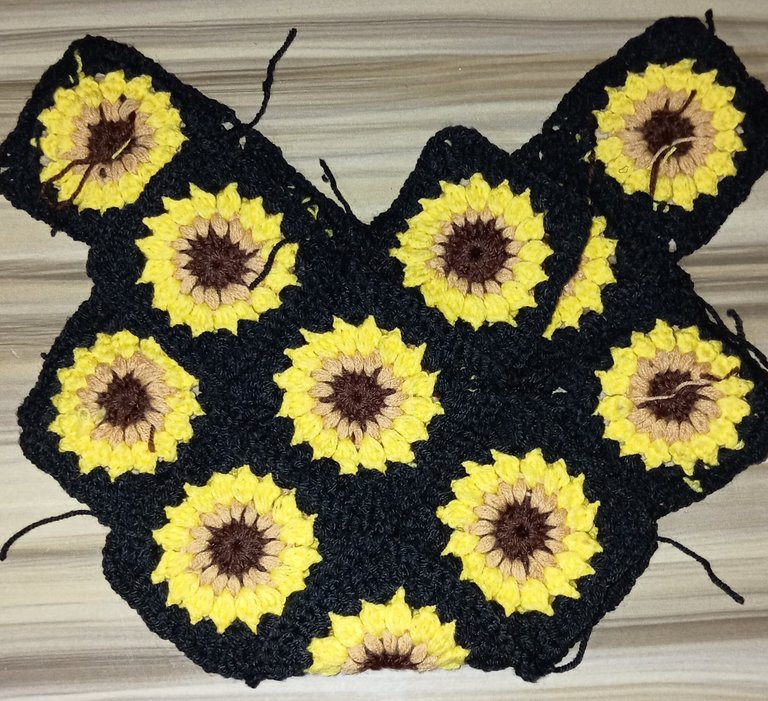
I losened and placed some of the squares at the top again. I crochet through, while checking to see if it has lapped and closed properly.
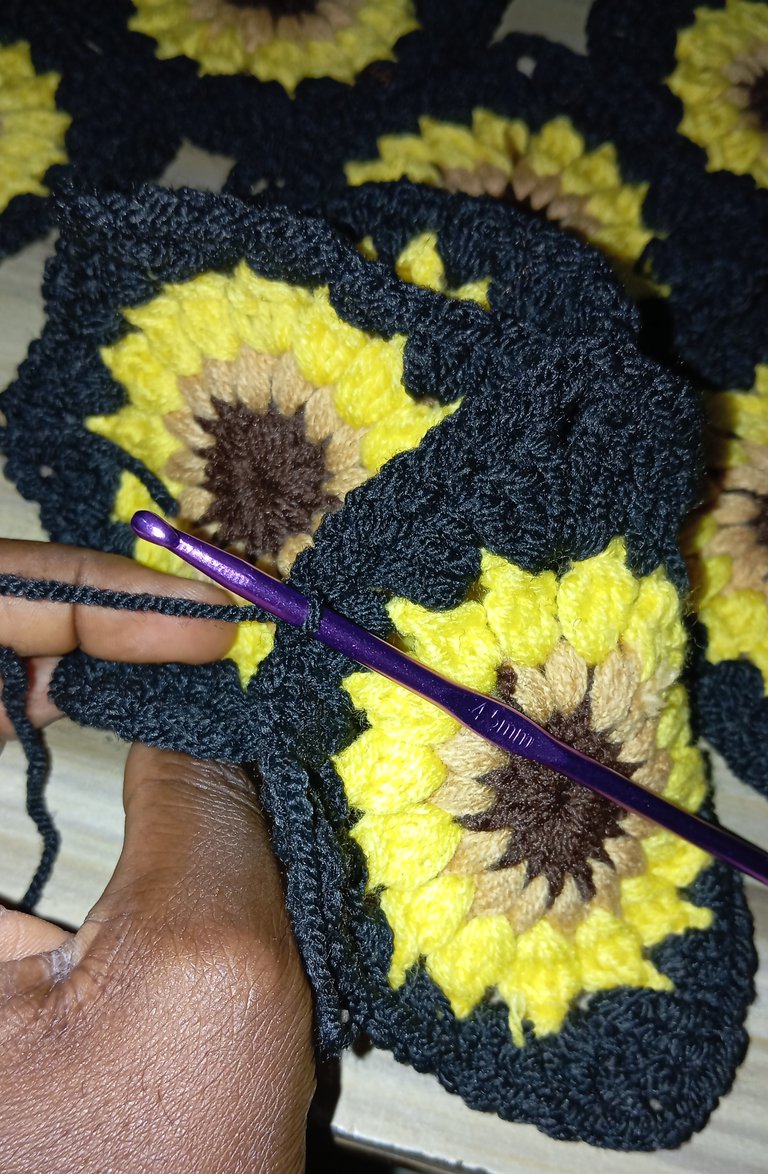
When I finally got it right and all the squares are joined together to form the bag, I started with handle.
The handle
At the edge of the bag by the corner, with my hook and yarn, I started with a single crochet. I crochet 10 stitches and at the 10th stitch, I turned and continued to the beginning of the first stitch. I repeated the pattern till I got my desired length. Using a slip stitch, I joined the finished end of bag handle to the other edge of the bag by the corner.
To close the bag in the middle, I made a small belt to go round, inbetween the middle of the bag. To achieve this, I made 15 chains. Building on the 15 chains, I made three rows of double crochet. With a slip stitch, I added the belt to the middle of the edge at the back of the bag.
GALLERY
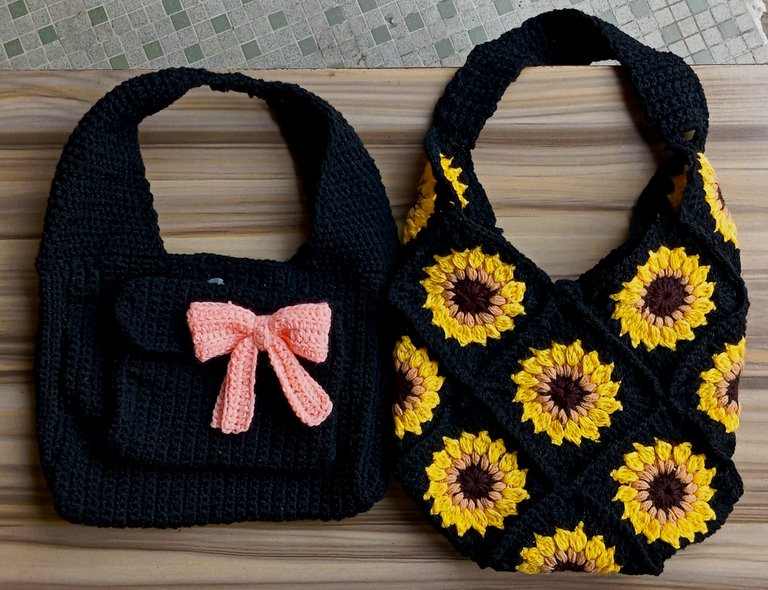
PS
Due to the urgency in meeting up with the delivery buses, I couldn't take enough pictures for this project. Please bear with me
ALL IMAGES ARE MINE