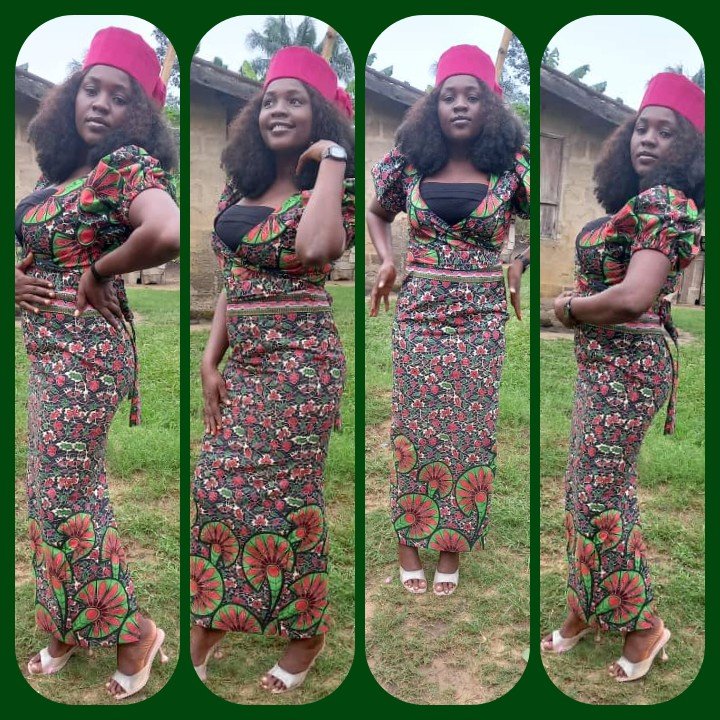
Season greatings #Needleworkmonday lovers
How was your weekend, hope it was good and stress, yes it was stressful to those successful one, one thing in this life is that a successful person need to pass through stress and temptation, that's what my parents always told me, lovers I'm here in #needleworkmonday to share with you guys on how i cut and sew this elegant overlap crop top with long pencil skirt for my client, a traditional marriage uniform.
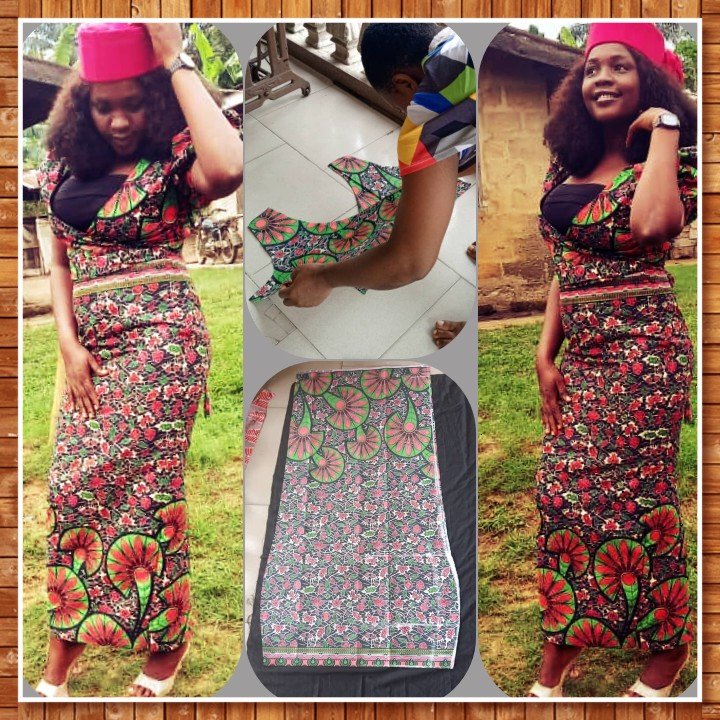
My needleworkers, we! the needleworkers passed through a lot, a lot of stress and many more as we all know, i always put myself up in terms of cutting and sewing but sewing depends on cutting, i always be attentive when it comes to cutting, 😄😄😄ahahaha calculation and cutting is the code.
I was really stress up through out this week, settling my clients was what i was fighting for, i couldn't mind myself being stressful because i hate staying idle, i remember when i gave myself a style to sew, which was overlap crop top with short pencil skirt and it was my first time of sewing an overlap crop top or wrap top.
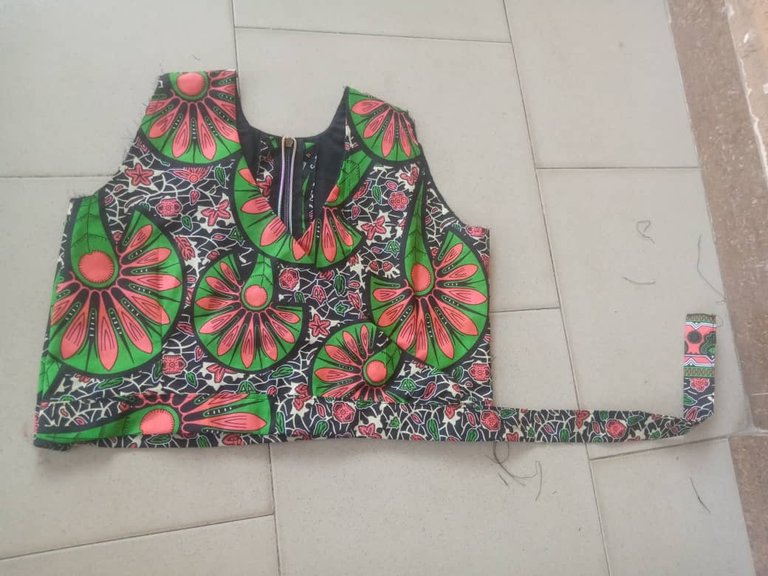
This was my first attempt
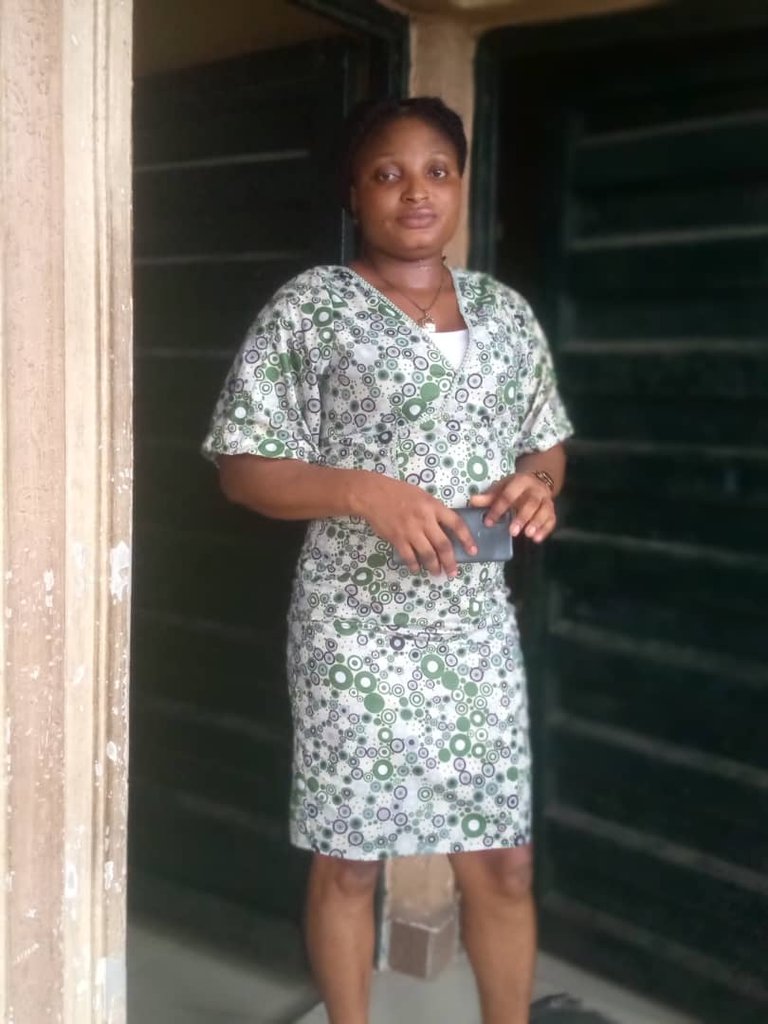
If you all check this picture very well you discover the mistake i made, so i use this my first experience to correct myselp and work out of it.
I was planning of getting a fabric to try this style again but fortunately my client come up with it, and i was so happy about it, thank God she came early, although i was already working on other's client clothes, after finishing with all i was working of, i discover i have only but two days to work on this overlap crop top with long pencil skirt, i didn't mind but i pushed myself faster so i can meet up on time and deliver on time too.
The materials i used
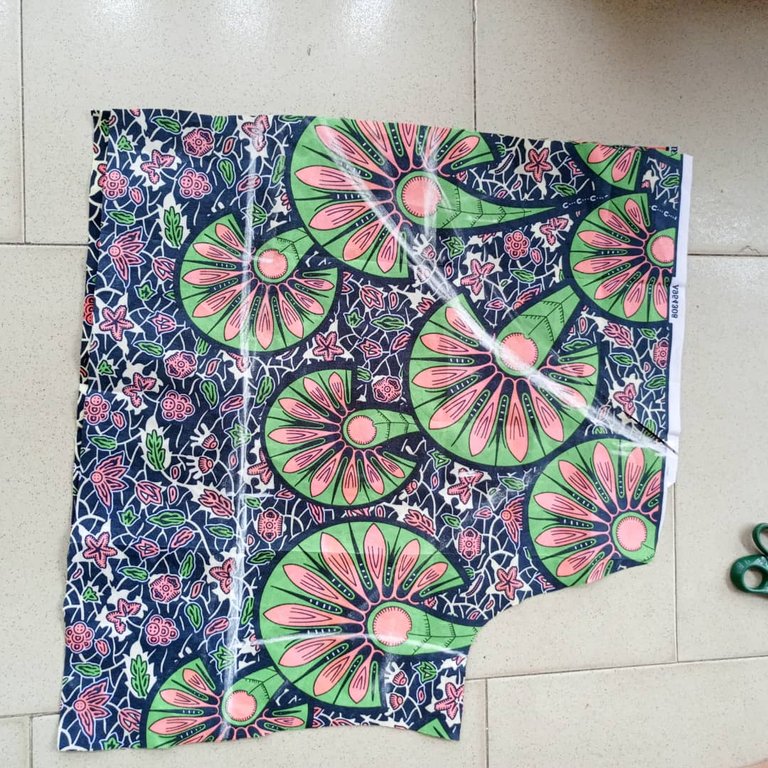
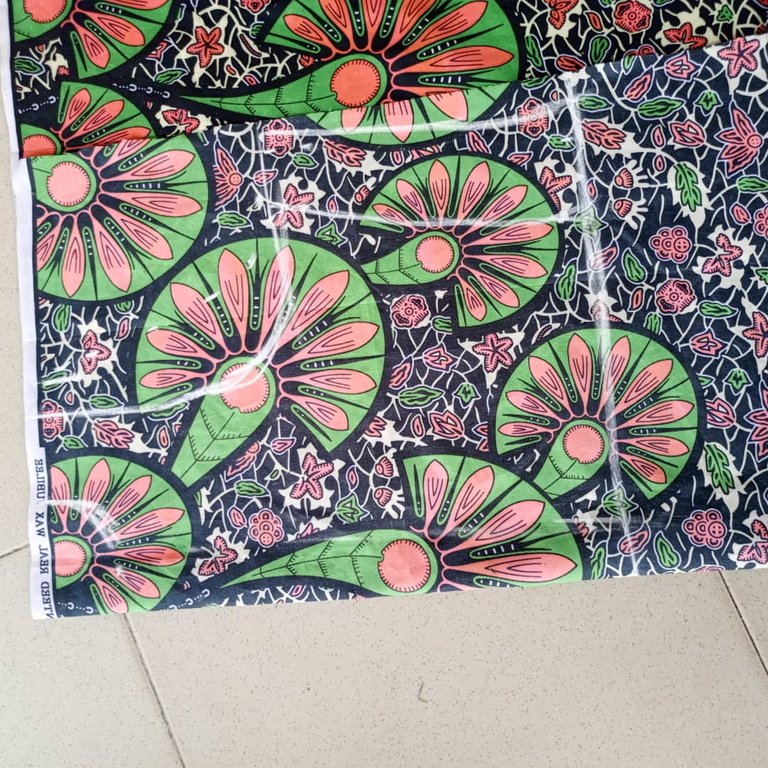
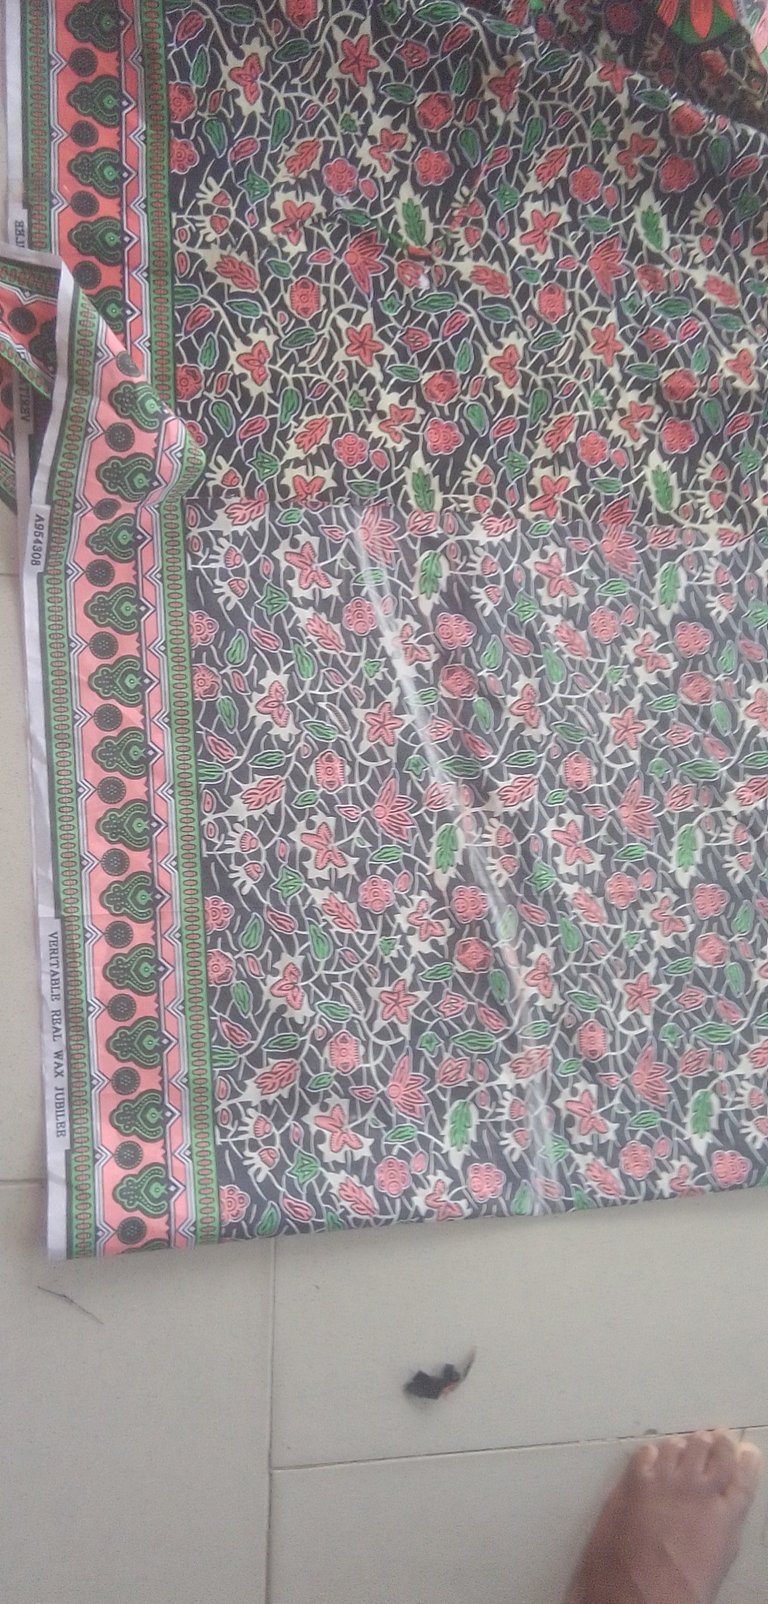
The main ankara fabric
Black lining
Black thread
Black elastic
Black zips
The procedure
Step 1
Starting with the skirt
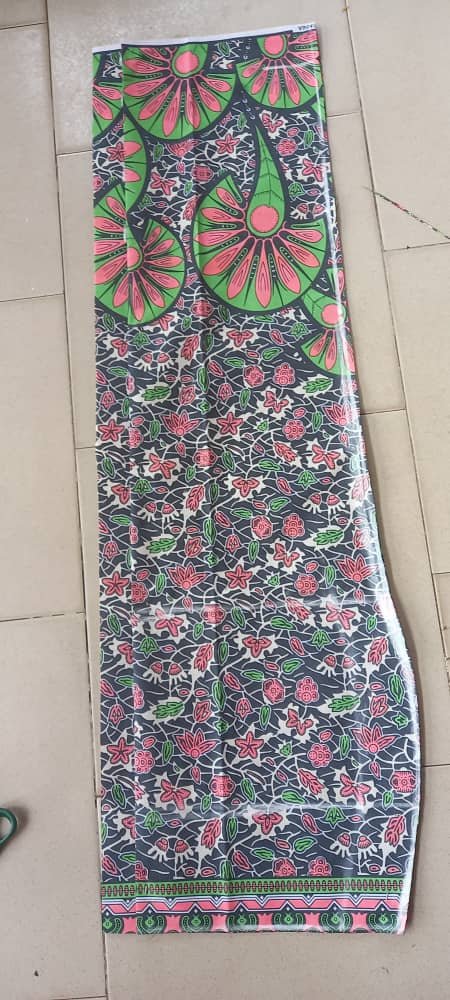
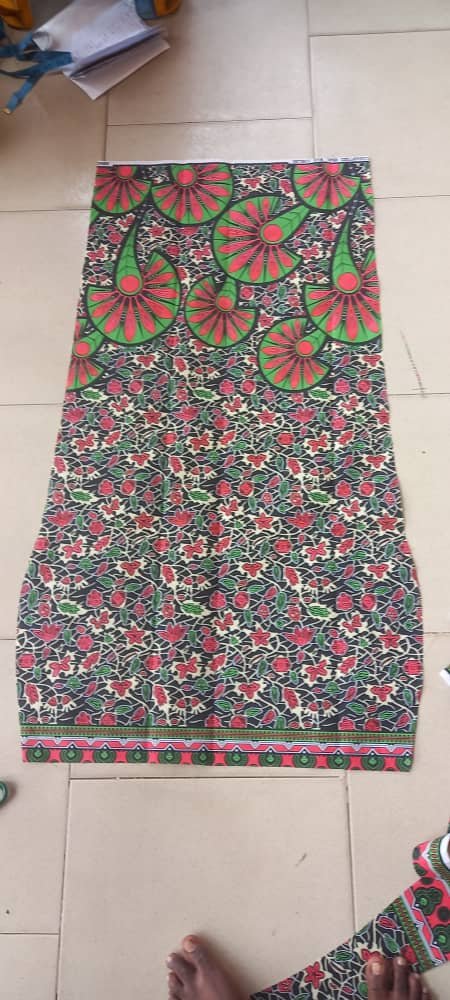
I folded the fabric into two equal part, i measured out her waist, then from her waist down to her inner hips and from her hips down to her full length, then i moved up again to her waist, i divided her waist by four and put 2inches for sewing allowance and i divided her hips by four and i also put 2inches for sewing allowance and i drafted it down, for the down part of the slit, i didn't want it to look like a cut, because she needed it straight and pencil, so i didn't put any allowance to it, after that i cut it out.
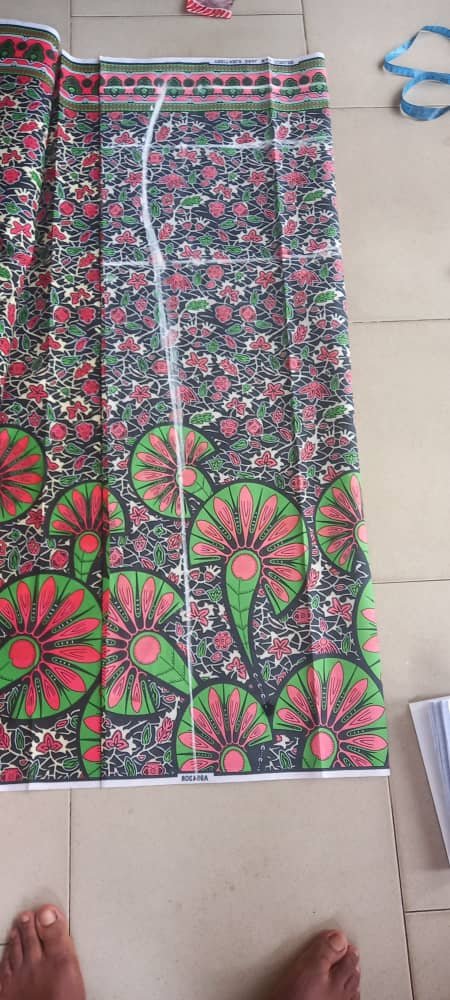
Step 2
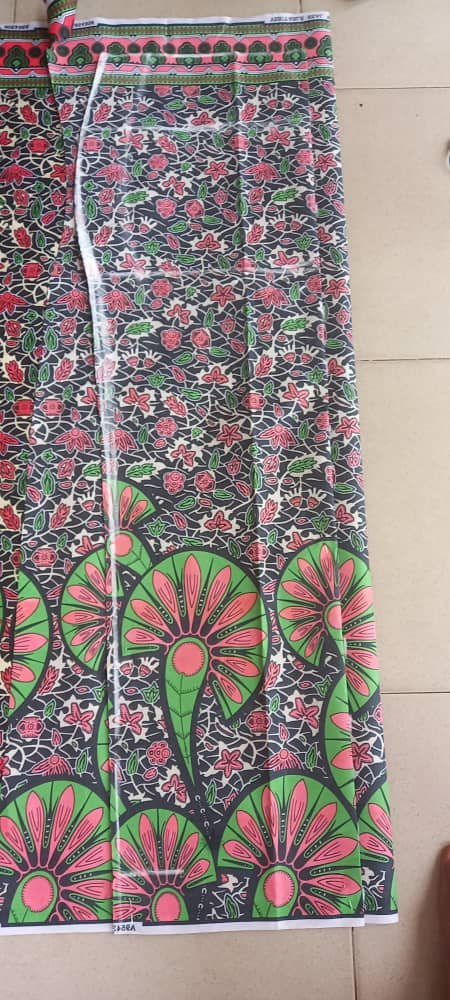
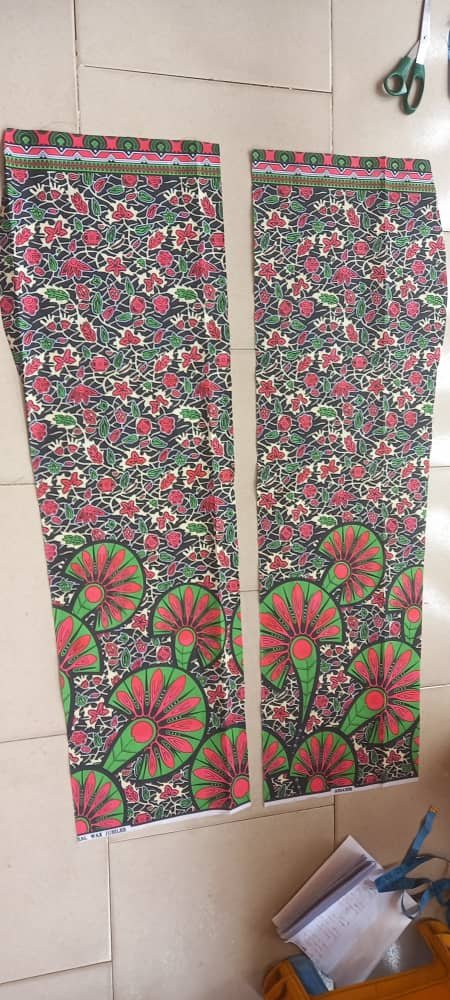
After cutting the front side out, i folded the fabric into two equal parts again and i placed the front on it , i measured out 2inches for zipper allowance and i cut it out according to the front shape.
Placing the front on the back
Step 3
After finishing with the cutting, i went ahead with the lining and i placed the front on it and cut it out, and o also do the same thing with the back side.
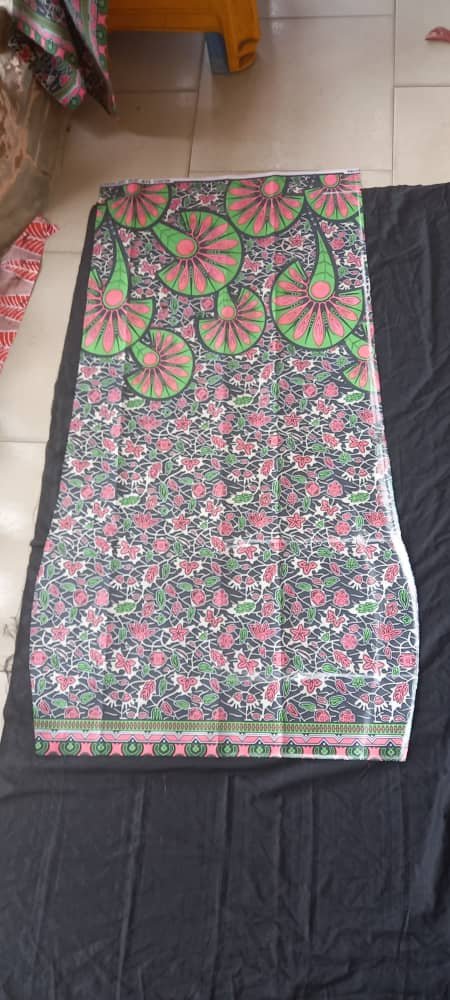
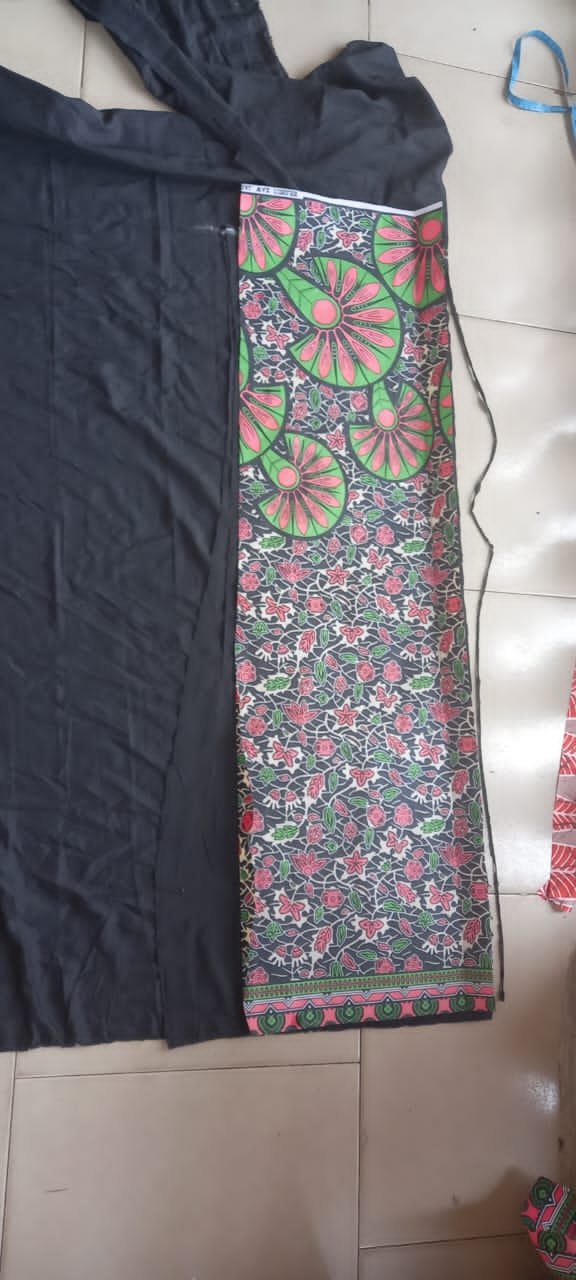
After cutting out the lining i went to my machine and turned them out, after turning everything i put a waist band before putting a zip to it, now the skirt is ready to wear.
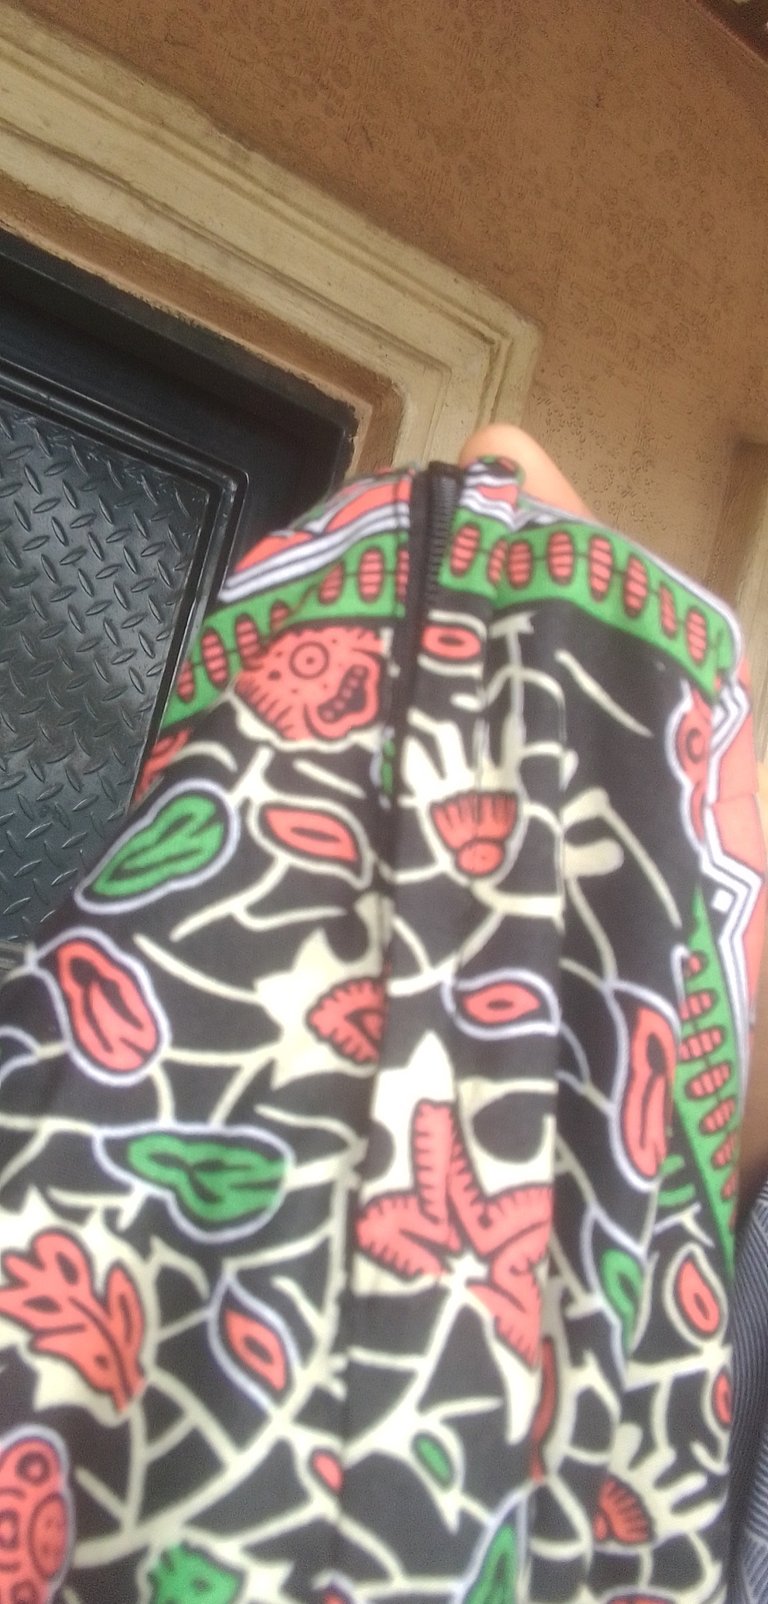
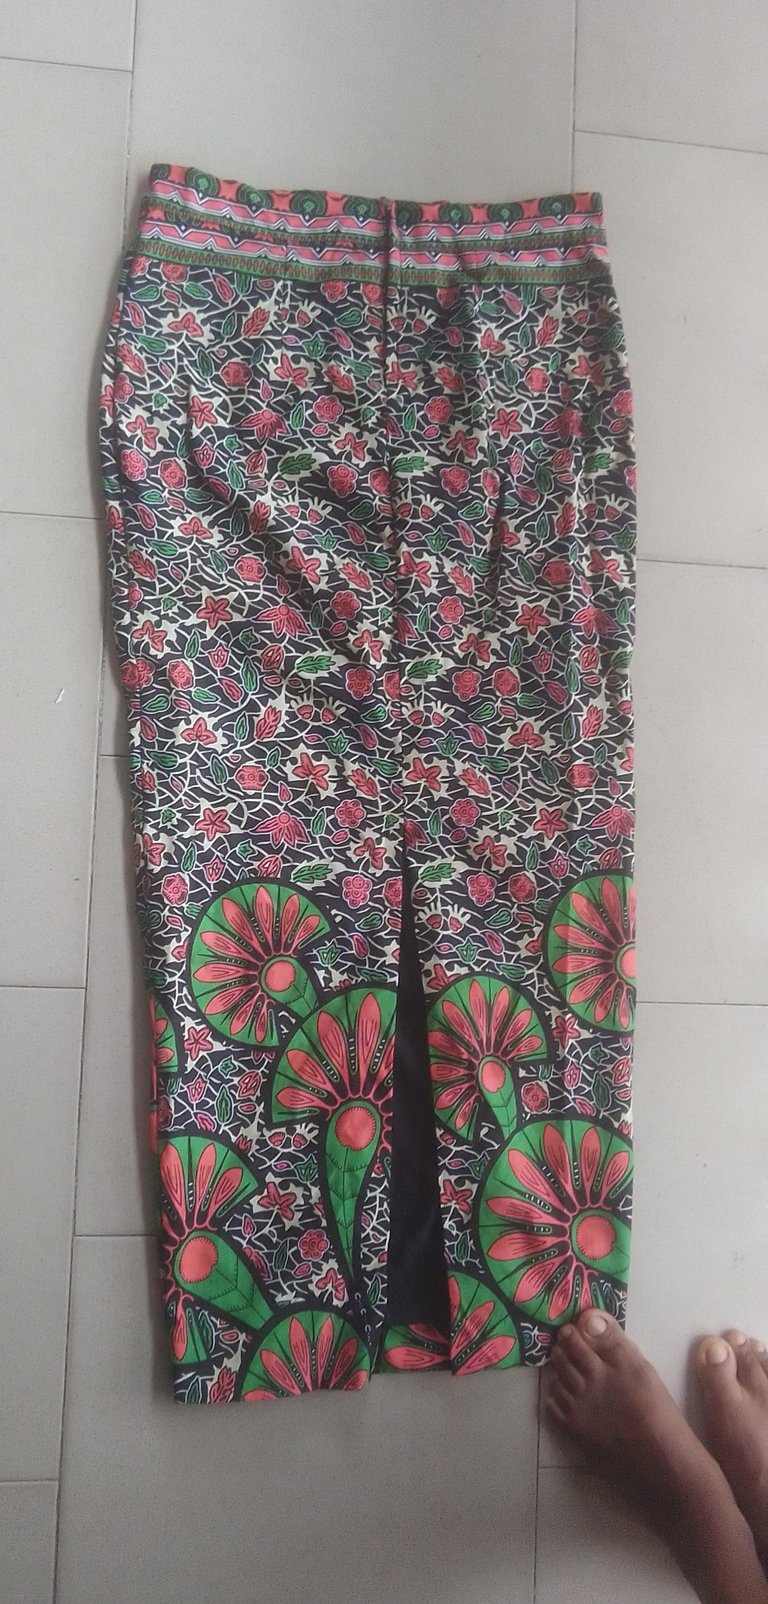
The top procedure
I folded the fabric into two, i measured her full length, her shoulder, her burst and body, after that i unfoled it and keep, because i wanted to have her body shape, i just placed it on the fabric again and cut it out, i cut out the ham hold and went ahead with the neck length and width, i measured from the upper neckline down, because she needed the neck so open and lap, that's why i open it down.
This is the whole front body side, i have to cut it in two because it an overlap, from the left side to the right side.
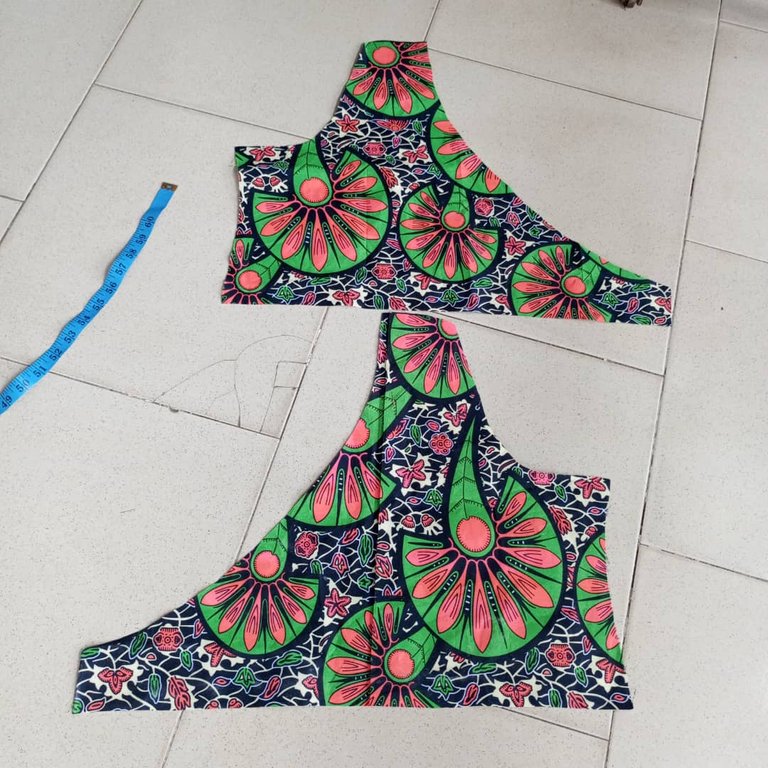
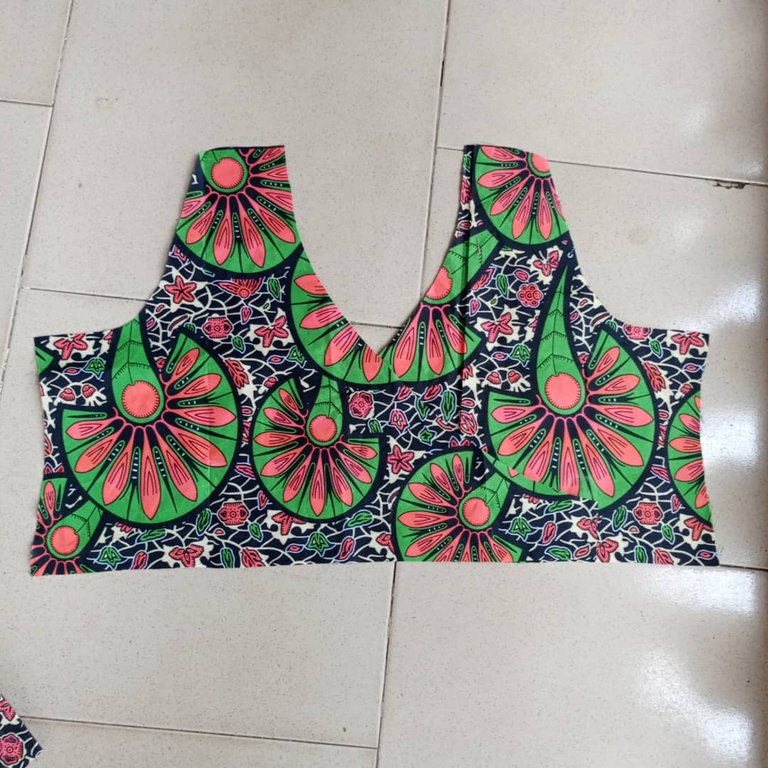
After cutting them out, i foled the material again and cut out the back too.
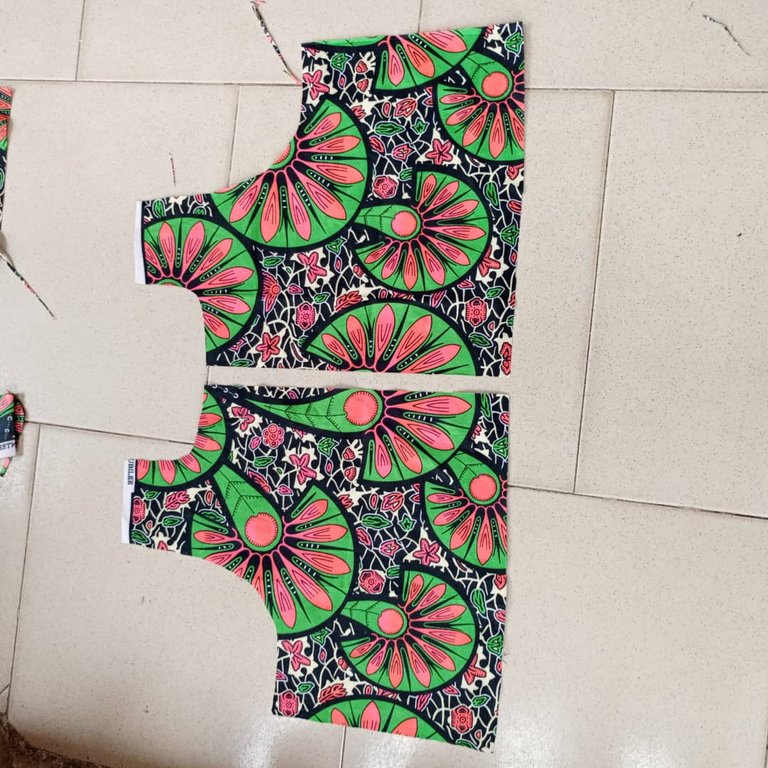
After finishing with the cutting i went ahead to tured them with lining and put a zip at the back side.
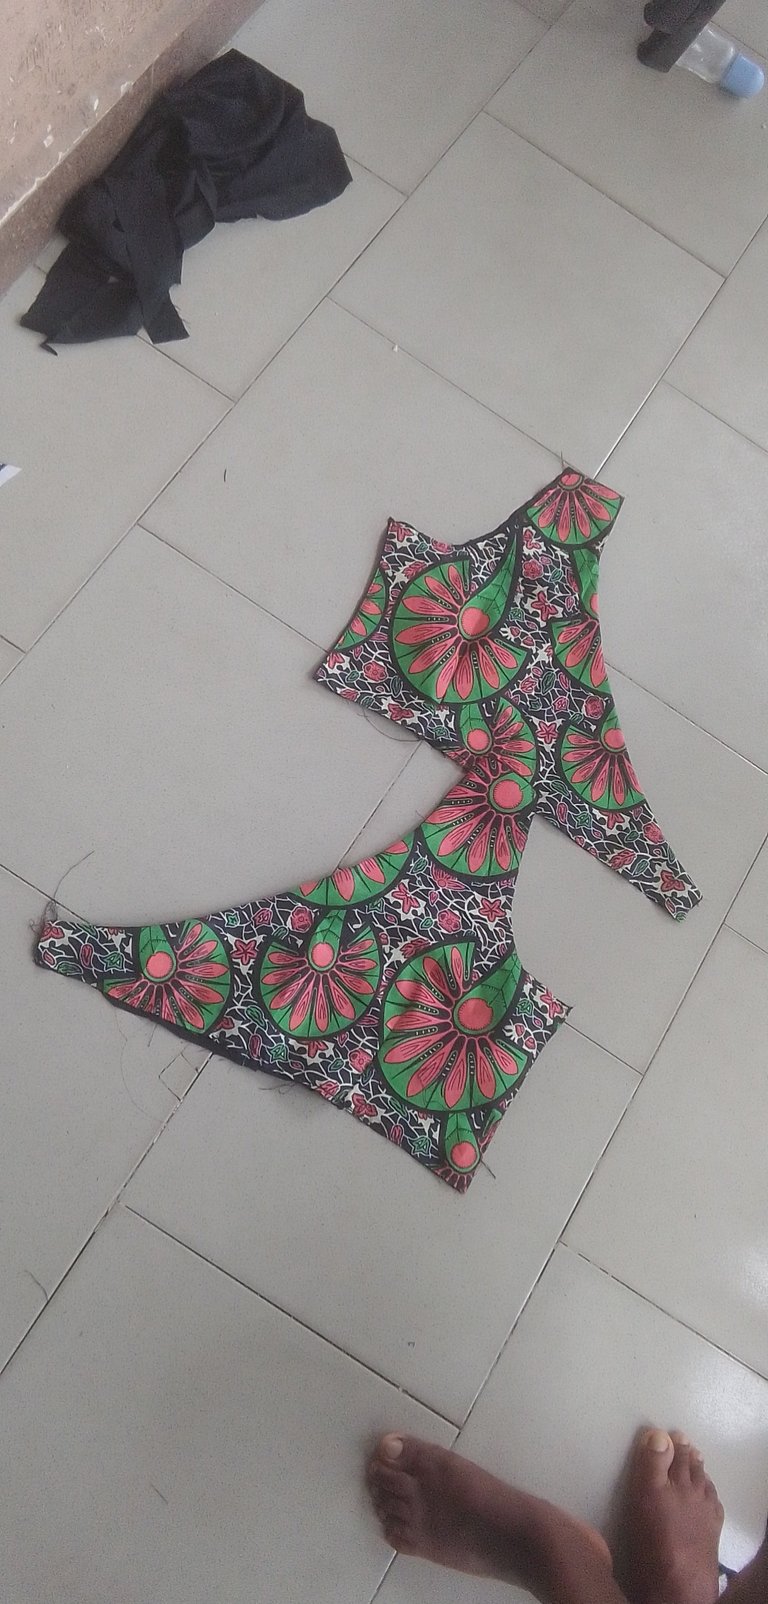
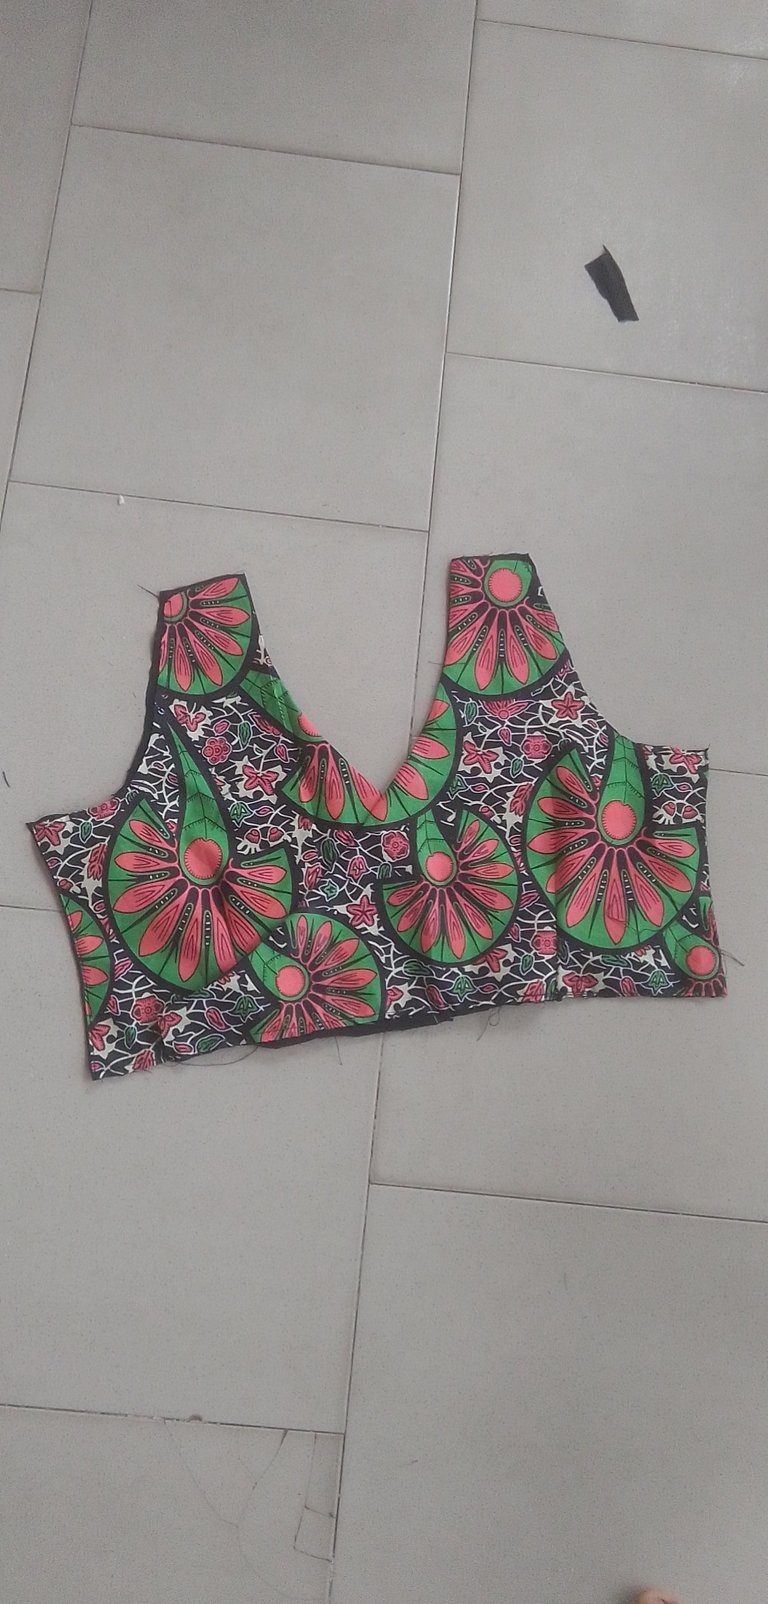
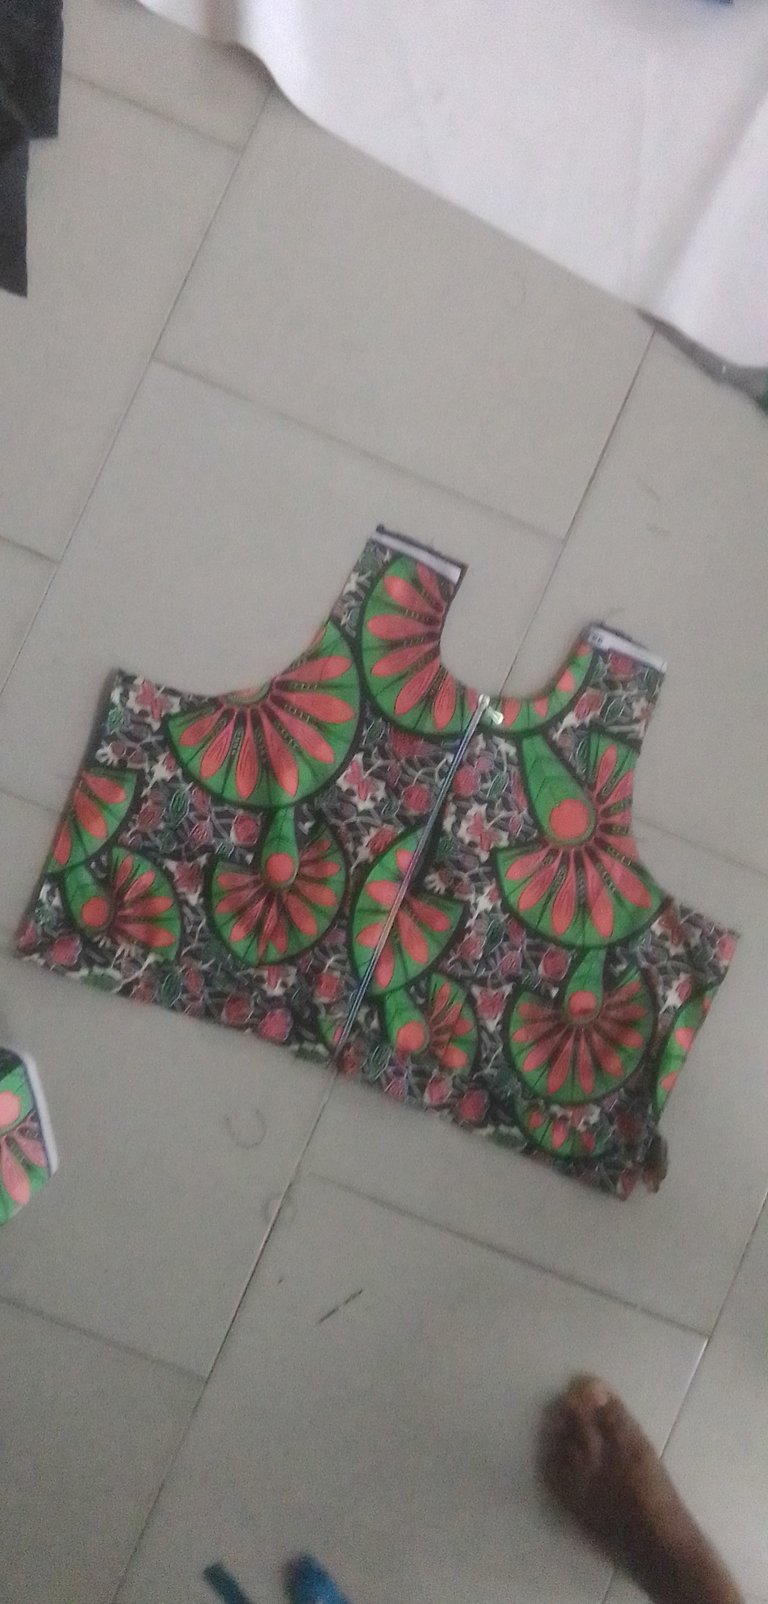
After that i put a band to it one by one and one side is i turn out with roop and i drop a roop inside at the other side.
After that i drafted a sleeves, because this sleeve will be so puff, so i cut is a little big.
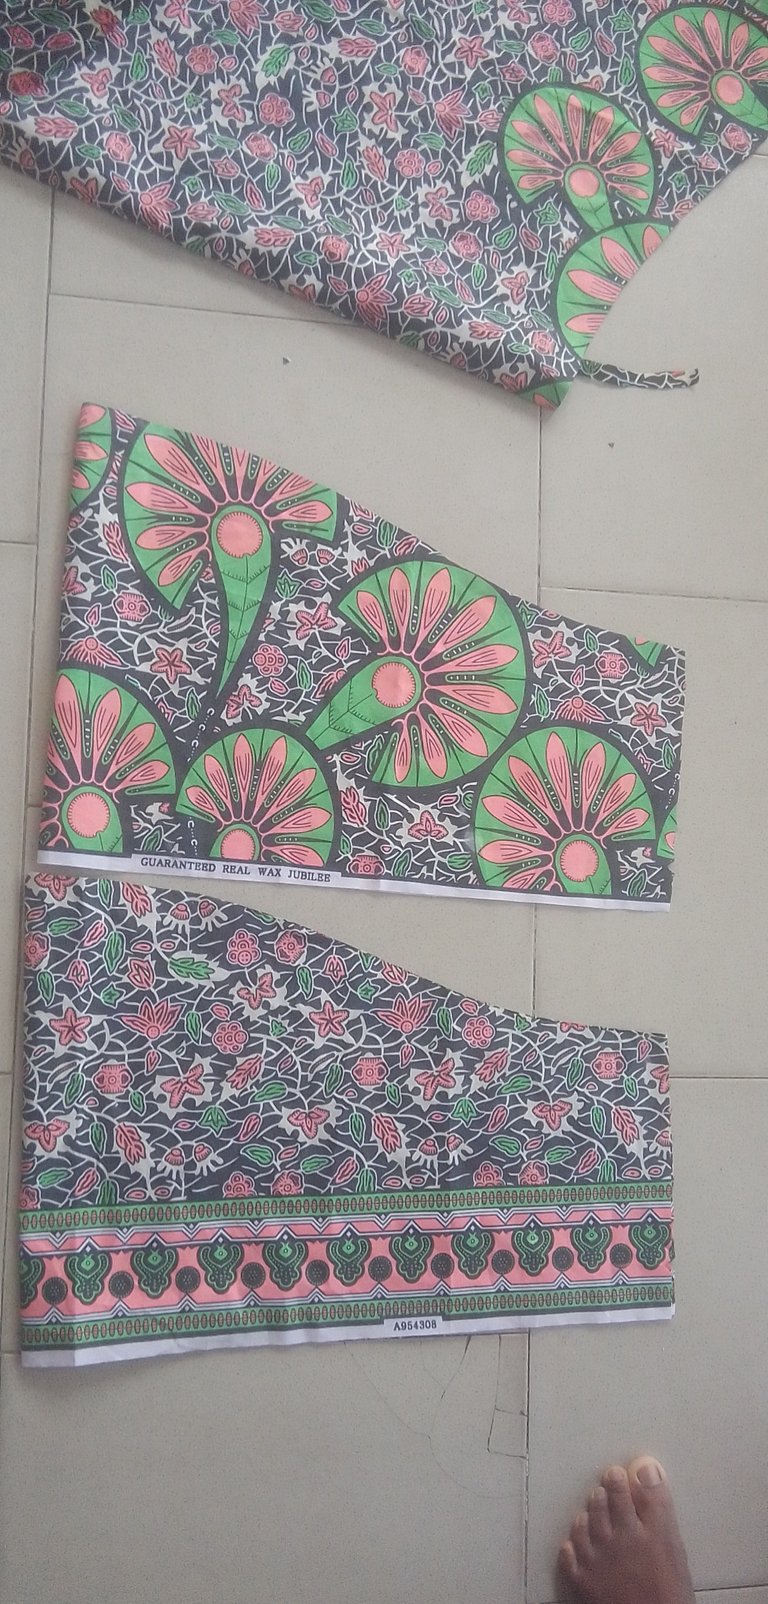
After cutting it out, i give a gathers to it and join to the body of the top.
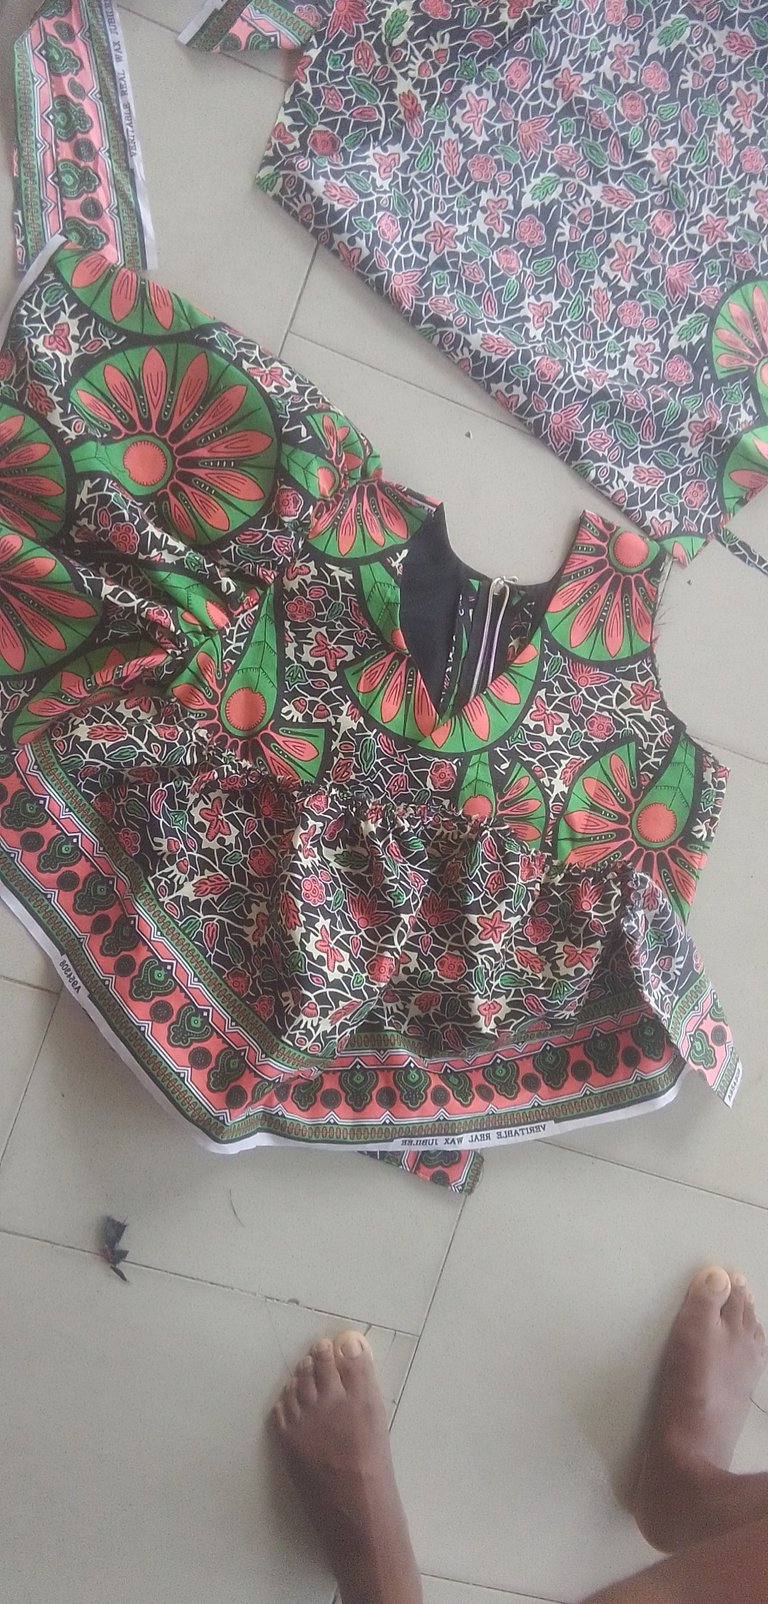
After that i quickly put and elastic to the hem of the sleeves.
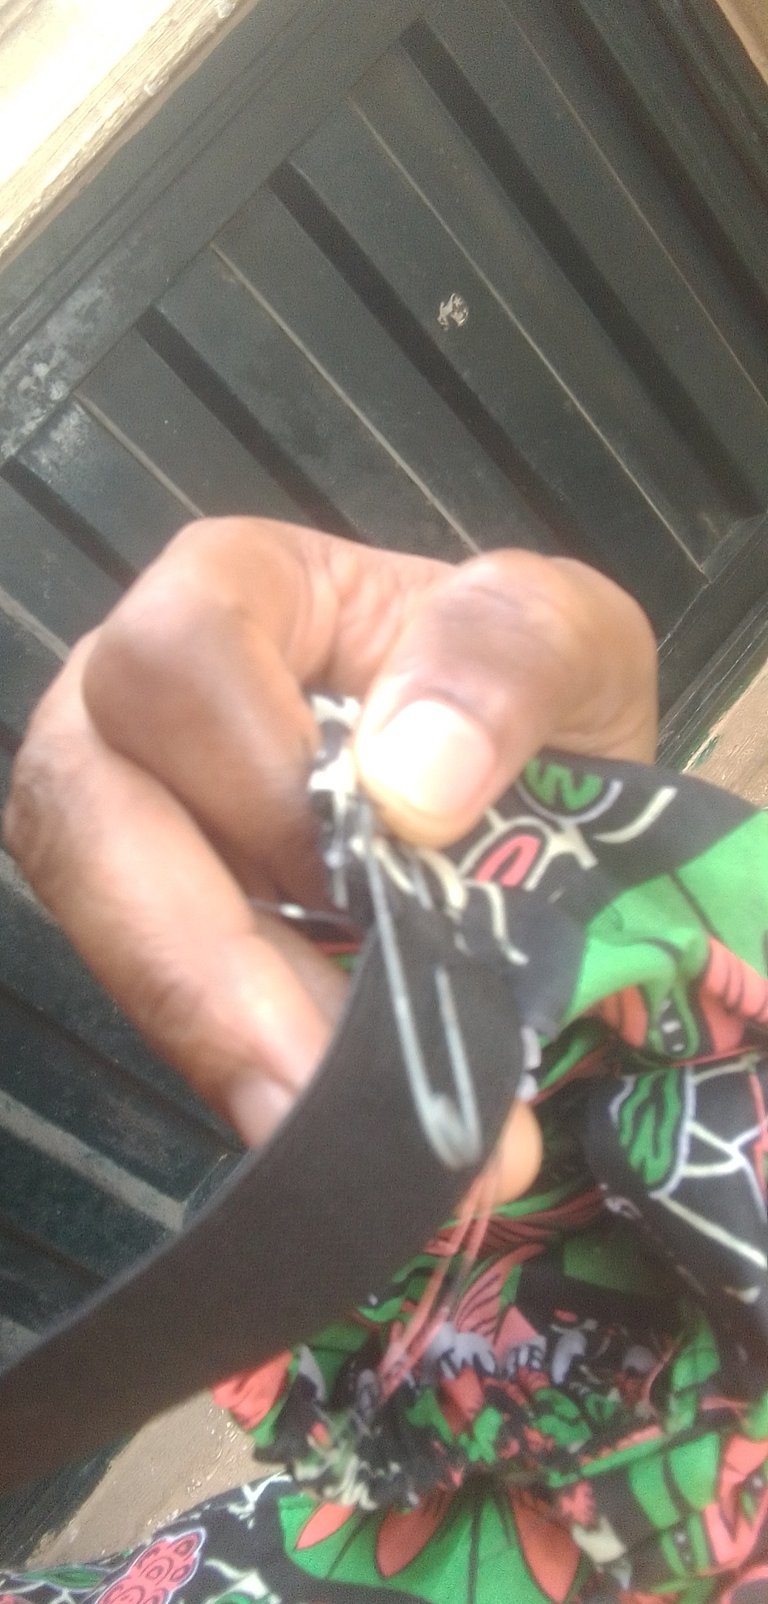
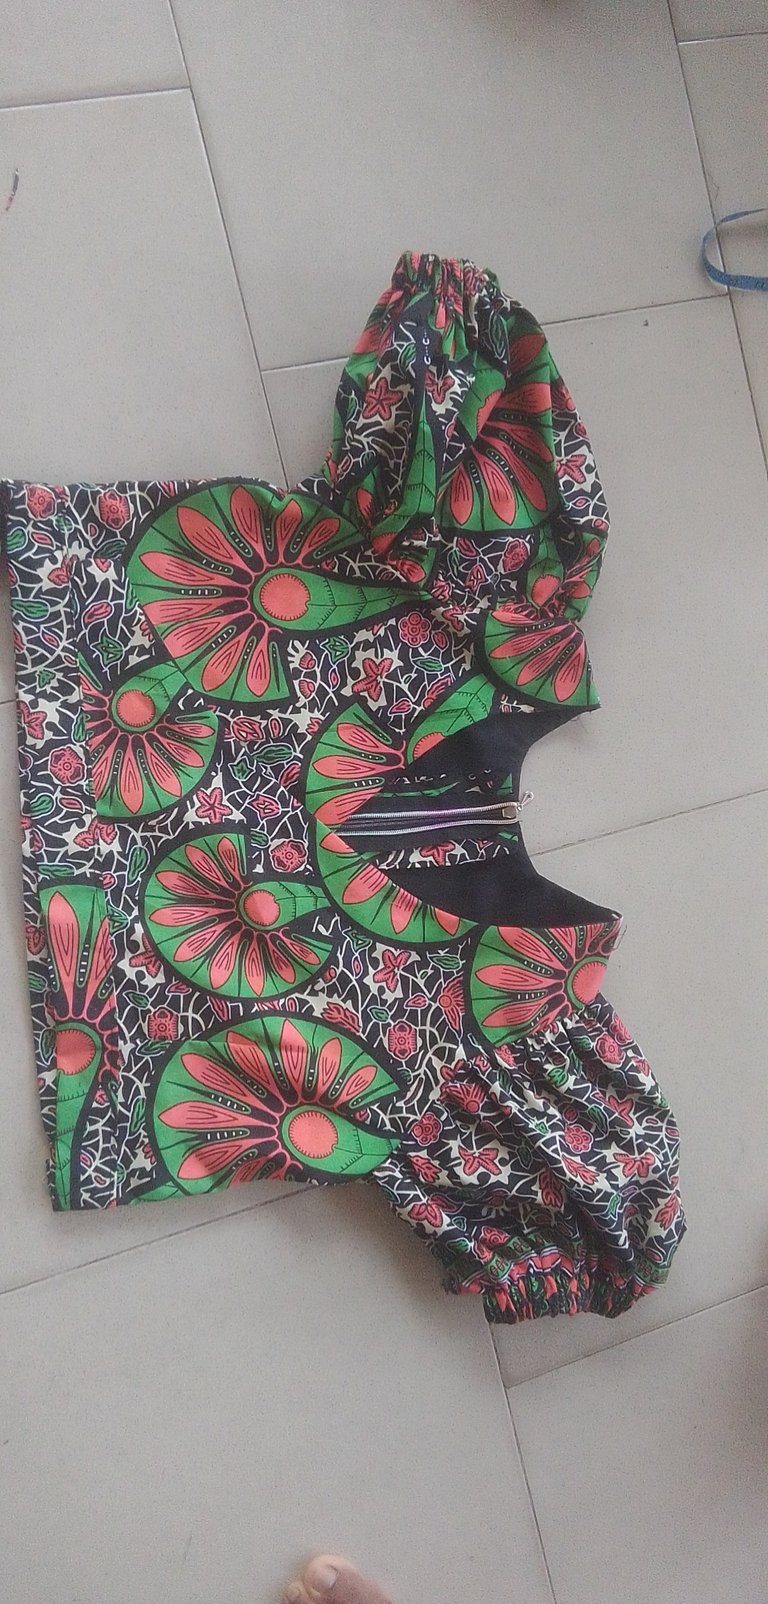
I really used my first experience to correct myself, i was like praying not to make any mistake but finally it comes out so beautiful and my happiness was that my client was really happy for my hand work, i couldn't believe my eyes seeing it so beautiful, I'm so proud of myself because people love it so much and two people want me to sew this style for them one person said it look like gown and she wants me to sew with gown.
