Happy New Year my fellow needleworker! I hope the new year is going as planned. Today, I will be sharing with you a top that I made last week. My brother asked me to make something for him for a birthday party he was attending. Although I don't usually make clothing for men, i have made him a shirt as a birthday gift on two occasions, so he had no doubt I wouldn't be able to make an outfit for him.
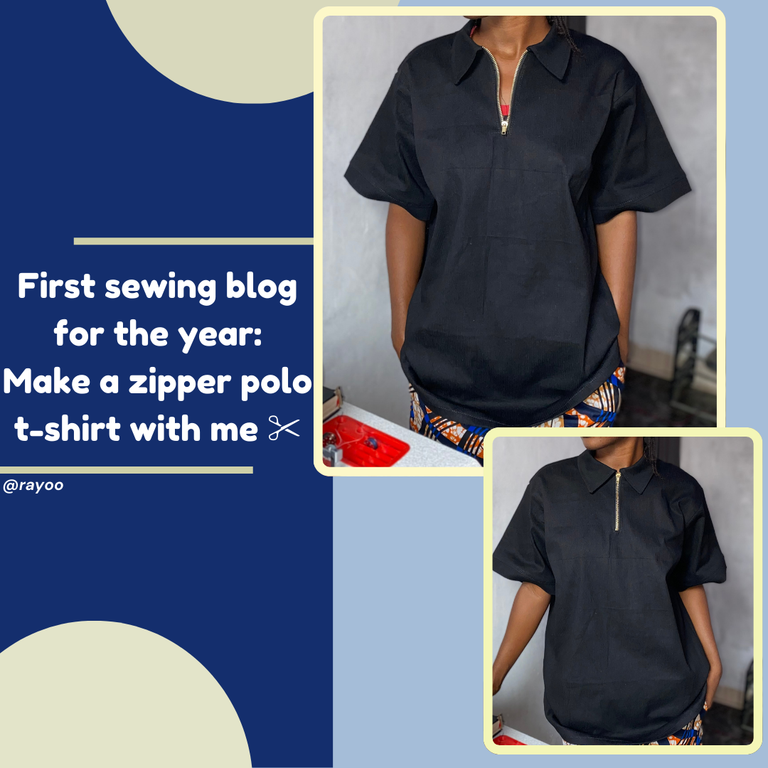
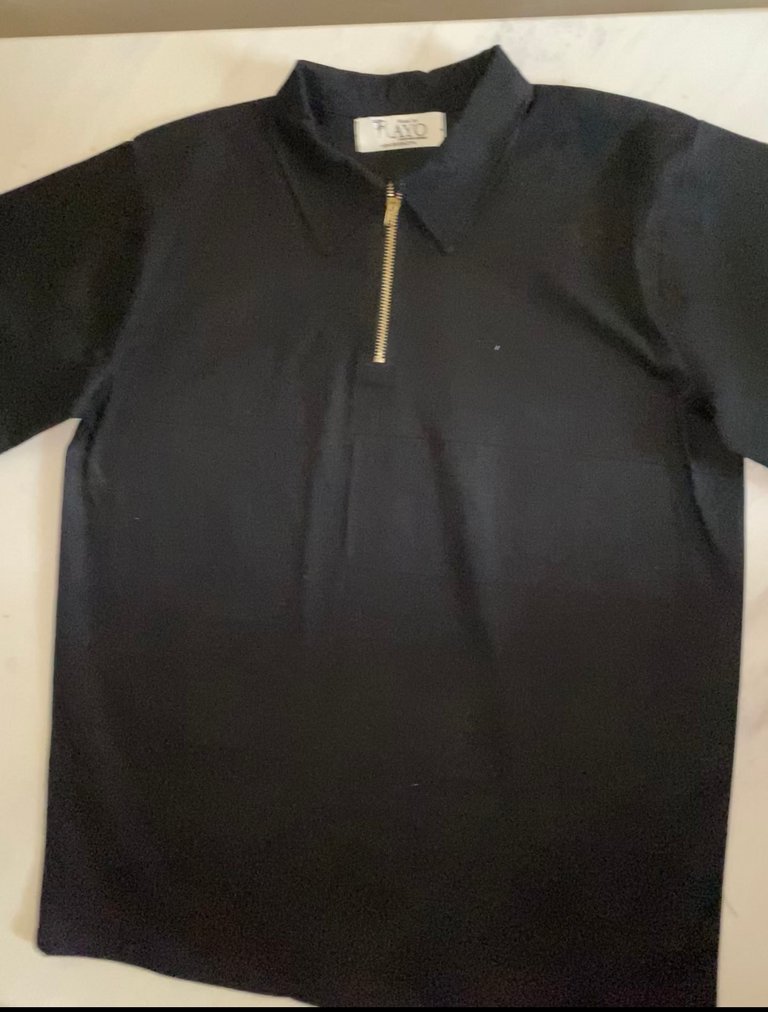
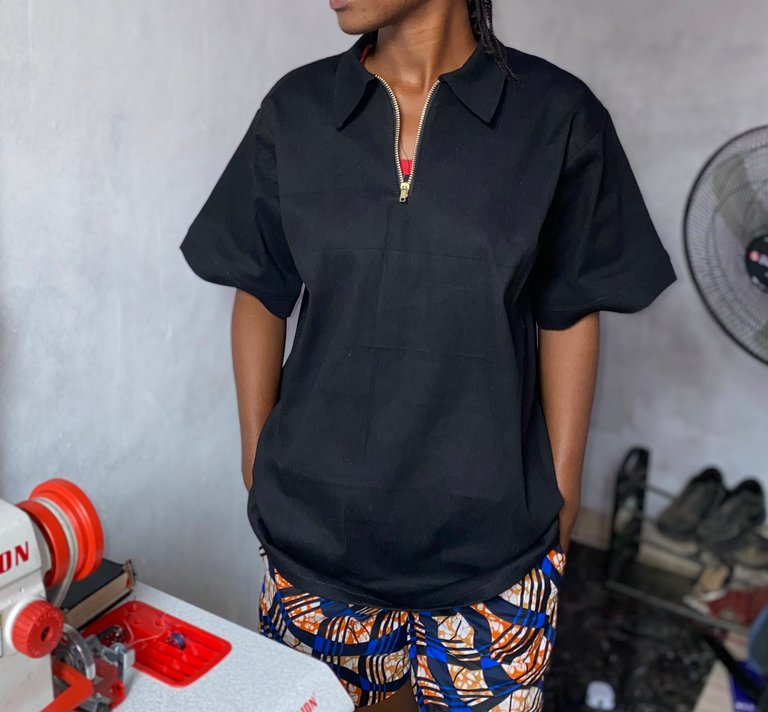
Thankfully, I was able to make the outfit eventually, the trousers were quite challenging since it was my first time making man’s trousers but thank God for the internet. So I made him the outfit which turned out nice and I fell in love with the top so I decided to make the same too for myself. This was the last piece I made in December and I am totally in love with it.
The fabric I used is a denim-like material, but it's stretchy and has a ribbed texture. I bought the fabric on impulse or rather accidentally. I went to the market to get a particular fabric but I was unable to get it so I had to get any material I could to avoid going home empty-handed. So I decided to get this fabric and I didn't regret getting it. Though when I washed the fabric it bled but the black didn't change so I guess it was normal and it is still good for sewing.
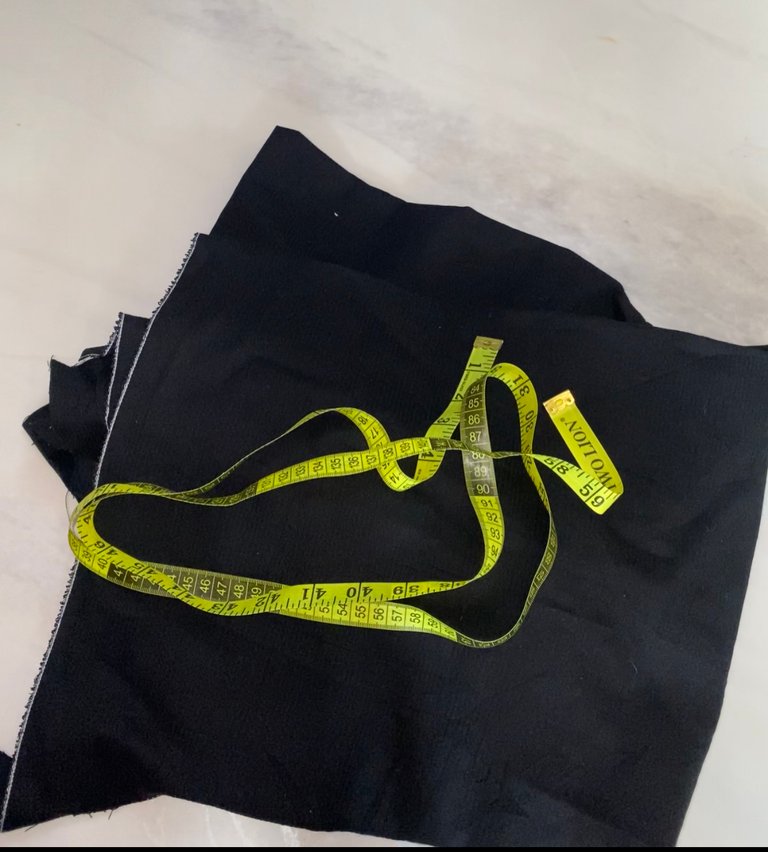
The material cost about 2$ per yard approximately and I used 1 yard for this top.
This is easy to make and it is a nice gift for a brother or a male friend. It took me about 3hours or less to make.
Material needed:
1 yard of your material
1 short golden teeth zip
1 oversized t-shirt or any of your favourite t-shirts for measurement
The process:
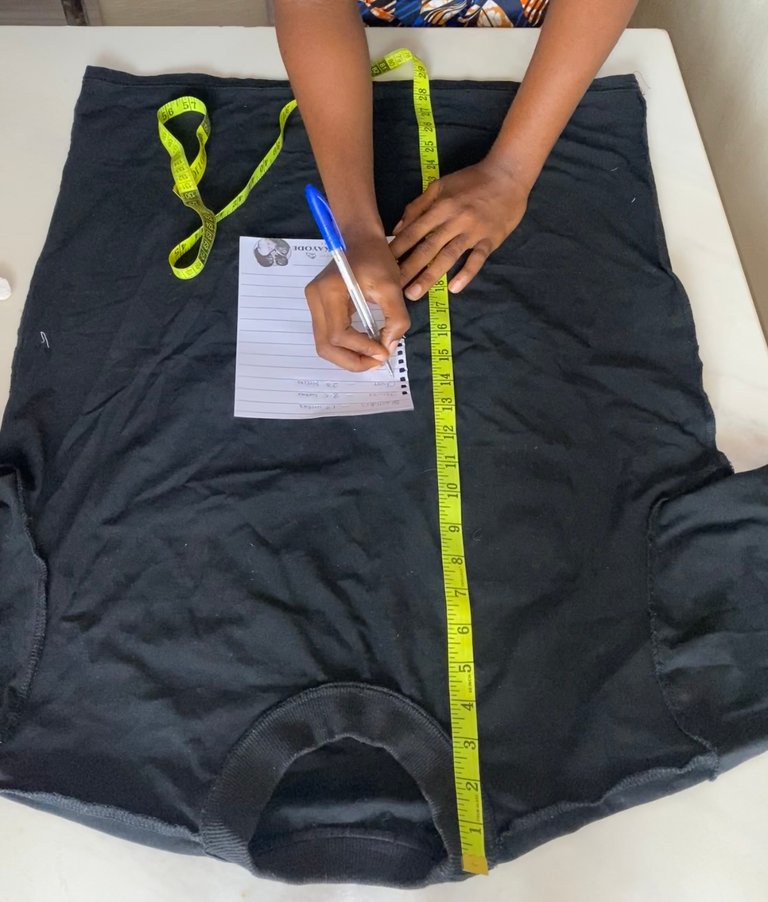
I took one of my favourite oversized tee shirts and used it as a measurement guide. I measure the length, chest, sleeve length, armhole, neck circumference, shoulders, and any other measurements I need.
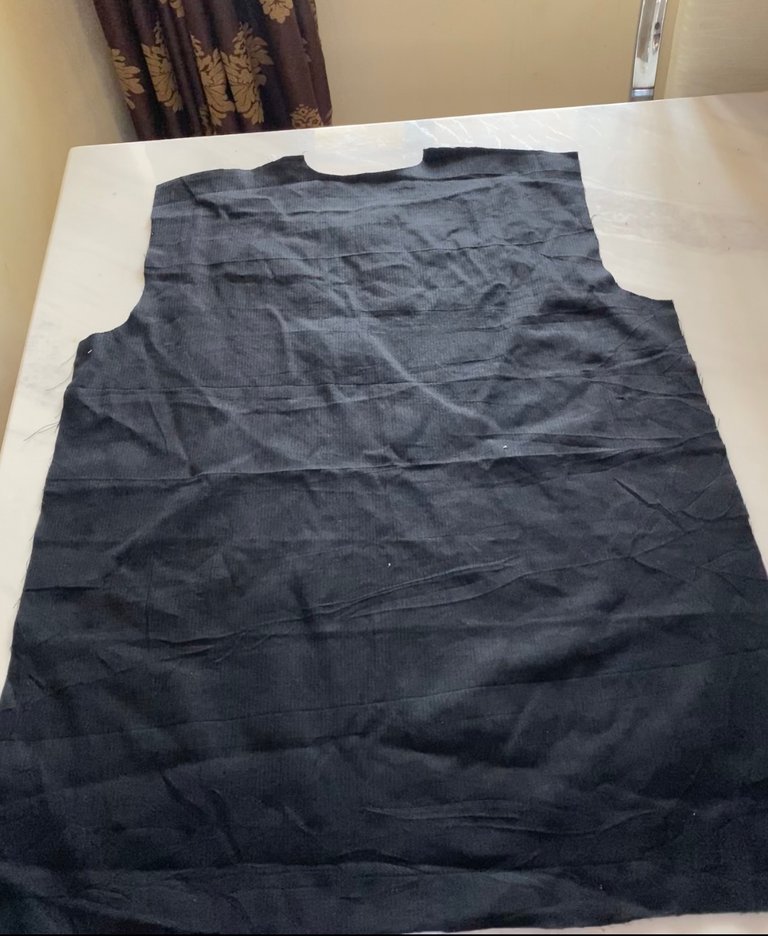
I fold my fabric and chalk out my measurements and cut
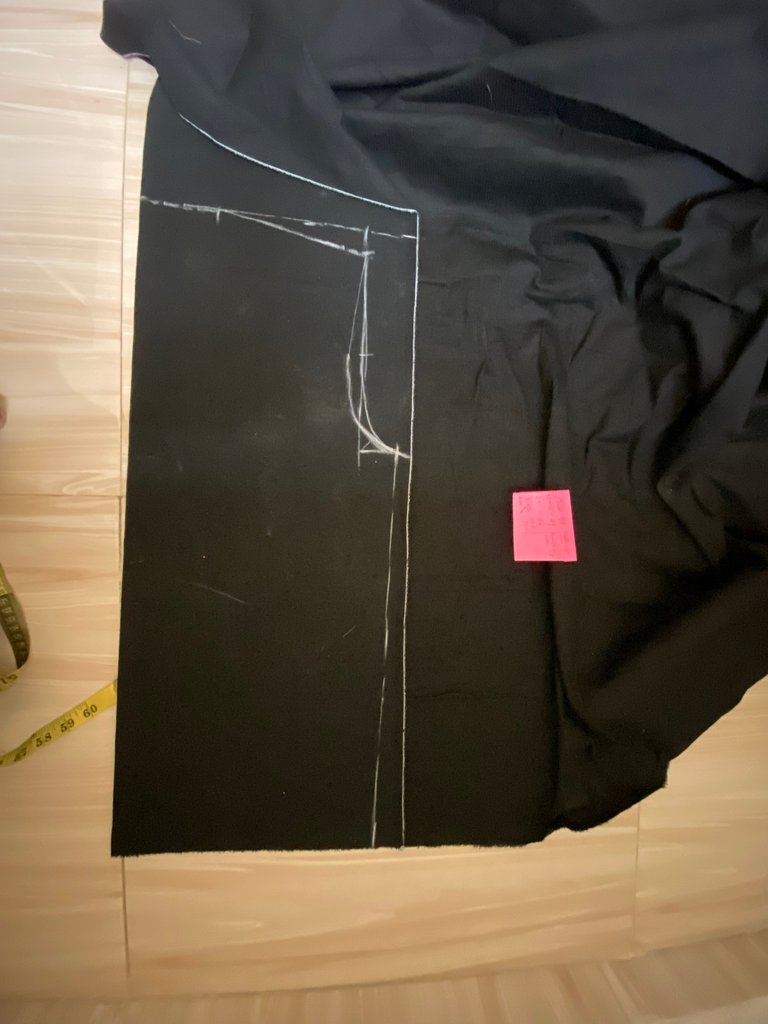
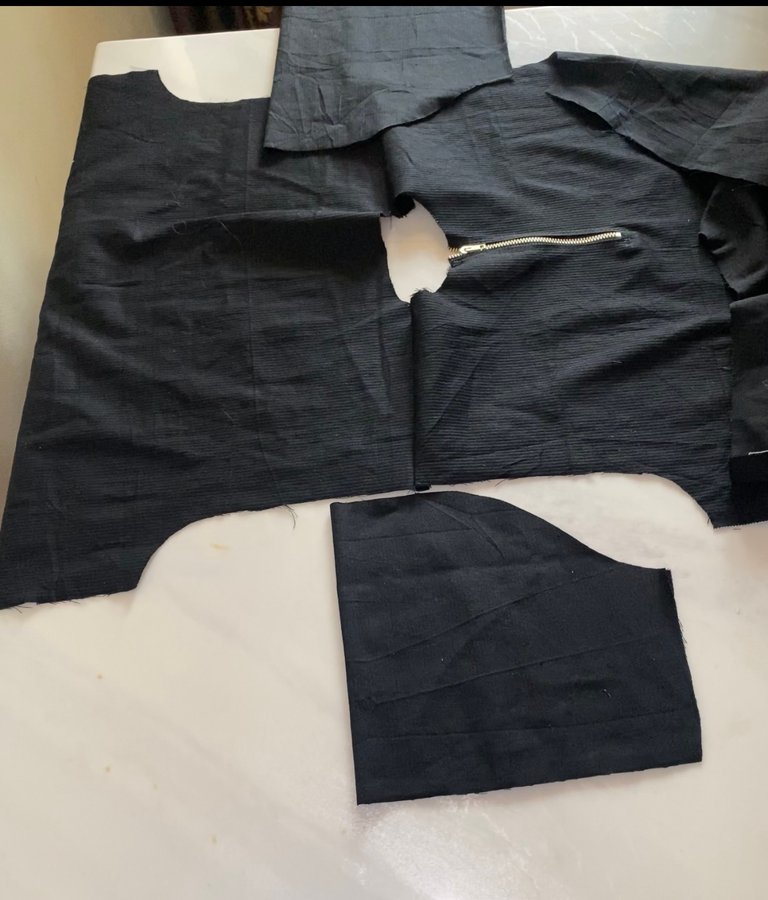
I cut the sleeves as well
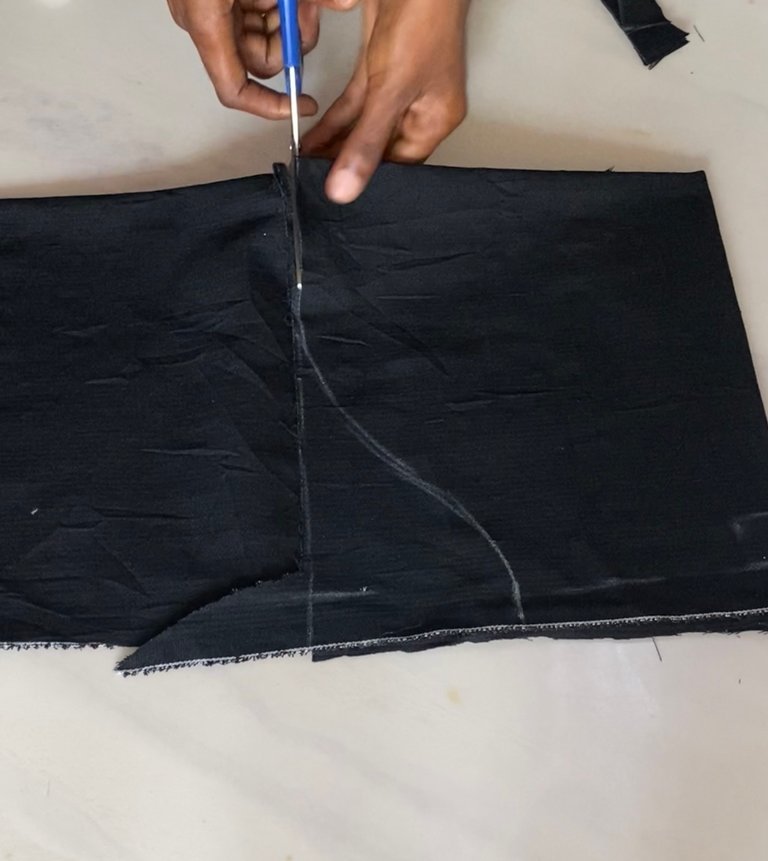
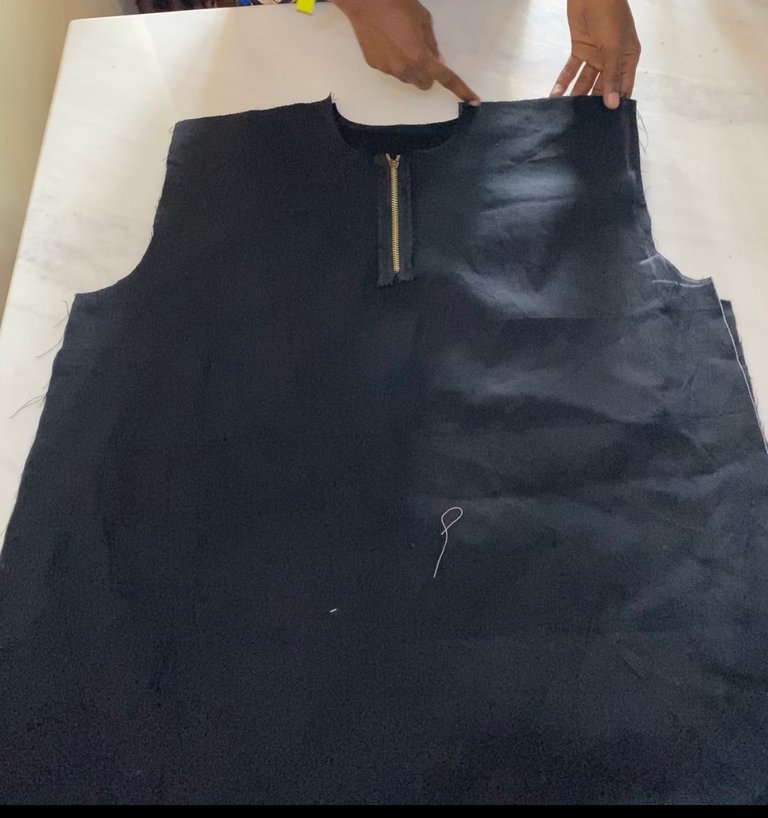
I sew the zip to the opening in the front
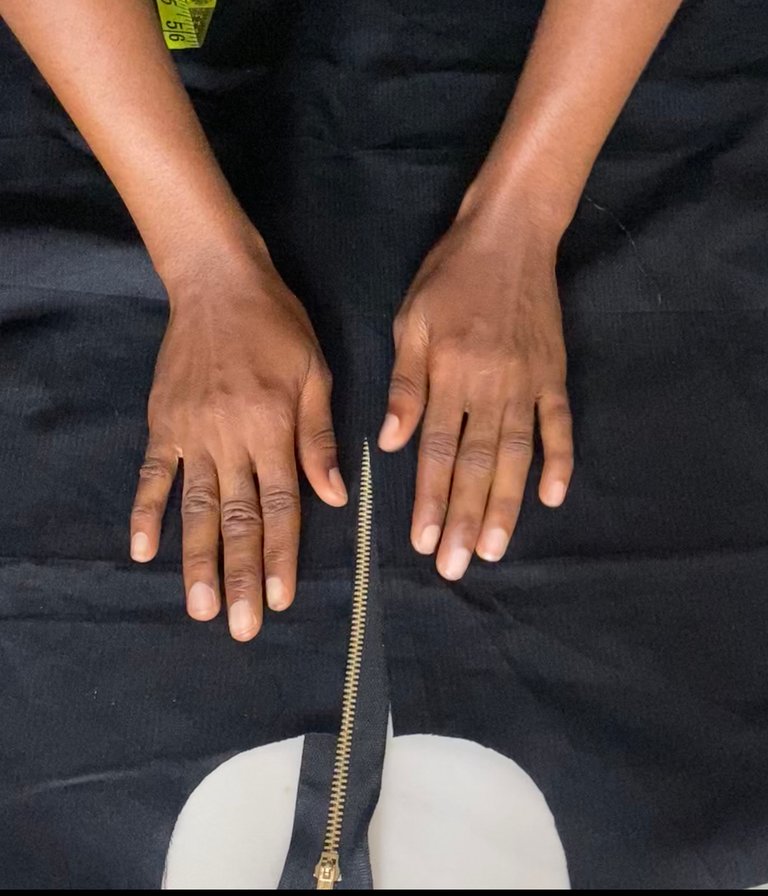
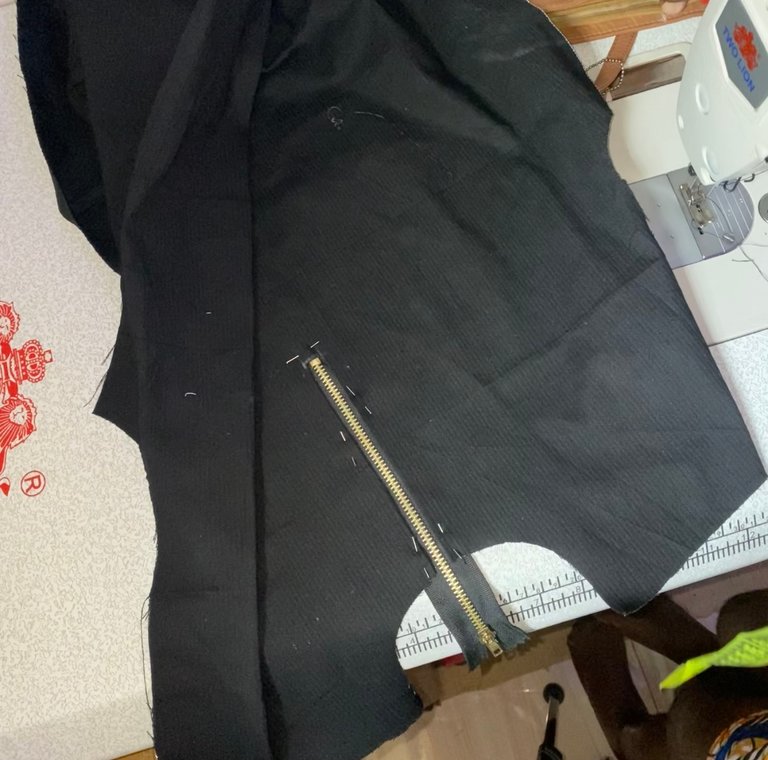
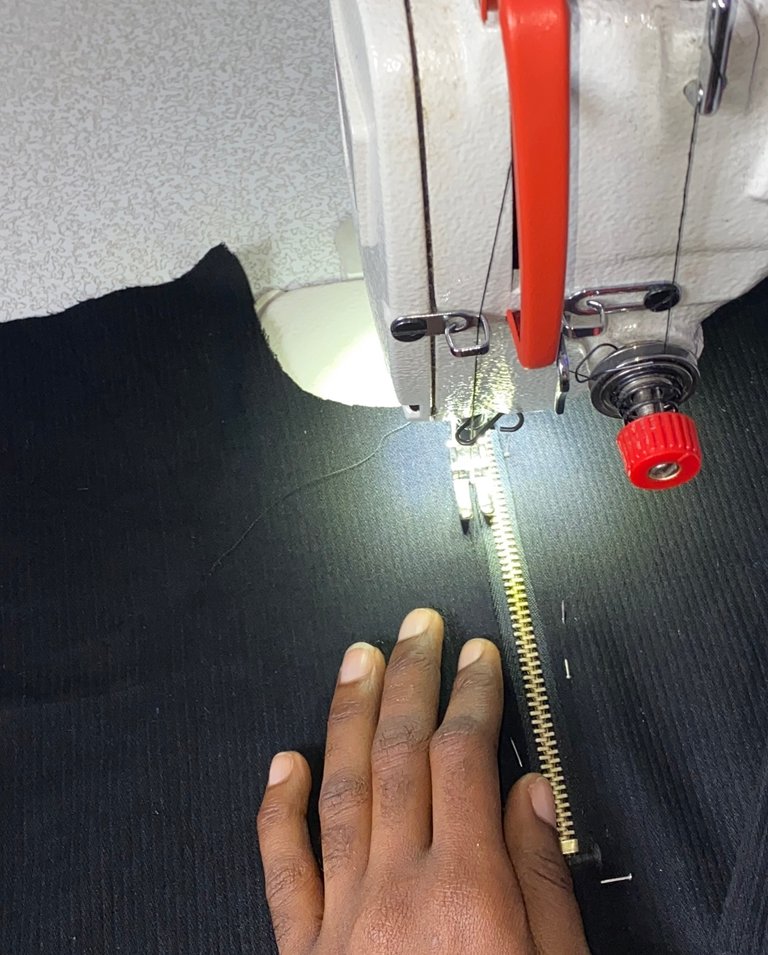
After that, I join the shoulders of the front and back piece
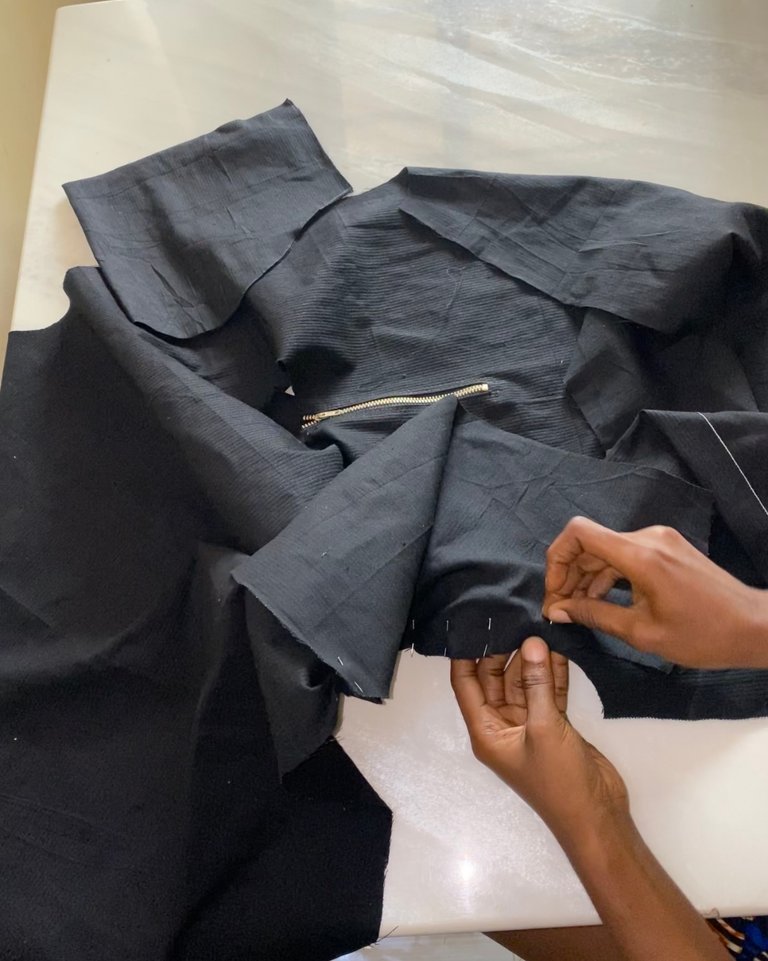
I pin the sleeves to the armhole and sew.
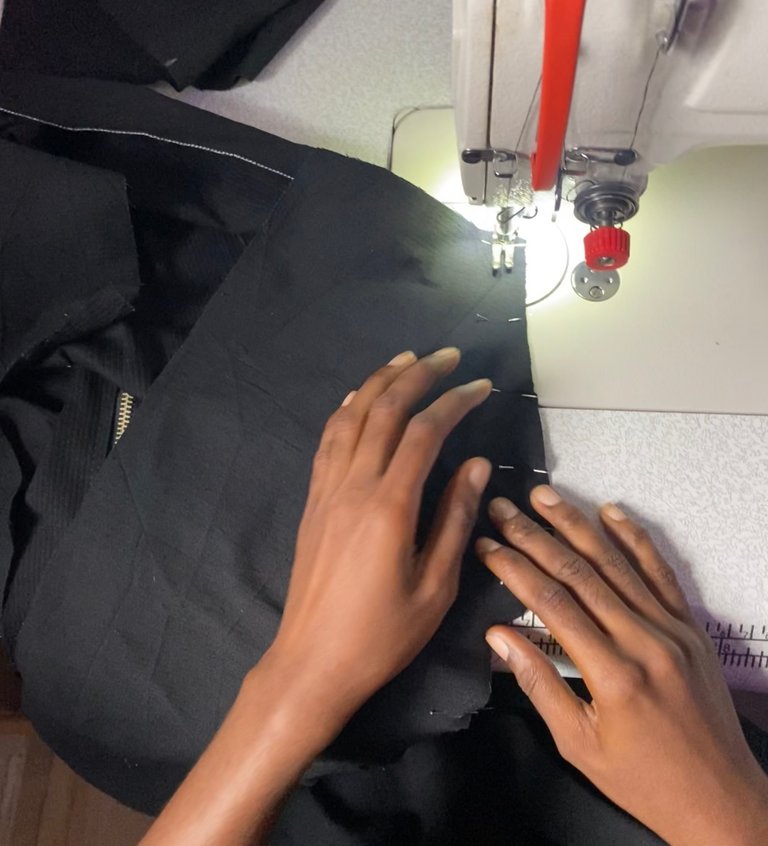
I measure the neck circumference of the collar
I did a single collar and all cut 3 inches band for the sleeves
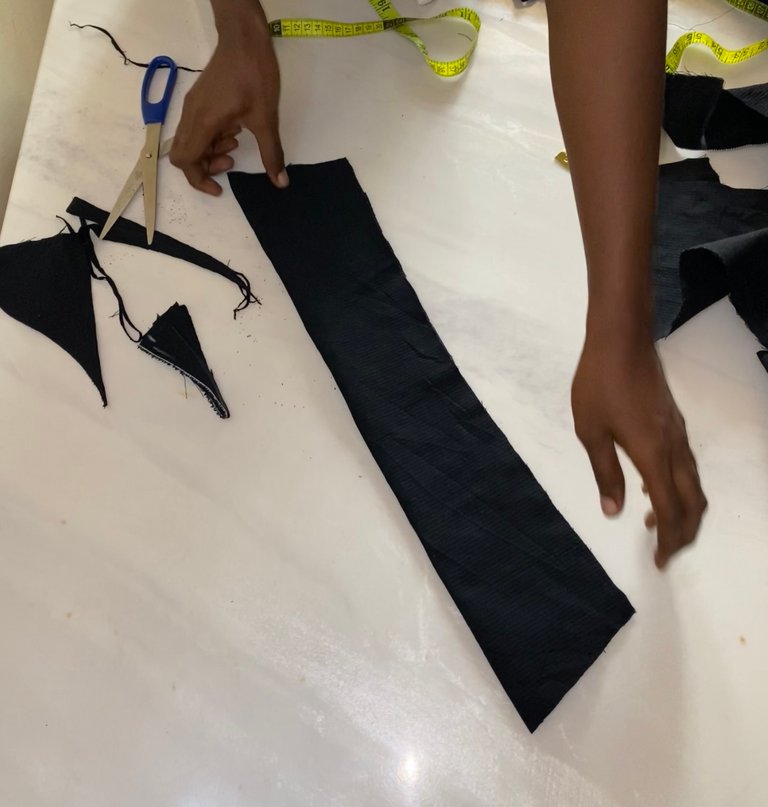
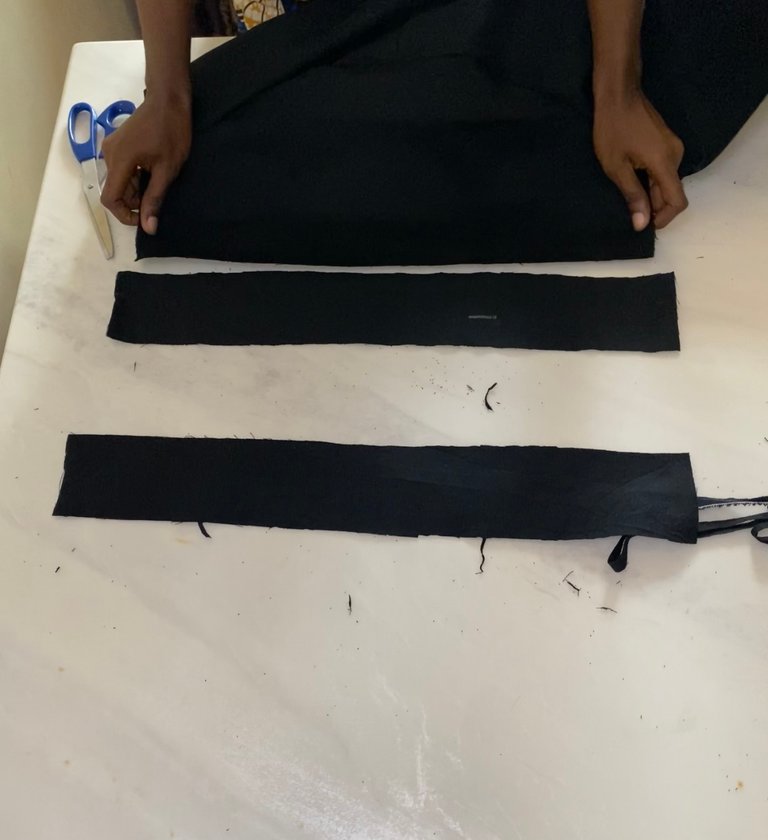
I sew and iron the collar. I fold the band and iron. I see the band on the sleeves
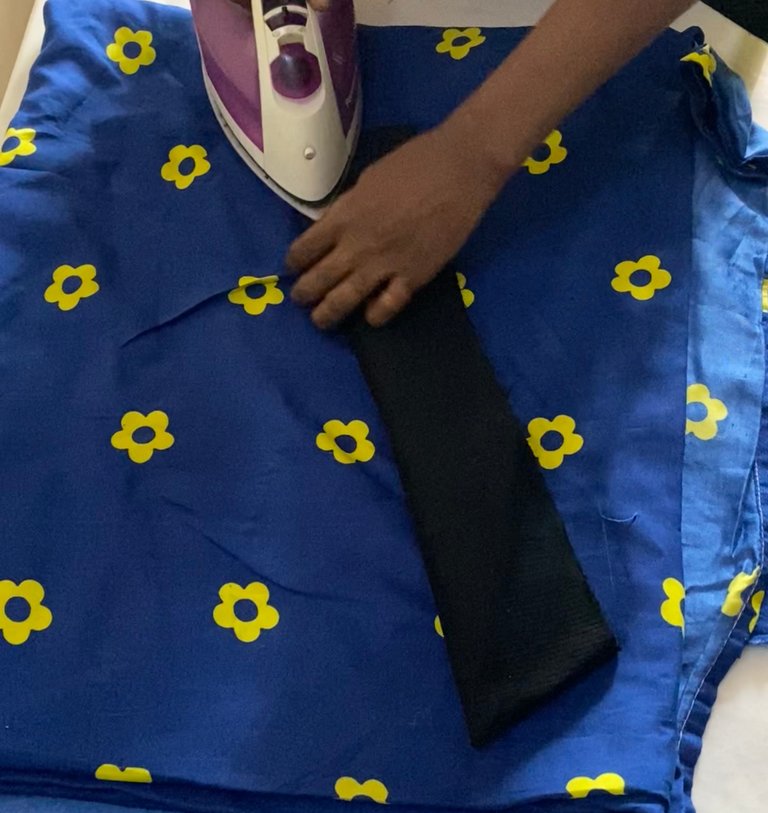
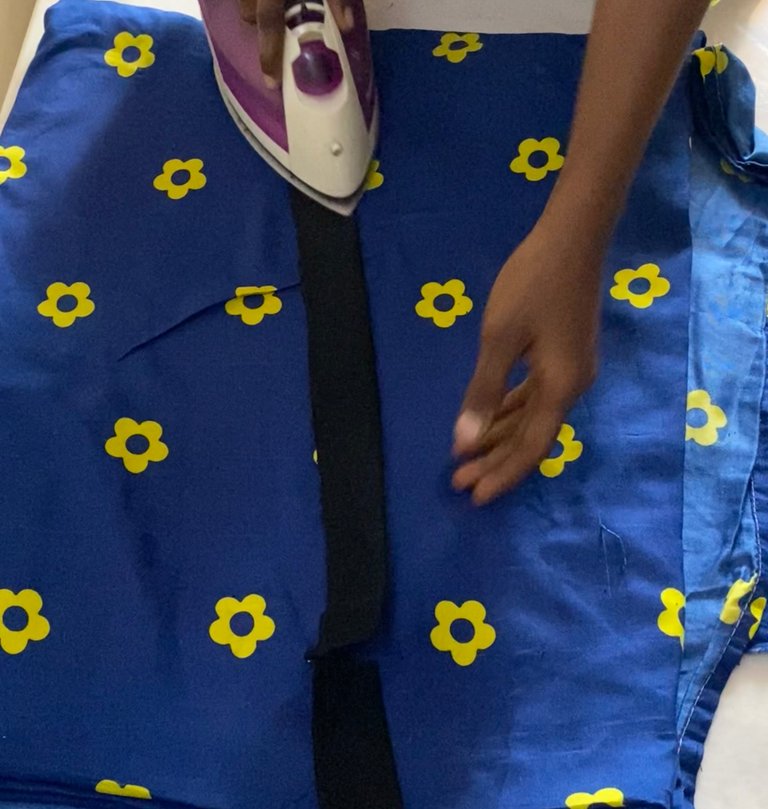
I sew the collar to the neck and the band to the sleeves
I top-stitch the perimeters of the collar. I also top-stitched the sleeves
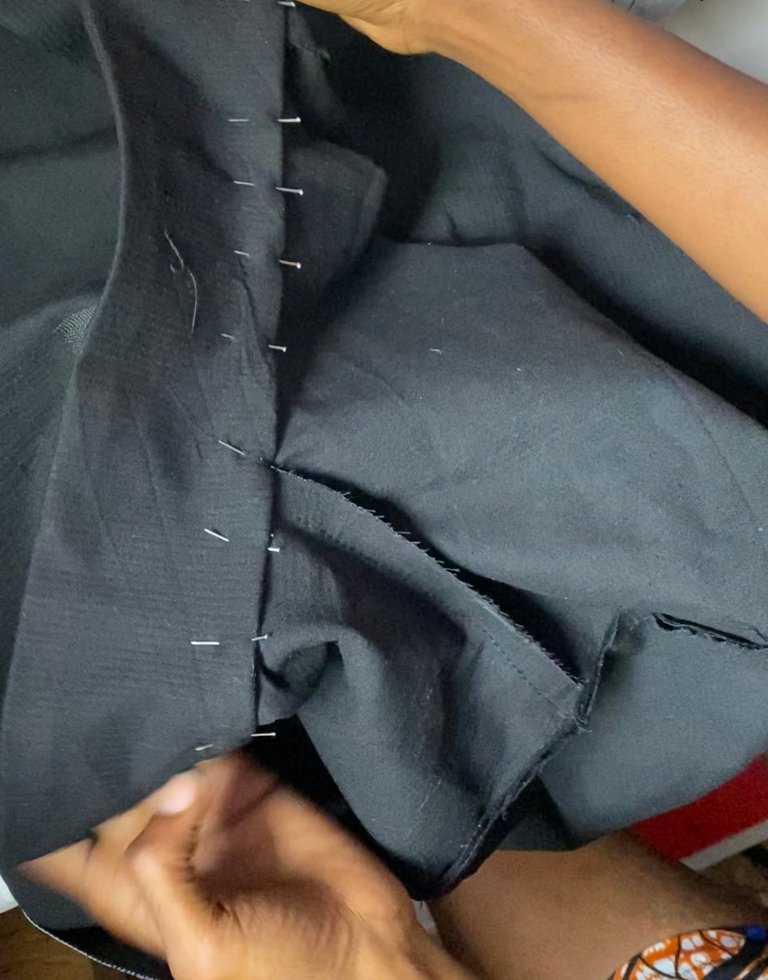
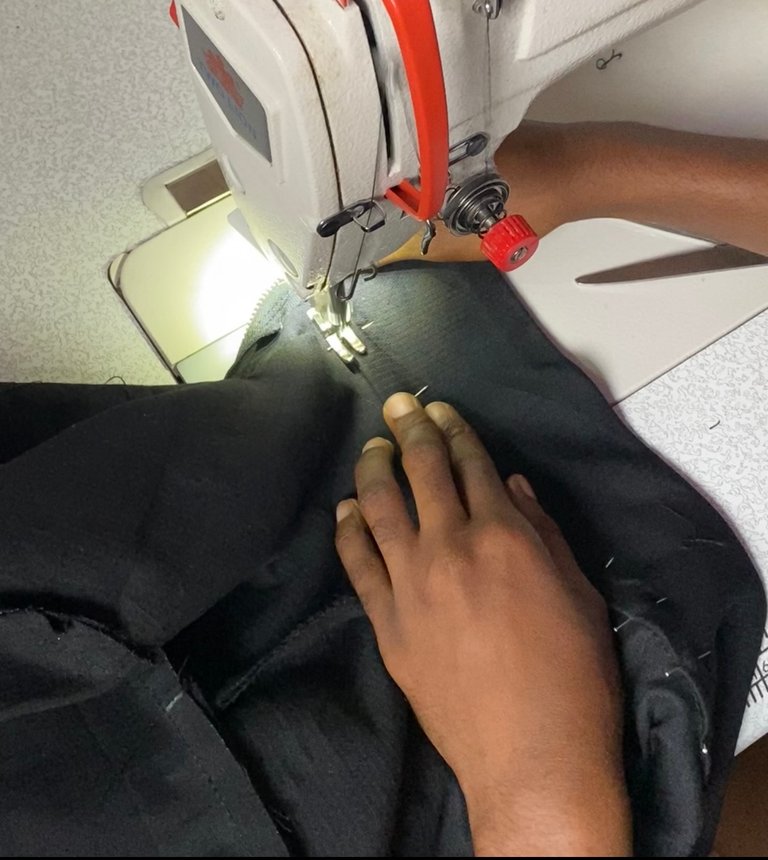
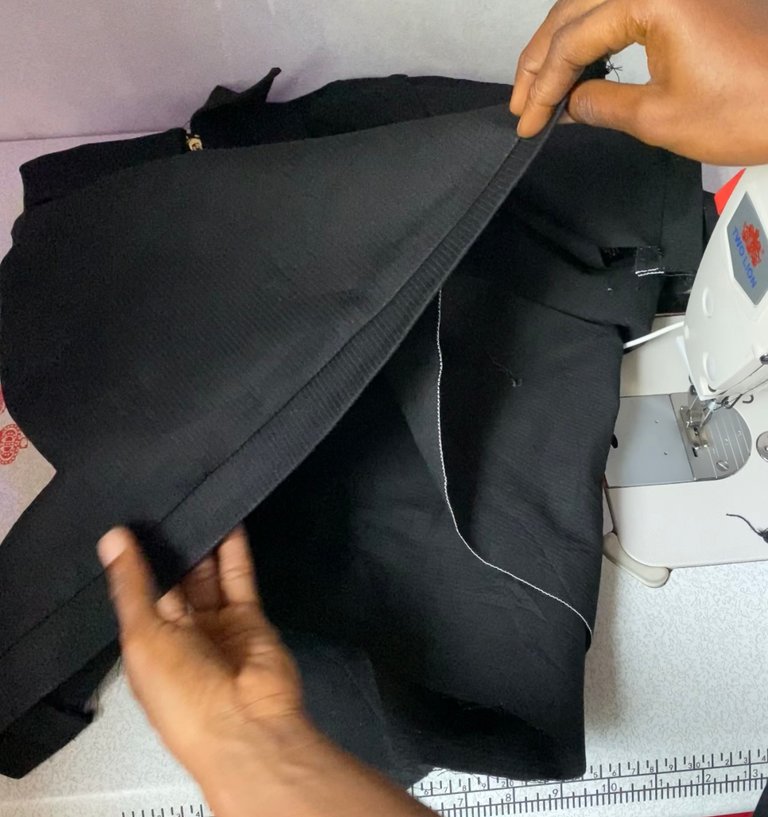
I join the both sides and hemmed the bottom
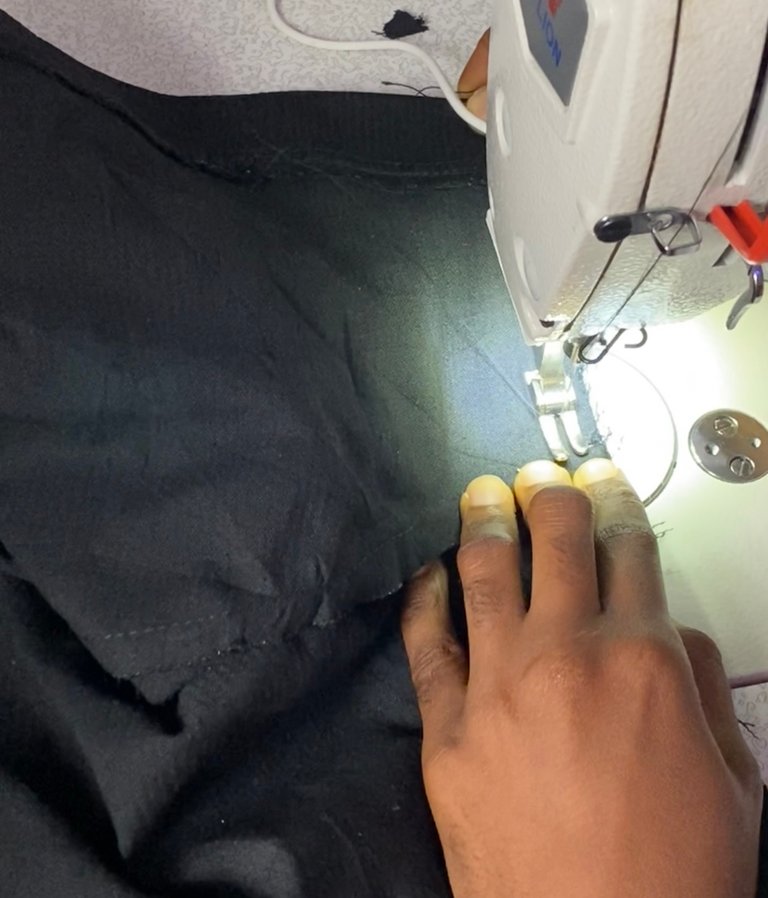
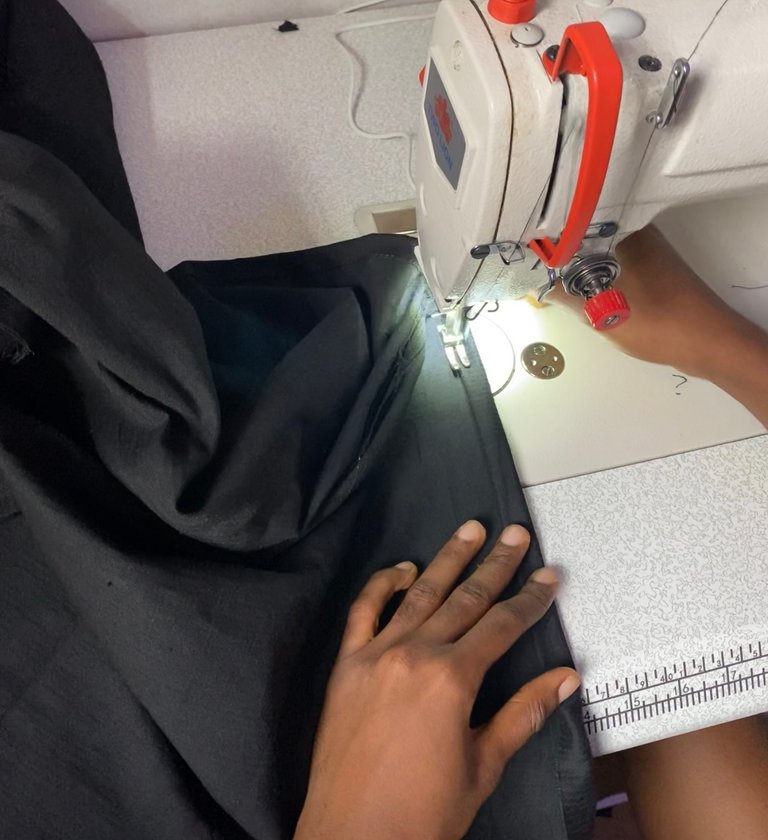
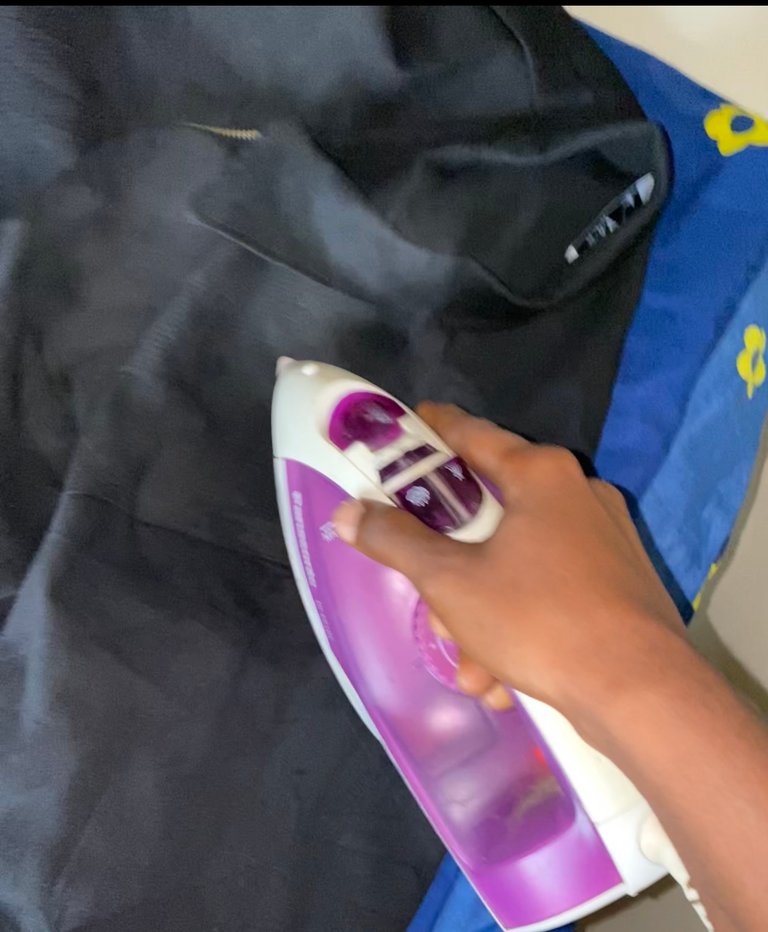
I weave, press iron, and do the necessary finishings
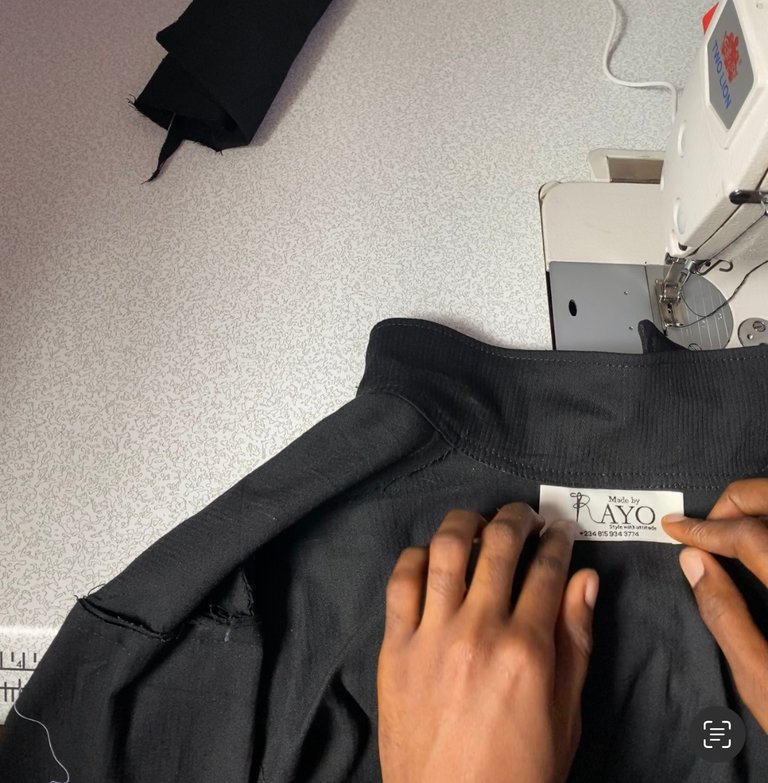
This is the final result, I hope you like it as much as I do
Thank you for visiting my blog, and stay creative❤️
All images are mine, thumbnail using canva
Posted Using InLeo Alpha