I hope this post will be accepted here, wasn't sure where to post it otherwise. 🙏😅
Greetings HIVE DIY community! 👋 I am happy to be posting in this creative and innovative community. I am mostly a writer and game columnist, with some IRL posts sprinkled here and there. Recently I was on an adventure with a bud of mine, and I decided it warranted sharing. 😁
My PC is old. Old enough that it needs an upgrade, but not old enough to be salvaged. So I had two choices (but one really): Buy a new rig or patch up this one. If you could see my monetary situation at the moment, you would know there's only one choice. 😅
Patching things up it is! So strap in, because this was a looooonnnggg dayyy.

🚶♂️ GOING FOR A WALK 🚶♀️

This trip had me going all across town. And all in all the simple bandage took us about 6.5h to complete.

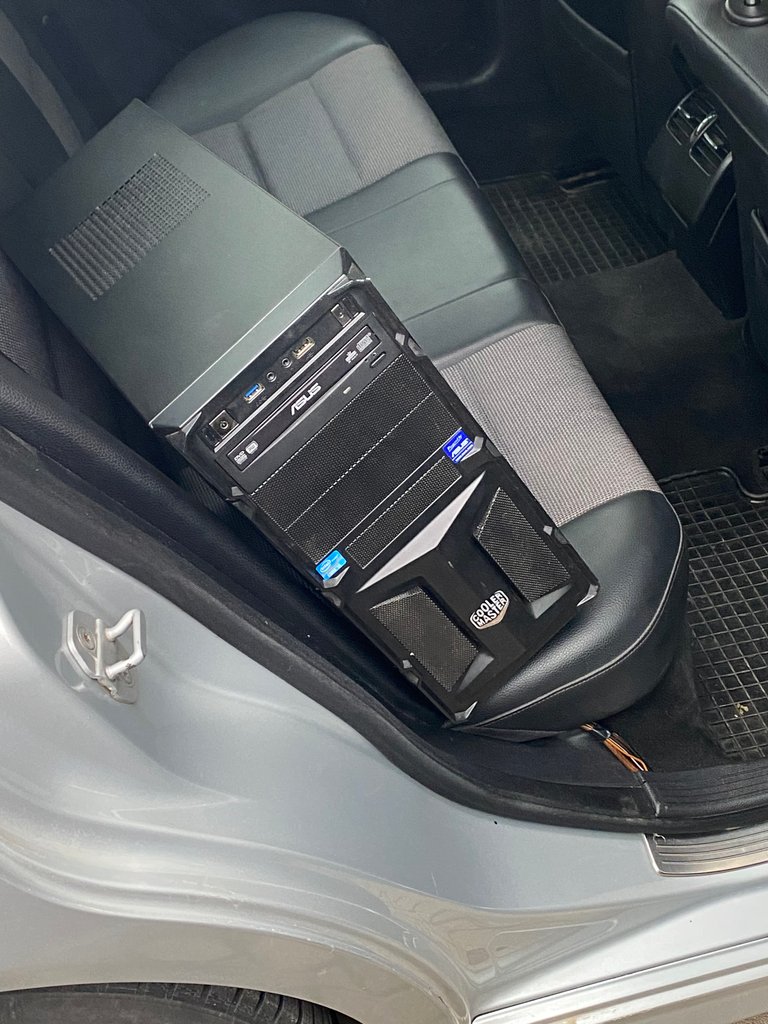
I went all ghetto and did it myself to save on money. Turns out we got scammed and lost a bit of money in the end. 😅
For now, my friend picked me up and we are going to a mutual acquaintance that has an air compressor to clear all of the dust in my PC. I haven't cleaned my PC in about 5 years, so there was a lot of dust.

💨 AIR COMPRESSOR 💨

We had to drive halfway across town to reach this magical, mystical place.
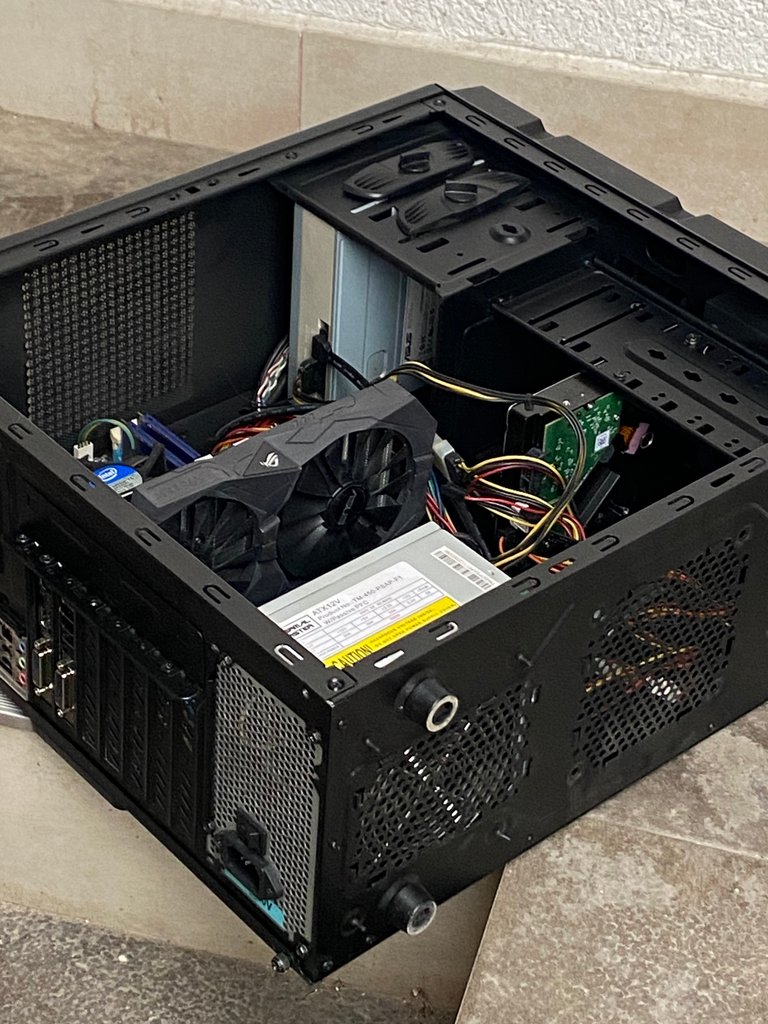
Said place is actually an ATM maintenance office. They let us use their air compressor because they're Gs like that. 😎

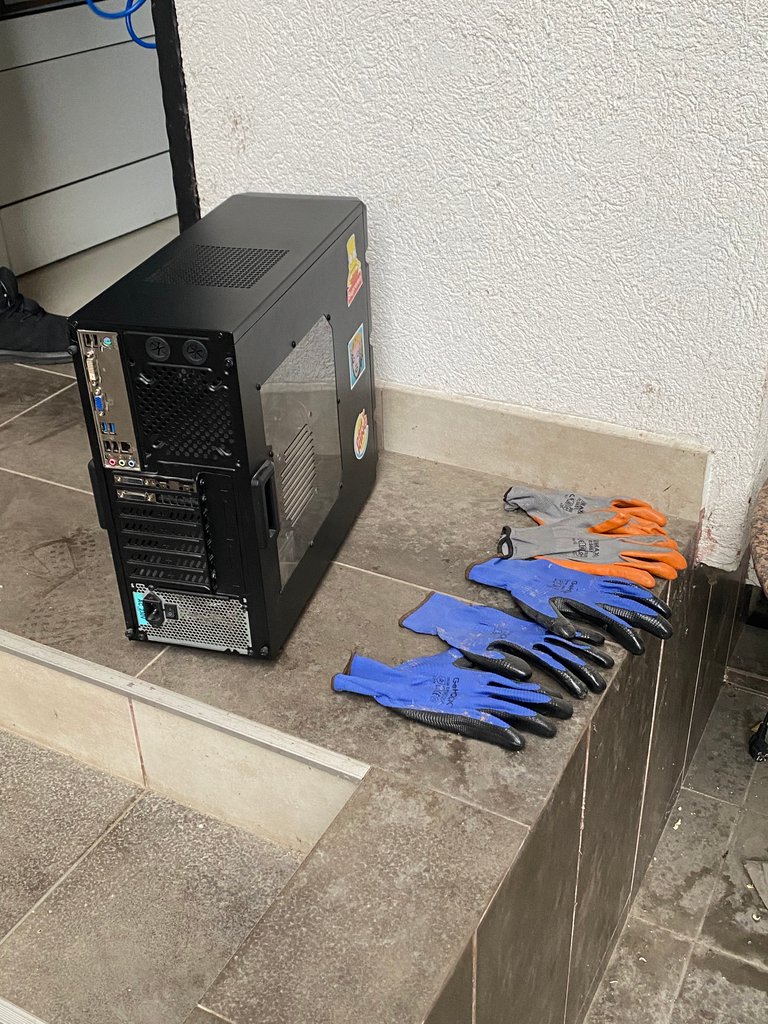
The space we used it in was a little outside area/like a terrasse almost. I didn't think such a place was needed, but it made sense seeing as how you have to be outside to clean out all that dust. And again, there was A LOT of dust.
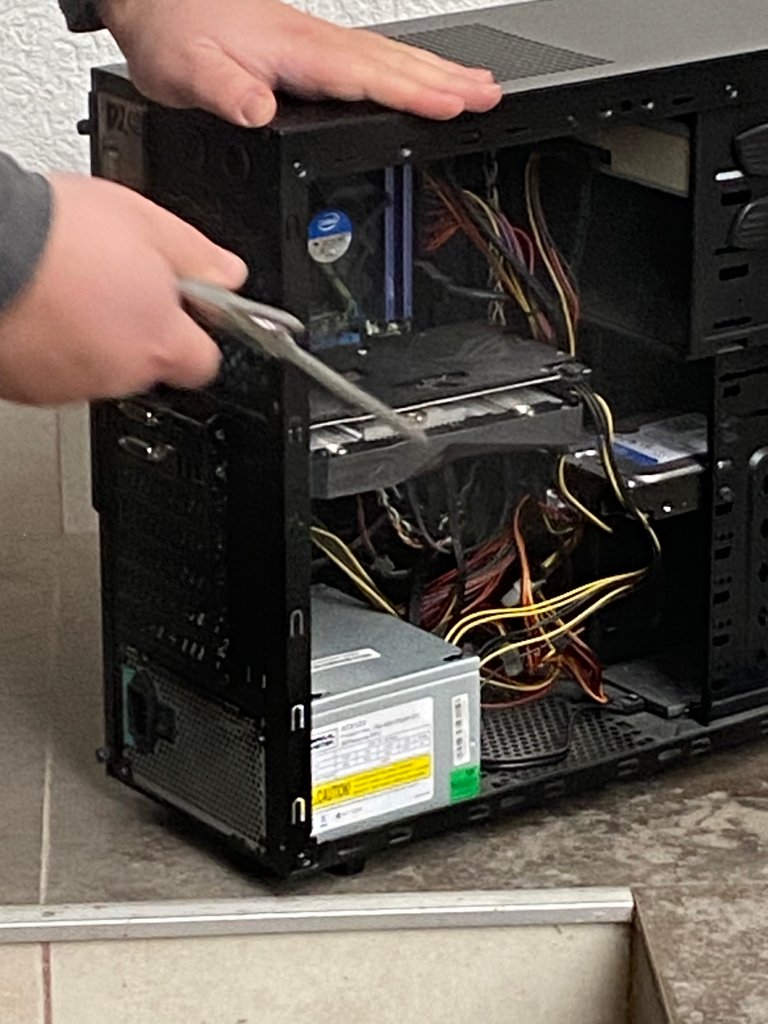
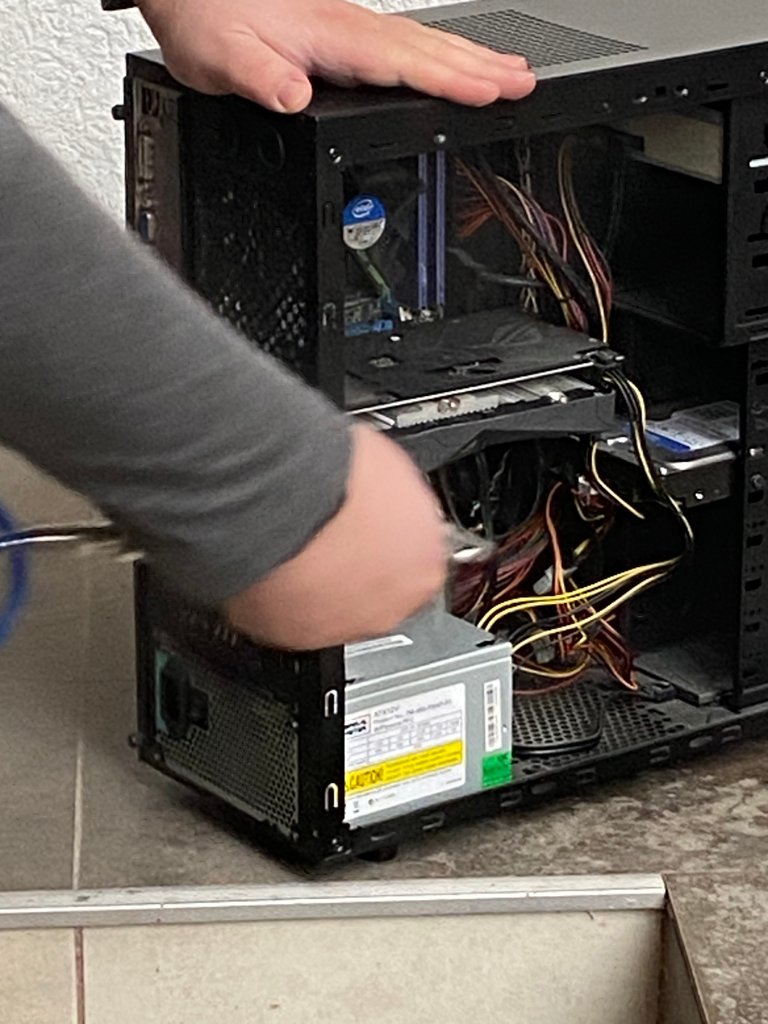
To clean a PC like this you have to use an air compressor. There are so many tiny spaces in the case that trying to clear the dust with a brush and/or vacuum will just not cut it. 😐
Once the case was clean, it was time to drive to my friend's house. 🚗

😬 GETTING SCAMMED 😬

My friend's house was in the suburbs btw, so the drive was a long one. ☝️ But ti was all fine and dandy until now. The problems started once we opened up this bad boy.

My PC was getting really sluggish, even with an SSD. For the curious I posted my specs in the article footer. 😉 So the plan was to format everything, and then upgrade the RAM by 8 gigs. Giving me a total of 16GB RAM.
I was experiencing crashes when I shouldn't, and CPUZ was showing lower RAm usage, so an upgrade was the only sensible thing.
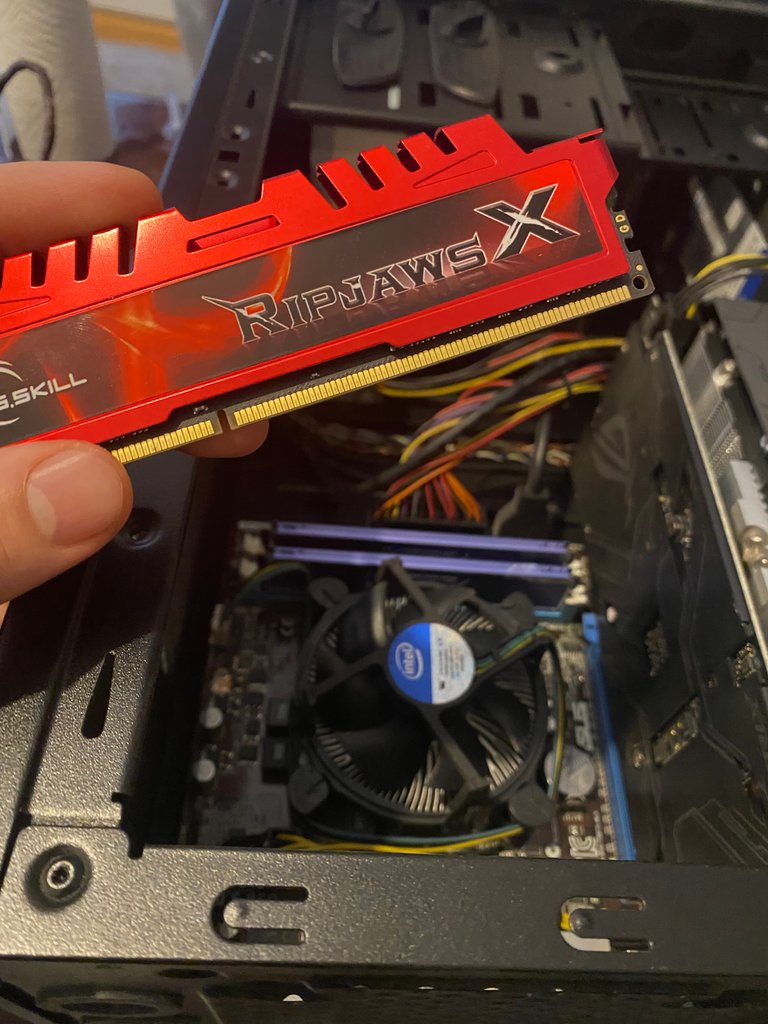
However, the stick we got were not in fact 8GB each, but in fact 4GB each - with an 8GB sticker on them.
And these were bought from a reputable source. So the scam came as a shock to all of us. 😅 For another thing this was done on a Sunday, and in Macedonia, Sundays are days off for everything. So we couldn't exactly buy new RAM or anything for that matter. Well, almost anything. 😱

🏥 DIAGNOSIS 🏥

As we looked more into it, the RAM wasn't truly the problem. It was old, but it was serviceable. The CPUZ underperforming results while still a mystery, we chalked them up to a difference in calculations between the program and the BIOS.

Moreover, the windows wouldn't update, and when it did, it took very long to initialize, too long for an SSD. The driver's stability was also at 65%, meaning it would deteriorate in about half a year.
So we came to the conclusion that we needed to replace the SSD. After A LOT of calling we found another store across town that worked on Sundays and had the necessary SSD model we needed. And thus, another drive across town! 🚗 Yay!.... 😭
This detour was totally unprecedented, and I'm blessed to have friends that are willing to put aside their day to help me. 🙏
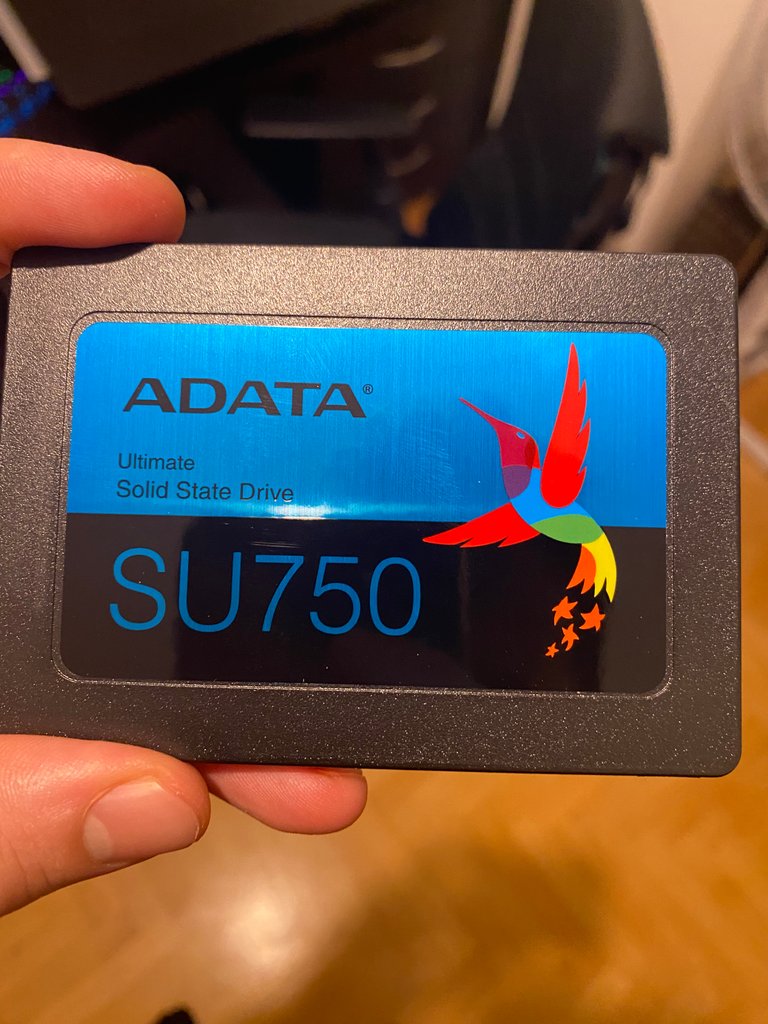
The drive for the drive was successful. With it in hand, it was time to raise our sleeves and get to work.

😷 MEDICINE 😷

The tedious part was over, it was time to get to work.
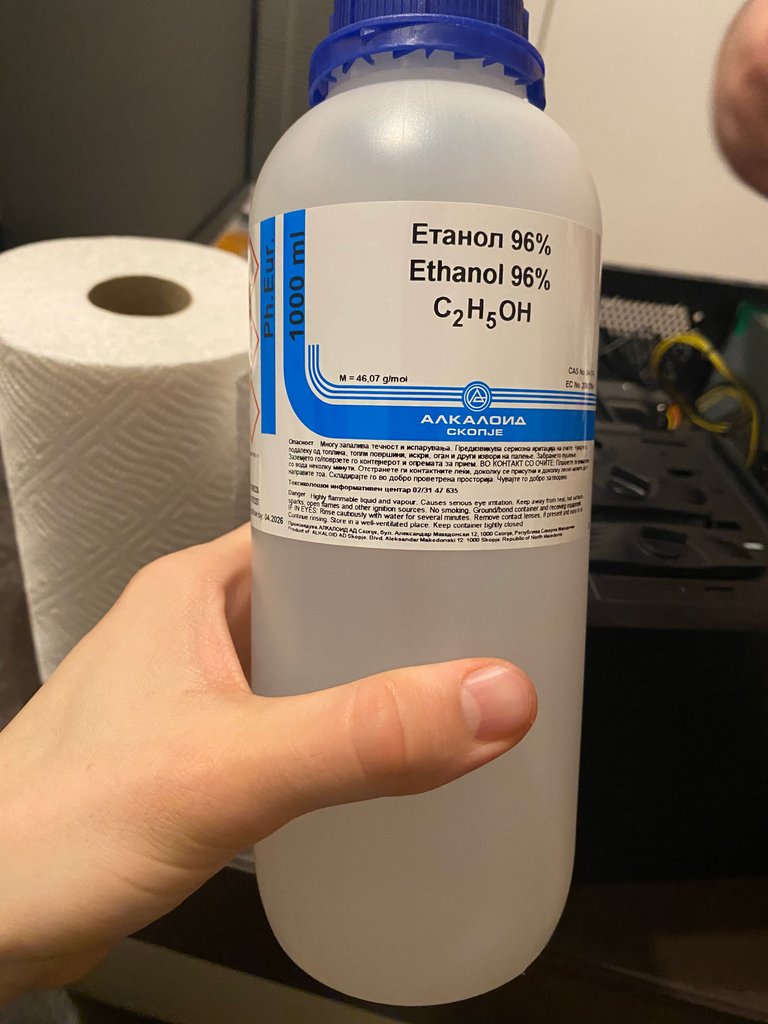
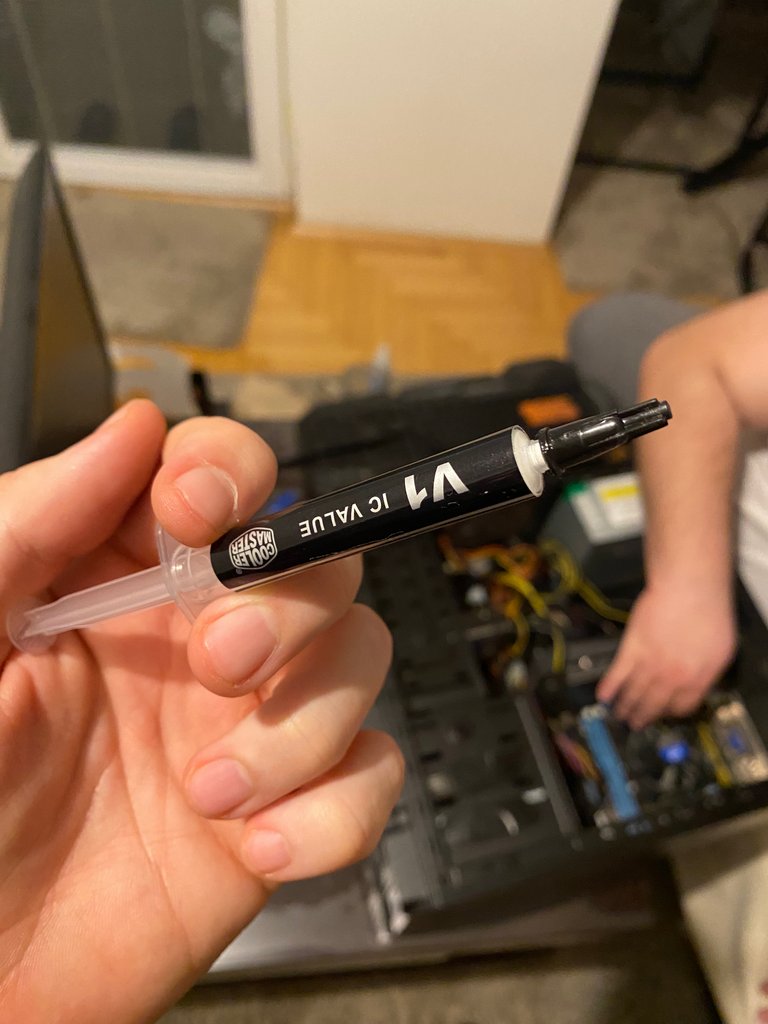
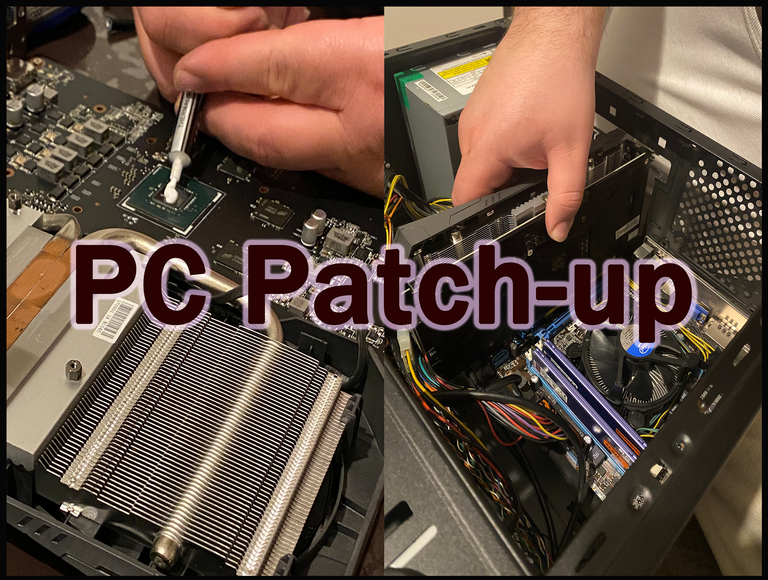
With Ethanol we cleaned the CPU units (the main one on the motherboard and the one used by my graphic card), before reapplying a thermal paste to keep the temperature of the unit cool.
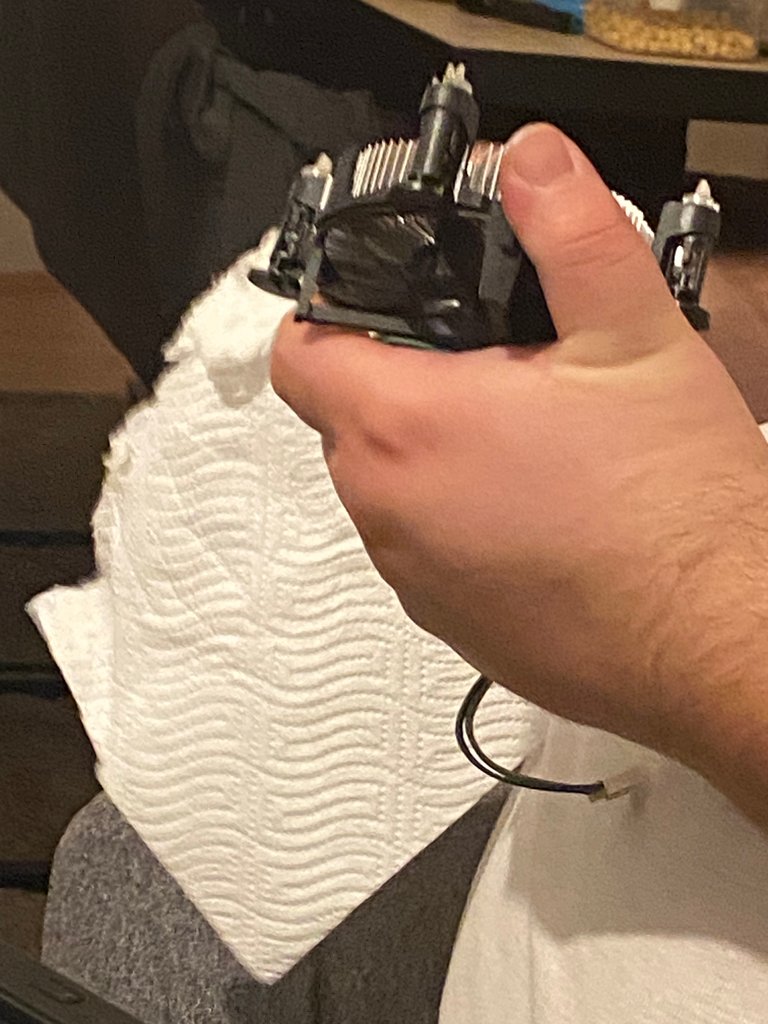
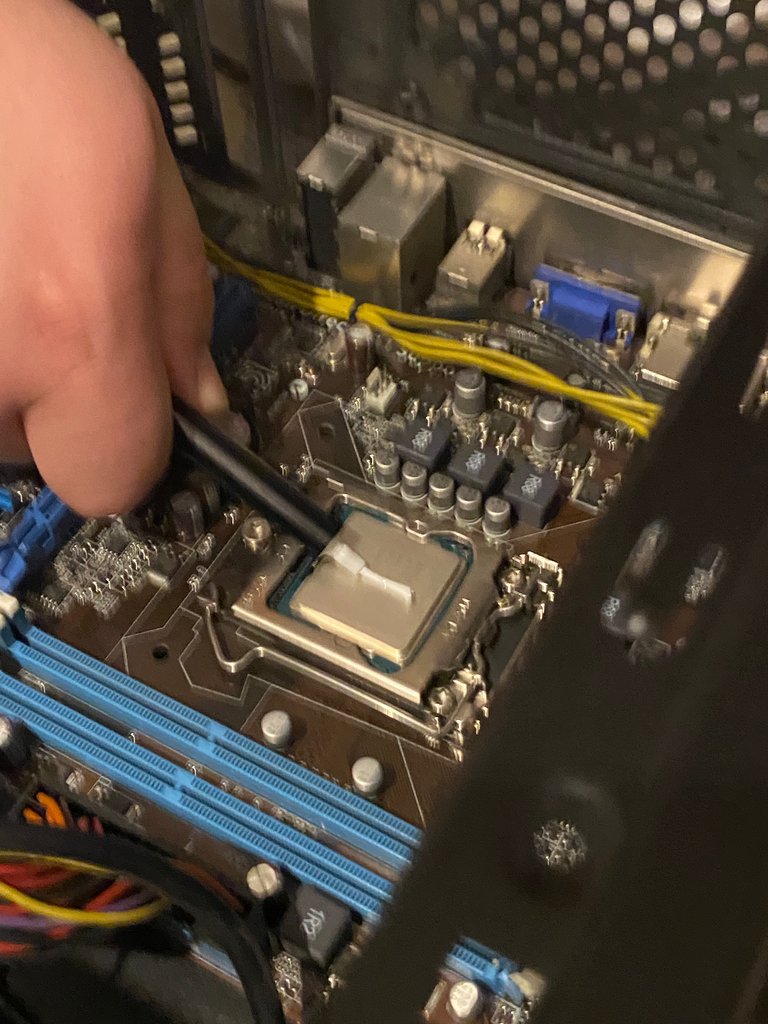
The CPU was easy, clean up the fan, and then apply the paste. The GPU however required som finecking.
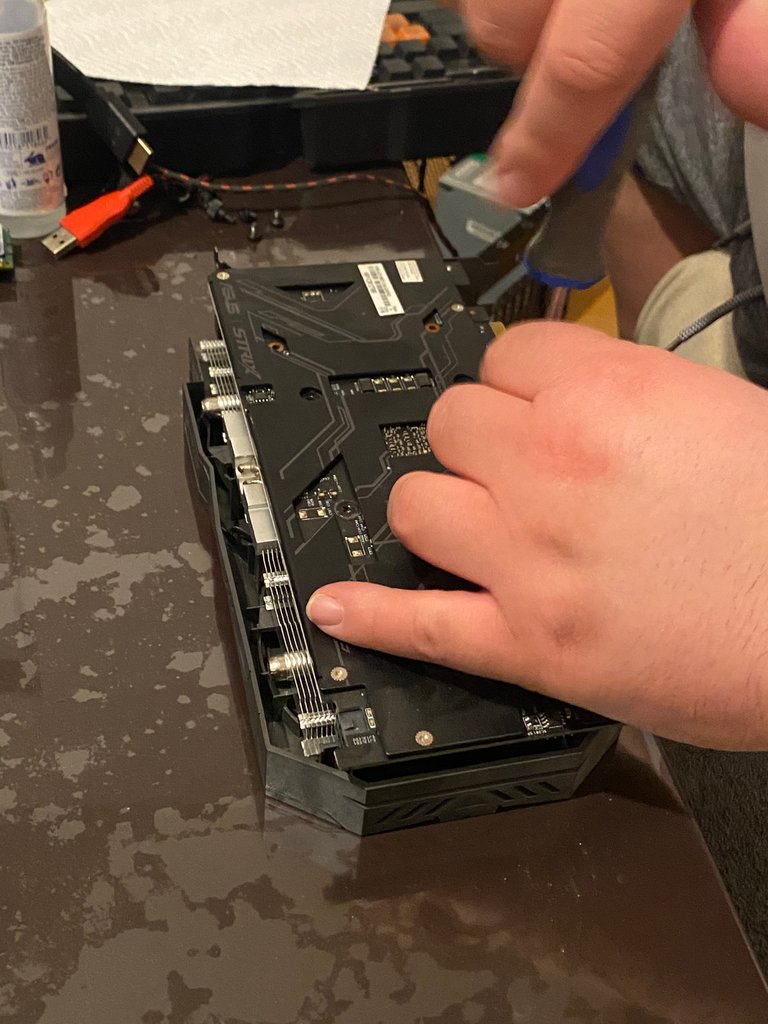
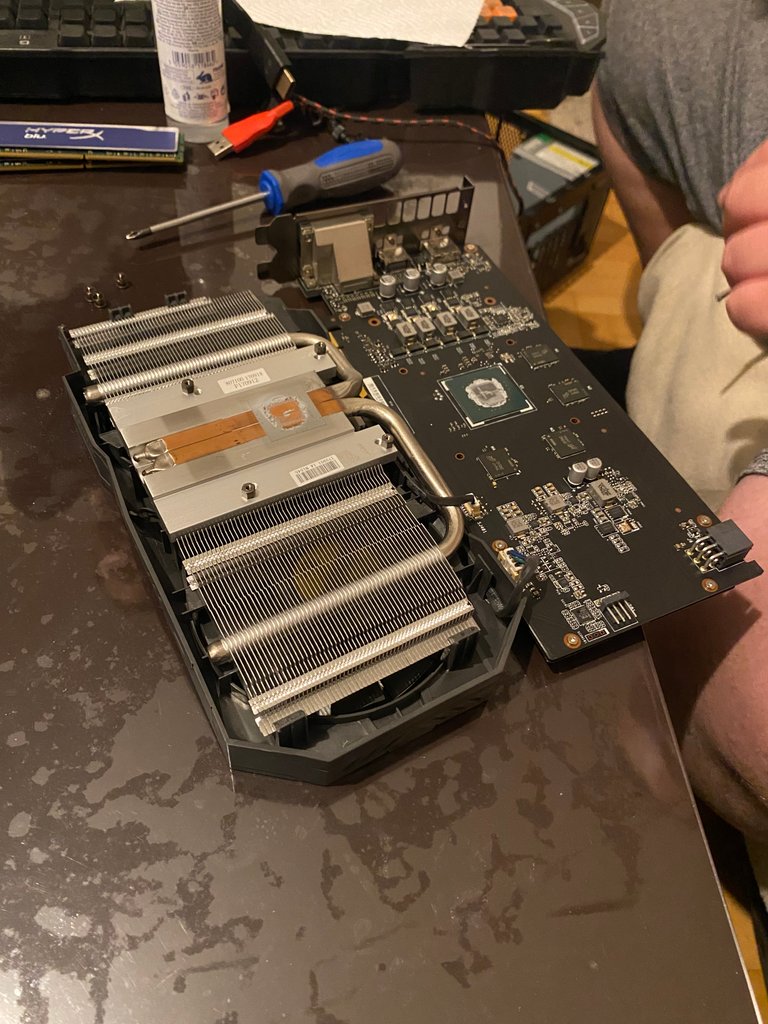
The GPU had to be opened (removing my warranty 😭). Once inside the paste can be applied to the GPU's CPU. 🎤
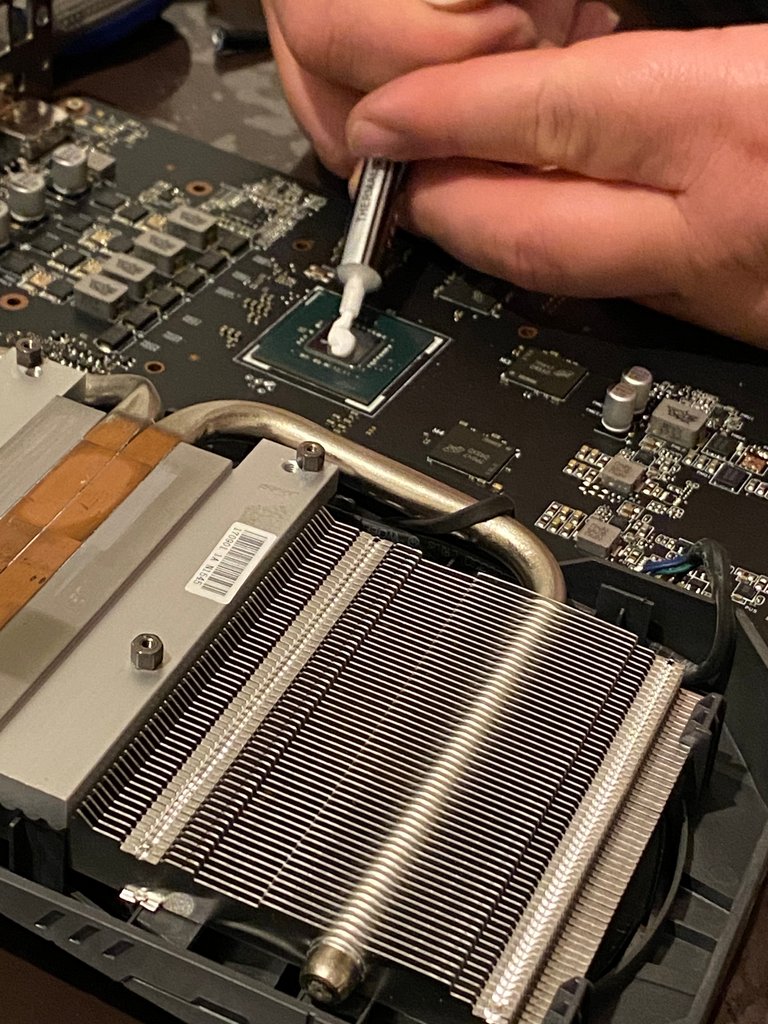
Have to be careful not to over do it, so it doesn't spill all over. The perfect amount of paste must be applied. 👌

🤳 FINISHING TOUCHES 🤳

We had some burgers and chilled for a while. 🍔 The tools weren't going anywhere.

Closing the GPU back wasn't a simple matter. I had to be careful to align it perfectly so no paste spilled outside its boundaries. Decided to put in one screw and use it as an alignment point. Worked out great, 💪 and once the GPU was whole again, it was time to put it back into the case.

Once everything was back in place we booted it back up and started the formatting process.

We got scammed by the RAM but we got saved by the SSD. 😭 The operation was successful and now my boy runs like water.
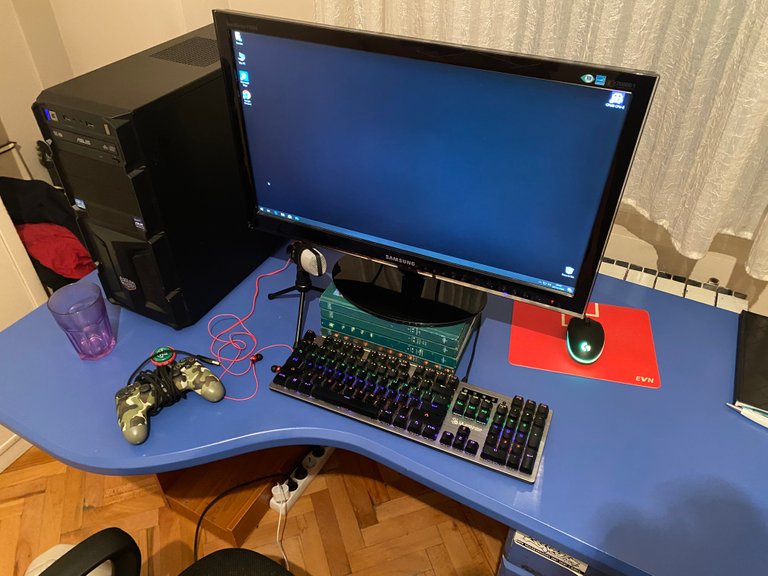
SPECS
256GB M2 SSD + 2TB BLACK HDD
8GB DDR3 RAM (would have been 16GB 😭)
i5 - 3470 @ 3.20 GHz (I know... it's bad)
NVIDIA 1050TI
The point of all of this was to increase the lifespan of the PC for at least another year. A more serious upgrade would require me to buy a new motherboard, and at that point, I would have to buy a new PC. And I currently can't afford one, so this patch-up was the only thing to do.
Hope this was as entertaining to read as it was for me to write. 😁 I also hope that it will be accepted by the Hive DIY community. 😅 Regardless, thanks for reading!
Shout-out to the 🍕PIZZA🍕 gang, 🤙 gang. 🤙
👊 Follow me on my HIVE blog 👊
Have a great day! 🍻


