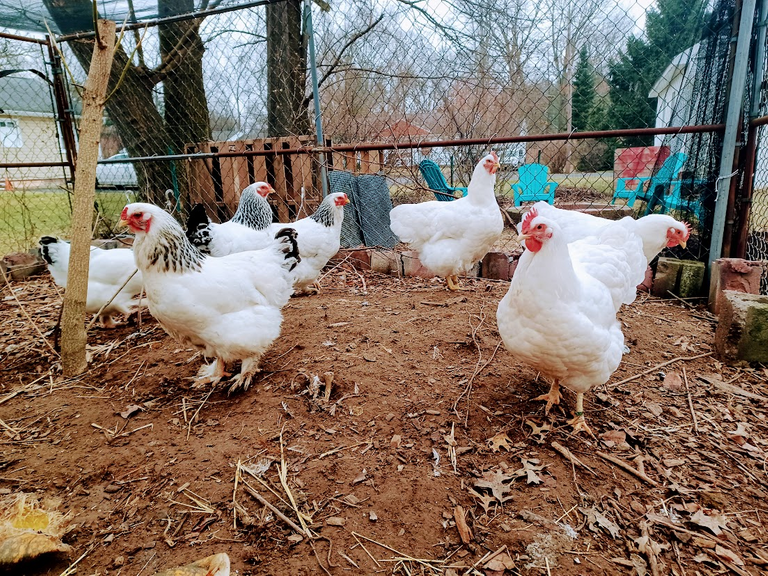
So we left our house for Christmas and New Year's Eve... We were gone for almost 2 weeks, and we needed to have the chickens do their thing, not die and be happily fed and quenched while no one was home!!!!
We had a friend come by every couple of days, to make sure they had enough water, and food, she also fed our fish which probably weren't all that happy to only eat once every two days, but they survived. The chickens however, need their food and water every day... well actually I don't really know that for a fact, but I was told that if they have food pellets, and no water, they can die over eating. That reminds me, I will check on that fact now.
I couldn't find much on that, other than on a perfect spring day with no humidity a chicken could go about 48 hours without water... No mention of their bellies exploding due to eating food pellets without water. My good prepper friend (and mentor) likes to repeat things without fact-checking them sometimes.
Well at least we found out something!!!
So, in preparation to leave for a couple of weeks, we decided to try an automatic feeder, and it was pretty easy to install. They're basically short pieces of tubing attached to the bottom of a bin, so that the chickens can stick their heads in to eat.
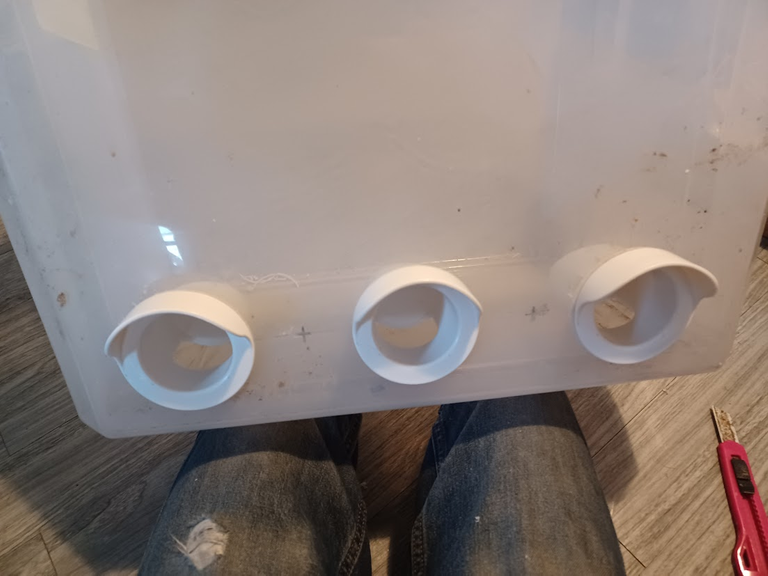
I'm a bit on the OCD side of things, so I needed to place each one of these perfectly aligned and spaced evenly. The "kit" we bought came with 8 feeders, we have 8 chickens... made sense!
At first I measured the sides of an old bin we rescued from the trash.
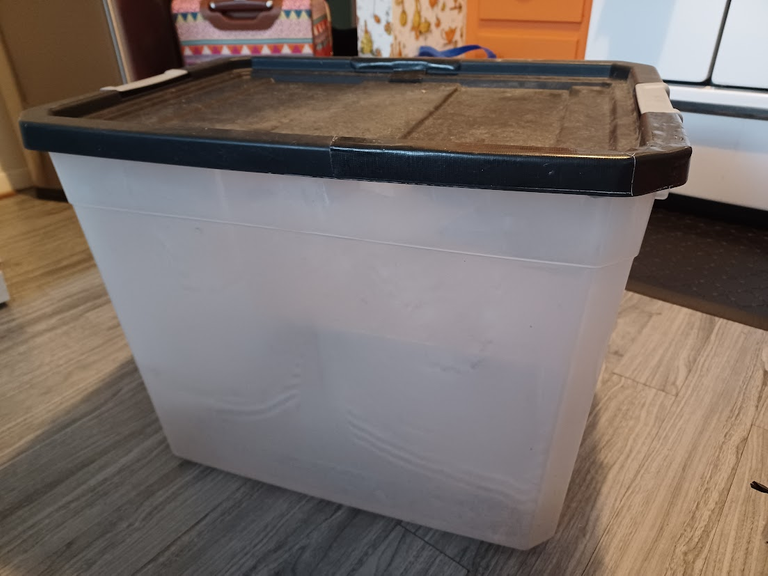
I drew a line 3 inches from the bottom and divided it in three. The plan was to put three feeders on each longer side of the bin, and one on both other sides. So in the end I drew that same line, 3 inches of the ground on all four sides.
I marked the center of each spaces I had divided along the lines. Then I drilled away with a 2 inch whole saw.
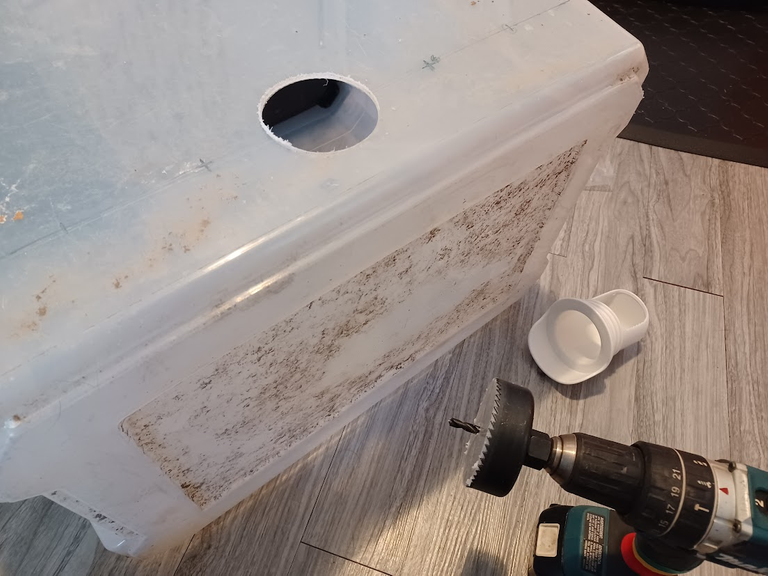
I was a bit afraid to crack the plastic, but it worked fine, and I just didn't put too much pressure on it. The thing is, it did melt away some of the plastic, and it created a rough edge around the hole, but that was easy enough to cut away with an box cutter.
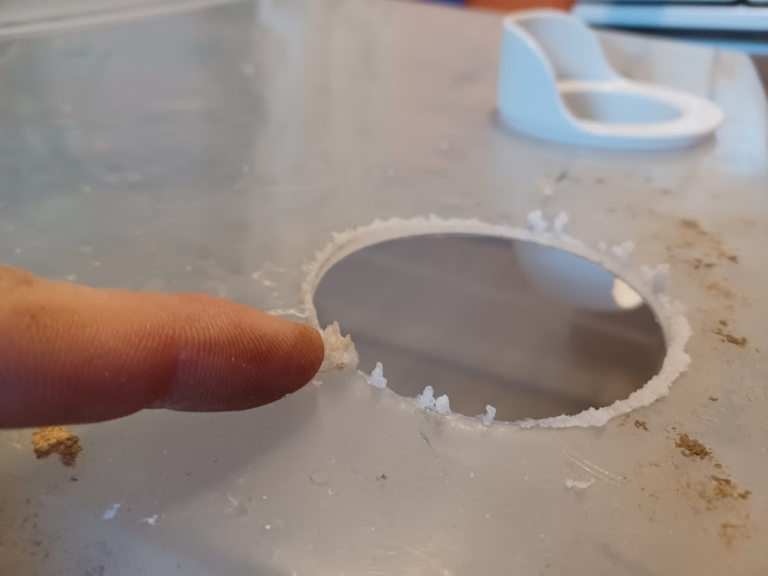
I cut it out so that the feeder would fit on their nice and flush to the surface. They came with a rubber seal and a screw cap for the inside, but still, the smoother it is, the better the seal in my opinion.
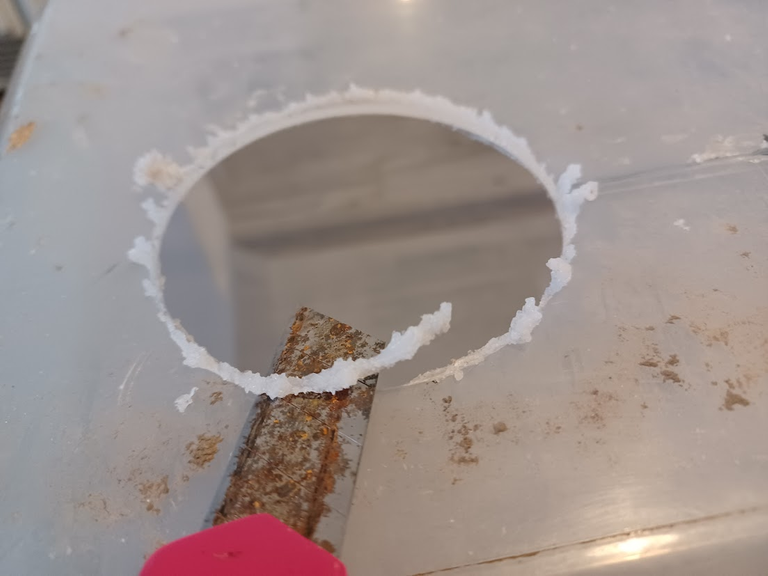
Once it's all smooth, I could insert that front piece of the feeder, that piece with a bit of a rain hood that you saw in a previous picture, kind of reminiscent of a baseball cap. Then I can screw onto it the back end which will tighten up the whole thing nicely.
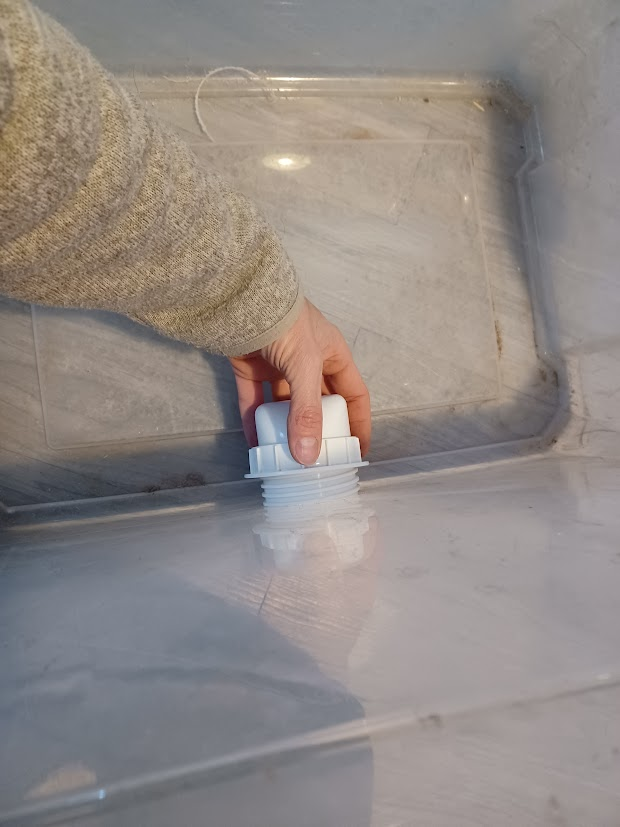
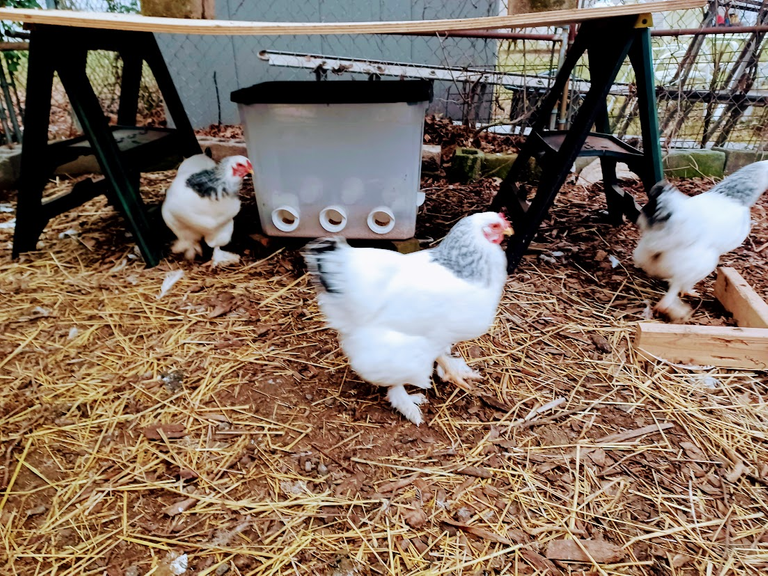
The final product:

I like that I can see through it... These little dinosaurs ate almost 40 pounds of feed in two weeks!!!! Even though it's supposed to be rain-proof, I decided to put the whole thing under a quick roof/protection thing. Simple, two work horses, a board I had laying around and a couple cinder block pieces to weigh it down, so the wind wouldn't take it. They look happy... though they're running away from my picture taking!
And for the water, we got this water heater so it wouldn't freeze. Our friend wasn't coming very early in the morning to change their water... so we needed to automate that a little somehow. It's kind of like a hot plate that sits under the water feeder.
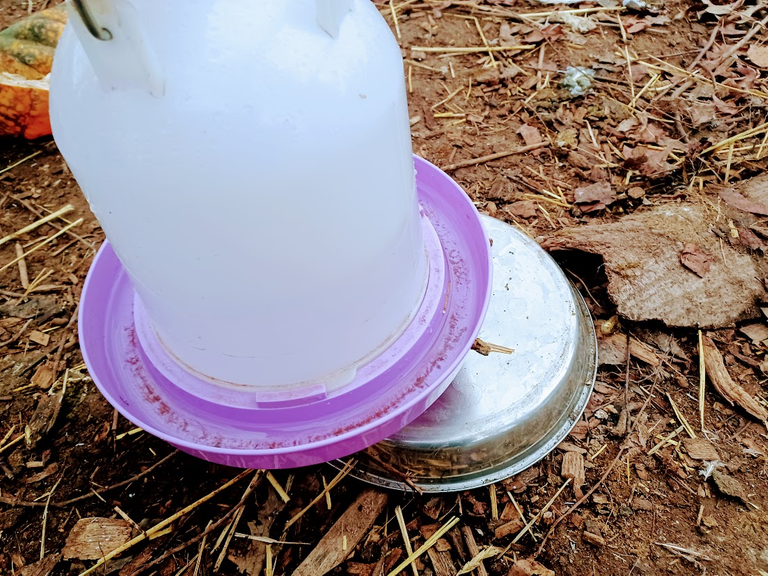
I ran the cable just under a large piece of bark so the chickens didn't damage it by scratching the ground there, between the hot plate and the fence.
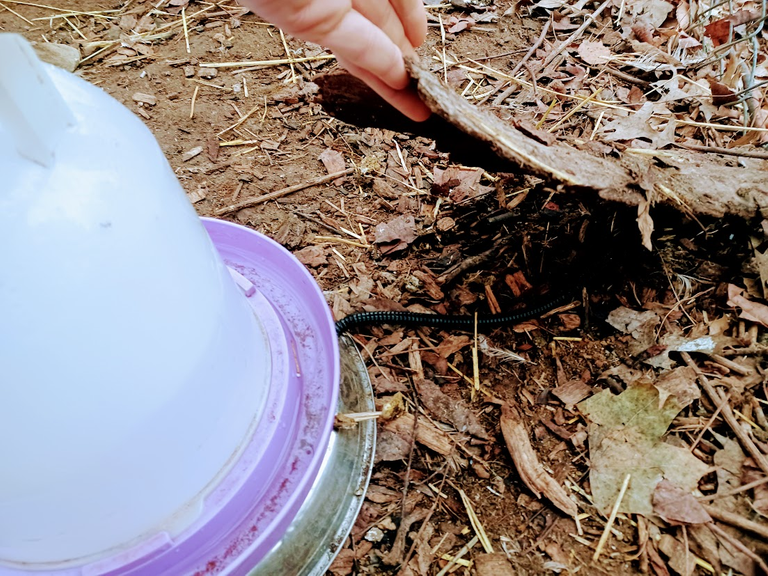
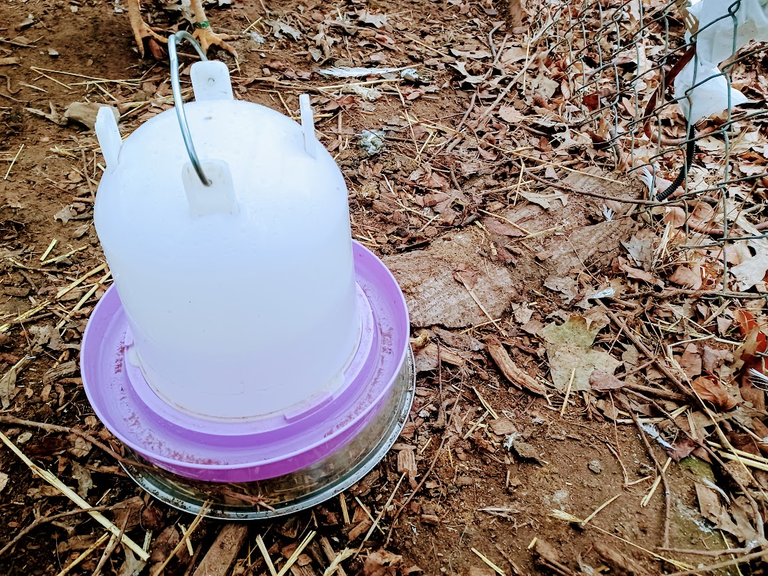
You can hardly see it!!! But if you take a look at the fence, there's a plastic bag hanging on it. It was to protect the connection of the feeder and the extension cord from the rain and snow we were in for! It worked, again it was a quick job, and I'll come up with something nicer now that we're back in town.
| Hive | Presearch | Odysee | Minds | Hipcamp |
Find me on Social Media:
LBRY: https://lbry.tv/$/invite/@MugwortExpress:5
Odysee: https://odysee.com/$/invite/@MugwortExpress:5
Minds: https://www.minds.com/register?referrer=NoMansLand


