Hello hive family greetings to you all.
Today I'll be posting a dress I made and I'll also be sharing the process and procedure on how I cut the cloth.
Firstly this are the materials needed to sew the cloth.
Here is our Ankara material
Lining
Zip
Babylace
Breast part or breast part anyone you choose to call it.
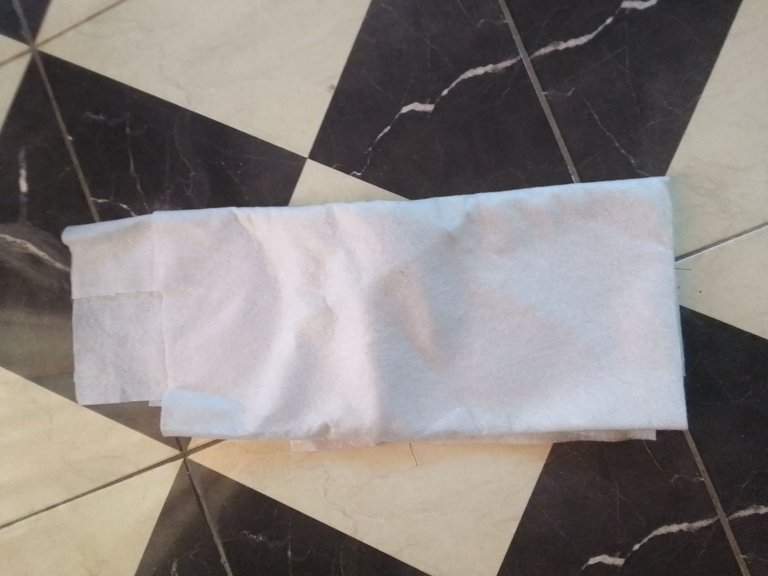
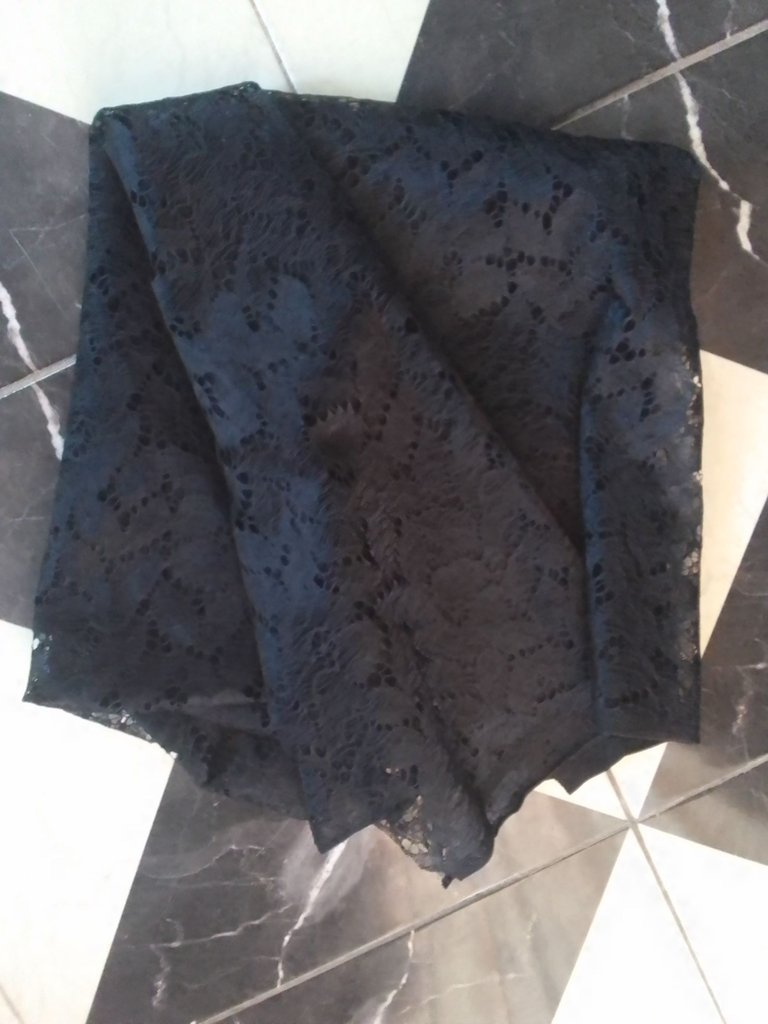
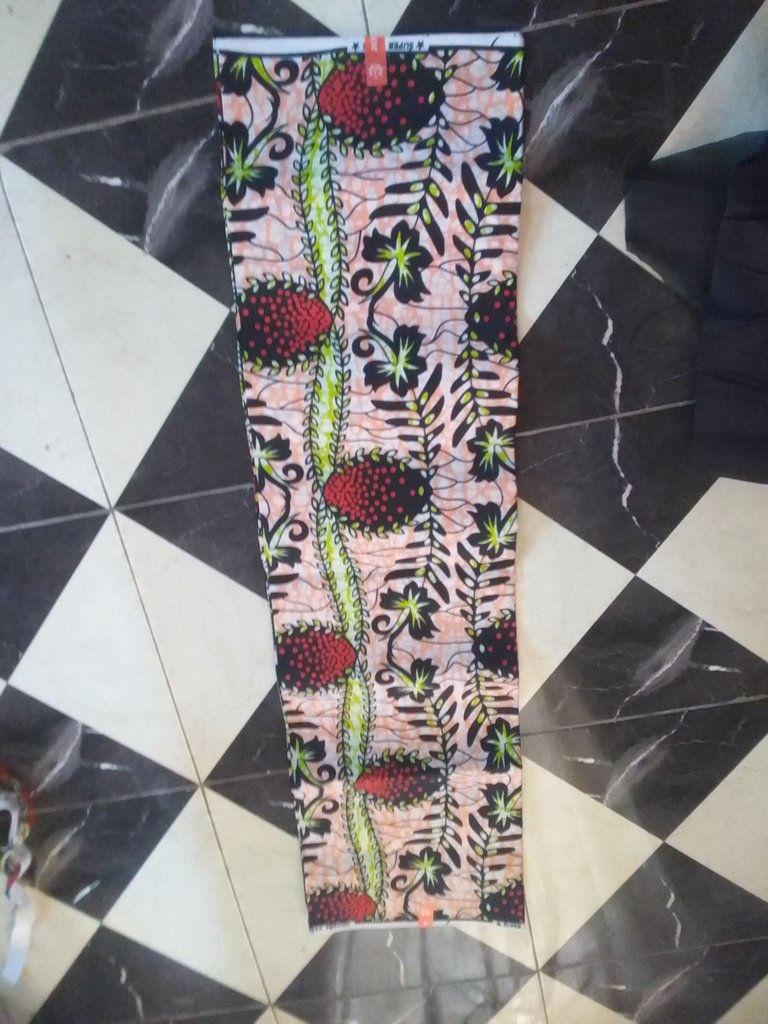
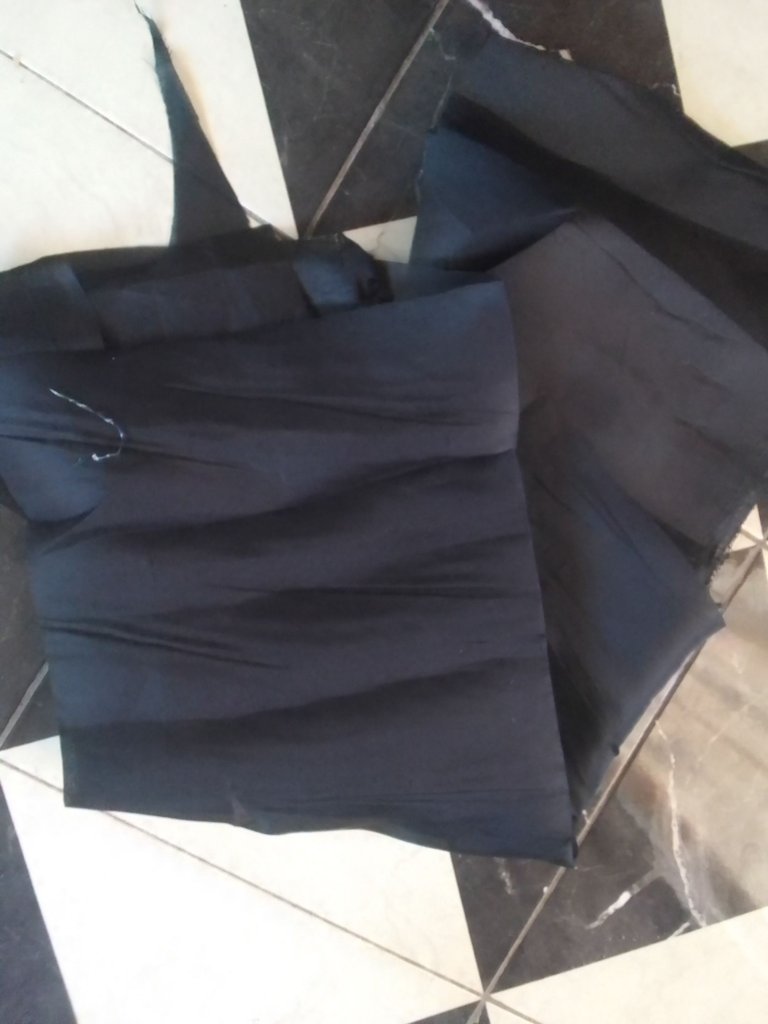
Now we're going to start with the skirt
You'll first of all places your material by folding it to two depending on the size of the person.
Just as seen in the picture, you measure out your length, waist and heaps just as in the picture then you cut out
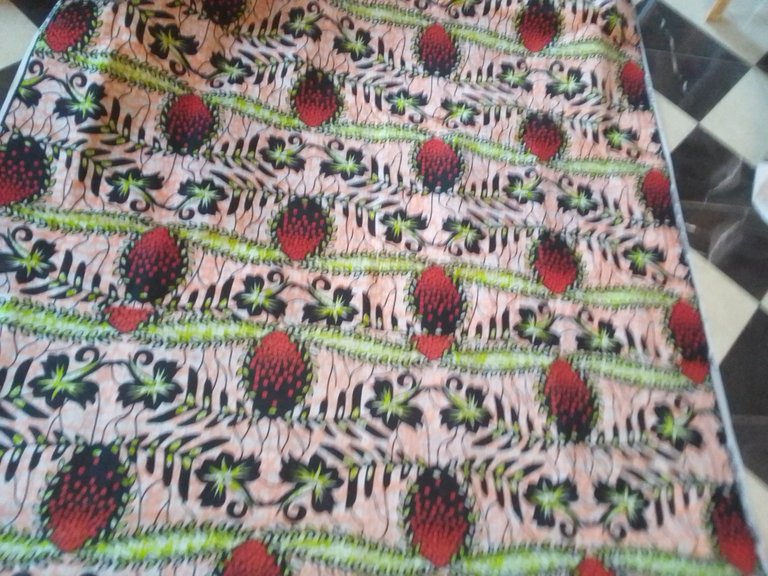
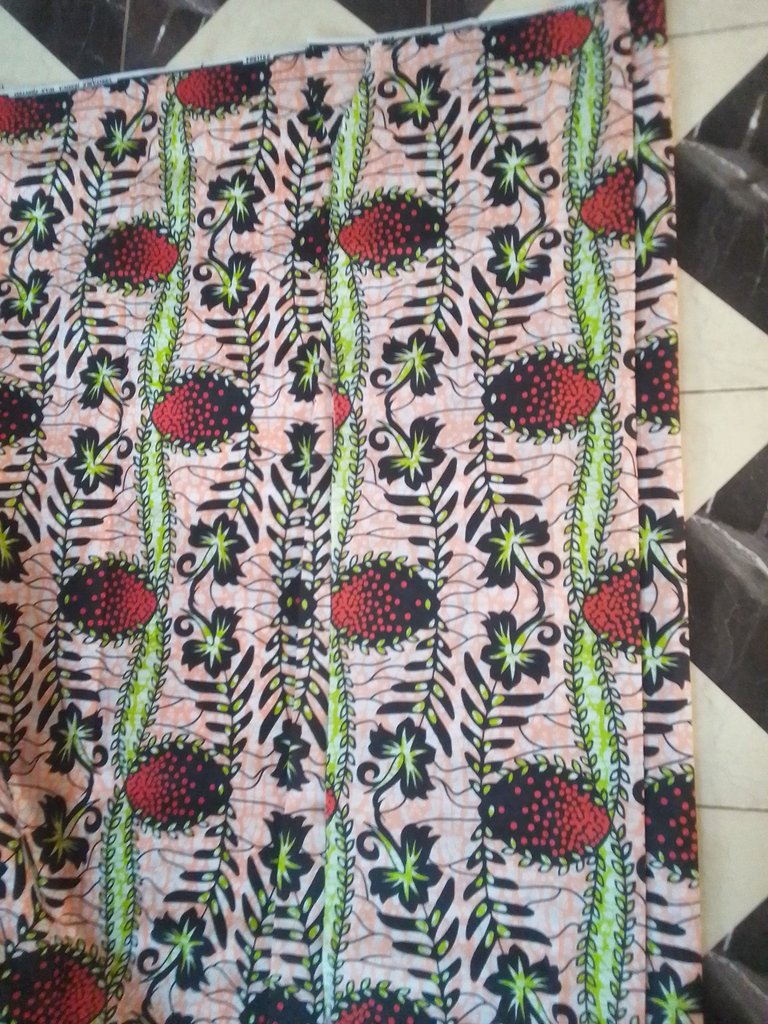
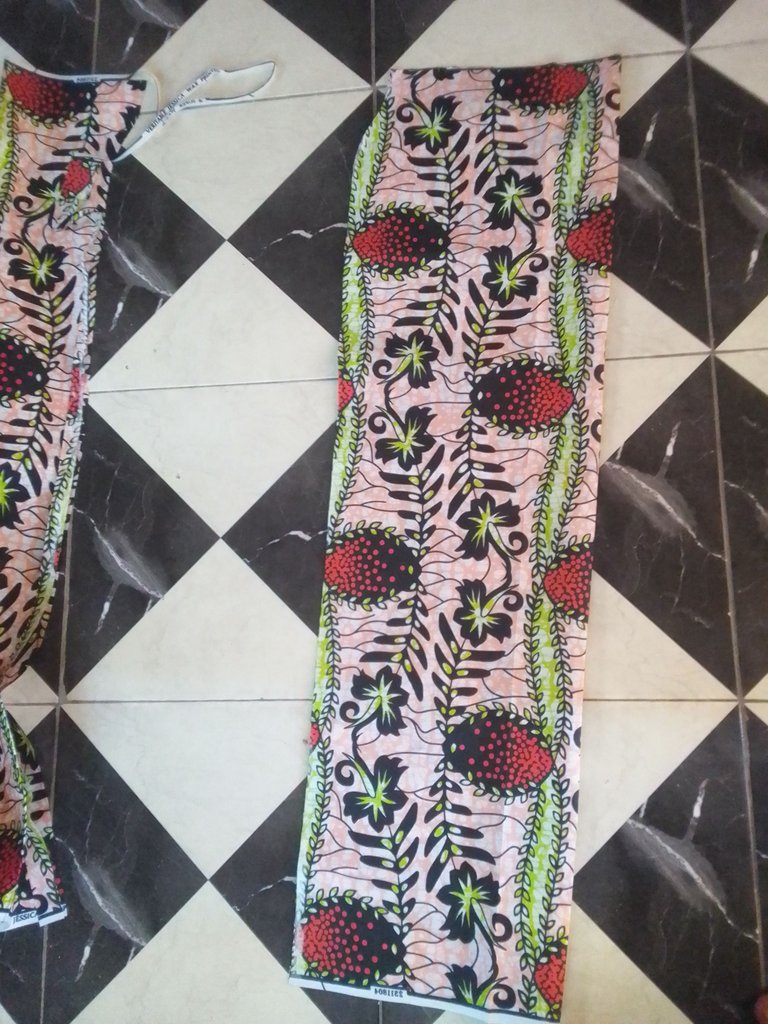
That's the front part of the skirt
Now for you to cut out the back you also fold you material just like the first one and place the front of the skirt on it and give it a two inches allowance for your zip and slitting behind the skirt just as in the picture, then you cut out

Now you're done cutting your material.
You also will cut out your lining by placing the material on the lining and cut out the exact shape just as seen in the picture both for the back and the front
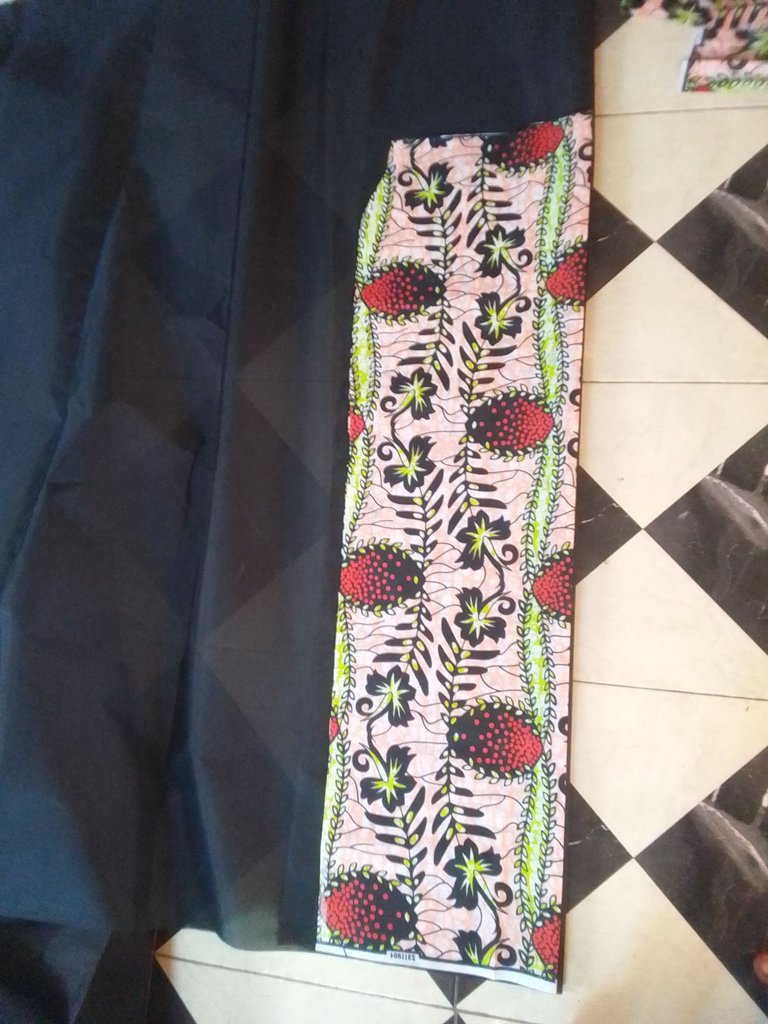
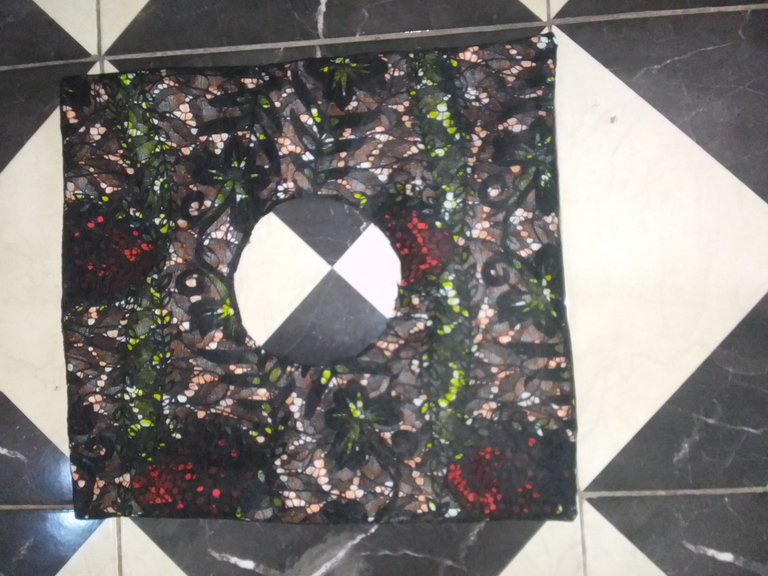
And then you fold your babylace also for the front part of the skirt and it depends on how u want it to be that's for the length and where you want it to stop at and u cut it out as seen in the picture
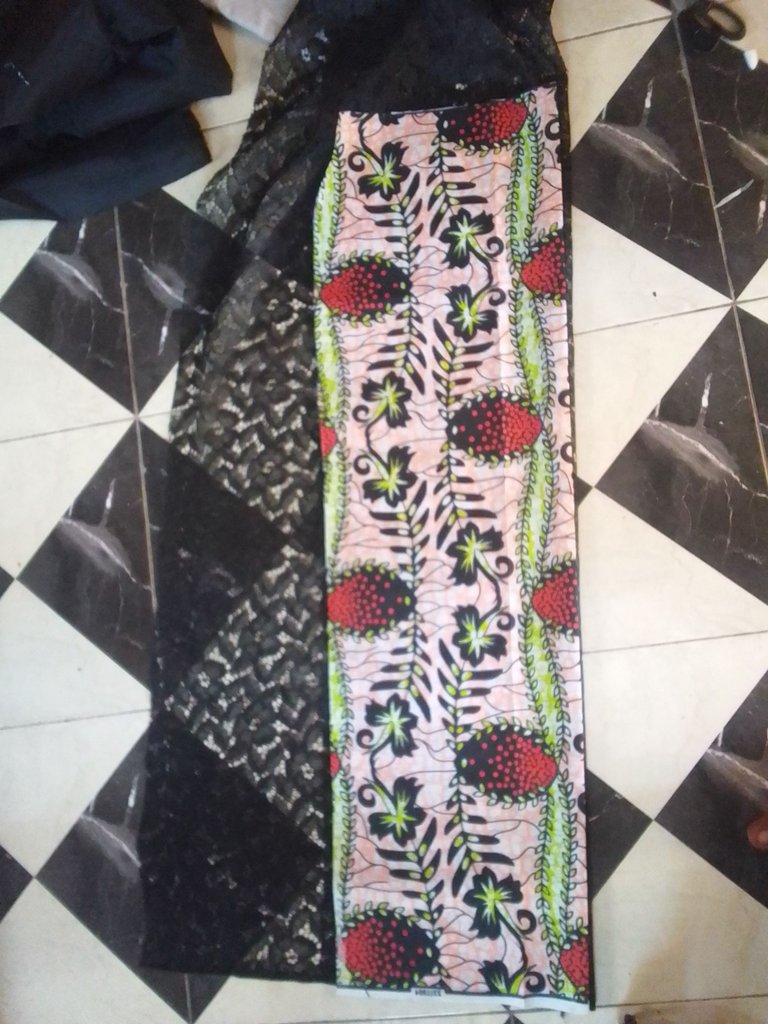
Then you go by putting up your lining for both side, that's the back and front of the skirt
And this is how it's looks after
putting up your lining you iron it before joining
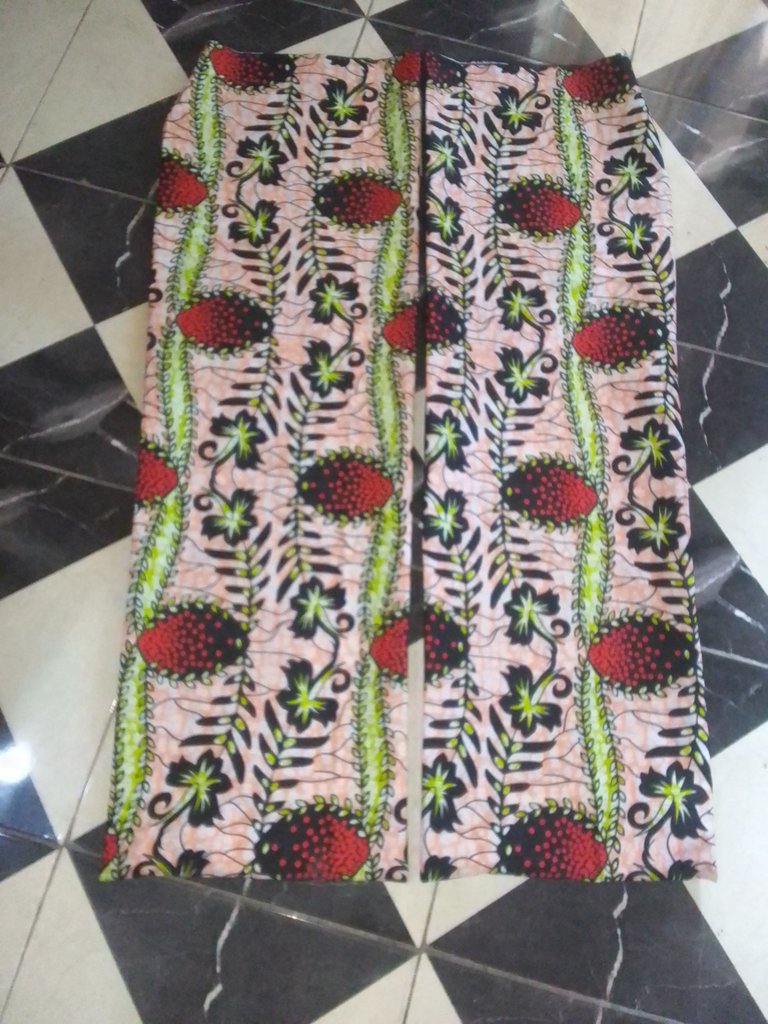
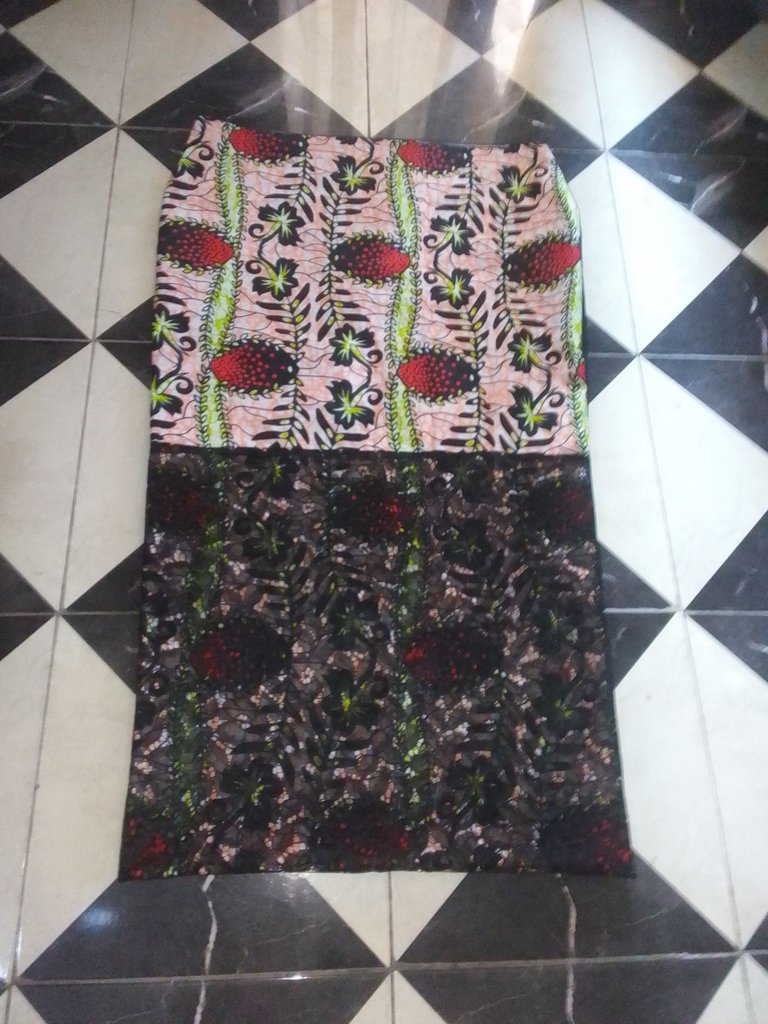
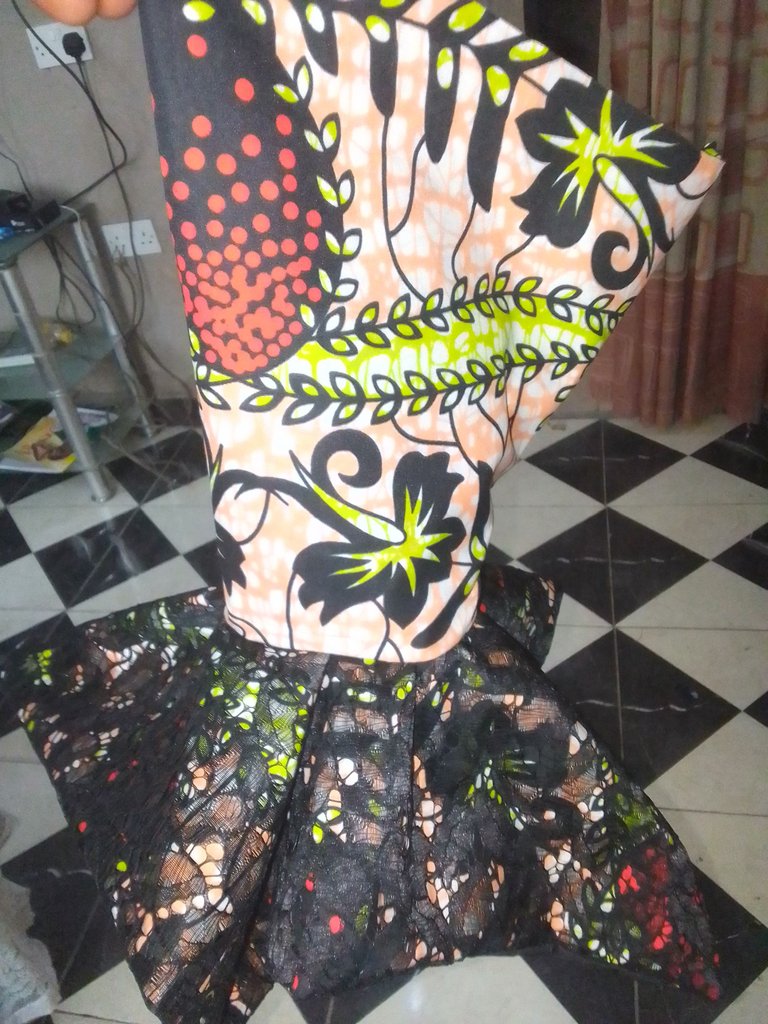
Now this is how our skirt looks like after joining and it's set and ready to wear.
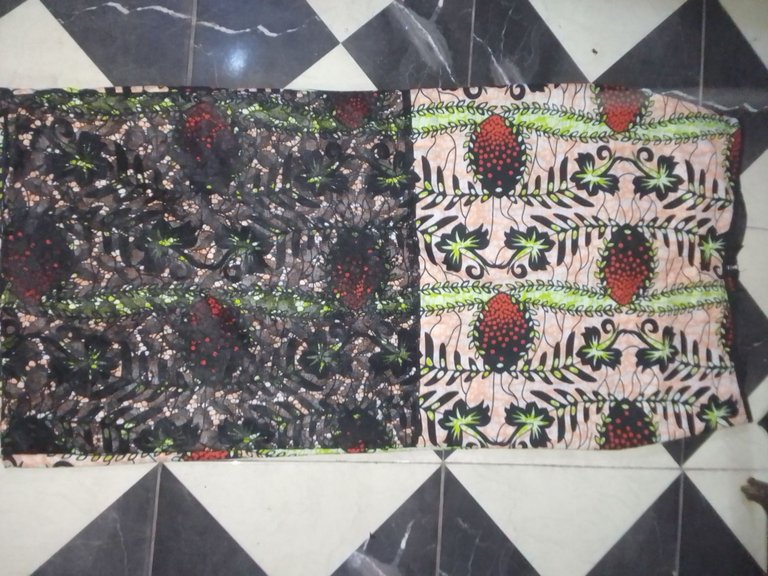
Now to our shirt
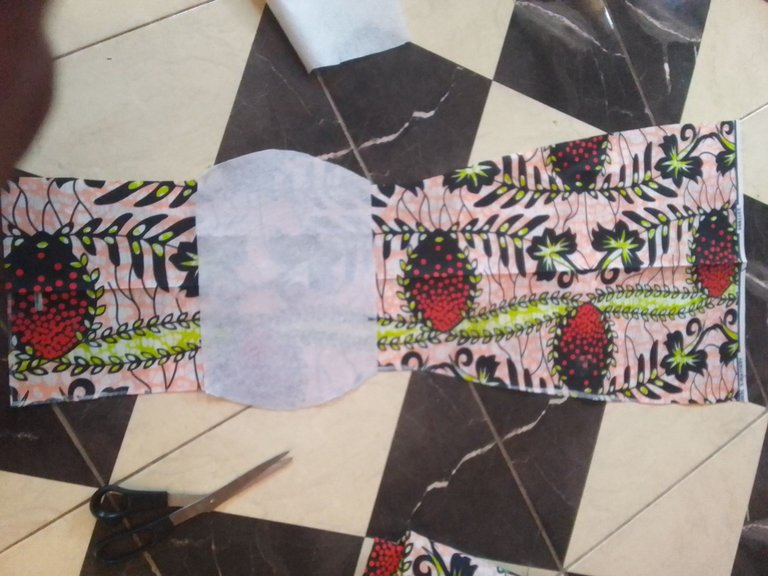
We also have same items for the sewing which is listed above. Now you fold your material and measure out your length just as you'seeing in the picture. And we have the middle part of the breast tube which were going to cut seeing in the photo.
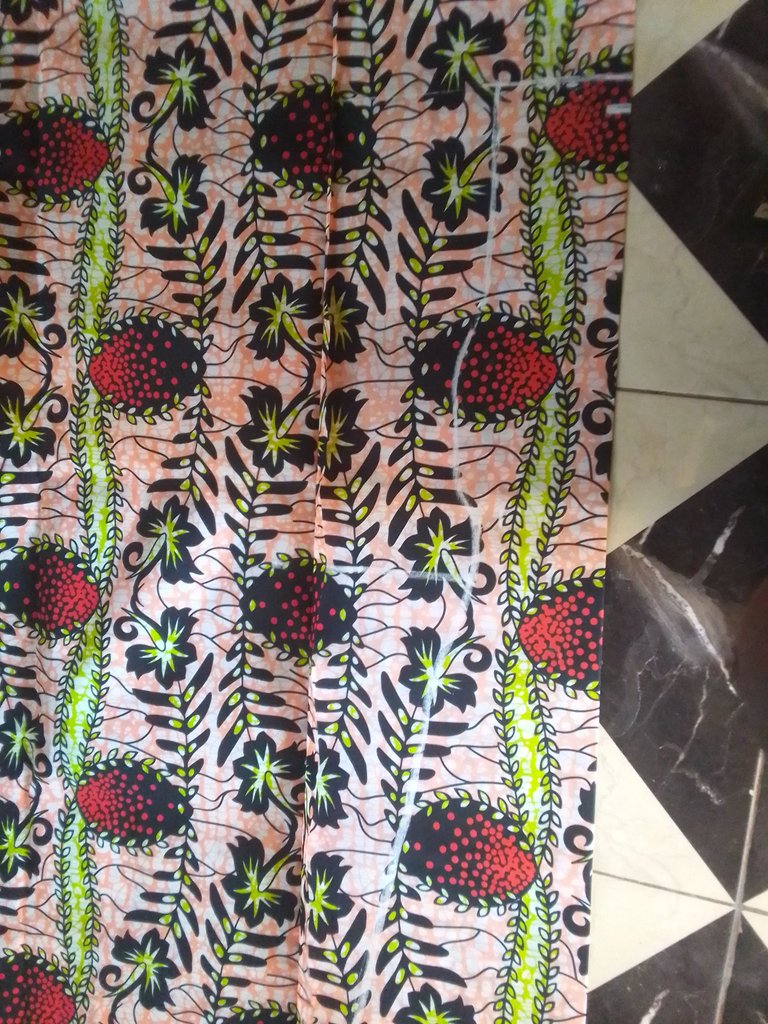
And after cutting the middle part this is the shape it will give you.
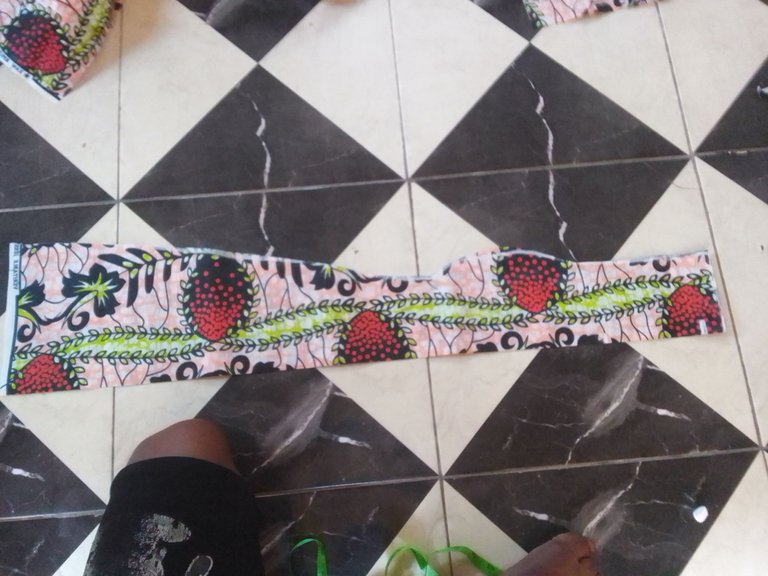
though the front of the shirt it's going to come out in three parts cause of the breast tube we're using, now you still fold your material and place the middle part of the breast tube and cut out the other two side.
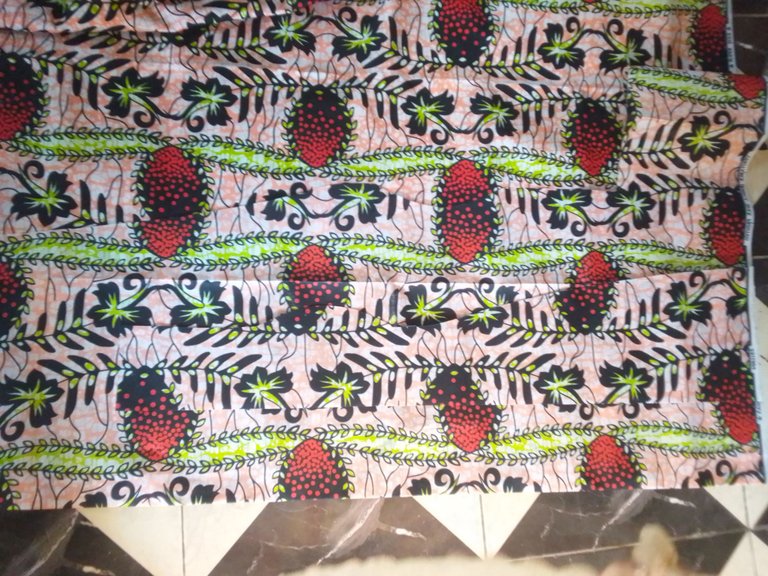
Now after folding you measure out six inches from the top that's where you will cut out your shirt neck from then from the six inches that's where your measurement for your breast part will start just as in the picture then you cut out, you cut out based on the burst measure.
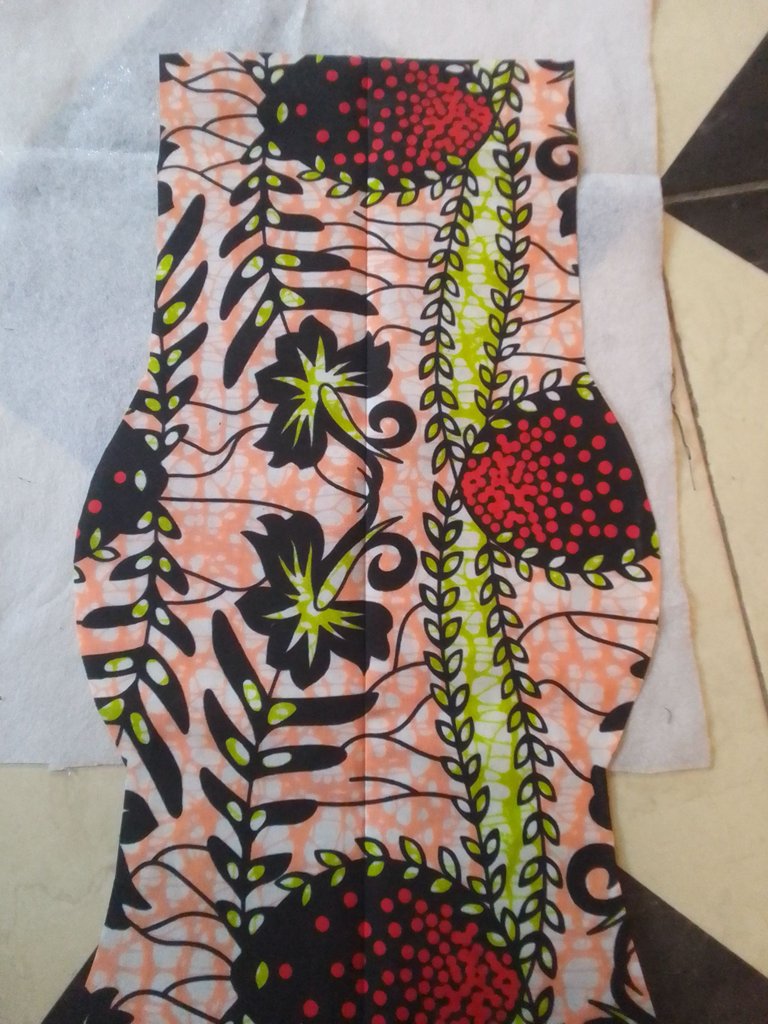
After cutting this is what you have
You still fold your material and place the front part of the breast part on it with a ten inches allowance for just as seen also then you cut out

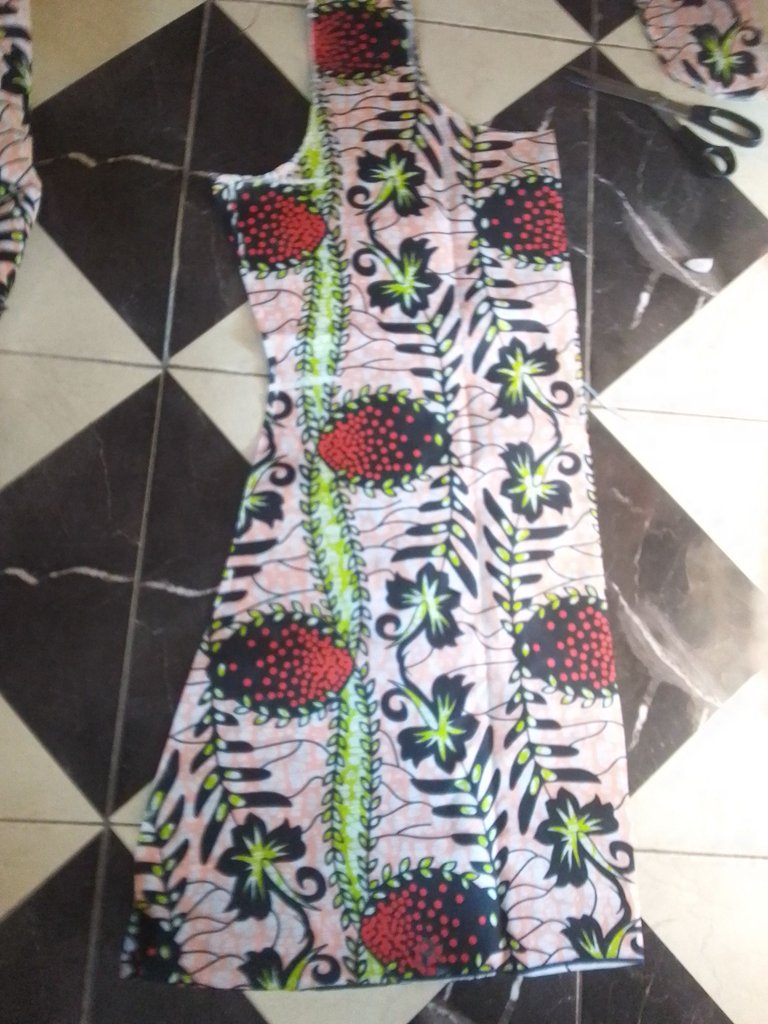
And the back is coming out in two part by folding your material, measure out your length, shoulder it's depends on the size of the person shoulder but on this the shoulder is fifteen so I'm measuring seven and half cause it's folded then you cut out your neck by four inches you can use more than that depends on how you want the neck to be open now this is how the back looks after cutting.
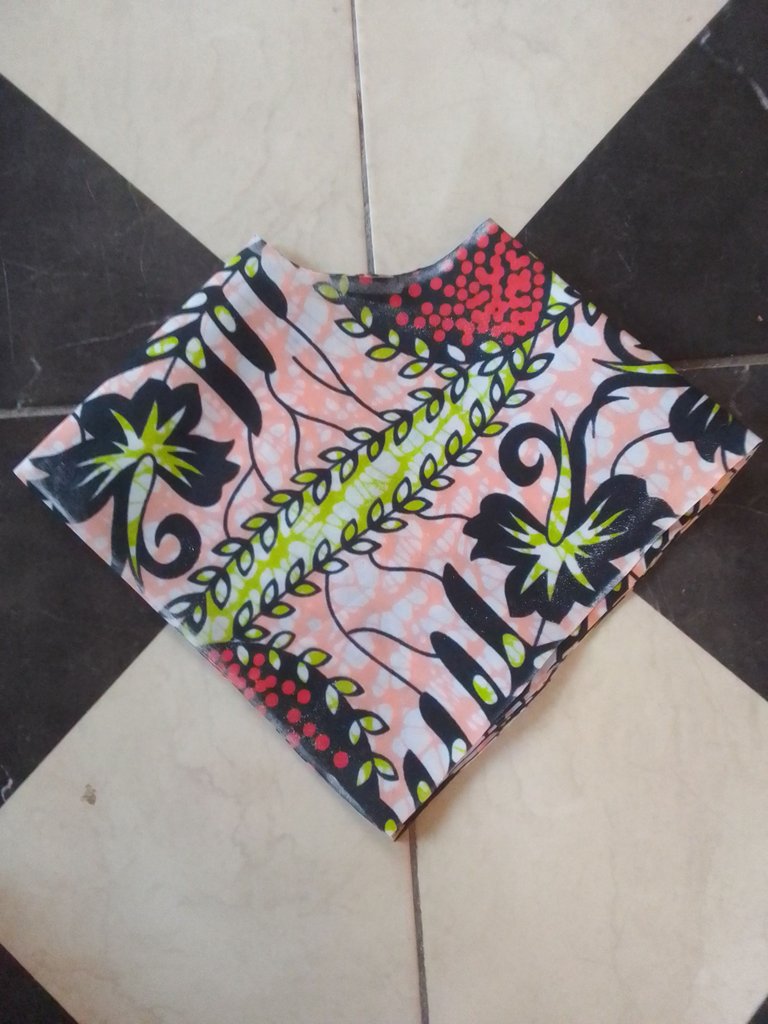
And now the hand also you fold it by four just like in the photo and cut out based on the person size, for both the upper and down part of the hand.
You also cut out your lining too for DFt hand and also your babylace just as you can see and this is how it looks after cutting
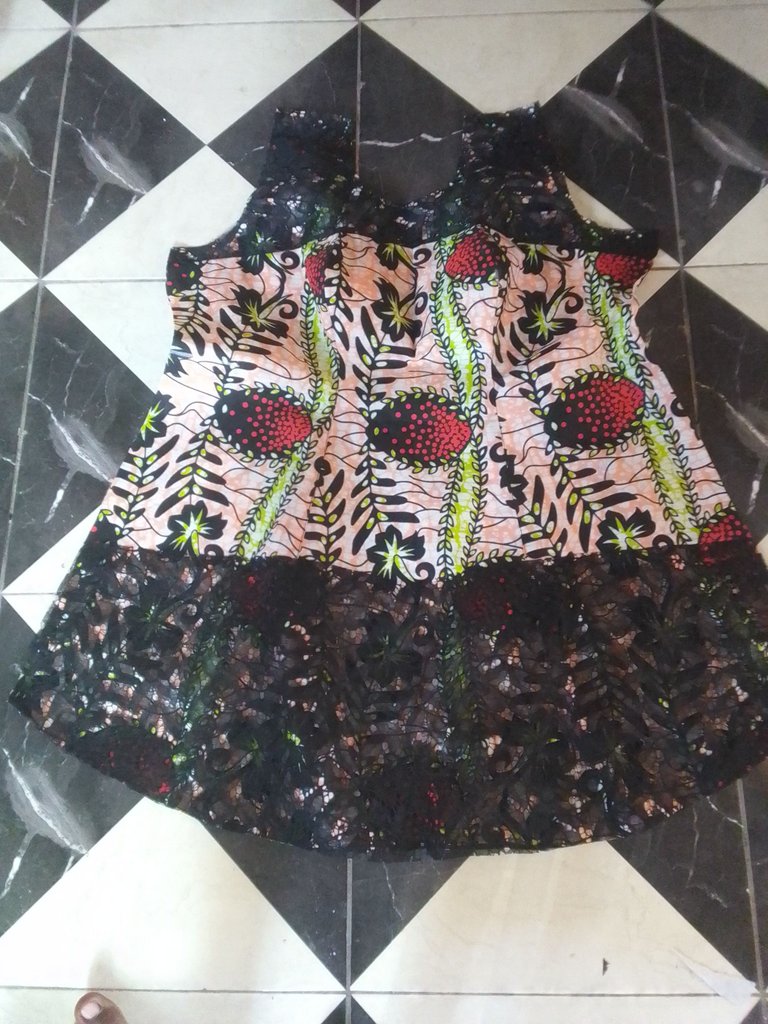
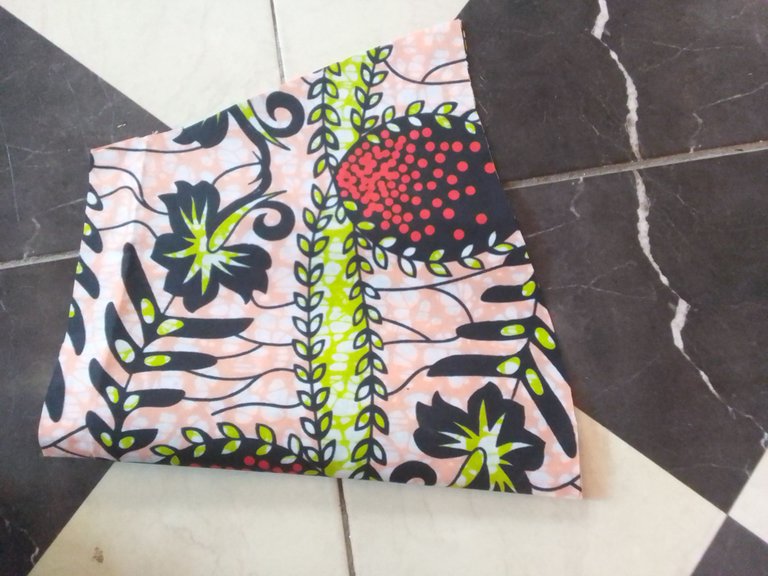
After joining the front this is how it look And the back also after putting up your lining this is how it looks.
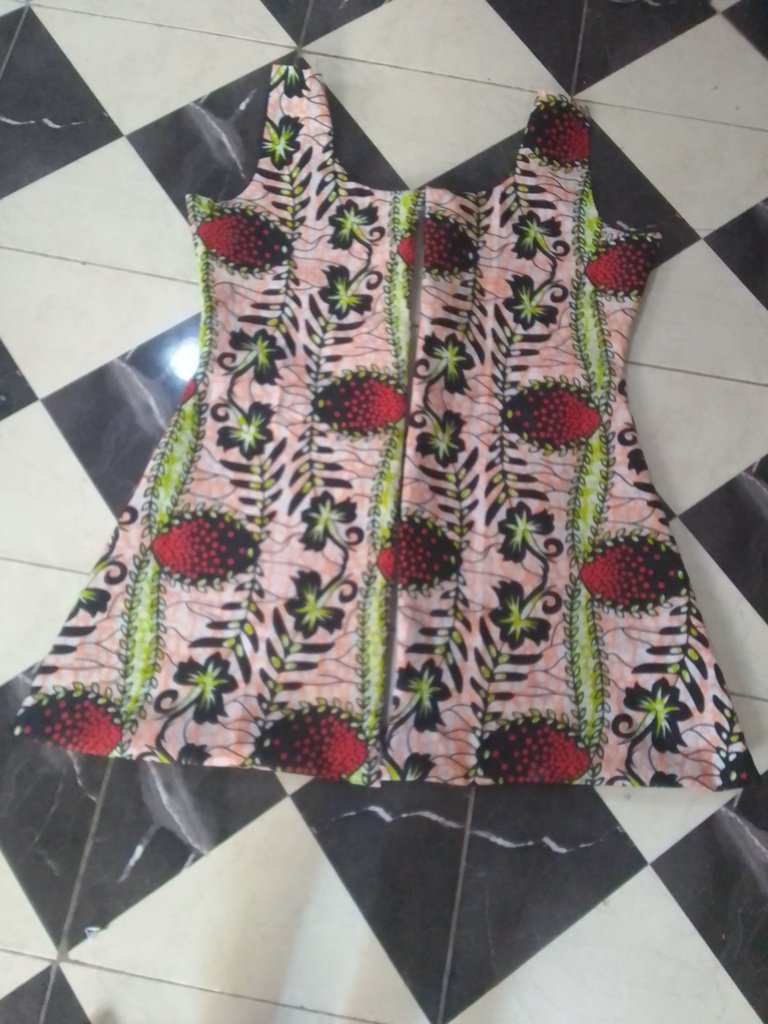
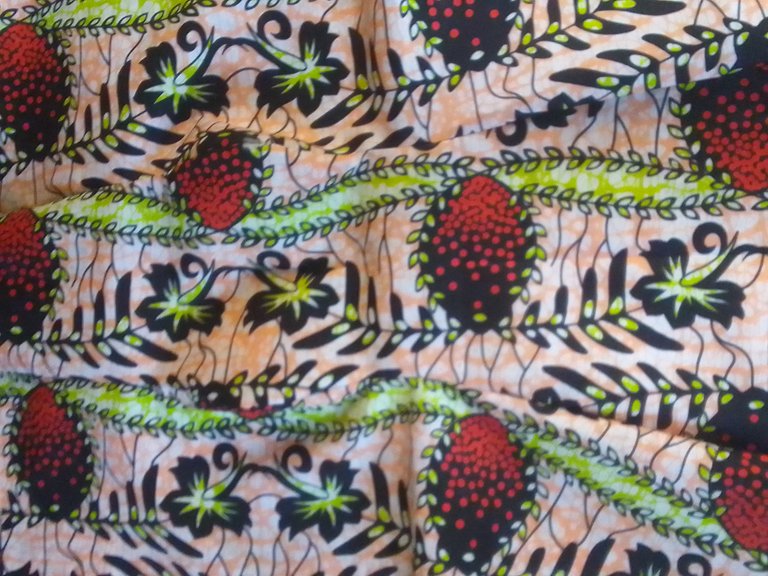
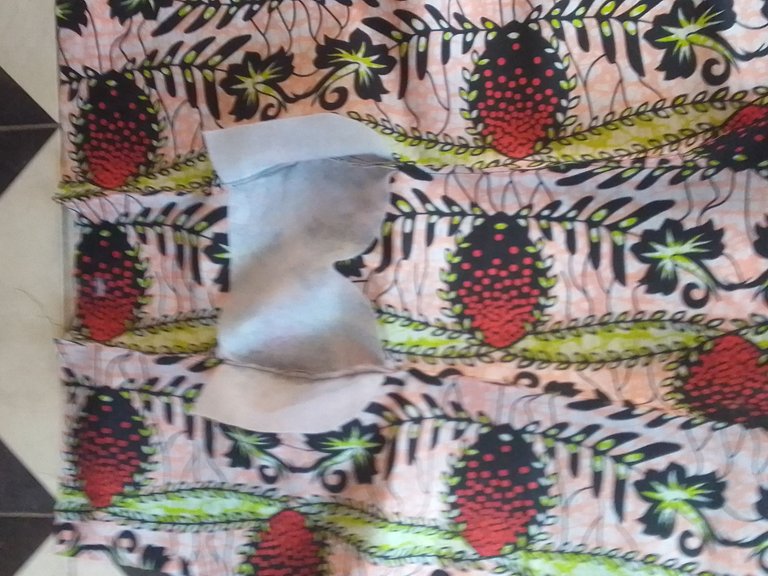

Then you proceed to joining it,before joining you need to iron it,This is it after joining.

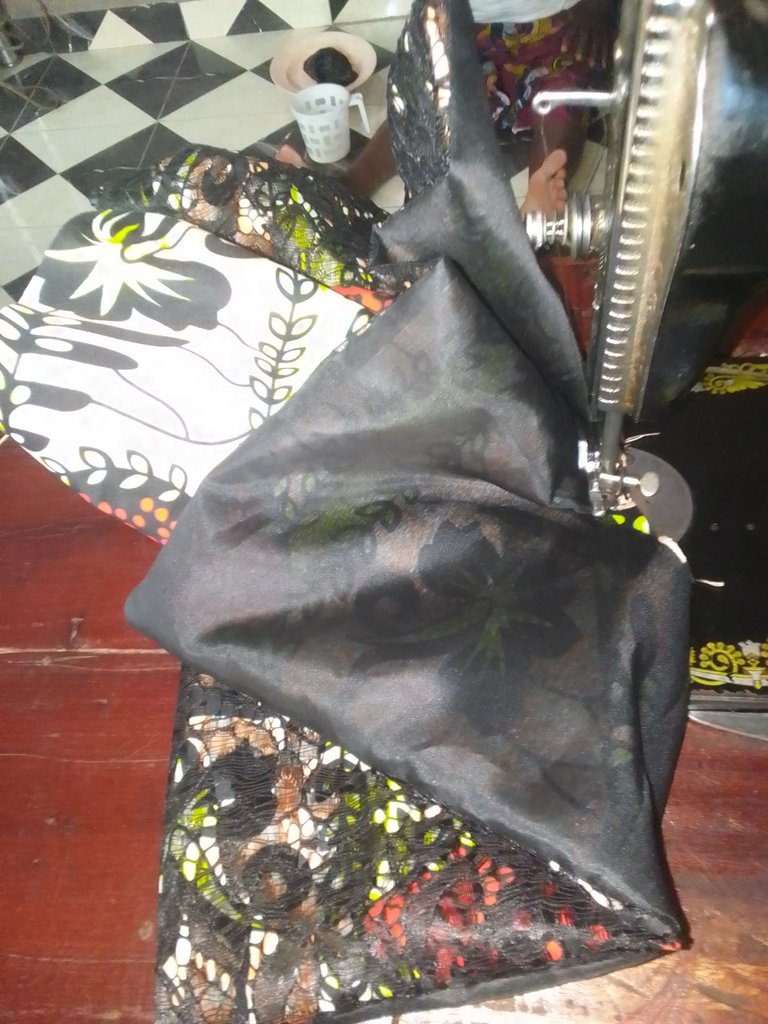
And our hand you also place your babylace on the material and sew it before putting your lining and iron it before joining and this is how it looks when fixing and after fixing it.
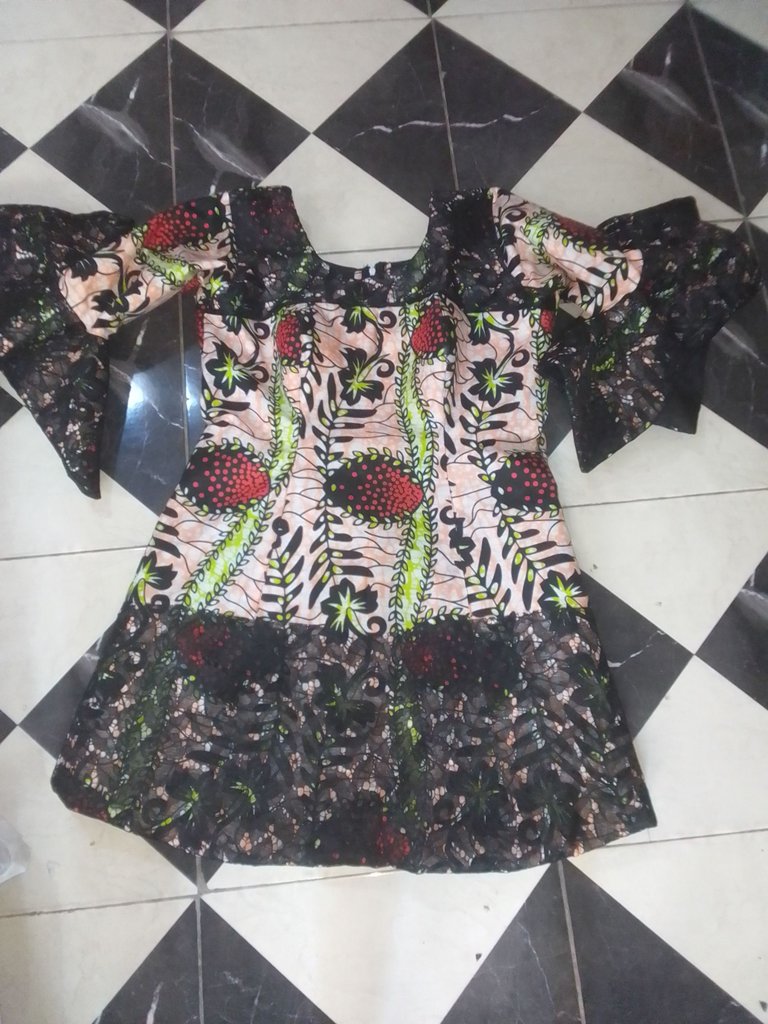
And now our shirt is set and ready.
Thank you for going through this post


