Hola amigos, ¡bienvenidos a mi mundo!
¿Cómo están todos? Yo estoy bien y estoy contenta de venir a enseñarles una tarea que hice para la escuela y es un rompecabezas de un robot que es del proyecto que estamos haciendo este lapso que es de la robótica y este rompecabezas es para la clase de estética que es mañana y como me gustó mucho se lo vine a enseñar.

Este rompecabezas es para hacerlo mañana en el salón pero tenemos que llevar listo el dibujo y hay que hacerle las marcas de las piezas y en el salón lo vamos a pegar en la hoja gruesa del Block y recortarlo para poder armarlo por eso no lo podía recortar aquí. Y les voy a decir cómo lo hice.
Yo utilicé
💗 Una hoja blanca
💗 Colores
💗 Marcadores de colores
💗 Marcador negro
💗 Lápiz
💗 Regla
Ahora el paso a paso
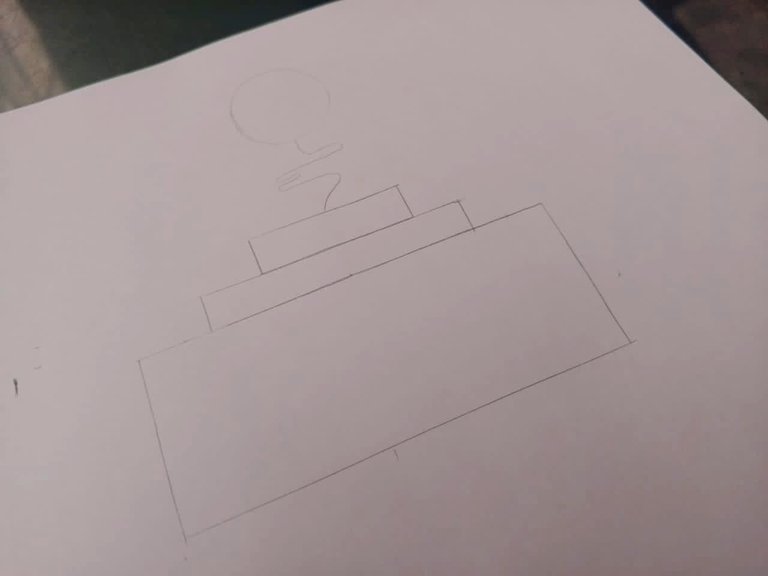
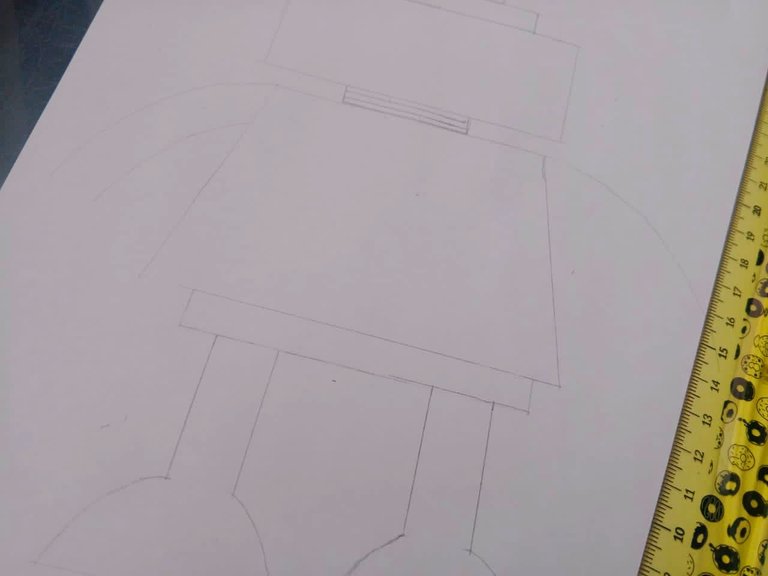
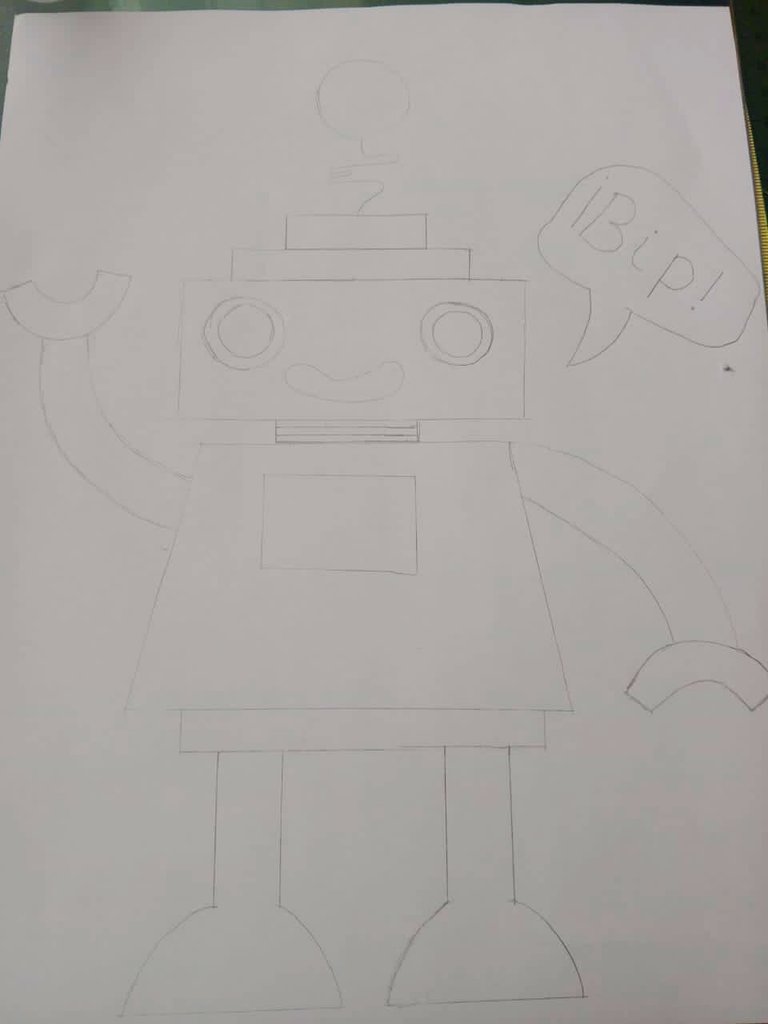
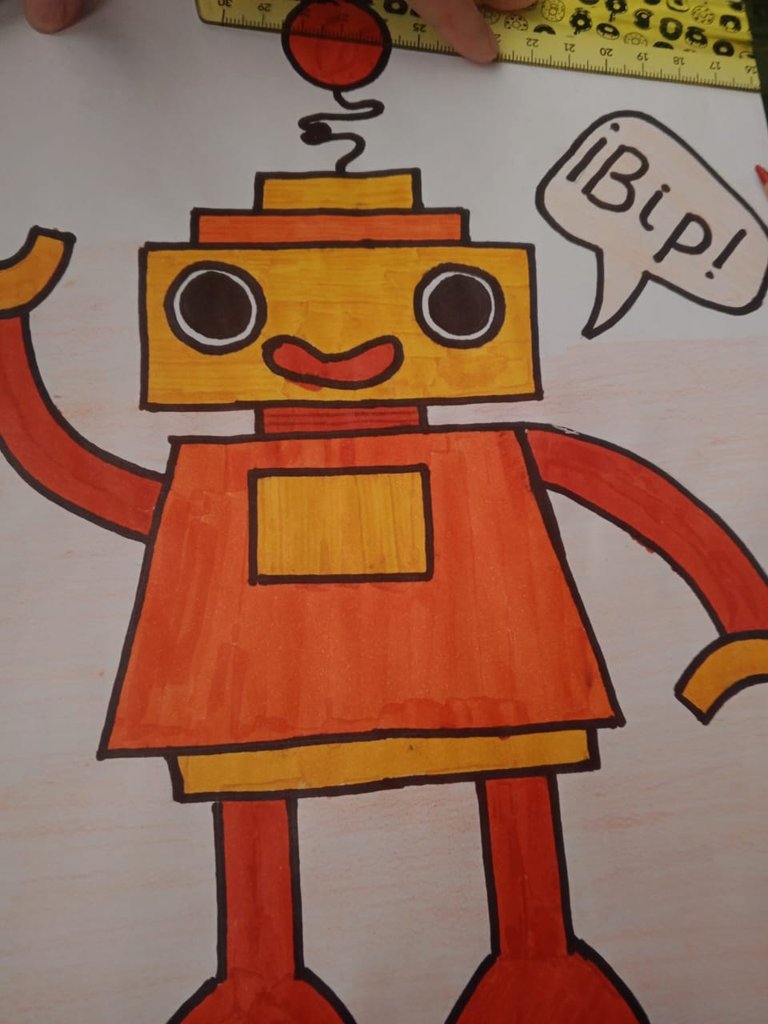
Lo primero que hice fue buscar en Google un robot que me gustara y que no fuera muy difícil porque mi mamá estaba ocupada y no podía ayudarme a hacerlo y encontré uno facilito de figuras geométricas y con la regla y el lápiz pude hacerlo.
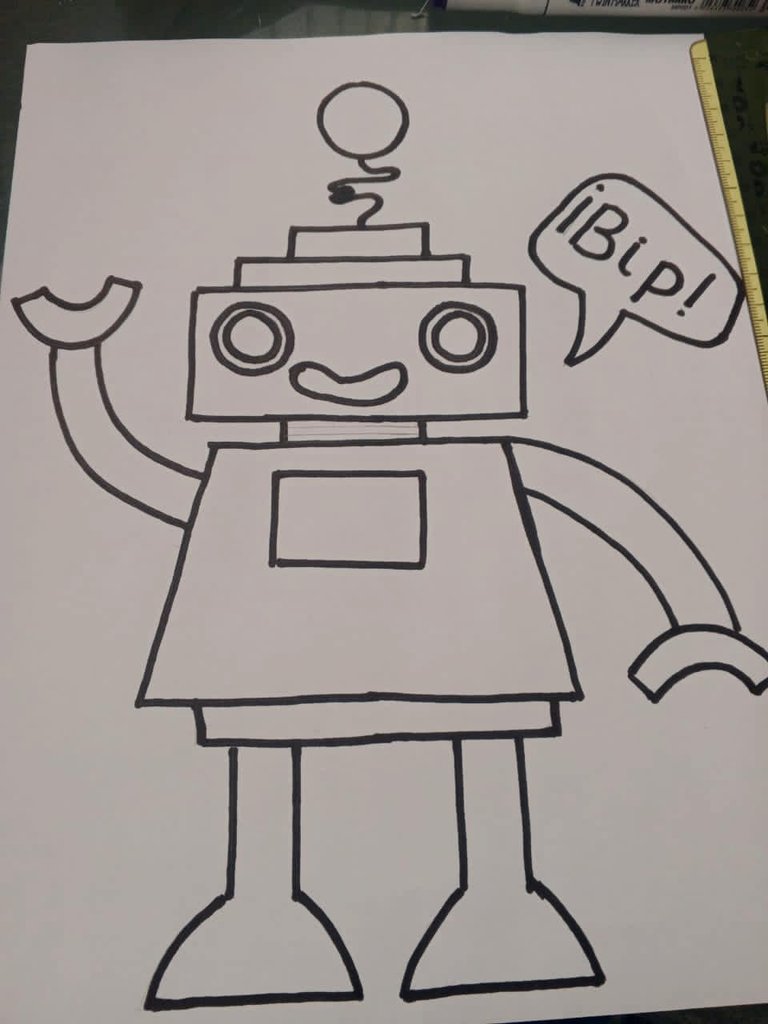
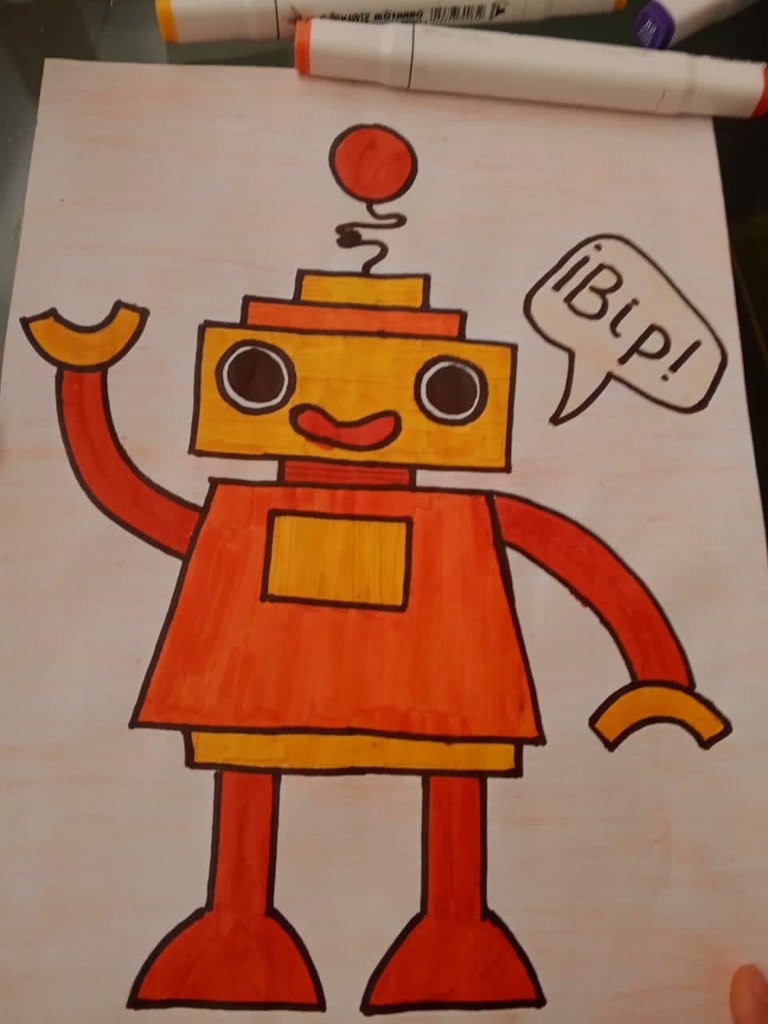
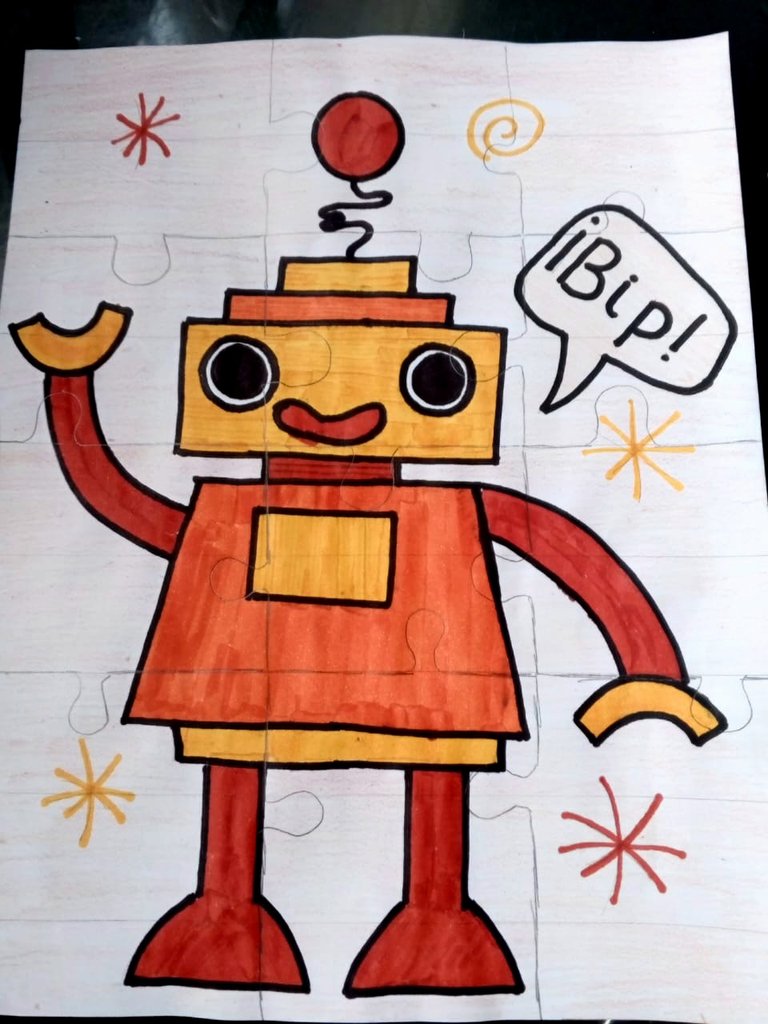
Después que lo hice marqué por todo el alredor del robot y por sus partes con marcador negro, bueno por todas la líneas lo hice y después con marcadores naranja rojo, amarillo y naranja lo pinté todo con cuidado para que no se notara cuando pasaba el marcador. Lo pasaba para abajo y una sola vez y así quedó bien.
Yo estaba asustada porque si lo echaba a perder lo iba a tener que hacer todo otra vez porque eso es un examen pero quedó bien. Menos mal.
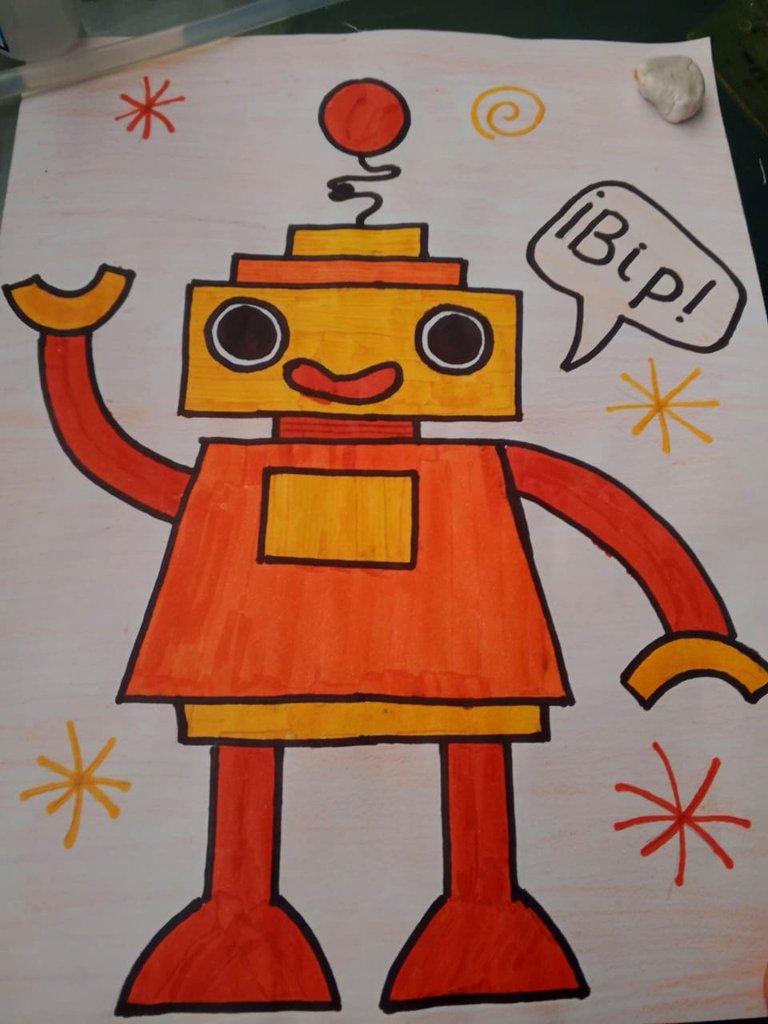
Después le puse color al todo lo blanco de la hoja porque eso también va a ser del rompecabezas y ese color lo pasé suave y después le hice unos adornos como unos espirales y unos asteriscos porque si yo lo dejaba todo naranja esa parte iba a ser difícil de armar como cuando son rompecabezas de cielo o de mar que es puro azul y es difícil.
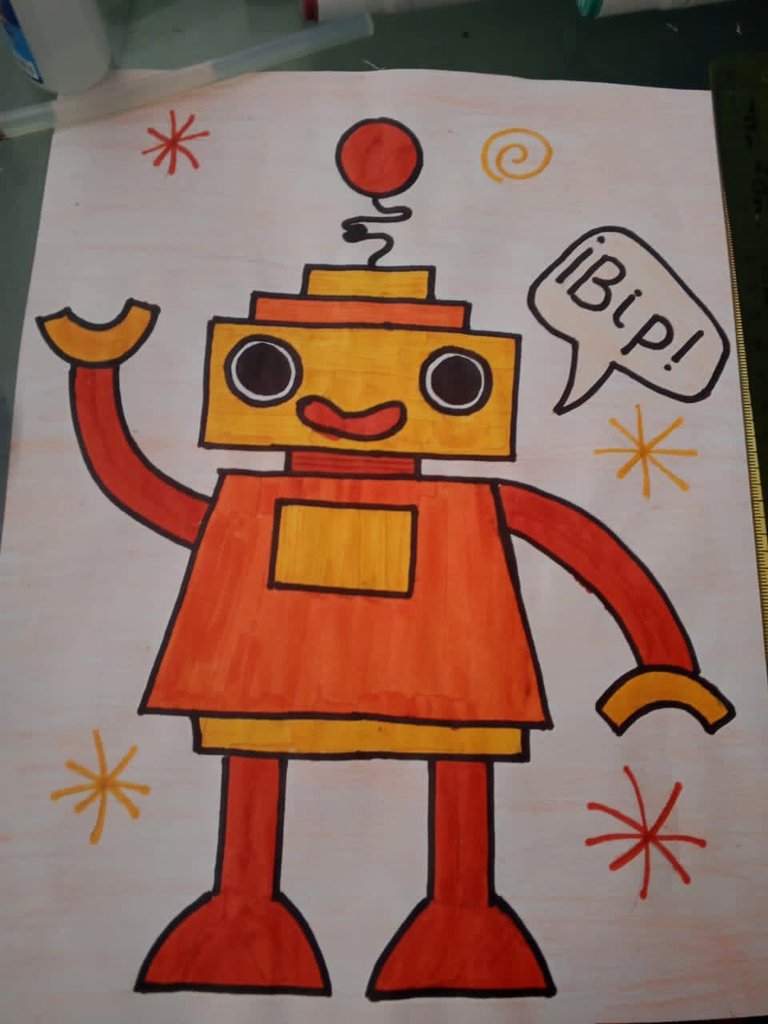
Después que toda la hoja tenia algo temía que hacer las piezas, bueno marcarlas como son las de rompecabezas, y tenía que ser nada más de 10 piezas porque así dijo el profesor. Yo lo quería hacer cuadrado porque era más fácil pero así se ve mejor. Ahora mañana yo creo que con la pega de barra lo vamos a pegar en la cartulina y después lo vamos a recortar, y ojalá porque se imaginan que lo mande a hacer en la hoja de cartulina del blog? Yo me voy a a morir porque me demoré haciendo esto.
Lo bueno es que me va a quedar un rompecabezas para jugar pero creo que es muy fácil de armar.
Y bueno amigos, eso es todo por hoy, gracias por leer mi post, y por apoyarme siempre. Después otro día les vengo a enseñar un robot con cartón que estoy haciendo y que es para el cierre de proyecto con una expisicion. Chaoooo ❤❤💕💕

Hello friends, welcome to my world!
Hello friends, welcome to my world!
How are you all doing? I am fine and I am happy to come to show you an assignment I did for school and it is a puzzle of a robot that is part of the robotics project we are doing this term and this puzzle is for the aesthetics class tomorrow and since I liked it a lot I came to show it to you.
This puzzle is to be done tomorrow in the classroom but we have to bring the drawing ready and we have to make the marks of the pieces and in the classroom we are going to paste it on the thick sheet of the Block and cut it out to be able to assemble it, that's why I couldn't cut it out here. And I am going to tell you how I did it.
I used
💗 A white sheet
💗 Colors
💗 Colored markers
💗 Black marker
💗 Pencil
💗 Ruler
Now the step by step.
The first thing I did was to google a robot that I liked and that wasn't too difficult because my mom was busy and couldn't help me make it and I found an easy one of geometric figures and with the ruler and pencil I was able to do it.
After I made it I marked all around the robot and its parts with black marker, well all the lines I did it and then with orange, red, yellow and orange markers I painted it all carefully so that it wouldn't show when I passed the marker. I ran it down and only once and that's how it looked good.
I was scared because if I messed it up I was going to have to do it all over again because that's a test but it turned out fine. Thank goodness.
Then I colored all the white part of the sheet because that will also be part of the puzzle and I made some decorations like spirals and asterisks because if I left it all orange that part would be difficult to put together like when they are sky or sea puzzles that are pure blue and it's difficult.
After the whole sheet had something on it, I was afraid I had to make the pieces, well, mark them like puzzles, and it had to be only 10 pieces because that's what the teacher said. I wanted to make it square because it was easier but it looks better that way. Now tomorrow I think that with the glue stick we are going to glue it on the cardboard and then we are going to cut it out, and hopefully because can you imagine if I had it made on the sheet of cardboard from the blog? I'm going to die because it took me so long to do this.
The good thing is that I'll have a puzzle to play with but I think it's very easy to put together.
And well friends, that's all for today, thanks for reading my post, and for always supporting me. Then another day I come to show you a robot with cardboard that I'm making and that is for the closing of project with an expisicion. Byeee ❤❤💕💕💕

