Good day to you all.
As my contribution to the Hive Learners Creative Sunday and my love for art and drawings, I decided to participate in the week's art and sketch initiative.
This is an artwork. I should call it penwork. Most art and sketches are made using pencils, but I have decided to step up my game and use a pen for all my drawings.
You can only define a true artist when they can come up with an artwork out of anything and not just so dependent on certain materials. The advantage of using a pencil over a pen is that it can be easily erased. But as for pens, once you make a mistake then you have to start over again.

Let’s journey on how I get to draw my artwork
TOOLS
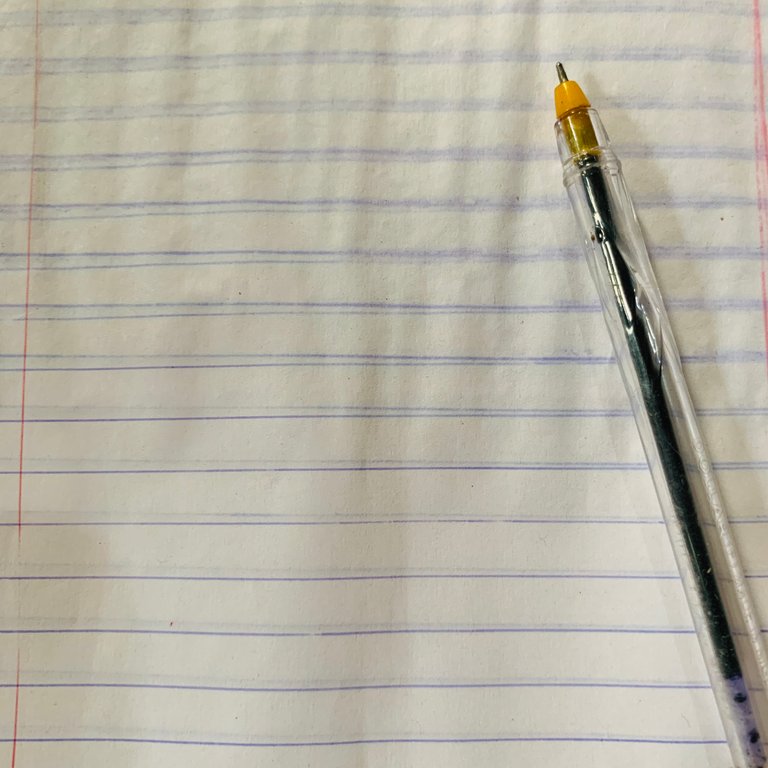
- PEN
- DRAWING BOOK
STEP BY STEP
STEP 1: Freethinking and Kickstarting
The first step was to freethink. I only got to bring art out, but I had no idea what art could look like. I just have to make sure I bring something meaningful out of it. Then I went online to look for ideas on what to sketch and draw.
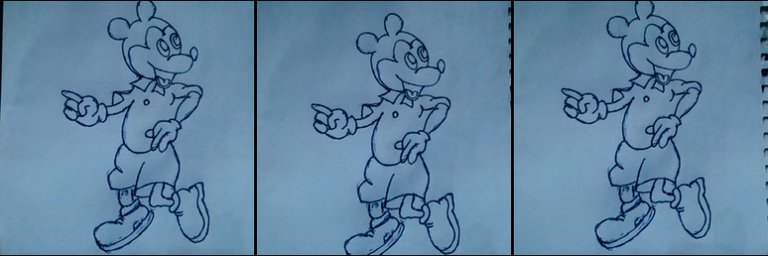
I felt I should draw a Happy Mickey Mouse . Which I quickly pictured in my head.
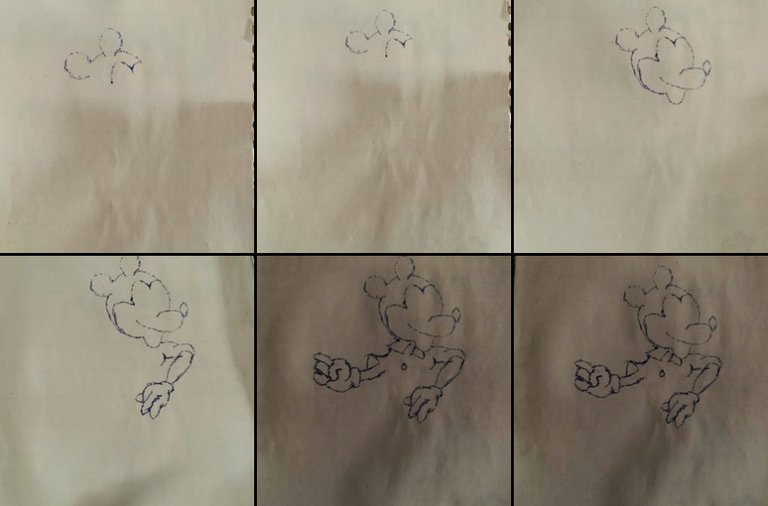
STEP 2: Sketching
The next step after getting the tools was to sketch, and sketching is always done to avoid mistakes. Make a light appearance of how you want the artwork to look like. And if there should be any necessary corrections then it would be way easier to amend.
At this stage, I had to sketch the head. Then down to the bow tie, and then the arms and fingers, then extended to the abdomen and the shorts, then finally the legs and shoes.
STEP 3: Value Addition
After make a perfect skech, thought of adding something towards the side ot was looking at. But unfortunately i didn’t plan a space for it while i was drawing. If i should add anything then its not going to give the view it deserved. It should be something that appear like a little distance, not something so close.
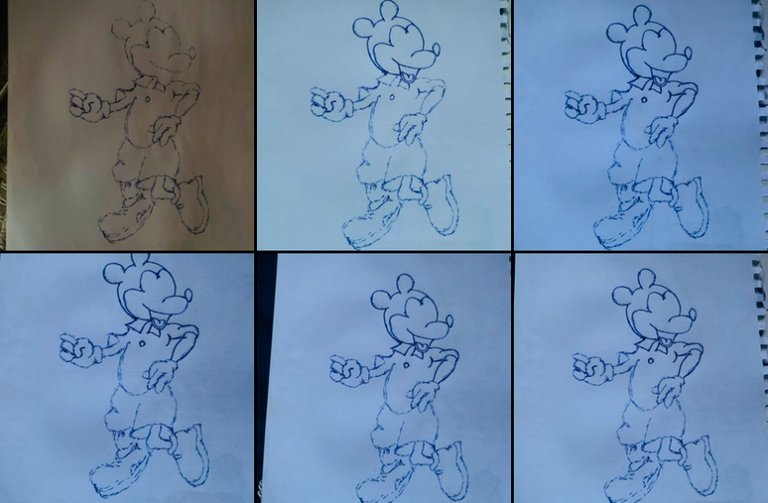
STEP 4: Tracing
After positioning the value addition, then I decided to trace. Tracing is all about giving a proper and clearer view from a sketch. When you trace it gives the final chance to make changes and corrections to the artwork.
I started by tracing the heads, the, and then the other parts of the body. That’s more of what it takes to get the artwork done. From the sketch, I made sure I corrected some of the parts I made mistakes after the review.
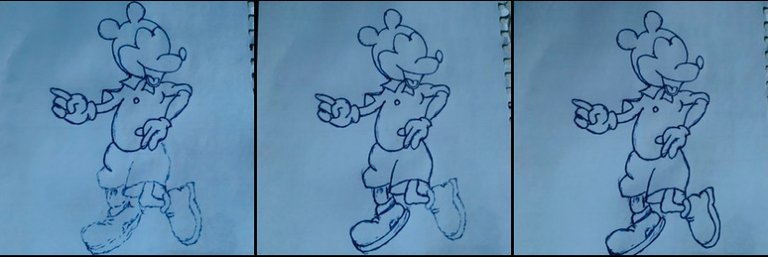
STEP 5: Final touch
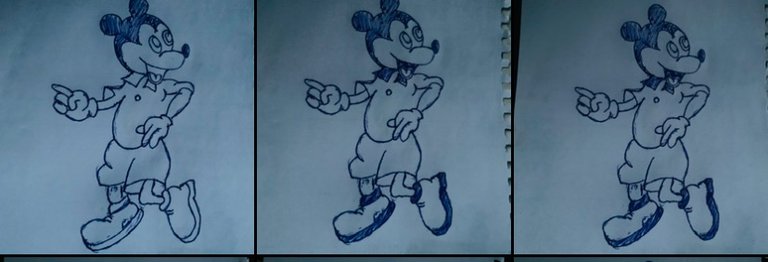
Giving it a final touch makes the art more incredible. This is where I had to give the arts some design. I added the eyes balls which give it the final and lively appearance. It wasnt easy getting a point that worked well for the view. But i gave my best.
STEP 6: Shading
After all, I got to shade and shadow it. This was to give it a better life appearance from angles.
FINALLY, MY ARTWORK IS COMPLETED

THANKS FOR SPARING YOUR TIME TO READ AND MAKE YOUR COMMENTS.
ALL IMAGES ARE MINE
IMAGE CHARACTER WAS AN INSPIRATION FROM
