Hey there!!!
Yeah, yeah. I know it’s been a while. The storyteller in me wishes to be set free today. I decided to share my success story.

Growing up, my parents encouraged my siblings and me to always try to fix things ourselves before involving a third party. If the wall socket stopped functioning, we’ll try to identify the cause, change the bad parts, or buy a new one. “You’ll never know you can, if you don’t try”. Believe me, it was always fun, pushing our limit everyday- as long as we were careful and proceeded with caution before, during and after dismantling them. In cases where we couldn’t fix it, we’d just keep it back the way it was and call a third party. This made me love DIYs as I grew up. How was this created? Are there alternative ways to make it without the expensive materials the original version used? Etc.
Talking about DIYs, I tried making a devil’s horn during the weekend for a project. It was really tiring as it’s been a long time since I carved or crafted anything. Even using a pair of scissors was stressful. Still, I was confident I’d pull it off.
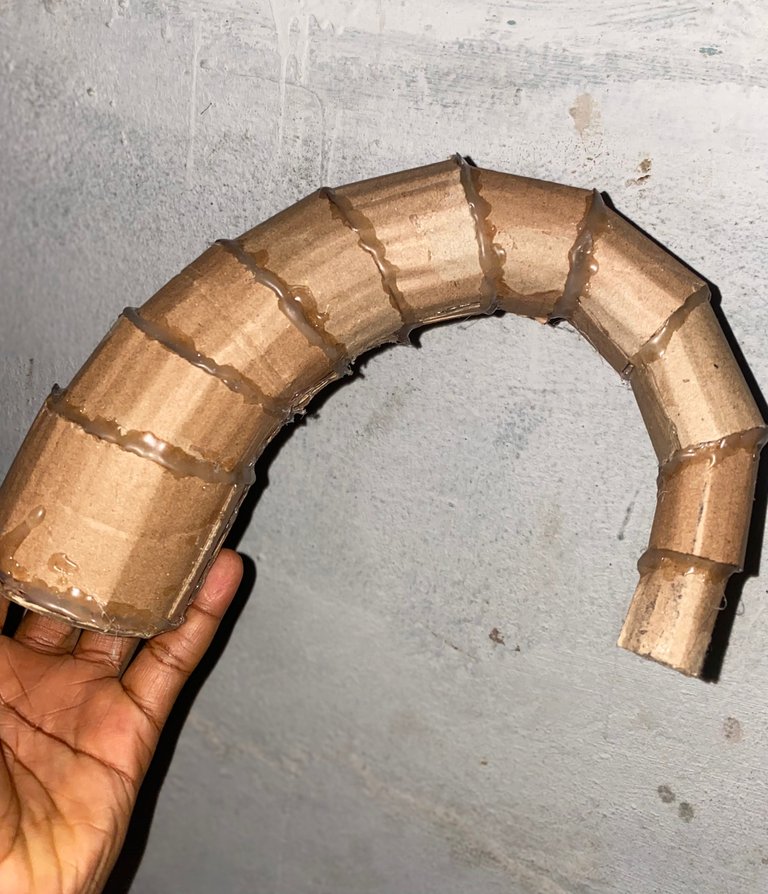
My first attempt, which kept me awake all night, didn’t turn out the way I had imagined. The plan was to cut cartons, glue them together, cover them with paper, then paint it. To be honest, it was much easier to imagine than do it real life. After several tries, I decided to watch TikTok videos, with hopes to find a good tutorial. Unfortunately, with my long search, I didn’t find anything useful. It felt like they were more concerned about making contents for their page than providing a proper tutorial. The few who showed the process used heavy machines I don’t have. At this point, my confidence was started to drop. Even after staying up all Friday night, I still hadn’t made any real progress with the horn that was needed by Sunday morning.
The horn turned out good, but not good enough. I strive for excellence and what I wanted was a maleficent-like horn and not the bull’s horn I was staring at. Every time I tried to correct it, the horn seemed to say “I do not wish to be anything other than a bullhorn”. By morning, I knew I was in for it.
Saturday had it own way to keep out of the house, and I didn’t get back until late at night. I thought, one more all-nighter, and I’ll fix the horn. I decided to start afresh instead of trying to revamp the one I had already reworked severally. This time, I chose aluminum foil instead of cartons, since it seemed easier to manipulate. I was finished it by 6am. It wasn’t what I imagined, but it came out just fine.
Materials
. Hairband
. Aluminum foil
. Papers
. Top gum
. Glue gun and the gum
. Food coloring.
Procedure
. Draw out what you need from the roll and cut it.
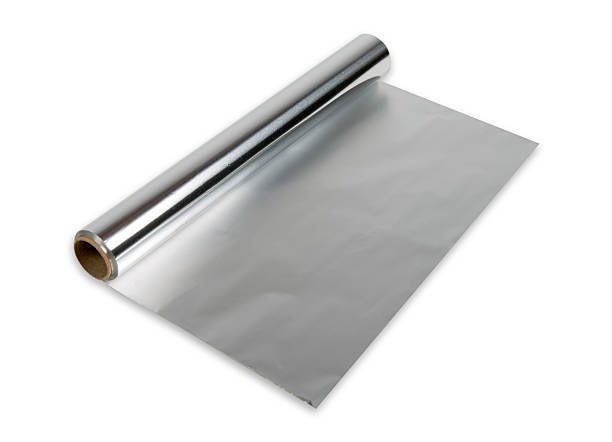 image not mine
. Lay it on a flat surface
 image not mine
- Roll the cut out aluminum foil to your desired length and thickness.
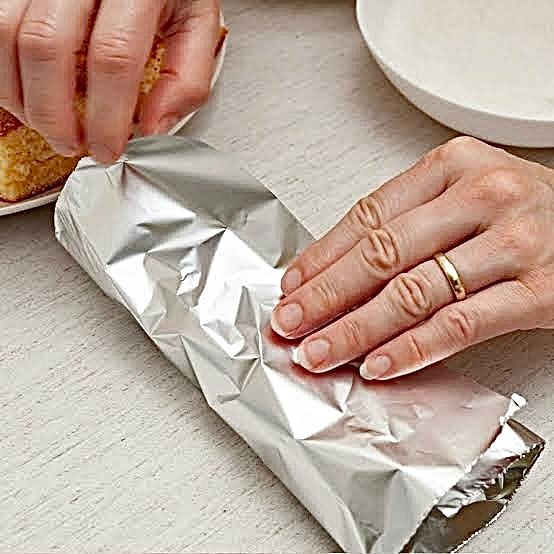 image not mine
-Squeeze and mold the foil to form the desired horn design/shape.
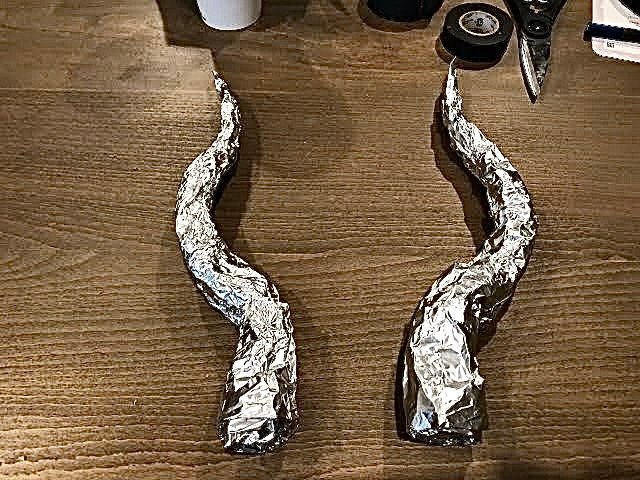 image not mine
-Coat the aluminum horn with top gum and paper. Allow it dry
. Repeat the process until you achieve the desired thickness. Let it dry between layers
-Paint the horn with your chosen color. Let it dry
-Flatten the top part by rubbing it on a flat surface)
 image mine
-Using the glue gun, attach the horn to the hairband.
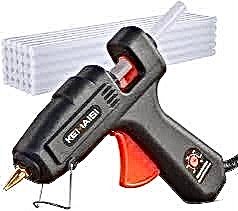 image not mine
You can use anything to cover the aluminum, paper tape, black tape, etc.

There you have it… Now, mine ended up messy, because, honestly, I didn’t allow it to dry properly. Not after the first coat of paper nor the seventh. I didn’t even let it dry after painting or attaching it to the hair band. I had to beat the clock, and letting it dry would have delayed me.
Please note that these pictures (except the last one) do not belong to me. I couldn’t make photos or videos during the process because of time.
In all, I’m grateful I did it. And it served its purpose.
This storyteller needs to go back to her shell. It’s been such a weekend. Until I come your way again, do have a lovely month


