As a Napoleonic re-enactor, I find that a big part of a successful event is to be ready for whatever surprises the weather throws at you.
One of the most important things is to keep your musket working well, and if it rains, that means keeping the lock dry. Having a cover for the lock of the musket does a great job in a subtle way; even if it gets soaked by the rain, the water is drawn down the cloth and drips off the bottom, so it still prevents the pan filling up with rain, and keeps the frizzen and flint dry.
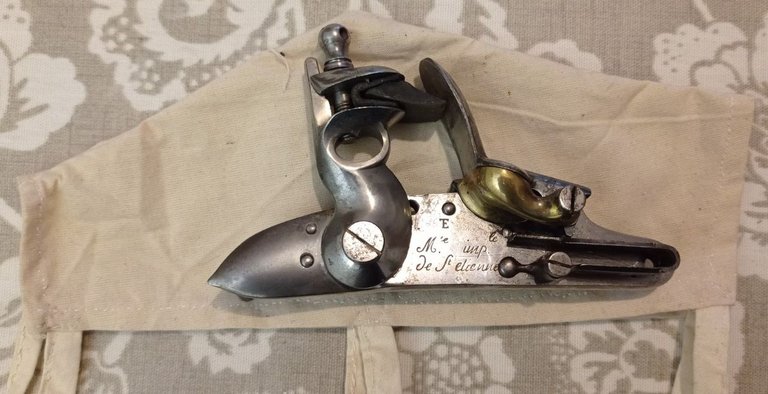
I have one lock cover already, but it's machine sewn. I needed two more (for two "depot" muskets that don't currently have covers), and decided to hand sew them.
The Napoleonic period covers the years 1793-1815, and sewing machines only started to come into widespread use from about 1860 onward. I'm happy to use a machine for long seams that won't show from the outside, but prefer to hand sew where possible because it's more authentic. Also, a nice simple project like this is a good way to practice my stitching, since I'm pretty rusty at it !
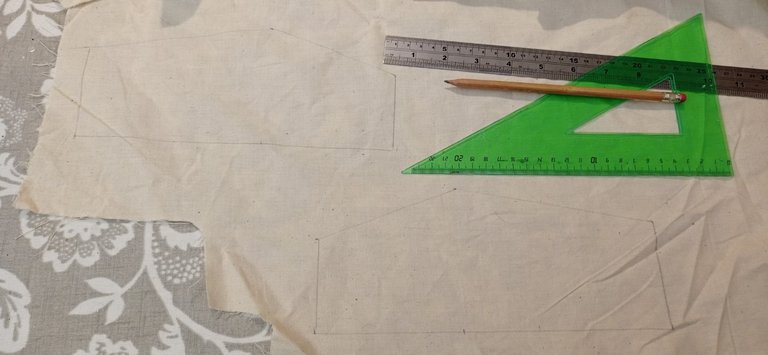
Step1 - I marked out the two halves of each cover on my material, a heavy (almost canvas-weight) cotton calico. The lock cover I already had was used as a pattern.
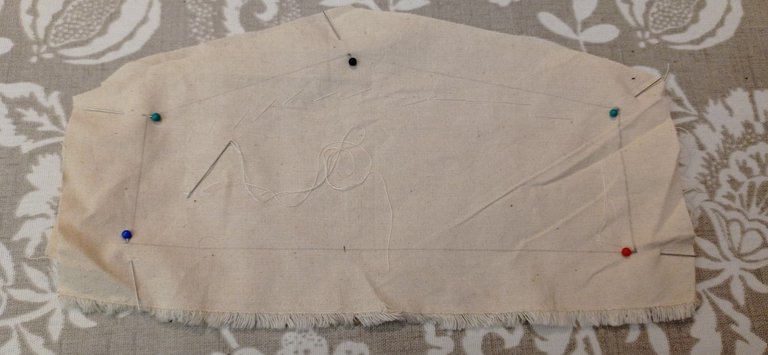
Step 2 - the two halves were pinned and then tacked together to stop them wriggling around as I sewed them.
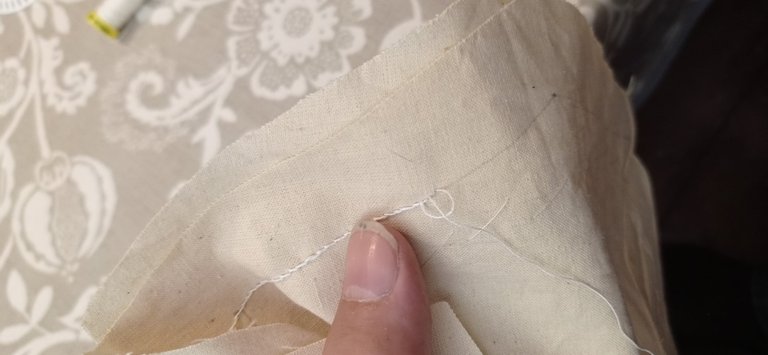
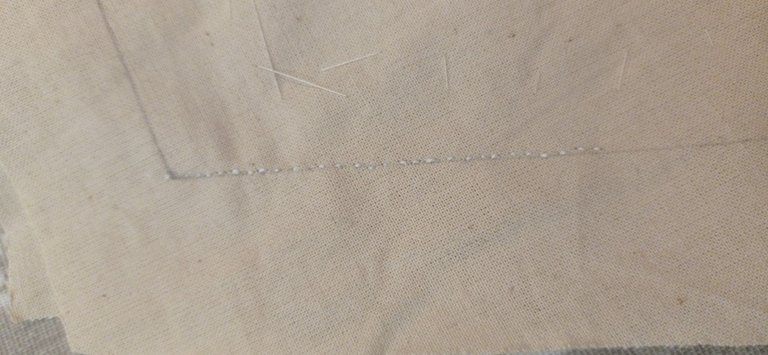
Step 3 - sewing it all together. The two parts are only joined along the top two seams, although everything else has to be French hemmed.
I used Gutermann linen thread; it's authentic, and superbly strong. The cloth will wear out long before the thread gives way ! However it's also quick thick and stiff, with occasional fat bits where two skeins have been joined, so it's more fiddly to work with than polyester thread.
As you can see, my stitching is still something I need to practice on, but I'm hitting a fairly consistent 8-9 stitches to the inch, which is good.
I must admit I got so into the process that I forgot to take any photos of the hemming ! Additionally, the inside seam was French hemmed. Doing that significantly reduces the amount of water which finds it's way through that seam when it rains !
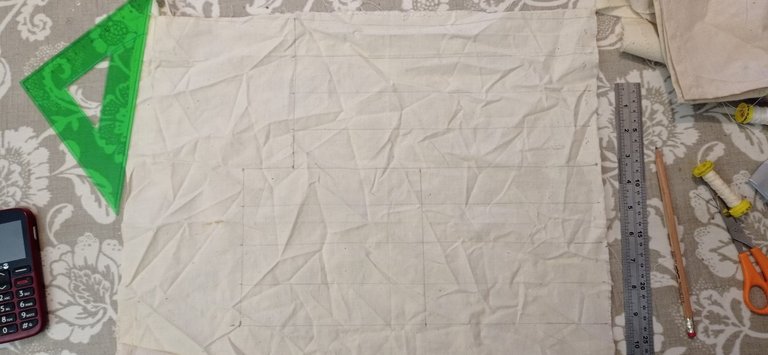
Step 4 - marking out the ribbons. I used a lighter weight calico for this. There are 6 ribbons in total, with the two centre ones being the longest at 11 inches, and the four corner ones about 8 inches long.
Having sewn ribbons makes the lock cover far easier to use, because they only make loose knots. The alternative would be something like shoelaces which tend to tighten up and become impossible to undo with cold wet hands in the rain !
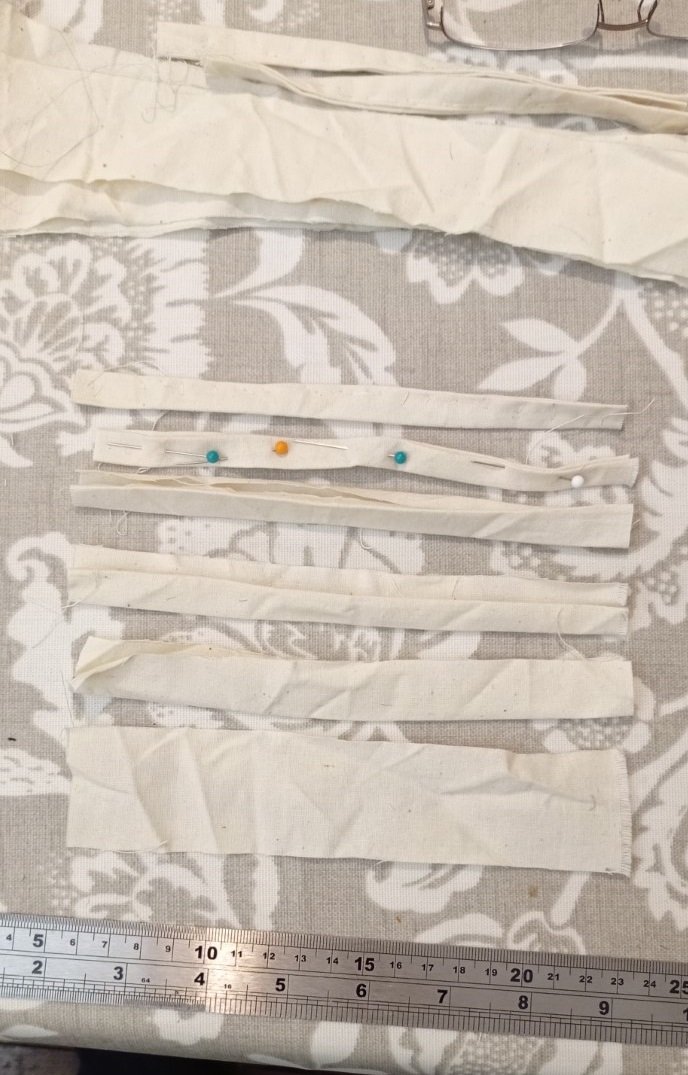
The photo above shows the various stages of making a ribbon, from the flat piece of cloth at the bottom, then folded in half. The top of each half is folded in again and pressed with an iron, so that when it's sewn together it is effectively a double hem with no loose threads exposed. Then it's pinned and tacked ready for sewing.
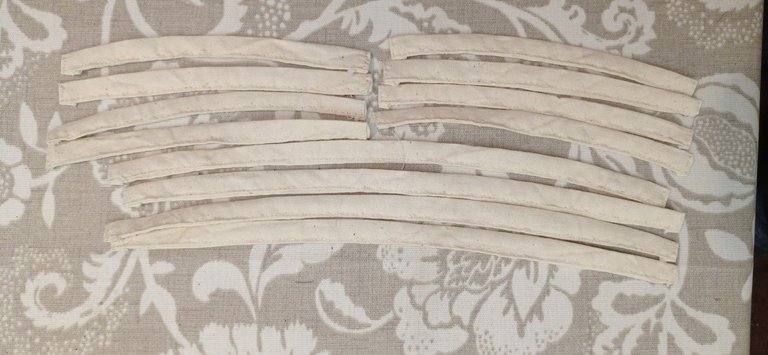
This shot shows the finished ribbons. It's hard to see, but I pushed the ends inward so it acted as a hem again to make sure there were no loose threads. It got a bit bulky by that stage, so it didn't look totally tidy but it does the job.
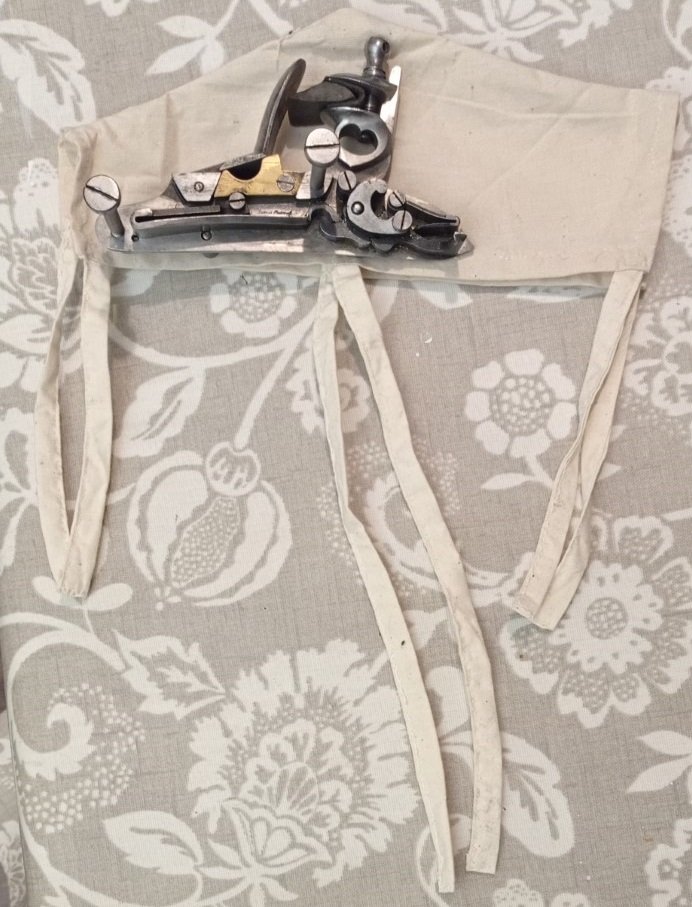
The final result. As you can see, the "outside" view of the stitching isn't too visible.
The lock cover is both useful tied onto the musket, and (like this) as a way to give the lock some protection during storage and transport. I didn't take any photos with the cover on because the main part of each musket is securely stored right now.
You'll spot that the cover is longer than the lock. That's deliberate ! The front two ribbons tie one in front of the trigger and one behind, while the back ribbon ties around the musket stock further back and keeps the hand grip a bit dryer than it would otherwise be.
I've considered linseed oiling the covers to make them fully waterproof, but I'm not sure they need it, they do a fine job as-is.
All in all this was a project which looks simple but has some subtle details built in that are derived from years of experience battling the elements while trying to stay comfortable and keep the musket firing. This is one of those little accessories which really comes in useful, and making a pair of them together took very little more time than just making one would have.
Chester cat sitting and judging me as I sewed. Very off-putting !
All photos by me