Un saludo cariñosos🦋! a los hivers creadores de #jeweryl, esta extraordinaria comunidad que muestra, gran cantidad de talentosos artesanos dedicados a darle un toque especial a los accesorios.
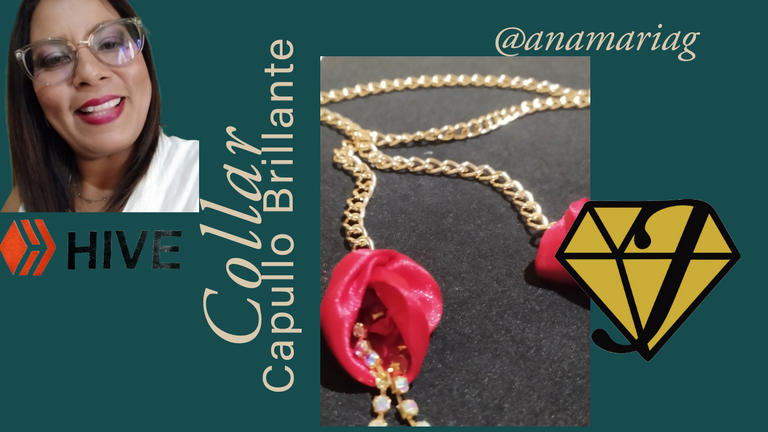
Sigo compartiendo con ustedes mis proyectos está vez , hice un collar muy sencillo pero elegante combinando el color dorado y rojo, con destello de luz logrados en strass.
Este diseño aunque muy sencillo lucirá muy elegante, porque está elaborado con materiales que llaman a la elegancia.
Una famosa diseñadora apunta a que menos siempre es más y hacia allá apunté esta creación que hoy voy a presentarles.
Para la elaboración de este hermoso collar necesité los siguientes materiales :
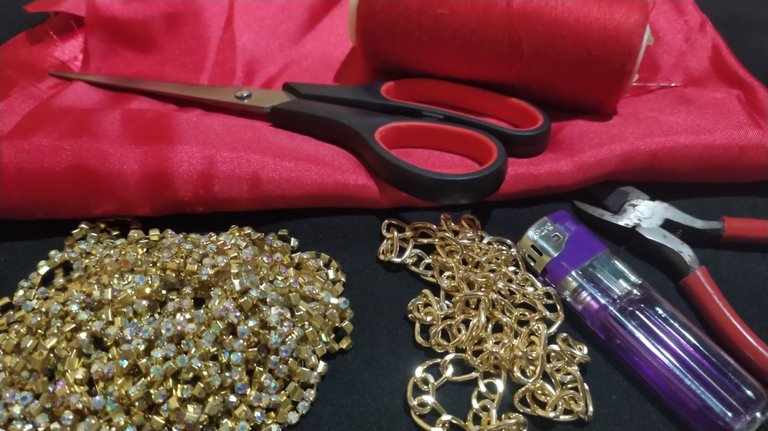
- Un retazo de raso color rojo.
- 60 cm de cadena dorada.
- 15 cm de e se strass dorado.
- Hilo para coser color rojo o naylon transparente.
- Una página de papel Bond.
- Aguja.
- Lápiz.
- Regla para medir.
- Tijera.
- Yesquero.
- Alfileres.
Para darle forma a esta creación seguir los siguientes pasos:
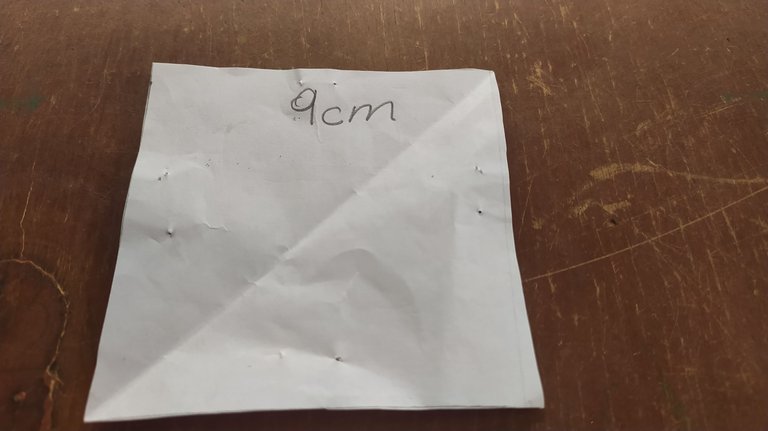
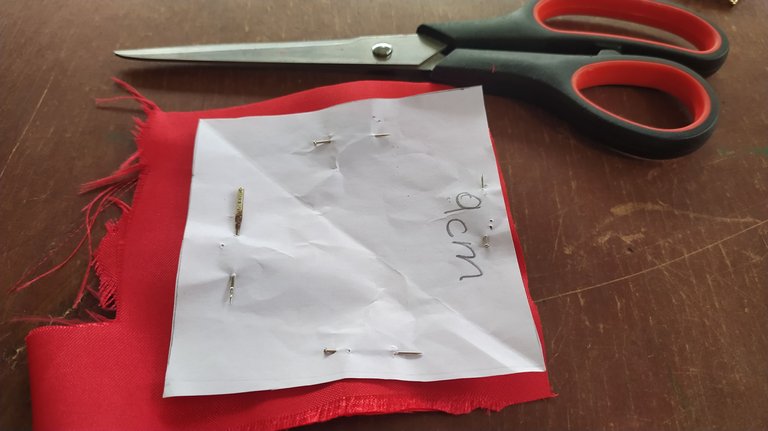
- En este primer paso planché la tela e hice mi molde calculando el tamaño del capullo de rosa que quería colocar en mi collar este lo hice de 9 centímetros cuadrados.
- Fijando con alfileres el molde a la tela y corte dos piezas para hacer dos capullos de rosas uno para cada extremo de la cadena.
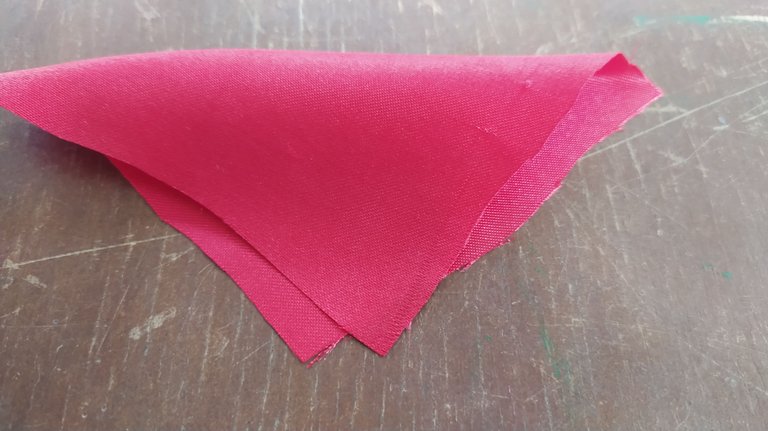
- Continué colocando punta con punta, formando un triángulo.
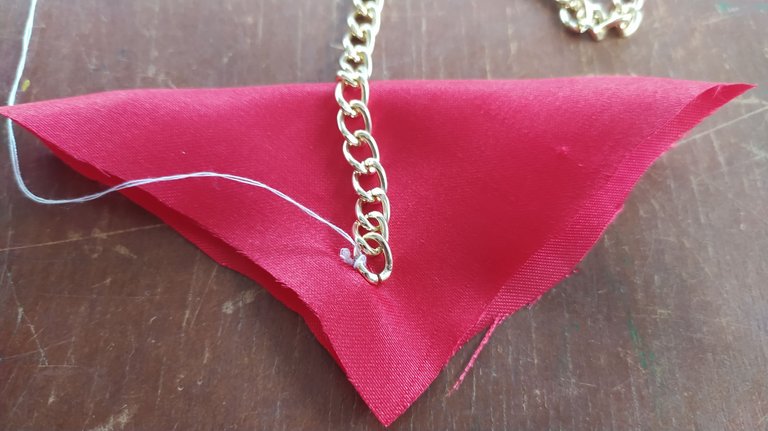
- Ahora fijé la cadena en mi triángulo , cosiendola justo en el centro hacia la punta superior .
- Cruce la punta derecha hacia la izquierda y la izquierda hacia la derecha , fijando con un alfiler, estas puntas deben sobrepasar y las tres puntas deberán quedar alineadas.
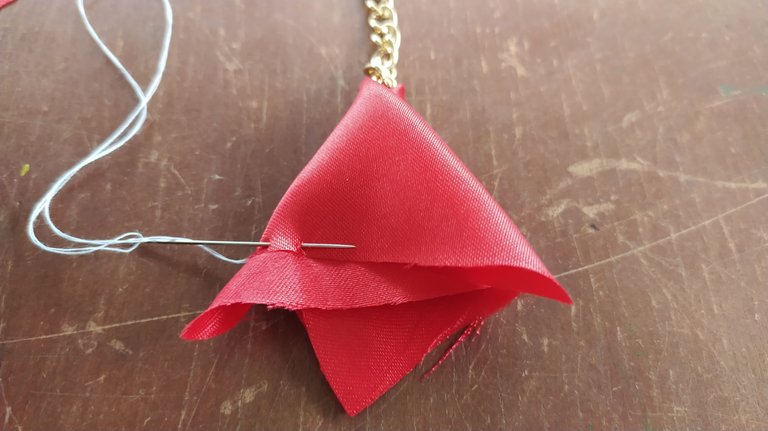
- Tomé aguja e hilo y cosi en forma de semicírculo justo en la parte más ancha, cuidando coser todas las capas de tela.
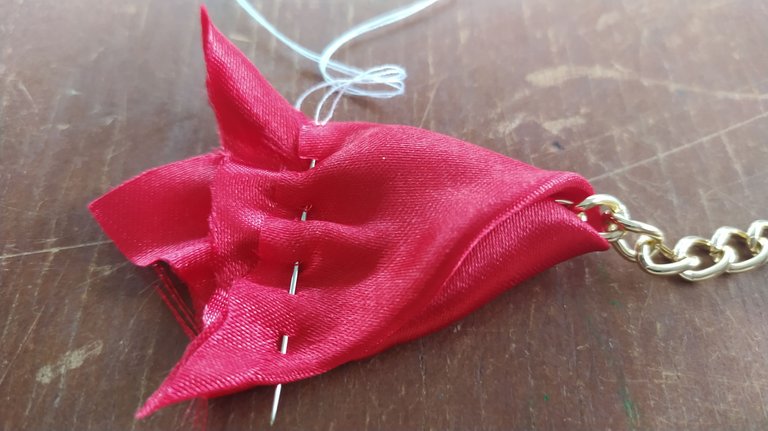
- Ruche con fuerza y aseguré mi costura , me fijé que la cadena quedara fija justo en medio .
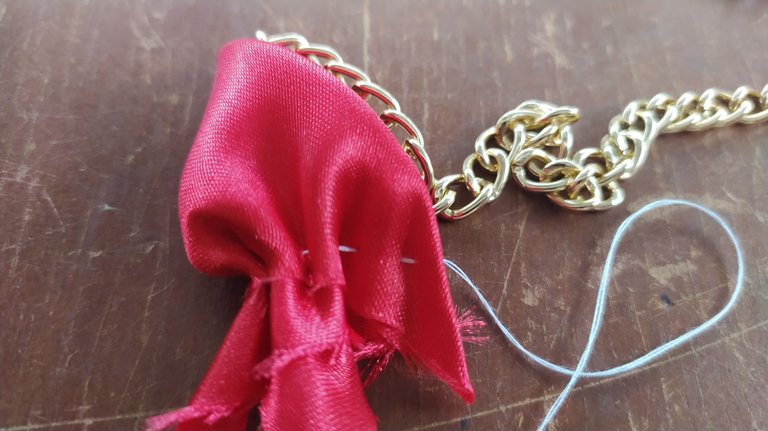
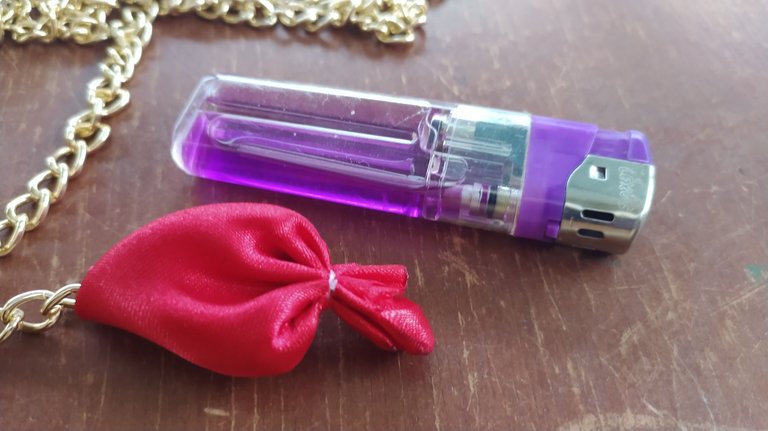
- Quemé la orilla de la tela con ayuda del Yesquero.
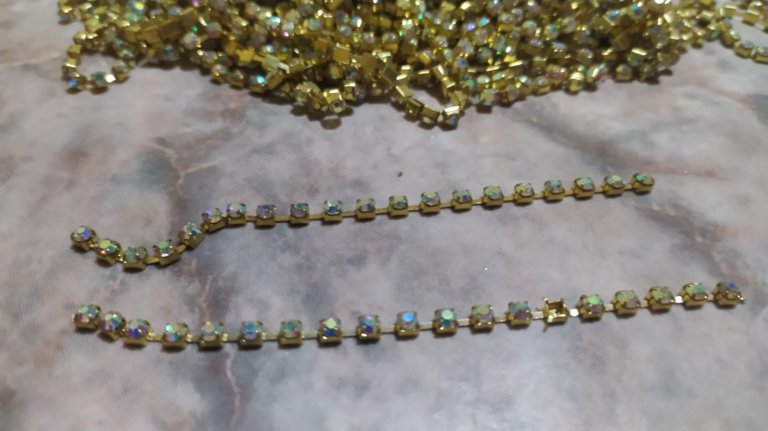
- Corté con ayuda de la tenaza mis strass y lo fijé en ese enrrollado de tela.
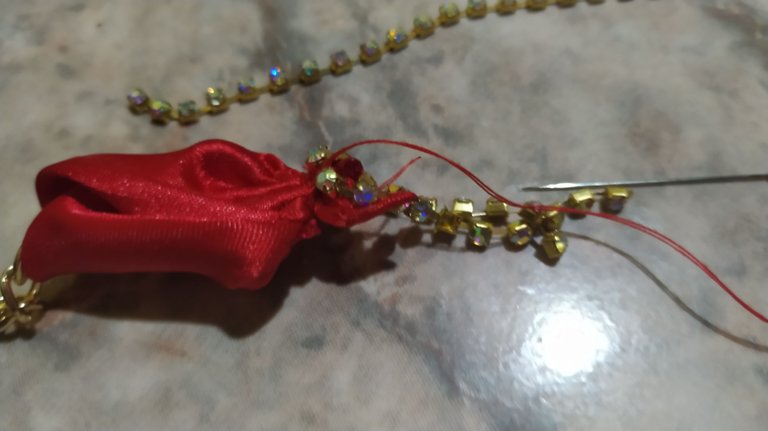
- Di vuelta , de manera que la cadena quedara como tallo y se formara mi capullo y el strass saliera de dentro de él.
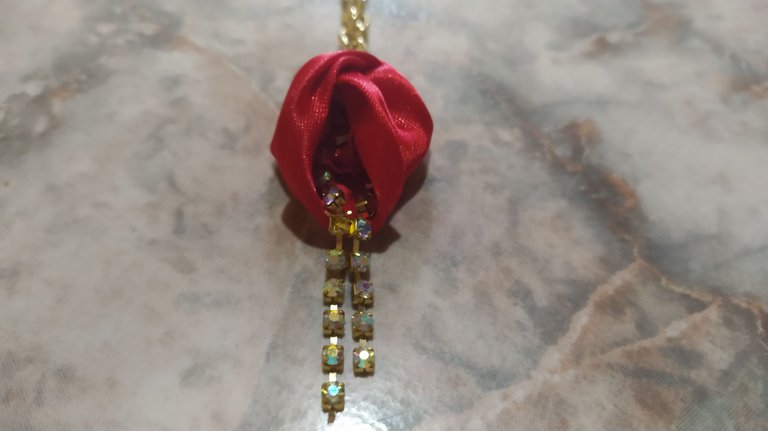
- Repetí de forma muy cuidadosa y siguiendo los mismos pasos, para lograr hacer mi capullo en la otra punta.
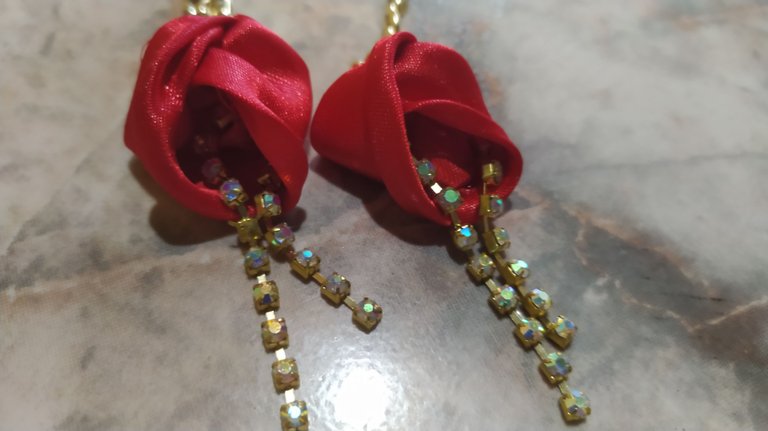
Listo! .
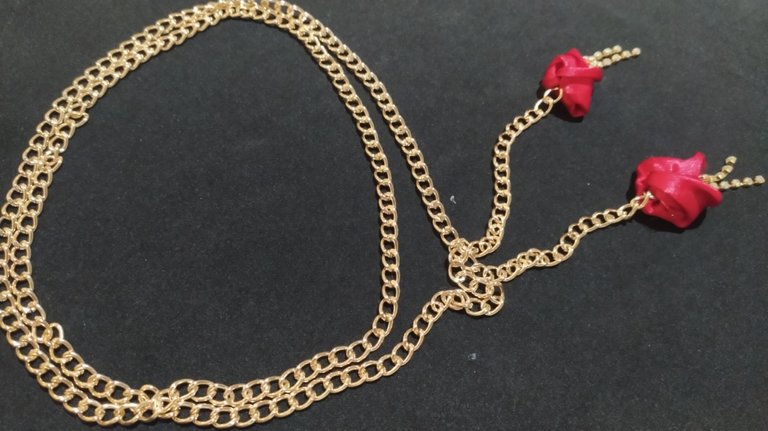
Evité colocarle pasadores para dar la oportunidad de jugar con la forma en que quiero lucirlo .
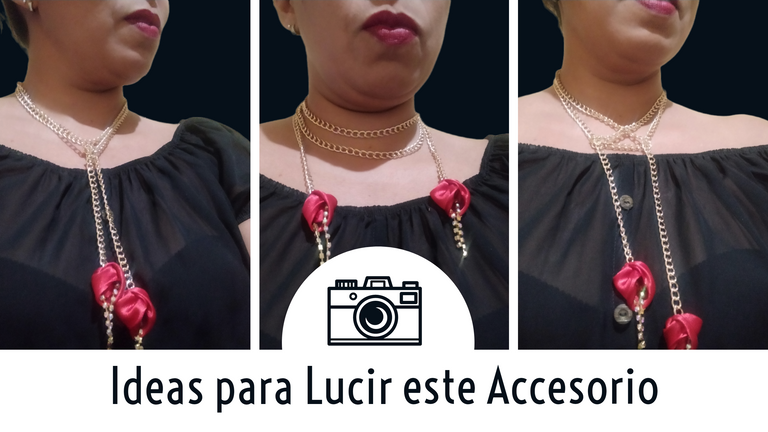
Como vez , es de muy fácil elaboración y empleamos muy poco tiempo.
Recuerda que esta es sólo una propuesta y que con tu creatividad puedes darle tu toque personal, para verte reflejada en esta creación.
Para mí todas las cosas hechas a manos, salen del corazón de su creador hacia las manos de quien va a recibir esta obra de arte.
Espero poder disfrutar también de su participación en esta iniciativa y ver en cada creación un derroche de creatividad.
Anímate a crear y comparte con nosotros tus proyectos.
Un Mega Abrazo, con mucho cariño 🤗.



Loving greetings🦋! to the hivers creators of @jeweryl , this extraordinary community that shows, a lot of talented artisans dedicated to give a special touch to accessories.
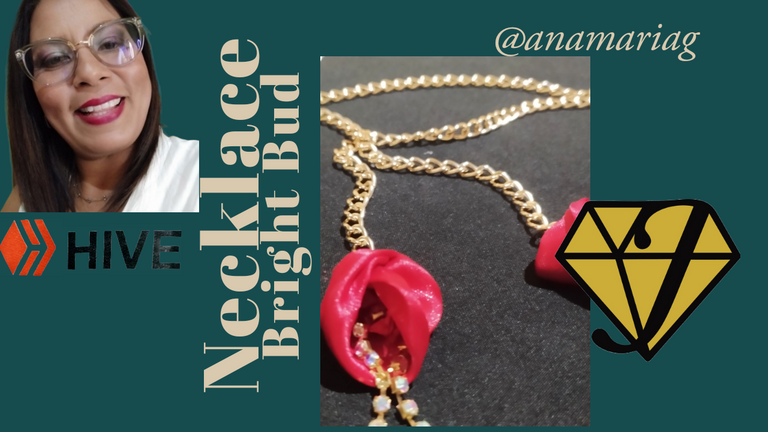
I continue to share with you my projects this time , I made a very simple but elegant necklace combining gold and red color, with flash of light achieved in rhinestones.
This design although very simple will look very elegant, because it is made with materials that call for elegance.
A famous designer points out that less is always more and that is where I pointed this creation that I am going to present to you today.
To make this beautiful necklace I needed the following materials:

A piece of red satin.
60 cm of golden chain.
15 cm of golden rhinestone.
Red sewing thread or transparent naylon.
A page of bond paper.
Needle.
Pencil.
Measuring ruler.
Scissors.
Tinder.
Pins.
To shape this creation follow these steps:
- In this first step I ironed the fabric and made my mold calculating the size of the rosebud I wanted to place on my necklace I made it 9 centimeters square.

- I pinned the mold to the fabric and cut two pieces to make two rosebuds, one for each end of the chain.

- I continued placing tip to tip, signing a triangle.

- Now I attached the chain to my triangle, sewing it right down the center to the top point.

- Cross the right end to the left and the left end to the right, pinning with a pin, these ends should overlap and the three ends should line up.

- I took needle and thread and sewed in a semicircle shape just at the widest part, taking care to sew all the layers of fabric.

- I folded tightly and secured my seam, making sure that the chain was fixed right in the middle.

- I burned the edge of the fabric with the help of the Yesquero.

- I cut with the help of the pliers my back and fixed it on that fabric roll.


- I turned it over so that the chain would remain as a stem and my cocoon would form and the rhinestone would come out from inside it.

- I repeated very carefully and following the same steps, to make my cocoon on the other end.

I was done.

I avoided putting pins on it to give the opportunity to play with the way I want to wear it.
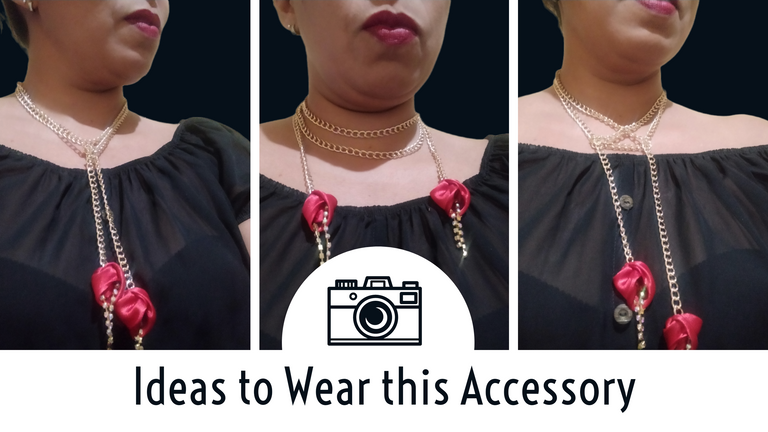
As you can see, it is very easy to make and we use very little time.
Remember that this is just a proposal and that with your creativity you can give it your personal touch, to see yourself reflected in this creation.
For me, all things made by hand, come from the heart of its creator to the hands of the person who will receive this work of art.
I hope I can also enjoy your participation in this initiative and see in each creation an outpouring of creativity.
We encourage you to create and share with us your projects.
A Mega Hug, with much love 🤗.

Translated
Fotografías y texto propiedad de la autora.
Separadores libres, Pixabay
Banner y edición de fotos CC Express.
