
If Spanish isn't your first language, scroll down for the English version or click here

Resumen
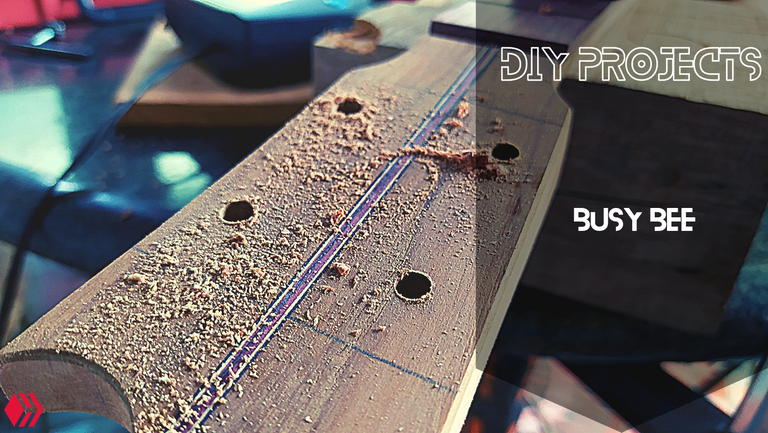
En este miércoles de carpintería, les traigo el proceso de un proyecto que comencé el año pasado y estuvo algo de tiempo en pausa. Este se llama Busy Bee en honor a los miembros del Grupo de Organización y el Reto de Creación de Contenido.
La verdad no sabía cuánto tiempo había pasado desde que lo había ensamblado. Hive me dice que la última publicación de este proyecto fue el 14 de septiembre pasado. Eso quiere decir que ya ha pasado un tiempo.
Sin más preámbulos, ¡vamos a ver cómo está quedando!

Filetería
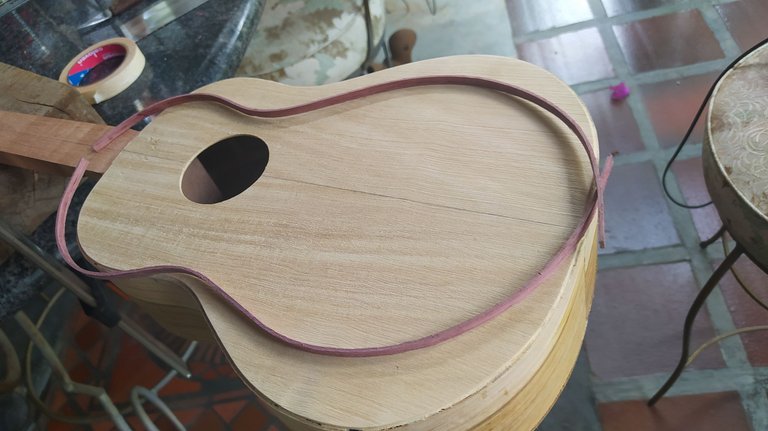
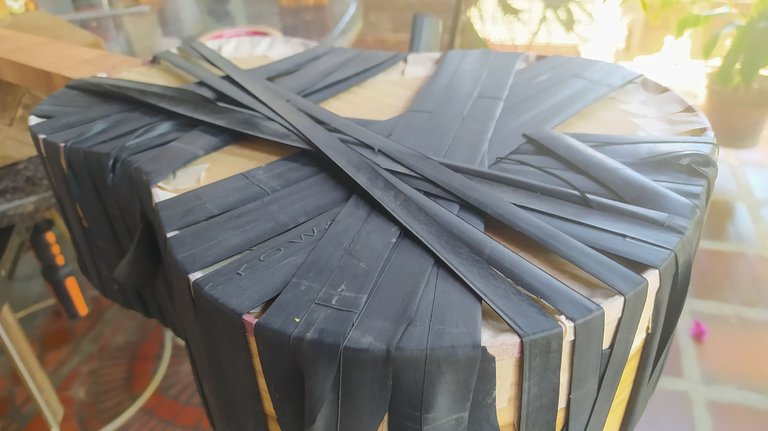
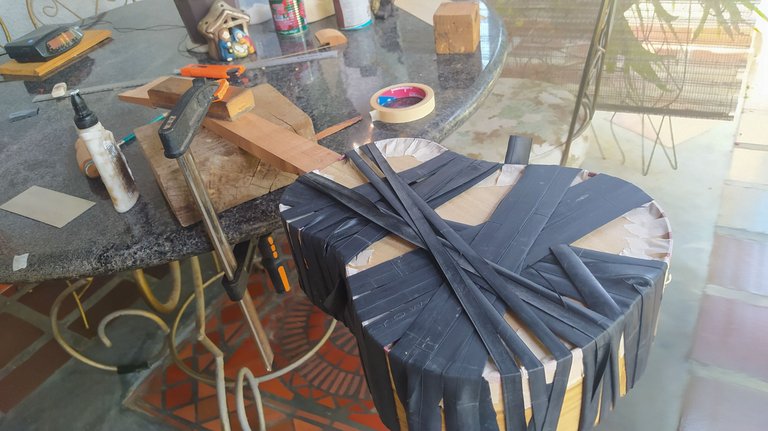
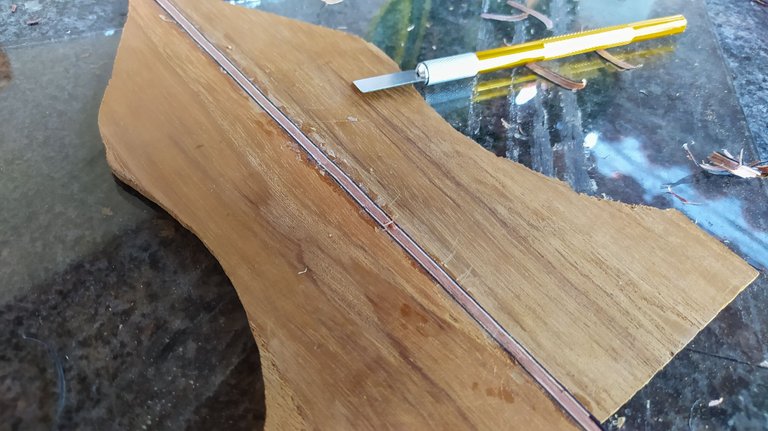
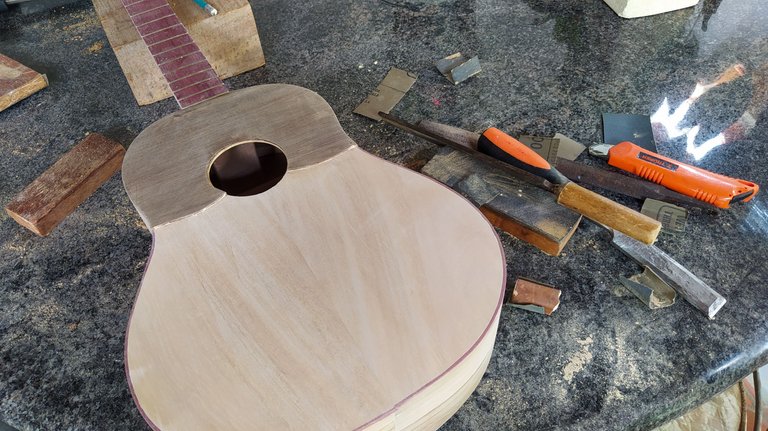
Los proyectos más importantes llevan estos detalles en los bordes. Algo hecho en homenaje no puede ser la excepción. Para mí suerte, todavía quedaban unas tiras de Nazareno (petolgyne) para completar esto. Así que luego de doblarlas, comenzó el trabajo de mucha cinta de enmascarar y cauchos para sujetarlos en su lugar y poder adornar este instrumento.
Al secarse, podemos rebajar los excesos y dejar la filetería al ras de la tapa y los aros.

Puntos Armónicos y Trastes
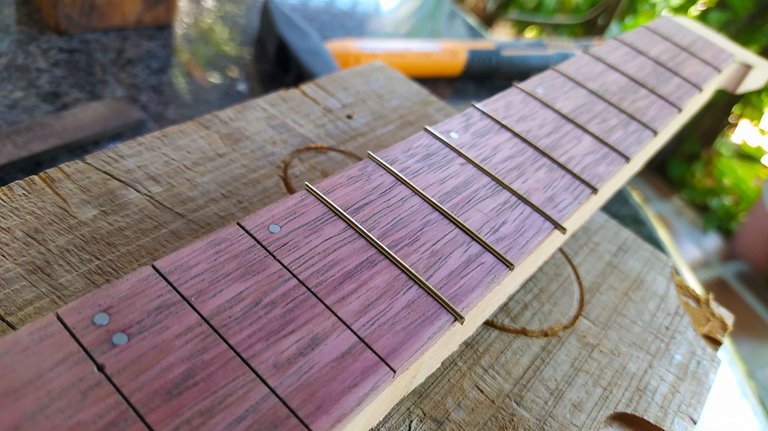
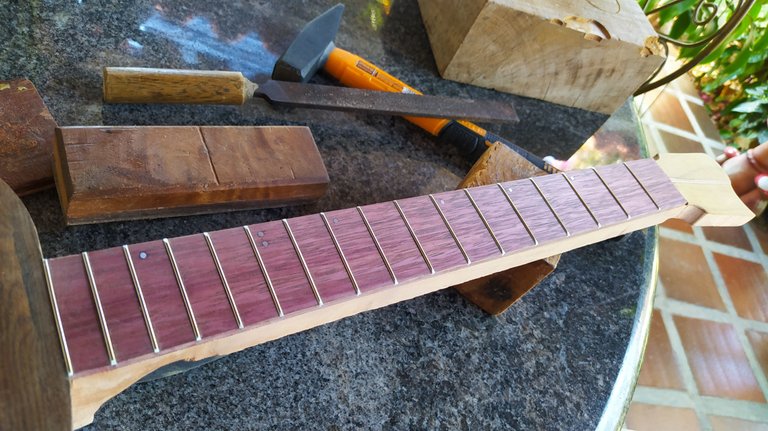
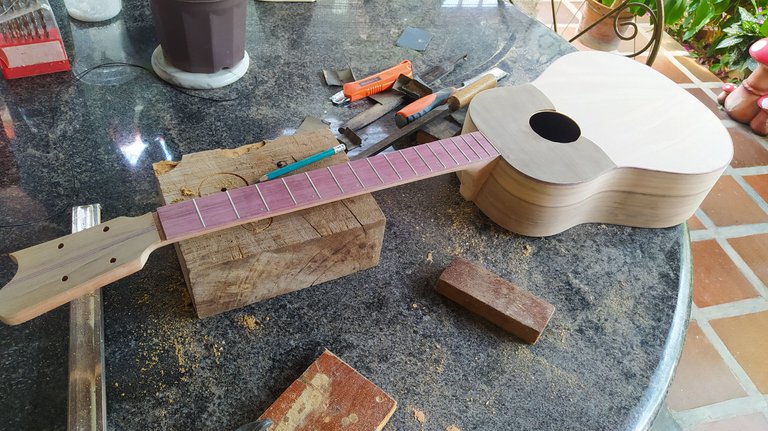
En esta ocasión, no hubo mucho trabajo para el diapasón y golpeador del instrumento. Ya había algunas piezas hechas. Así que después de pegarlas, se continúa con los puntos armónicos y los trastes.
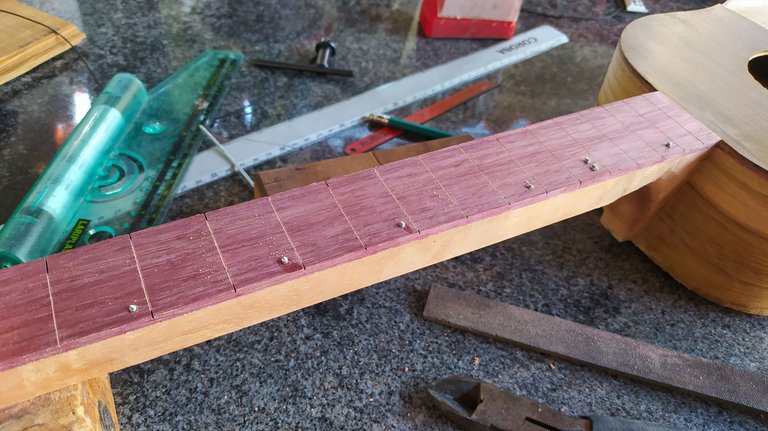
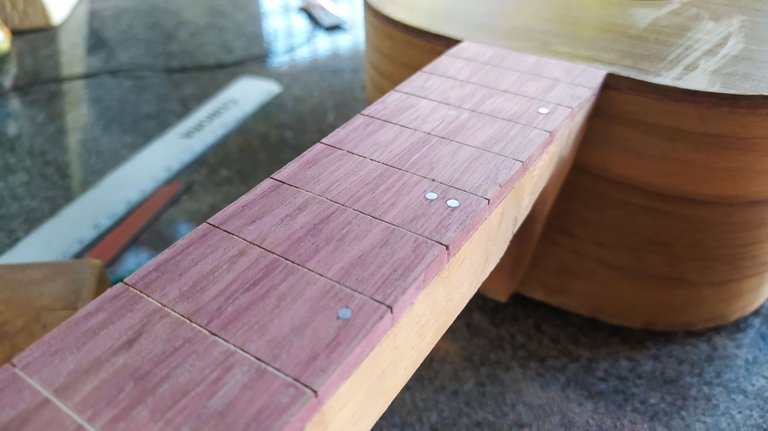
Los primeros son las guías para el músico sobre el diapasón. Así se marcan posiciones relevantes que corresponden a las inversiones de los acordes a lo largo del diapasón. Colocarlos requiere precisión para no se ven desalineados.
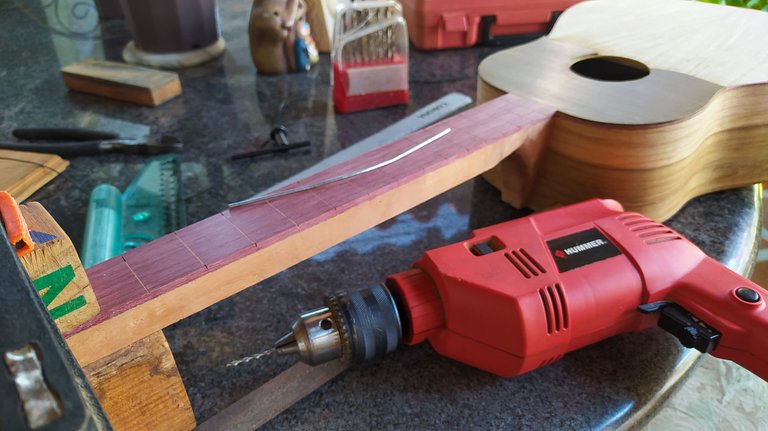
En esta ocasión, opté por colocarlos en la cara frontal. Esto es un retorno al diseño original que aprendí en el taller de mi maestro. Una detalle importante es que antes de colocarlo estos, el diapasón ya ha sido lijado. Luego, de marcar la alineación en los trates 3, 5, 7, 10, 12 y 15, procedemos a abrir los agujeros para la pieza de aluminio que nos servirá de punto.
Aunque estas quedan ajustadas, agregamos algo de cianoacrilato para fijarlas. Una a una, colocamos el trozo de aluminio en el agujero y cortamos cada pieza lo mejor que se pueda. Luego procedemos a limar el exceso y finalmente lijamos para dejar los puntos al ras del diapasón.
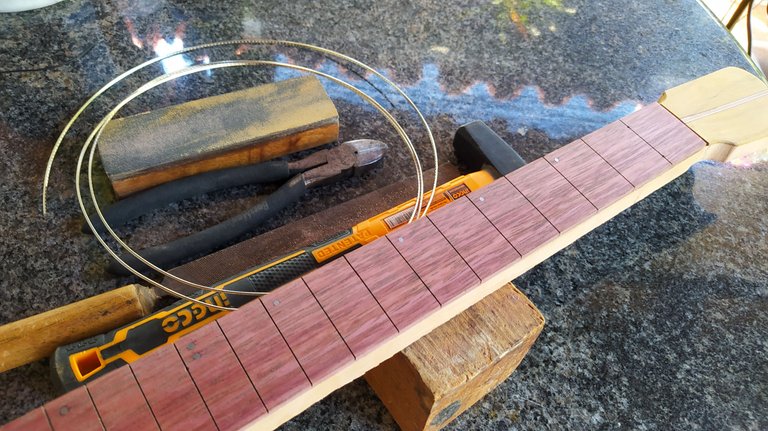
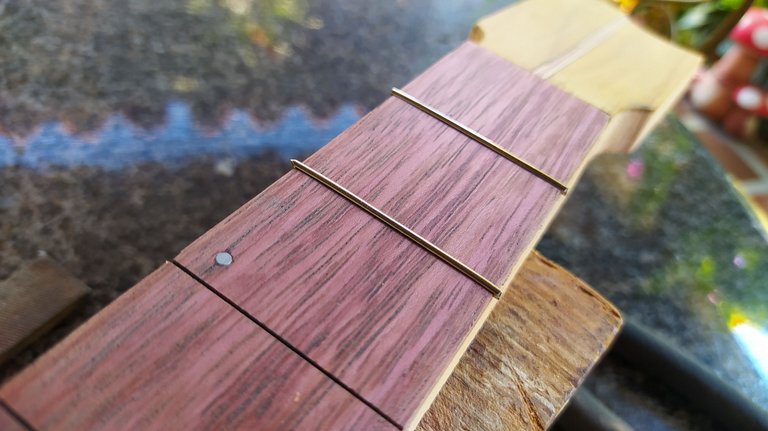
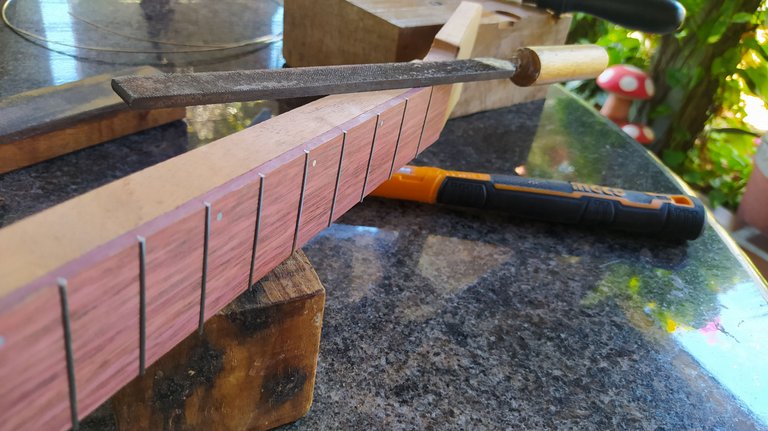
A continuación, colocaremos los trates. Para esto, solo debemos limpiar las ranuras que se encuentran llenas de aserrín por el lijado previo. Con esto listo, procedemos a colocar los trastes uno por uno. Al terminar, limamos los bordes y le damos un bisel al extremo de cada traste.

Clavijero
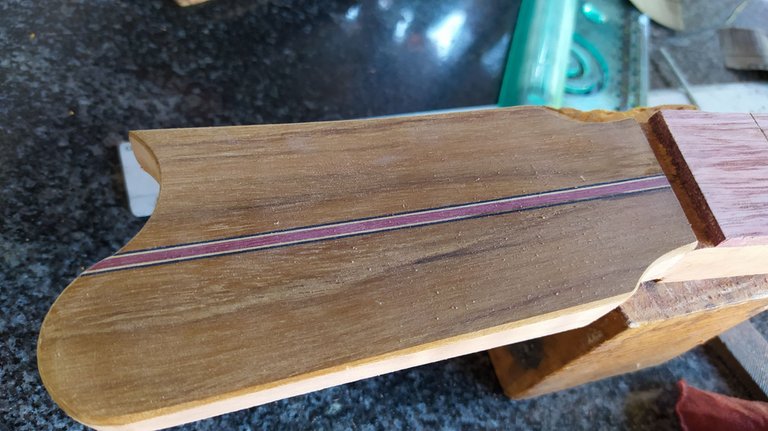
Para completar el clavijero, primero hay que diseñar un adorno para la pala. Aquí tenía dos pedazos que sobraron de la misma Teca del cuerpo de la instrumento para hacer uno. Tiene una pieza de nazareno en el centro y chapillas blancas y negras para complementar el diseño.
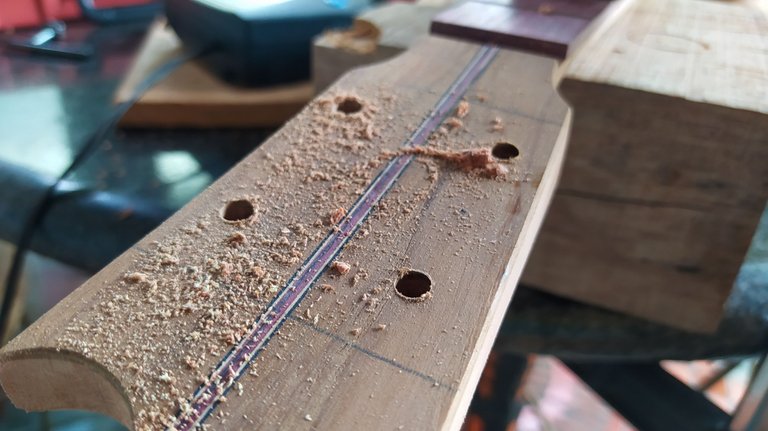
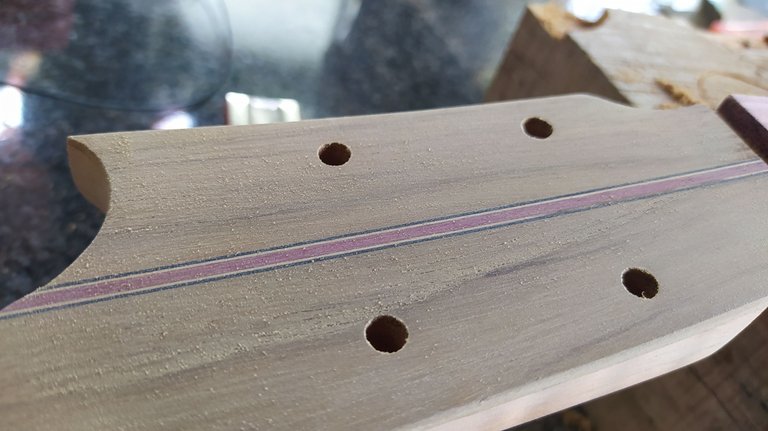
Una vez pegado en la pala, cortamos el clavijero con el diseño correspondiente. Luego, procedemos a abrir los agujeros para las clavijas. Para terminar con la pieza, lijamos todo para nivelar toda la superficie.

Redondear el mástil
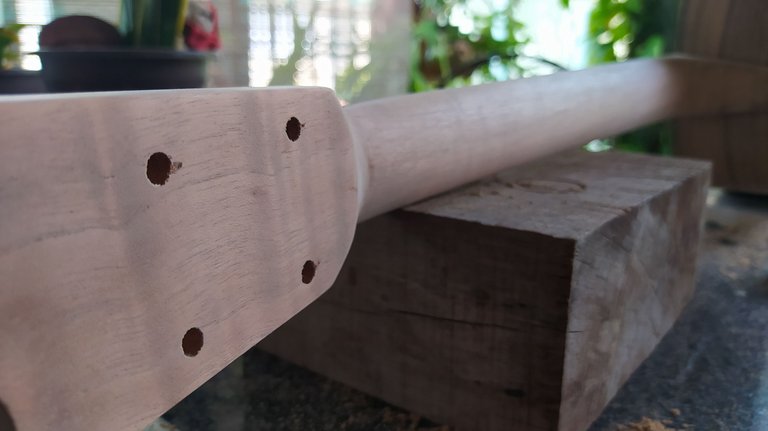
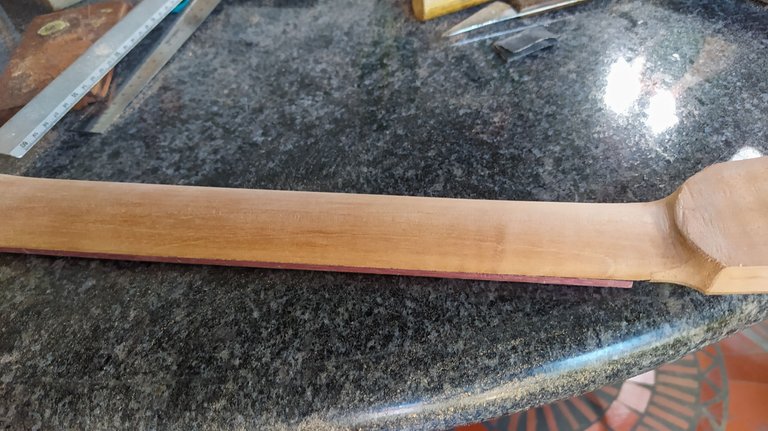
Con todas estas piezas en su lugar, procedemos a redondear el mástil para hacerlo más cómodo. No hay mucho qué agregar aquí más que el hecho de que hay que tener cuidado con cuánto se rebajar de esta pieza para evitar que el mástil se doble hacia adelante.
El proceso comienza con un dibujo para guiar el rebaje. Después de ahí, procedemos con una escorfina para remover material y haciendo lo posible por mantenernos en las medidas ya establecidas.

Acabado
La última parte del proceso por los momentos es preparar la superficie del instrumento para el acabado. Para comenzar, tenemos que lijar todo el instrumento utilizando varios granos de lija hasta crear una superficie pareja.
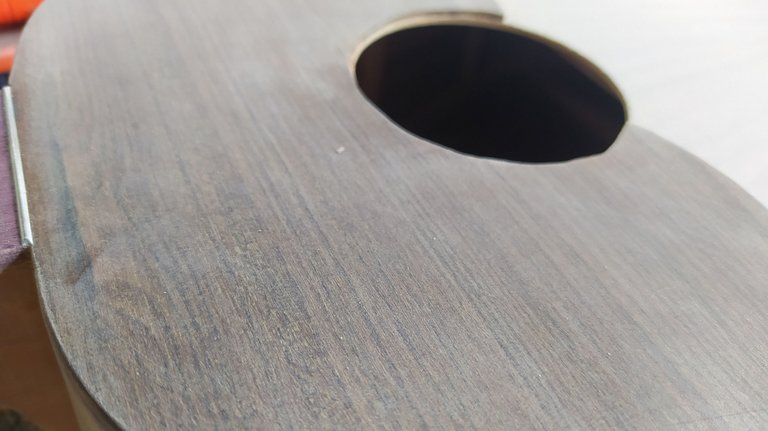
Después de hacer esto, es tiempo de aplicar el sellador. Esto lo aplicamos en varias manos dejando un intervalo de tiempo entre cada mano para permitir que seque bien.
Al final, lijamos todo otra vez cuidando no llegar hasta la madera. Y así, tenemos un instrumento listo para el laqueado.
Pero ese proceso quedará para próxima entrega.

Busy Bee


Summary
On this Woodworking Wednesday, I'm back with a project that started last year. It's called Busy Bee and it's an homage to my friends from Grupo de Organización who throw the Content Creation Challenge from time to time.
I didn't know how much time had passed since I made the last update on this instrument. Hive helped me out and it seems the last post was made on September 14th. That's quite a long time ago!
With no further a due, let's get going!

Bindings
Important projects must have these ornaments on their borders. This one is no exception. Fortunately, I had some pieces of Purpleheart (petolgyne) around to get this done. After bending them, it was just a work with masking tape and rubber to glue them in place.
Once they have dried up, we can finish the job trimming the excess material from the top and make them even with the surface of the sound board. Thus, we have set the bindings in place.

Frets and position markers
There wasn't a lot it do on the department of fretboard and strum guard. Those pieces had been laying around for quite some time. Only remaining thing to do with them was gluing them. Then, we moved on with the frets and position markers.
The latter are a guide for the musician. They served a way to locate certain frets for chord inversions. To get them in place we have to be accurate.
This time, I opted for placing them on the front of the fretboard. This is callback to my first build. Before placing them, I had already flattened the fretboard. It was just a matter of locating the place for them on frets 3, 5, 7, 10, 12, 15. Then, we make the holes for the dots.
I'm using aluminum for them. Although they fit in the hole, I used some cyanoacrylate to glue them in place. Then, we cut each piece as low as we can. Finally, we use a file to remove any excess material and sand to make them even with the fretboard.
Next, we place the frets. To do so, first, we need to clean the slots by removing all sawdust gathered in them. Once this is done, we can place the frets one at a time. We finish them by filling any sharp edges and adding a bevel on their borders.

Head stock
To finish this part, we need to make an ornament. Fortunately, I had some pieces of Teak as leftovers of th body of this same instrument. I place a piece of Purpleheart and some black and white veneer to complete the design.
Once it has been glued to the head stock, we can cut out the design of the head. After this, we open the holes for the tuning machines. To complete our work of this part, we sand everything to remove any uneven spots.

Rounding the Neck
With all the previous work completed, we can go ahead and round the back of the neck. There isn't much to explain here. We have to be careful not to remove too much material or the neck would bend for the tension of the strings.
The process begins drawing some lines to guide the world. After that, we use a rasp to remove material and doing our best to follow the lines.

Finish
The last bit of the process up to this point is to smooth the surface of the instrument. To start, we sand everything going up on grits of sandpaper. This will ensure we have a even surface.
After that, we apply our pore filler. This is done at intervals. We allow one coat to dry completely before moving on to the next one.
Once all the coats have been placed, we sand everything trying not get to the wood. This, we have a instrument ready for its lacquer.
The last bits of this project will have to wait until the next entry.


Fotos/Photos 📷: taken by me (Redmi Note 8)
Portada/Thumbnail 🖼️: by me, created with Canva.
Edición/Editing 🎬: by me, made with Adobe Photoshop Lightroom.

Follow me on Instagram for enquires and commission.
If you'd like to help the workshop grow, you can make a donation here. You can find me at discord as bertrayo#1763
