

We are on this section of the blog called Woodworking Wednesdays. Today, I bring yet another project from the luthierie classes. This time a pair of tools made for some specific jobs on the workshop.
Let's jump in!
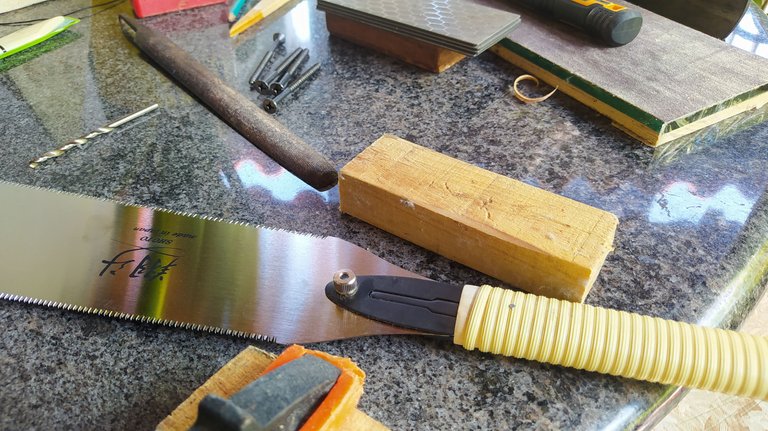

The work started with the materials needed for the tools. We're making a chisel and a marking tool. Both will have two parts, a handle made of wood and a tip made of steel. For the steel, we're using a screw that will go in the wood. But first let's go with the latter.
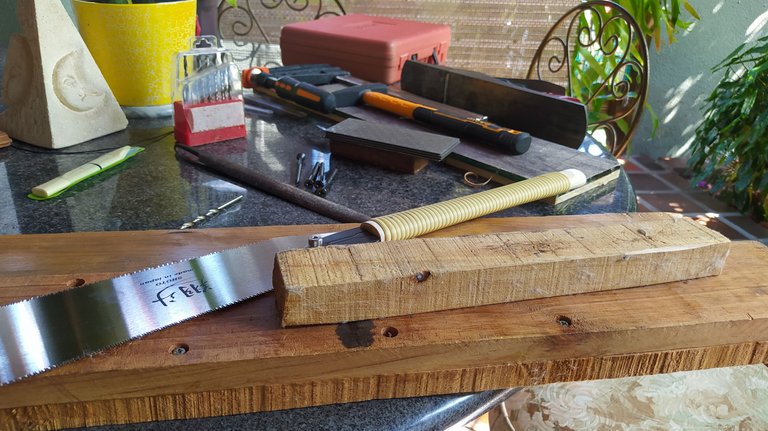
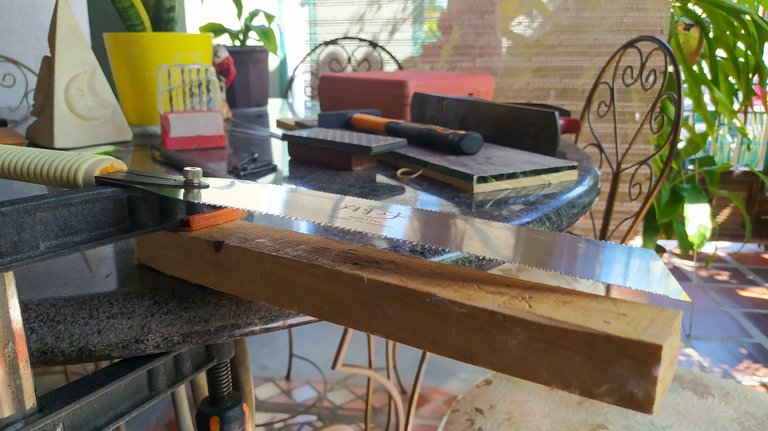
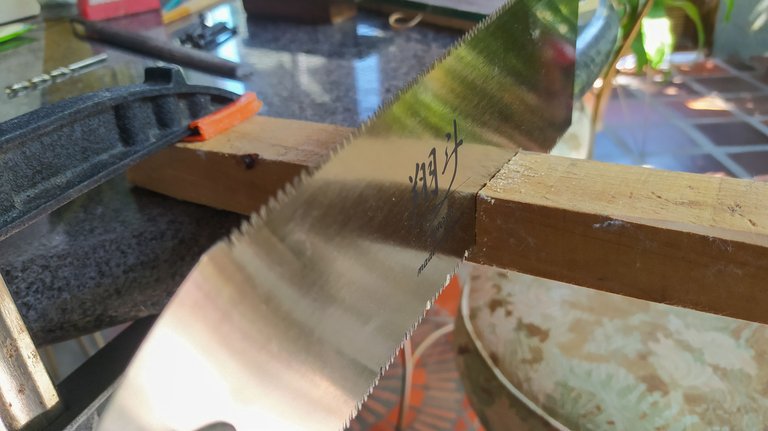
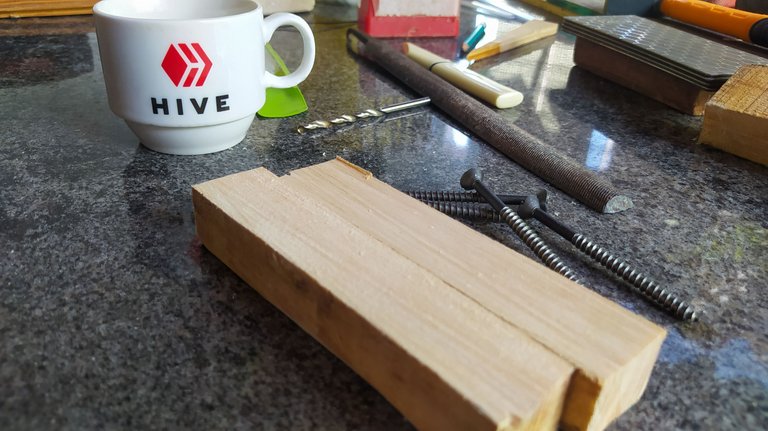
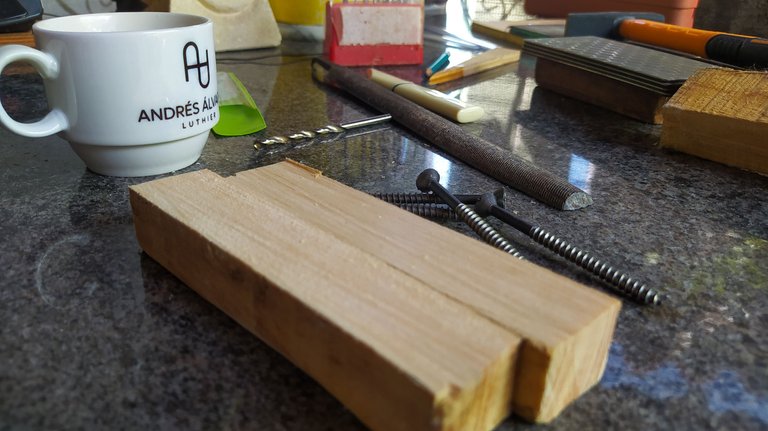
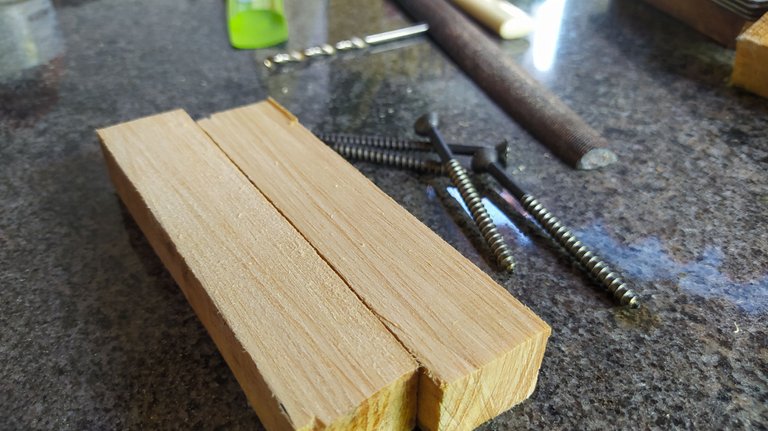
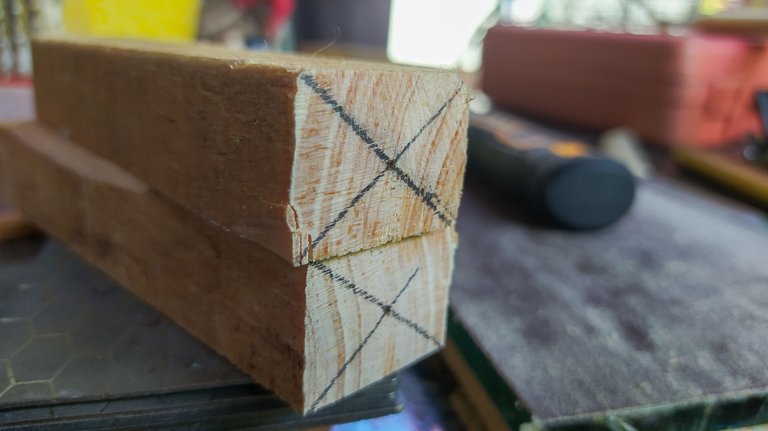
We cut a piece of pine to have enough for both handles. They don't need to be too big since my hands are somewhat small. We can use a saw to cut of these out of a larger piece of wood and then splitting it in half. After doing some measuring to find the center to make a hole, we can move forward to the next step.
We don't need any more shaping on this part since once we start messing with the rectangular shape of the wood, we won't be able to clamp it safely.
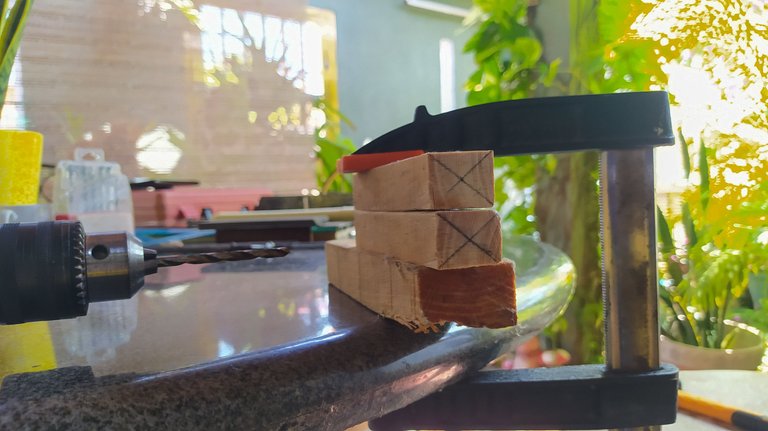
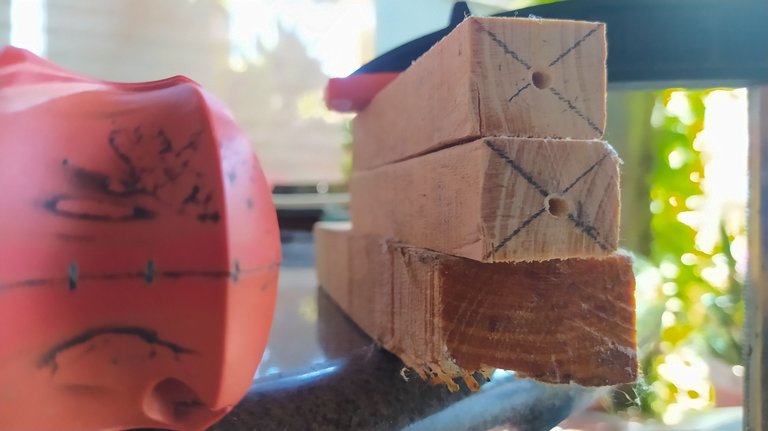
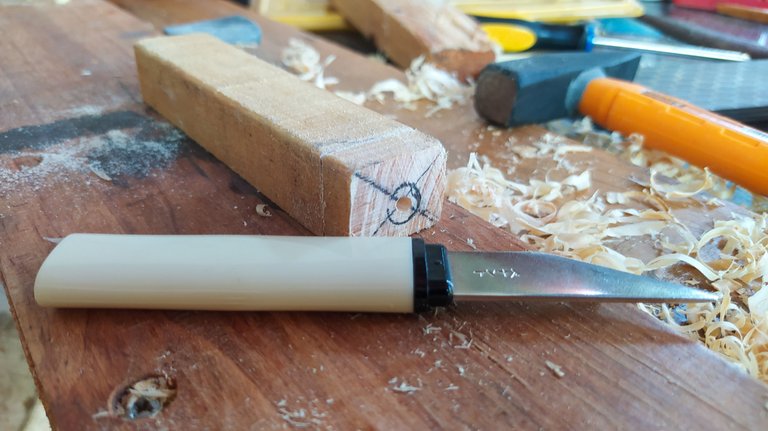
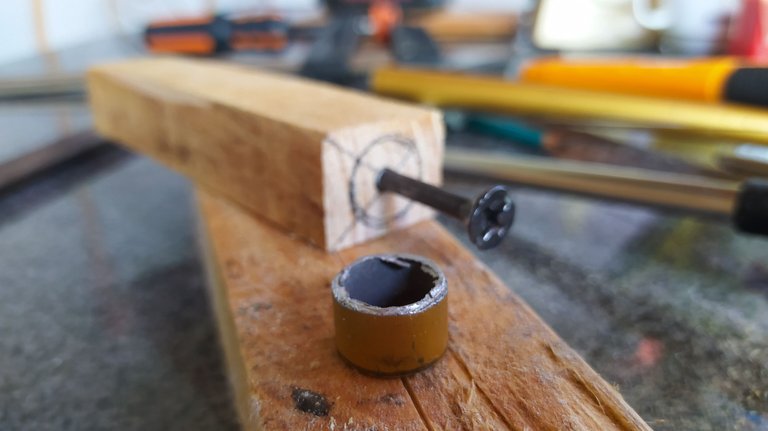


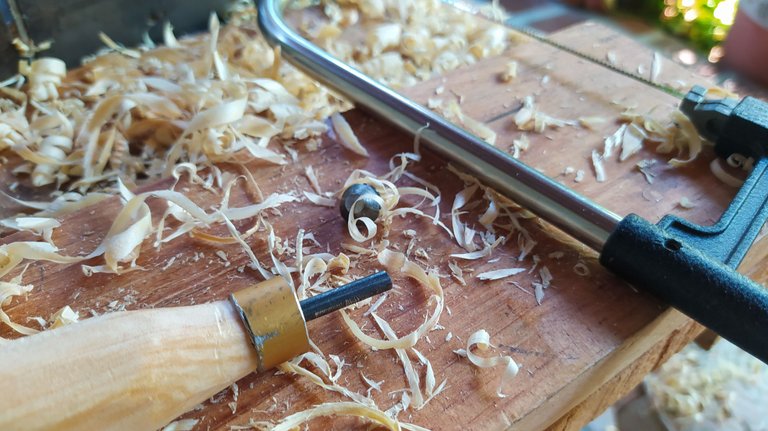
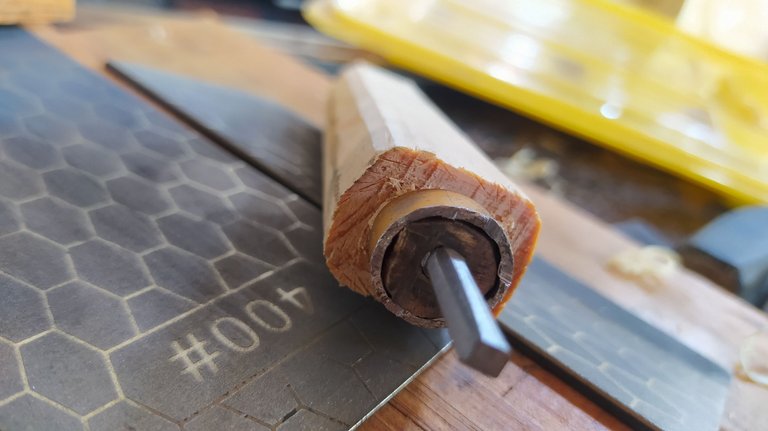
We proceed with drilling a hole. The X marks the spot. There might be some confusion of what comes next, but let me illustrate the right way to do this. We need to shape the tip of the handle to put a metal ring around it. This will prevent the wood from cracking when we turn the screw in place.
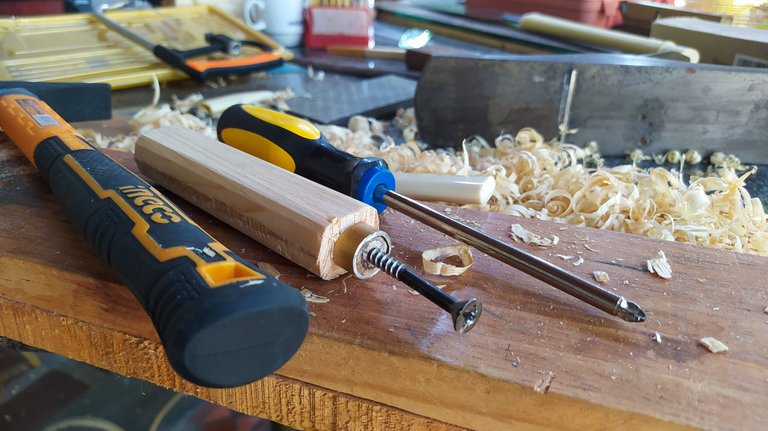
This process is done by and with a knife, but if you have a lathe, I guess you are rich and have no need for handmade tools. But let's keep going. After the tip is shape we place the metal ring with a hammer until it fits and can be removed with your hands. Then we go ahead and place the screw inside the hole.
An important details is that we need the whole to by 90°. That way the screw will be straight. Once we place the screw in the wood until we have just the smooth part and the head, we can start shaping a bit the handle removing the corners. We are about the start the toughest part of the process, the sharpening.
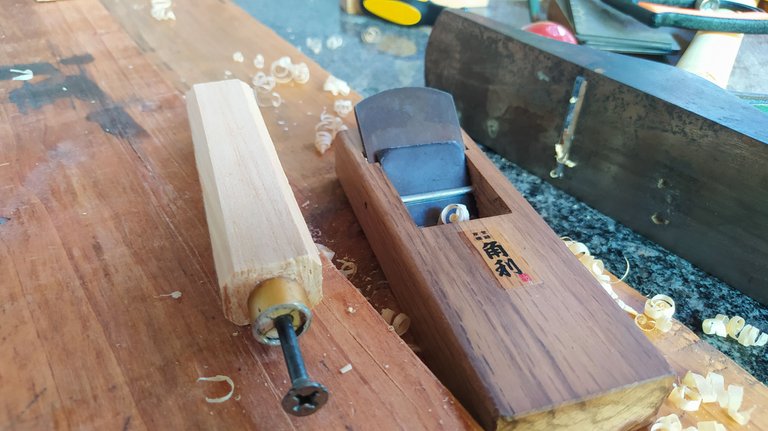
In this point we can either give the handles their complete shape or leave them without corners and go on with the sharpening.
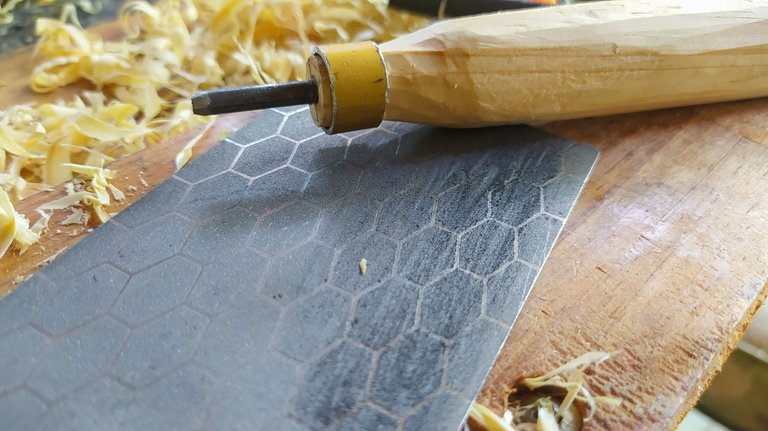
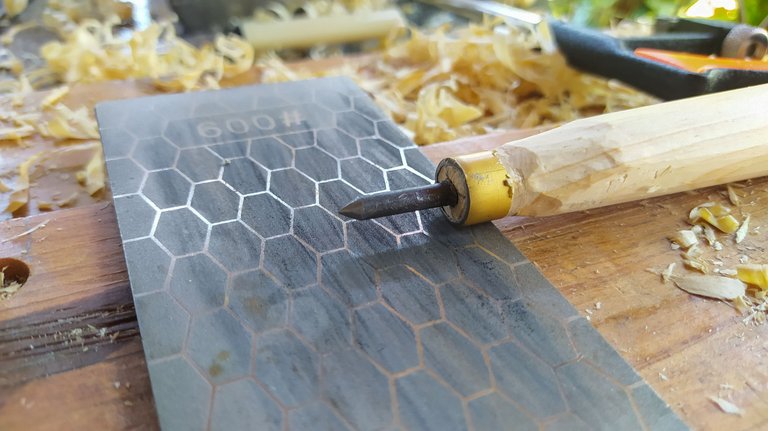
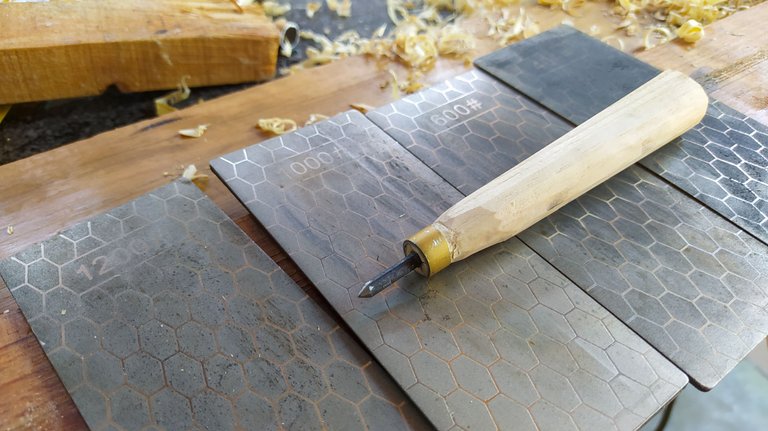
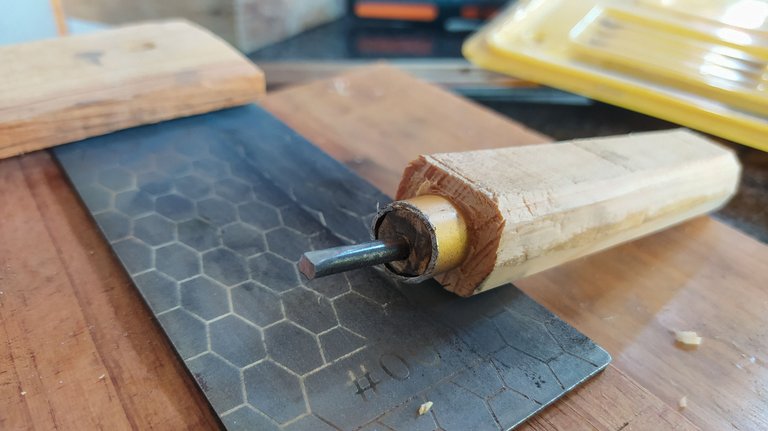
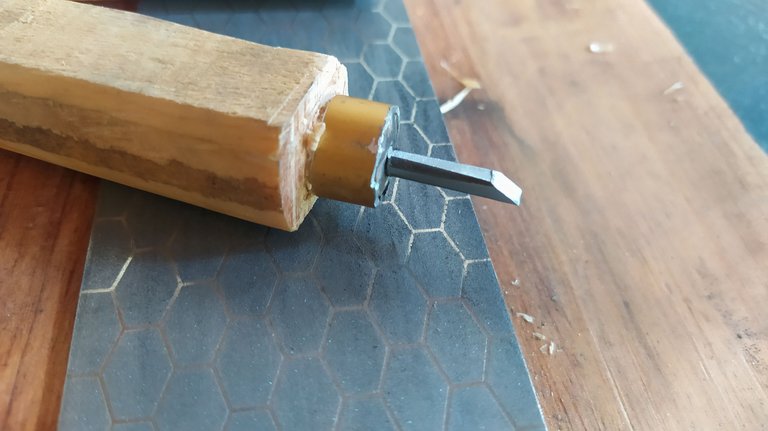
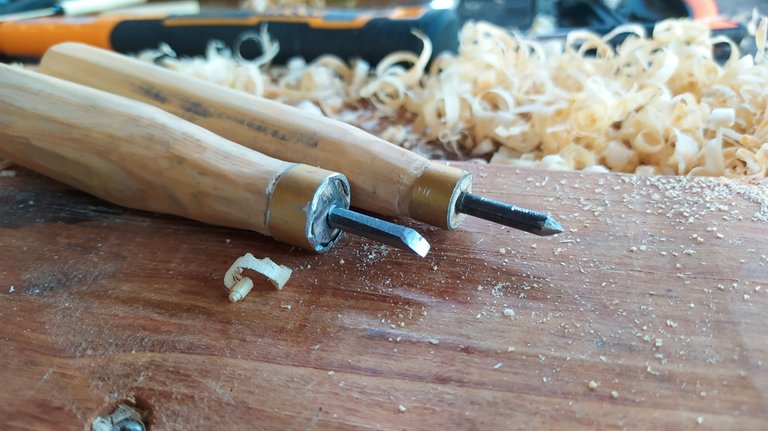
To sharpen these tools, we need to remove the screws' heads first. Once we have done this task, we proceed to use any stones or machines we have at hand to give the shape to each tool.
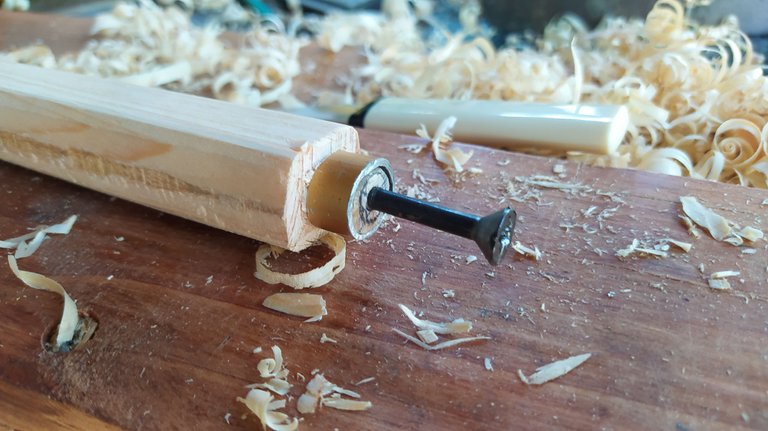
The first one needs a round shape with a sharp tip. This one is to mark for any holes and center points. It might even be of use to mark the frets. We use a circular motion on the stones and start removing material until we have shaped it.
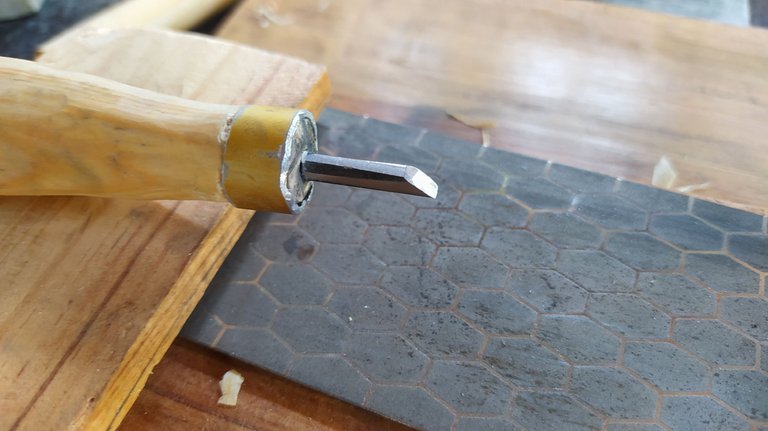
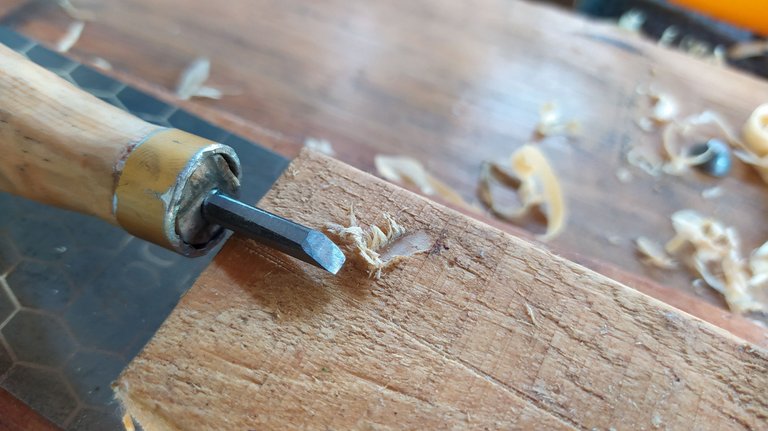
The second is more difficult as we need to make the round shape of the screw square. It takes plenty of time to do so on sharpening stones. The added benefit to do this by hand is that we avoid messing up the steel. Working in a grinder heats the steel too much so it can lose its tempering and be render useless. The last bits of sharpening in the chisel are done on its tip. It has bevel that we need to develop without messing the angle.
And after some sanding in the handles and some coats of oil we have the tools ready for work.
Thanks for reading me. I hope you have enjoyed this little build. See you in the comments section!
Herramientas hechas a mano.
Bienvenidos a mi sección del blog llamada Miércoles de Carpintería. Hoy, les traigo otro proyecto de las clases de lutheria. En este momento, son un par de herramientas para trabajos específicos del taller.
¡Vamos allá!
Comenzamos con los materiales para el trabajo. Vamos a hacer un punzón y un formón. Ambos tendrán dos partes: un asa de madera y una punta de metal. Para el acero, estaremos usando unos tornillos que irán dentro de la madera. Primero vamos con la madera.
Cortaremos una pieza de pino para las asas. No tienen que ser muy grandes porque mis manos son pequeñas. Usamos un serrucho para cortar estas piezas y luego las cortamos a la mitad. Después de medir y marcar el punto medio en la testa para hacer un agujero, podemos seguir al siguiente paso.
En este punto, no le damos nada de forma a las asas porque después de cambiar la forma, no podremos sujetar la madera de manera efectiva.
Ahora procedemos a usar un taladro para abrir un hoyo. La X marca el lugar. Quizá haya algo de confusión sobre el paso siguiente, pero déjenme aclarar esto. Primero hay que darle forma a la punta del asa para colocar un anillo alrededor de ella. Esto va a prevenir cualquier problema a la hora de introducir el tornillo.
Este proceso se con un cuchillo, peor si tienes un torno, me imagino que tienes dinero suficiente para no necesitar hacer herramientas de mano. Continuamos. Luego de darle la forma, podemos colocar el anillo de metal con un martillo hasta que no se pueda retirar con las manos. Ahora procedemos a colocar el tornillo en el agujero.
Es importante que el agujero este a 90°> esto nos permitirá tener el tornillo derecho en su lugar. Al tener el tornillo en la maderas hasta que la rosca no se vea. Ahora podemos empezar a darle forma a las asas. Comenzamos con un poco de quitarle las esquinas a la madera. Después de esto, vamos a lo importante y más difícil que es afilar las herramientas.
Justo ahora podemos darle la forma a las asas o esperar a sacarla filo para hacerlo.
Para sacarle filo a las herramientas, necesitamos quitarle las cabezas a los tornillos. Una vez que hayamos hecho esto, podemos utilizar lo que tengamos a mano para afilar, piedras o máquinas.
La primera herramienta es un punzón y necesitamos sacarle punta. Esto servirá para marcar para hacer agujeros. Incluso puede funcionar para los trastes. Para esto hacemos movimientos circulares para remover material y darle forma.
La segunda es más difícil. Para hacerla, hay que darle forma cuadrada al tornillo. Toma mucho tiempo hacerlo con las piedras. El beneficio que tiene es que al hacerlo a mano evitarnos destemplar el metal. Al trabajar con máquinas podríamos calentar mucho el metal y hacer que pierda el temple y no retenga el filo. La última parte del afilado es darle un bisel a la punta para que pueda cortar.
Después de lijar las asas y aplicar un poco de aceite, tenemos las herramientas listas.
Gracias por leerme. Espero que hayan disfrutado de este proyecto. Nos leemos en los comentarios.
- Fotos/Photos 📷: taken by me (Redmi Note 8)
- Edición/Editing 🎬: by me, made with Adobe Photoshop Lightroom.
Follow me on Instagram for enquires and commission.
If you'd like to help the workshop grow, you can make a donation here. You can find me at discord as bertrayo#1763