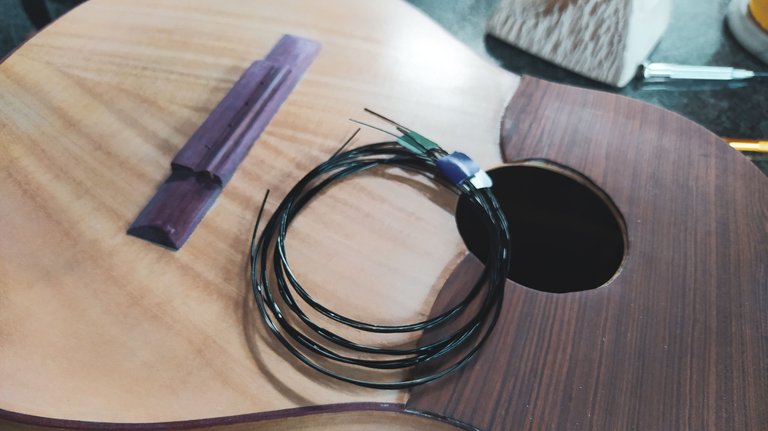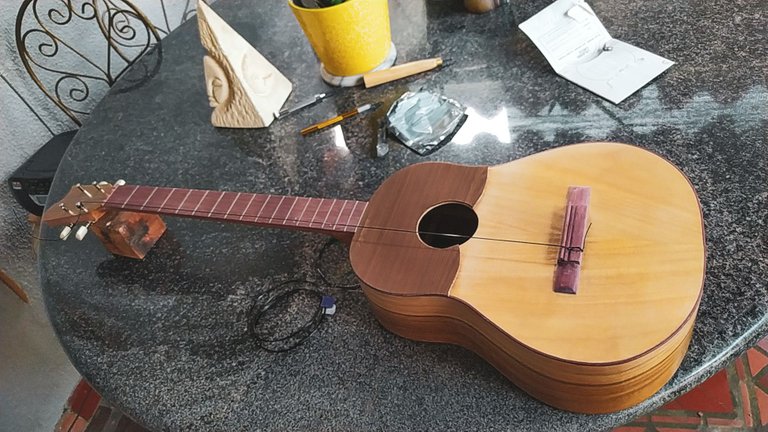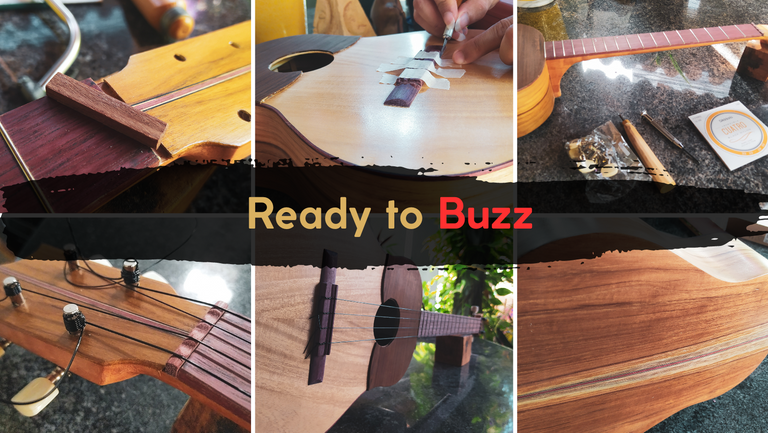


Today, we come to the end of the chapter of this Venezuelan Cuatro dubbed Buzzy Bee. It's been a project that had some delays, but it's finally ready and buzzing. If you haven't checked out the previous steps on this project, you can do it clicking here.
Gluing the Bridge
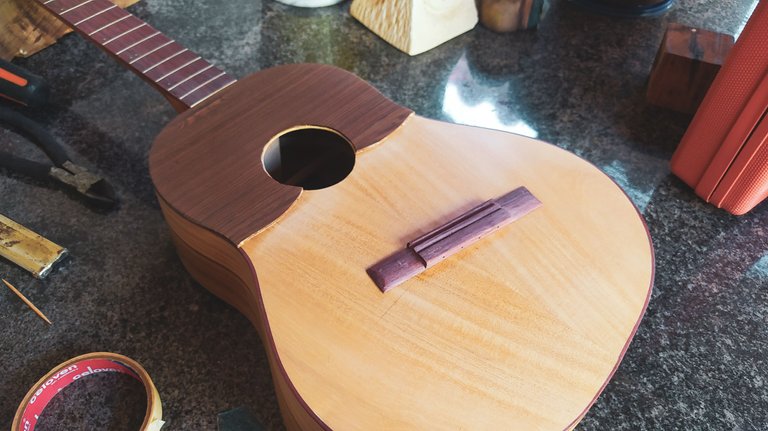
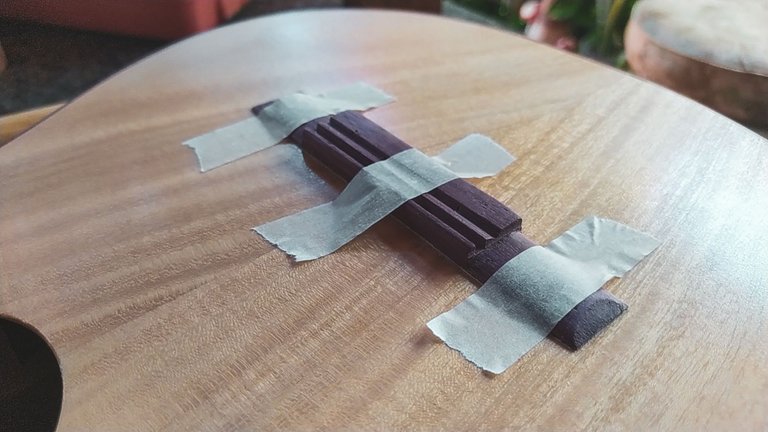
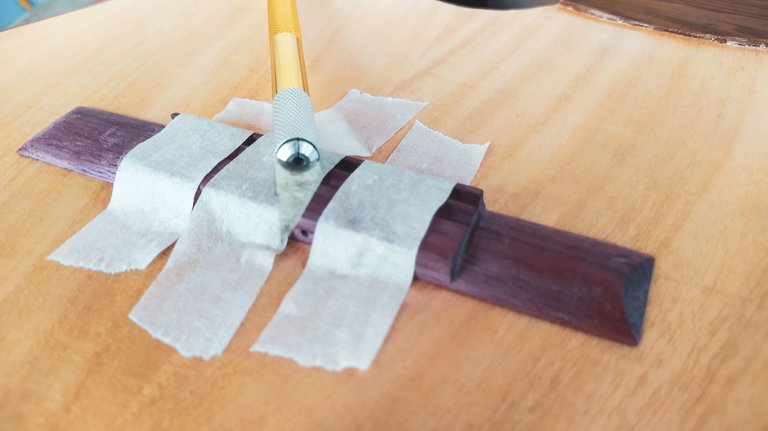
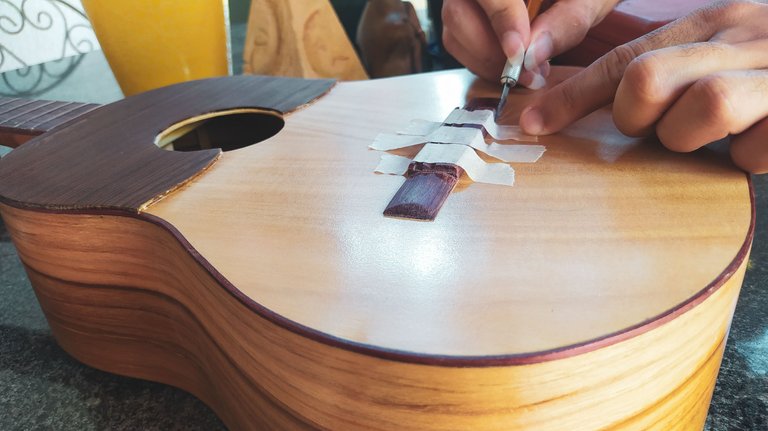
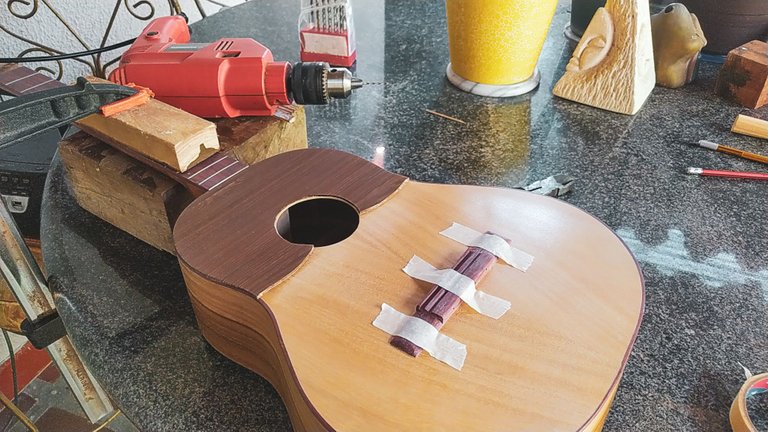
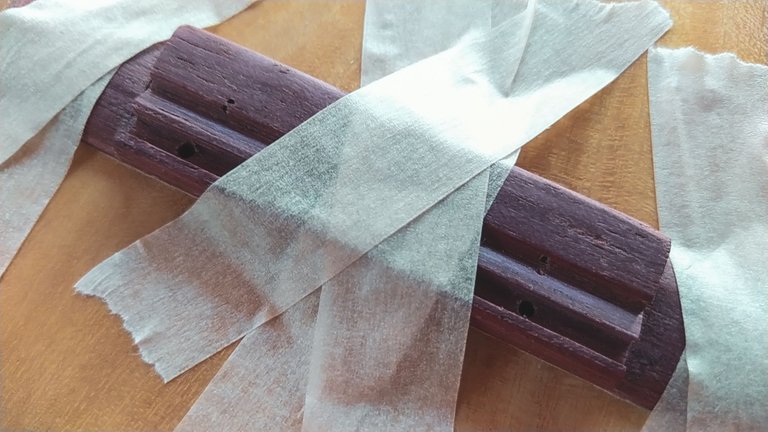
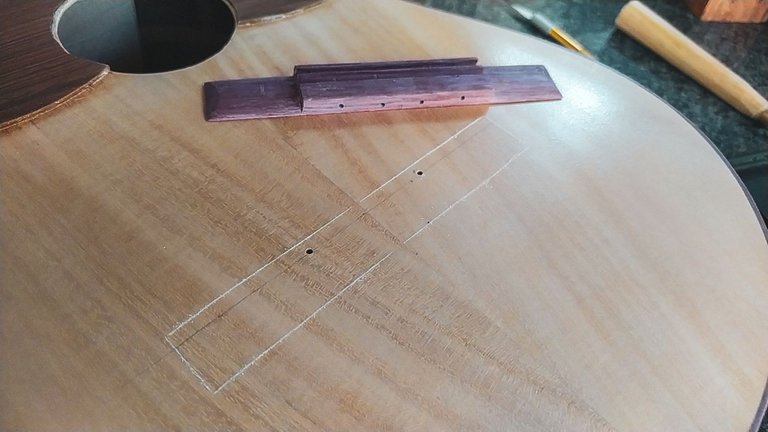
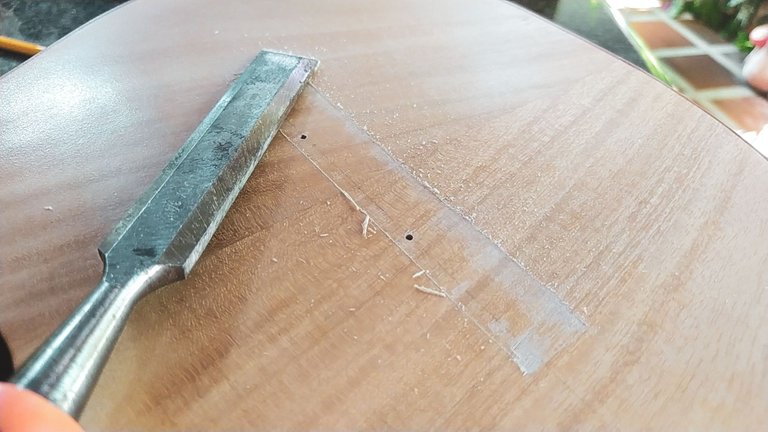
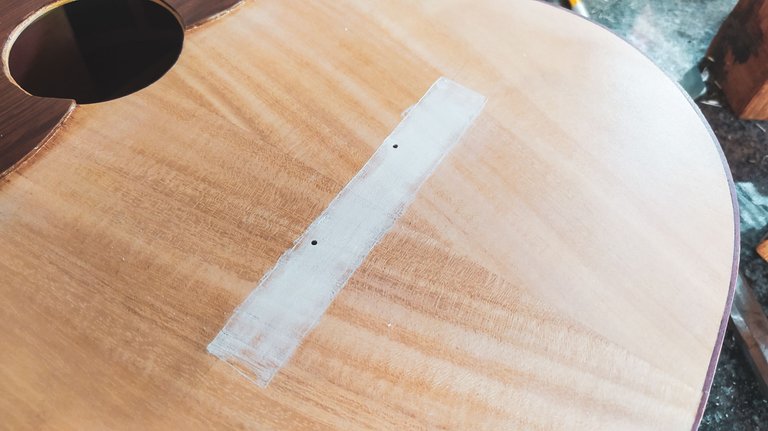
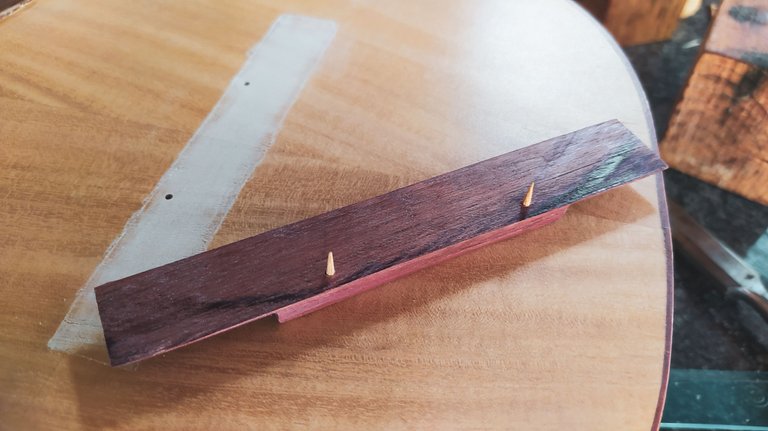
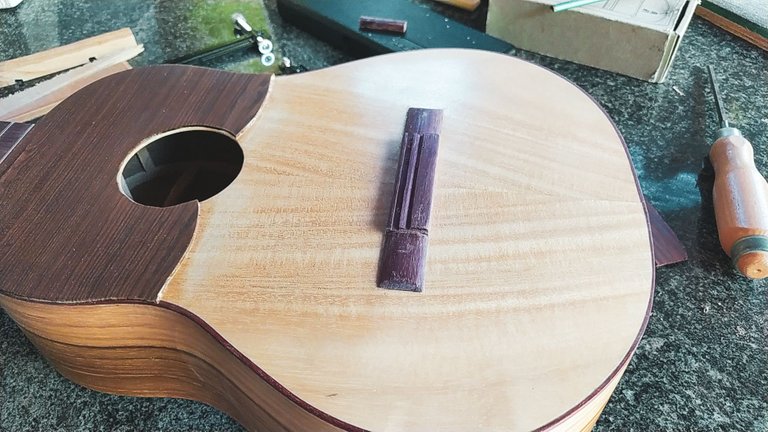
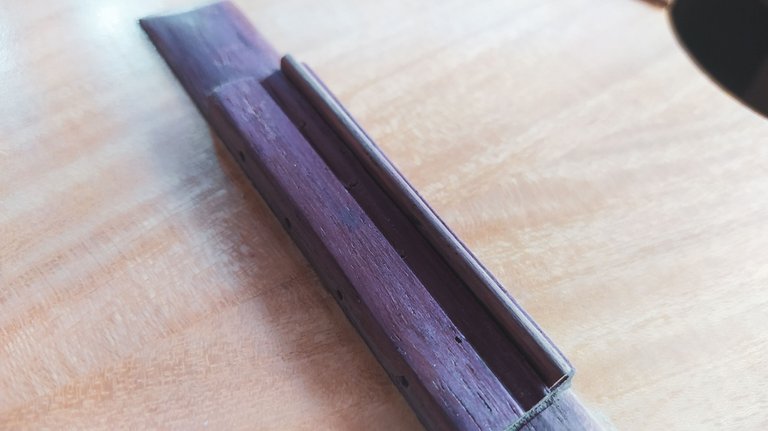
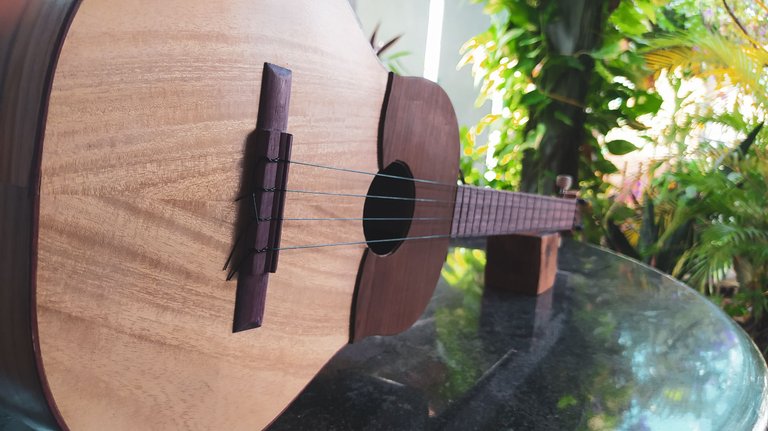
After having the bridge ready, it's time to place it. If only it were an easy step, I wouldn't need a whole section when I'm taking about it. First, we need to remove the finish from the area. This step is done in so many ways. I picked up the idea of using tape and an exacto knife to mark the contour of the bridge. This gives a lot of room to remove the finish with a chisel. It makes the whole process easier as we'll be never removing finish from another area. While the bridge is hold in place by masking tape, we go ahead and make some holes on the same gap for the saddle to install some wood anchors. This extra step helps us hold the bridge in place when we apply pressure with the clamps. Once we have done a lot of work with the chisel, we switch to sandpaper to have a rough surface and make it easier for the glue.
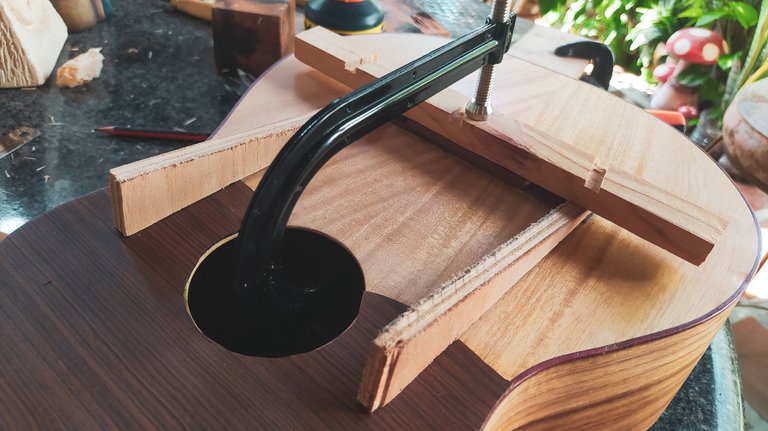
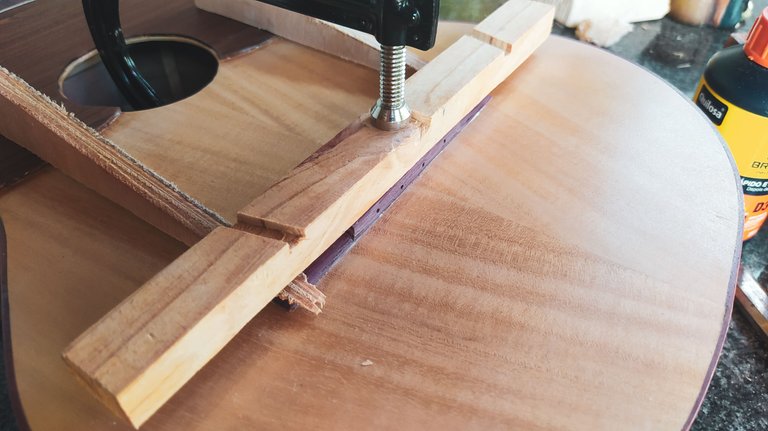
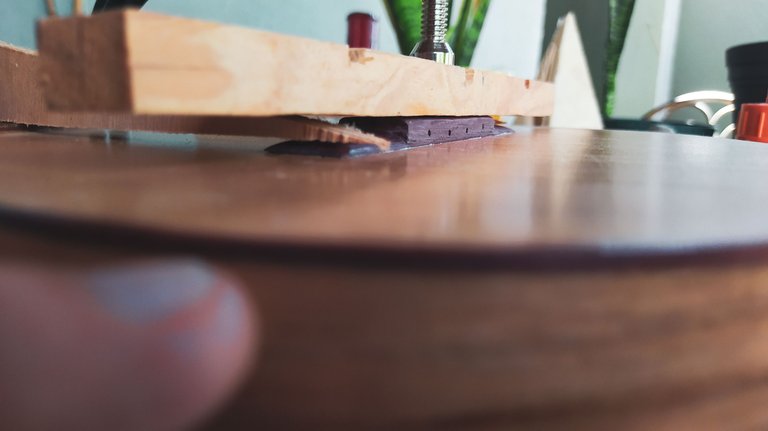
We need a good amount of glue, but never applying an excess so we'd need to do a heavy clean up once it spreads from the pressure of the clamp. Once we have the bridge in place with its anchors and glue, we can get the clamp and a piece of wood in place. This piece of wood is used with some wedges to hold down the wings of the bridge. Thus, ensuring equal pressure al these 3 points of the bridge and having a good glue up.
Nut and Saddle
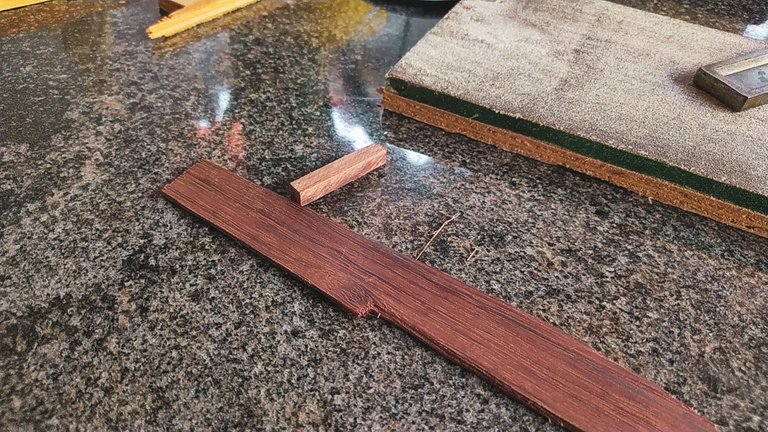
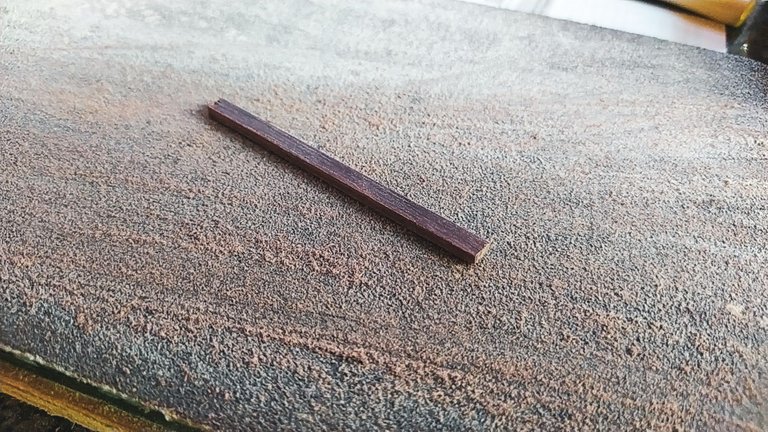
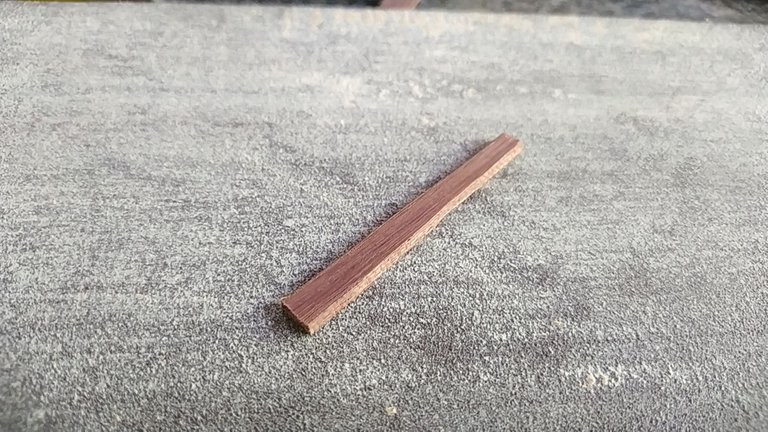
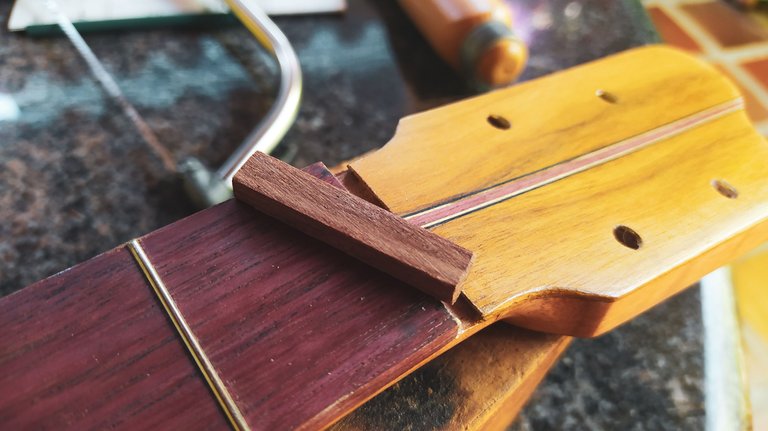
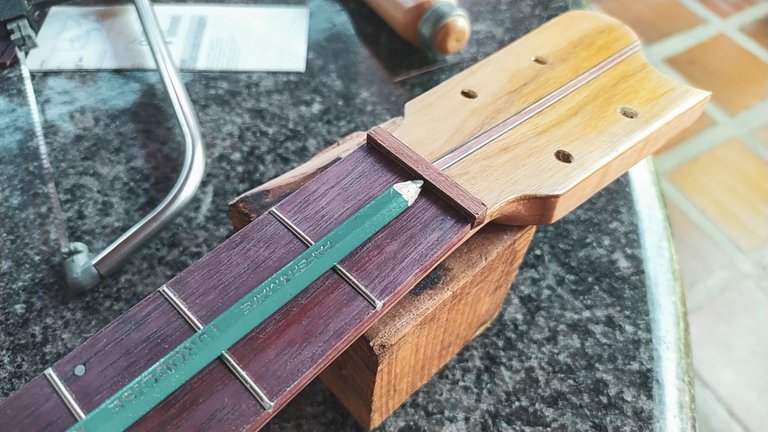
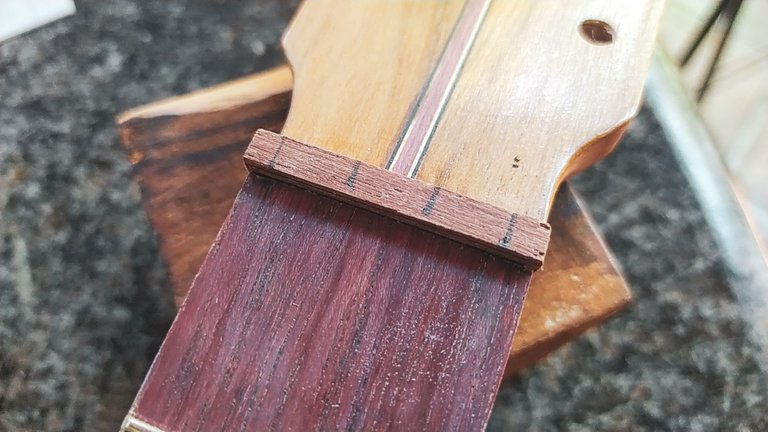
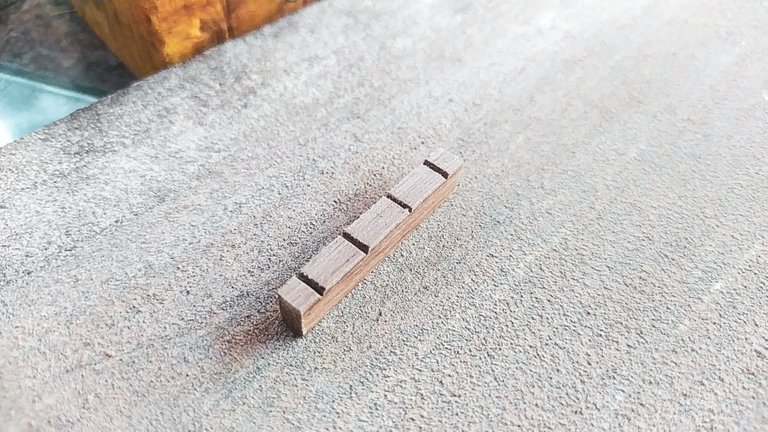
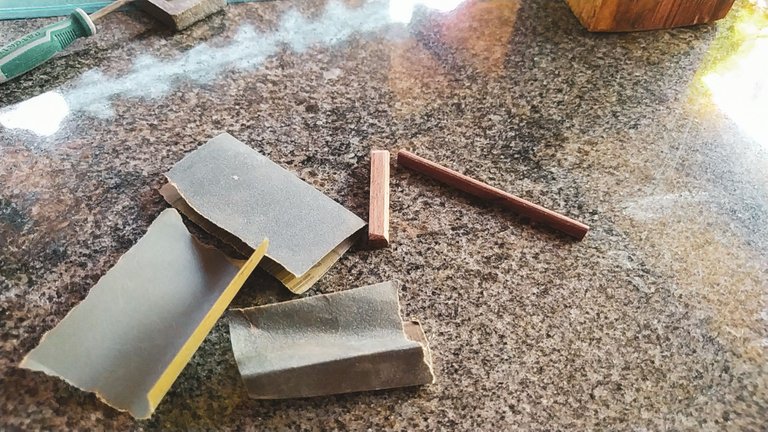
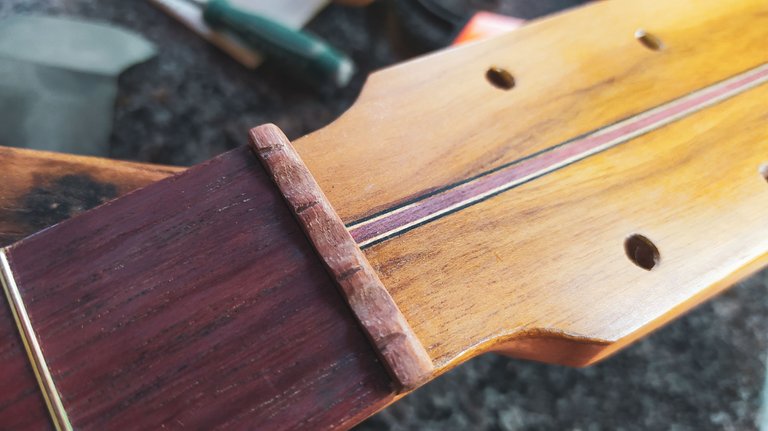
With the bridge in place, we can move ahead to the nut and saddle. These two pieces of wood are related to the action (height) of the strings above the instrument. The nut also give us the separation between the strings. So, we need to cut them to size. Here, we'll do most of the work using sandpaper. That's for the saddle. This one doesn't have any kind of slots. But it will have some compensation for the tuning. This last part is only achievable once we have the strings on. And it's a process of mounting and dismounting the saddle. That means tuning on and off the instrument until we have a good sound. A sound that is, well, in tune. This is usually tested with the the 7 basic major chords on their first position.
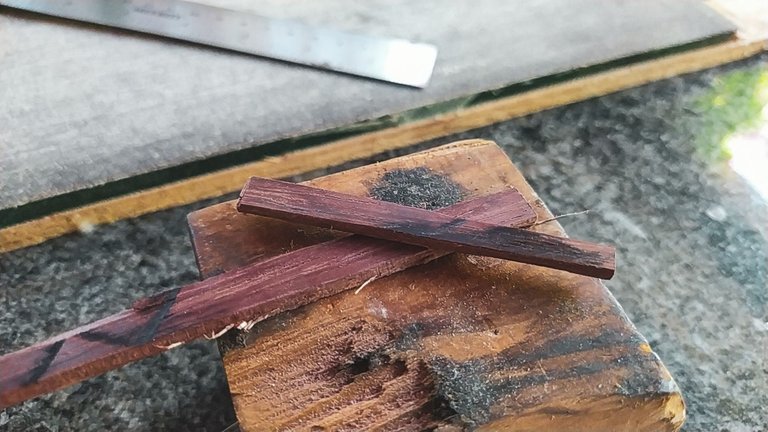
The nut gives more work. The slots need to be rounded to hold the strings without giving any buzz when we play them without fretting any note. Besides, both pieces of wood need to have a smooth finish. One that is only achievable with sandpaper and oil. We'll also go on the extra miles and use a file to give it some forms.
Tuning Machines and Strings
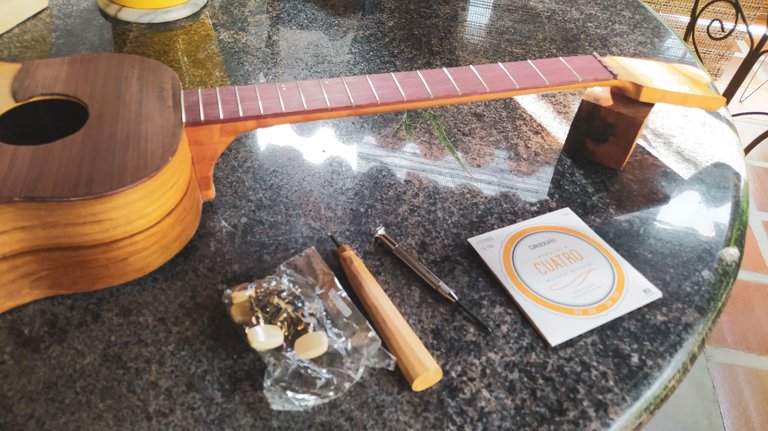
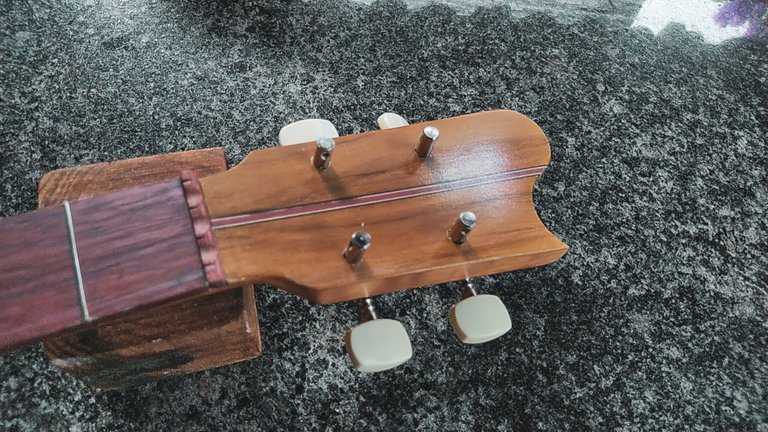
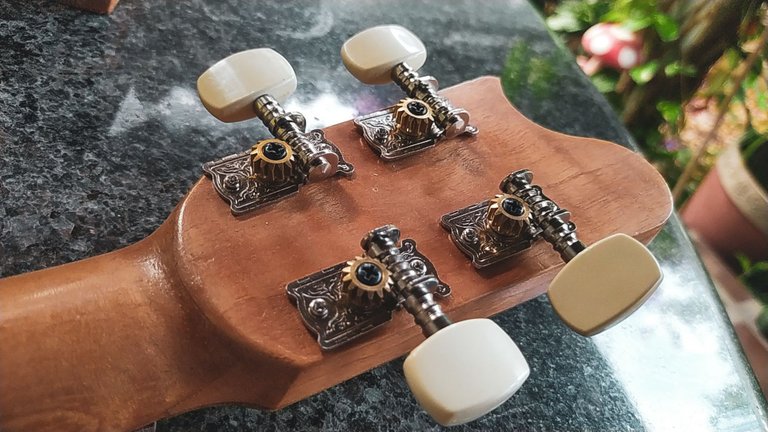
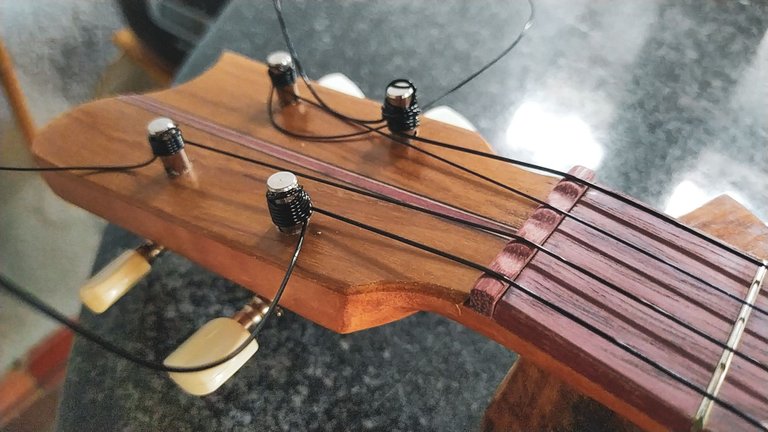
This is always the most exciting part. Will the instrument have the sounds we are looking for? The only way to know is to install the tuning machines, get the strings in and tune it up! And that's exactly what we have to do on this step. For Buzzy Bee, we have standard tuning machine holes. Since they are already open, we just need to get the machines in place and screw them to the back of the head stock.
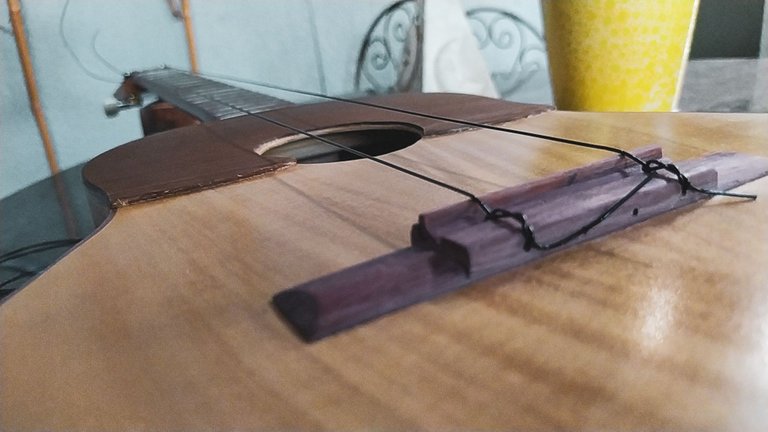
Once we have this ready, we can start with the strings. As you can see, I usually get the ones that go to the borders first and then get the middle ones in place. There isn't any reason for such a thing. It's just the way I do with the strings in my other instruments. However, I think it has to do with the fact that mandolins have moveable bridges and if you don't get the strings on this way, it will move and you'll have to struggle with the bridge to keep it in place.
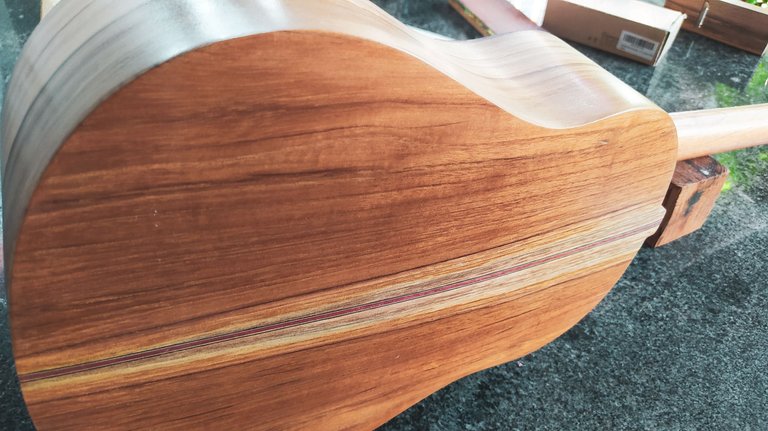
Anyhow, we have the results of this Buzzy Bee ready to Buzz. How does it look:
Thanks a lot for following this project. If you want to listen to this instrument, you can check out this cover I made recently by clicking here
Until the next project!

¡Listo Y zumbando!

El día de hoy venimos con el cierre del proyecto de Buzzy Bee. Este cuatro venezolano tuvo algunos retrasos, pero ya está listo y zumbando. Si no has visto las partes anteriores de esta construcción, puedes revisarlas dando click aquí.
Pegando el Puente
Teniendo el puente listo, lo que queda es colocrlo. ¡Ojalá fuera un paso simple! Si así fuera, no tendría que dedicarle una sección completa. Primero, hay que remover el acabado del área donde irá pegado. Esto se puede hacer de muchas maneras. Tomé esta forma de hacerlo con un bisturí y fijando el puente con cinta de enmascarar de un luthier argentino. Me parece una forma muy buena de marcar el contorno. Esto facilita que todo el proceso de raspar la laca con un formón tenga un margen del cual es muy difícil salirse. Además, mientras la cinta sujeta el puente, podemos aprovechar de hacer unos agujeros con el taladro sobre la ranura de la cejilla y así preparar unas anclas para el puente. Este paso extra nos permite tener fija la pieza mientras le aplicamos presión. Una vez que se ha removido toda la laca del área macarda, podemos terminar el trabajo pasando una lija.
Aquí necesitamos una cantidad justa de pegamento para evitar tener que limpiar demasiado cuando apretemos con la prensa. Una vez colocado el puente con sus anclas, podemos prensar el puente con una pieza de madera encma. Esta pieza nos permitirá colocar dos cuñas a cada lado para aplicar presión sobre las alas del puente y poder asegurar que pegue bien.
Cejilla y Cejuela
Después de que el puente se haya pegado, podemos trabajar en la cejilla y la cejuela. Estas dos piezas determinan la altura de las cuerdas sobre el instrumento. La cejuela también se encarga de darnos a separación entre las cuerdas del instrumento. Aquí tenemos que cortar las piezas a la medida y hacer todo un trabajo de lijado para darles forma. La cejilla no necesita mucha más forma que toda la que le podemos dar con lija. Sí tendrá algo de compensación para la afinación del instrumento. Esto es un proceso que se hace después de tener el instrumento listo. Básicamente, implica afinar y desafinar muchas veces. Cada vez haciendo ajustes en donde se apoya la cuerda en esta pieza de madera. De esta manera podemos mejorar la afinación del instrumento si hay algún problema. Para probar si llegamos a la afinación correcta, generalmente utilizamos los 7 acordes mayores básicos en la primera posición del instrumento.
La cejuella si necesita más trabajo. Las ranuras deben tener el mismo espacio entre ellas y tener una forma redondeada en el fondo para evitar vibraciones parásitas cuando se tocan las cuerdas al aire. Además, ambas piezas necesitan un acabado que solo se logra con lija y aceite. En esta última pieza, vamos a hacer algunos adornos con limas.
Clavijas y Cuerdas
Esta siempre es la parte más emocionante del proyecto. ¿El instrumento va a sonar como queremos? La única manera de saberlo es instalando las clavijas y colocando las cuerdas. Eso es exactamente lo que falta. Para este instrumento, tenemos clavijas normales. Como ya tenemos los agujeros, solo hace falta colocarlas y atornillar al reverso del clavijero.
Después de hace esto, colocamos las cuerdas. Como pueden ver, coloco primero las de los extremos para terminar con las del centro. Esto no es algo obligatorio. Lo hago así porque tengo la costumbre de hacer este proceso de esta manera con mi mandolina. Claro, en ese caso tengo un puente que se mueve y colocar las cuerdas de otra manera es un problema porque se mueve para todos lados.
Y luego de colocar las cuerdas, este es el resultado. ¿Cómo se ve?
Anyhow, we have the results of this Buzzy Bee ready to Buzz. How does it look?


Muchas gracias por leer y acompañar este proceso. Si quieres escuchar este instrumento, ya grabé un cover con él. Lo puedes escuchar aquí.
¡Nos veremos en el próximo proyecto!

Fotos/Photos 📷: taken by me (Redmi Note 8)
Portada/Thumbnail 🖼️: by me, created with Canva.
Edición/Editing 🎬: by me, made with Adobe Photoshop Lightroom.


Follow me on Instagram for enquires and commission.
If you'd like to help the workshop grow, you can make a donation here. You can find me at discord as bertrayo#1763
