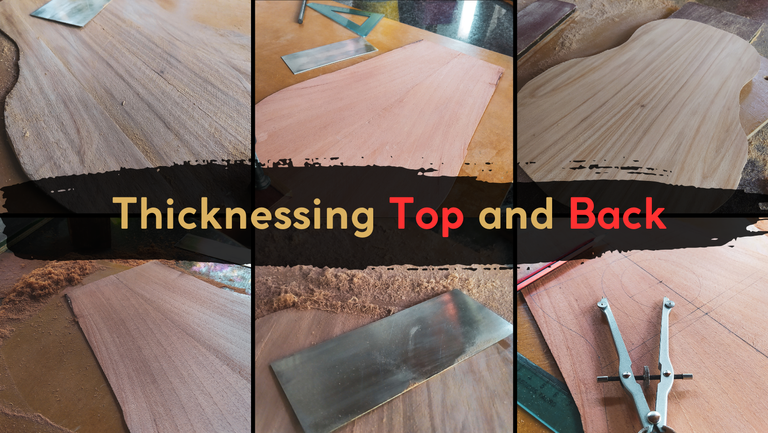


We are back on the slow process of making another instrument. Time to get the thickness of the sound board and back to flexible number. All done by hand, by the way.
Back
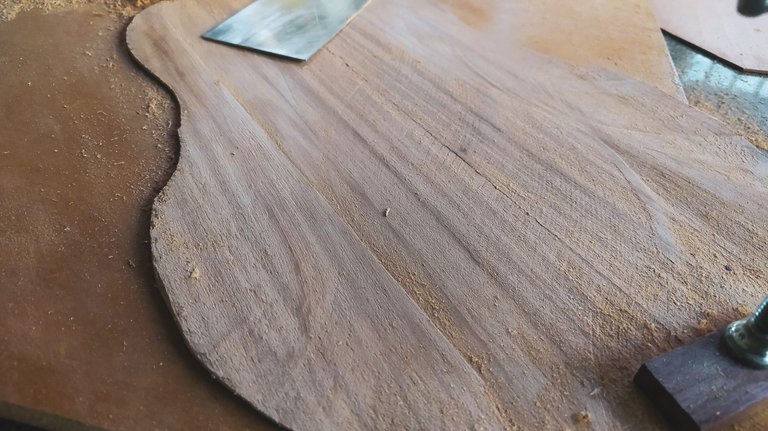
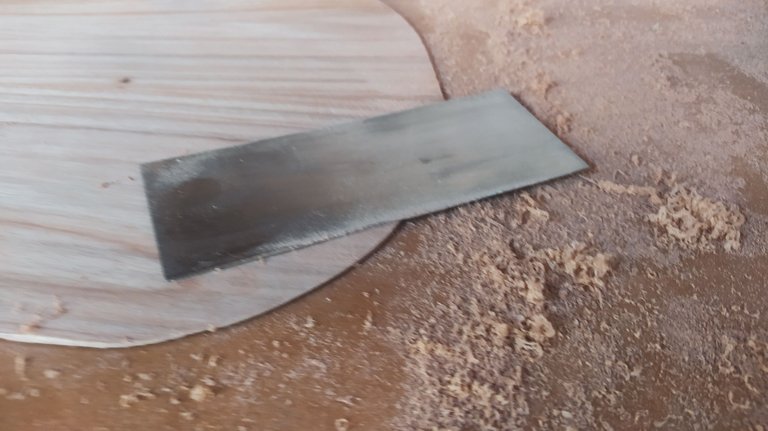
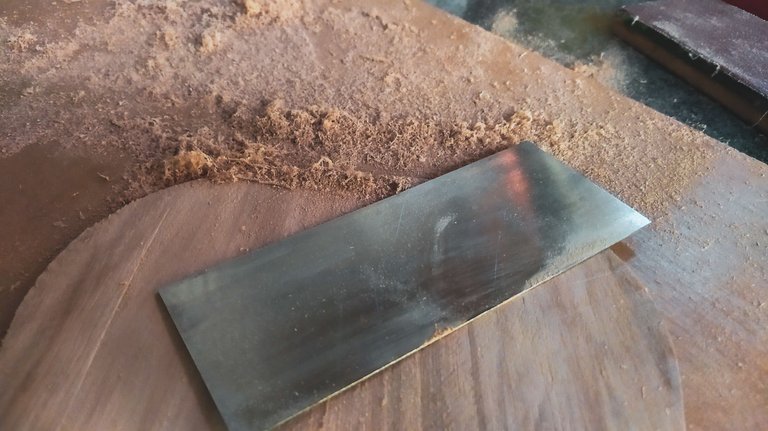
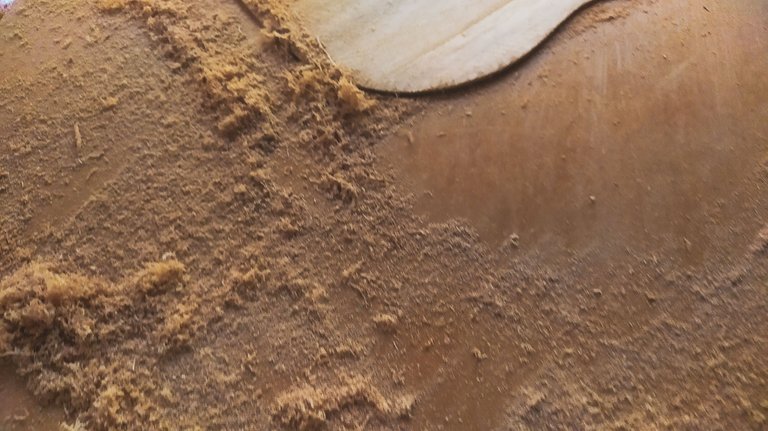
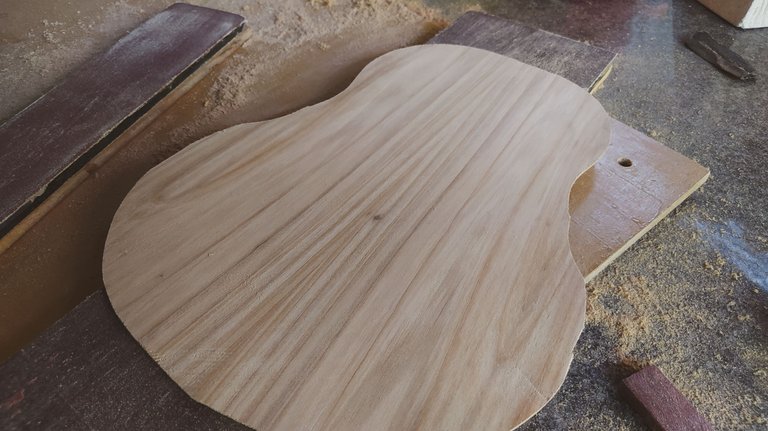
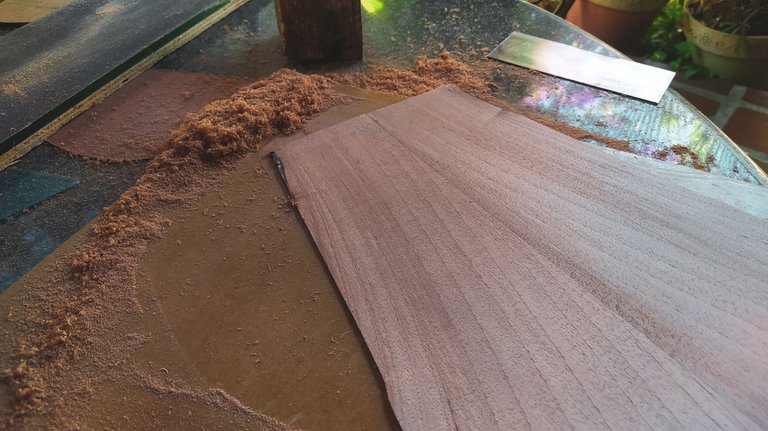
To start this work, we just need a lot of elbow grease and make use of this card scrapper. Of course, it needs to be sharp to get nice shavings out of the back with easy. That quickens the work. The measure for how much material we have to removed from each side goes on two cues. First, we need to smooth out the surface. There are cutting disc marks all over the piece and uneven places. Second, we need to give the whole piece an average thickness of at least 1.8 millimeters. Thus, hands on it.
We know we are near that thickness once the piece starts to warp. Since good bends towards its natural grain orientation, we'll see some movement on the back once we have removed a lot of enough material. Then, we need to sand a little bit.
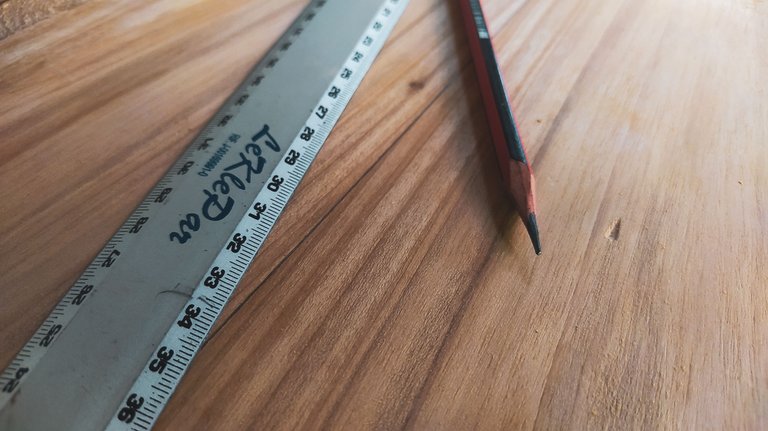
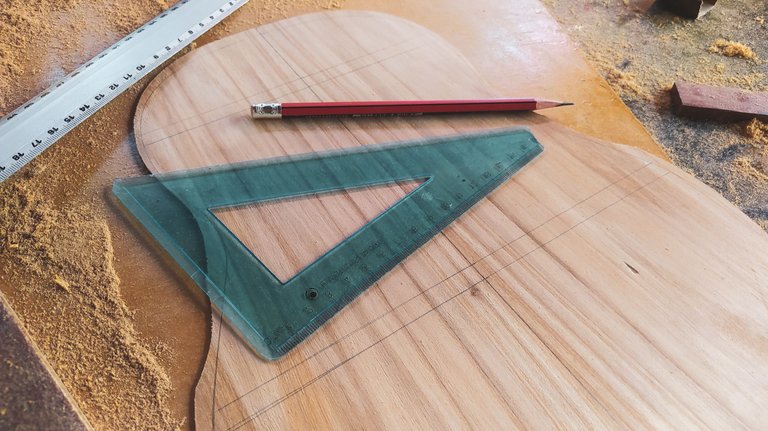
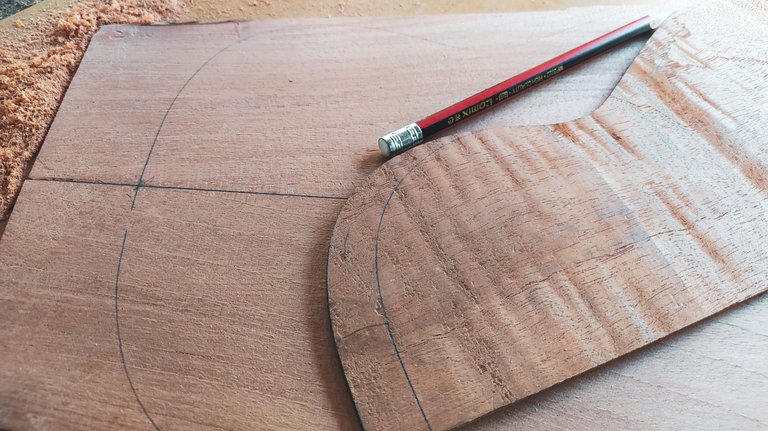
The last part of this step is to use the a pencil, ruler and template to get the whole layout of the back on the piece, i.e, the center line, the curves and placement of the bars.
It's always amazing to get a glimpse of the grain of the wood once we have removed all the marks!
Sound board
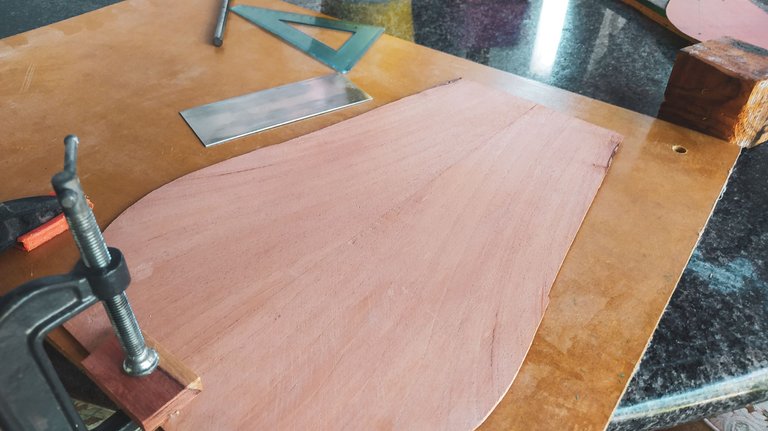
For the sound board, we need to repeat part of the same process we had just done. Of course, this takes several hours and sharpening of the card scraper. It evens takes some time to let the tool cool down. As it is metal, it gets very hot with friction. Using gloves is advisable.
Once we have removed any uneven spots from the piece, we just need to choose the side that will be visible. Then, we make the marks on the other side. We star with the center line; then, the curves and everything else. Here we have not only bars, but the display of the sound hole.
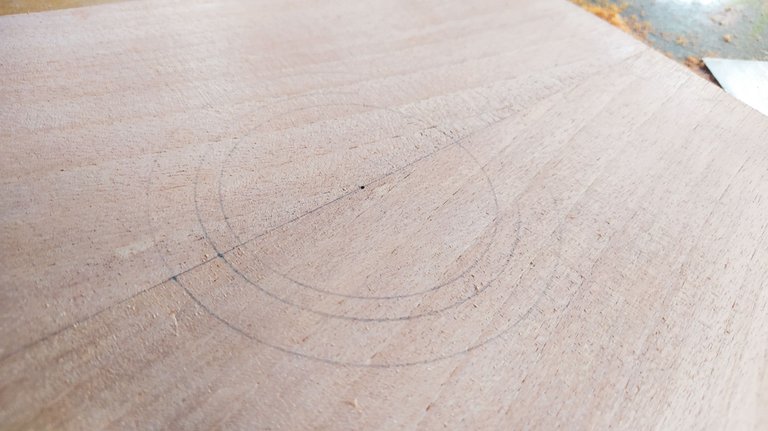
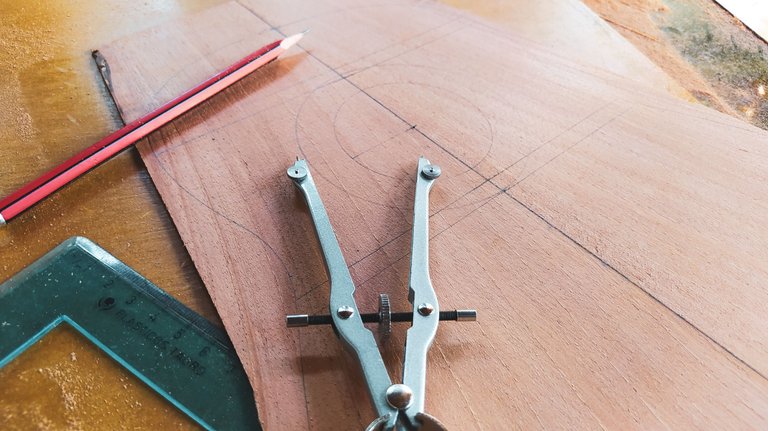
In this project, I'm going to try to install a rosette for the second time in one of my instrument. It's not going to be something fancy, but it will give it a more aesthetic look to the whole project. For that, we need to mark the sound whole of both sides with a compass. It is easy, once we have marked one side, we just need to punch a hole through the wood with the sharp tip of the compass to keep the center of both circumferences aligned.
And thus, we have made our marks to keep working on these pieces.
That's been all for now. Stay tuned to see how this project unfolds bit a but by. Thanks for reading!

Fotos/Photos 📷: taken by me (Redmi Note 8)
Portada/Thumbnail 🖼️: by me, created with Canva.
Edición/Editing 🎬: by me, made with Adobe Photoshop Lightroom.


Follow me on Instagram for enquires and commission.
If you'd like to help the workshop grow, you can make a donation here. You can find me at discord as bertrayo#1763
