As I'm trying to organize the content in the blog, I've decided Wednesdays will be about my woodworking feats (like I'm building houses or so). Here's the first instalment. We are keeping up with the previous six projects. These time we are going to take a look at the prixessyof making 4 necks thay we were missing for these instruments.

Doing the math
I tend to stumble into some problems with the instruments from time to time. In this case, I wasn't sure if the wood would be enough to make 4 necks. So I had to get creative with the stuff I had at my disposal.
I decided to make the heels in a different way to save some time in carving and strengthen the union between body and neck. In order to do this, I had to use one of the pieces for the necks. I used the one that had some problems cut it into 8 cm long blocks and had enough to make the rest of the heels.
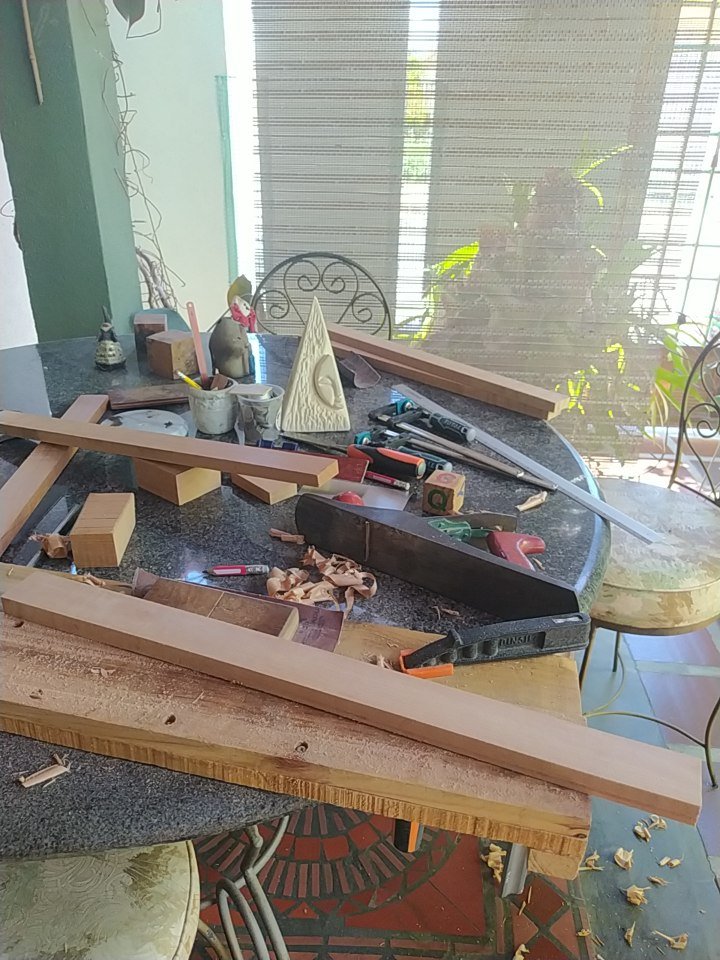
Let's get to it.
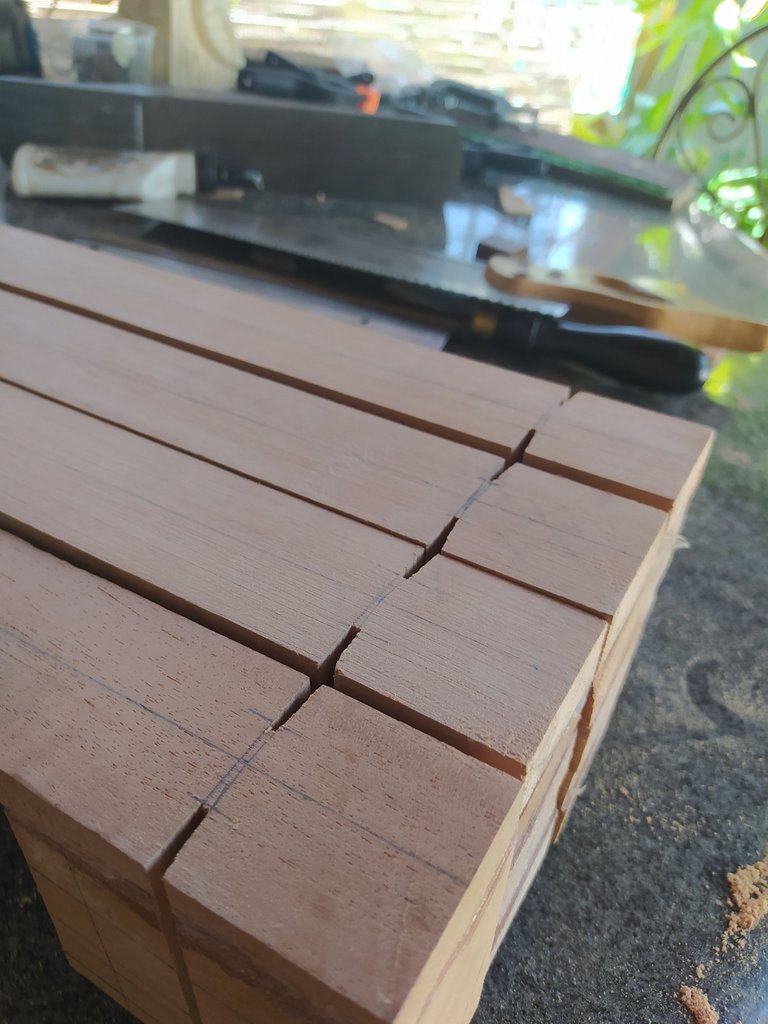
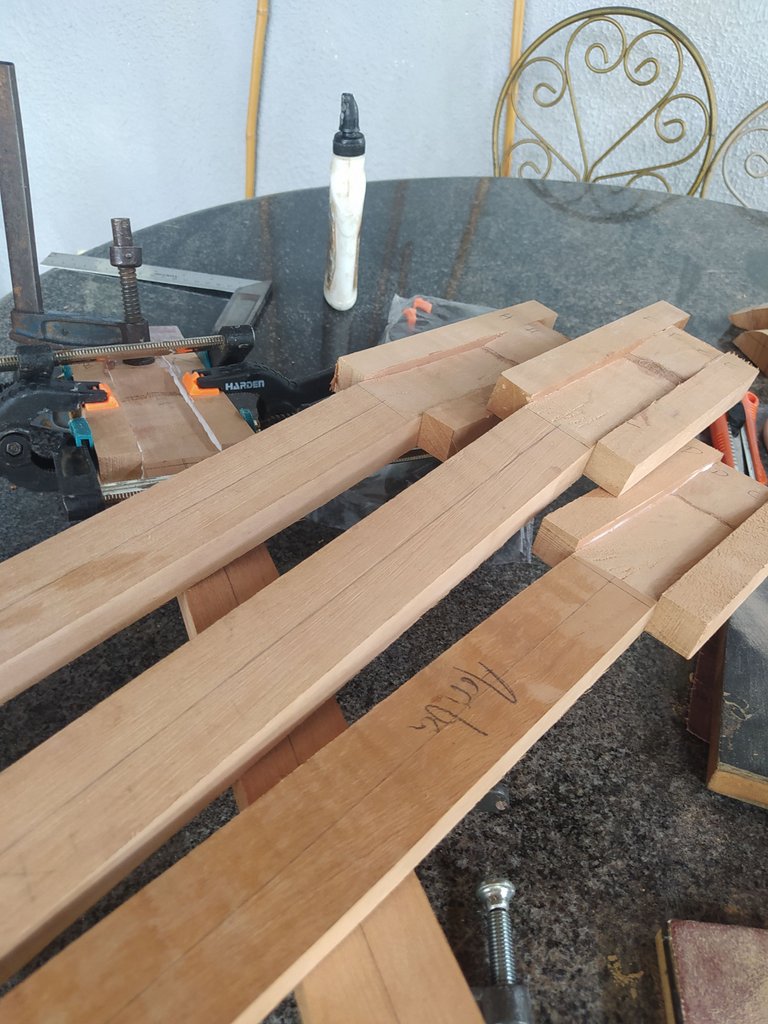
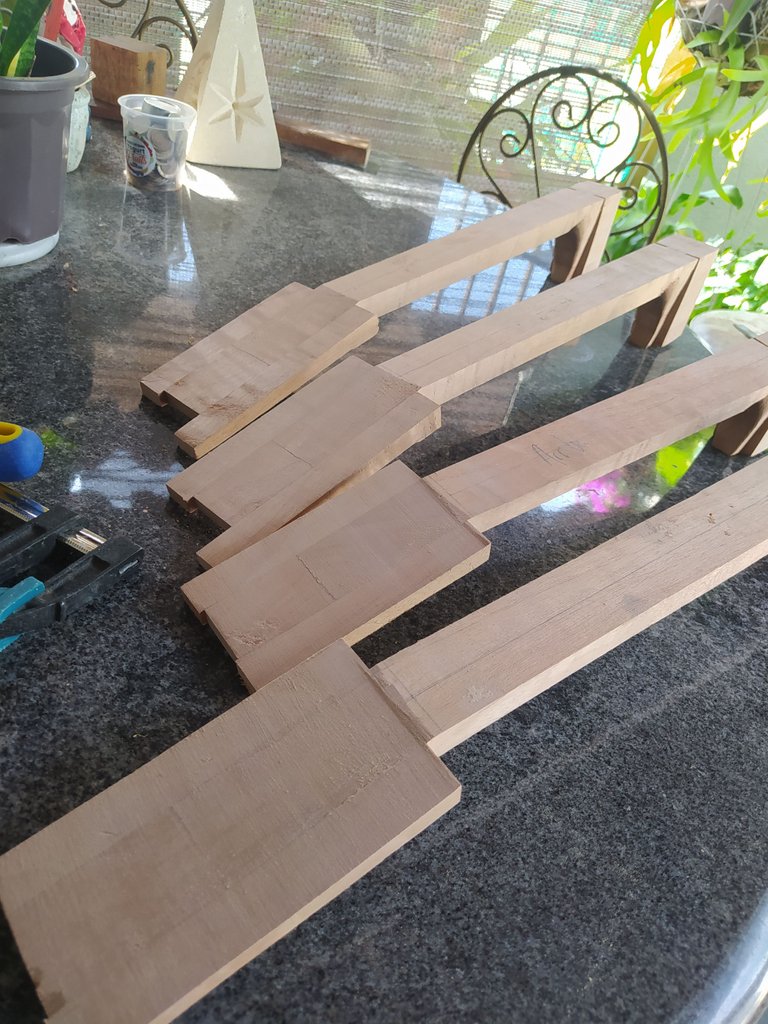
After doing some light planing to flatten the surfaces, we start with the markings on the pieces. We need to center line to get an idea of how much to cut for the head stock and where the union with body will be placed.
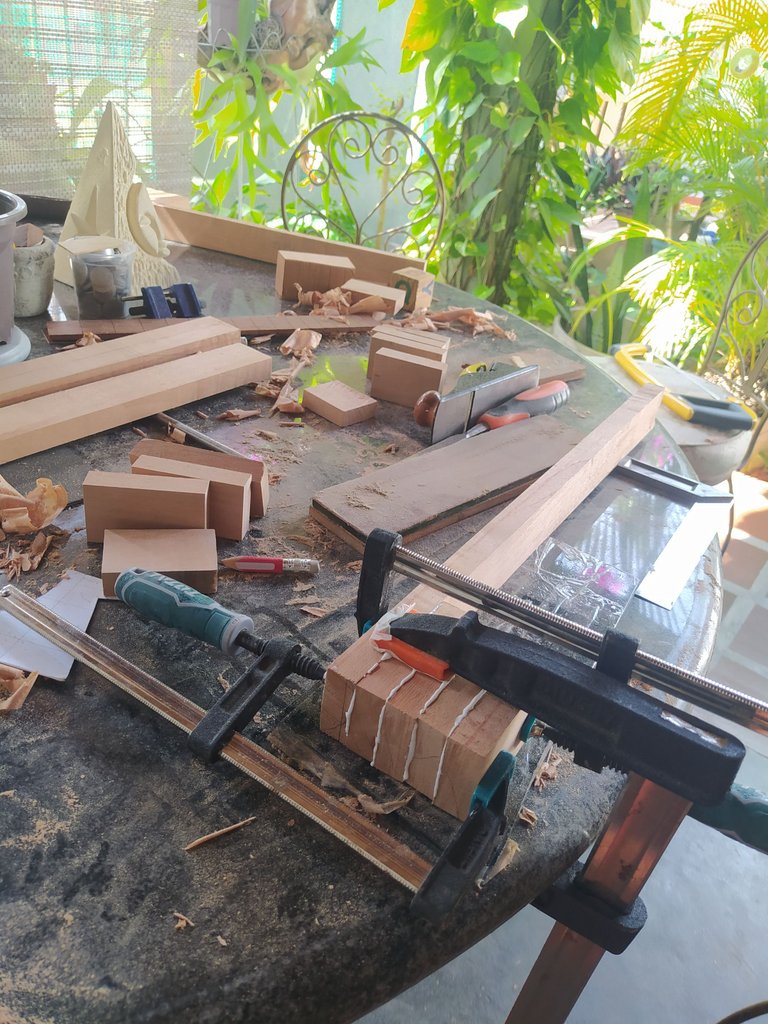

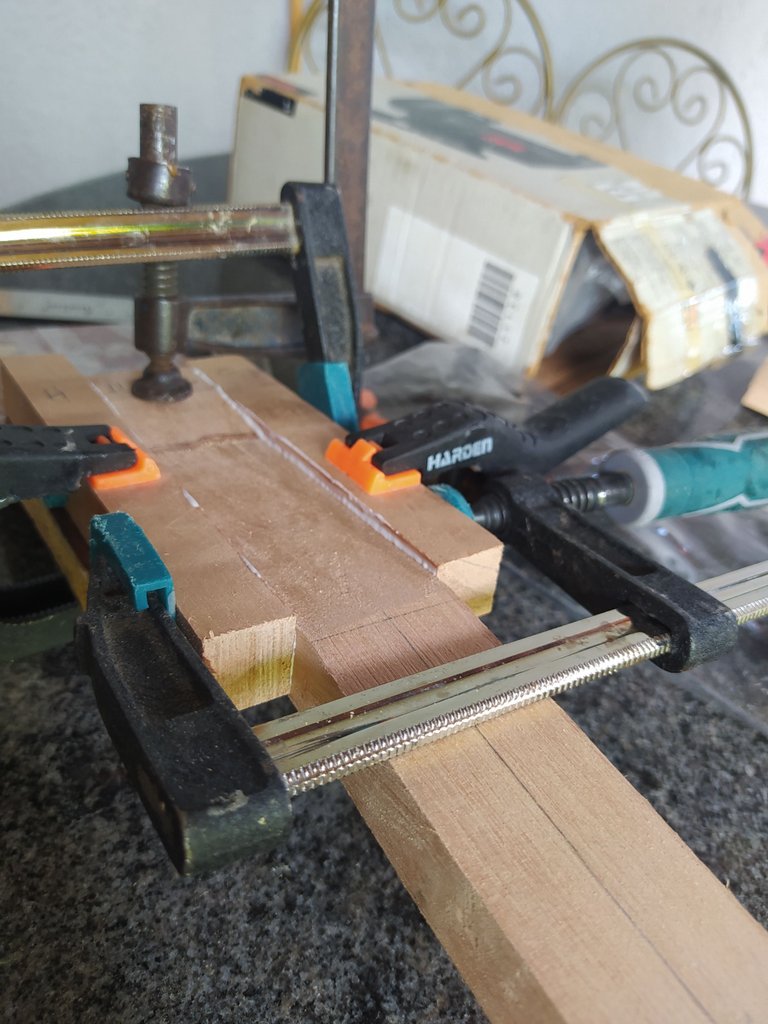
Once we have all the marks in place we started to glue to glue the heels one at a time. The main problem here is keeping the pieces in place and aligned, but since all have more or less the same measures, we use the clamps and they heights as references to get this done.
Cutting
Now, to cut the head stocks we have a measure to the too end of the neck. 9cm after saving room for the nut. Then we add another 3cm to the top. At one side we make a diagonal line from too to bottom on the 9cm marks. This gives us the angle. It should be between 12 - 14 degrees. This is enough to keep the aesthetics and have a good inclination for the strings going into the tuning machines.
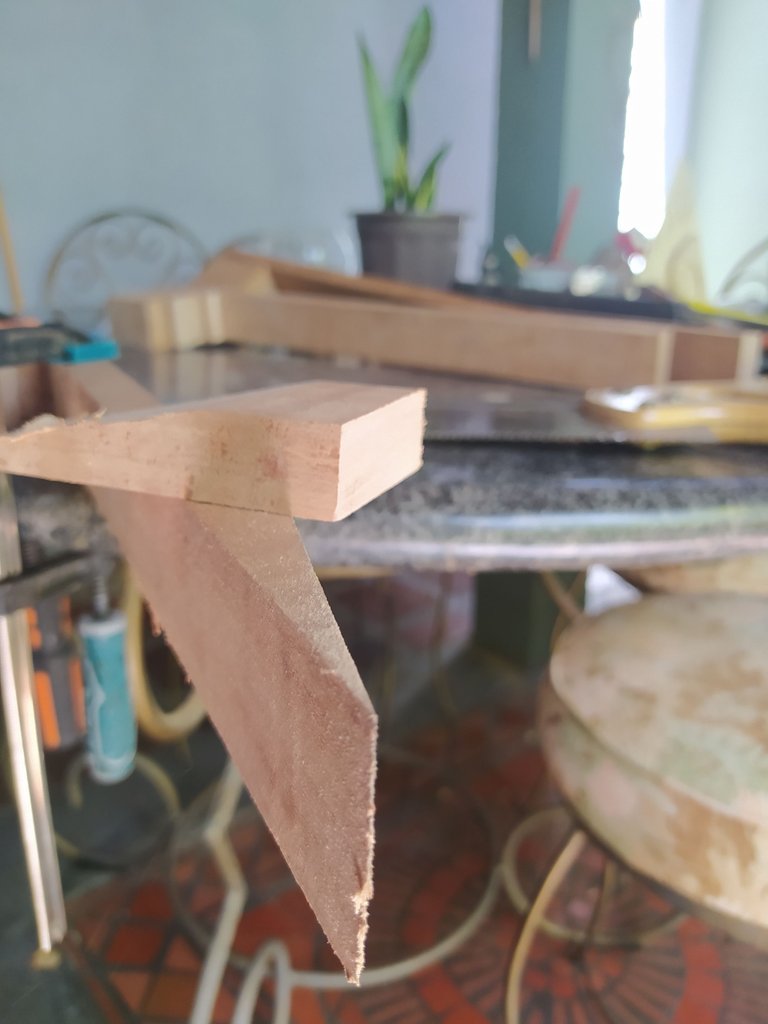
Then, after cutting these wedges, we sand then to make them flat and glue them to the back side of the neck. And we have the first part of the headstock structure.
Sides slots
Once the head stock got started, we can go ahead and make the other cut on the other end. The side slot. Since I build with the Spanish method, I make these slots that divide the heel in two parts, one is visible on the outside; the other, through the sound hole.
I didn't take pictures during this process since it's really easy to screw up if you lose your focus. And there isn't a re-do button for woodworking. But I'n glad to say, these slots look pretty darn fine!
Conic shape
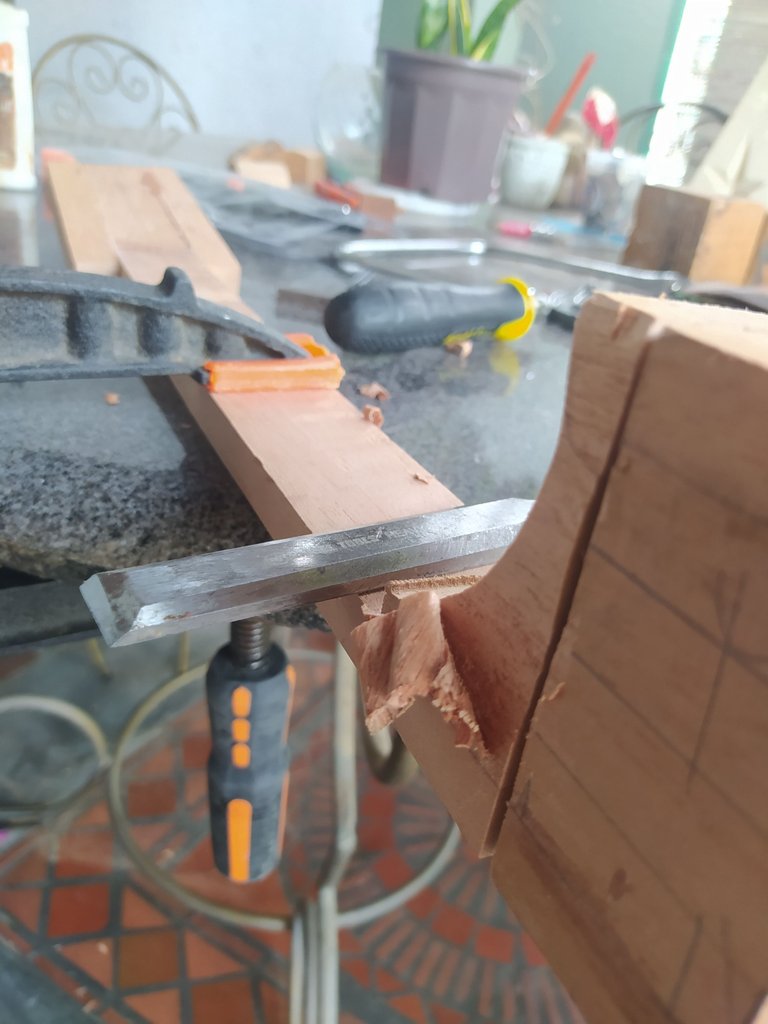
We go ahead and make the marks for the differences in width from too to bottom. The nut mark had 3.8cm and the thickest point at the end had 4.5cm. We will keep the latter measure, but to thin the upper part we will use a wood planer and some lines to make sure we don't remove too much material.
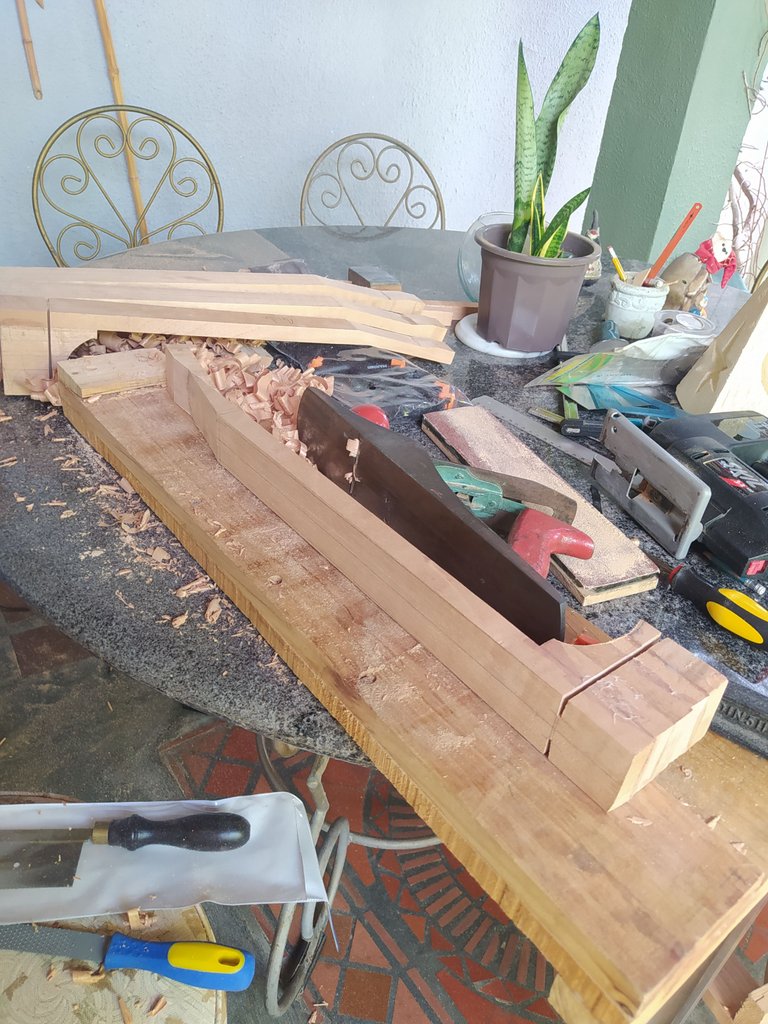
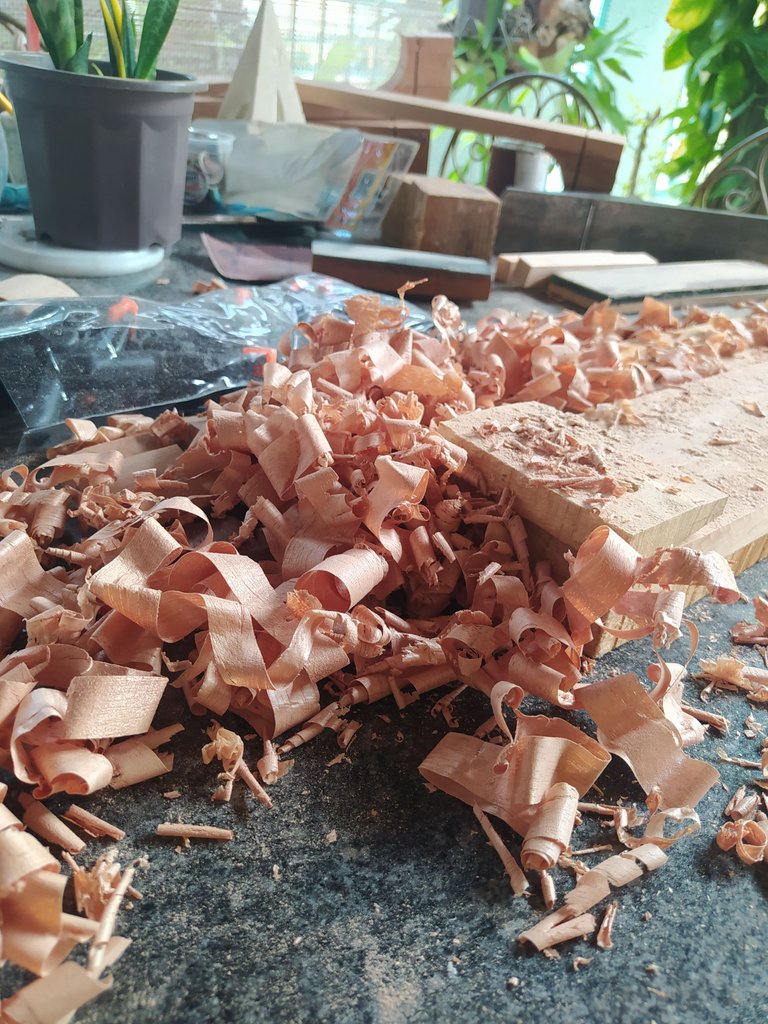
We have to make sure the blade is really shart to prevent any tear on the wood. And with some patience and steady strokes, we can have our conic shapes in no time. Then, we use sandpaper to flatten the sides of the head stocks.
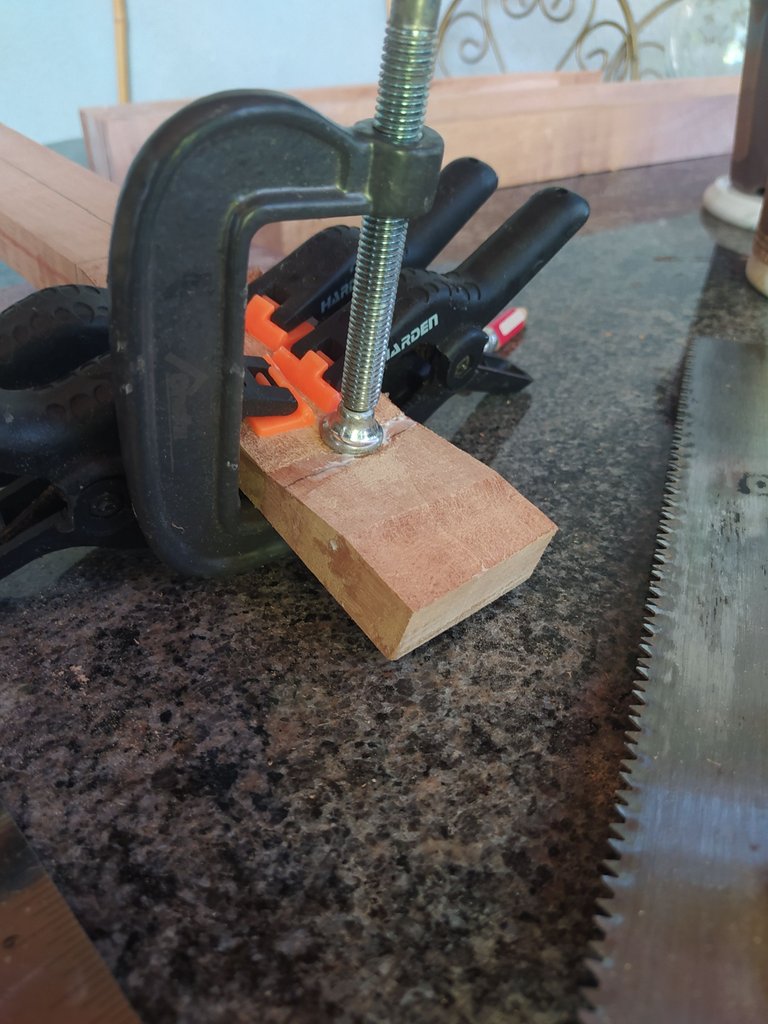
Completing the head stocks
We are missing some wood blocks to the sides to complete this part. We cut them to shale and glue them in place. There's no need to be precise in this part. The only seamless part we need is where these pieces join.
After these are glued, we use our trusty plane to remove the excess material and sandpaper to flatten the whole surface. And just like that, this part is ready for it's ornaments!
Carving the heel
This is the toughest part of the neck. Shapes vary from one luthier to another. It's part of the style and aestetics. The idea is to keep your shape more or less the same. I say this because I stills haven't defined how my heels will look. So, I just go ahead and do one style and see if I like it. In this occasion, I liked how I carved these.
I did the carving in a straight pattern. I fling it's easier that the curve I always tried to do and never got quite right. As for the height, these ones are a bit shorter than the others I have made. I also like this. A lower heel is better to reach those hight positions on the fretboard as this instruments won't have a cutaway in the body.
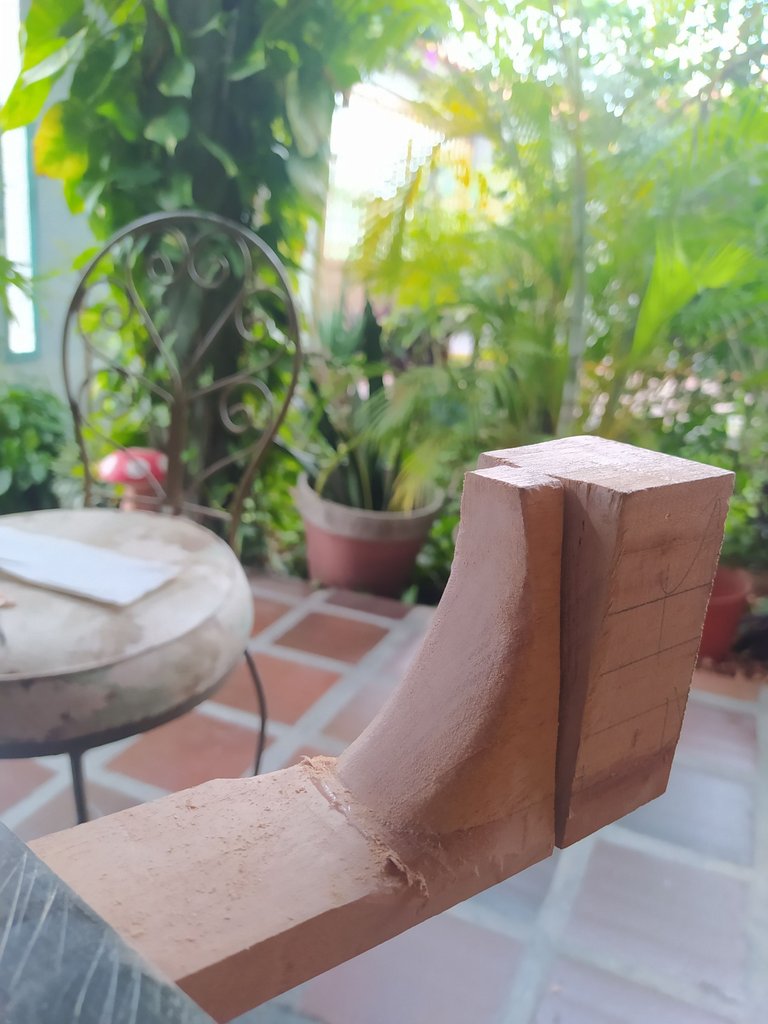
After some sanding and scraping we have a pretty good shape on these heels.
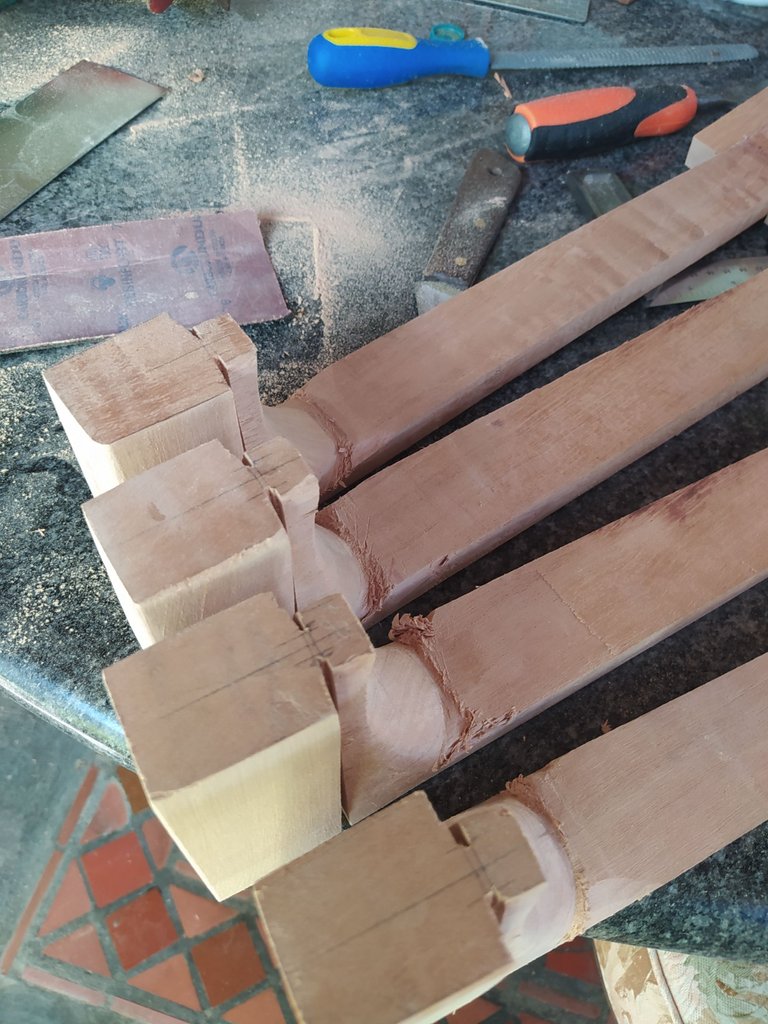
After all these steps, we have 4 necks ready for ornaments and can start putting some of these instruments together. Be ready for the next entry when the assembly process will begin!
Follow me on Instagram for enquires and commission.
If you'd like to help the workshop grow, you can make a donation here. You can find me at discord as bertrayo#1763