Before we headed camping the other weekend @mrsbozz told me to pull something special out of the freezer to grill for the 4th of July. My first instinct was to grab the partial pork shoulder I had frozen in there. Unfortunately, we were returning from camping on the 4th, so I knew I wouldn't have the proper time to smoke the pork shoulder.
Instead, I opted to go with a half rack of baby back ribs that I had vacuum sealed a while ago. I've found a pretty good process for smoking ribs that gives me some really consistent results on my Weber Kettle grill.
Although the ribs are a quicker cook, time was still pretty tight, so I didn't pay as close attention to my grill temp as I normally do. In fact, I probably cooked them a little hot and actually over-cooked them, but they still tasted great!
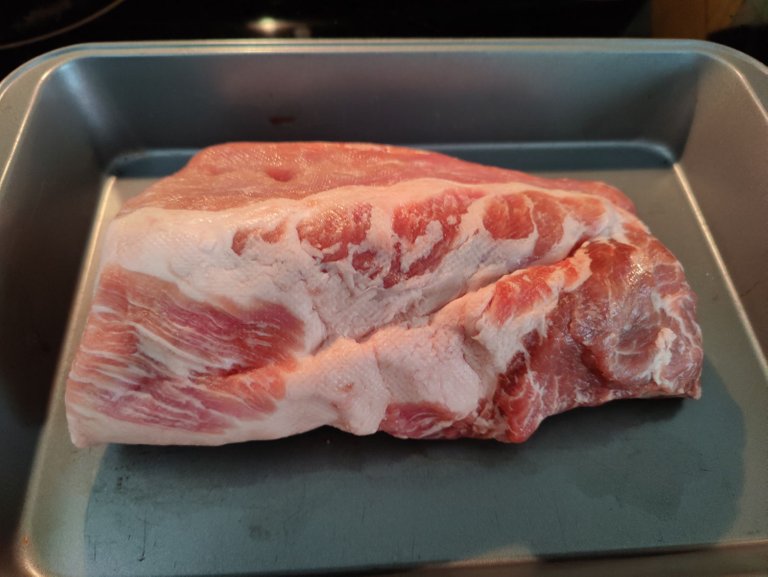
It all starts with a great cut of meat. I really love baby back ribs because they have so much meat on them. Don't get me wrong, spare ribs are great too, but there is just something about baby backs. This half a rack actually had a bit more fat on it than I am used to. You can see the intense marbling on the left hand side there.
That grilling process I was talking about above is the 3-2-1 or 2-2-1 method. Basically you cook them on low heat 180 to 230 degrees (F) for the first three (or two) hours. Then you wrap them in foil and cook them for another two hours. Finally, you unwrap them and return them to the grill cooking for the final hour and adding your favorite sauce or baste to them.
As I said, I was a bit too busy to religiously watch my grill, so it actually ran a little closer to the 250 to 300 degree (F) mark.
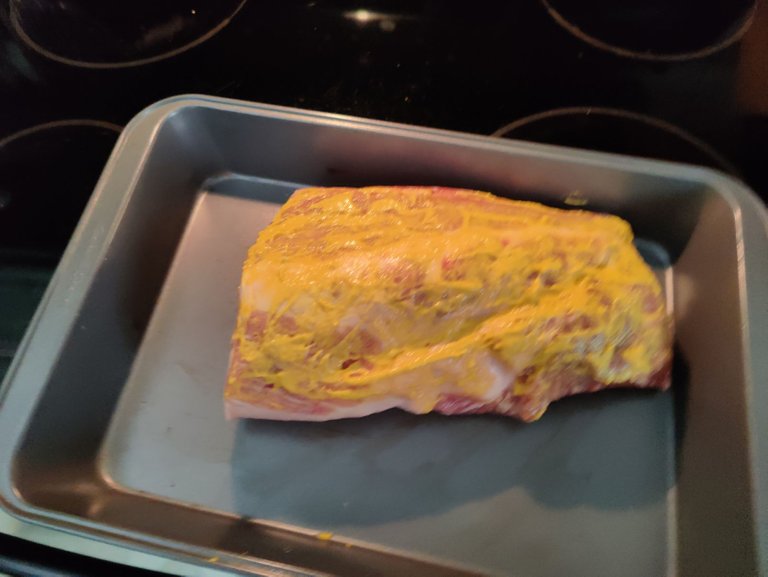
Sorry for the blurry photo. This is actually the second time I have tried putting down a mustard base before I add my rub and I am a total convert. The mustard flavor basically disappears as you smoke the ribs, so if you aren't a mustard fan don't worry.
The key benefit is it gives the rub something to stick to allowing you to get that tasty bark that everyone really loves on good BBQ.
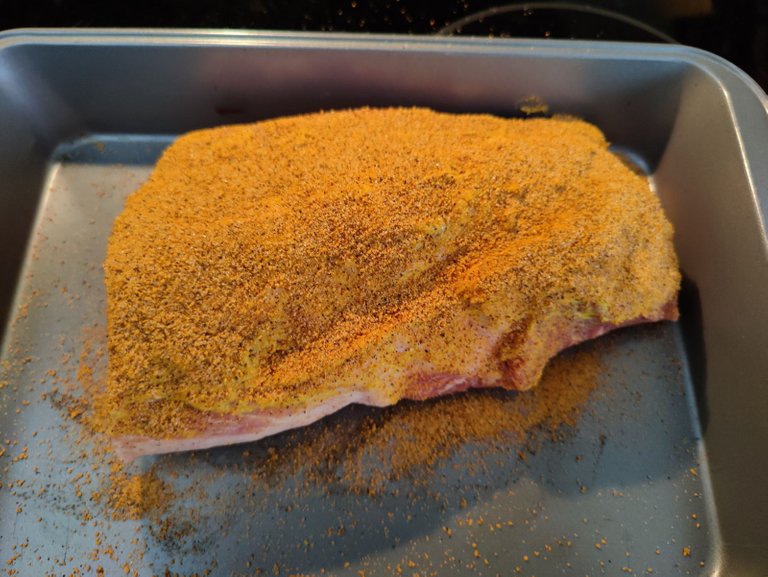
As you can see, that rub ain't going no where. Looks pretty good so far right? Almost good enough to eat right now if you weren't worried about little things like food borne illness and stuff like that.
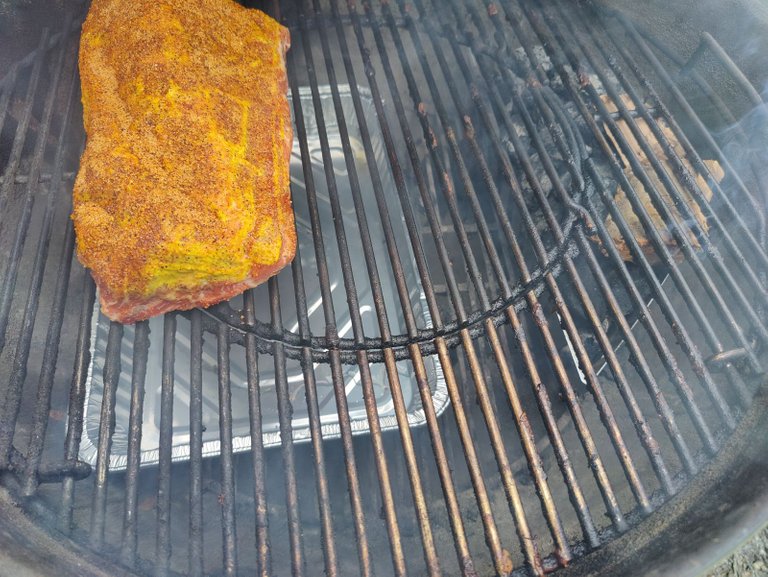
I like adding a water pan under the meat to help add some moisture to the cook. It also catches the fat drippings so they have less chance to touch the coals and cause flare ups. Some people put different liquids in their drip pan like apple cider or apple juice. I just used water for this cook.
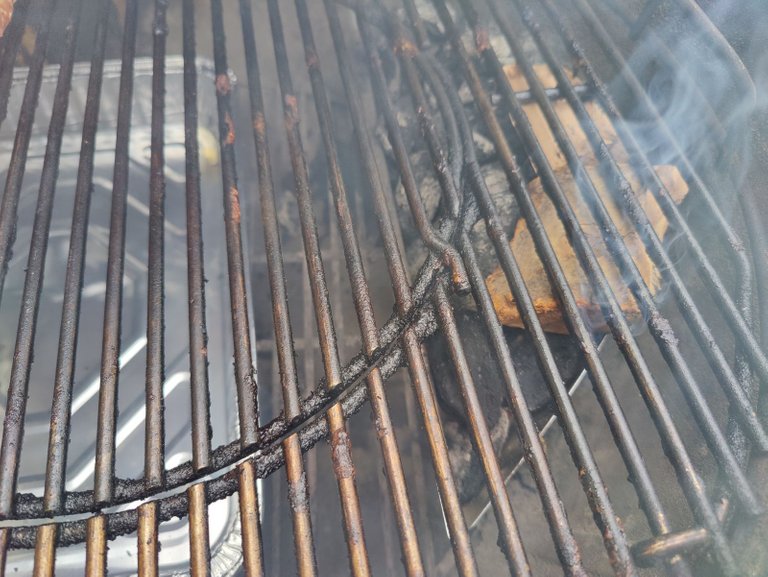
There are lots of woods that compliment pork really well. My favorite is apple, so I threw a couple chunks of apple wood onto to coals. If you look really closely, you can see the coals just starting to catch in the bottom center of the photo. The coals at the back of the basket aren't actually going yet, they just look like it because I was reusing them from a previous grilling session.
Reusing coals is something that I started doing within the past year and I really finds it allows me to get a lot more bang for my buck when it comes to charcoal. As much as I want to believe Kingsford is harvesting their charcoal in a responsible way, any little thing I can do to reduce my consumption is probably a good thing.
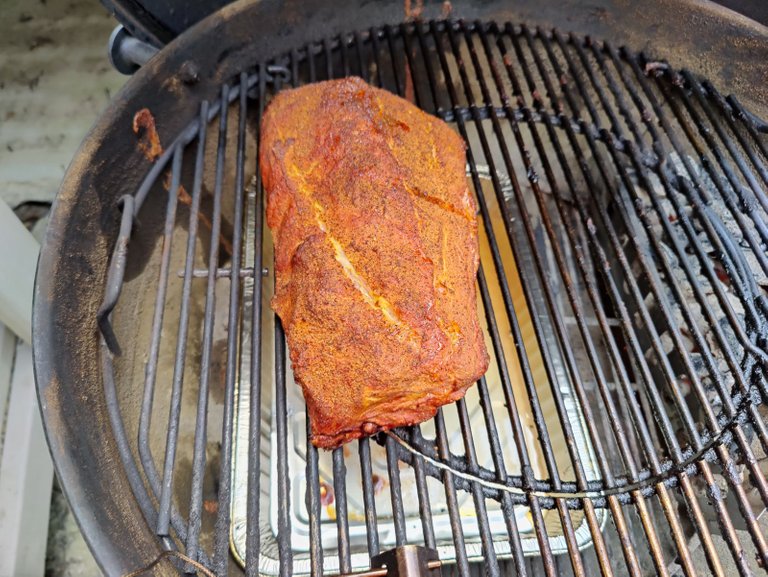
Here are the ribs after the initial two hours of smoking. You can kind of see by now that my wood chunks are gone which is fine because not much smoke will penetrate the foil when I wrap them anyway. The fat is also starting to break down on the top of the ribs and the rub is forming a really nice bark.
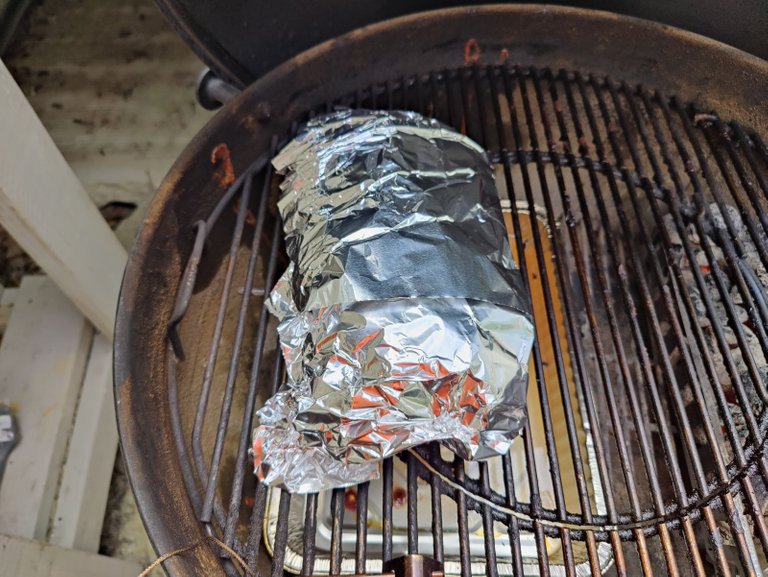
Most online sources will tell you to double wrap the ribs in foil. I chose to single wrap them simply because I didn't want to waste a ton of aluminum foil. I will leave it up to you to decide which way to go.
For this cook, I only used my thermometer probe that tells me the temperature of the grill. If I were doing something like a pork shoulder, I would also be using the probe that you insert directly into the meat. It's just to hard to get the probe between the bones without touching a bone for baby back ribs.
Call me lazy...
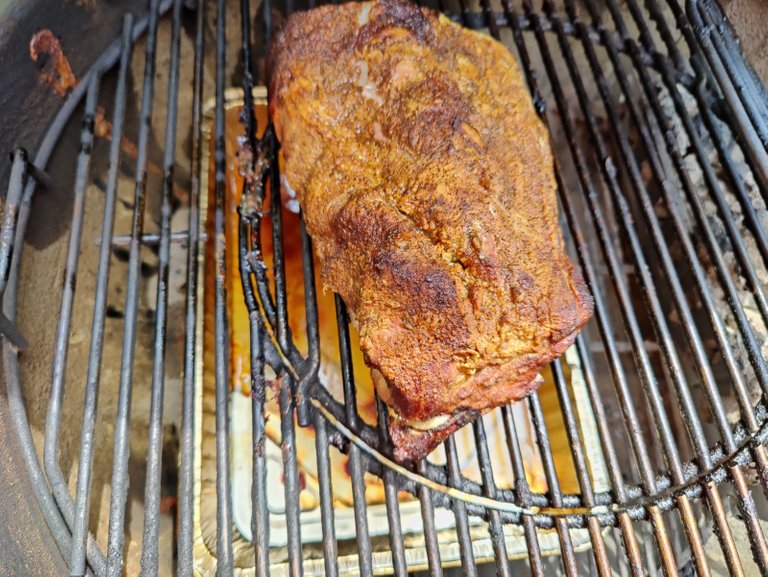
As you can see after pulling the foil off, we have lost a lot more of the fat into the bottom pan. That is probably on account of me only single wrapping them. You would think you wouldn't lose much fat if they are wrapped right? I also think some of that fat was there before, but it just had more time to cook while the ribs were wrapped, so it turned a darker color.
The bark softens up a little when you wrap them in foil and that is the reason that some people choose not to wrap their meat when they are smoking it. There is a fine line between creating the perfect bark and smoking the ribs in a reasonable amount of time. It's really up to you to decide which way you want to go.
You don't necessarily need to wrap the ribs in foil, but it will extend your cooking time quite a bit. The foil just helps the ribs cook quicker after you have imparted the appropriate amount of smoke flavor.
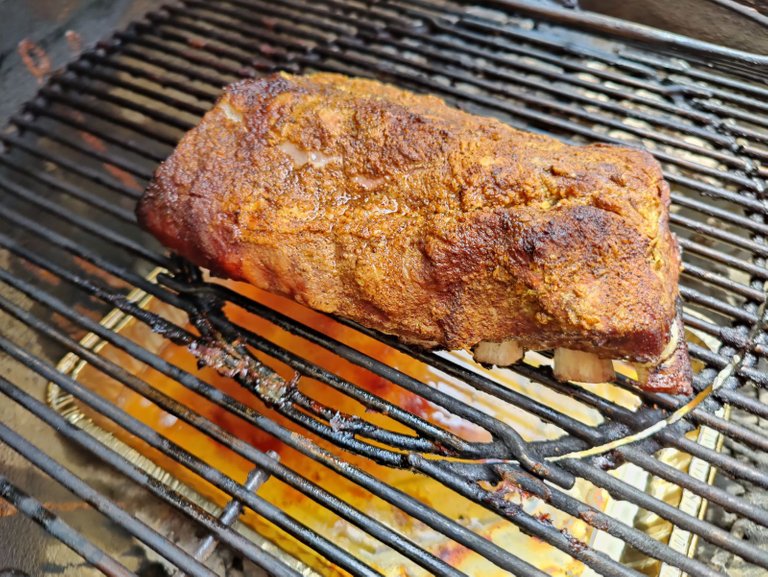
This is a great shot of how the meat has started to pull away and expose the bone. That is exactly what you want.
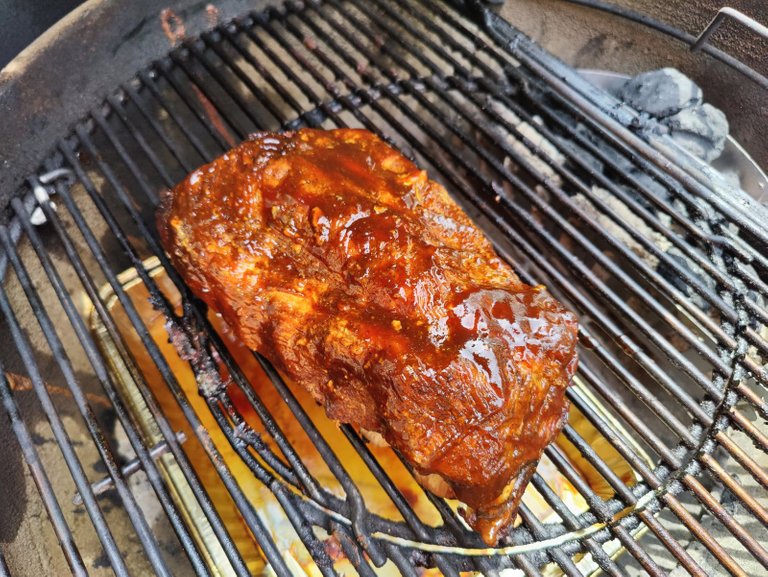
The photo at the top of this post is after the first application of BBQ sauce. I added three coats of BBQ sauce in the last hour of the cook at twenty minute intervals.
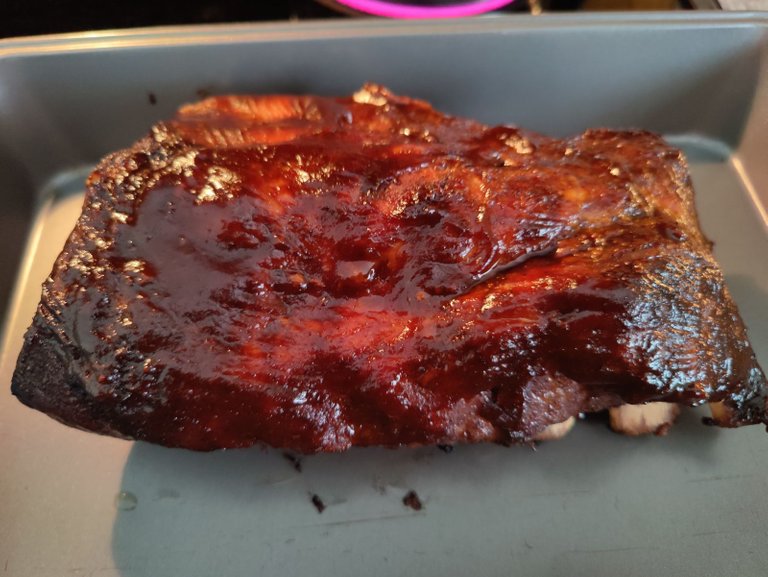
Here we have the finished product. I would have liked to see the meat pull away from the bone a little more on the left hand side, but if you remember, that is the area where there was a lot of fat, so it likely would have taken a while for that to render off.
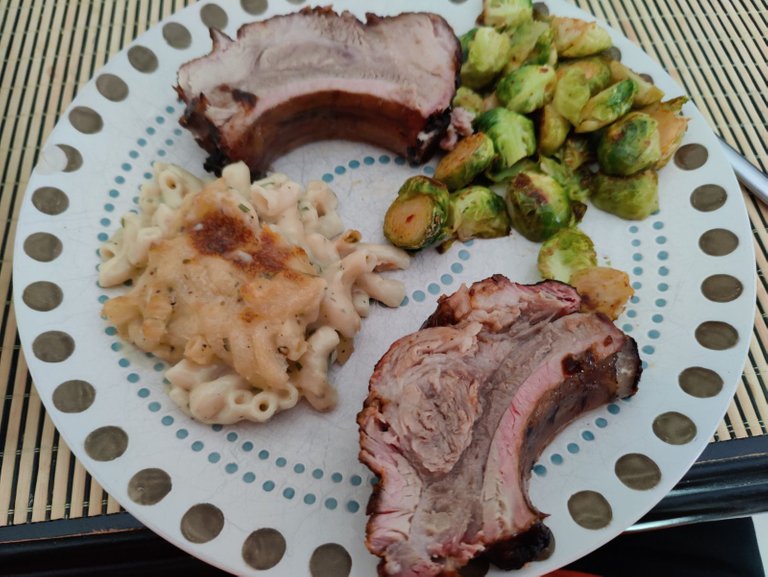
Here is a great shot of just how fatty this half rack of ribs was. I would have preferred a bit more meat versus fat in the ration, but they still turned out really great. Paired with some homemade mac and cheese and brussels sprouts, it was just about the perfect meal!
I'm thinking over the Labor Day weekend I might finally have the time to tackle that pork shoulder. You better believe I will be documenting that cook! It will likely look really similar to this one though, just a different cut of meat and a lot longer!
I hope you enjoyed this as much as I did!
Sports Talk Social - @bozz.sports
