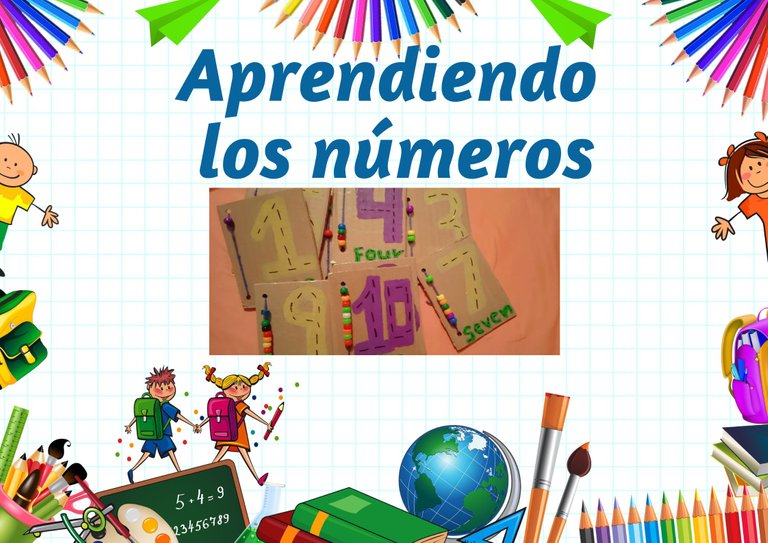
A greeting and a hug for all the moms and dads of this beautiful community #Motherhood, I feel happy today I bring you a mega idea to teach your children the numbers, they can count them, and also write them in English, do not miss it to see the step by step and you can enjoy and make the most of it.
The learning of children from an early age is essential for an excellent future, and making use of these ideas will help them in an easier way and I assure you that they will love it, I tell you that my daughter when I taught it to her she was very excited and enjoyed it a lot.
Un saludo y un abrazo para todos las mamis y papis de esta hermosa comunidad #Motherhood, me siento alegre el día de hoy les traigo una mega idea de enseñarle a tus hijos los números, que los puedan contar, así también escribirlos en inglés, no se lo pierda para que vean el paso a paso y lo puedan disfrutar y aprovechar al máximo.
El aprendizaje de los niños desde pequeños es fundamental para un excelente futuro, y hacer uso de estas ideas los ayudara de una forma más fácil y se los aseguro que les encantara, les cuento que mi hija cuando se lo enseñe se emocionó mucho y disfruto mucho.

WE BEGIN /COMENZAMOS
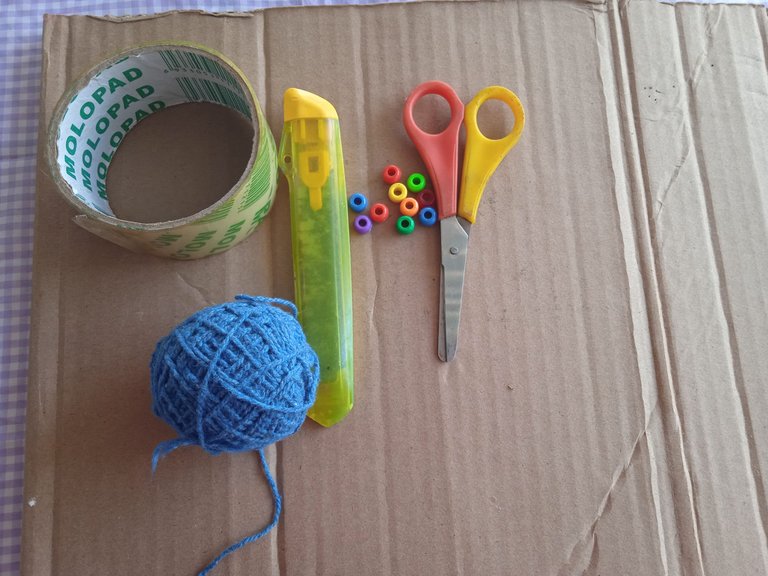
Materials:
Cardboard.
Blade cutter.
Tape.
Yarn yarn.
Scissors.
Colored balls, to taste.
Cold paints.
Pencil.
Punch.
Permanent marker and acrylic marker.
Carton.
Cortacuchilla.
Teipe.
Hilo estambre.
Tijera.
Peloticas de colores, al gusto.
Pinturas al frio.
Lápiz.
Sacabocado.
Marcador permanente y acrílico.

Paso 1:
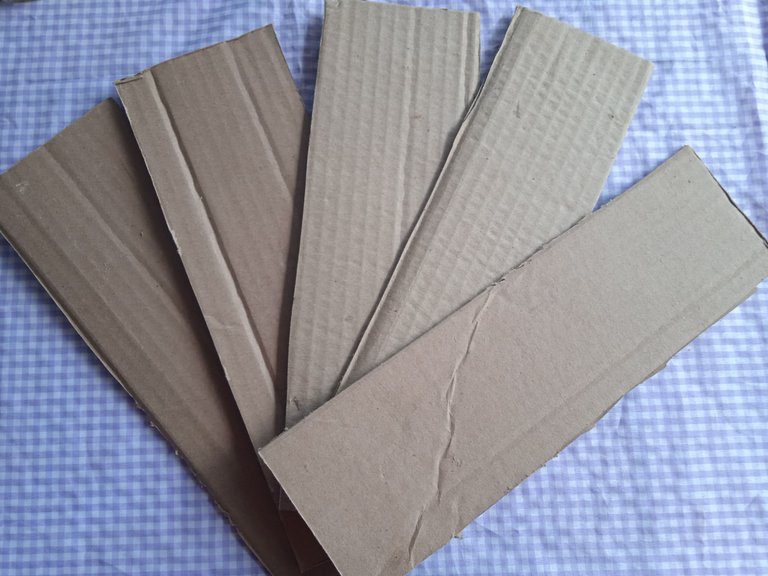
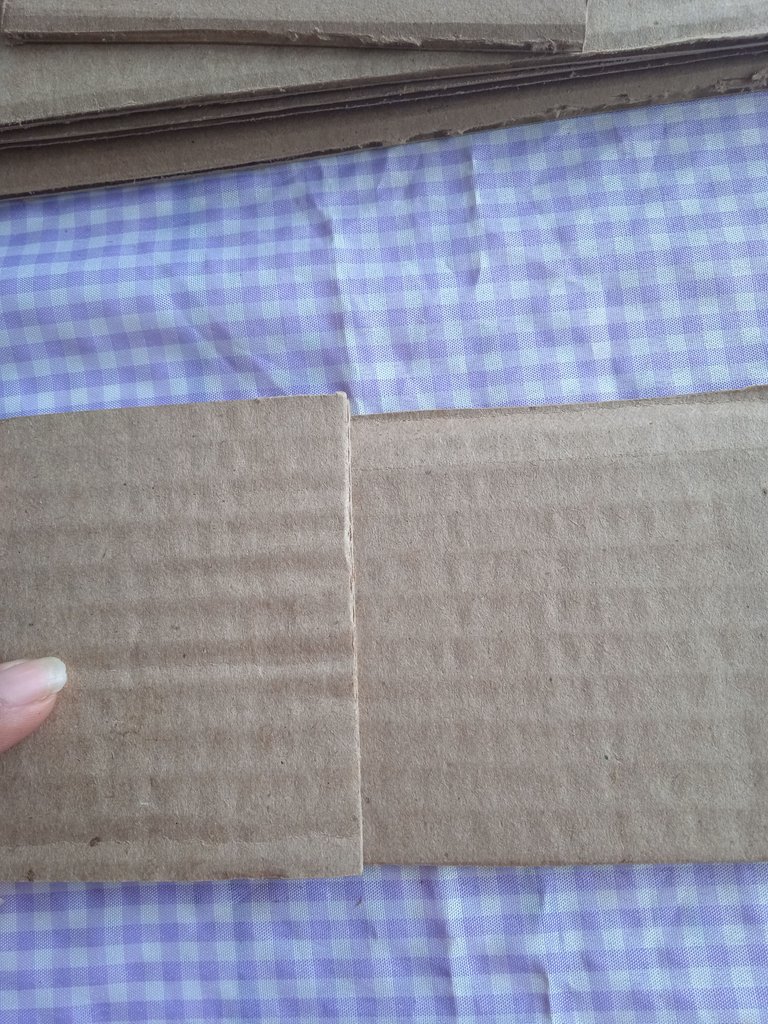
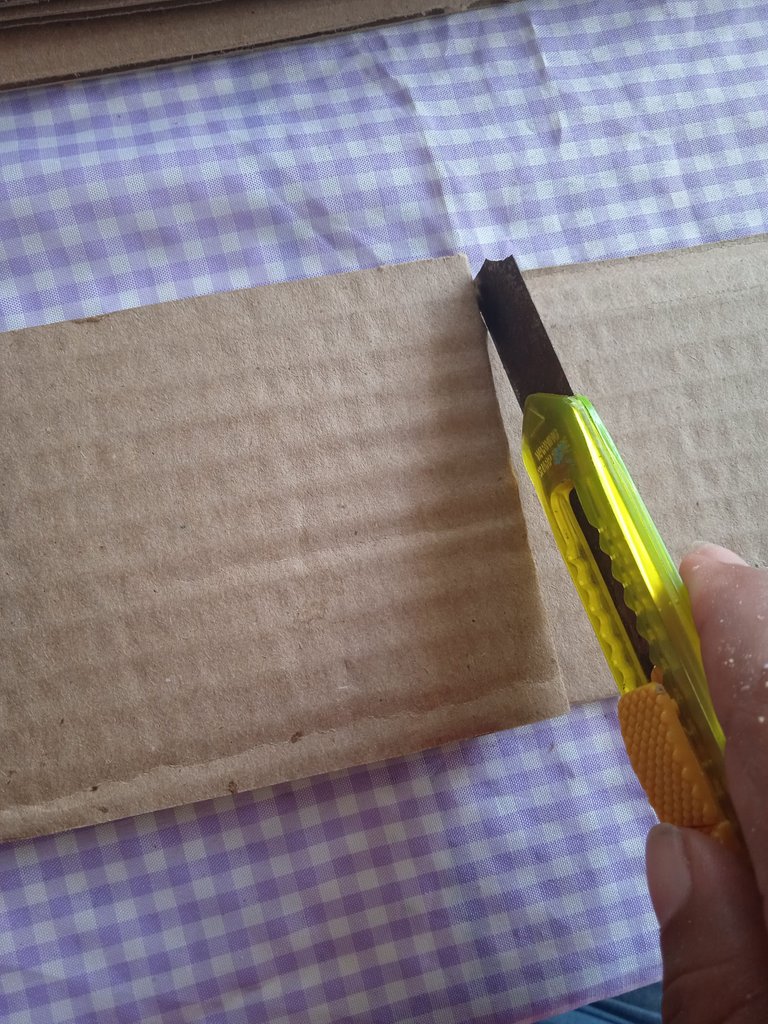
First, I cut the cardboard into four parts, as shown in the pictures, having strips of 5cm by 15cm long, then I cut them in half with the cutter.
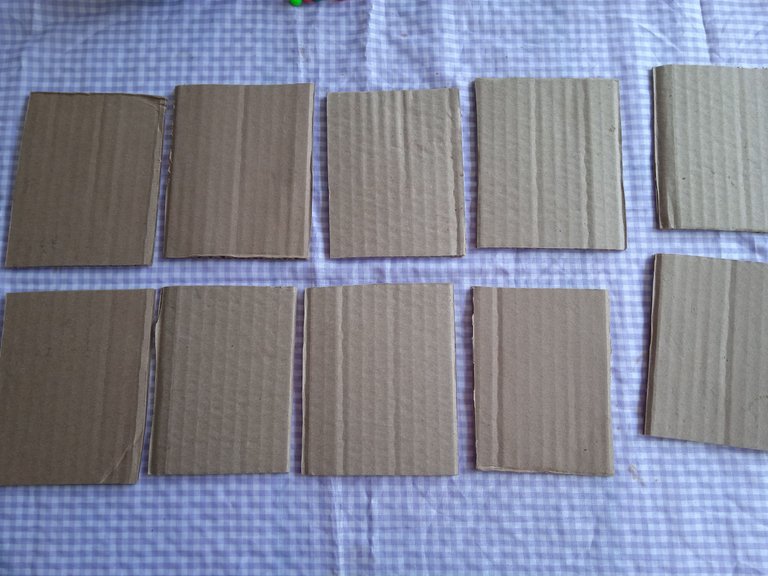
This shows the ten parts that I cut out.
En primer lugar, piqué el cartón en cuatro partes, así como se muestra en las imágenes al tener las tiras de 5cm por 15cm de largo, luego con el cortacuchilla recorte por la mitad.
Así se muestra las diez partes que saque.
Paso 2:
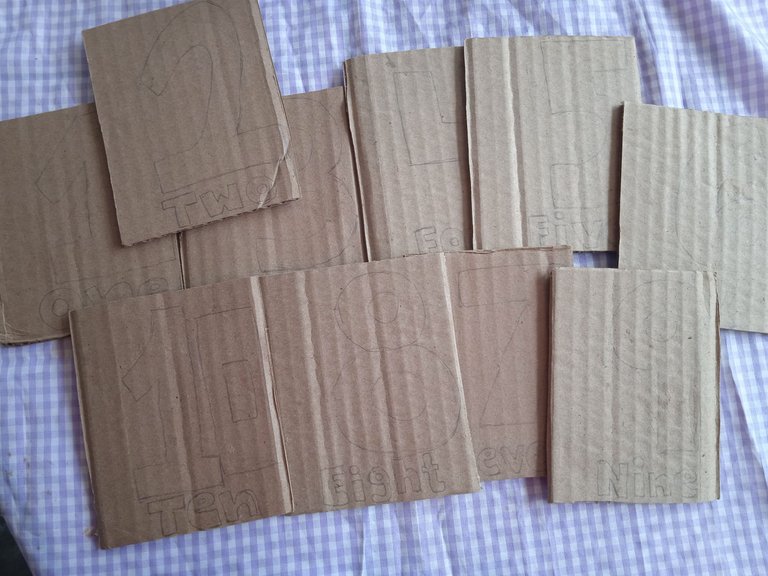
The second step was to write with the pencil each number from 1 to 10, and consequently, its name in English.
El Segundo paso que realice fue escribir con el lápiz cada número del 1 al 10, y por consiguiente, su nombre en inglés.
Paso 3:
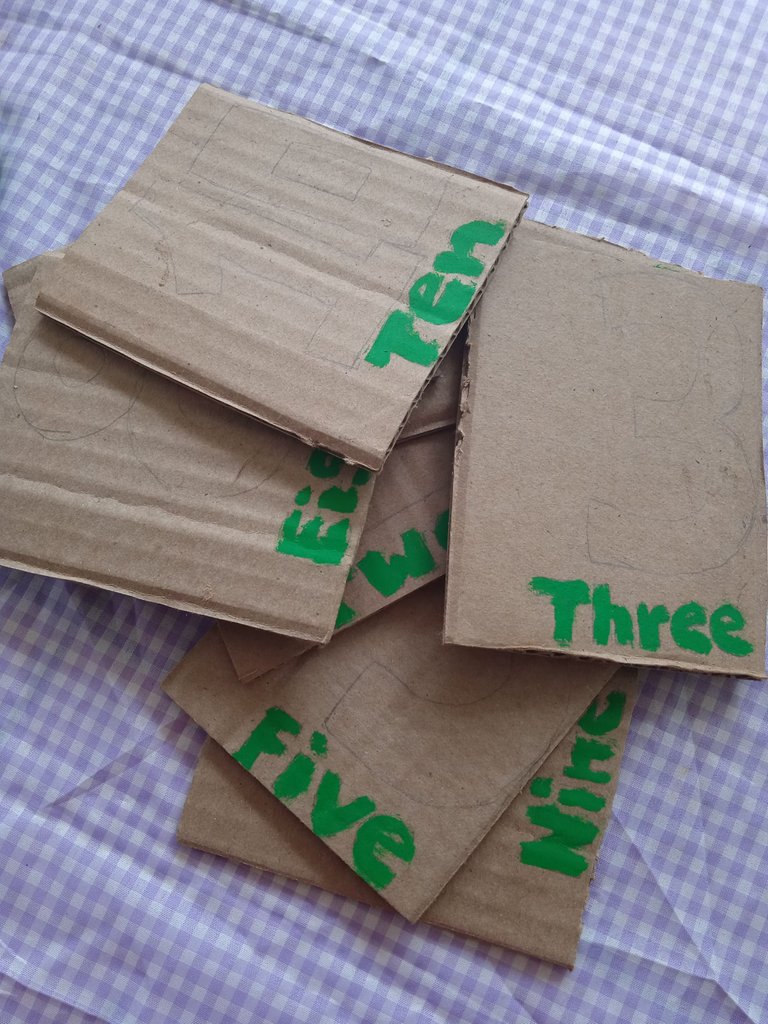
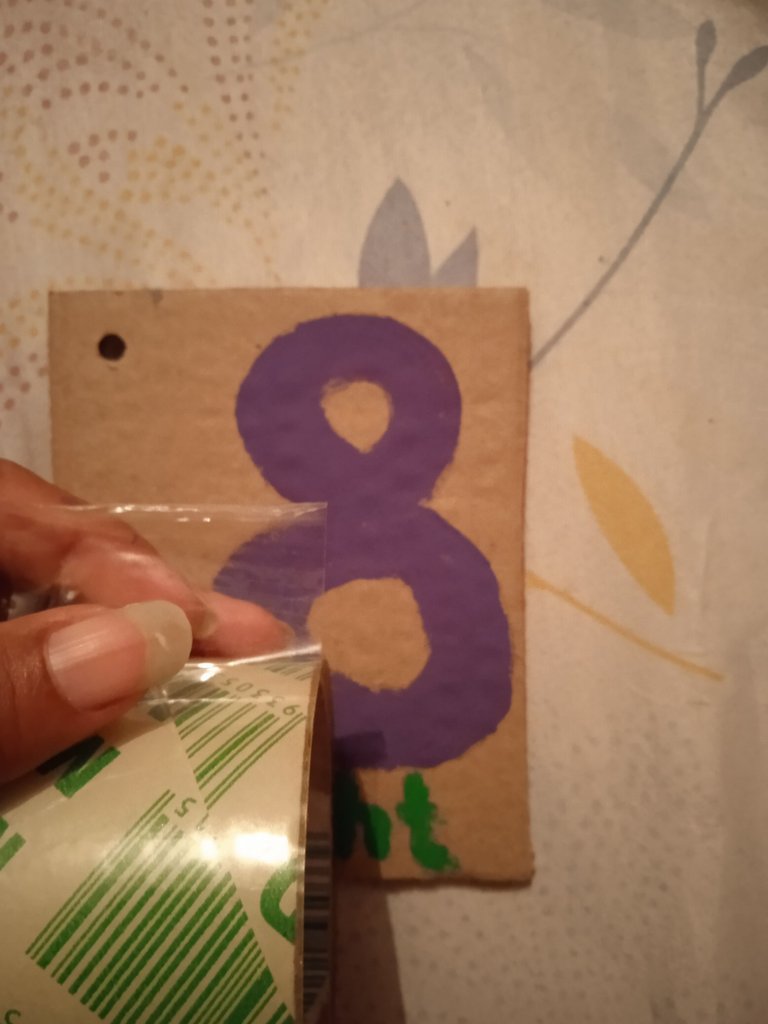
As a third step, with the green paint I drew the words of each number in English, as well as the numbers. I used two shades of color for the numbers, which were yellow and purple.
Como tercer paso, con la pintura verde dibuje las palabras de cada número en inglés, así como también los números use dos tonos de color para los números, los cuales fueron el amarrillo y el morado.
Paso 4:
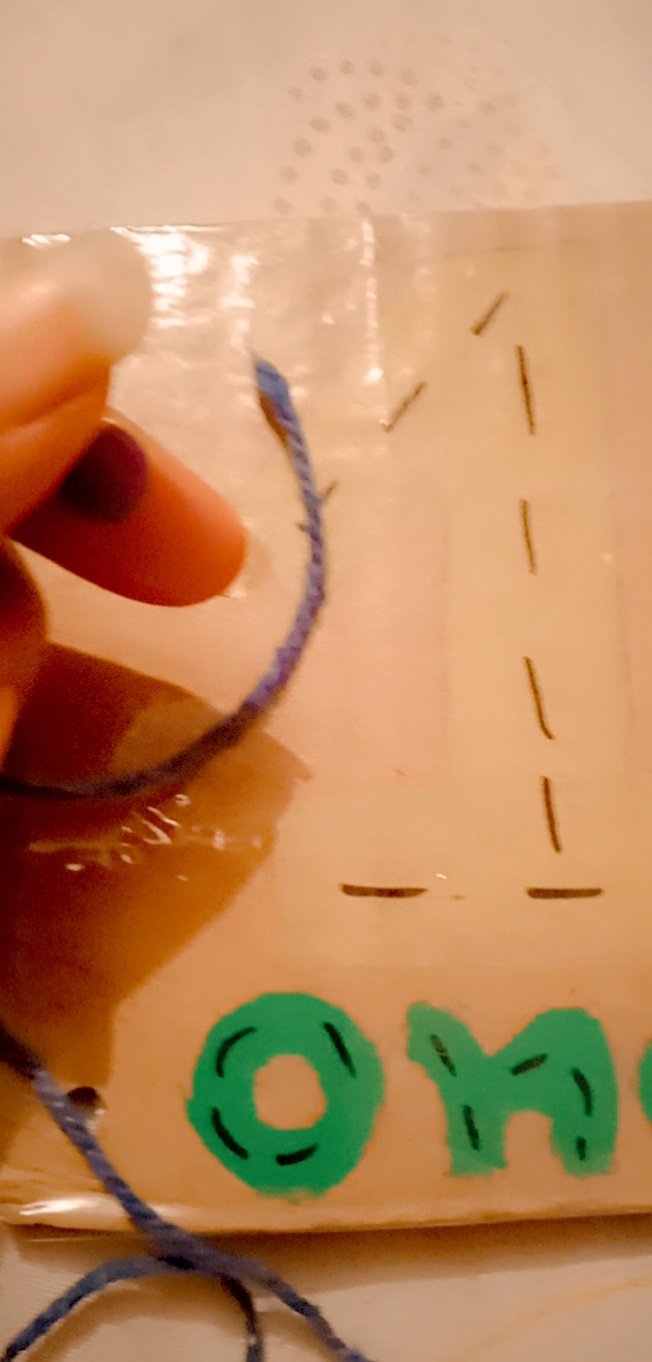
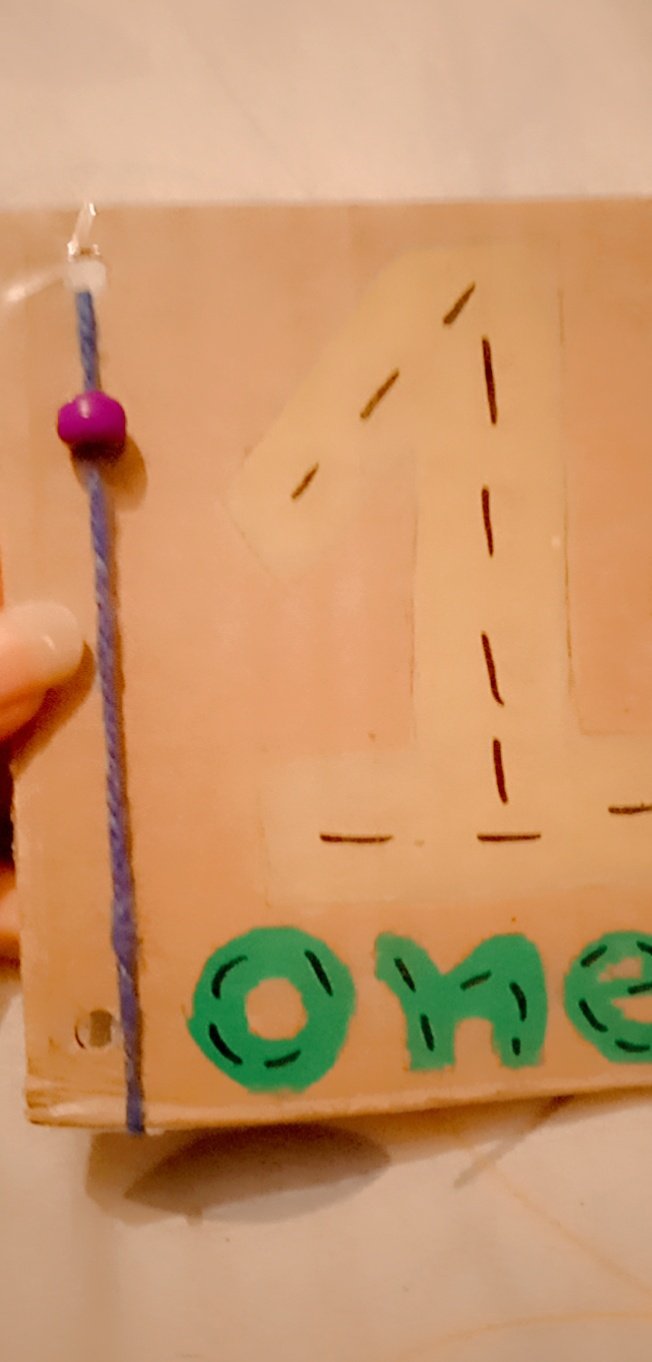
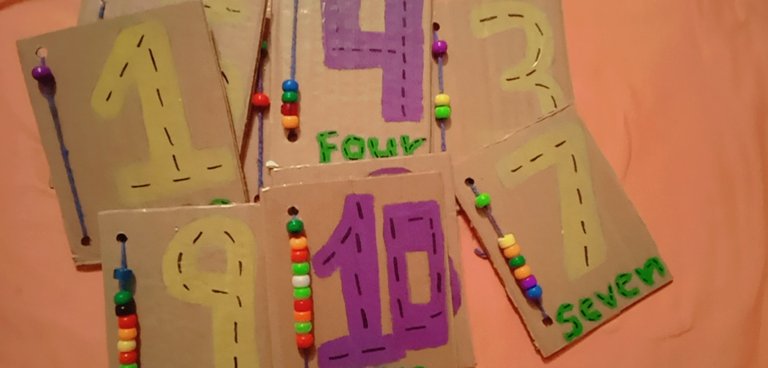
Finally, what I did was to mark with a black marker some small lines that will be as a guide for the child to be guided and manage to write the number, both in the number and in the name in English.
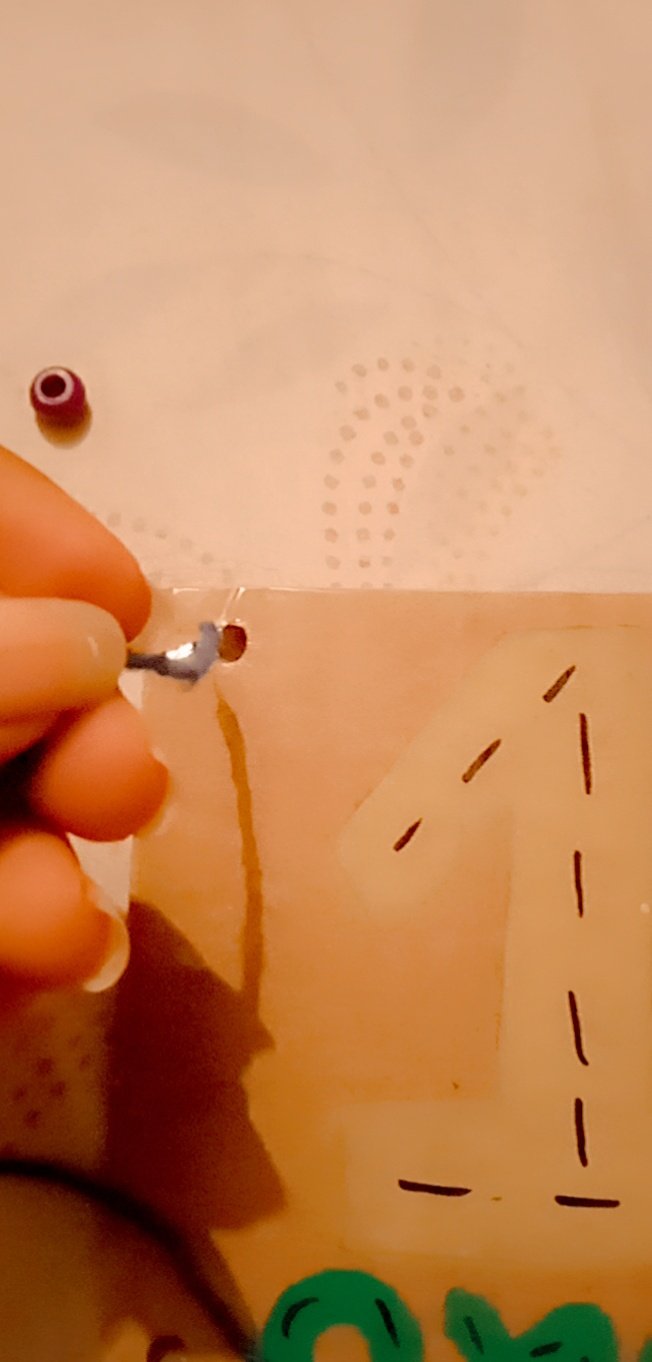
On the other hand, I proceeded to place teipe to the cardboard, because with this teipe placed on top the child can erase easily and quickly, to continue enjoying his teaching, with a punch I made two small holes where I will pass the yarn and the colored balls, depending on the number I place them, for example if it is number two I place two balls and so on. With the acrylic marker is that you will use for your child to highlight the numbers.
Finalmente, lo que realice fue marca con un marcador negro unas pequeñas rayitas que serán como guía para que el niño se guie y logre escribir el número, tanto en el número como en el nombre en inglés.
Por otro lado, procedí a colocarle teipe al cartón, ya que con este teipe colocado encima el niño podrá borrar de manera fácil y rápida, para seguir disfrutando de su enseñanza, con un sacabocado realice dos pequeños huecos donde pasare el hilo estambre y las peloticas de colores, que dependiendo del número las coloque, ejemplo si es el numero dos coloque dos peloticas y así sucesivamente. Con el marcador acrílico es que usaras para que tu hijo remarque los números.
All photos are my property taken with my Redmi 9c Smartphone.📷
🌺 My number is @Brindyschi 🌺
Until a future opportunity
Success for all 👊
Fotos principal editada con Canva.
Photos edited with Canva