Yep, I saw his arm going through the screen !
After my previous article on installing Nextcloud on my Raspberry Pi 4, this article delves into the installation of a low-code tool on the same Raspberry Pi 4 device. The need for such a tool arose from several small projects that could benefit from a straightforward interface connected to a database. An example of one such project is my Hive auto voter, which I detailed in my previous post titled So many projects, so little time....
In this article, we will explore the installation of Appsmith, and when that doesn't work due to compatibility issues, I switched to Directus, an alternative low-code tool. Let's get started.
This guide assumes that you already have a functional Docker and Apache2 environment, as well as a running MariaDB instance, on your server.
Appsmith: A Brief Overview
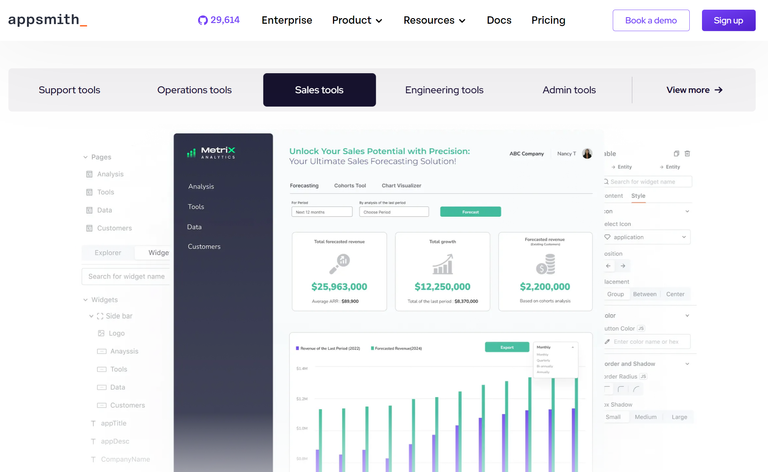
Before we delve into the installation process, let's briefly touch on what Appsmith is. Appsmith is a low-code, open-source web application builder that allows users to create web applications quickly and efficiently. It simplifies the development process by offering a drag-and-drop interface to design user interfaces and connect them to databases or other data sources. With Appsmith, users can create custom applications, dashboards, and interactive web pages without extensive coding.
For more information, you can visit the Appsmith website.

Appsmith Docker Installation
Initially, the plan was to install Appsmith on the Raspberry Pi 4 using Docker. Appsmith provides installation instructions for Docker in their documentation, which you can find here.
The process is as follows:
Step 1: Installing Docker-Compose
To install Appsmith using Docker, we first need to install Docker-Compose. Run the following command:
$ sudo apt-get install docker-compose
Step 2: Preparing the Environment
Create a directory for Appsmith, download the example Docker Compose file, and edit the Docker Compose file as follows:
$ sudo mkdir appsmith
$ sudo curl -L https://bit.ly/docker-compose-be -o $PWD/docker-compose.yml
$ sudo vim docker-compose.yml
In the Docker Compose file, ensure that you modify the ports to prevent overlap with other installed applications, and change "appsmith-ee" to "appsmith-ce" in the image path to specify the open-source version. After making these adjustments, run the following command to start the Docker container:
$ sudo docker-compose up -d
Unfortunately, this approach does not work on a Raspberry Pi 4 due to MongoDB compatibility issues, as discussed in this GitHub thread.
Given the complexity of resolving these issues and my limited availability for personal projects, I opted to explore alternative solutions.
Exploring Directus
For an alternative solution, I turned to AlternativeTo, a website that lists alternative software options. My search was specifically focused on open-source or freemium solutions, as I wanted to install a standalone version without any significant costs. Among several alternatives, Directus emerged as the most attractive choice.
Other candidates I considered included:
NocoDb: However, upon closer inspection, it didn't meet my expectations.
Airtable: While it's a well-known platform, it didn't convince me as it appeared to be primarily spreadsheet-oriented.
BaseRow: Similar to Airtable and NocoDb, it was also geared towards spreadsheets and didn't align with my preferences.
Directus: A Quick Introduction
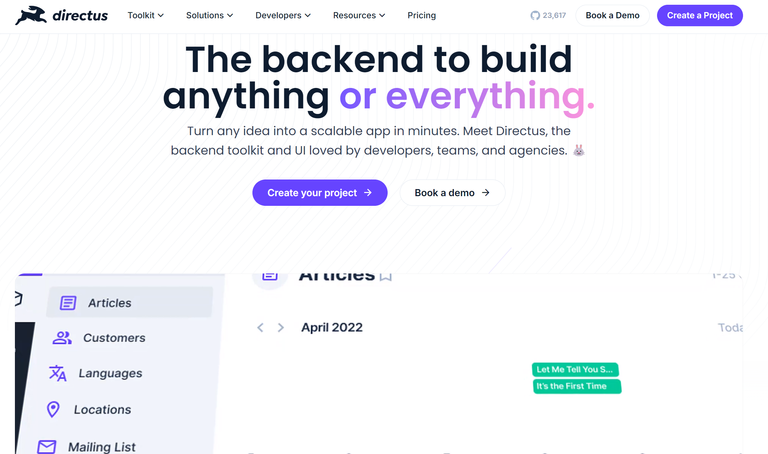
Before proceeding with the Directus installation, here's a brief overview of what Directus is. Directus is an open-source content management system (CMS) and database interface that provides a user-friendly, customizable platform for managing content and data. It's an excellent tool for building custom databases and data-driven applications with ease.

For more detailed information, you can visit the Directus website.
Installing Directus
Directus can be easily installed on your Raspberry Pi 4 using Docker. Follow these steps to set it up:
Step 1: Create a Directus Docker Container
Use the following command to create a Directus Docker container:
$ sudo docker run \
--restart always \
-p 8055:8055 \
-e KEY=[arandomkey] \
-e SECRET=[abiglongrandomsecret] \
directus/directus
In this command, "KEY" and "SECRET" are placeholders for security keys. It's essential to customize these keys for your installation. Make sure to note the generated admin user and password, as you'll need these to access Directus.
Step 2: Accessing Directus
Once the Docker container is up and running, you can access your Directus instance by visiting your Raspberry Pi 4's IP address on the defined port, which is 8055 in this case. Simply connect with the admin user and password you noted earlier, and you'll have a functional Directus interface at your disposal.

However, you may notice that Directus initially connects to an SQLite local database within the Docker container, which may not be suitable for your needs. If you prefer to connect to an external database like MariaDB on your Raspberry Pi 4, you can follow these additional steps.
Step 3: Connecting Directus to MariaDB
To link Directus to your MariaDB database, start by creating a user and granting the necessary privileges. Connect to your MariaDB instance and execute the following commands, customizing the username and password as needed:
CREATE USER 'directus'@'%' IDENTIFIED BY 'DiReCtUsPassWord';
GRANT ALL ON <yourdb>.* TO 'directus'@'%';
FLUSH PRIVILEGES;
After configuring MariaDB, proceed to create a new Docker Compose file for Directus:
$ sudo mkdir directus
$ sudo vim docker-compose.yml
Insert the following content into the Docker Compose file:
version: "3"
services:
  directus:
    image: directus/directus:latest
    ports:
      - 8055:8055
    volumes:
      - ./database:/directus/database
      - ./uploads:/directus/uploads
    environment:
      KEY: "[arandomkey]"
      SECRET: "[abiglongrandomsecret]"
      ADMIN_EMAIL: "admin@example.com"
      ADMIN_PASSWORD: "admin123"
      DB_CLIENT: "mysql"
      DB_HOST: "[yourmariadbhost]"
      DB_PORT: 3306
      DB_DATABASE: "[yourdb]"
      DB_USER: "directus"
      DB_PASSWORD: "DiReCtUsPassWord"
      DB_CHARSET: "utf8mb4"
      WEBSOCKETS_ENABLED: "true"
restart: always
Start the docker with :
$ sudo docker-compose up
After setting up Directus, the installation process presented a few challenges. There were several identified issues, including missing primary key columns, default collation differences between the database and tables or fields collation, and an outdated version of Directus. While these issues could be resolved with a little effort, I decided to proceed, with the intention of addressing these errors at a later time since they weren't critical for my immediate requirements.
Additionally, the mounted upload directory proved to be not writable, which was another minor hiccup.
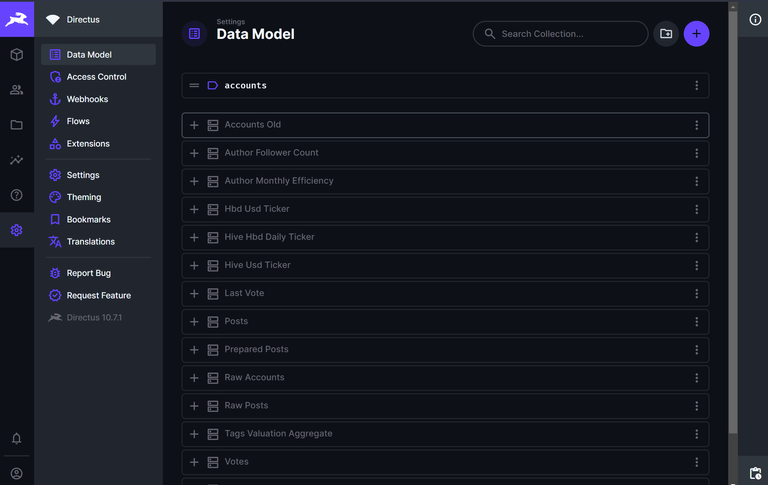
I managed to create a simple initial dashboard that displays the last executions of the Hive auto-voter and the current voting percentage. However, I recognized that I needed to delve deeper into Directus to harness its full potential.
Next, I decided to set up Apache2 for Directus, following the same configuration approach as I did for Nextcloud. You can refer to my article Setting Up Nextcloud on a Raspberry Pi for the detailed Apache2 setup. Specifically for Directus, here's what I did:
Configuring Apache2
First, I needed to create an SSL certificate. I used the following command to generate the certificate:
$ sudo certbot --apache -d directus.backpageek.eu
The command may not find the server initially because we haven't declared it yet. Simply press 'c' to cancel, and the certificate will be created regardless.
Next, I navigated to the /etc/apache2/sites-available directory and copied the configuration file from my Nextcloud setup as a template:
$ sudo cp 001-nextcloud.conf 002-directus.conf
Then, I edited the newly created 002-directus.conf file with the following content:
<VirtualHost *:80>
    ServerName directus.backpageek.eu

    RewriteEngine On
    RewriteCond %{HTTPS} off
    RewriteRule (.*) https://%{HTTP_HOST}%{REQUEST_URI}
    RewriteCond %{SERVER_NAME} =directus.backpageek.eu
    RewriteRule ^ https://%{SERVER_NAME}%{REQUEST_URI} [END,NE,R=permanent]
</VirtualHost>

<VirtualHost *:443>
    ServerName directus.backpageek.eu

    # Reverse proxy based on https://httpd.apache.org/docs/current/mod/mod_proxy_wstunnel.html
    RewriteEngine On
    ProxyPreserveHost On
    AllowEncodedSlashes NoDecode

    ProxyPass / http://localhost:8055/ nocanon
    ProxyPassReverse / http://localhost:8055/

    RewriteCond %{HTTP:Upgrade} websocket [NC]
    RewriteCond %{HTTP:Connection} upgrade [NC]
    RewriteCond %{THE_REQUEST} "^[a-zA-Z]+ /(.*) HTTP/\d+(\.\d+)?$"
    RewriteRule .? "ws://localhost:11000/%1" [P,L]

    # Enable h2, h2c, and http1.1
    Protocols h2 h2c http/1.1

    # Solves slow upload speeds caused by http2
    H2WindowSize 5242880

    # TLS
    SSLEngine               on
    SSLProtocol             -all +TLSv1.2 +TLSv1.3
    SSLCipherSuite          ECDHE-ECDSA-AES128-GCM-SHA256:ECDHE-RSA-AES128-GCM-SHA256:ECDHE-ECDSA-AES256-GCM-SHA384:ECDHE-RSA-AES256-GCM-SHA384:ECDHE-ECDSA-CHACHA20-POLY1305:ECDHE-RSA-CHACHA20-POLY1305:DHE-RSA-AES128-GCM-SHA256:DHE-RSA-AES256-GCM-SHA384:DHE-RSA-CHACHA20-POLY1305
    SSLHonorCipherOrder     off
    SSLSessionTickets       off
    SSLCertificateFile /etc/letsencrypt/live/directus.backpageek.eu/fullchain.pem
    SSLCertificateKeyFile /etc/letsencrypt/live/directus.backpageek.eu/privkey.pem
    Include /etc/letsencrypt/options-ssl-apache.conf
    # Disable HTTP TRACE method.
    TraceEnable off
    <Files ".ht*">
        Require all denied
    </Files>

    # Support big file uploads
    LimitRequestBody 0
</VirtualHost>
In this configuration file, replace directus.backpageek.eu with your domain and update SSL certificate paths as necessary.
After configuring Apache2 for Directus, I created a symlink to enable the site:
$ sudo ln -s 002-directus.conf ../sites-enabled/002-directus.conf
Finally, I restarted Apache2:
$ sudo systemctl restart apache2
Your Directus instance should now be accessible!

Conclusion
In summary, while Directus offers promising features, it has certain limitations, such as connecting to only one database and filling it with its own tables. In my specific case, this limitation sufficed, but future plans may involve setting up a phpMyAdmin instance on my Raspberry Pi to better organize and clean my database. This involves applying best practices, including setting primary keys and ensuring clean collations, especially considering my prior experience using MySQL. Once everything is clean, I will explore creating a simple data editing page.
Informations
To craft this post, I took note of each step involved in the process, arranged them in a logical order, and annotated them for clarity. I then enriched it with contextual information. This initial draft was then input into ChatGPT, which generated an article that was nearly ready for publication. I added additional lines and paragraphs, revised the text and incorporated even more information in order to get the current revision.
For the thumbnail image, I used Bing Image Creator with the following prompt : "IT developer dressed like a blacksmith chasing a rabbit belgian comic strip style" and reworked it using Canva.


