Hello everyone... 💖
Hello to my dear Hivers and the dear community of artists #Jewelry, as always very pleased and excited to be here again, showing you my work made with love and especially for you.
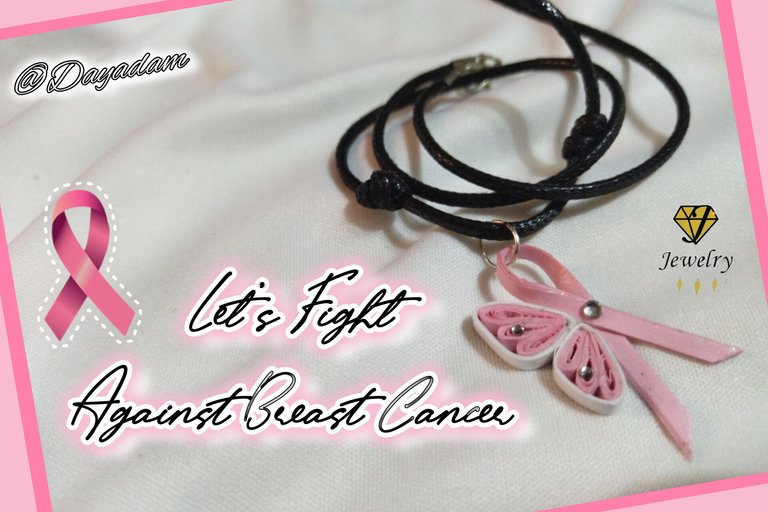
- Today, I join you in this contest dedicated to the pink month and to the awareness of something as delicate as Breast Cancer, a terrible disease that has been touching the lives of many people worldwide. I dedicate this humble work to all those who are fighting against this disease, in turn to raise awareness and prevention measures.
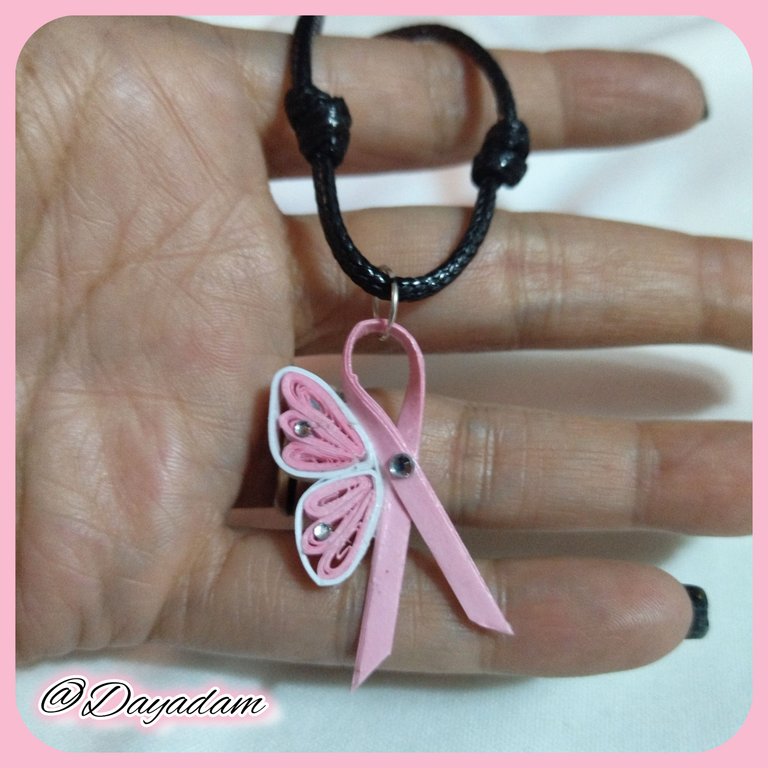
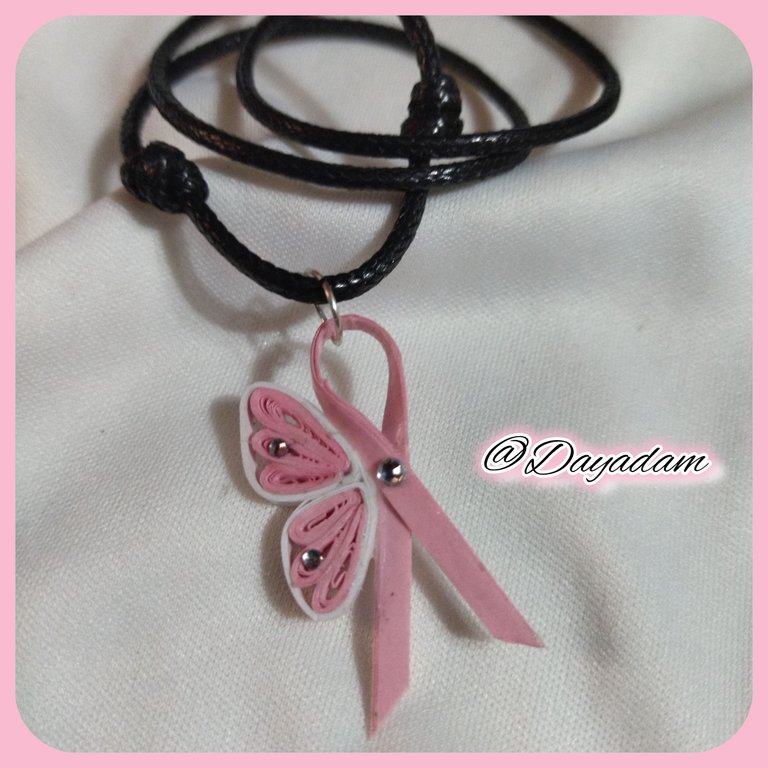
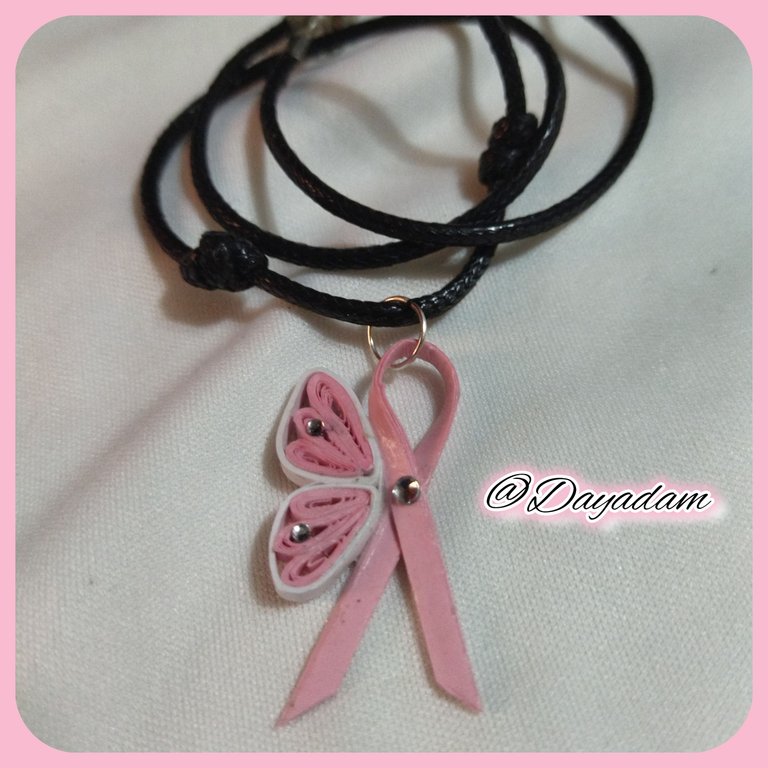
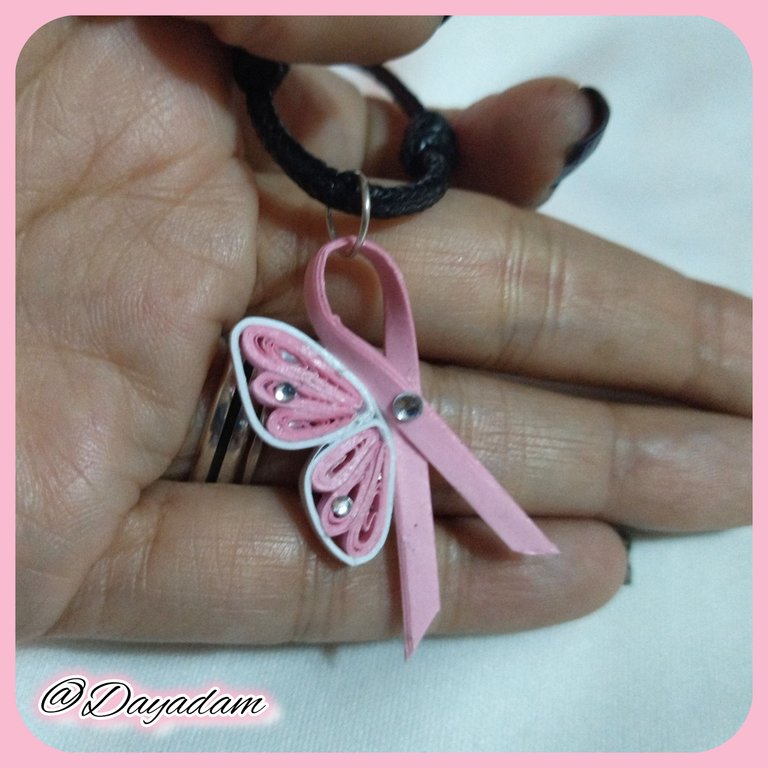
I leave you a small pendant for necklace in the technique of quilling, decorated with some crystals of costume jewelry.
If you want to join this contest here is the link where you can learn the necessary guidelines. I invite @irenenavarroart, @fixie and @yennysferm71 to participate.
I hope you like the work, join me in this creative process.
Let's get started:😃

Hola a Todos... 💖
Hola a mis queridos Hivers y a la querida comunidad de artistas #Jewelry, como siempre muy complacida y emocionada de encontrarme por acá nuevamente, mostrándole mi trabajo hecho con mucho amor y especialmente para ustedes.
Para hoy, los acompaño en este concurso dedicado al mes rosa y a la concientización de algo tan delicado como lo es el Cancer de Mama, una terrible enfermedad que ha estado tocando la vida de muchas personas a nivel mundial. Le dedico este humilde trabajo a todos los que están luchando contra este mal, a su vez para que tomen conciencia y medidas de prevención.
Les dejo un pequeño dije para collar en la tecnica de quilling, decorado con algunos cristales de bisuteria.
Si deseas unirte este concurso por acá te dejo el link del mismo donde podrás conocer los lineamientos necesarios. Invito a participar a @irenenavarroart, @fixie and @yennysferm71.
Espero sea de su agrado el trabajo, acompáñenme en este proceso creativo.
Comencemos:😃

• Cintas de quilling rosada y blanca de 3mm de ancho.
• Aguja para quilling.
• Pega blanca extra fuerte (de carpintería).
• Tijera.
• Cristales de bisutería pequeños y medianos.
• Argolla de bisutería mediana.
• Pincel.
• Pinza punta fina.
• Alicate punta fina.
• Collar de tu preferencia.
- Pink and white quilling ribbons 3mm wide.
- Quilling needle.
- Extra strong white glue (carpentry glue).
- Scissors.
- Small and medium-sized costume jewelry crystals.
- Medium-sized costume jewelry ring.
- Brush.
- Fine tip tweezers.
- Fine nose pliers.
- Necklace of your choice.

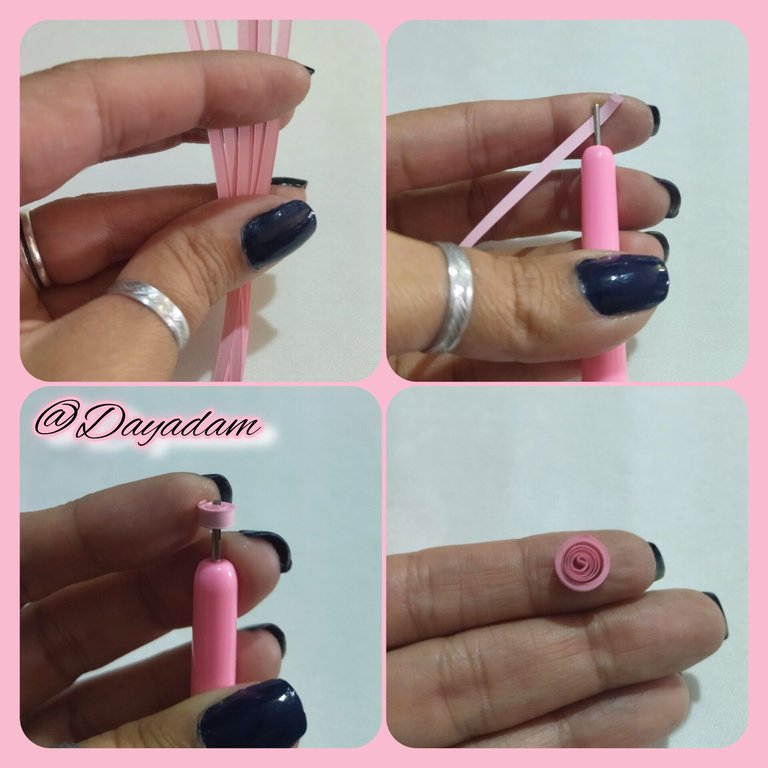
- We start by taking 3mm wide pink quilling tape, with it we will make several open circles, taking the tape and rolling it with the quilling needle, until we reach the end of it, take out the needle, release it until we reach the desired size, and seal it with extra strong white glue.
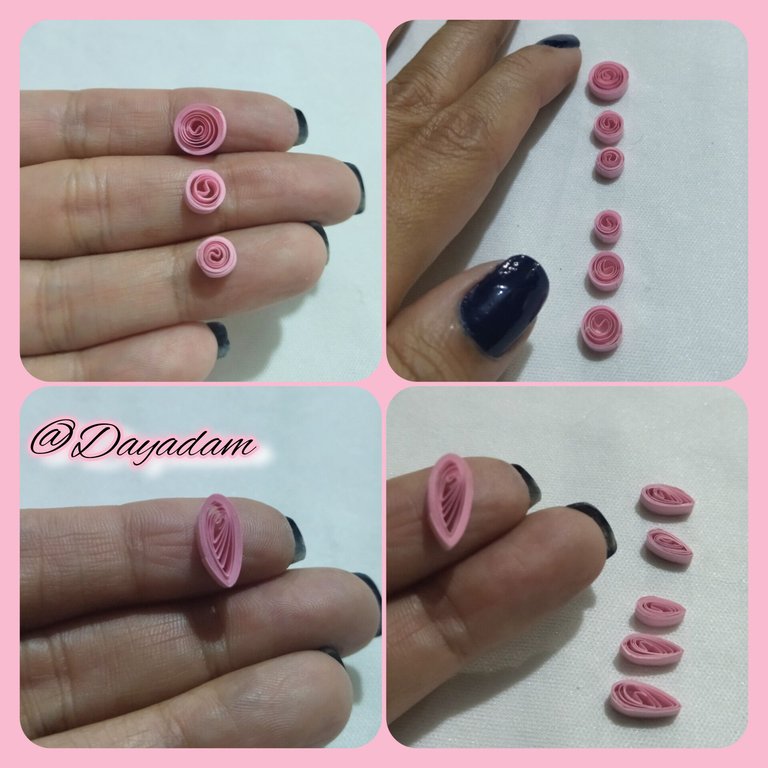
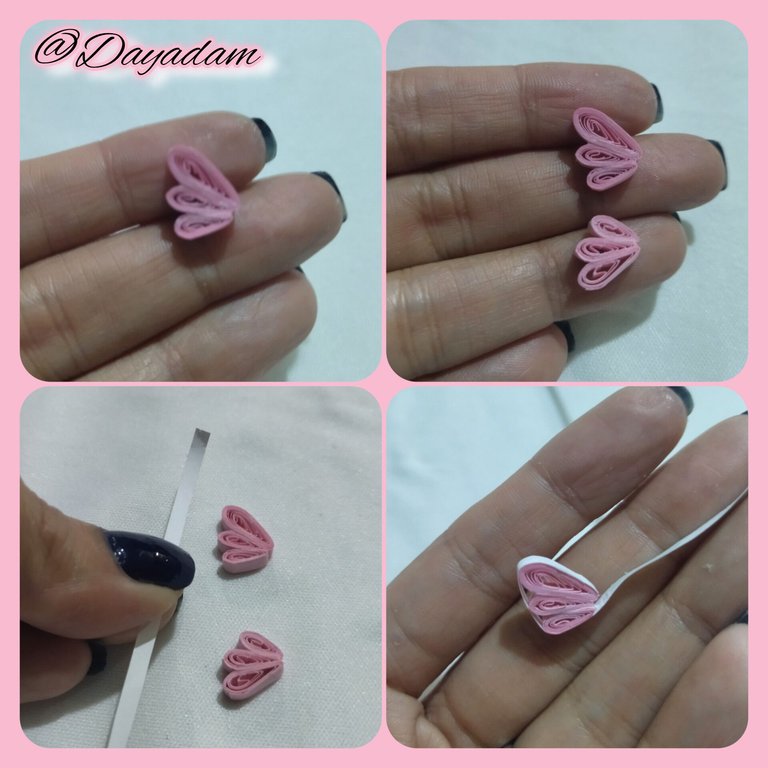
- We are going to make 6 circles, 3 for the upper wing and 3 for the lower wing, we will make 3 in ascending form in relation to the size and 3 in descending form, you can appreciate with greater accuracy in the images that I leave you.
- Once the circles are ready, we will mold them in the shape of a leaf and glue them in groups of three.
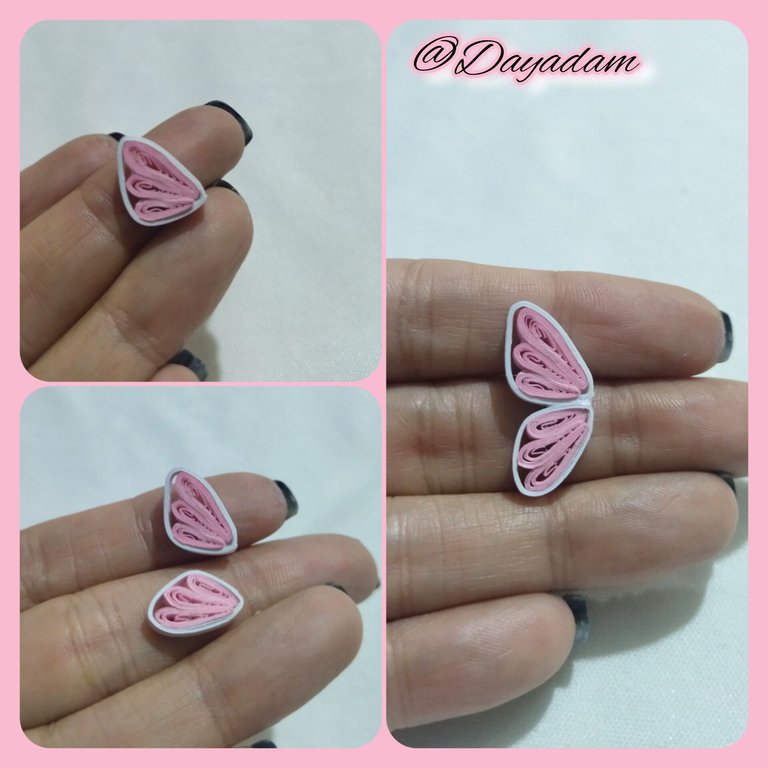
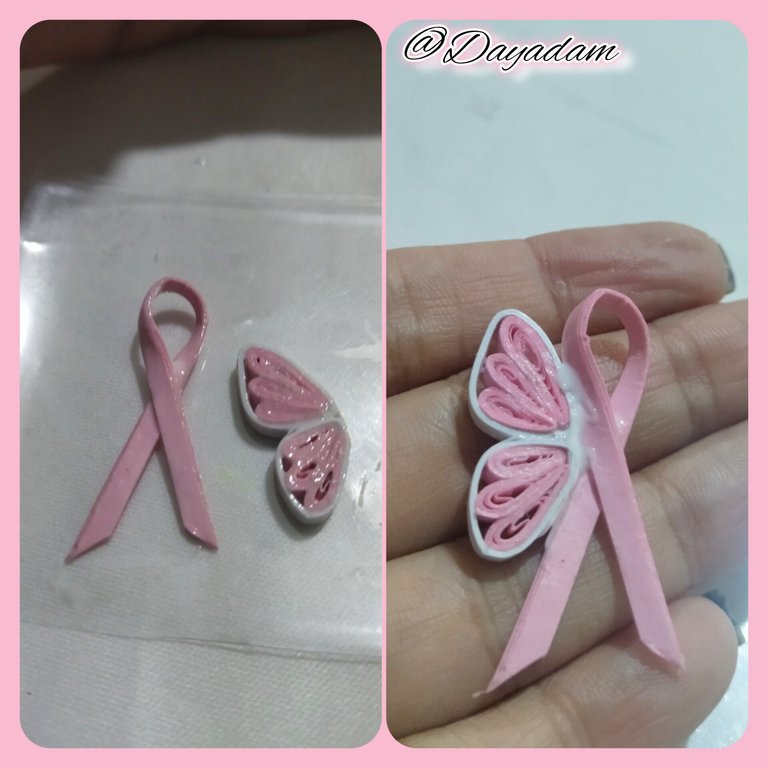
- Then we will take a 3mm wide white ribbon and we will pass around each piece to form the wings, once both are ready we will join them with white glue.

• Comenzamos tomando cinta para quilling de color rosa de 3mm de ancho, con ella vamos a elaborar diversos círculos abiertos, tomando la cinta y enrollando con la aguja para quilling, hasta llegar al final de la misma, sacamos e la aguja, soltamos hasta lograr el tamaño deseado, y sellamos con pega blanca extra fuerte.
• Vamos a elaborar 6 circulos, 3 para el ala de arriba y 3 para el ala de abajo, realizaremos 3 en forma ascendente en relación al tamaño y 3 en forma descendente, pueden apreciar con mayor exactitud en las imágenes que les dejo.
• Listos los círculos, moldearemos en forma de hoja y pegaremos en grupos de tres.
• Luego tomaremos una cinta blanca de 3mm de ancho y pasaremos alrededor de cada pieza para formar las alas, una vez listas ambas las uniremos con pega blanca.
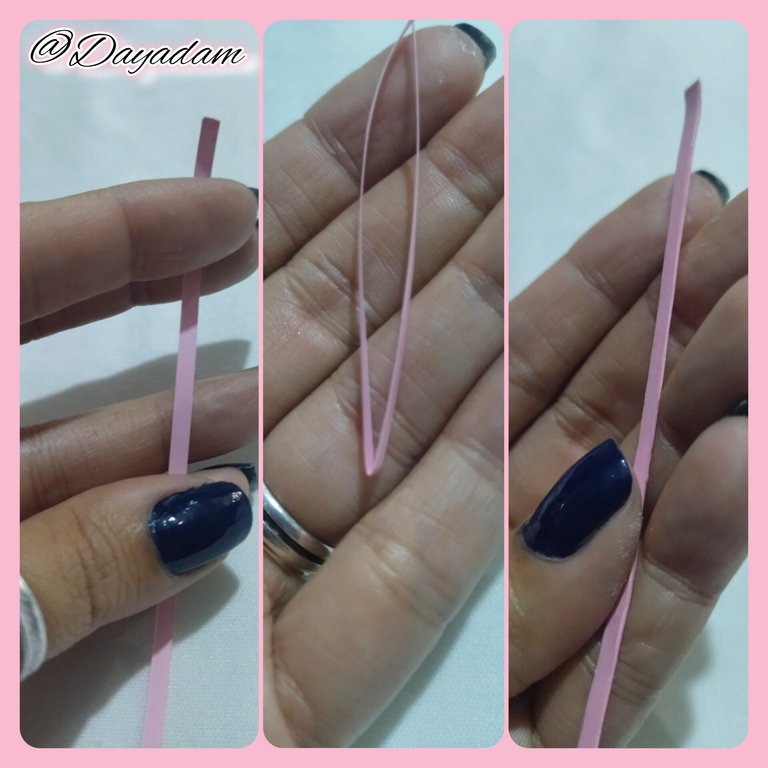
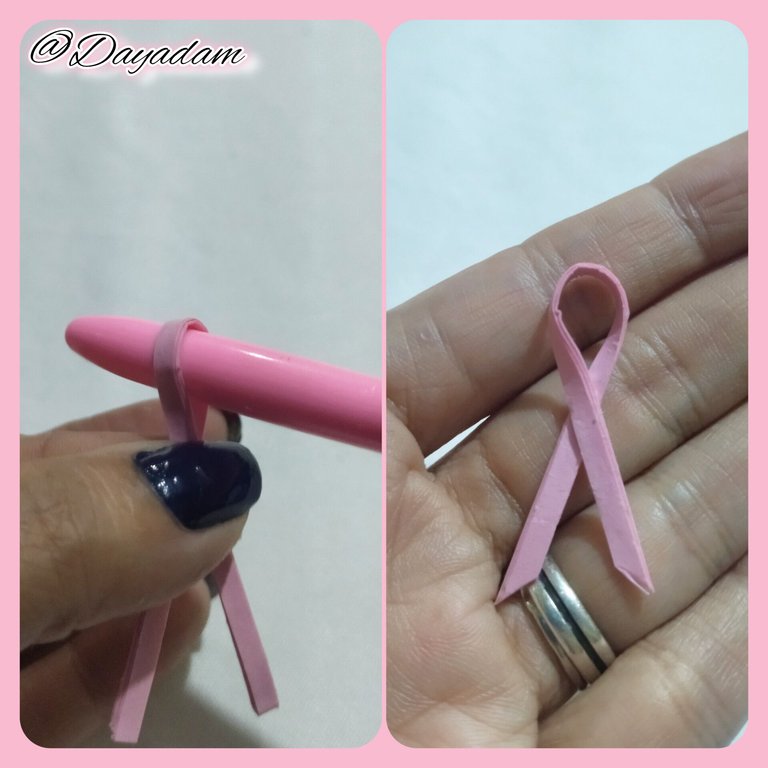
- For the ribbon, we will take 3mm wide pink quilling tape, we will make several folds adding glue to form a thick ribbon, once it is dry we will fold it with the help of a rounded object, we will add glue in the center.
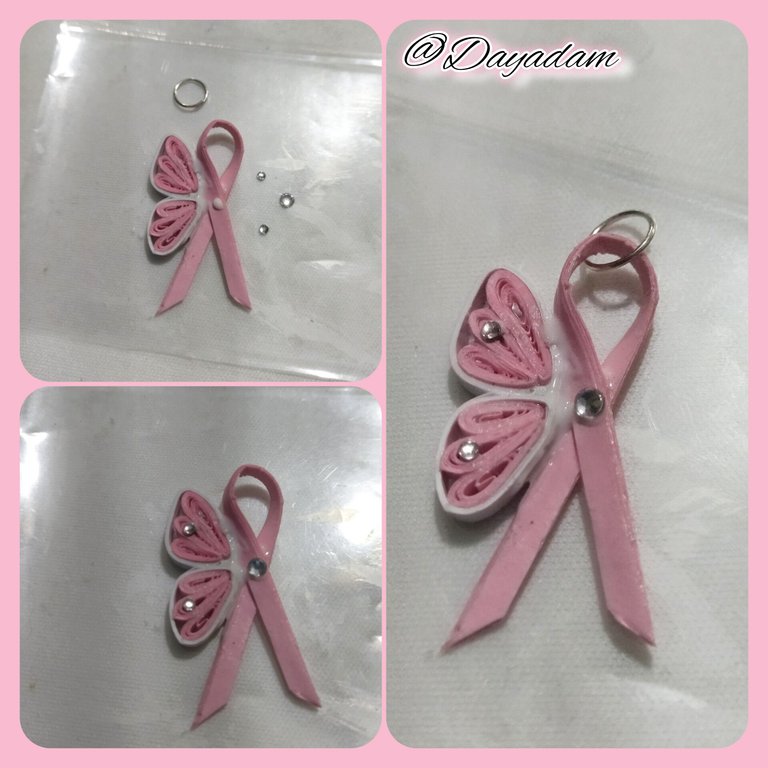
- Ready both pieces add glue, to protect and plasticize them, apply several layers of extra strong white glue letting dry between one layer and another.
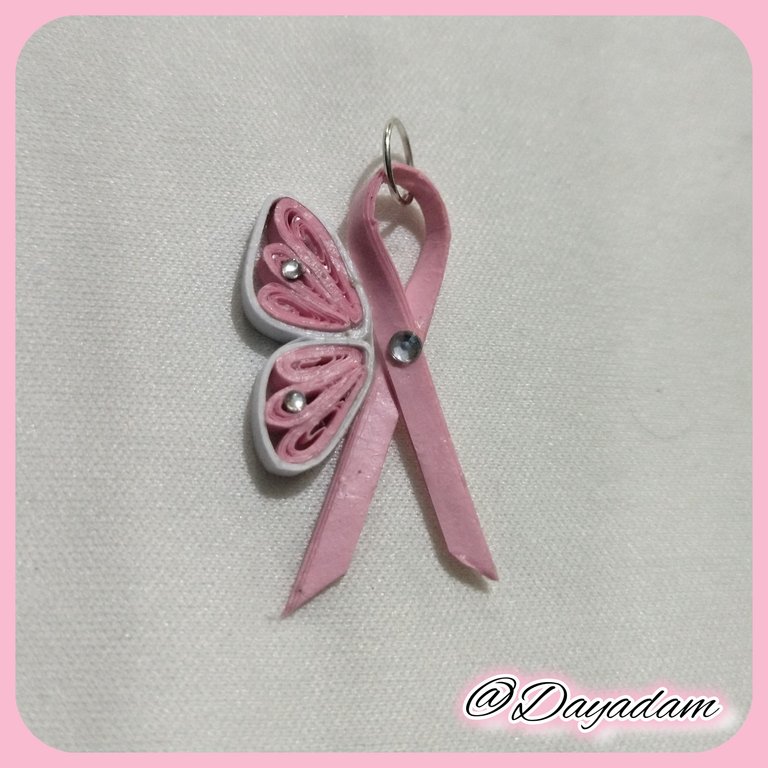
- Before the pendant dried, I put some costume jewelry crystals to make it more attractive, and I also put a medium size costume jewelry ring on the top of the bow.
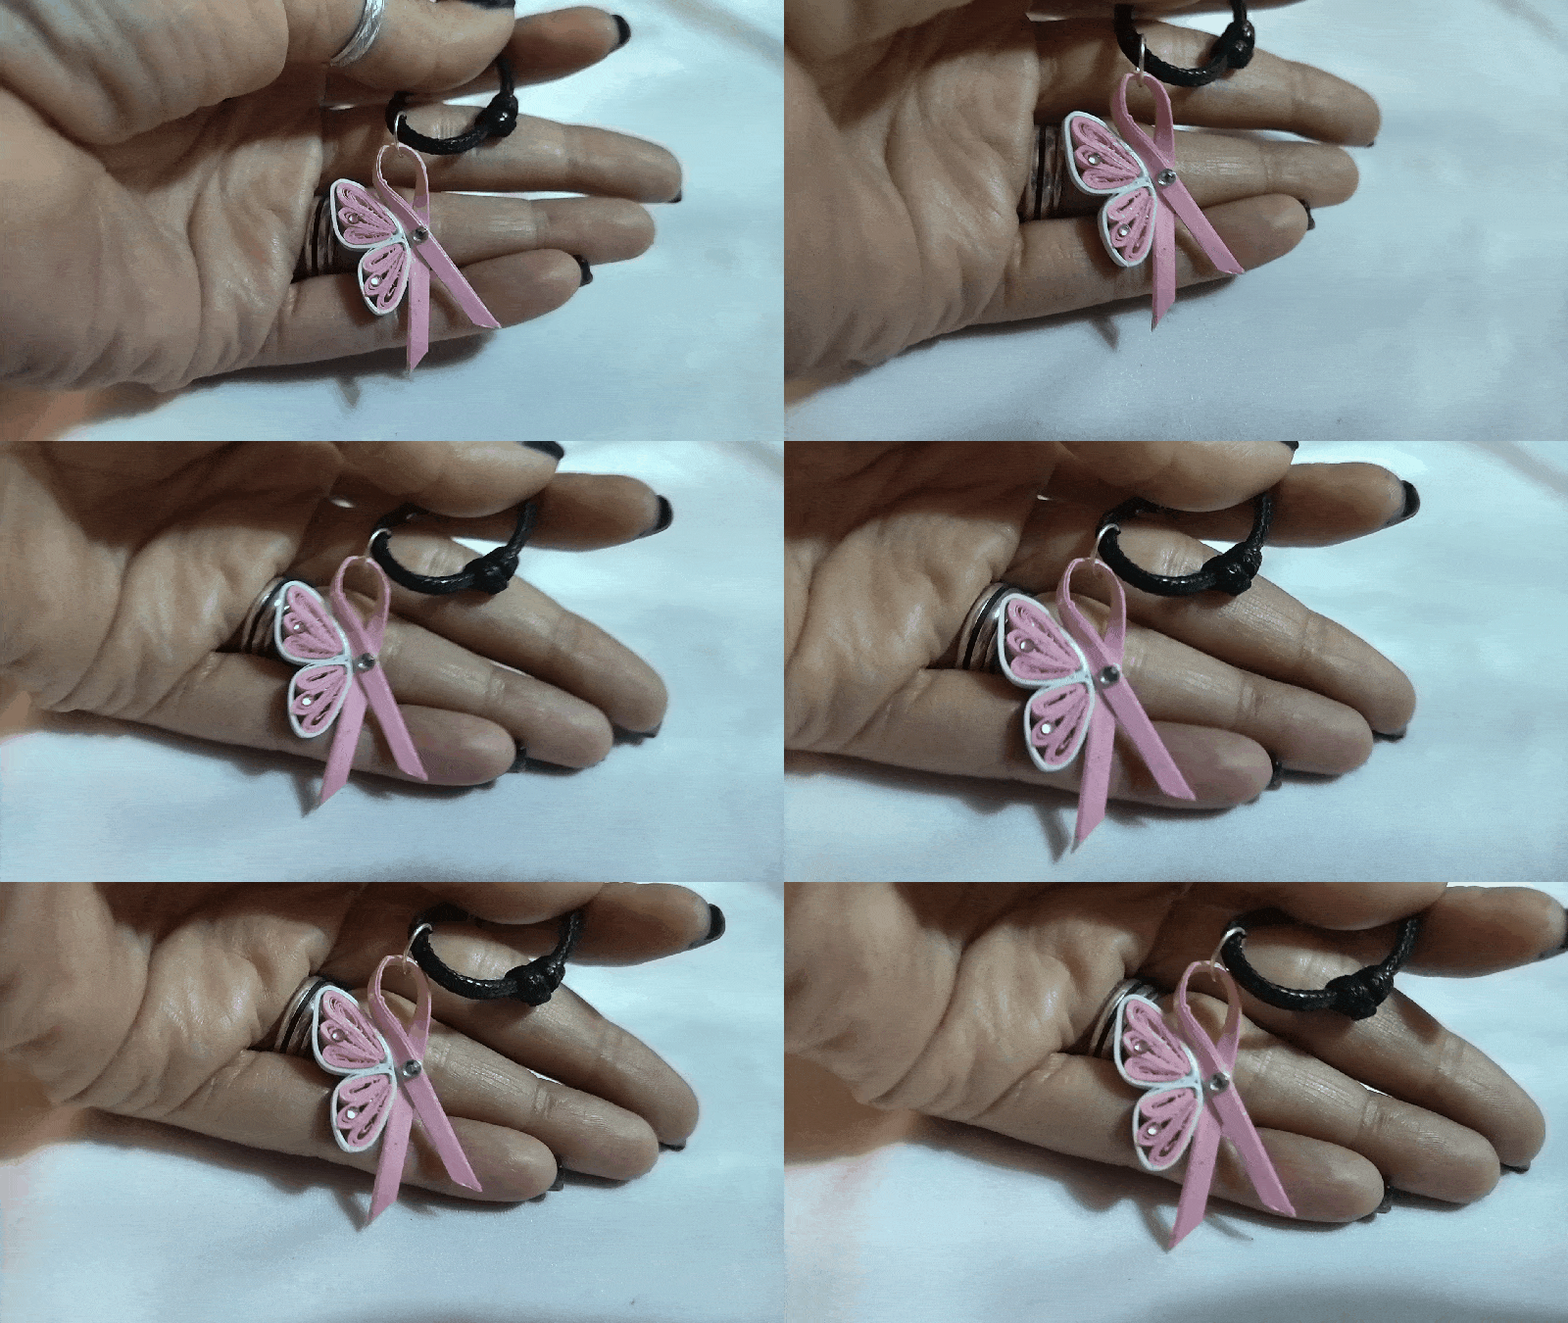
This way we have this pendant for necklace in the quilling technique, to honor the pink month.

• Para el lazo, tomaremos cinta para quilling de color rosa de 3mm de ancho, haremos varios dobleces añadiendo pega hasta formar una cinta gruesa, una vez bien seca doblaremos con ayuda de algún objeto redondeado, añadimos pega en el centro.
• Listas ambas piezas añadi pega, para protegerlas y plastificarlas, aplique varias capas de pega blanca extra fuerte dejando secar entre una capa y otra.
• Uni ambas piezas, antes de que secara el dije coloque unos cristales de bisutería para darle mayor vistosidad, y también coloque una argolla mediana de bisutería en la parte de arriba del lazo.
De esta manera tenemos este dije para collar en la técnica de quilling, para homenajear el mes rosa.


What did you think, did you like it?
I hope you did, I hope you liked my explanation, procedure and photos, I made them with love for you.
"Let out that muse that inspires you, and let your imagination fly".
Thank you all, see you next time...

¿Que les pareció, les gustó?
Espero que sí, que les haya gustado mi explicación, procedimiento y fotos, los hice con mucho cariño por y para ustedes.
"Deja salir esa musa que te inspira, y deja volar tu imaginación".
Gracias a todos, nos vemos en la próxima.

Todas las fotos usadas en este post son de mi autoría y han sido sacadas en mi celular personal un Redmi 9T y editadas en Canva y en Inshot Banner y separador hecho por mí en Canva Traducido con la ayuda de DeepL


