Hello everyone... ✨
Hello to my dear Hivers and the dear community of artists #Jewelry, as always very pleased and excited to be here again, showing you my work made with love and especially for you.
Greetings to the Splinterlands community, and everyone who lives there, I'm here to join the Splinterlands Social Media Challenge!
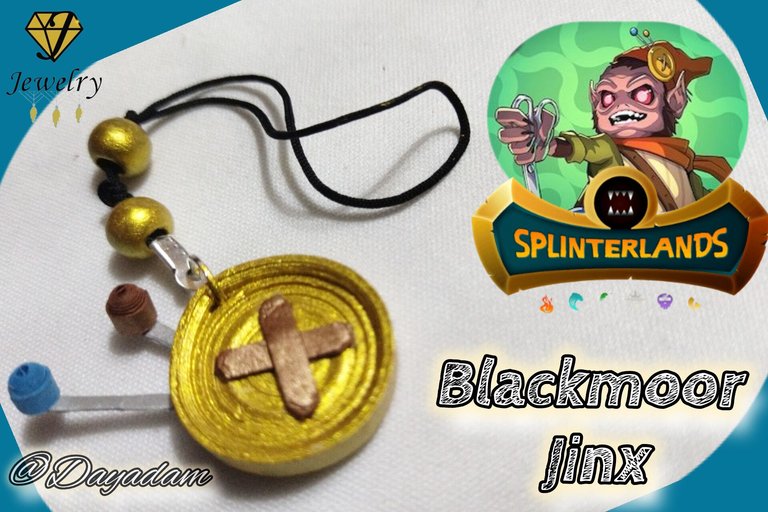
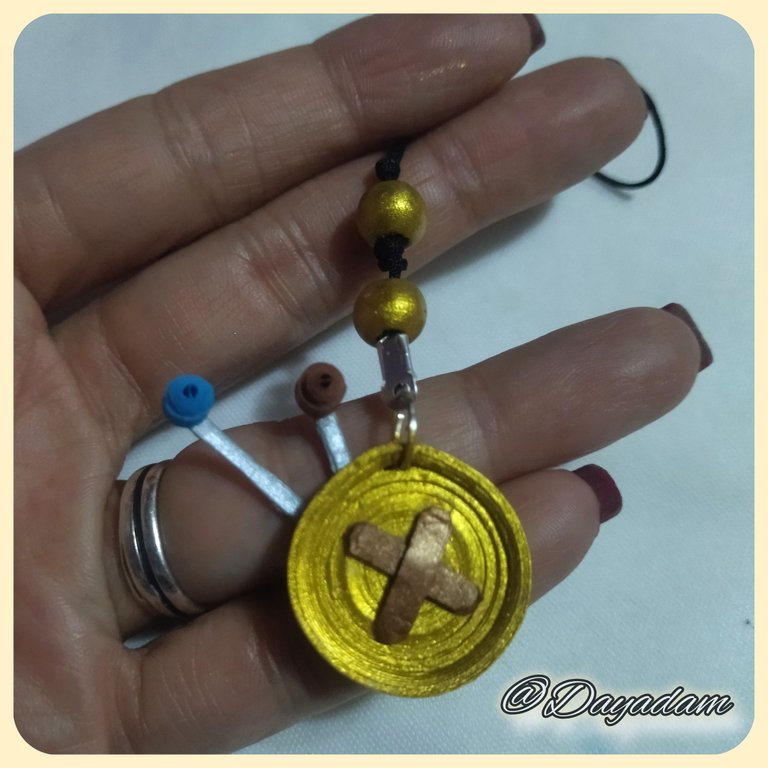
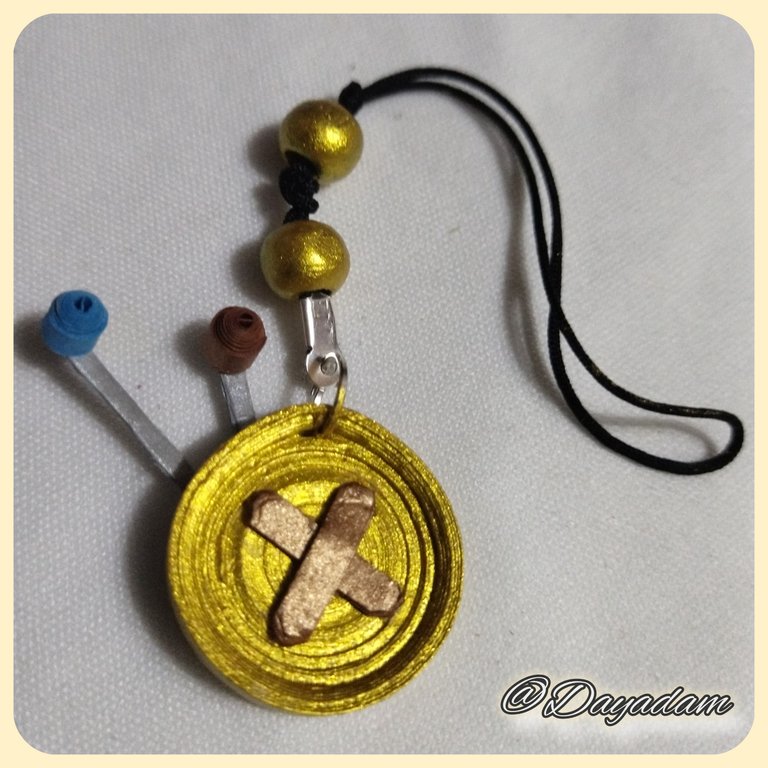
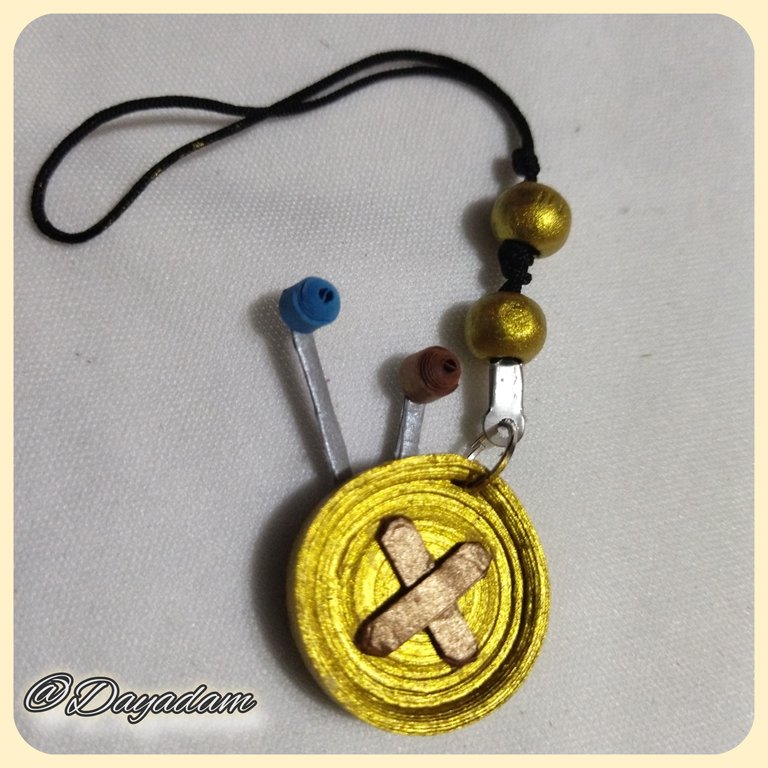
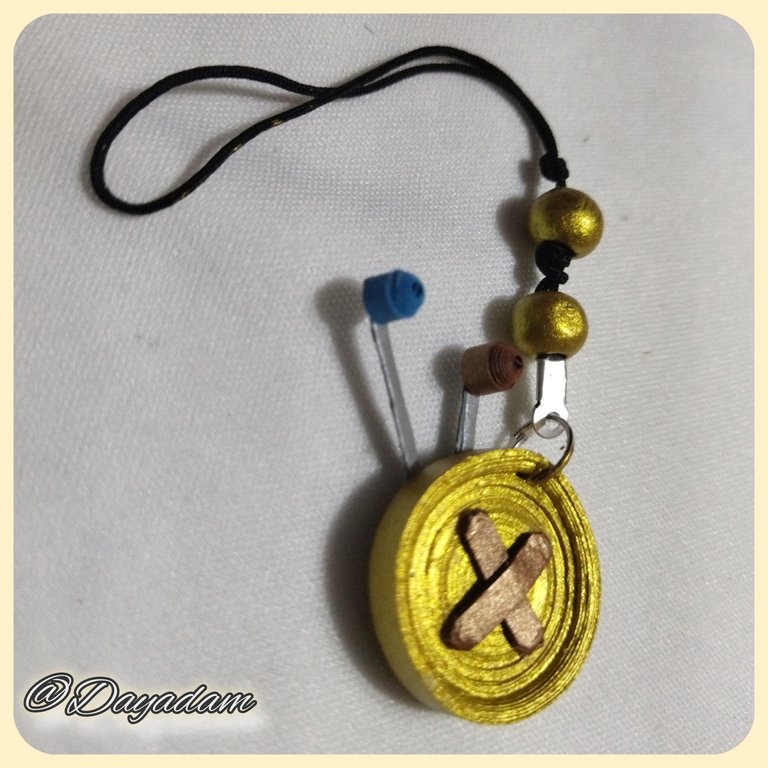
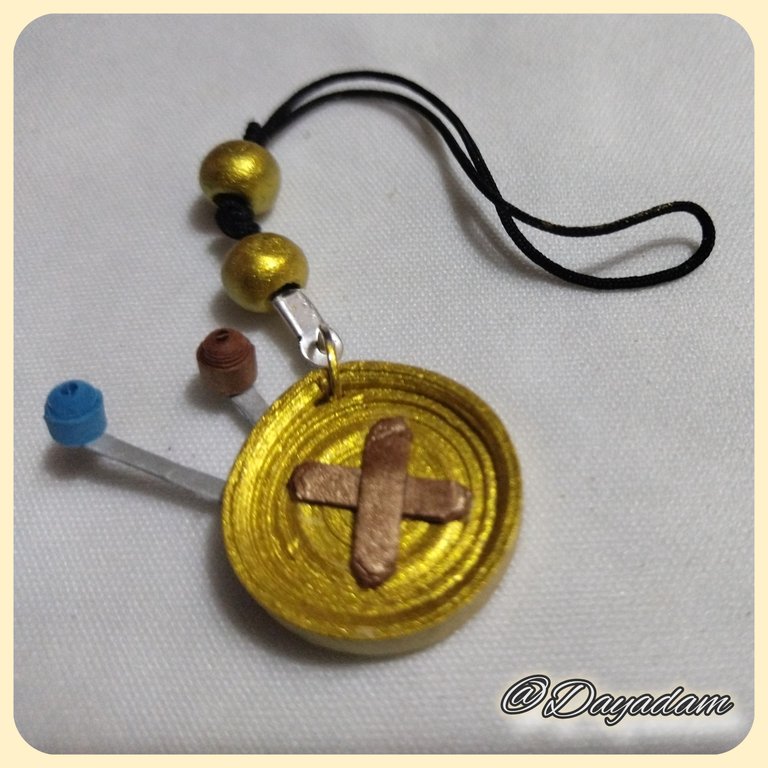
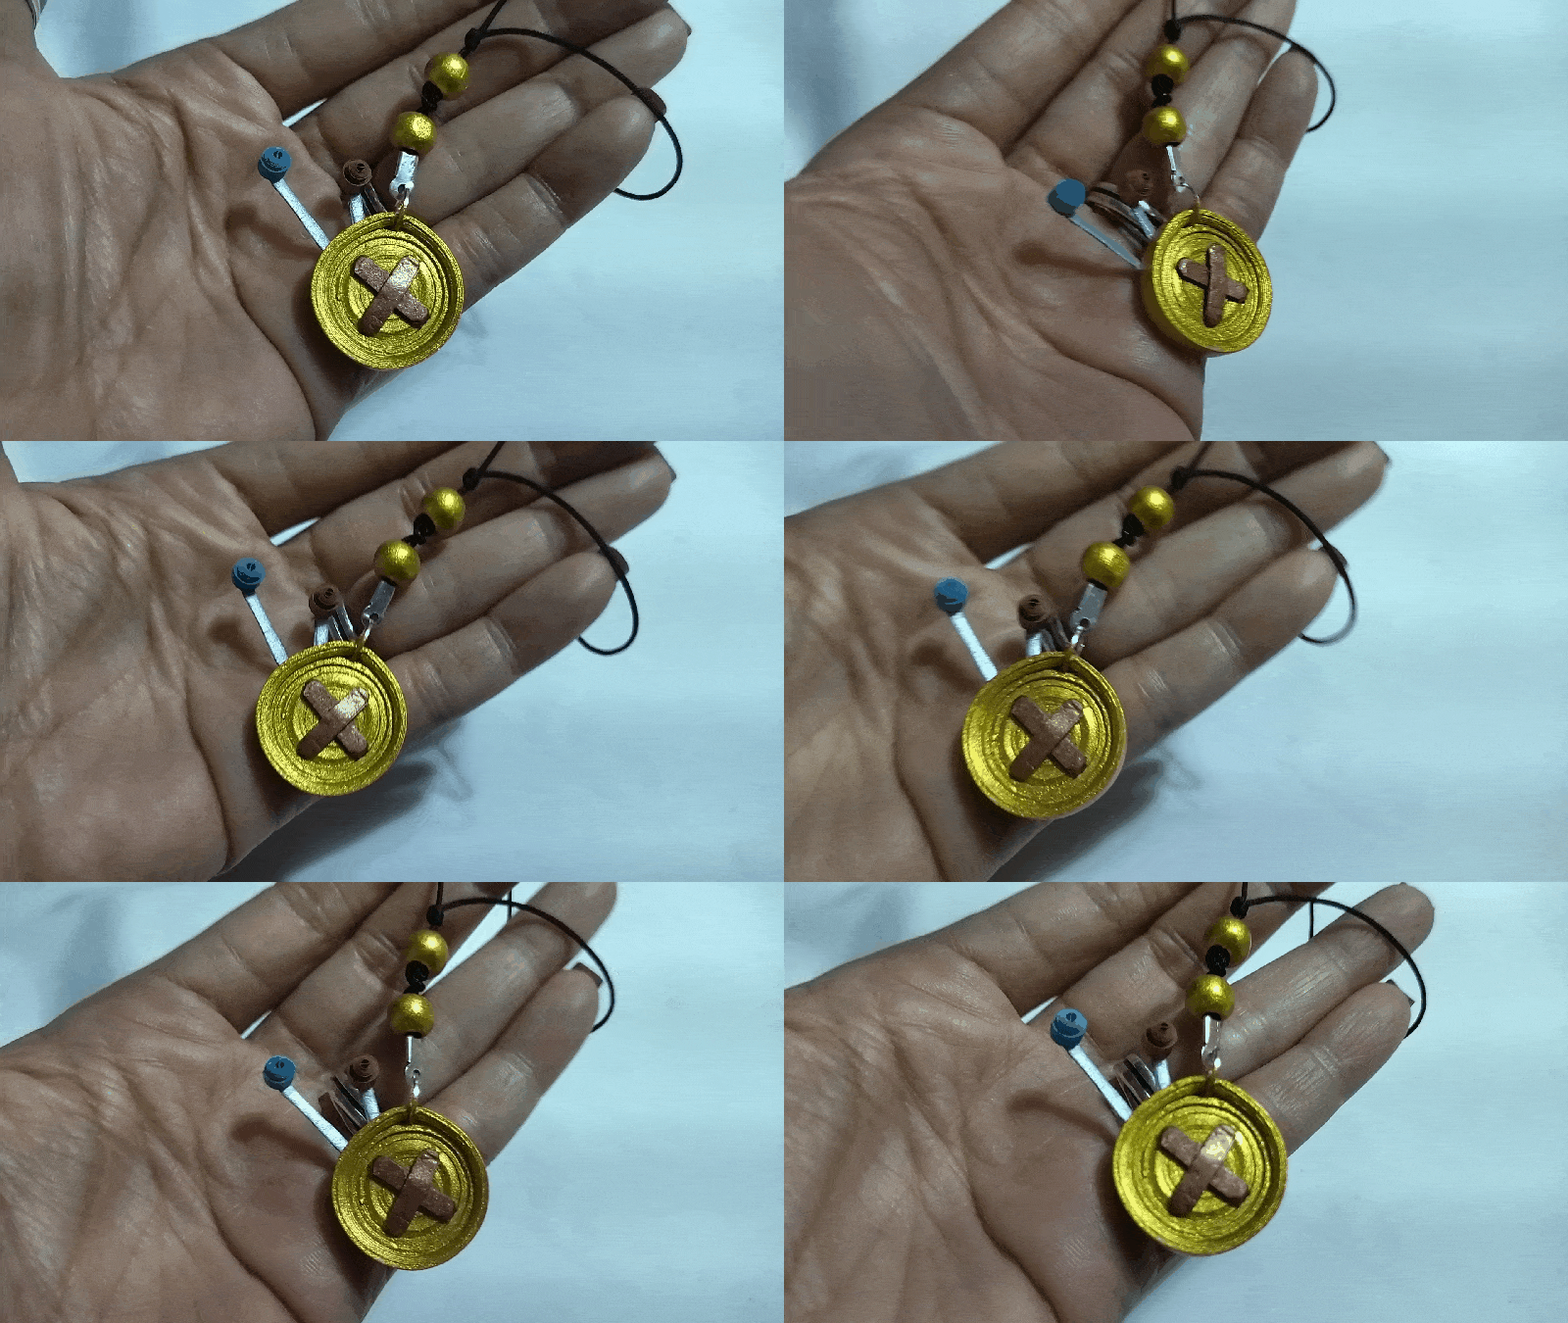
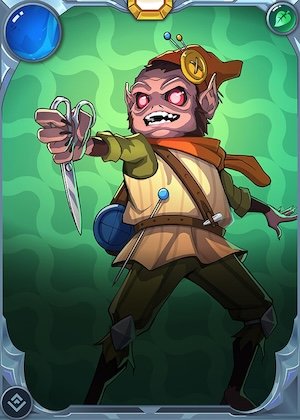
For today I bring you a work inspired by the letter of Rebellion of the character "Blackmoor Jinx " I materialized a fantart of element that is part of his hat in this case a button with his pins which I carried out realizing a charm for necklace in the technique of quilling.
If you want to know more about the game, I leave you my reference link to enter it and navigate through this wonderful world: https://splinterlands.com?ref=dayadam
Hoping you like my work, without further ado, I leave you with my creative process.
Let's start:😃

Hola a Todos...✨
Hola a mis queridos Hivers y a la querida comunidad de artistas #Jewelry, como siempre muy complacida y emocionada de encontrarme por acá nuevamente, mostrándole mi trabajo hecho con mucho amor y especialmente para ustedes.
Un saludo para la comunidad de Splinterlands, y todos los que hacen vida por allí, estoy por acá para unirme al reto Splinterlands Social Media Challenge!.
Para hoy les traigo un trabajo inspirado en la carta de Rebellion del personaje "Blackmoor Jinx" materialice un fantart de elemento que forma parte de su sombrero en este caso un boton con sus alfileres el cual lleve a cabo realizando una dije ara collar en la técnica de quilling.
Si quieren saber más con respecto al juego les dejo mi enlace de referencia para que ingresen en él, y naveguen por este maravilloso mundo: https://splinterlands.com?ref=dayadam
Esperando les guste mi trabajo, sin más preámbulos, les dejo mi proceso creativo.
Comencemos:😃

• Cartulina de color blanco.
• Guillotina o tijera.
• Cintas de quilling color bronce. plata y azul.
• Argolla de bisutería.
• Hilo chino negro fino.
• Tapa nudos.
• Perlas de madera
• Pintura al agua color oro.
• Pega blanca extra fuerte (de carpintería).
• Tijera.
• Pincel.
- White cardboard.
- Guillotine or scissors.
- Bronze, silver and blue quilling ribbons.
- Jewelry ring.
- Fine black Chinese thread.
- Knot cover.
- Wooden beads
- Gold color water-based paint.
- Extra strong white glue (carpentry glue).
- Scissors.
- Paintbrush.

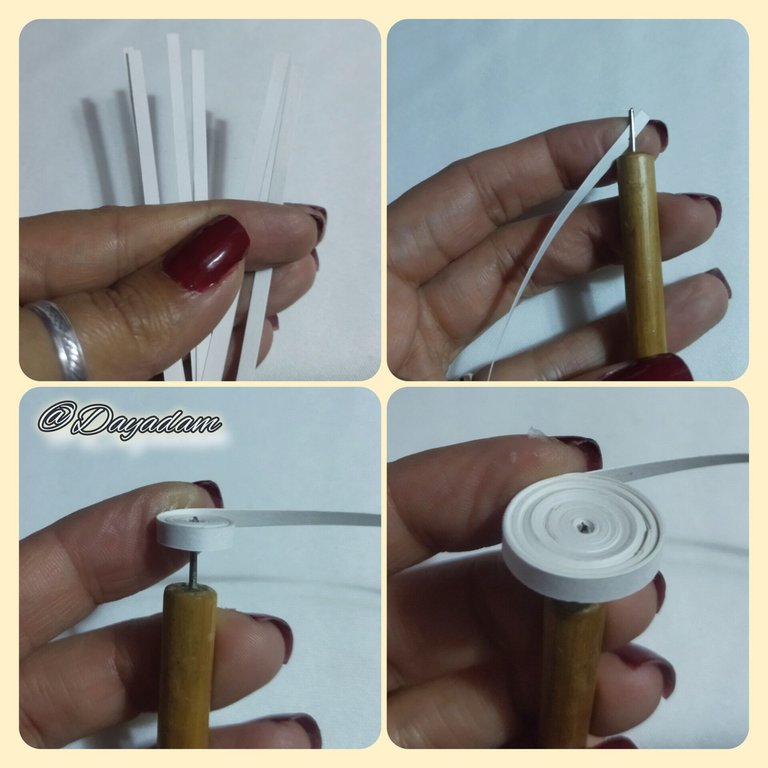
- I took a piece of white recycled cardboard that I had at home, cut some strips with a guillotine, some 3 mm wide and others 5 mm wide. If we don't have a guillotine we can do it with a scissors.
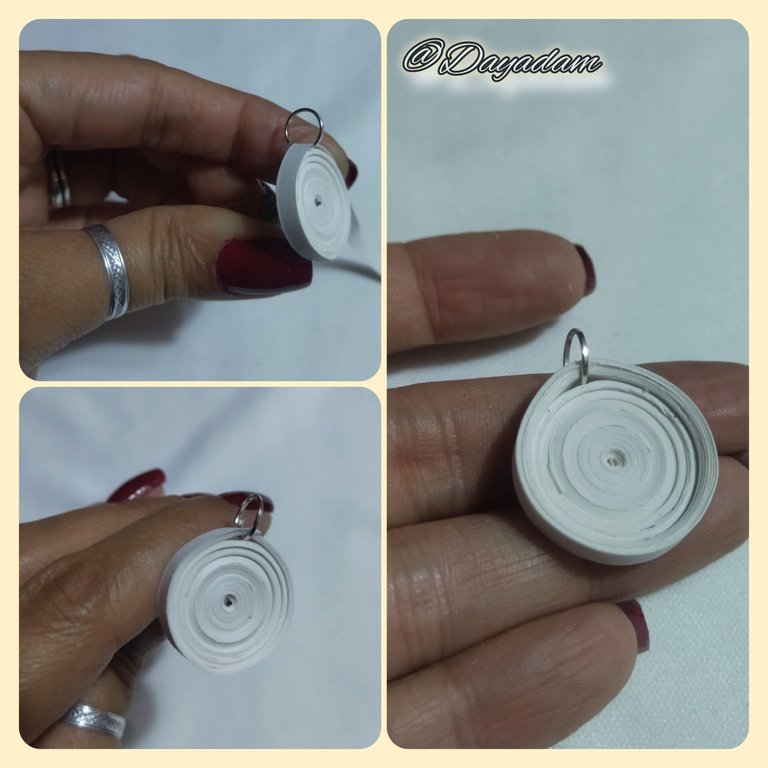
- I glued some 3 mm strips with a touch of glue on the tip, followed by other 5 mm, with the quilling needle I began to roll up starting with the 3 mm strips, until finishing with the 5 mm, before finishing I placed a medium size costume jewelry ring introducing it in the middle of the strip, I continued rolling until finishing with the same, sealed with a touch of glue and removed from the needle.
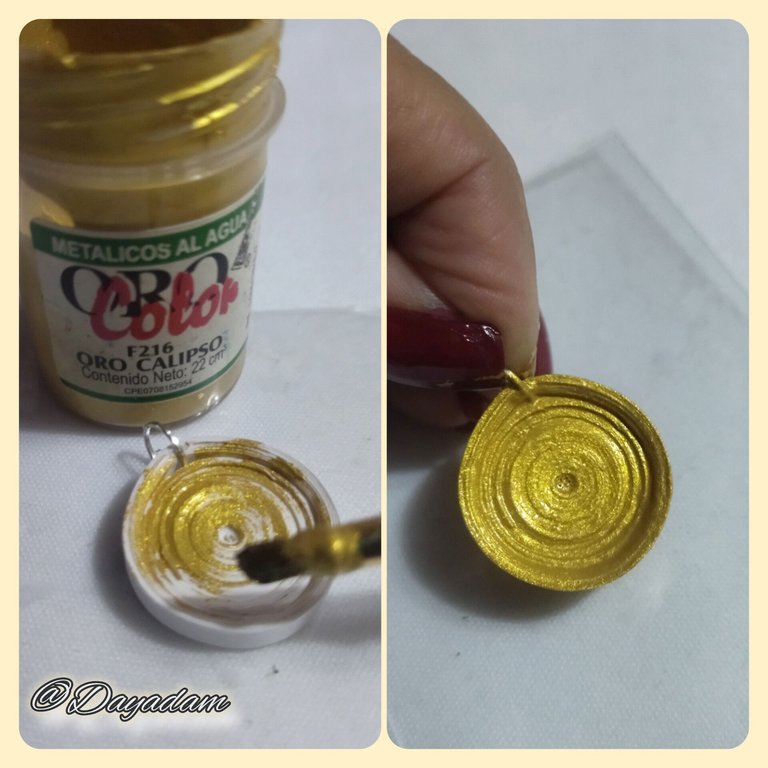
- I took some water-based gold paint and with a brush I applied several coats to the resulting closed circle, let it dry very well.

• Procedí a tomar un trozo de cartulina blanca de reciclaje que tenía en casa, corté algunas tiras con una guillotina, unas de 3 mm de ancho y otras de 5 mm de ancho. Si no tenemos una guillotina podemos hacerlo con una tijera.
• Pegué algunas tiras de 3mm con un toque de pega en la punta, seguida de otras de 5 mm, con la aguja para quilling comencé a enrollar comenzando por las tiras de 3 mm, hasta finalizar con las de 5 mm, antes de finalizar coloqué una argolla mediana de bisutería introduciéndola por el medio de la tira, seguí enrollando hasta finalizar con la misma, sellé con un toque de pega y saqué de la aguja.
• Tome pintura color oro al agua y con un pincel apliqué varias capas al círculo cerrado resultante, deje secar muy bien.
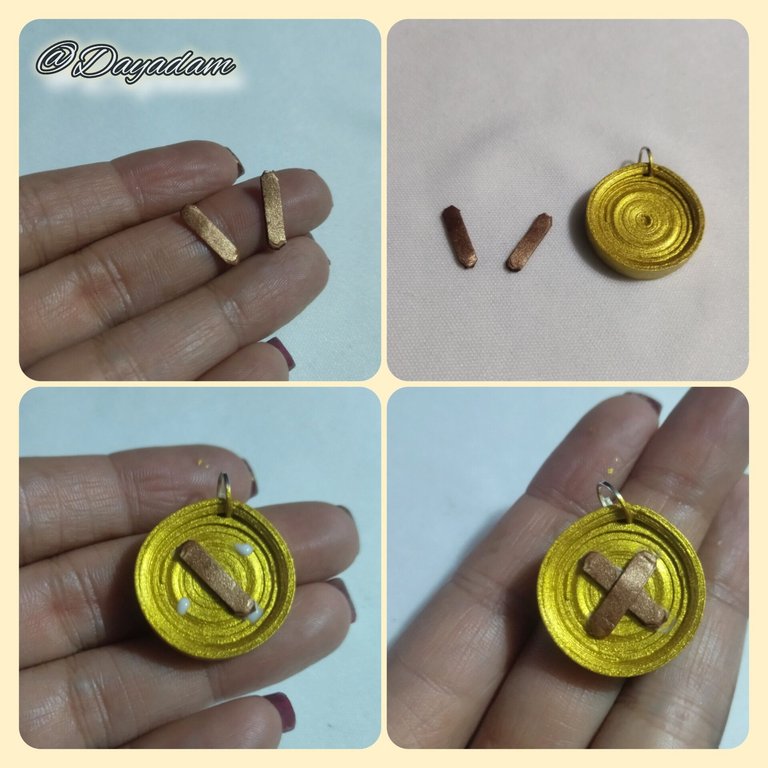
- At this point take 3 mm wide bronze colored ribbon, cut two pieces which I rounded at the tip, glued in the shape of an x in the center of the base of the pendant, these will be the threads of the button.
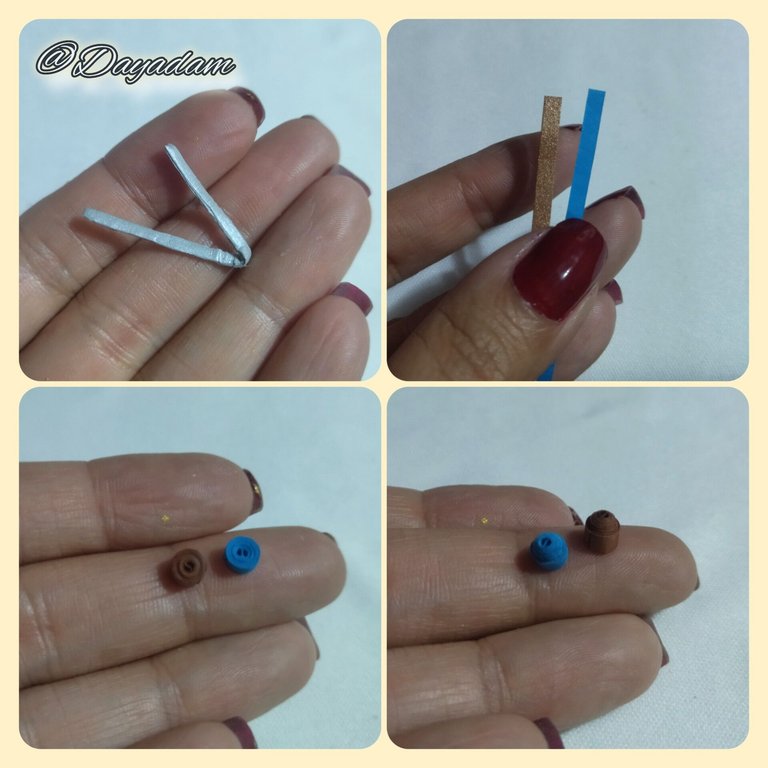
- Next we take a piece of silver colored qulling ribbon about one millimeter wide, we fold it in half forming a kind of V shape with one side shorter than the other.
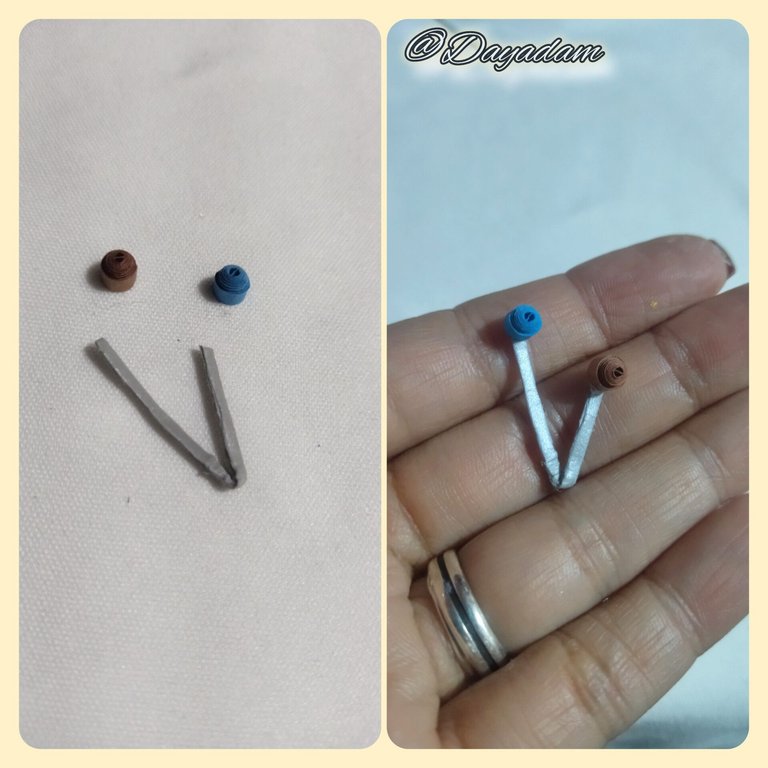
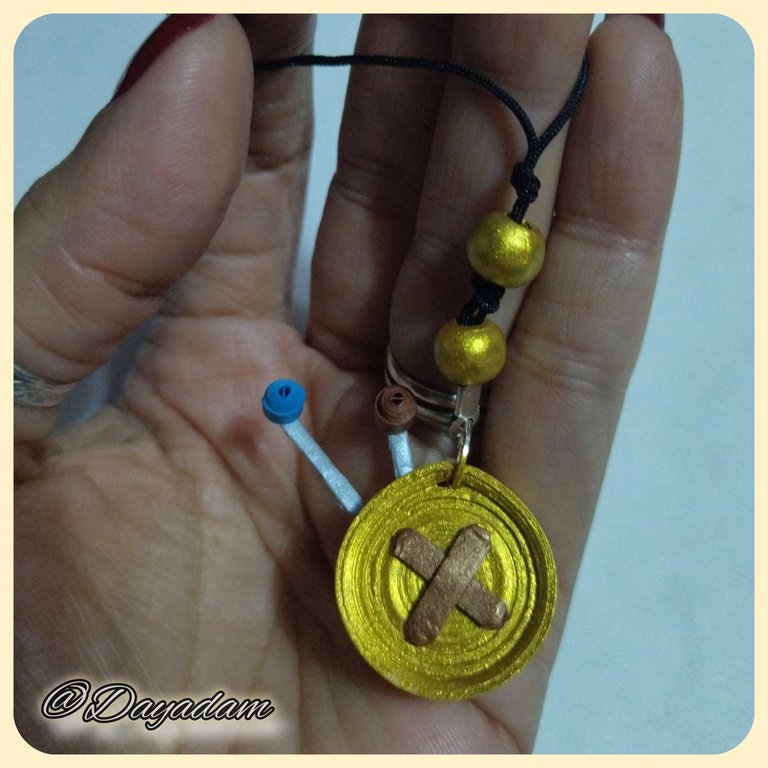
- With bronze and blue quilling tape 3 mm wide, we will make two small closed circles, these resulting circles we will take them out a little bit, when they are ready we glue them to the ends of the silver V that we made beforehand. These will be the pins with heads that I made to decorate the button. We glue them to the back of the button.
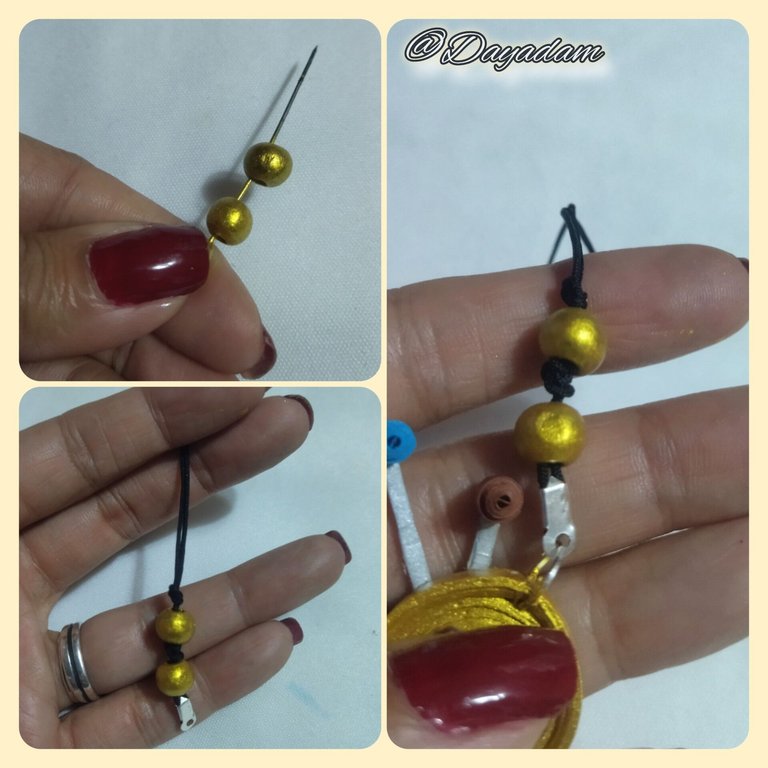
- To finish I made a small pendant of fine Chinese thread with its respective knot cover, I placed in the middle of the threads 2 wooden beads, which I previously painted with gold colored water-based paint.
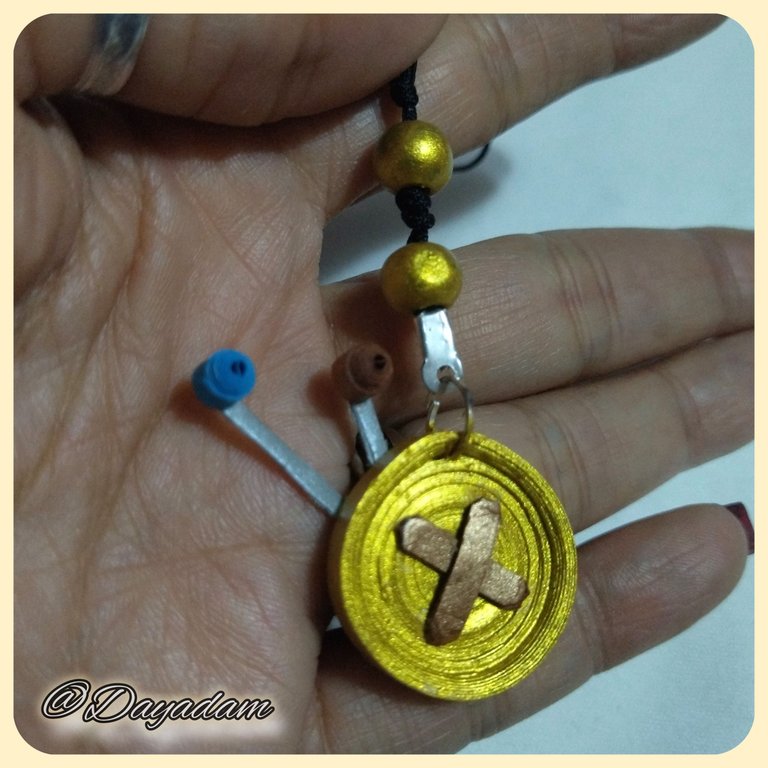
- This way we have ready this pendant, which I materialized inspired in the letter "Blackmoor Jinx ".

• En este punto tome cinta para ir de 3 mm de ancho color bronce, corte dos trozos los cuales redondee en la punta, pegué en forma de x en el centro de la base del dije estos serán los hilos del botón.
• a continuación tomamos un trozo de cinta para quilling color plateado de aproximadamente 1mm de ancho, doblamos a la mitad formando una especie de V con un lado más corto que el otro.
• Con cinta para quilling de color bronce y color azul de 3 mm de ancho, haremos dos pequeños círculos cerrados, estos círculos resultantes los sacaremos un poco hacia afuera, al estar listos los pegamos de las puntas de la B plateada que elabore con antelación. Estos serán los alfileres con cabeza que elaboré para decorar el botón. Pegamos de la parte de atrás del botón.
• Para finalizar llevé a cabo un pequeño colgante de hilo chino fino con sus respectivo tapa nudos, coloqué por el medio de los hilos 2 perlas de madera, las cuales pinté previamente con pintura color oro al agua.
• De esta manera tenemos listo este colgante, que materialice inspirada en la carta "Blackmoor Jinx".


What did you think, did you like it?
I hope you did, I hope you liked my explanation, procedure and photos, I made them with love for you.
"Let out that muse that inspires you, and let your imagination fly".
Thank you all, see you next time.

¿Que les pareció, les gustó?
Espero que sí, que les haya gustado mi explicación, procedimiento y fotos, los hice con mucho cariño por y para ustedes.
"Deja salir esa musa que te inspira, y deja volar tu imaginación".
Gracias a todos, nos vemos en la próxima.


