Hello everyone... ⚡️🐝⚡️💕
Hello to my dear Hivers and the dear community of artists #HiveDIY, as always very pleased and excited to be here again, showing you my work made with love and especially for you.
Another month begins, we start October, and in our #Hive world we celebrate #PowerUpDay (PUD).
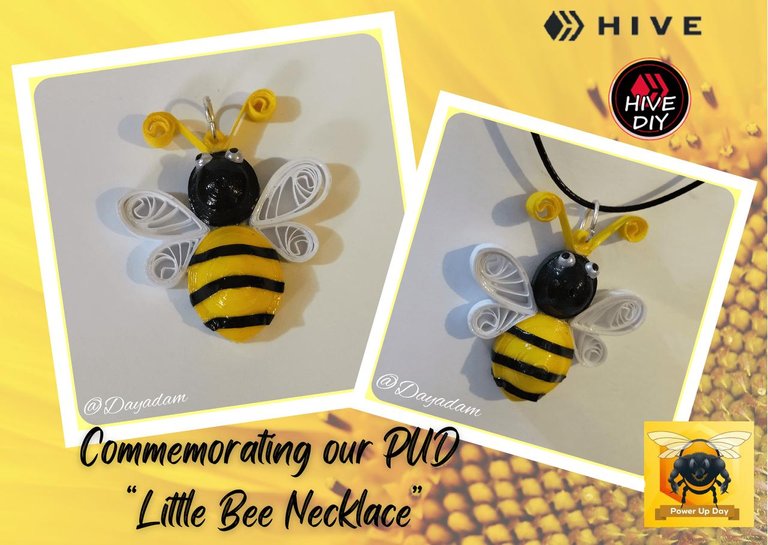
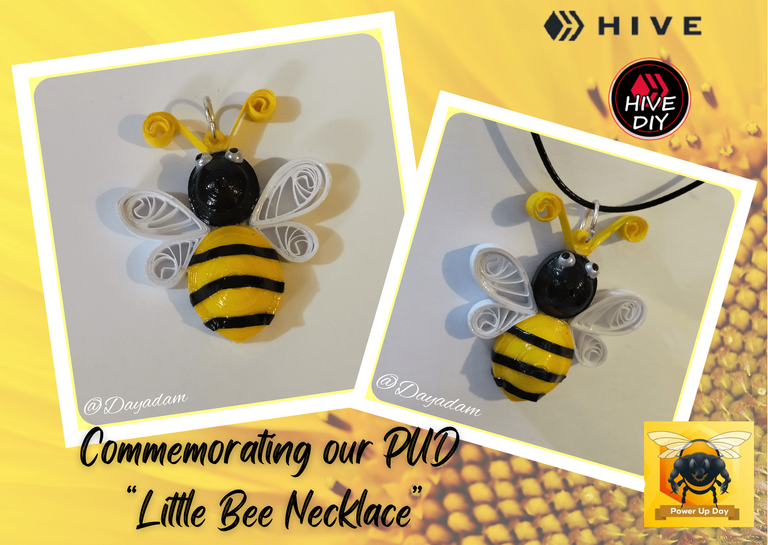
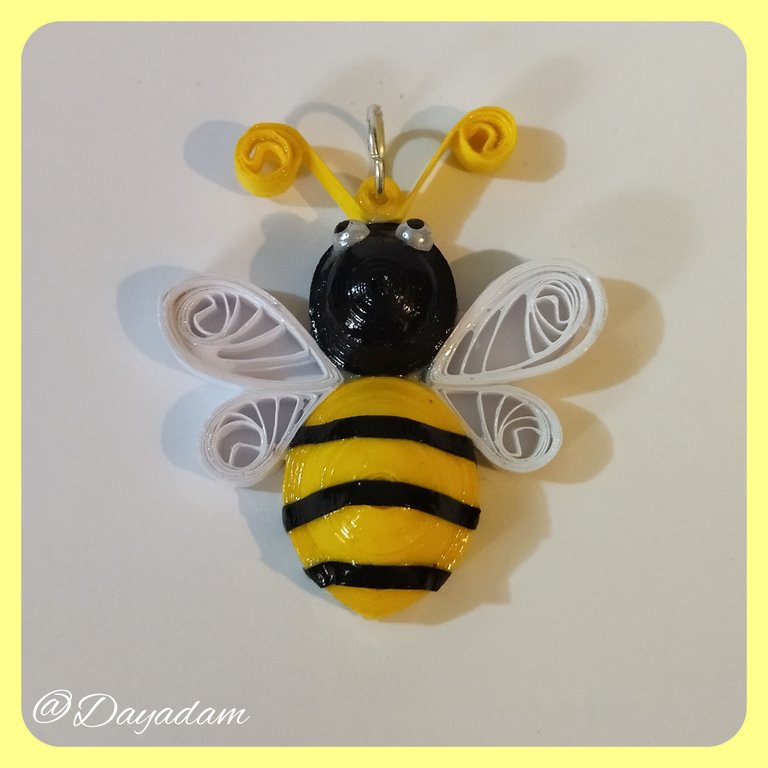
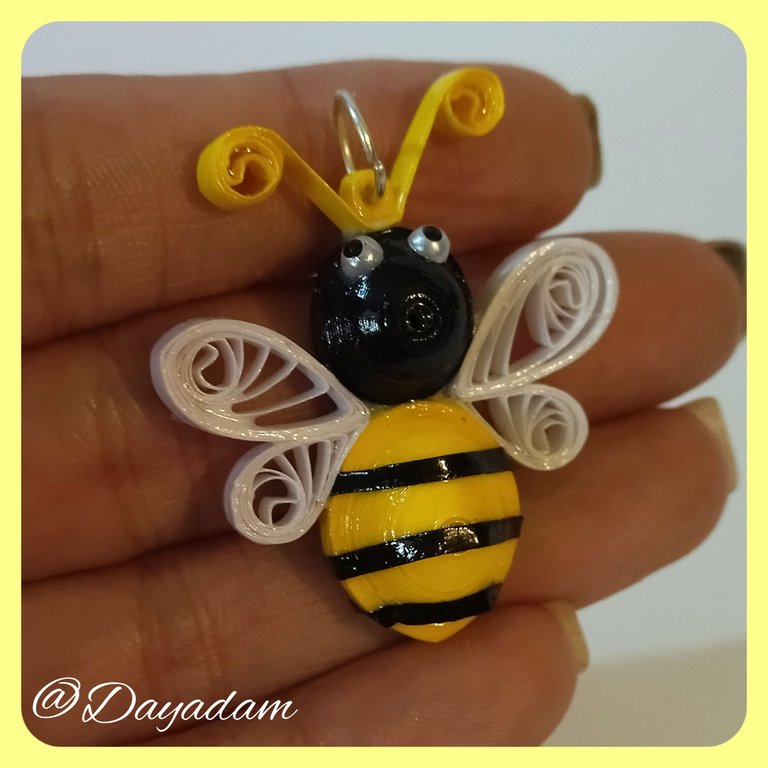
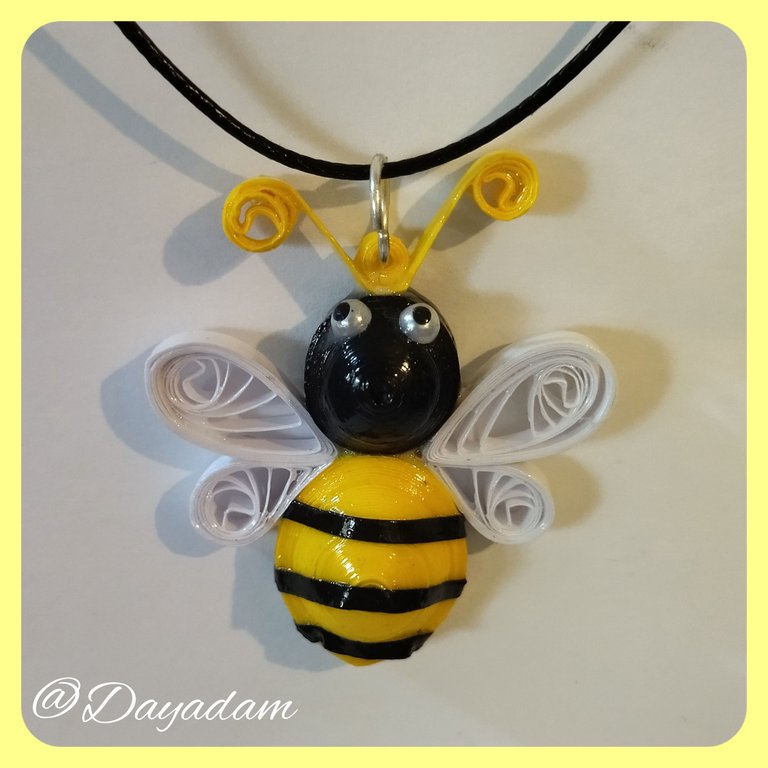
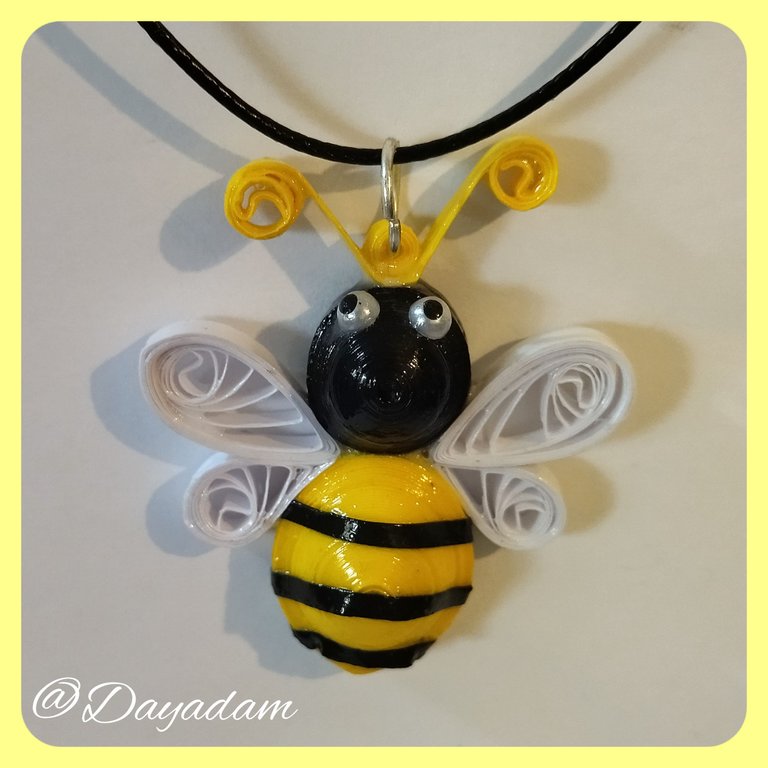
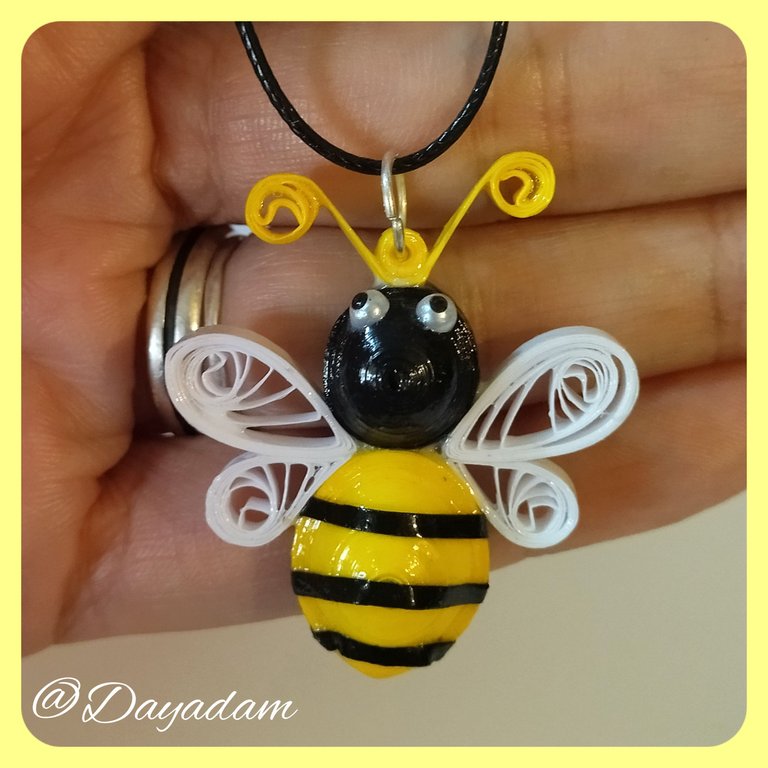
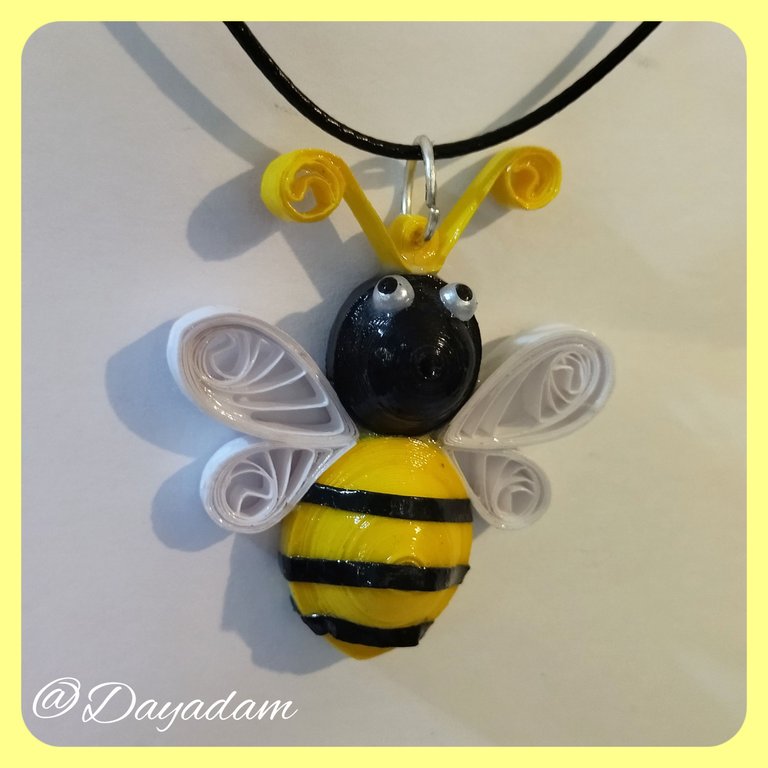
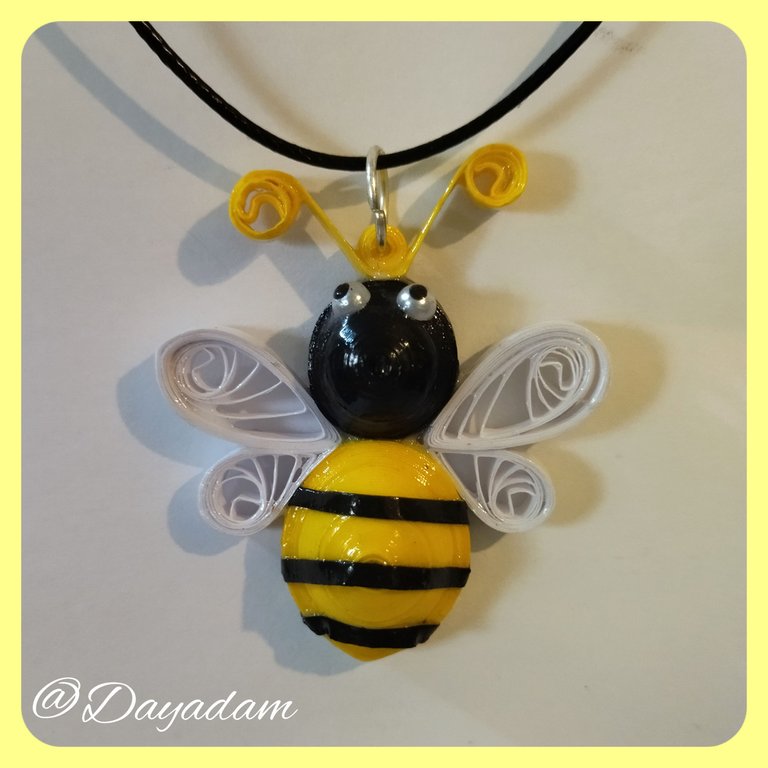
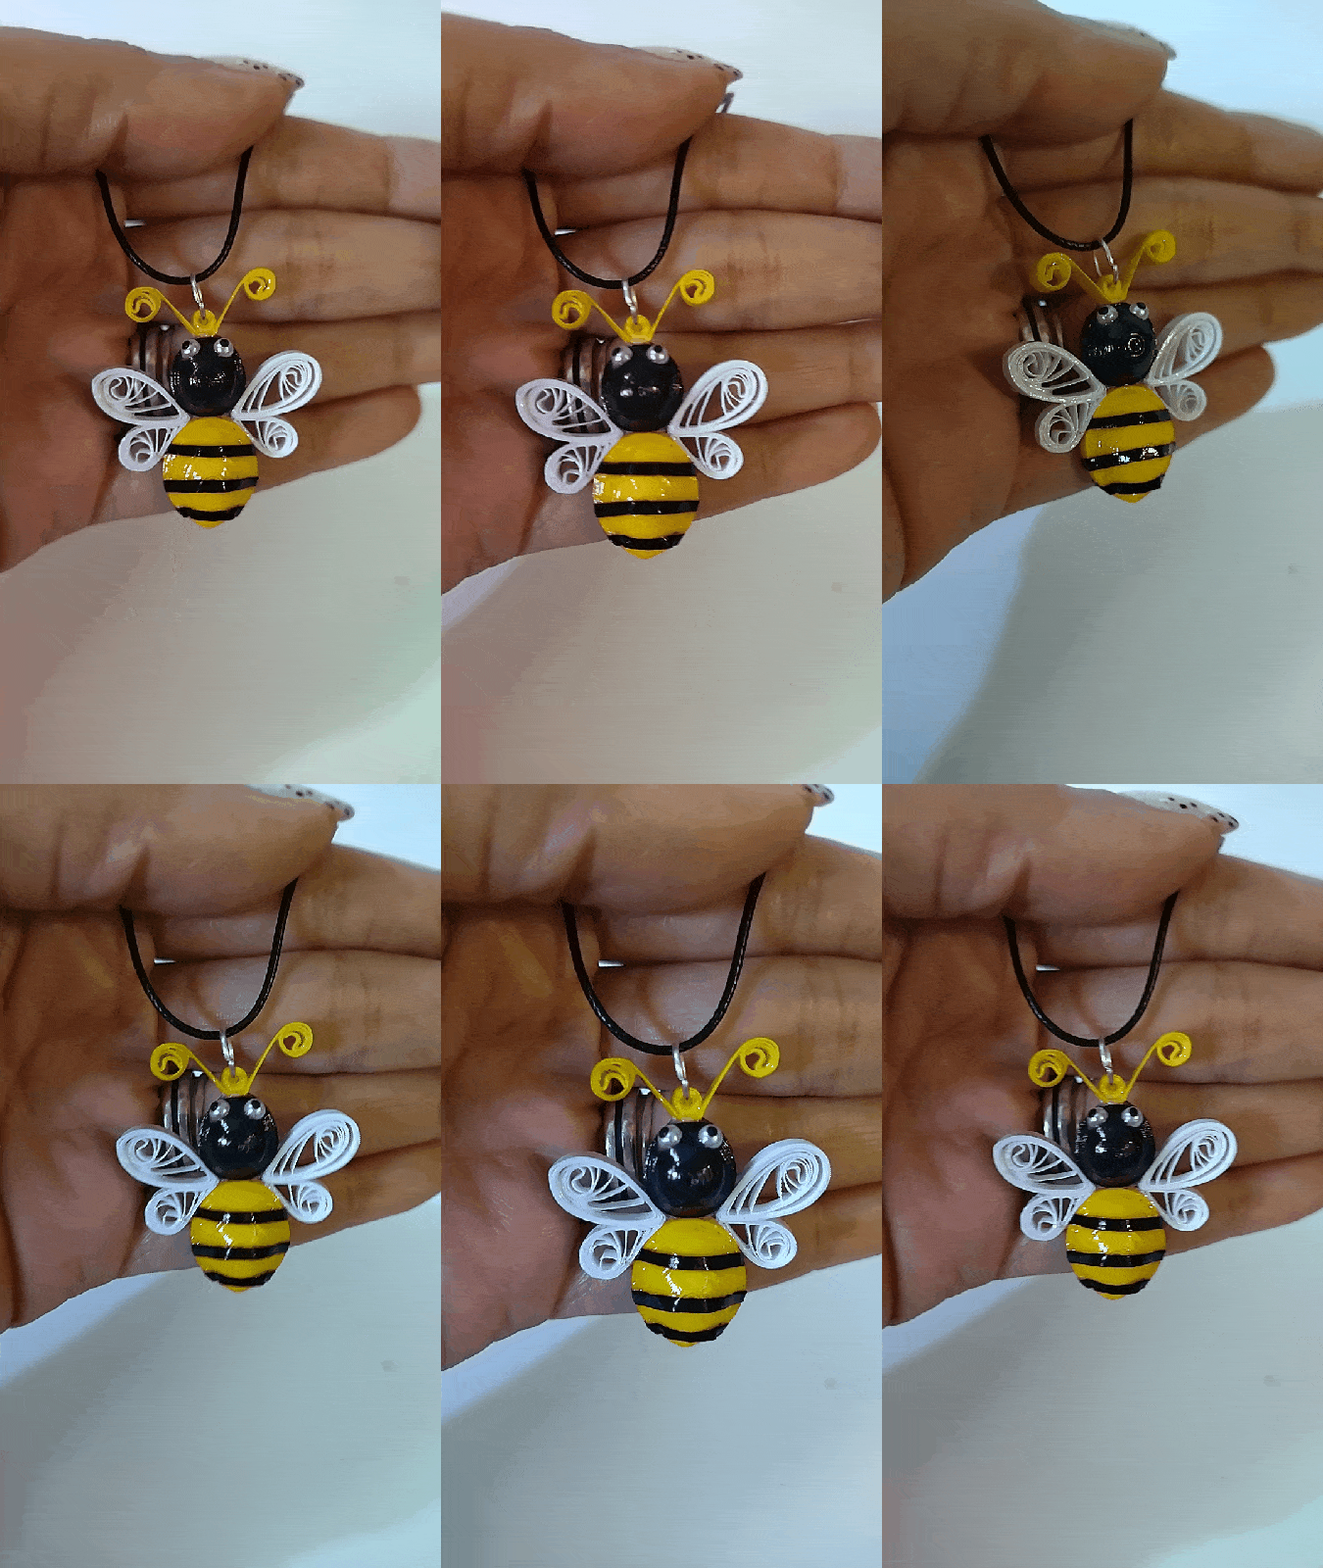
It has become a habit for me to celebrate this day by making something allusive and special, not only making my respective PowerUp, so today I want to give you a necklace charm in the shape of a little bee, one more made in my beloved quilling technique.
I invite and encourage you to participate in the PUD month by month, it is a great way to grow your account and put a grain of sand for our wonderful blockchain to grow every day. Be encouraged...
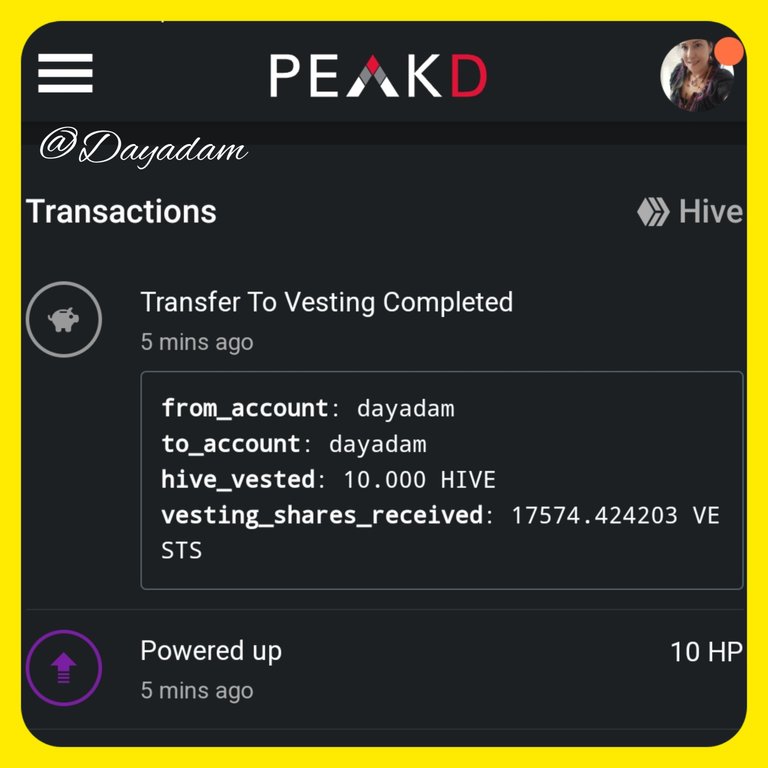
Below is an image of my respective PowerUp with a small contribution of 10 Hive.
Hoping you like it, I leave you my creative process:
Let's start:😃

Hola a Todos... ⚡️🐝⚡️💕
Hola a mis queridos Hivers y a la querida comunidad de artistas #HiveDIY, como siempre muy complacida y emocionada de encontrarme por acá nuevamente, mostrándole mi trabajo hecho con mucho amor y especialmente para ustedes.
Un mes más comienza, iniciamos Octubre, y en nuestro mundo de #Hive celebramos el #PowerUpDay (PUD).
Ya se me ha hecho algo de costumbre celebrar este día conmemorándolo realizando algo alusivo y especial, no solo realizando mi respectivo powerup, por ello hoy quiero regalarles un dije para collar en forma de abejita, uno más realizado en mi querida técnica de quilling.
Los invito y exhorto, a que participen en el PUD mes a mes, es una gran manera de que tu cuenta crezca y pones un granito de arena para que nuestra maravillosa blockchain crezca cada día mas. Anímate...
Más abajo les dejo una imagen de mi respectivo PowerUp con un pequeño aporte de 10 Hive.
Esperando que sea de su agrado, les dejo mi proceso creativo:
Comencemos:😃

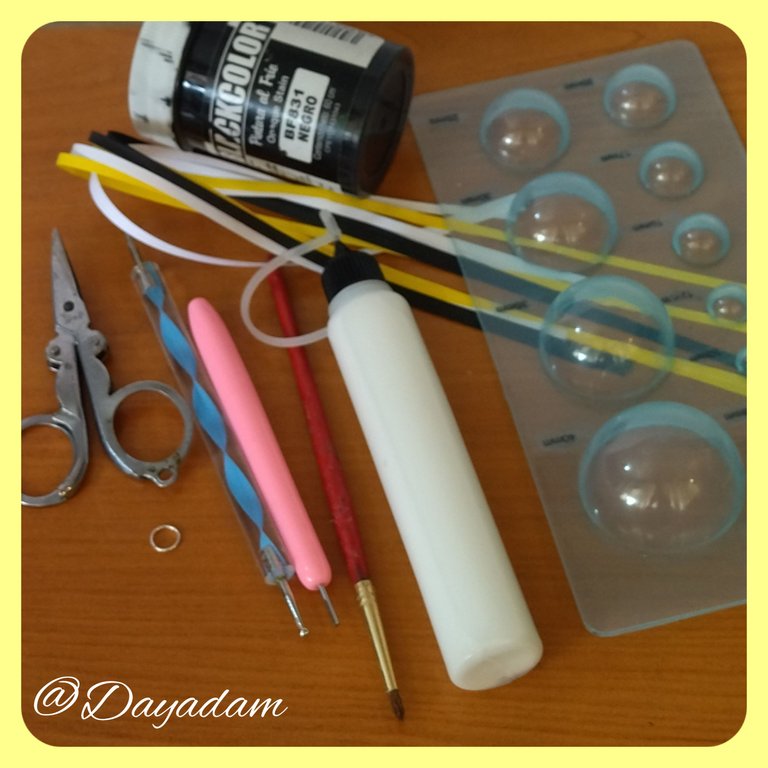
• Cintas de quilling de amarillo, negro y blanco.
• Aguja para quilling.
• Plantilla para moldear círculos.
• Perlas blanca.
• Argolla de bisutería.
• Pintura al frio negra.
• Pega blanca extra fuerte (de carpintería).
• Tijera.
• Pincel.
• Collar de tu preferencia
- Yellow, black and white quilling ribbons.
- Quilling needle.
- Template to mold circles.
- White beads.
- Jewelry ring.
- Black cold paint.
- Extra strong white glue (carpentry glue).
- Scissors.
- Paintbrush.
- Necklace of your choice

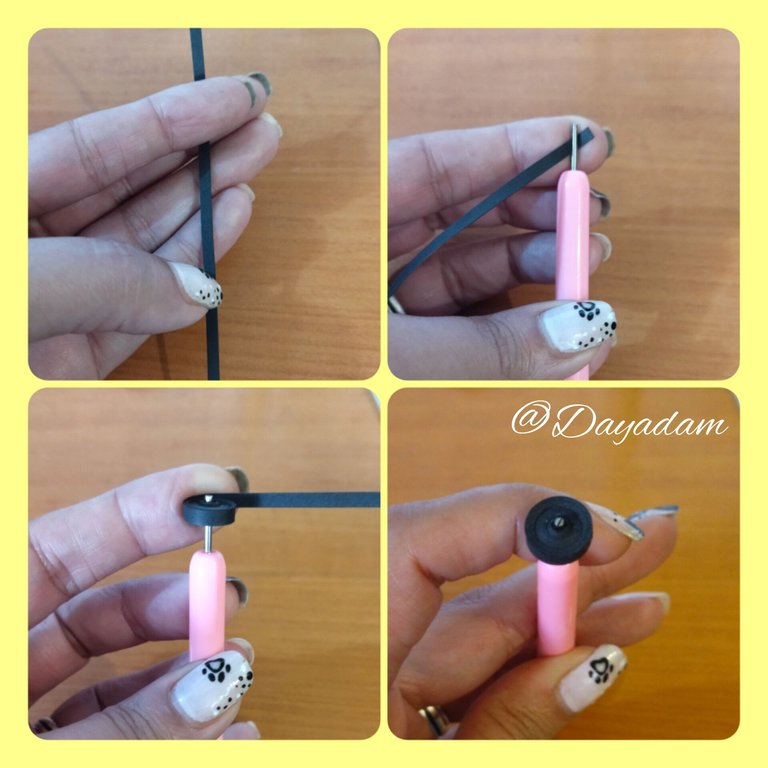
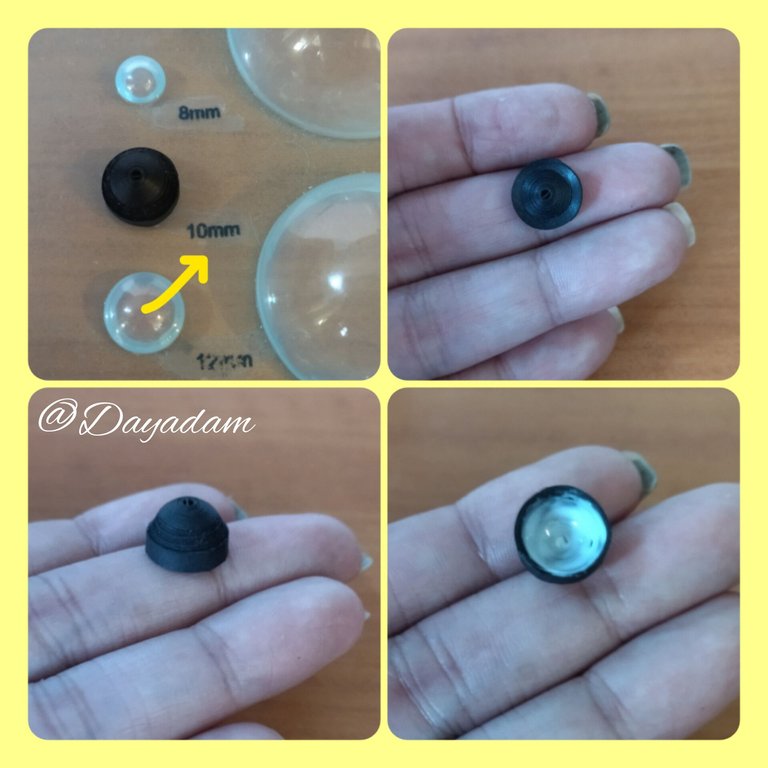
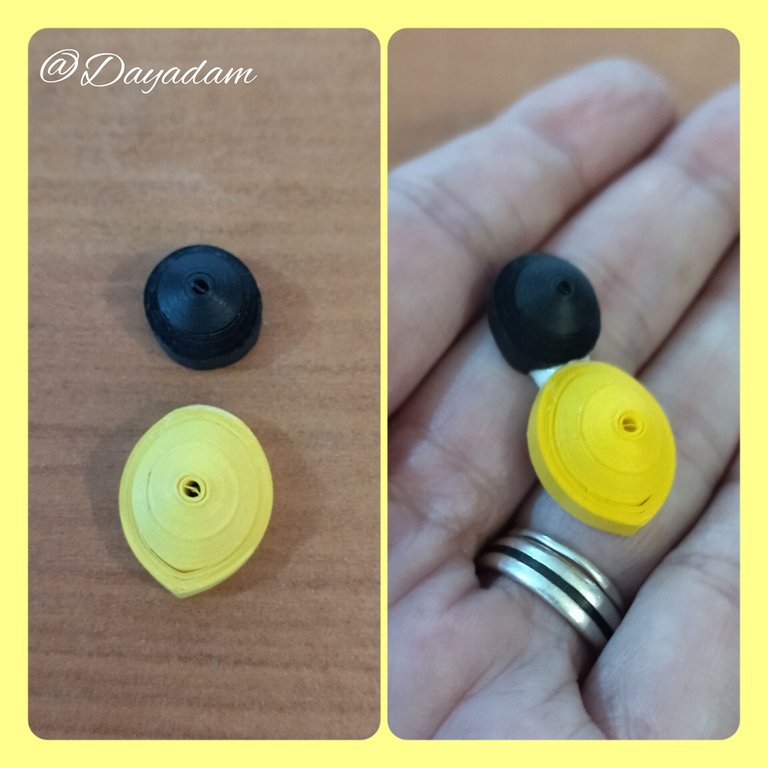
- Let's start by taking a black quilling tape 3mm wide x 80cms long, with the quilling needle we will roll until the end with all the tape, we take out the needle and seal with extra strong white glue, we will obtain a closed circle which we will mold in the template to mold circles in the measure of 10mm, in the inner part we will apply a little glue to prevent it from deforming.
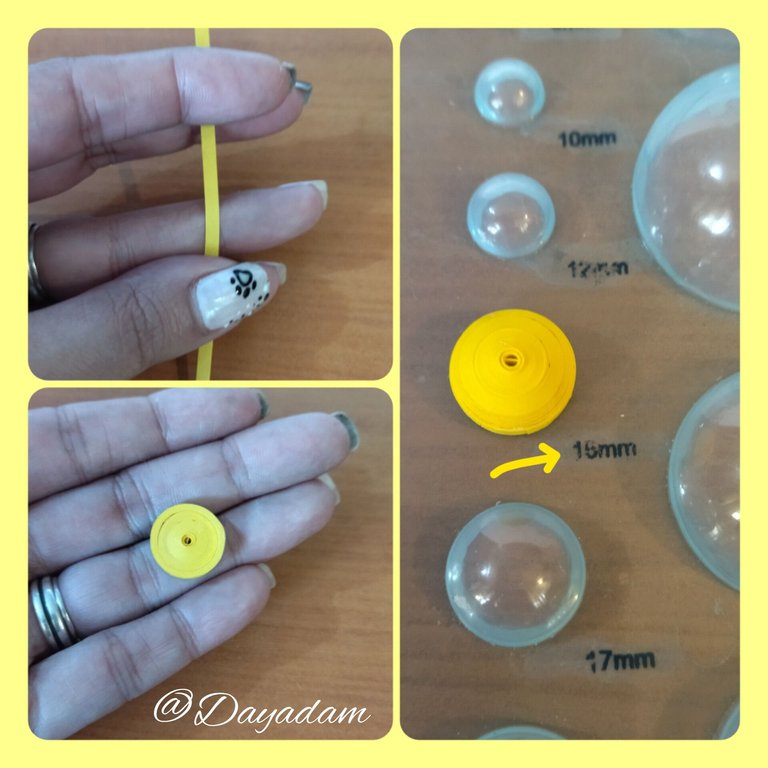
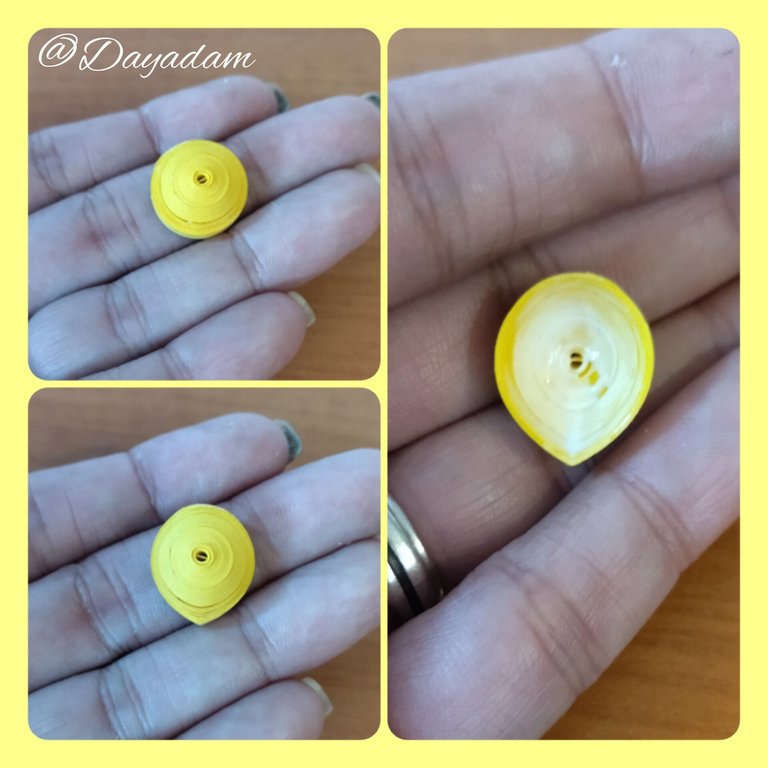
- Under the same previous parameters we will take a yellow ribbon of 3mm wide x 150cms long, we will roll up to form a closed circle, we will mold in the template in the measure 15mm, we will take out and flatten a little in the tip to form a kind of beak, we will apply glue in the internal part.

• Vamos a comenzar tomando una cinta para quilling negra de 3mm de ancho x 80cms de largo, con la aguja para quilling vamos a enrollar hasta finalizar con toda la cinta, sacamos de la aguja sellamos con pega blanca extra fuerte, obtendremos un circulo cerrados el cual moldearemos en la plantilla para moldear círculos en la medida de 10mm, en la parte interna aplicaremos un poco de pega para evitar que la misma se deforme.
• Bajo los mismos parámetros anteriores tomaremos una cinta amarilla de 3mm de ancho x 150cms de largo, enrollaremos hasta formar un círculo cerrado, moldearemos en la plantilla en la medida 15mm, sacaremos y aplanaremos un poco en la punta para formar una especie de pico, aplicaremos pega en la parte interna.
- We will join both pieces with some extra strong white glue, this will be the base, head and body of the bee.
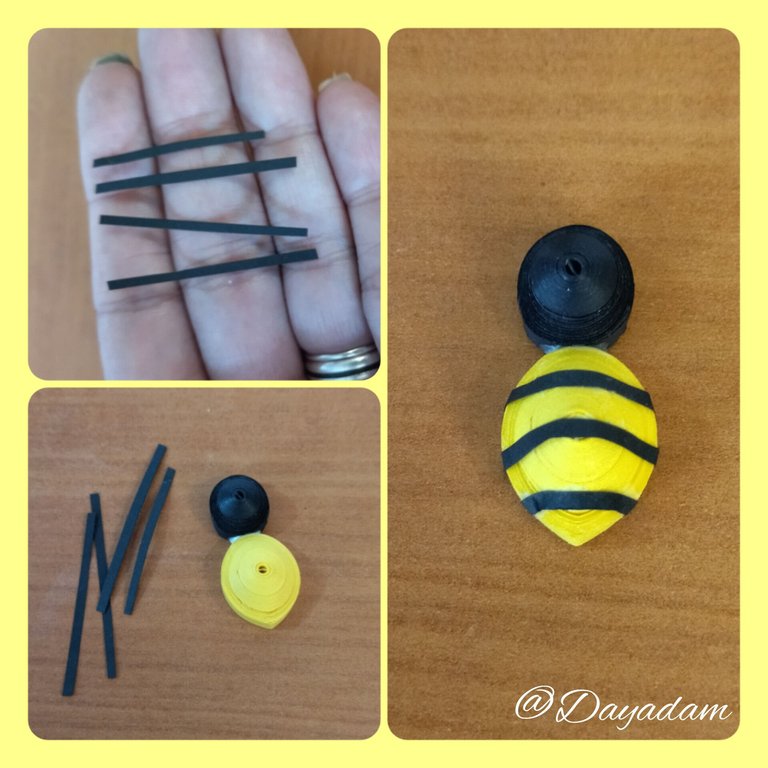
- With small pieces of black ribbon we will decorate with small lines the body of the bee.
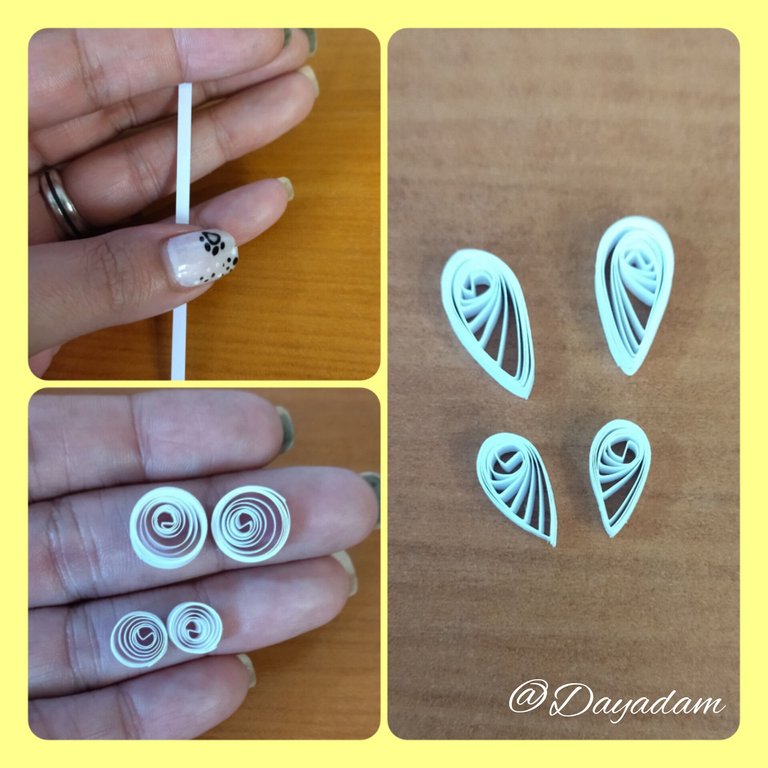
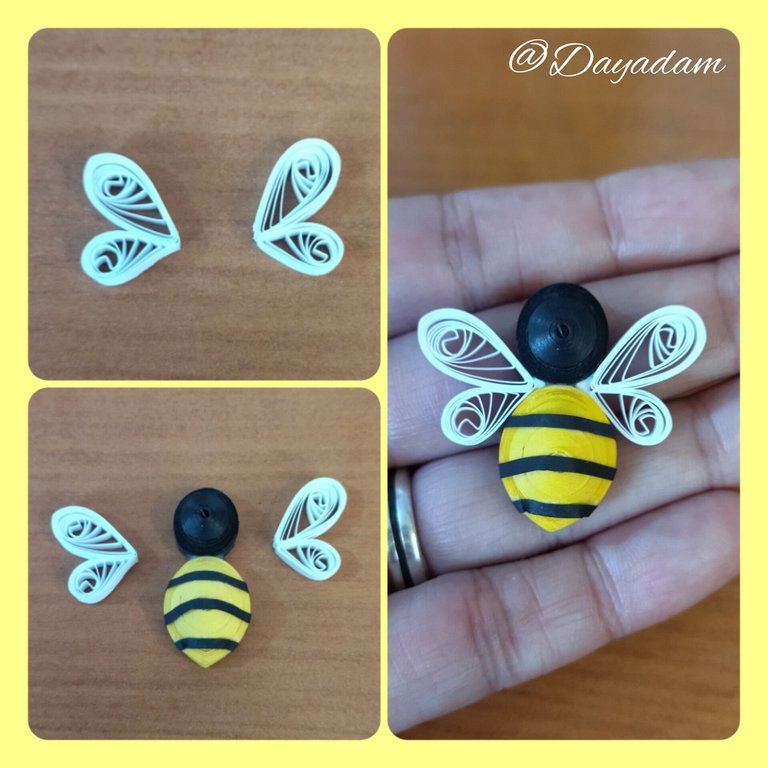
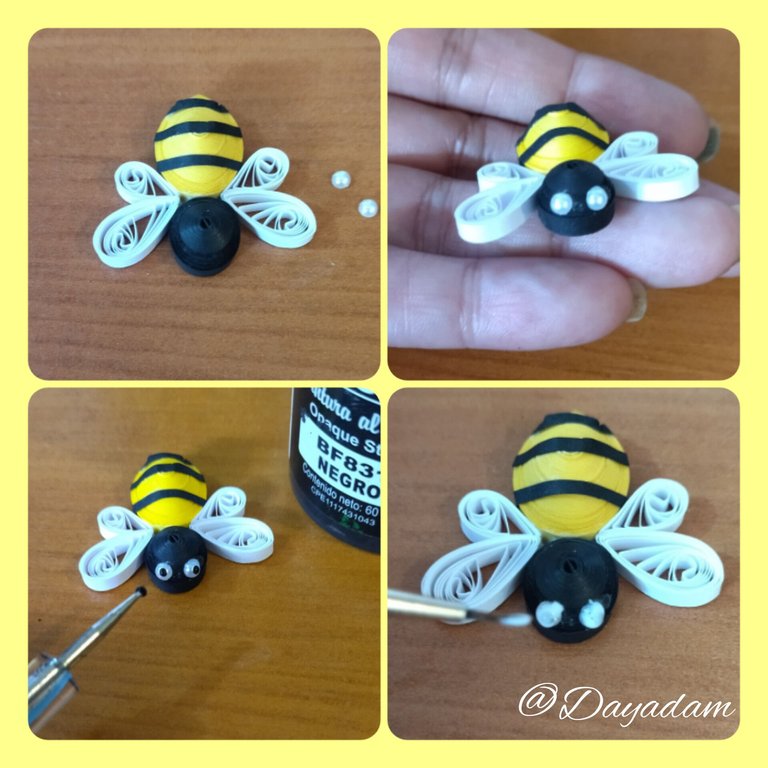
- Let's proceed to make the wings, we will take 3mm wide white quilling tape, with it we will make 4 open circles, 2 medium and two smaller ones, we will mold them in the shape of a leaf, we will join a big one and a small one, once ready we will glue them between the head and the body we made in advance.

• Uniremos ambas piezas con un poco de pega blanca extra fuerte, esta será la base, cabeza y cuerpo de la abejita.
• Con trocitos de cinta negra decoraremos con pequeñas líneas el cuerpo de la abeja.
• Procedamos a hacer las alas, tomaremos cinta para quilling de color blanco de 3mm de ancho, con ella haremos 4 círculos abiertos, 2 medianos y dos más pequeños, los moldearemos en forma de hoja, uniremos uno grande y uno pequeño, una vez listos los pegaremos entre la cabeza y el cuerpo que hicimos con antelación.
- Take 2 white half beads of costume jewelry and place them on the face of the bee, these will be its eyes, make a small dot of cold black paint, let it dry and add a little extra strong white carpentry glue to seal and prevent it from rubbing off.
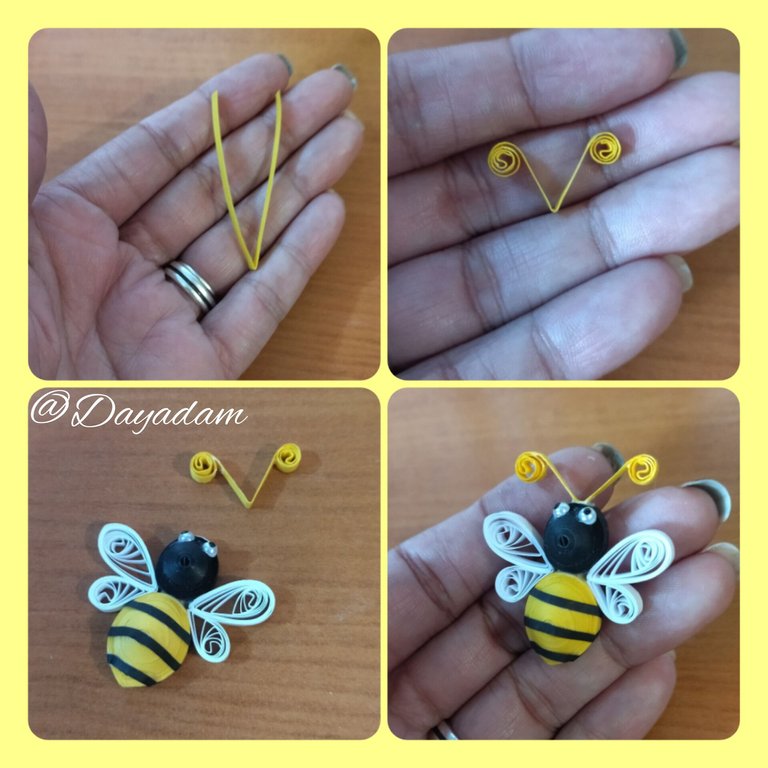
- Make the antennae with a piece of yellow ribbon 3mm wide which I folded in half and molded in a spiral shape at both ends, glue to the head of the bee.
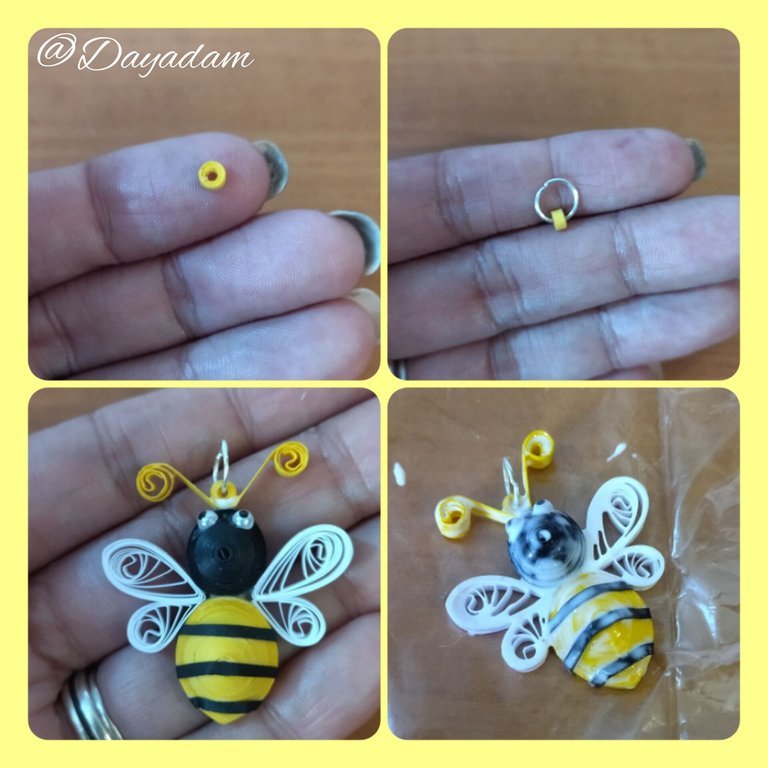
- To finish with the elaboration of the pieces we will make a small closed yellow circle to which we will introduce a costume jewelry ring, we glue this piece between the two antennas.
- We will finish by applying liquid protection to the pendant (plasticized), with a brush we will apply several layers of extra strong white glue, letting it dry between one layer and the other.
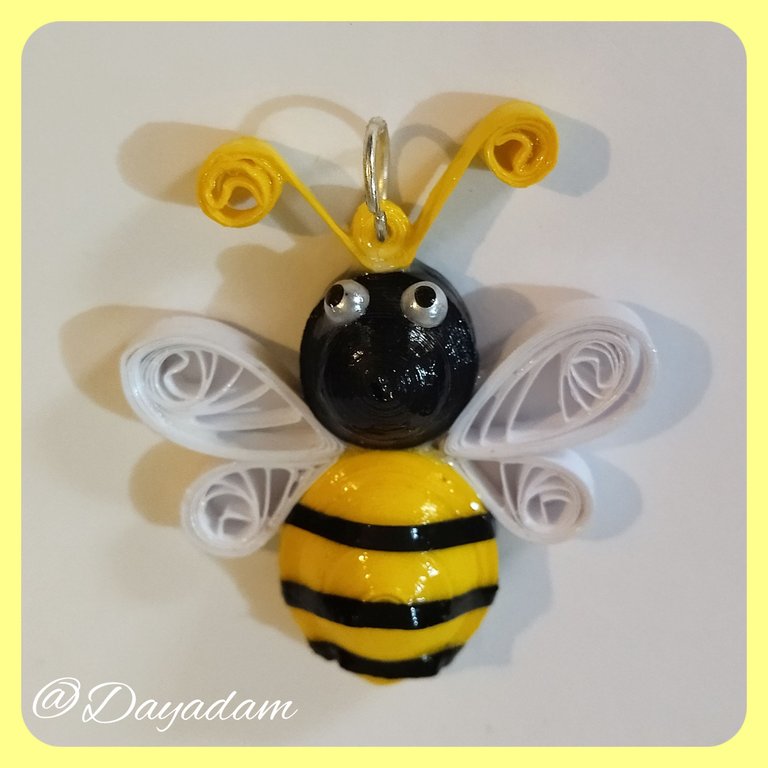
This is the end of this new little bee that I made with a lot of love, to commemorate our PUD ⚡️🐝⚡️

• Tome 2 medias perlas blancas de bisutería y las coloque en la cara de la abejita, estos serán sus ojos, le realice un pequeño punto de pintura negra al frio deje secar y añadí un poco de pega blanca extra fuerte de carpintería para sellar y evitar que se borre.
• Realice las antenas con un trozo de cinta amarilla de 3mm de ancho la cual doble a la mitad y moldee en forma de espiral en las dos puntas, pegue a la cabeza de la abeja.
• Para finalizar con la elaboración de piezas haremos un pequeño círculo cerrado color amarillo al cual le introduciremos una argolla de bisutería, pegamos esta pieza entre las dos antenas.
• Terminaremos colocando protección liquida al dije (plastificado), con un pincel aplicaremos varias capas de pega blanca extra fuerte dejando secar entre una capa y otra.
De esta manera esta finalizada esta nueva abejita que realice con mucho cariño, para conmemorar nuestro PUD ⚡️🐝⚡️

What did you think, did you like it?
I hope you did, I hope you liked my explanation, procedure and photos, I made them with love for you.
"Let out that muse that inspires you, and let your imagination fly".
Thank you all, see you next time. Happy PowerUpDay ⚡️🐝⚡️

¿Que les pareció, les gustó?
Espero que sí, que les haya gustado mi explicación, procedimiento y fotos, los hice con mucho cariño por y para ustedes.
"Deja salir esa musa que te inspira, y deja volar tu imaginación".
Gracias a todos, nos vemos en la próxima. Feliz PowerUpDay ⚡️🐝⚡️

Todas las fotos usadas en este post son de mi autoría y han sido sacadas en mi celular personal un Redmi 9T, editadas en InShot y Canva Banner y separador hecho por mí en Canva Traducido con la ayuda de DeepL


