Hello everyone... 💓
Hello my dear Hiver and the dear community of artists #HiveDiy, as always very pleased and excited to be here again, showing you my work made with love and especially for you.
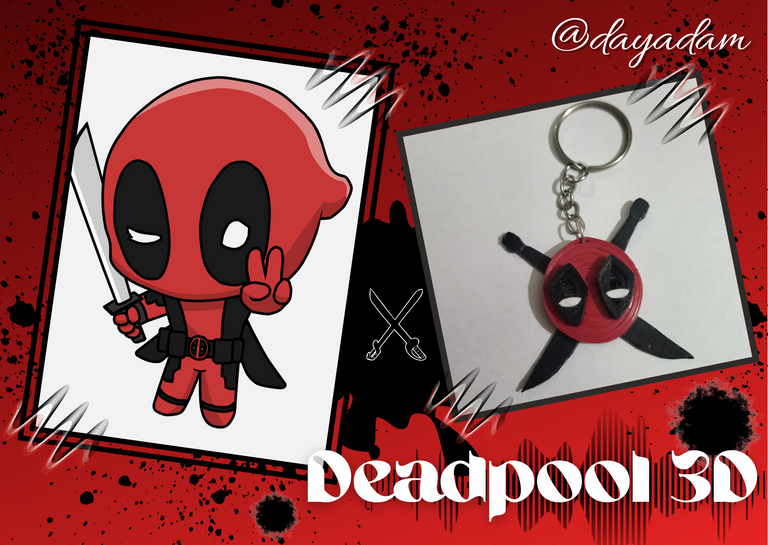
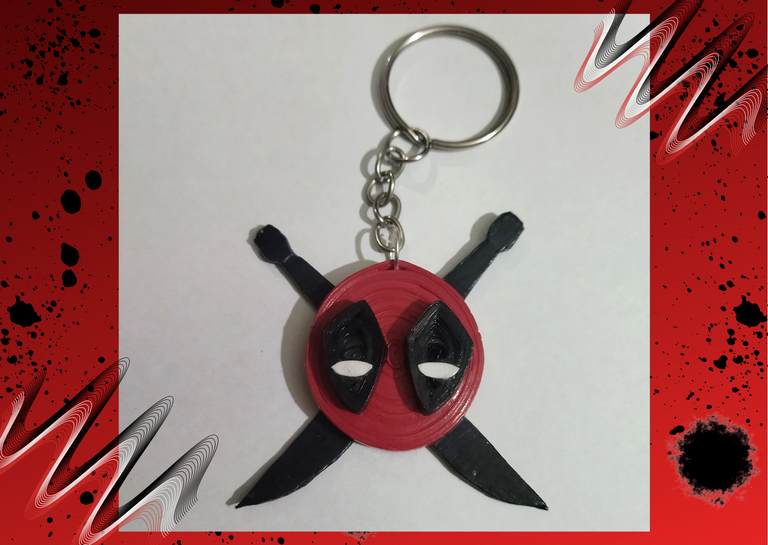
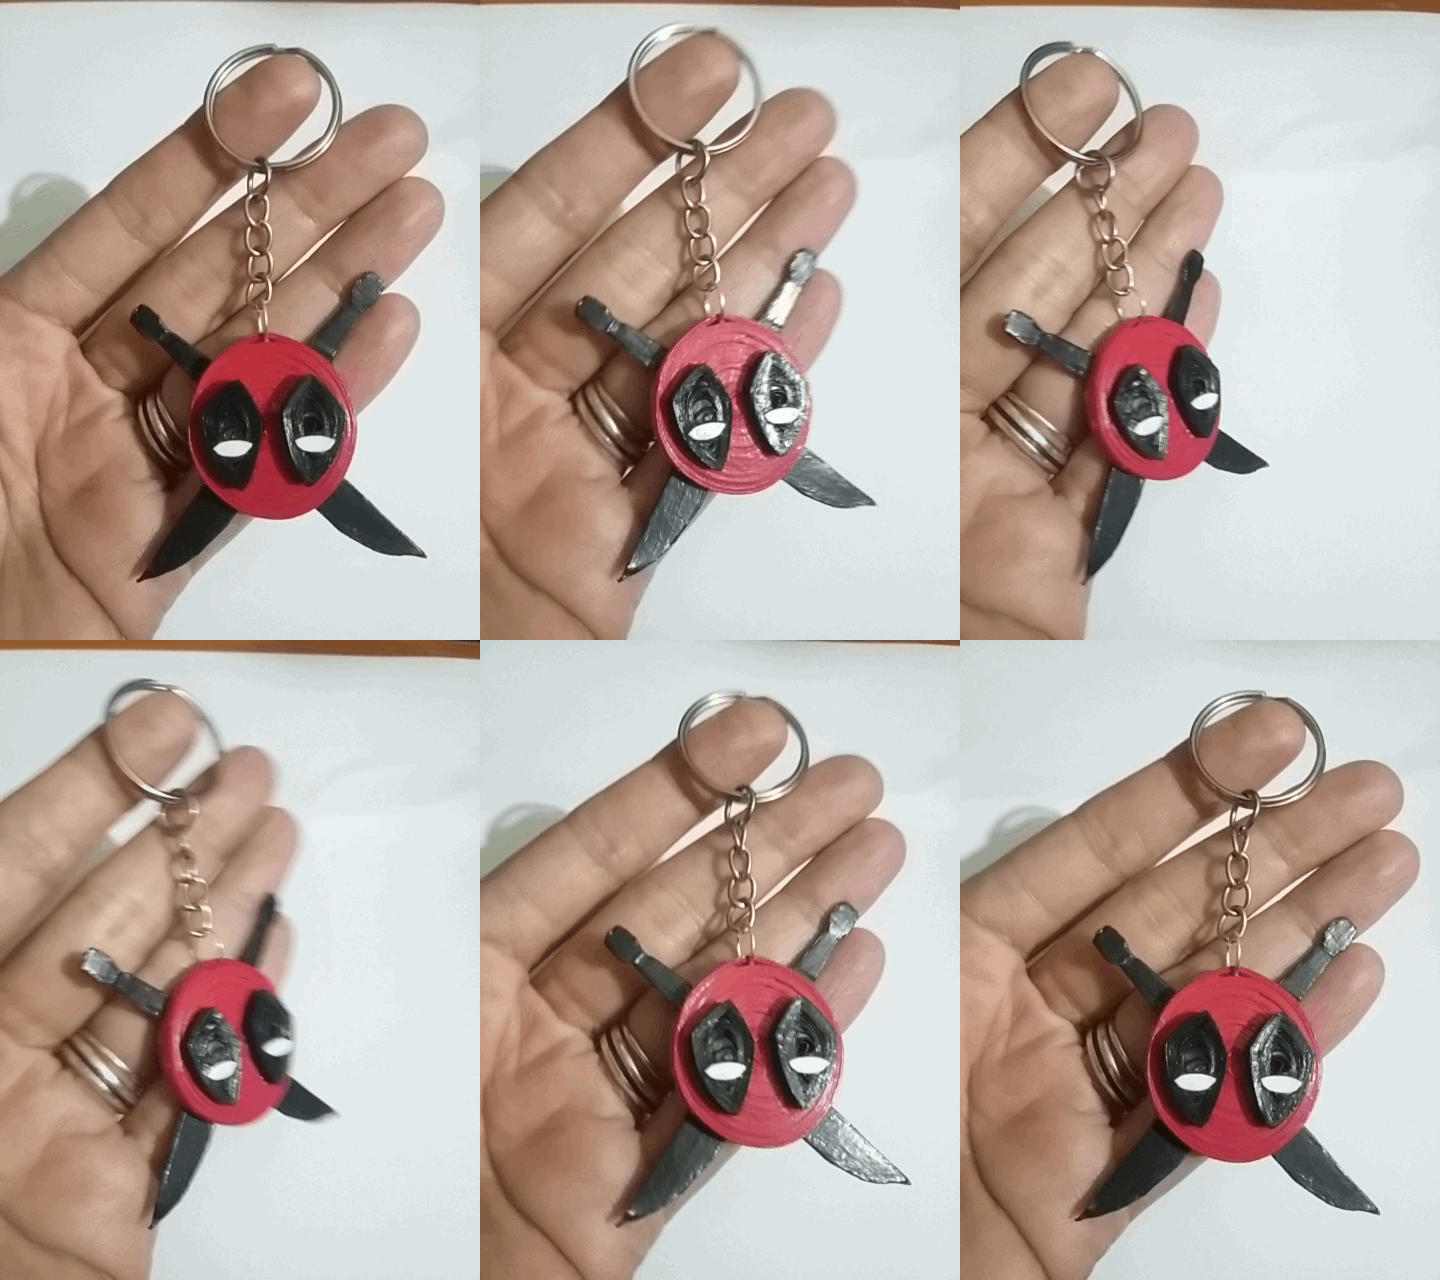
Today I bring you a very easy to make keychain, with the figure or logo of the well-known Marvel comic superhero "Deedpool", in the quilling technique.
Here I leave you my creative process, hoping that you are encouraged to carry it out. So without further ado:
Let's begin:😃

Hola a todos... 💓
Hola a mis queridos Hiver y a la querida comunidad de artistas #HiveDiy, como siempre muy complacida y emocionada de encontrarme por acá nuevamente, mostrándole mi trabajo hecho con mucho amor y especialmente para ustedes.
Para hoy les traigo un llavero muy sencillo de realizar, con la figura o logo del conocido súper héroe de los comic de Marvel “Deedpool”, en la técnica de quilling.
Por acá les dejo mi proceso creativo, esperando que se animen a llevarlo a cabo. Entonces sin más preámbulos:
Comencemos:😃

• Cintas de quilling de 3mm de ancho rojas y negras.
• Regla con diversas medidas de circunferencia.
• Cartulina negra y blanca.
• Pega blanca extra fuerte (de carpintería).
• Lápiz.
• Pincel.
• Aguja para quilling.
• Tijera.
• Alicate punta fina.
• Argolla de bisutería mediana.
• Argolla con cadena para llavero.
- Red and black quilling ribbons 3mm wide.
- Ruler with different circumference measurements.
- Black and white cardboard.
- Extra strong white glue (carpentry glue).
- Pencil.
- Paintbrush.
- Quilling needle.
- Scissors.
- Fine nose pliers.
- Medium jewelry ring.
- Ring with chain for key ring.

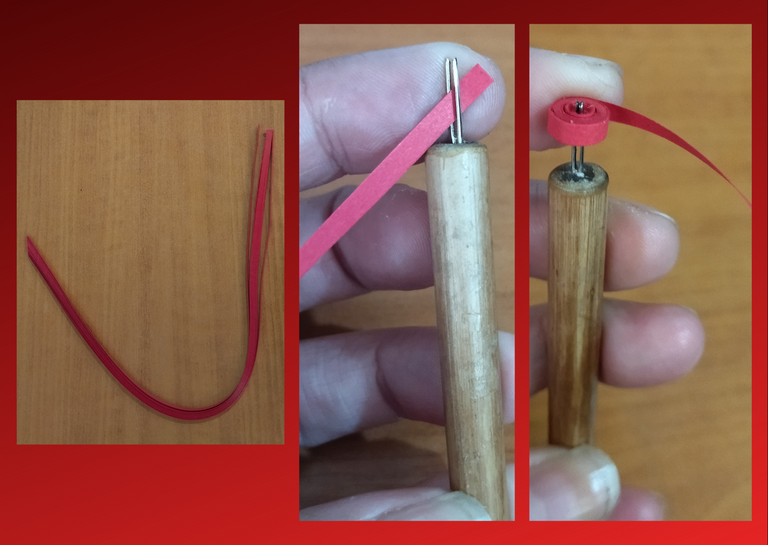
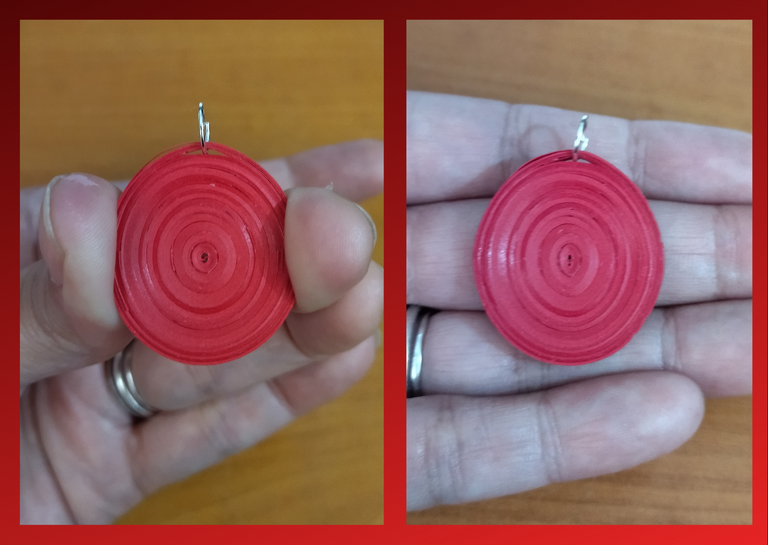
- Let's start by taking a red quilling ribbon 3mm wide x 500cms long, if we do not have ribbons of that length, we simply take several, we join them with white glue to complete the measure we need.
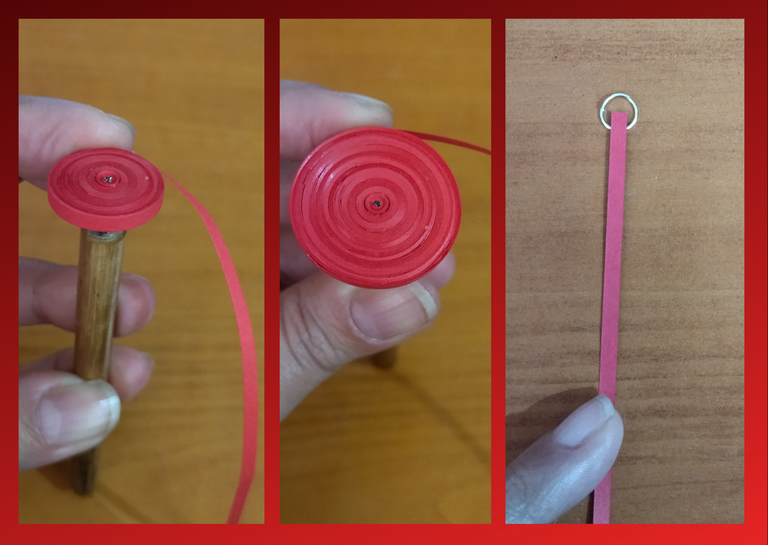
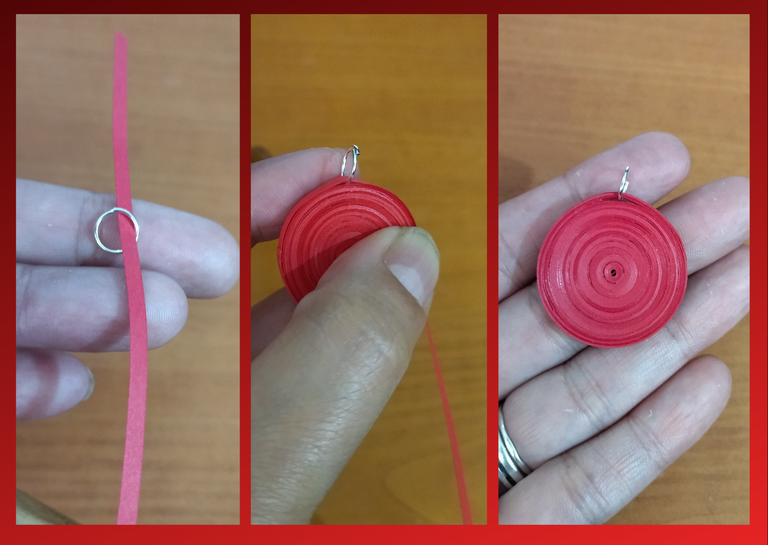
- With the quilling needle we are going to roll, before finishing with the ribbon, we will take a medium size costume jewelry ring, we will insert it inside the ribbon and proceed to finish rolling, we seal it with a touch of extra strong white glue. We will obtain a closed circle that will be the base of our keychain. Once this closed circle is ready, I flattened it on the sides a little with my fingers, so that it would not have such a rounded shape, but rather oval.

• Vamos a comenzar tomando una cinta de quilling color rojo de 3mm de ancho x 500cms de largo, si no contamos con cintas de ese largo, simplemente tomamos varias, las unimos con pega blanca hasta completar la medida que necesitamos.
• Con la aguja para quilling vamos a enrollar, antes de culminar con la cinta, tomaremos una argolla mediana de bisutería, la insertaremos dentro de la cinta y procedemos a terminar de enrollar, sellamos con un toque de pega blanca extra fuerte. Obtendremos un círculo cerrado que será la base de nuestro llavero. Ese círculo cerrado una vez listo, lo aplane por los lados un poco con los dedos, para que no tuviera forma tan redondeada, si no, más bien ovalada.
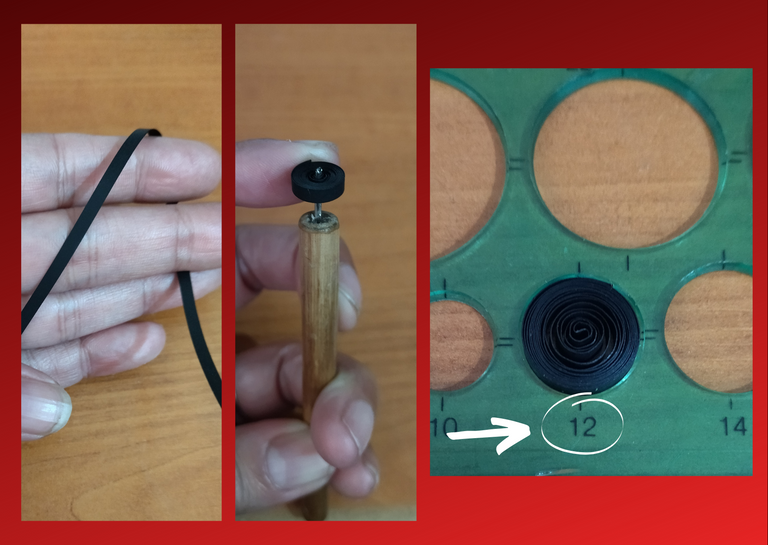
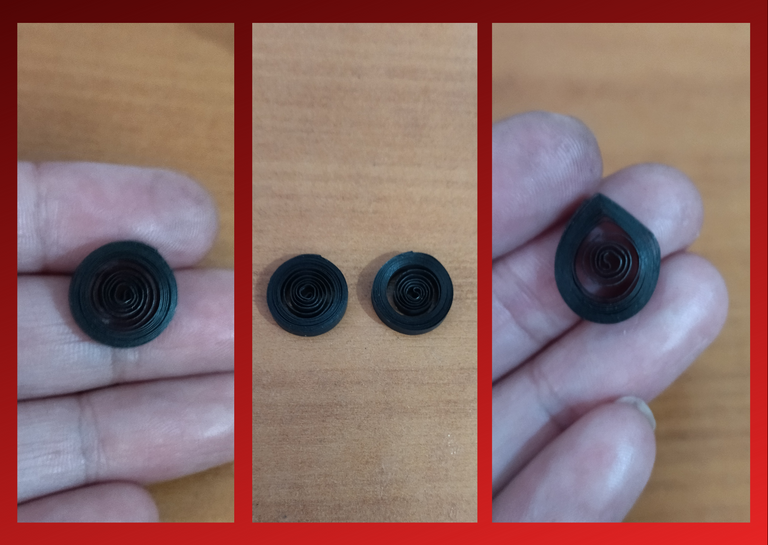
- Let's make the Deadpool mask, we will take a black ribbon of 3mm wide x 50cms long, we will roll it with the quilling needle and put it in the ruler with different measures of circumferences in the circle number 12, we take it out of the ruler and seal it with extra strong white glue. We will get a loose circle, like this one we will need 2.
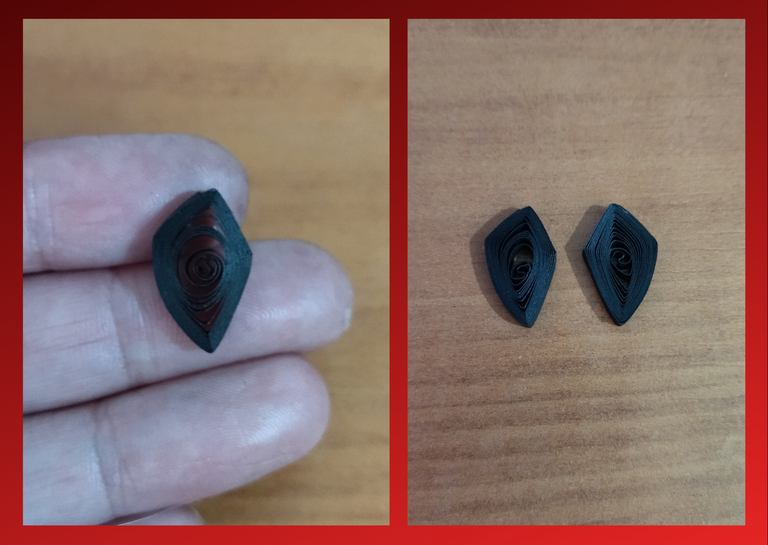
- Once the circles are ready, we will mold them with our fingers to shape the mask, you can see the shape you have to give it in the image.

• Realicemos la máscara de Deadpool, vamos a tomar una cinta negra de 3mm de ancho x 50cms de largo, enrollaremos con la aguja para quilling y metemos en la regla con diversas medidas de circunferencias en el círculo número 12, sacamos de la regla sellamos con pega blanca extra fuerte. Vamos a obtener un circulo suelto, como este vamos a necesitar 2.
• Listos los círculos moldearemos con los dedos para darle forma a la máscara, podrán ver la forma que le deben dar en la imagen.
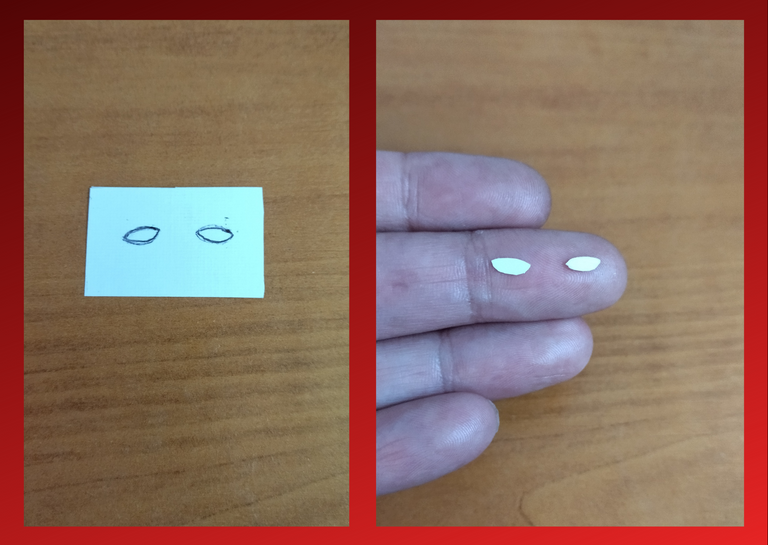
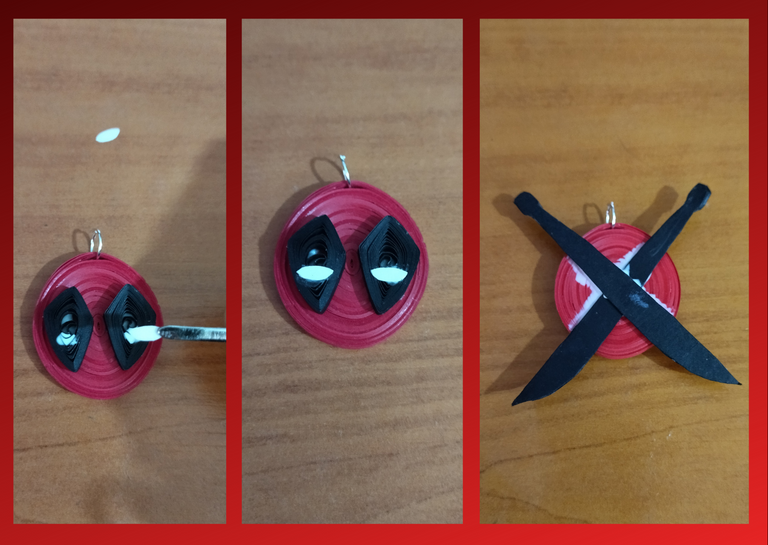
- We take a small piece of white cardboard, and with a pencil we paint the eyes of the mask, cut it out.
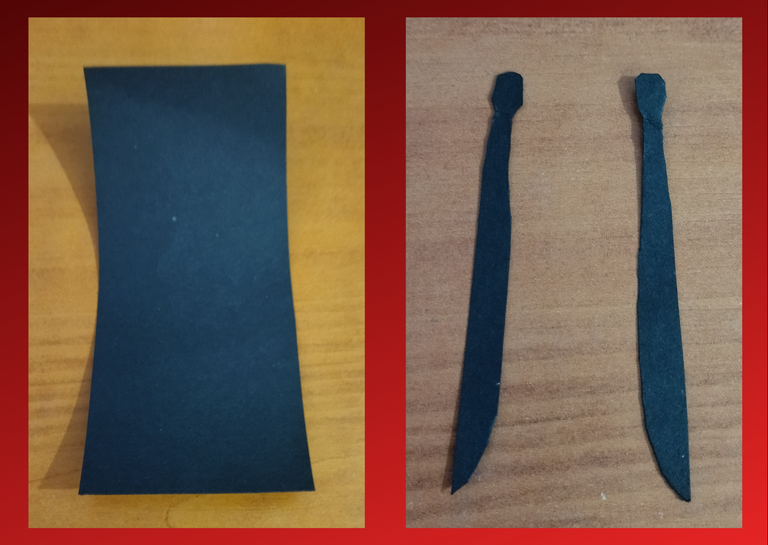
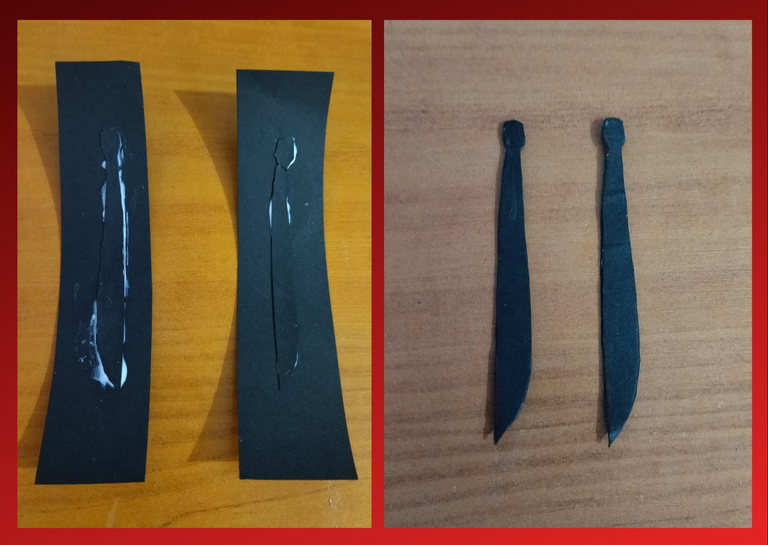
- We are going to make some swords, we take a piece of black cardboard and cut out two swords of the shape of our preference that measure approximately 7cms long, then we place them on top of another piece of cardboard, glue with white glue and cut out, we can do the process several times, this is to make them thicker and have more resistance in our keychain.

• Tomamos un pequeño trozo de cartulina blanca, y con un lápiz pintamos los ojos de la máscara, recortamos.
• Vamos a realizar unas espadas, tomamos un trozo de cartulina negra y recortamos dos espadas de la forma de nuestra preferencia que midan aproximadamente 7cms de largo, luego colocamos encima de otro trozo de cartulina pegamos con cola blanca y recortamos, podemos realizar el proceso varias veces, eso es para hacerlas más gruesas y que tengan mayor resistencia en nuestro llavero.
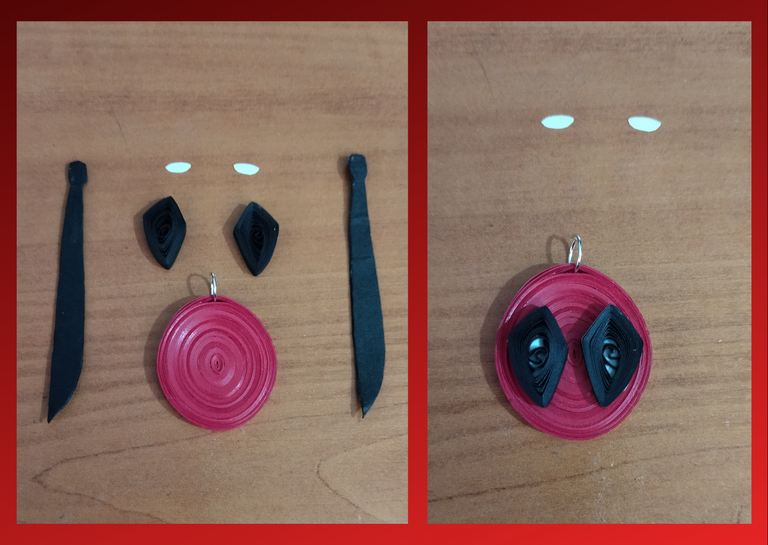
- Now we will join all the pieces together harmoniously, placing first the mask, then the eyes, then the swords at the back, to form our Deadpool keychain.
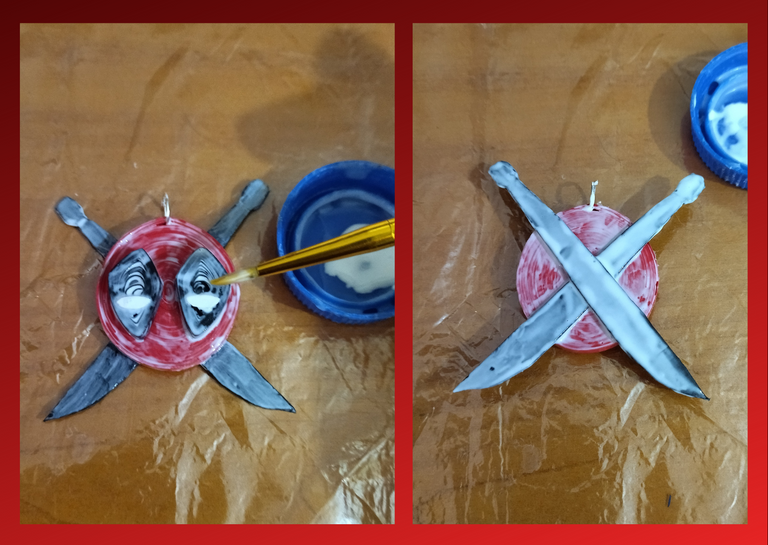
- Let's laminate our keychain, apply several coats of extra strong white woodworking glue with a brush, letting it dry between coats.
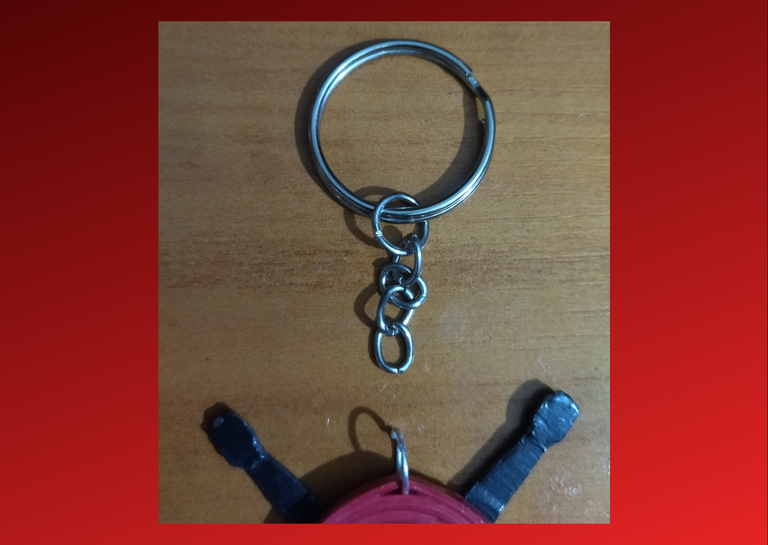
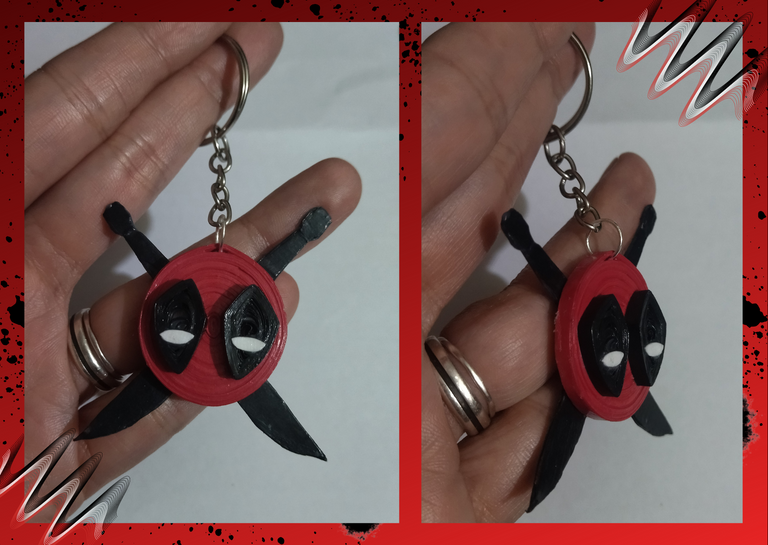
- Finally we take the ring with chain for keychain and we place it to the pendant that we made and in this way we will have ready our simple and beautiful Deadpool keychain in 3D. It should be noted that we can also use the charm as a medallion and wear it with a necklace.

• Ahora uniremos todas las piezas entre sí con armonía, colocando primero la máscara, luego los ojos, por la parte trasera las espadas, para formar nuestro llavero Deadpool.
• Plastifiquemos nuestro llavero, aplicaremos varias capas de pega blanca extra fuerte de carpintería con un pincel, dejando secar entre una capa y otra.
• Por ultimo tomamos la argolla con cadena para llavero y se la colocamos al dije que realizamos y de esta manera tendremos listo, nuestro sencillo y bonito llavero de Deadpool en 3D. Cabe resaltar que también podemos usar el dije como un medallón y lucirlo con un collar.

What did you think, did you like it?
I hope you did, I hope you liked my explanation, procedure and photos, I made them with love for you.
"Let out that muse that inspires you, and let your imagination fly".
Thank you all, see you next time. 🐾🐱💕

¿Que les pareció, les gustó?
Espero que sí, que les haya gustado mi explicación, procedimiento y fotos, los hice con mucho cariño por y para ustedes.
"Deja salir esa musa que te inspira, y deja volar tu imaginación".
Gracias a todos, nos vemos en la próxima. 🐾🐱💕
Los invito que apoyen a "La Colmena", dale tu voto ✨
 Vote la-colmena for witness By @ylich
Las fotos usadas en este post son de mi autoría y han sido sacadas en mi celular personal, menos el Chibi Deadpool de la portada, el trabajo fotográfico fue editado en Canva Banner y separador hecho por mí en Canva Traducido con la ayuda de DeepL

