Hello everyone... 🐱🐾💕
Hello to my dear Hivers and the dear community of Holozing, very pleased and excited to be here to show you a very simple work made with much love and especially for you.
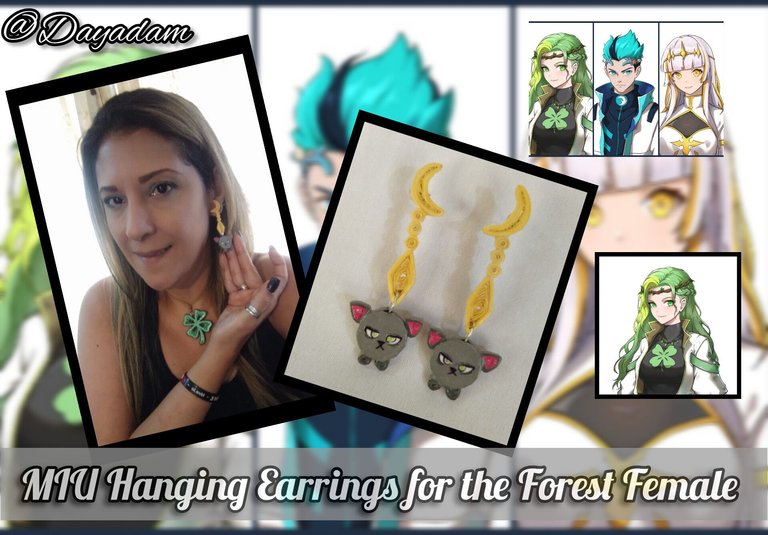
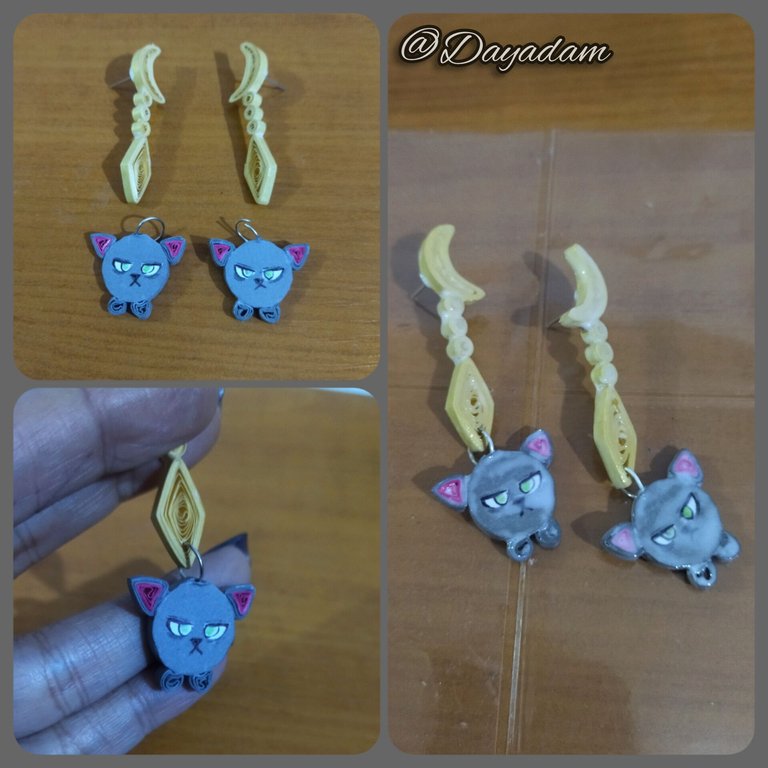
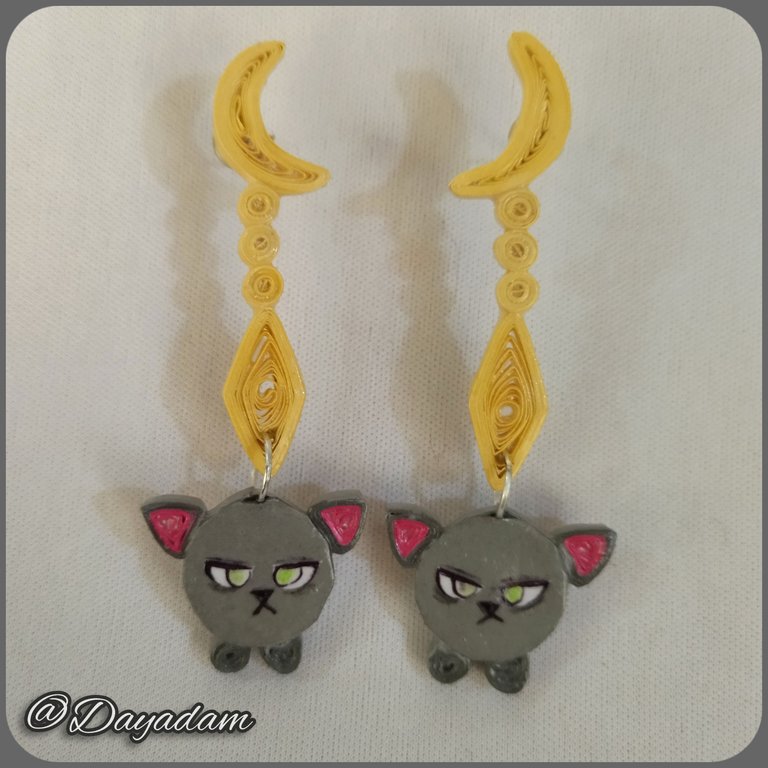
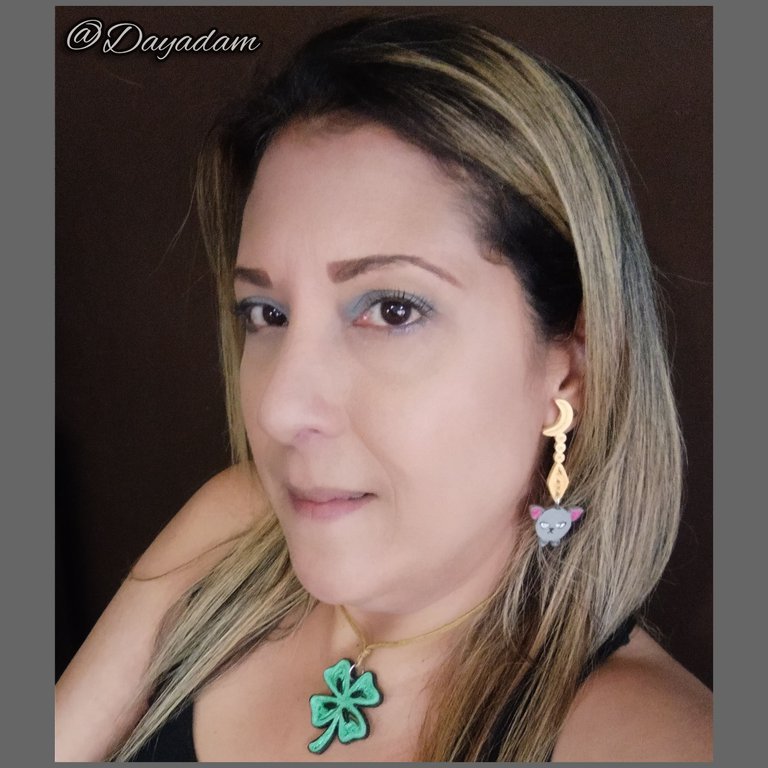
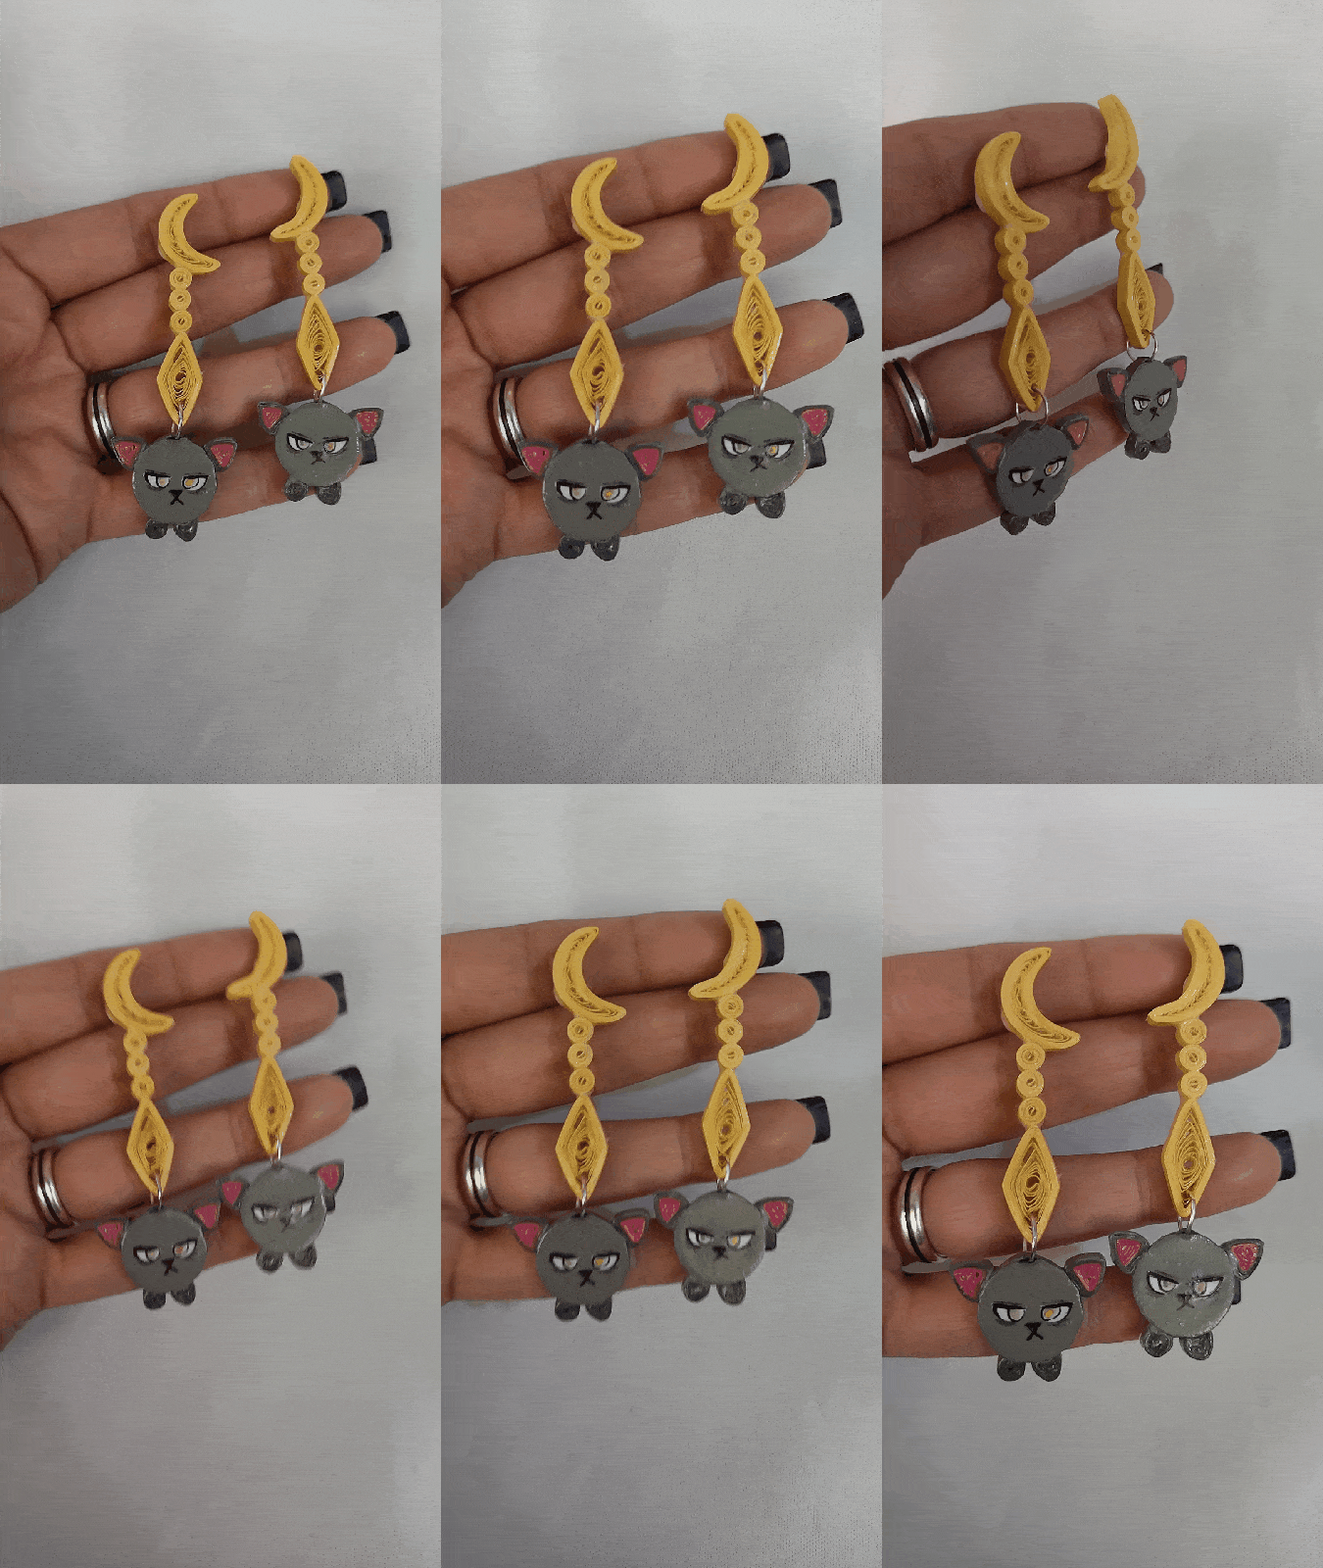
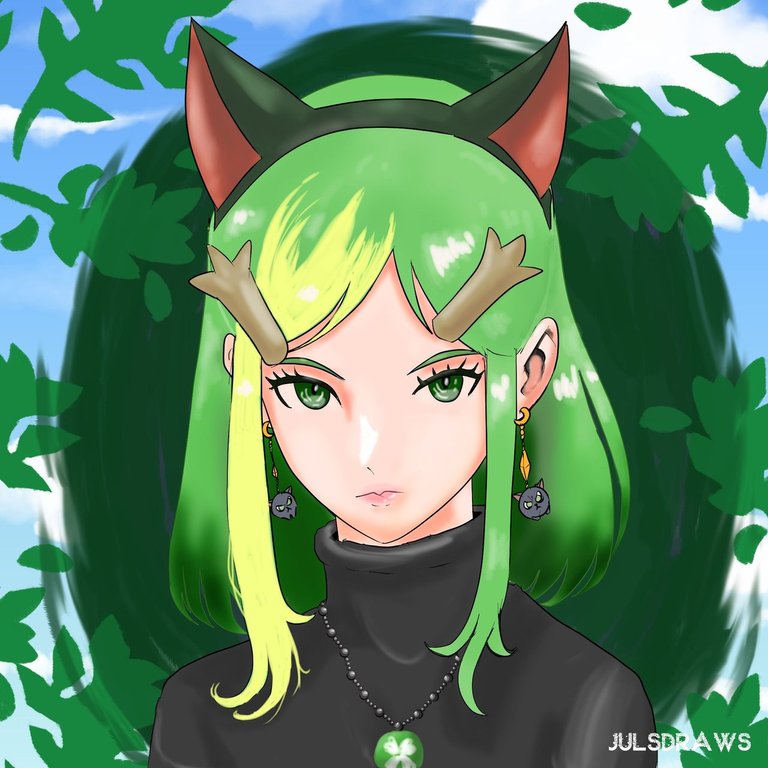
Today in this new weekly update of rewards and progress in the holozing community, I continue with my art, this time I find myself fulfilling a nice challenge from my dear @chacald.dcymt, which I realize a pair of beautiful MIU earrings in flexible dough, designed by friend @julsdraws for the healer of the forest. 🍀🐱🐾❤️
Something that fills me with deep joy at #hive are the bonds of friendship we've formed, and actions like these bring us closer together every day. As these earrings are so beautiful and worth following the challenge chain, I want to invite friend @yolimarag to make them, I'm sure she'll do a great job.
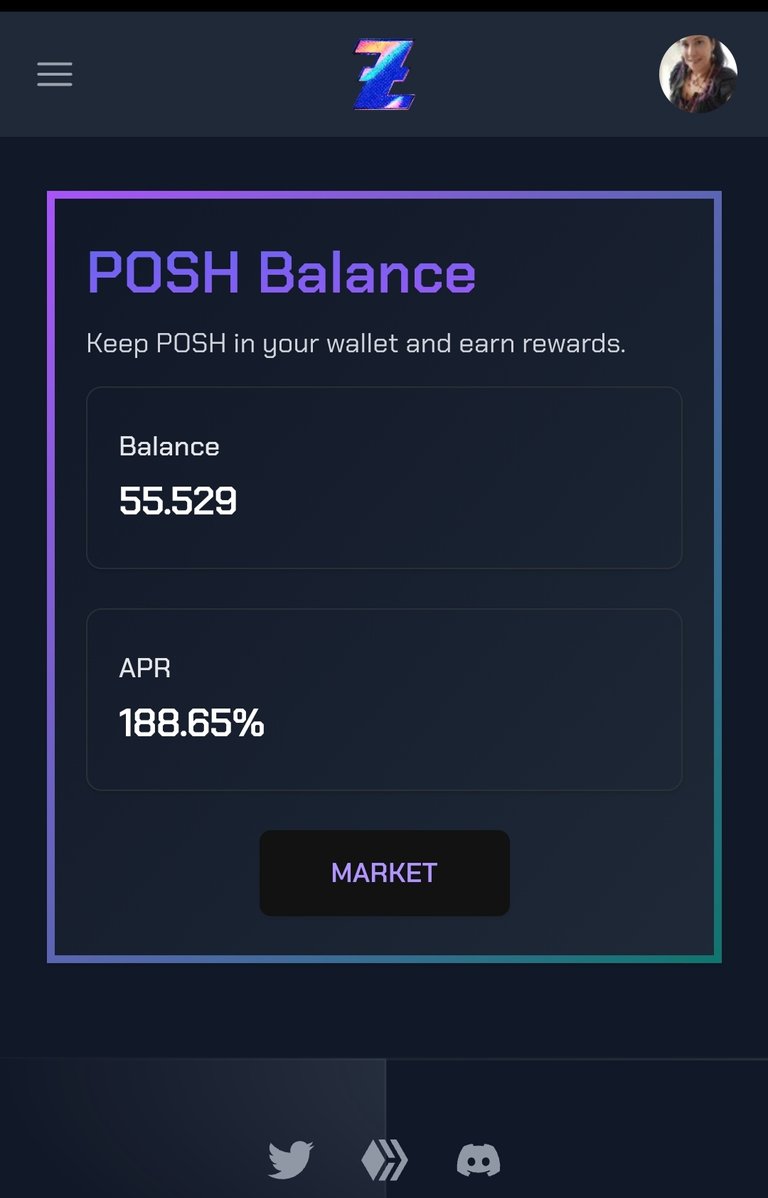
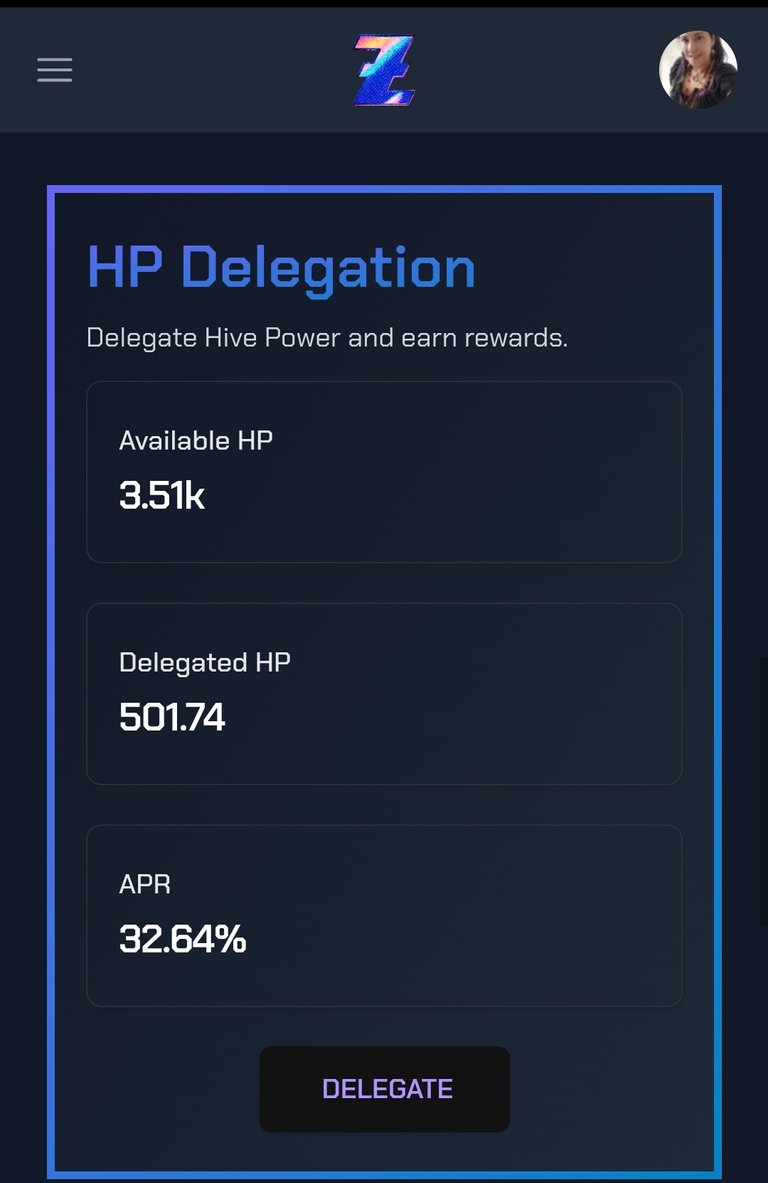
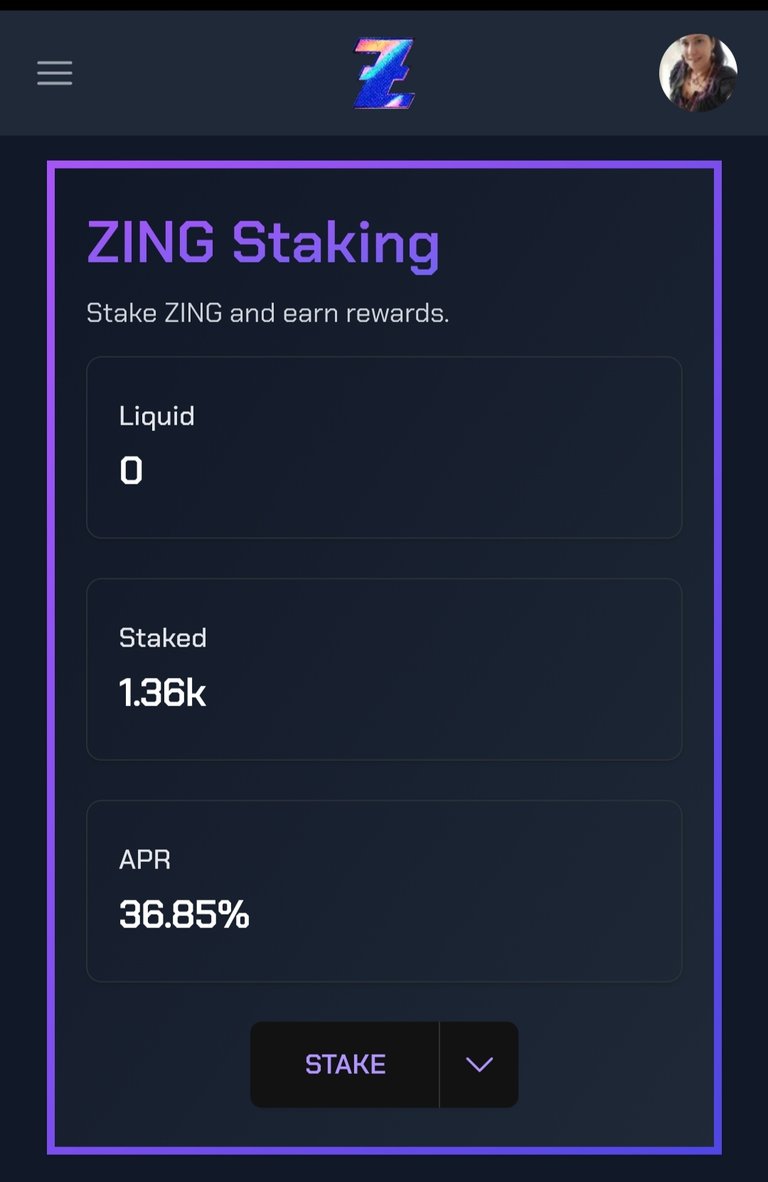
This week I increased a little my delegation to @zingtoken, I went from 500HP to 700HP, I already have accumulated more than 1600 $ZING tokens, and although there are a few days left for @POSH to stop generating some $ZING I went from having 55 $POSH last week, to 139 $POSH which has generated me some more $ZING. I am very satisfied with my progress, I hope to continue getting and contributing even more to this promising project.
I leave here my reference link for all those who are interested in participating in the project and game, I invite you to do so https://holozing.com?ref=dayadam, in turn I put as the person who referred me to the friend @acidyo since I met the game through him in X, I called my attention in many ways, from my art for being so beautiful figures Pokemon style, for the game and project, to the game and the game itself.
I attach several images of my progress claiming the rewards for my delegation to Holozing among others, and the referral.
I hope you like my work, please join me in this creative process.
Let's begin:😃

Hola a Todos...🐱🐾💕
Hola a mis queridos Hivers y a la querida comunidad de Holozing, muy complacida y emocionada de encontrarme por acá para mostrarles un trabajo muy sencillo hecho con mucho amor y especialmente para ustedes.
Para hoy en esta nueva actualización semanal de recompensas y progreso en la comunidad de holozing, continuo con mi arte, esta vez me encuentro cumpliendo un bonito reto de mi querida @chacald.dcymt, la cual realizo un par de hermosos aretes de MIU en masa flexible, diseñados por el amigo @julsdraws para la sanadora del bosque. 🍀🐱🐾❤️
Algo que me llena de profunda alegría en #hive son los lazos de amistad que hemos formado, y acciones como estas nos llevan a unirnos cada día mas. Como estos aretes son tan hermosos y vale la pena seguir la cadena de reto, quiero invitar a la amiga @yolimarag a que los realice, estoy segura que hará un grandioso trabajo.
Esta semana incremente un poco mi delegación a @zingtoken, pase de 500HP a 700HP, ya tengo acumulados mas de 1600 tokens $ZING, y aunque faltan pocos días para que @POSH deje de generar algo de $ZING pase de tener 55 $POSH la semana pasada, a 139 $POSH lo que me a generado algo mas de $ZING. Estoy muy satisfecha con mis avances y progreso, espero seguir consiguiendo y aportando aun mas para este prometedor proyecto.
Dejo por acá mi enlace de referencia para todos aquellos que estén interesados en participar en el proyecto y juego, los invito a hacerlo https://holozing.com?ref=dayadam, a su vez coloque como la persona que me refirió al amigo @acidyo ya que conocí el juego a través de el en X, me llamo mucho la atención en muchos sentidos, desde mi arte por tratarse de figuras tan hermosas estilo Pokemon, por el juego y proyecto como tal, pues aqui estoy con ustedes.
Les adjunto varias imágenes de lo que ha sido mi progreso reclamando las recompensas por mi delegación a Holozing entre otras, y la de referido.
Espero sea de su agrado mi trabajo, acompáñenme en este proceso creativo.
Comencemos:😃


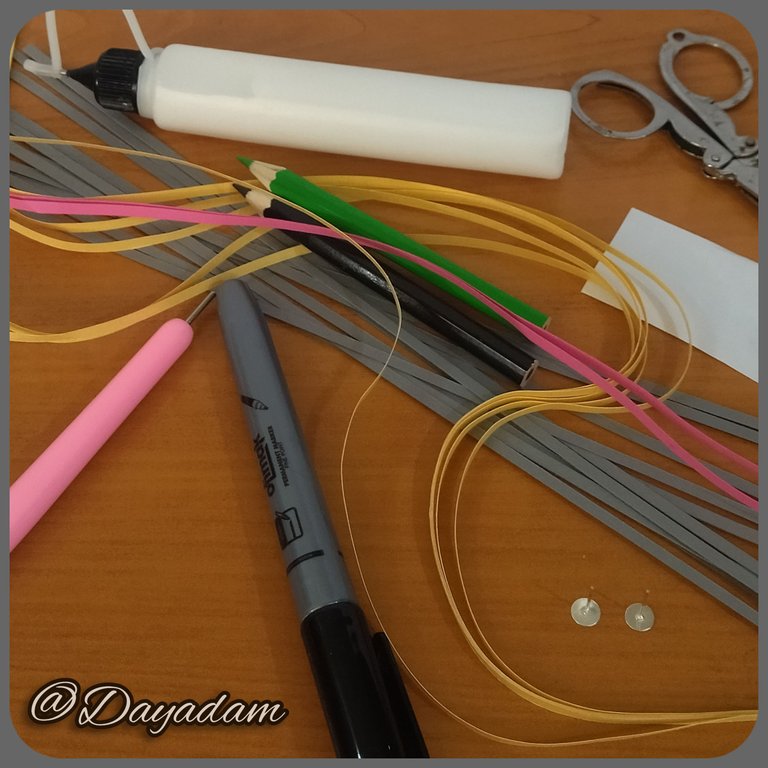
• Cintas de quilling de 3mm de ancho de diversos colores.
• Aguja para quilling.
• Colores, marcadores.
• Bases para zarcillos fijas.
• Argollas medianas de bisutería.
• Hoja blanca.
• Pega blanca extra fuerte (de carpintería).
• Tijera.
• Pincel.
- 3mm wide quilling ribbons in different colors.
- Quilling needle.
- Colors, markers.
- Bases for fixed tendrils.
- 3mm wide quilling ribbons in different colors.
- White sheet.
- Extra strong white glue (carpentry glue).
- Scissors.
- Brush.

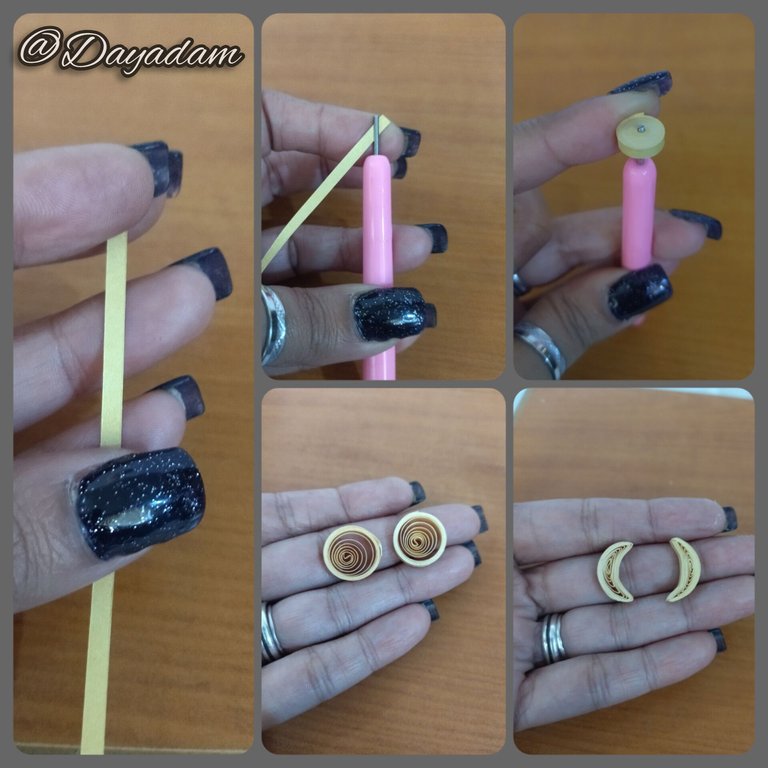
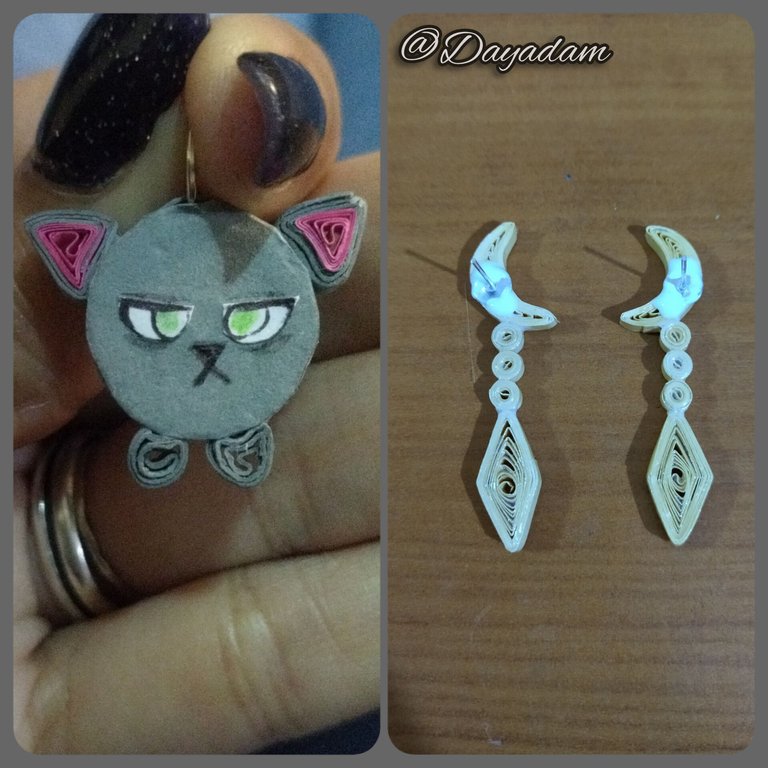
- We start by taking 2 gold colored quilling ribbons of 3mm wide x 50cms long each one, we roll with the quilling needle until we reach the end of the ribbon, we take it out of the needle, loosen a little, seal with extra strong white glue, we will obtain an open circle. Mold in the shape of a half moon, like these we will need 2.
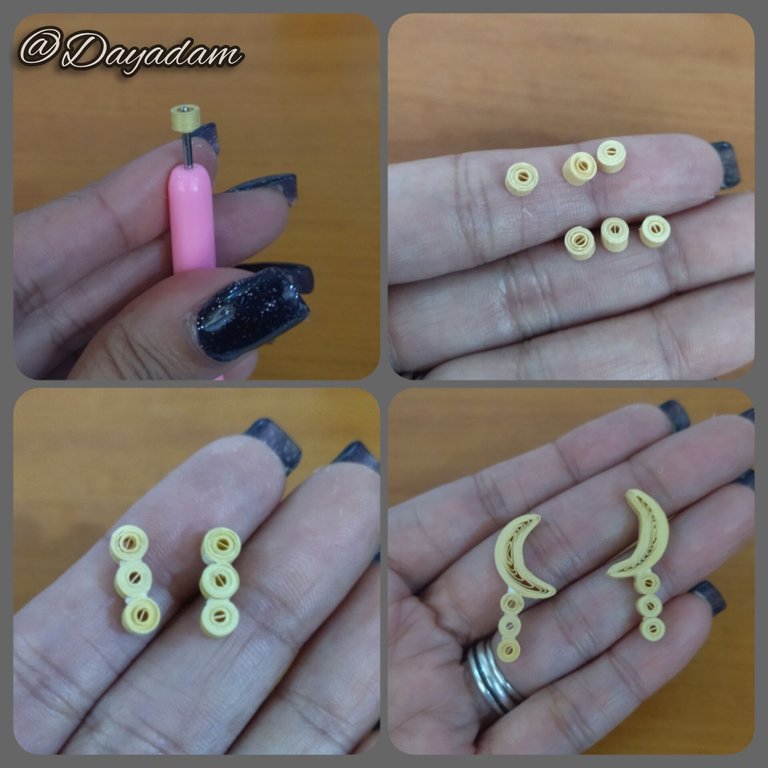
- With 3mm wide golden ribbon, we will make 6 small closed circles which we will join in groups of 3 with extra strong glue, then we will glue to the moon.
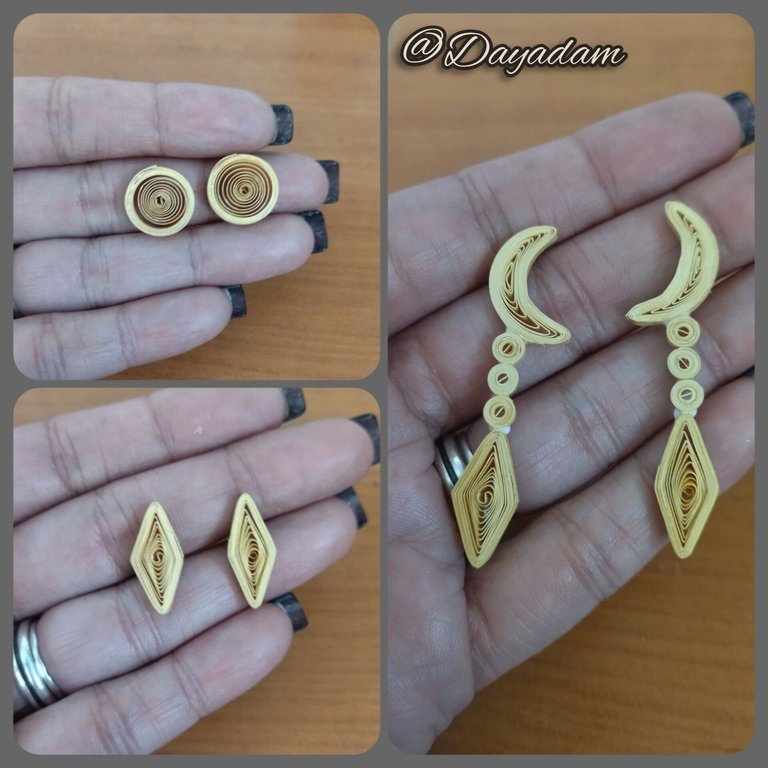
- We will need to make 2 open circles also with golden ribbons of 3mm wide, which we will mold in diamond shape, we will add with glue to the piece that we already have ready with the moon and the 3 circles.

• Comenzamos tomando 2 cintas para quilling de color dorado de 3mm de ancho x 50cms de largo cada una, enrollamos con la aguja para quilling hasta llegar al final de la cinta, sacamos de la aguja soltamos un poco, sellamos con pega blanca extra fuerte, obtendremos un círculo abierto. Moldearemos en forma de media luna, como estas necesitaremos 2.
• Con cinta dorada de 3mm de ancho, realizaremos 6 pequeños círculos cerrados los cuales uniremos en grupos de 3 con pega extra fuerte, luego pegaremos a la luna.
• Necesitaremos realizar 2 círculos abiertos también con cintas doradas de 3mm de ancho, los cuales moldearemos en forma de diamante, añadiremos con pega a la pieza que ya tenemos lista con la luna y los 3 círculos.
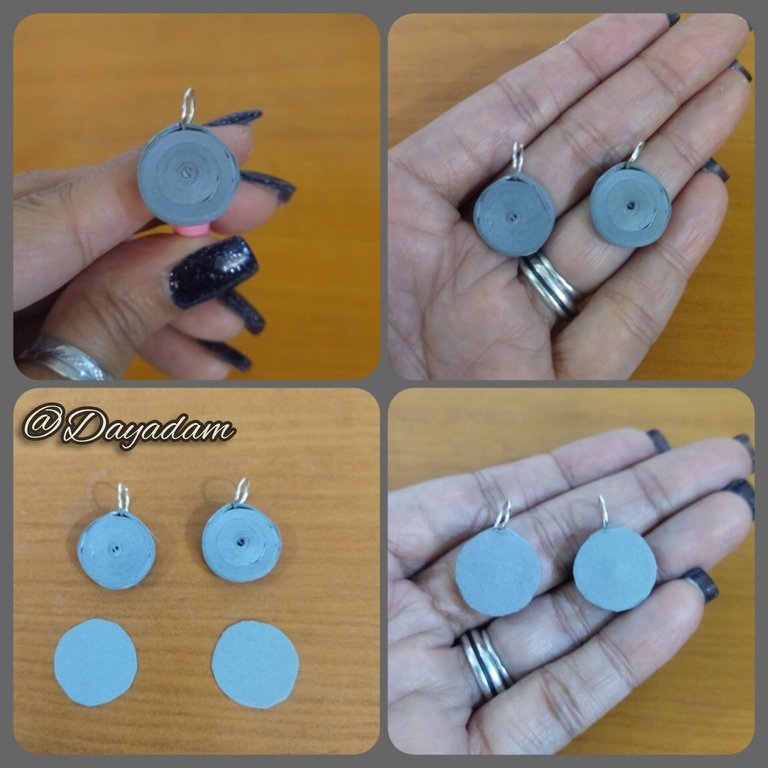
- Take a 3mm wide gray ribbon and make a closed circle, to which we will add a medium-sized costume jewelry ring before sealing it with glue. We will make two equal ones. Then in one of its parts glue a cardboard circle of the same color.
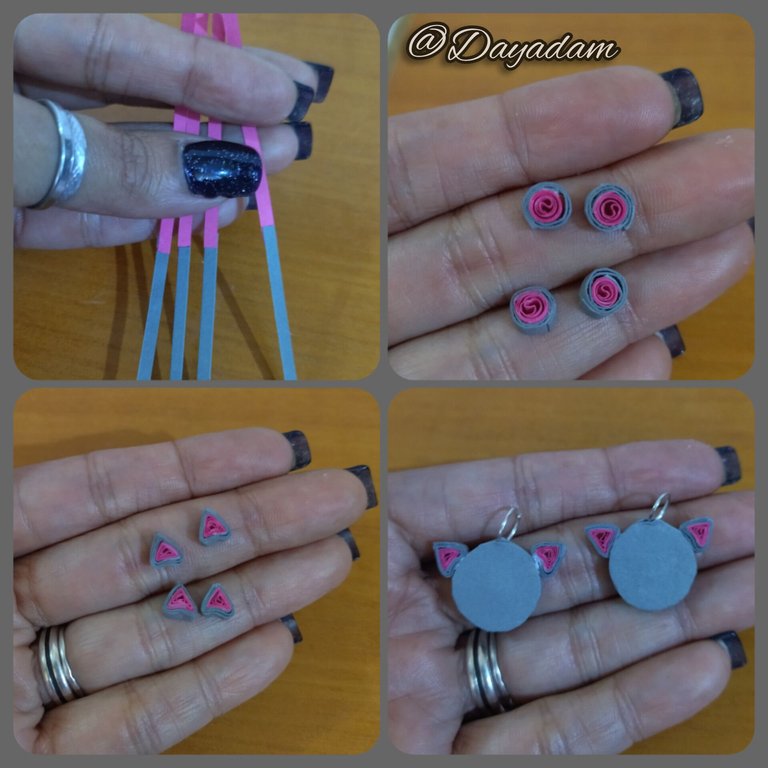
- For the ears make 4 open circles with gray and pink ribbons joined into one, which molded in the shape of triangles, glue on the head of the MIU.
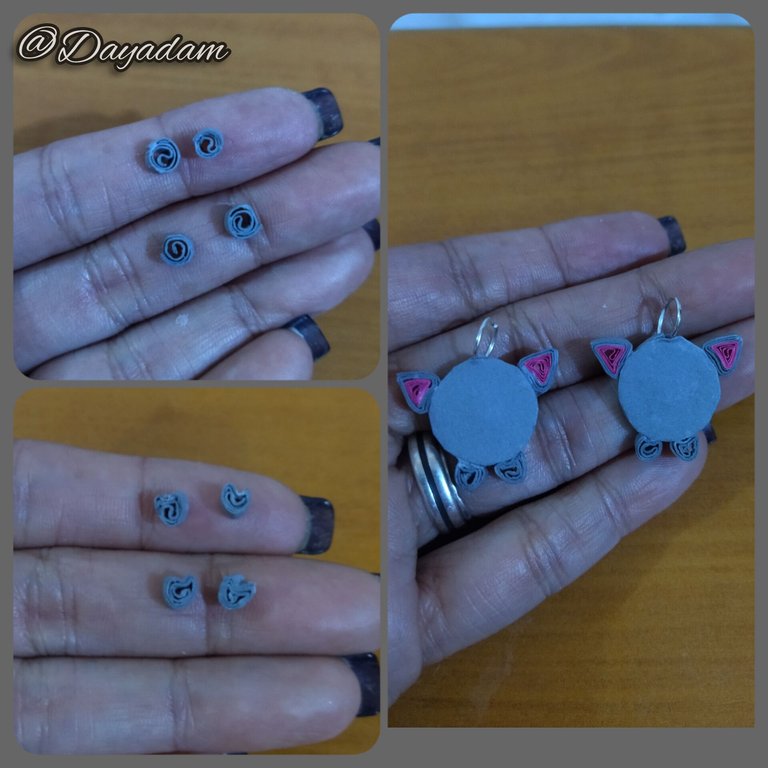
- For the legs, make 4 small open circles, mold them in a rounded shape and glue them to the bottom of the piece.
- Make eyes, nose, mouth and other details. To the piece I had previously made, I placed a base for fixed tendrils and once it was dry, I proceeded to attach the piece with the MIU at the bottom of the rhombus.
- Finally I applied several coats of extra strong white glue, to give protection and shine to the tendrils.
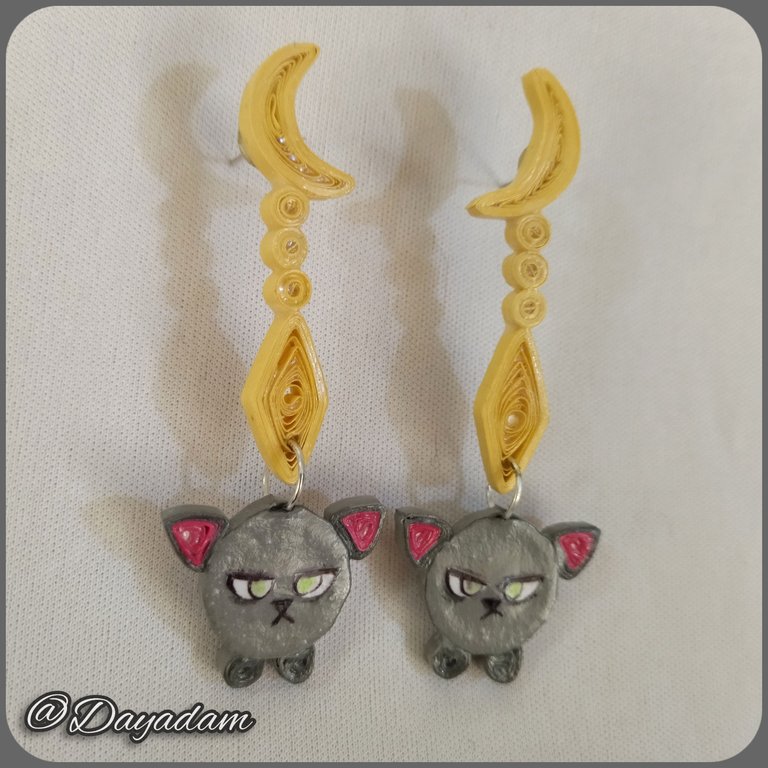
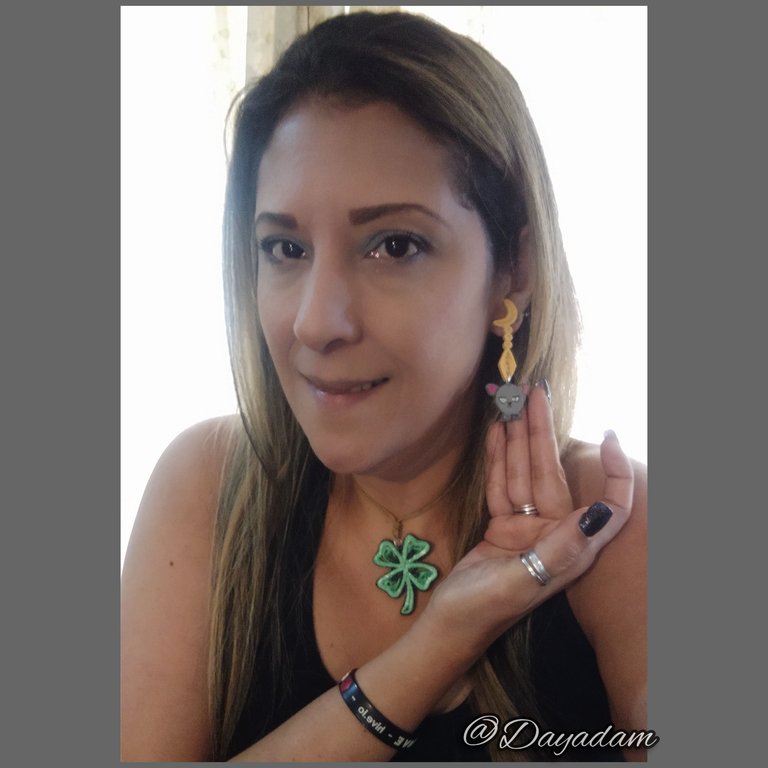
So these tendrils designed by my friend @julsdraws are ready, which I materialized in the quilling technique, satisfied to meet the challenge of my beautiful friend @chacald.dcymt. I hope you all liked it.

• Con cinta gris de 3mm de ancho realizaremos un circulo cerrado, a este le incorporaremos una argolla mediana de bisutería antes de sellar con pega. Necesitaremos dos iguales. Luego en una de sus partes pegue un circulo de cartulina del mismo color.
• Para las orejas realice 4 círculos abiertos con cintas grises y rosadas unidas en una sola, las cuales moldee en forma de triángulos, pegue en la cabeza del MIU.
• Para las patas realice 4 pequeños círculos abiertos, los moldee de forma redondeada y pegue en la parte de abajo de la pieza.
m
• Realice ojos, nariz, boca y otros detalles. A la pieza que había realizado con anterioridad le coloque una base para zarcillos fija al estar seca procedí a enganchar la pieza con el MIU de la parte de abajo del rombo.
• Por ultimo aplique varias capas de pega blanca extrafuerte, para darle protección y brillo a los zarcillos.
De esta manera están listos estos zarcillos diseñados por el amigo @julsdraws, los cuales materialice en la técnica de quilling satisfecha de cumplir el reto de mi bella amiga @chacald.dcymt. Espero les haya gustado a todos.

What did you think, did you like it?
I hope you did, I hope you liked my explanation, procedure and photos, I made them with love for you.
"Let out that muse that inspires you, and let your imagination fly".
Thank you all, see you next time.🐱

¿Qué les pareció, les gustó?
Espero que sí, que les haya gustado mi explicación, procedimiento y fotos, los hice con mucho cariño por y para ustedes.
"Deja salir esa musa que te inspira, y deja volar tu imaginación".
Gracias a todos, nos vemos en la próxima.🐱


