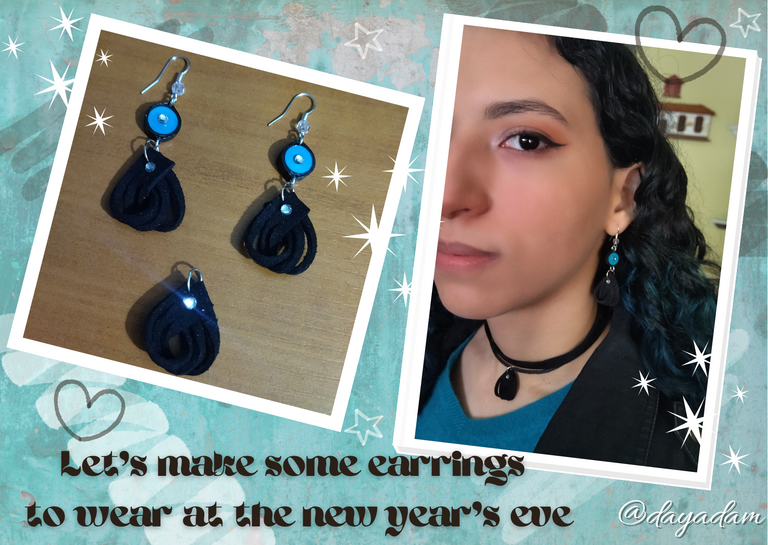
Hello everyone... 🐱🐾💕
Hello to my dear Hivers, and to the great family of my dear #Jewelry community, first of all I hope you had a Merry Christmas and have a happy, successful and prosperous year 2023 full of infinite blessings. It's a pleasure for me to be here, showing you a new work made with love and especially for you.
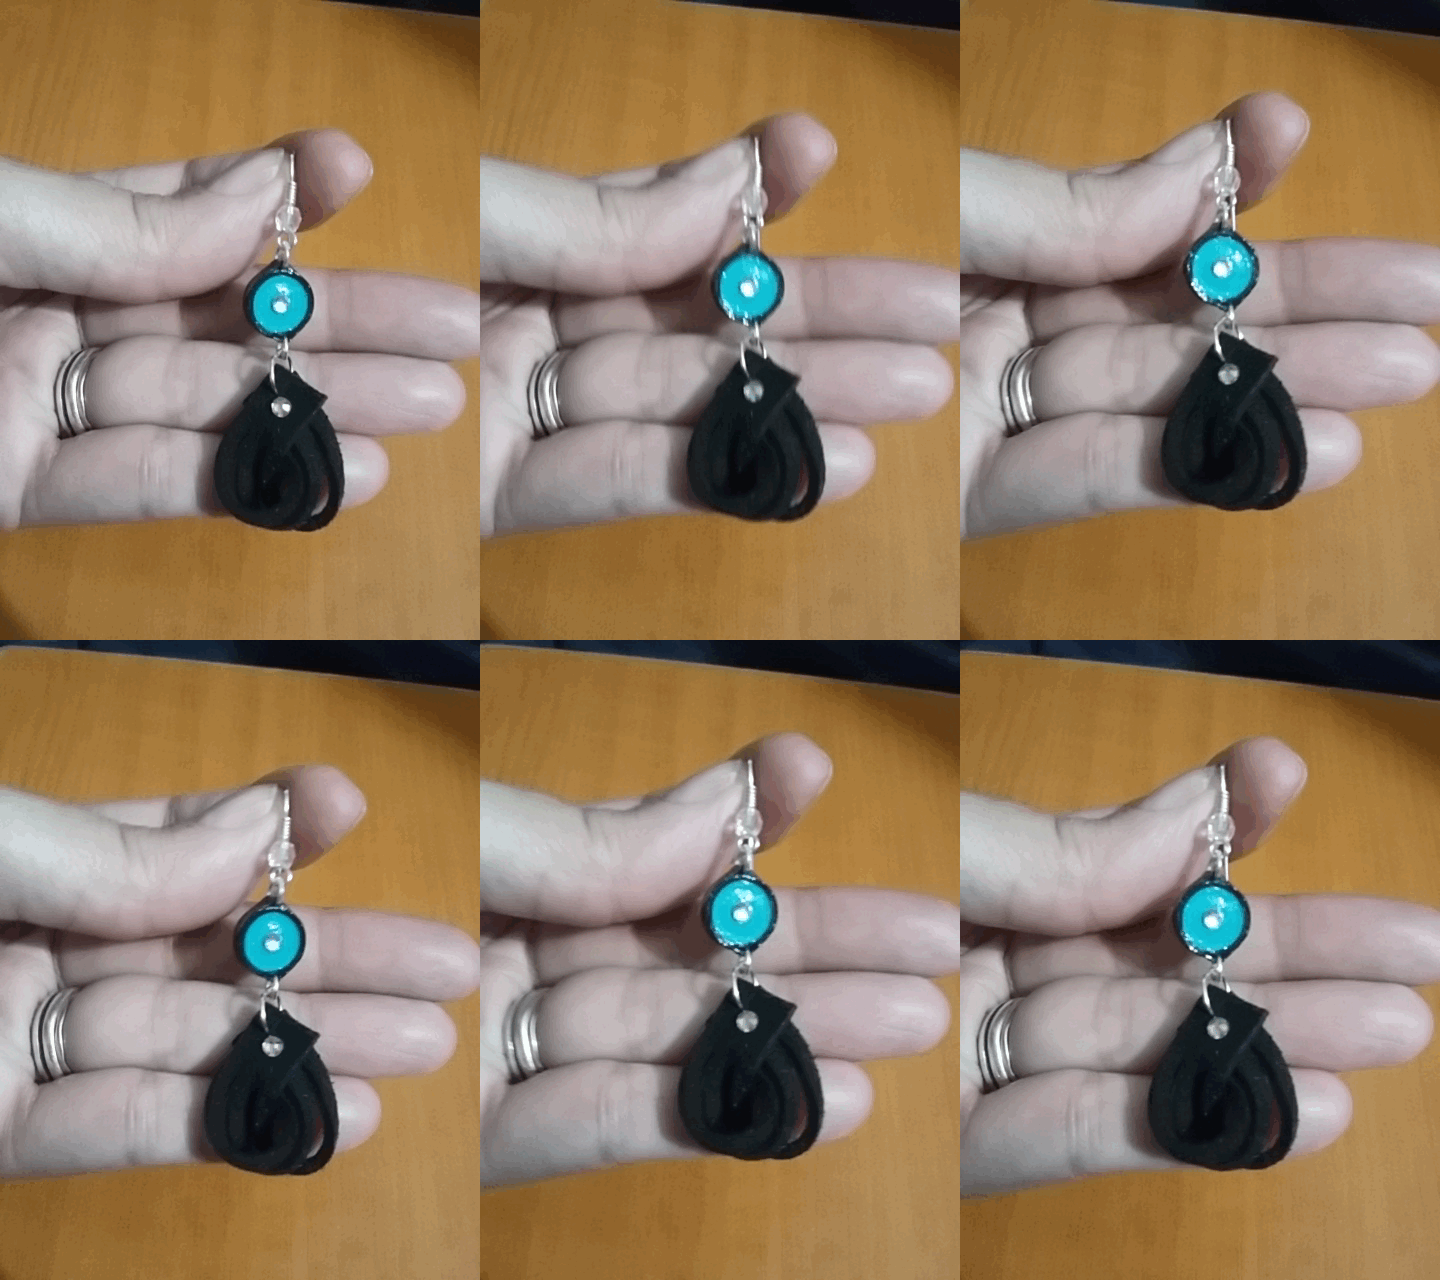
For today I bring you some simple dangling earrings, perfect to wear them on a special occasion such as "New Year's Day", which I made by combining some materials I had at home, they are simply made with a piece of suede leather and a few pieces of quilling plus the accessories that carry earrings, this way you can see how easy it is to make a nice garment, from any material you have at hand, just let your imagination run wild.
Hoping it will be to your liking:
Let's get started:😃

Hola a todos... 🐱🐾💕
Hola a mis queridos Hivers, y a la gran familia de mi querida comunidad de #Jewelry, ante todo espero que hayan pasado una feliz navidad y que tengan un venidero, exitoso y próspero feliz año 2023 lleno de bendiciones infinitas. Un gusto para mi encontrarme por acá, mostrándole un nuevo trabajo hecho con mucho amor y especialmente para ustedes.
Para el día de hoy les traigo unos sencillos pendientes colgantes, perfectos para lucirlos en una ocasión especial como lo es el día de año nuevo, los cuales elabore combinando algunos materiales que tenía en casa, son simplemente realizados con un trozo de cuero gamuzado y unos trozos de quilling mas los accesorios que llevan unos aretes, de esta manera podrás visualizar lo fácil que es hacer una bonita prenda, a partir de cualquier material que tengas a la mano, simplemente deja volar tu imaginación.
Esperando sea de su agrado:
Comencemos:😃

• Cintas de quilling de 3mm de ancho aguamarina y negra.
• Aguja para quilling.
• Alfiler o aguja punta gruesa.
• Pega blanca extra fuerte (de carpintería).
• Un trozo de cuero gamuzado negro.
• Tijera.
• Base para zarcillos colgantes (anzuelos).
• Argollas medianas de bisutería.
• Argollas pequeñas de bisutería.
• Cristal de bisutería.
• Perlas de bisutería medianas.
• Pincel.
• Alicate punta fina.
• Pinza punta fina.
- 3mm wide aquamarine and black quilling ribbon.
- Quilling needle.
- Thick pin or needle.
- Extra strong white glue (woodworking glue).
- A piece of black suede leather.
- Scissors.
- Base for hanging tendrils (hooks).
- Medium size costume jewelry earrings.
- Small costume jewelry earrings.
- Costume jewelry crystal.
- Medium costume jewelry beads.
- Brush.
- Fine nose pliers.
- Fine tip tweezers.

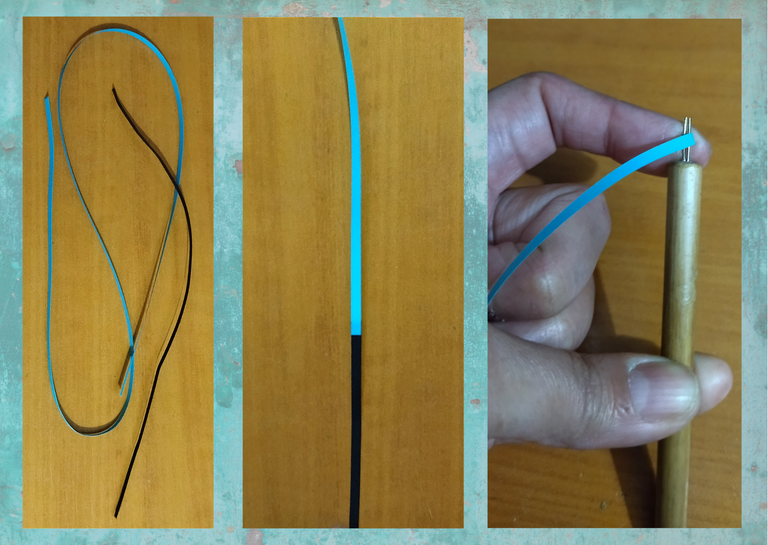
- Let's start by taking an aquamarine quilling ribbon 3mm wide x 50cms long and a piece of black ribbon 3mm wide x 15cms long, both ribbons will be joined with a touch of glue to form a single ribbon.
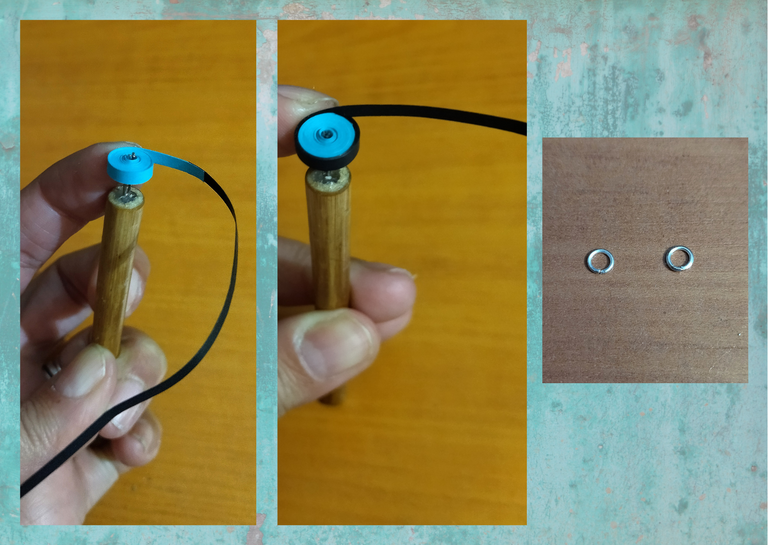
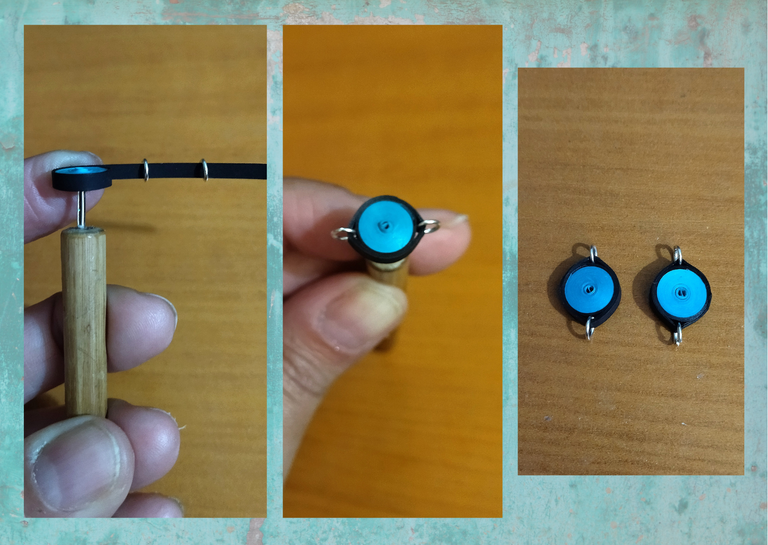
- With the quilling needle we are going to roll the ribbon starting with the aquamarine part until we reach the black ribbon, before reaching the end we are going to introduce in the ribbon two small costume jewelry rings trying to place them just above and below the closed circle we are making, we finish rolling the ribbon, seal it with a touch of extra strong white glue. As this piece we will need two, to complete our pair of earrings.
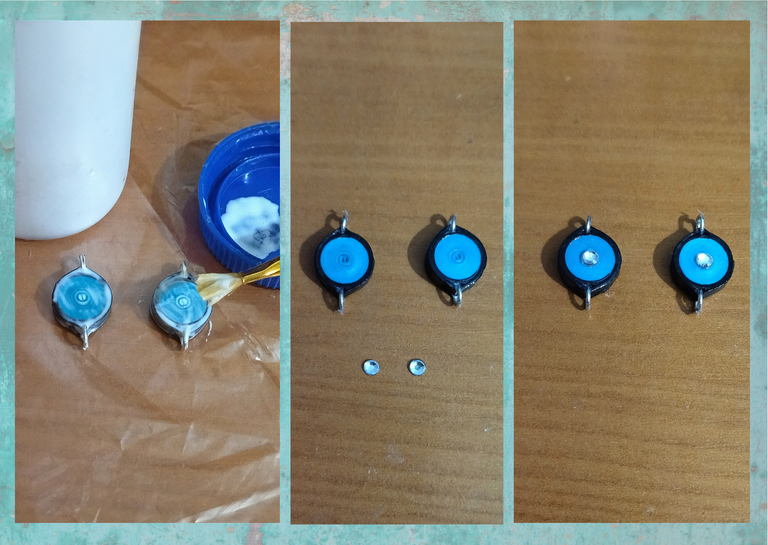
- Once we have obtained this bicolor closed circle with two rings that will be one of the pieces of our earring, we will take advantage of it and we will place its liquid protection, placing several layers of extra strong white glue, letting it dry between one layer and the other.
- Once the piece is dry we are going to place in the center a crystal of costume jewelry to give it a touch of color and detail, (we reserve).

• Vamos a comenzar tomando una cinta para quilling color aguamarina de 3mm de ancho x 50cms de largo y un trozo de cinta color negro de 3mm de ancho x 15cms de largo, ambas cintas las uniremos con un toque de pega para formar una sola cinta.
• Con la aguja para quilling vamos a enrollar la cinta empezando por la parte aguamarina hasta llegar a la cinta negra, antes de llegar al final vamos a introducir en la cinta dos argollas pequeñas de bisutería procurando que queden ubicadas justo arriba y debajo del círculo cerrado que estamos elaborando, terminamos de enrollar la cinta, sellamos con un toque de pega blanca extra fuerte. Como esta pieza necesitaremos dos, para completar nuestro par de pendientes.
• Obtenido este círculo cerrado bicolor con dos argollas que será una de las piezas de nuestro pendiente, aprovecharemos y le colocaremos su protección liquida, colocando varias capas de pega blanca extra fuerte dejando secar entre una capa y otra.
• Una vez seca la pieza vamos a colocar en el centro un cristal de bisutería para darle vistosidad y detalle, (reservamos).
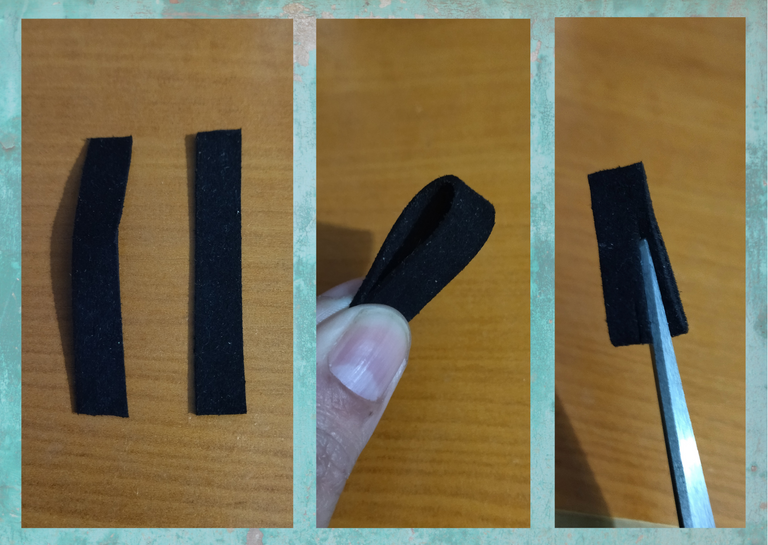
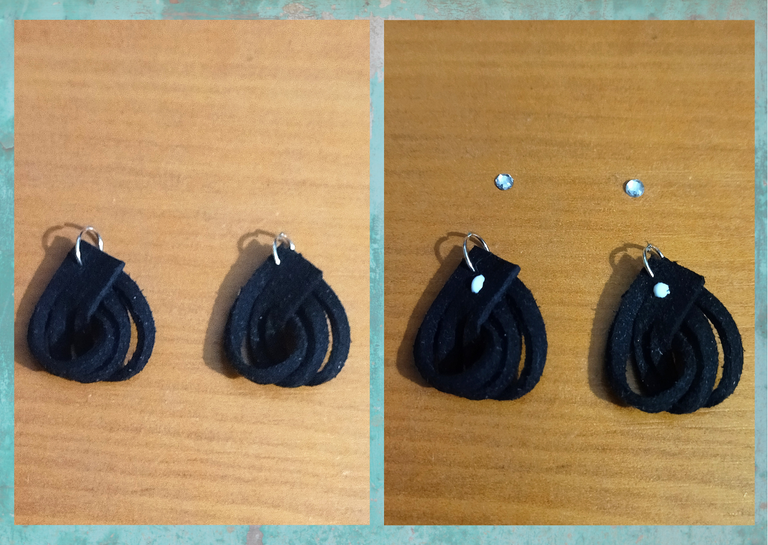
- Now we are going to take a piece of black suede leather 1 cm wide x 6 cm long, fold it in half and make 3 vertical cuts without reaching the end of the leather.
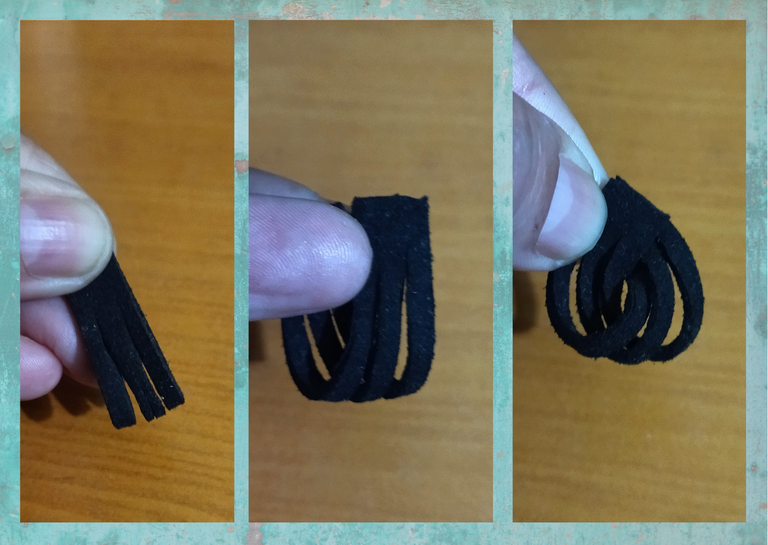
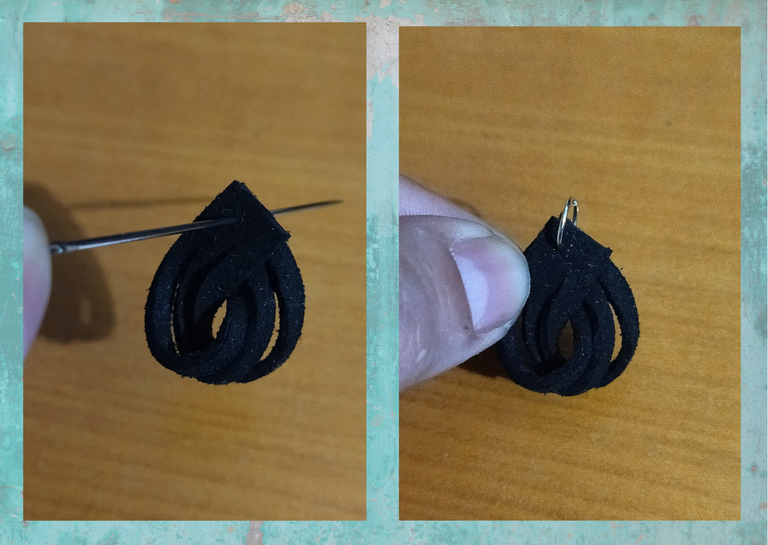
- At this point we will fold the two ends of the leather in reverse to give it shape, we take a thick pin and open a hole between the two ends that we join and we will place a medium size bijouterie ring to join and form the piece.
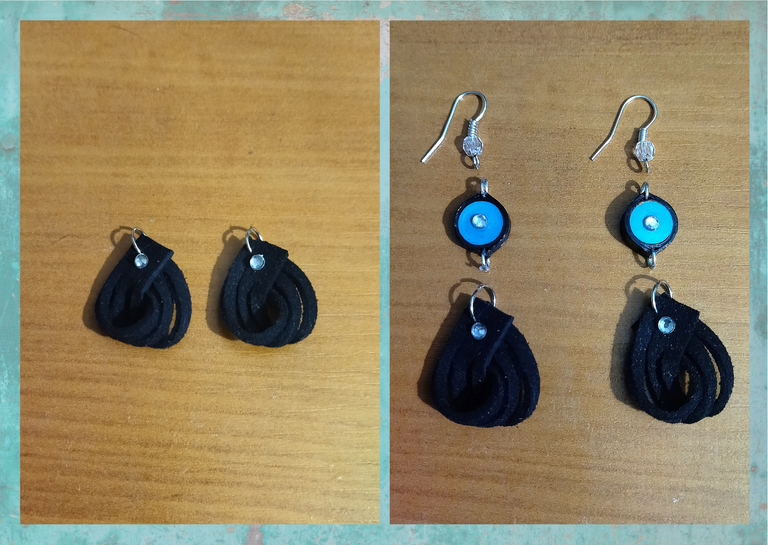
- To give a small shiny detail to the piece we place a costume jewelry crystal.
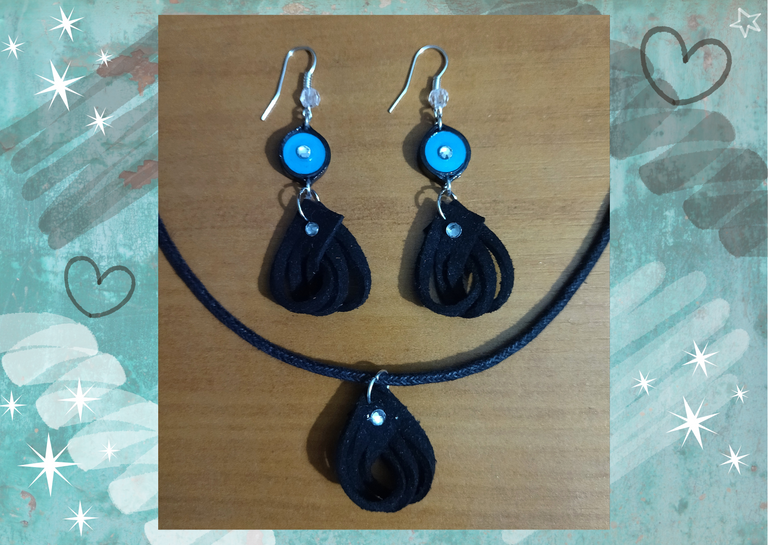
- Finally we are going to assemble our earrings, we will join the two pieces hooking both rings, above will go the piece we made in the shape of a circle and below the piece we made with the suede leather, and at the top we will place a hanging base for tendrils (hook), to which I previously placed a Czech crystal type pearl that I had at home, I always like to add to the hooks some kind of pearls to make them look more beautiful, it is up to you to leave them in an original way. This way we will have ready our simple and beautiful earrings combined with quilling and suede leather.
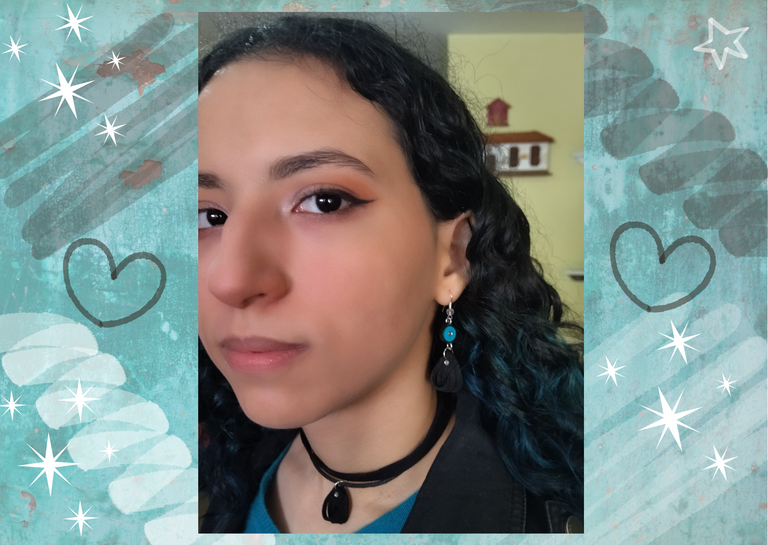
I made a pendant only with chamois leather because I thought it was nice personally to wear it with a necklace, we can also make a pendant with only the bicolor circle to use it as a pendant for necklace and even to make a ring, we can make the set with the combination of colors of our preference both in the ribbons and the color of the leather, just as I say repeatedly and I will never stop telling you, just let your imagination fly and you will see the amount of things you can create.✨
Did you see how easy it is to make a different design, with few materials, and a quick and simple process?

• Ahora vamos a tomar un trozo de cuero gamuzado negro de 1cms de ancho x 6cms de largo, doblaremos a la mitad y haremos 3 cortes verticales sin llegar al final del cuero.
• Llegado a este punto doblaremos las dos puntas del cuero de manera inversa para darle forma, tomamos un alfiler punta gruesa y abriremos un hoyo entre las dos puntas que unimos y colocaremos una argolla de bisutería mediana para unir y formar la pieza.
• Para darle un pequeño detalle brillante a la pieza le colocamos un cristal de bisutería.
• Por ultimo vamos a armar nuestros aretes, uniremos las dos piezas enganchando ambas argollas, arriba ira la pieza que realizamos en forma de circulo y abajo la pieza que realizamos con el cuero gamuzado, y en la parte de arriba colocaremos una base colgante para zarcillos (anzuelo), a la que previamente le coloque una perla tipo cristal checo que tenía en casa, siempre me gusta agregar a los anzuelos algún tipo de perlas para que luzcan más bonitos, está en ustedes dejarlos de manera original. De esta manera tendremos listos nuestros sencillos y bonitos pendientes combinados con quilling y cuero gamuzado.
Realice un dije solo con cuero gamuzado ya que me pareció bonito en lo personal para lucirlo con un collar, también podemos hacer un dije con solo el circulo bicolor para usarlo como dije para collar y hasta para hacer un anillo, podemos hacer el conjunto con la combinación de colores de nuestra preferencia tanto en las cintas como el color del cuero, solo es como digo reiteradamente y nunca se los dejare de decir, solo deja volar tu imaginación y veras la cantidad de cosas que podrás crear.✨
¿Vieron que fácil es hacer un diseño diferente, con pocos materiales, y un proceso rápido y sencillo de realizar?

What did you think, did you like it?
I hope you did, I hope you liked my explanation, procedure and photos, I made them with love for you.
"Let out that muse that inspires you, and let your imagination fly".
Thank you all, see you next time. 🐾🐱💕

¿Que les pareció, les gustó?
Espero que sí, que les haya gustado mi explicación, procedimiento y fotos, los hice con mucho cariño por y para ustedes.
"Deja salir esa musa que te inspira, y deja volar tu imaginación".
Gracias a todos, nos vemos en la próxima. 🐾🐱💕
Los invito que apoyen a "La Colmena", dale tu voto ✨
 Vote la-colmena for witness By @ylich
Todas las fotos usadas en este post son de mi autoría y han sido sacadas en mi celular personal un Redmi 9T y editadas Canva Banner y separador hecho por mí en Canva Traducido con la ayuda de DeepL


