Hello everyone... 🐱🐾💕
Hello my dear Hivers and the dear community of artists @womentribe, very pleased and excited to be here to participate in this initiative presented by our friend @chacald.dcymt, in her column "Blessed Creative Hands", inspired by the love of jewelry, together with my dear community of Jewerly. I invite you to participate, here are the guidelines of the contest, cheer up and let your imagination fly.
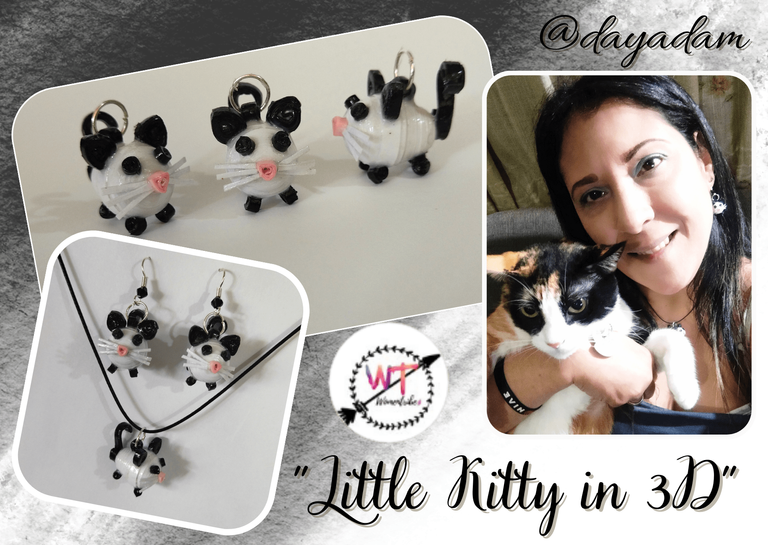
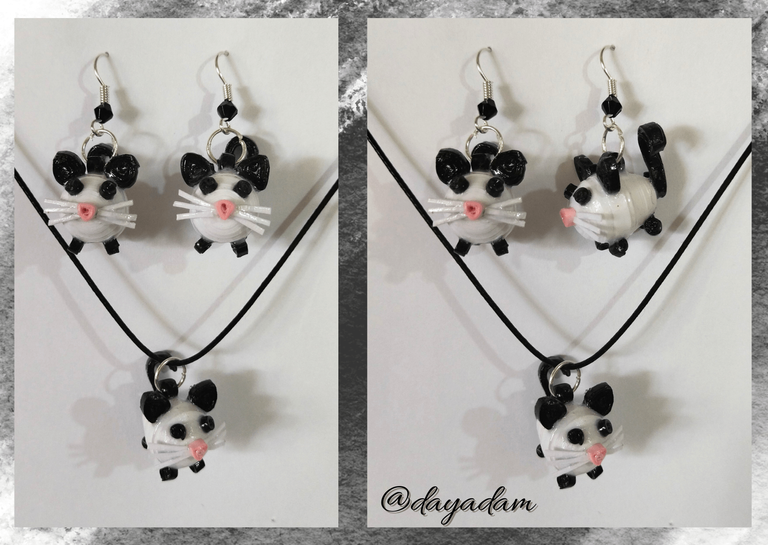
This time I bring you a set of accessories, earrings and pendant for necklace, with a design of a small 3D hanging kitten, in the quilling technique. Let's take into account that I used a unique base to simulate a small kitten with the other decorative elements, this base can be elaborated and place details that make the difference and carry out, a cow, pig or any animal that you want to materialize.
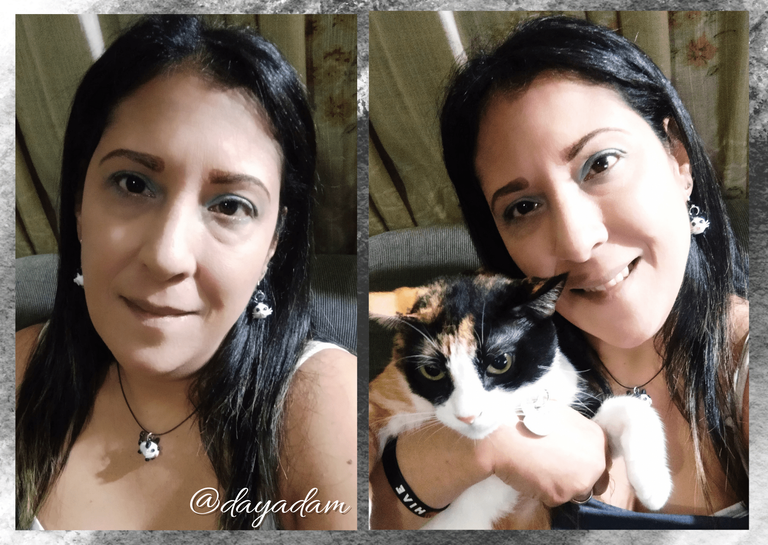
My love for kittens and especially for the little girl I have at home, inspired me to make this piece, I have already made other models of paws and kittens, and many more accessories on the subject will come, that cute love for this special member of my family leads me to wear every chance I can any nice set that I make in honor of that special feeling.
I invite @apunawu and @mariaj151305 to participate.
I also want to take advantage of this post that talks about the love for this type of art that is jewelry, for the theme of the week of my beautiful family of @talents proposed by the friend @angelica07 which is "Reinvent yourself", if you want to know more about these excellent weekly initiatives and join them I invite you to visit the following link.
For those who know me and have followed my work in Hive, you know that I've been some years with this venture of making jewelry and other handmade things, to get something extra, that led me to participate in fairs, and even manage one on my own, and now show my work so that others can also materialize it if they wish to undertake through this medium. The truth I can tell you that this was something unplanned, I studied in college administration and always thought I would end up working in an office or something like that, but for various issues of political origin that is better not to name, I never got that job thought, but perhaps it was the best thing that could happen to me because thanks to this, I own my time, I am my own boss and came out of me, a talent that I really did not know I had, I reinvented myself in this way and I thank life for it because it taught me to stand up for myself in a different way.
So friends, without further ado, hoping it will be to your liking join me in this creative process that I make especially for you.
Let's get started:😃

Hola a todos... 🐱🐾💕
Hola a mis queridos Hivers y a la querida comunidad de artistas @womentribe, muy complacida y emocionada de encontrarme por acá para participar en esta iniciativa que nos presenta la amiga @chacald.dcymt, en su columna “Benditas Manos Creadoras”, inspirado en el amor a las joyas, en conjunto con mi querida comunidad de Jewerly. Te invito a participar, por acá te dejo las pautas del concurso, anímate y pon a volar tu imaginación.
En esta oportunidad les traigo un conjunto de accesorios, zarcillos y dije para collar, con un diseño de un pequeño gatito colgante en 3D, en la técnica de quilling. Tomemos en cuenta que utilice una base única para luego con los demás elementos decorativos simular un pequeño gatito, esta base la podemos elaborar y colocar detalles que marquen la diferencia y llevar a cabo, una vaquita, cochinito o cualquier animalito que deseen materializar.
Mi amor a los gatitos y en especial a la chiquita que tengo en casa, me inspiro a elaborar esta pieza, ya he realizado otros modelos de patitas y gatitos, ya vendrán muchos más accesorios sobre el tema, ese amor lindo hacia esta miembro especial de mi familia me lleva a lucir en cada oportunidad que pueda cualquier bonito conjunto que haga en honor a ese sentimiento especial
Invito a participar a @apunawu y @mariaj151305.
También quiero aprovechar este post que habla del amor a este tipo de arte que es la joyería, para el tema de la semana de mi hermosa familia de @talentos propuesto por la amiga @angelica07 el cual es “Reinventarse”, si quieren saber más de estas excelentes iniciativas semanales y unirte a ellas te invito a visitar el siguiente link.
Para los que me conocen y han seguido mi trabajo en Hive, saben que llevo algunos años con este emprendimiento de realizar bisutería y otras cositas manuales, para poder obtener algo extra, eso me llevo a participar en ferias, y hasta administrar una por mi propia cuenta, y actualmente mostrar mi trabajo para que otros puedan también materializarlo si desean emprender a través de este medio. La verdad les puedo decir que esto fue algo no planificado, estudie en la universidad administración y siempre pensé terminar trabajando en una oficina o algo parecido, pero por diversos temas de origen político que es mejor ni nombrar, nunca conseguí ese empleo pensado, pero quizás fue lo mejor que me pudo pasar porque gracias a ello, soy dueña de mi tiempo, soy mi propia jefa y salió de mí, un talento que la verdad no sabía que tenía, me reinvente de esta manera y le doy gracias a la vida por ello ya que me enseñó a valerme por mi misma de una manera diferente.
Entonces amigos, sin más preámbulos, esperando que sea de su agrado acompáñenme en este proceso creativo que realice especialmente para ustedes.
Comencemos:😃

• Cintas de quilling blancas, negras y rosadas.
• Aguja para quilling.
• Regla con diversas medidas de circunferencia.
• Pega blanca extra fuerte (de carpintería).
• Tijera.
• Aguja de coser o alfiler.
• Palito de altura.
• Argolla mediana de bisutería.
• Base para zarcillos colgantes (anzuelos).
• Pincel.
• Alicate punta fina.
• Pinza punta fina.
• Collar de tu preferencia.
- White, black and pink quilling ribbons.
- Quilling needle.
- Ruler with different circumference measurements.
- Extra strong white glue (carpentry glue).
- Scissors.
- Sewing needle or pin.
- Height stick.
- Medium size costume jewelry ring.
- Base for hanging tendrils (hooks).
- Brush.
- Fine-nosed pliers.
- Fine point pliers.
- Necklace of your choice.

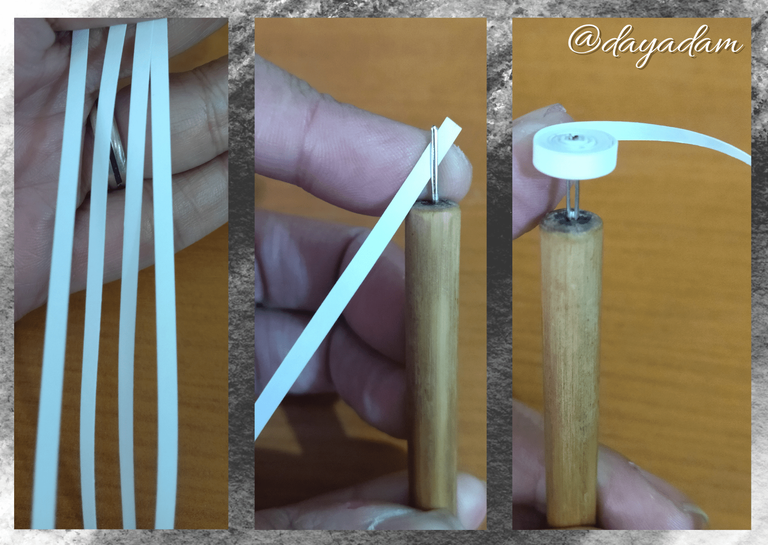
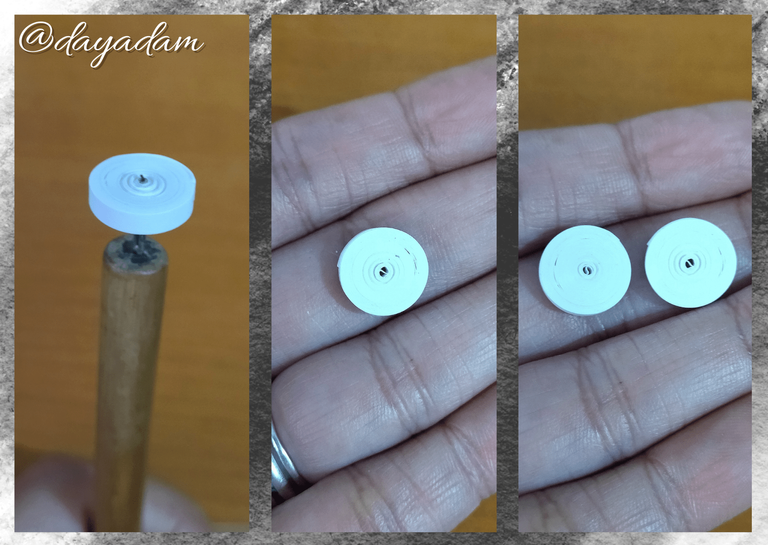
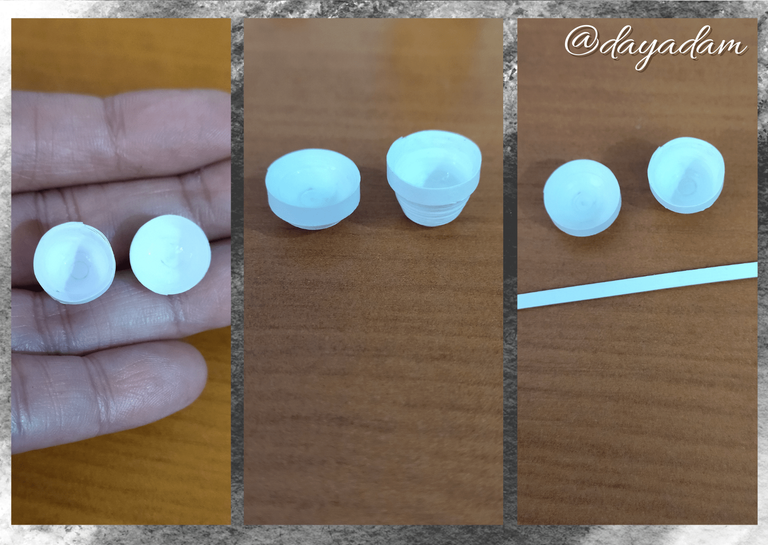
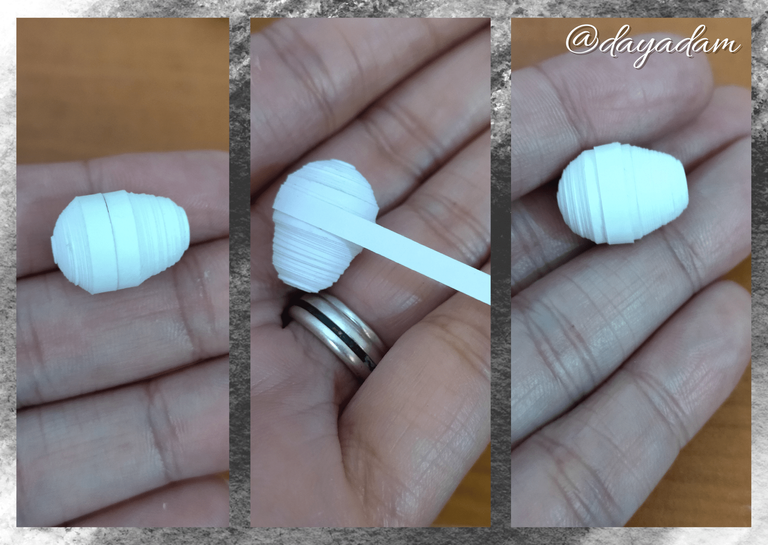
- We start by taking a 3mm wide x 100cms long white quilling ribbon, we roll it with the quilling needle until we reach the end of the ribbon, we seal it with extra strong white glue, we take it out of the needle, we will obtain a closed circle, like this we will need another one just like it. For each charm we want to make we will repeat the same process.
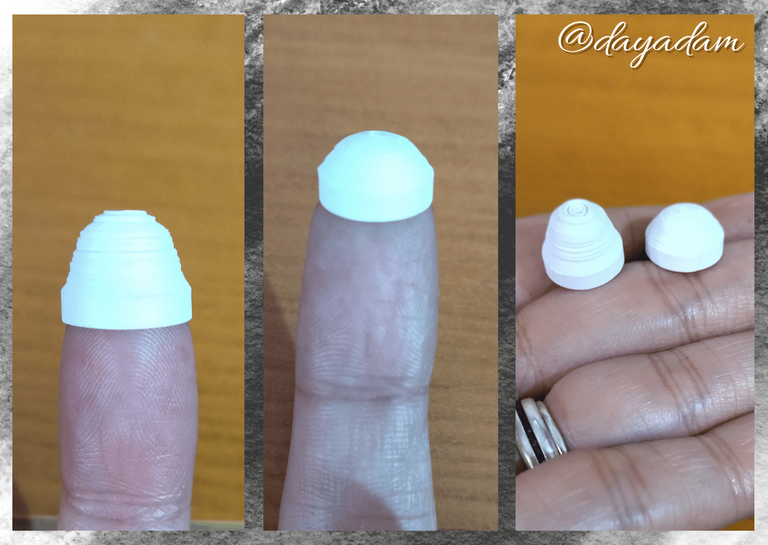
- Let's mold the circles, with the help of our fingers we will push outwards until we get the necessary shape for the kitty, on the inside we will add a little bit of glue and let it dry to prevent the pieces from moving.
- We are going to take a small piece of white quilling tape of approximately 2mm wide to join the pieces we made, we couple both by passing the tape through the middle of the two circles with extra strong white glue (reserve).

• Comenzamos tomando una cinta de quilling color blanca de 3mm de ancho x 100cms de largo, enrollamos con la aguja para quilling hasta llegar al final de la cinta, sellamos con pega blanca extra fuerte, sacamos de la aguja, obtendremos un círculo cerrado, como este vamos a necesitar otro igual. Por cada dije que queramos hacer vamos a repetir el mismo proceso.
• Moldeemos los círculos, con la ayuda de los dedos vamos a empujar hacia afuera hasta conseguir la forma necesaria para el gatito, en la parte de adentro agregamos un poco de pega y dejamos secar para evitar que se muevan las piezas.
• Vamos a tomar un pequeño trozo de cinta de quilling blanco de aproximadamente 2mm de ancho para unir las piezas que elaboramos, acoplamos ambas pasando la cinta por el medio de los dos círculos con pega blanca extra fuerte, (reservamos).
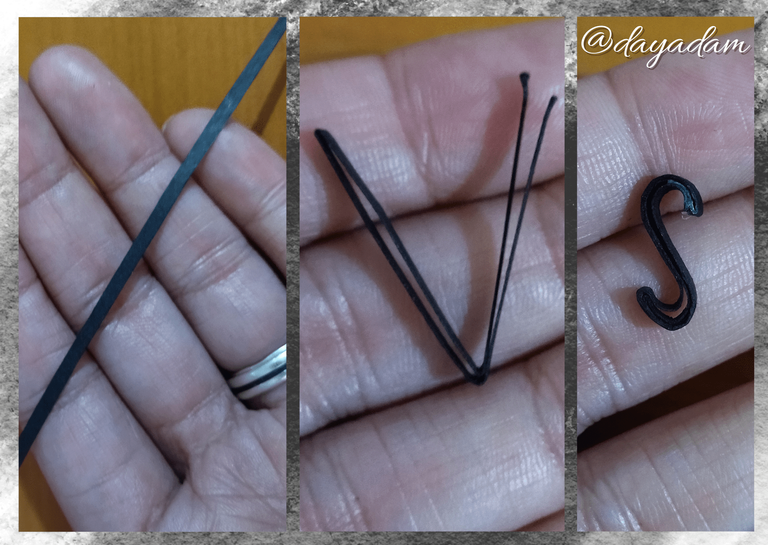
- Let's make the kitty's tail, we take a piece of black ribbon 3mm wide x 10cms wide, we fold it in 4 parts, then we mold it in an S shape, or in the way you prefer to shape the cat's tail.
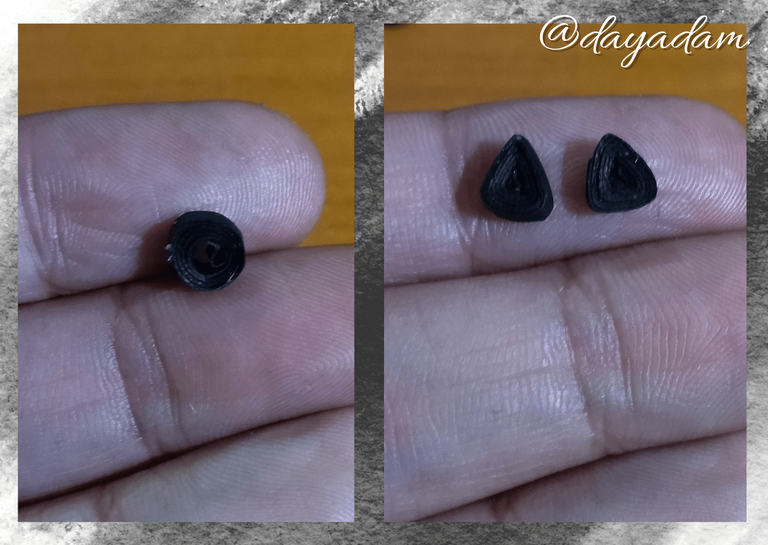
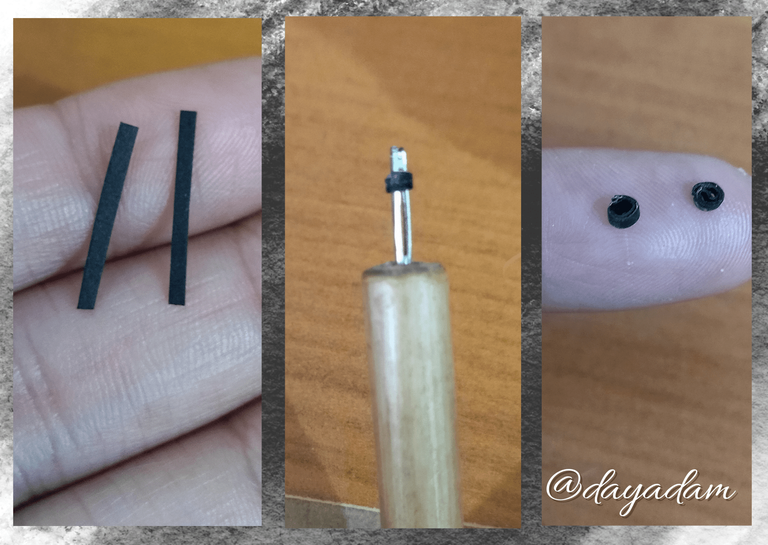
- For the cat's ears we take black ribbon 3mm wide x 8cms long, we roll it with the quilling needle forming a small circle, which we are going to mold in the shape of a triangle, we will need 2 equal ones.
- For the kitty's eyes, we take a small piece of black ribbon 1mm wide x 1.5cms long, roll it with the needle and seal it with glue.
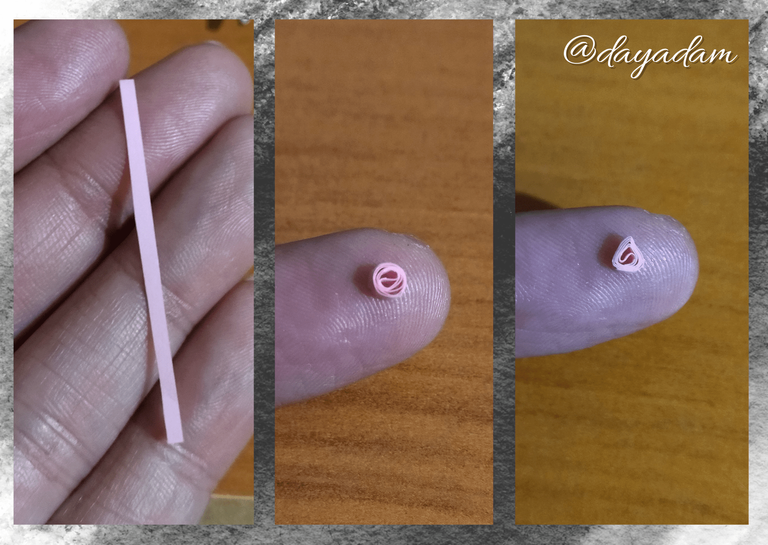
- For the nose we take a piece of pink ribbon 1mm wide and repeat the previous process, but we are going to mold it in the shape of a triangle.

• Hagamos la colita del gatito, tomamos un trozo de cinta negra de 3mm de ancho x 10cms de ancho, lo doblamos en 4 partes, luego moldeamos en forma de S, o de la manera de tu preferencia para darle forma a la colita del gato.
• Para las orejitas del gato tomamos cinta negra de 3mm de ancho x 8cms de largo, enrollamos con la aguja para quilling formando un pequeño círculo, el cual vamos a moldear en forma de triángulo, necesitaremos 2 iguales.
• Vamos con los ojitos del gatito, tomamos un trocito de cinta negra de 1mm de ancho x 1.5cms de largo, enrollamos con la aguja sellamos con pega.
• Para la nariz tomamos un trozo de cinta rosada de 1mm de ancho repetimos el proceso anterior, pero vamos a moldear en forma de triángulo.
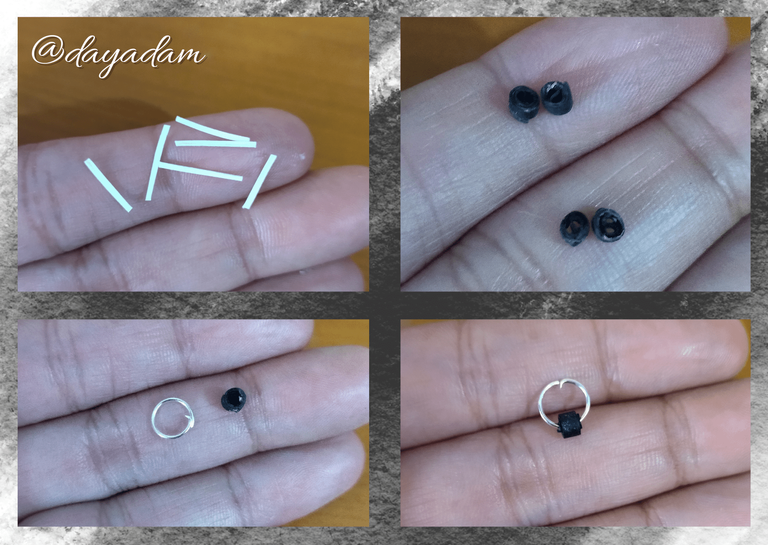
- The whiskers will be made by cutting small 1mm wide ribbons, 6 in total.
- We will also make 4 small circles with 1.5 mm wide black ribbon to simulate the kitty's paws.
- Finally we are going to make another small circle, rolling a piece of black ribbon of 1mm in a quilling needle, once this circle is ready we will place a medium size costume jewelry ring.
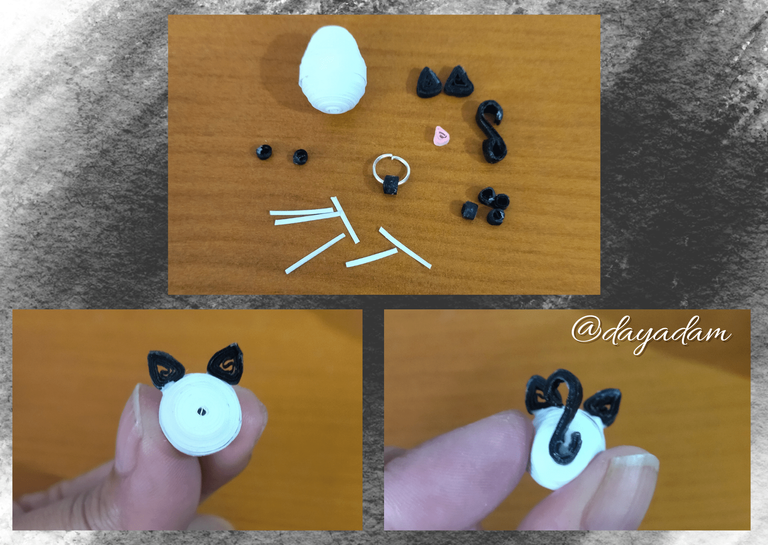
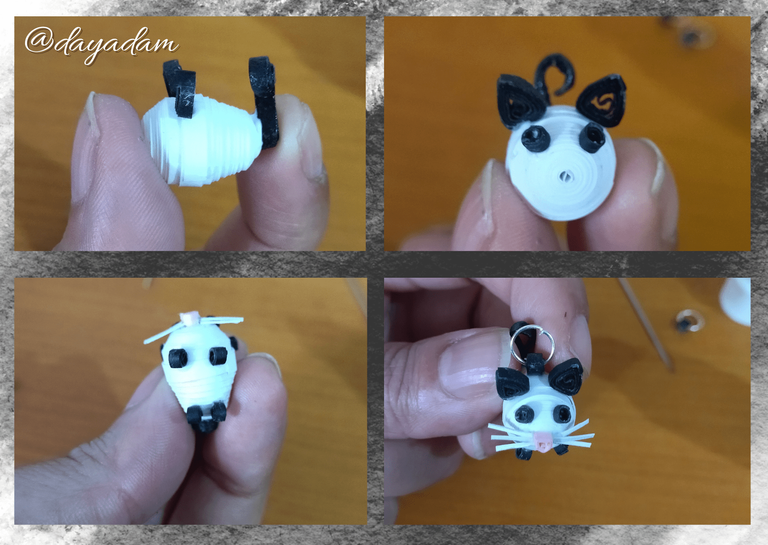
- Let's assemble the pieces to assemble the kitty, you can observe the process in the images, you can do it in the order you want.
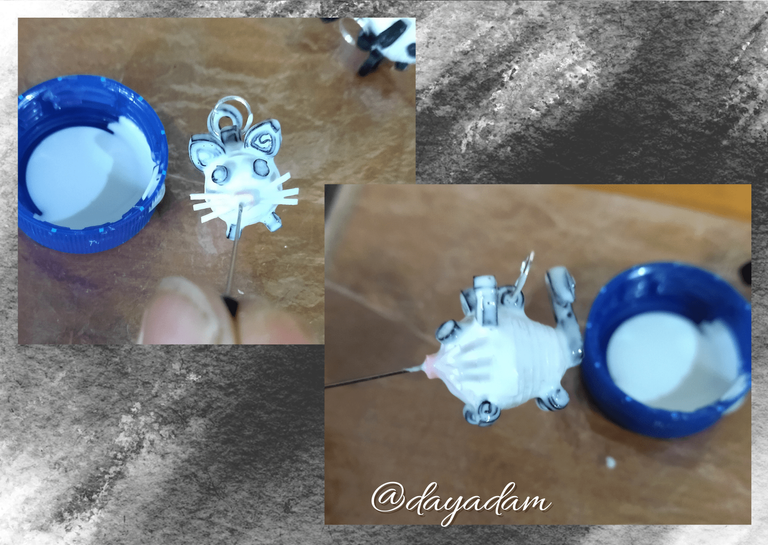
- Finally, let's apply the liquid protection (plasticized) to the pieces, with a brush we apply several layers of extra strong white glue, letting it dry between one layer and another.
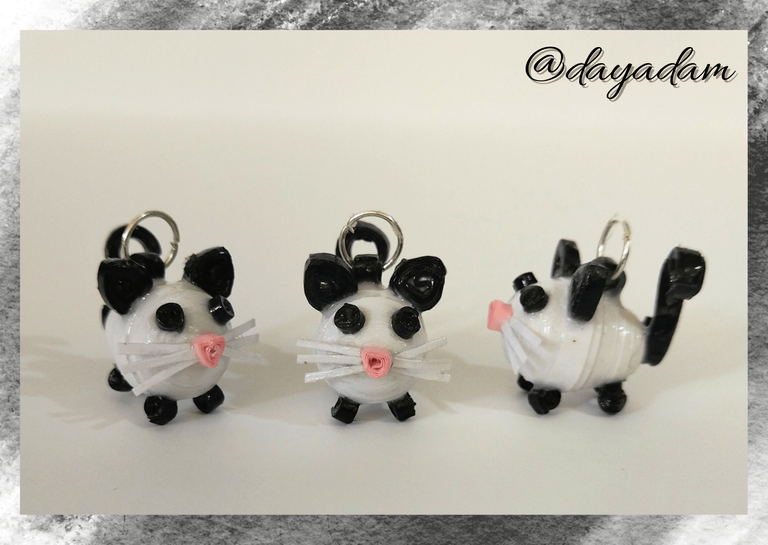
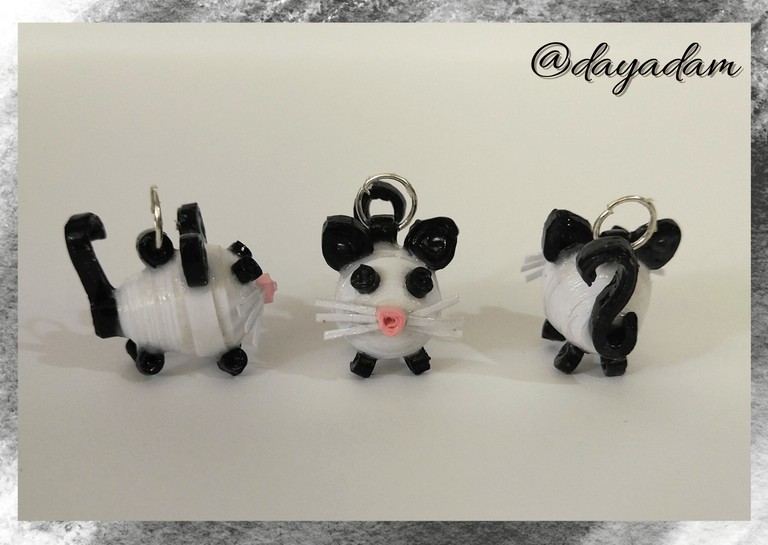
As you can see I made three pieces of these 3D kittens, one I left with only the ring to use in a necklace and the other two I placed a hanging base for tendrils (hook), to which I placed a black pearl type Czech crystal to give it more showiness.

• Los bigotes los haremos cortando pequeñas cintas de 1mm de ancho, serán 6 en total.
• Realizaremos también con cinta negra de 1.5 mm de ancho, 4 pequeños círculos para simular las patitas del gatito.
• Por ultimo vamos a elaborar otro pequeño círculo, enrollando un trozo de cinta negra de 1mm en una aguja para quilling, una vez listo este círculo le colocaremos una argolla de bisutería mediana.
• Ensamblemos las piezas para armar el gatito, pueden ir observando el proceso en las imágenes, puedes hacerlo en el orden que desees.
• Para finalizar coloquemos a las piezas su protección liquida (plastificado), con un pincel aplicamos varias capas de pega blanca extra fuerte, dejando secar entre una capa y otra.
Como podrán ver realice tres piezas de estos gatitos en 3D, una la deje solo con la argolla para utilizar en un collar y a las otras 2 les coloque una base colgante para zarcillos (anzuelo), a los que les coloque una perla negra tipo cristal checo para darle mayor vistosidad.


What did you think, did you like it?
I hope you did, I hope you liked my explanation, procedure and photos, I made them with love for you.
"Let out that muse that inspires you, and let your imagination fly".
Thank you all, see you next time ✨

¿Que les pareció, les gustó?
Espero que sí, que les haya gustado mi explicación, procedimiento y fotos, los hice con mucho cariño por y para ustedes.
"Deja salir esa musa que te inspira, y deja volar tu imaginación".
Gracias a todos, nos vemos en la próxima.✨

Todas las fotos usadas en este post son de mi autoría y han sido sacadas en mi celular personal un Redmi 9T y editadas Canva Banner y separador hecho por mí en Canva Traducido con la ayuda de DeepL

