Hello everyone...🎄🎅✨
Hello to my dear Hivers and the dear community of artists #HiveDIY, as always very pleased and excited to be here again, showing you my work made with love and especially for you.
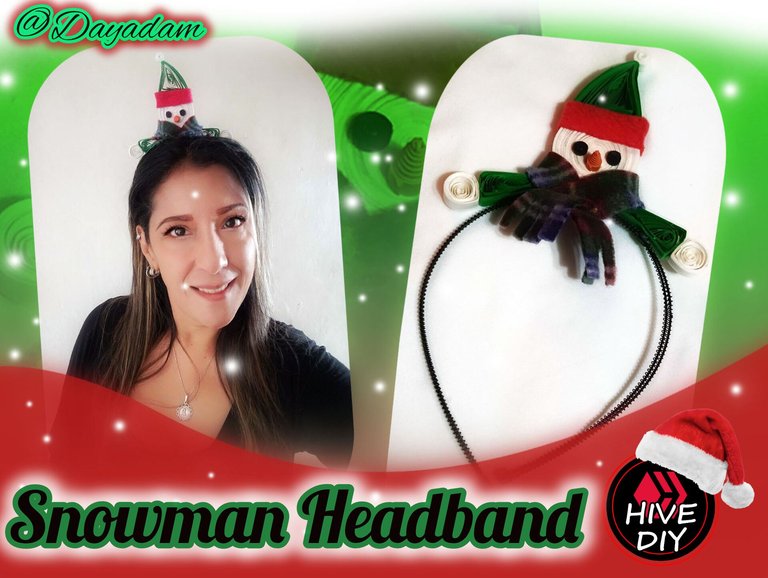
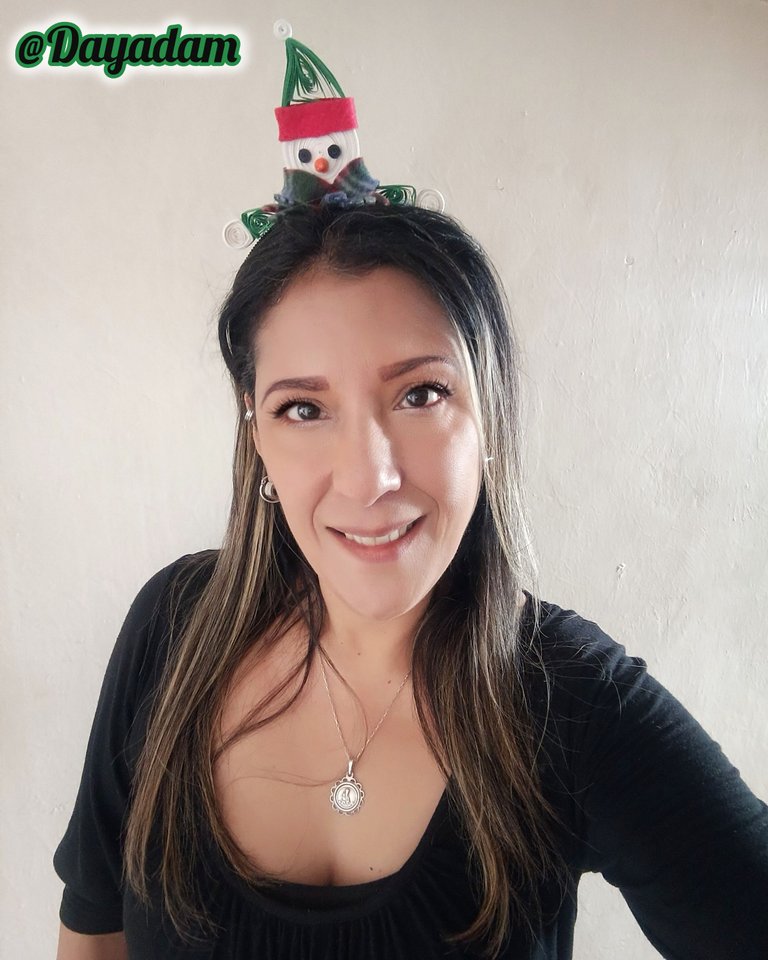
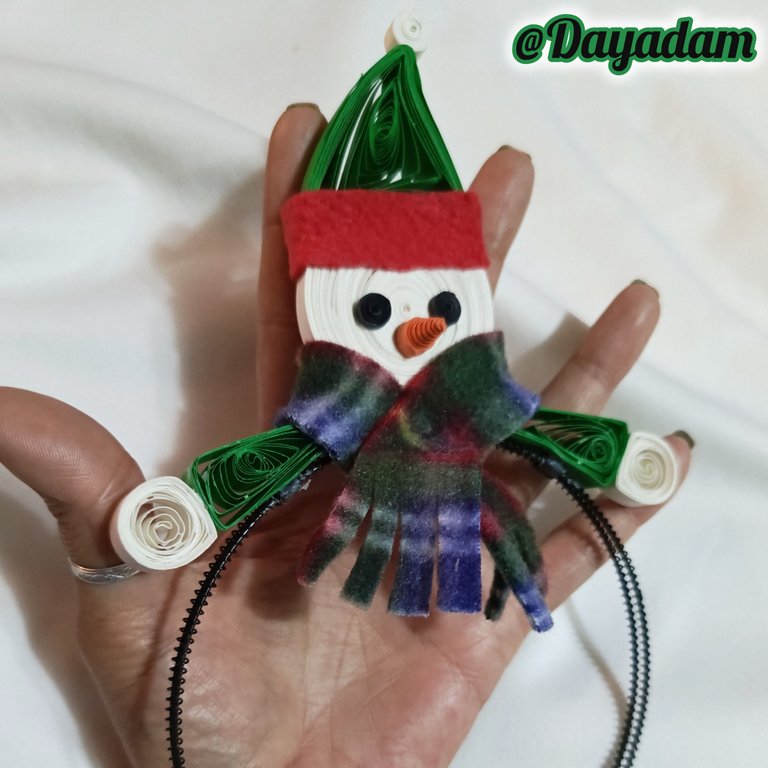
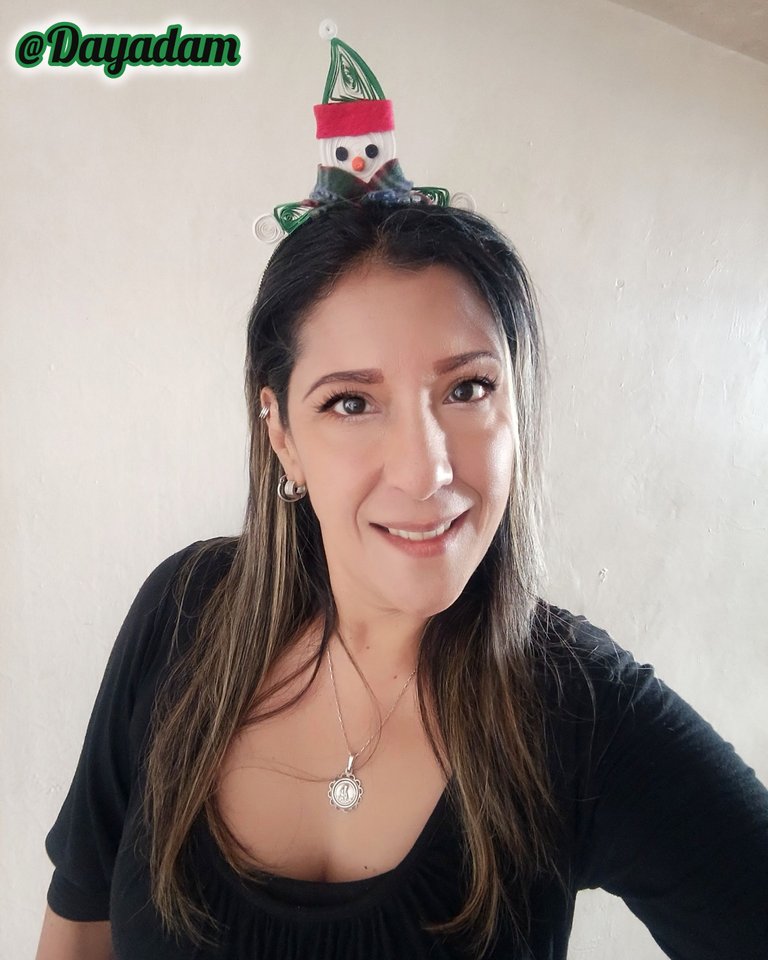
It's Christmas time and many people like to wear themed headbands for the occasion, by chance my mother told me that she wanted me and my daughter to wear one on the 24th, I immediately looked for a small headband that was in disuse, and I loved it because it is one of those that are made of metal and are invisible when placed in the hair, and only looks the decoration that has the same. I got to work decorating it to my liking, in this case I made a snowman using the quilling technique, with some details made with polar blanket.
Hoping you like it, I leave you my creative process:
Let's get started:😃

Hola a Todos...🎄🎅✨
Hola a mis queridos Hivers y a la querida comunidad de artistas #HiveDIY, como siempre muy complacida y emocionada de encontrarme por acá nuevamente, mostrándole mi trabajo hecho con mucho amor y especialmente para ustedes.
Estamos en Navidad y para la fecha a muchos les gusta usar diademas temáticas con la ocasión, casualmente mi madre me dijo que ella quería que mi hija ella y yo nos pusiéramos una el día 24, de inmediato me busqué un pequeño cintillo que estaba en desuso, y me encantó porque es de esos que son de metal y son invisibles al colocárselo en el cabello, y solo luce la decoración que tenga el mismo. Puse manos a la obra decorándolo a mi gusto, en este caso le realice un muñeco de nieve hecho en la técnica de quilling, con algunos detalles realizados con manta polar.
Esperando que sea de su agrado, les dejo mi proceso creativo:
Comencemos:😃

• Cintas de quilling de diversos mm de ancho.
• Cintillo o diadema.
• Aguja para quilling.
• Manta polar roja y estampada.
• Pega blanca extra fuerte (de carpintería).
• Tijera.
• Pincel.
- Quilling ribbons of different widths.
- Headband.
- Quilling needle.
- Red and printed fleece blanket.
- Extra strong white glue (carpentry glue).
- Scissors.
- Paintbrush.

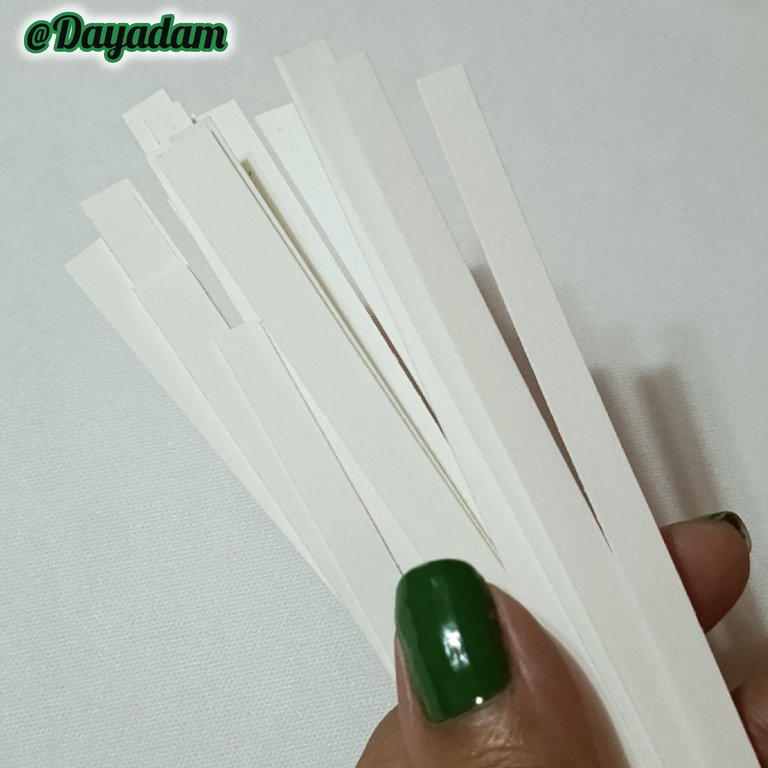
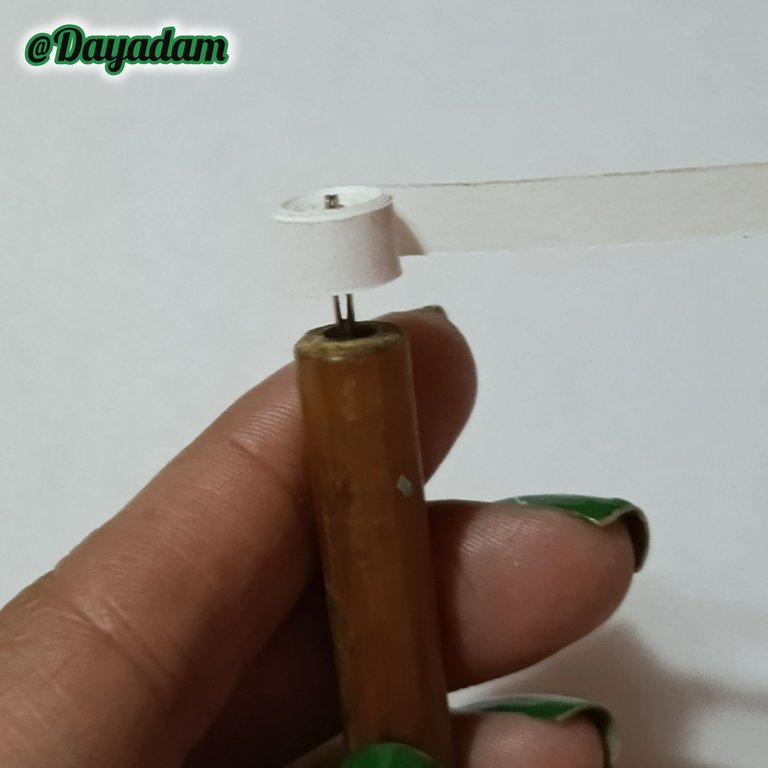
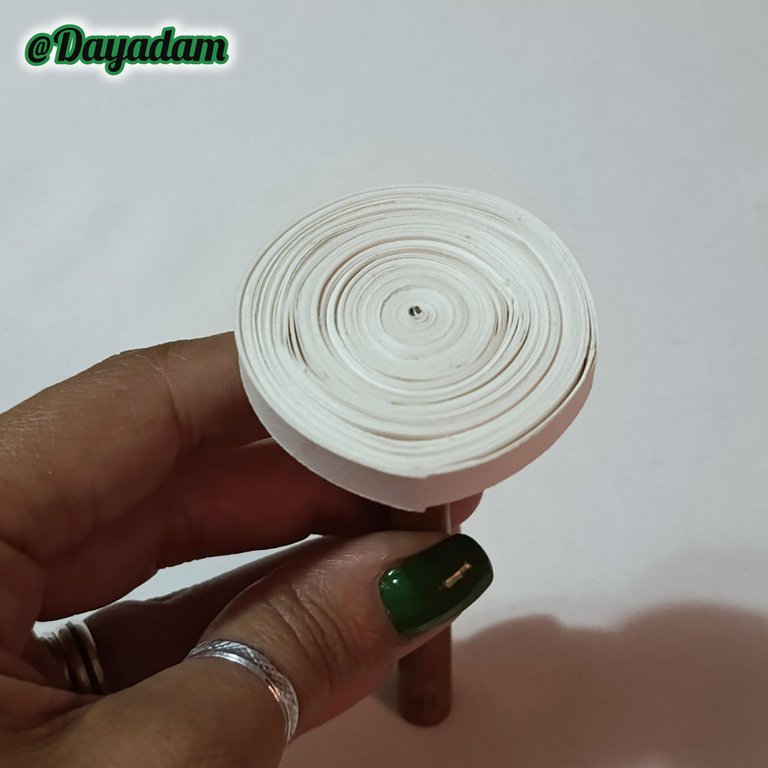
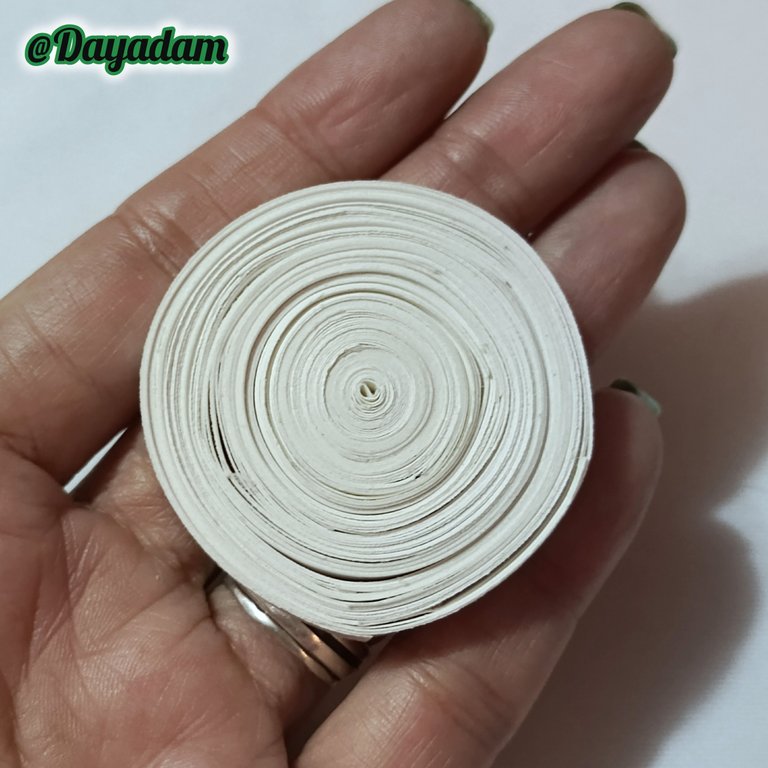
- Start by taking 4 mm wide quilling tape, we are going to roll with the help of the quilling needle enough ribbons, until we get a closed circle of medium size.
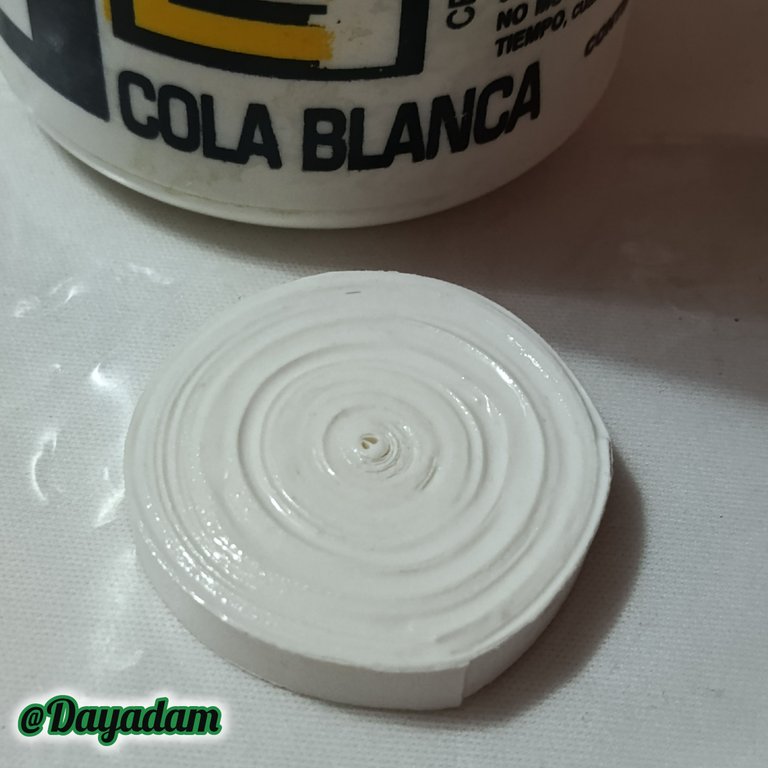
- Once our closed circle is ready, we are going to add a layer of extra strong white glue and wait for it to dry. This will be the face of our snowman.

• Comenzamos tomando cinta para quilling de 4 mm de ancho, vamos a enrollar con la ayuda de la aguja para quilling la suficiente cantidad de cintas, hasta lograr un círculo cerrado de un tamaño mediano.
• Una vez listo nuestro círculo cerrado, vamos a añadir una capa de Pega Blanca extra fuerte, y esperaremos a que se seque. Esta será la cara de nuestro muñeco de nieves.
 |  |  |
|---|
 |  |
|---|
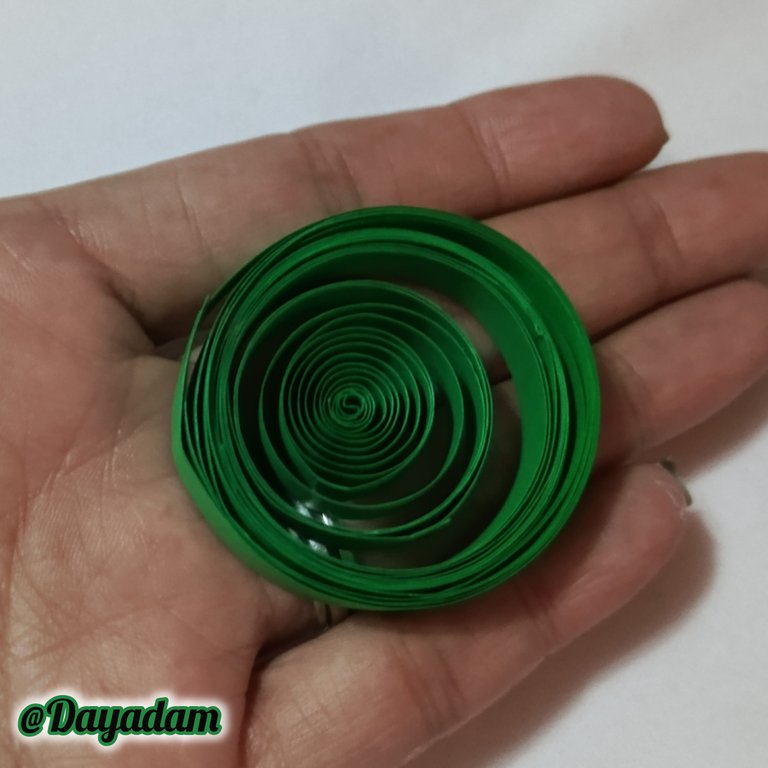
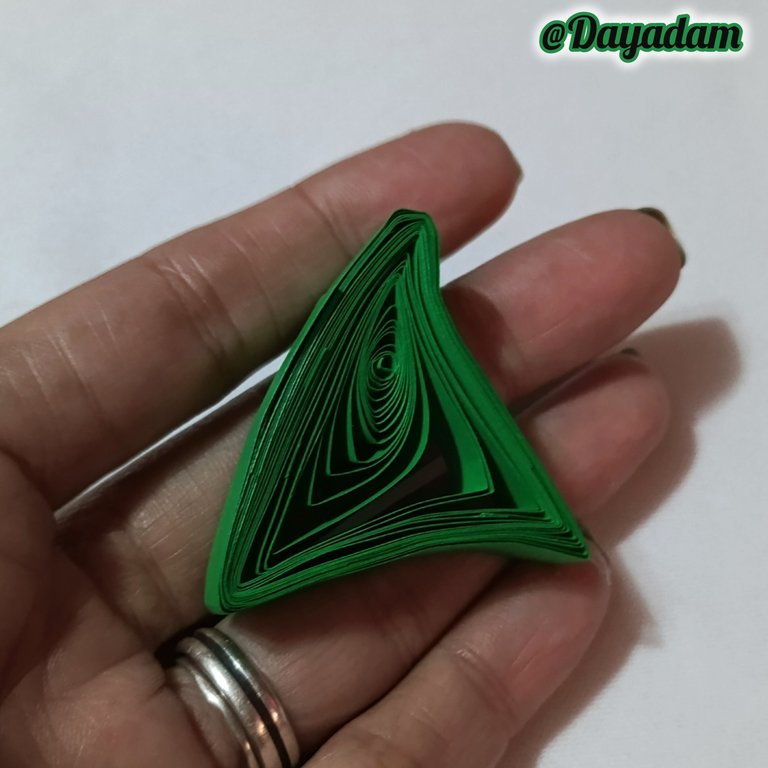
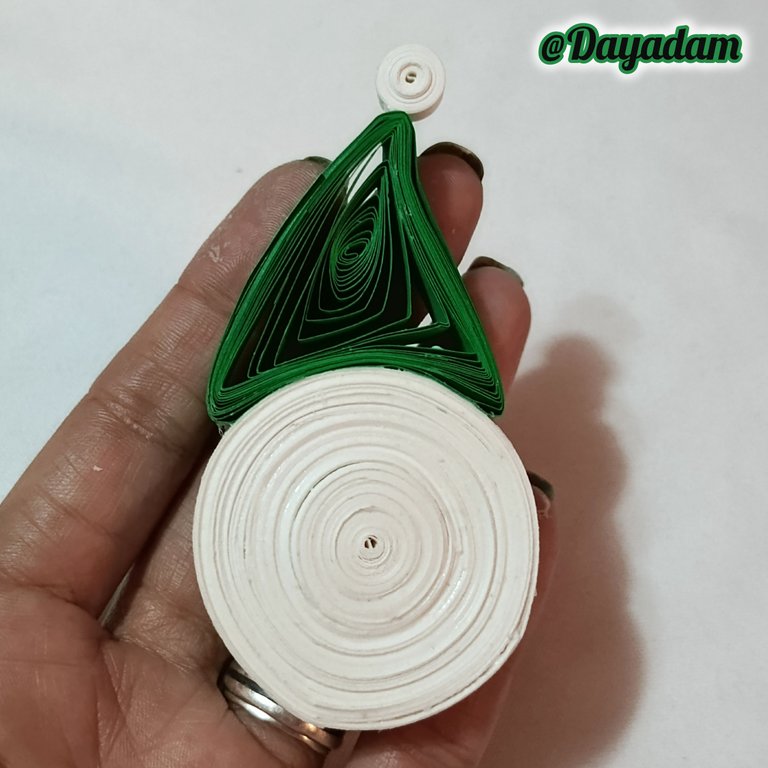
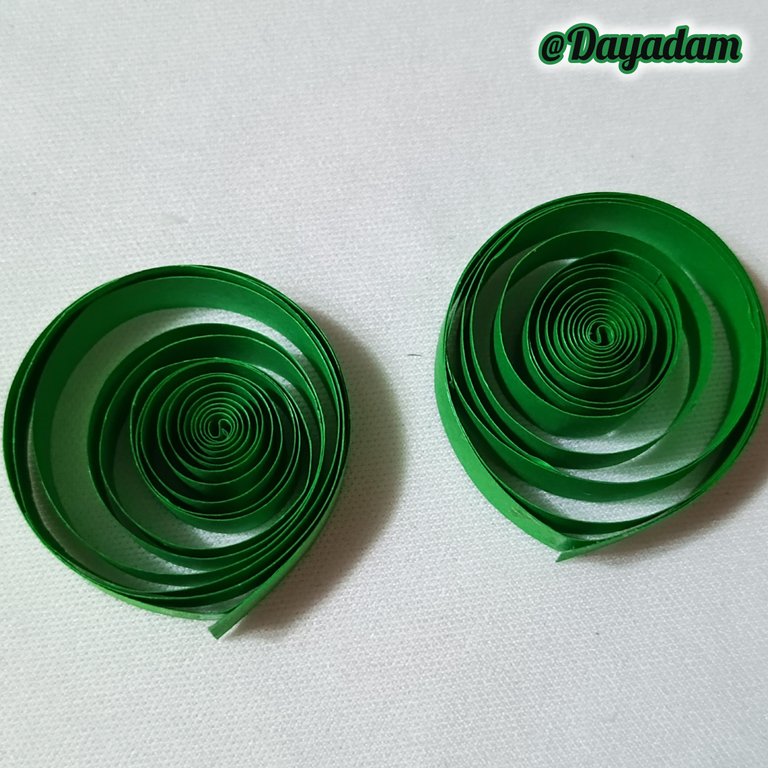
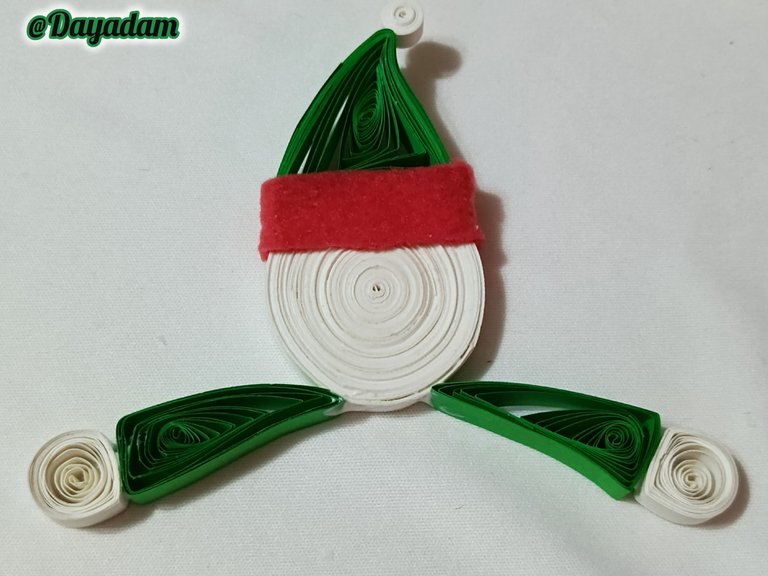
- To make the snowman's hat, I took 4 mm wide green quilling tape, made an open circle which I molded to the required shape.
- Once ready, I made a small white closed circle which I glued at its tip.
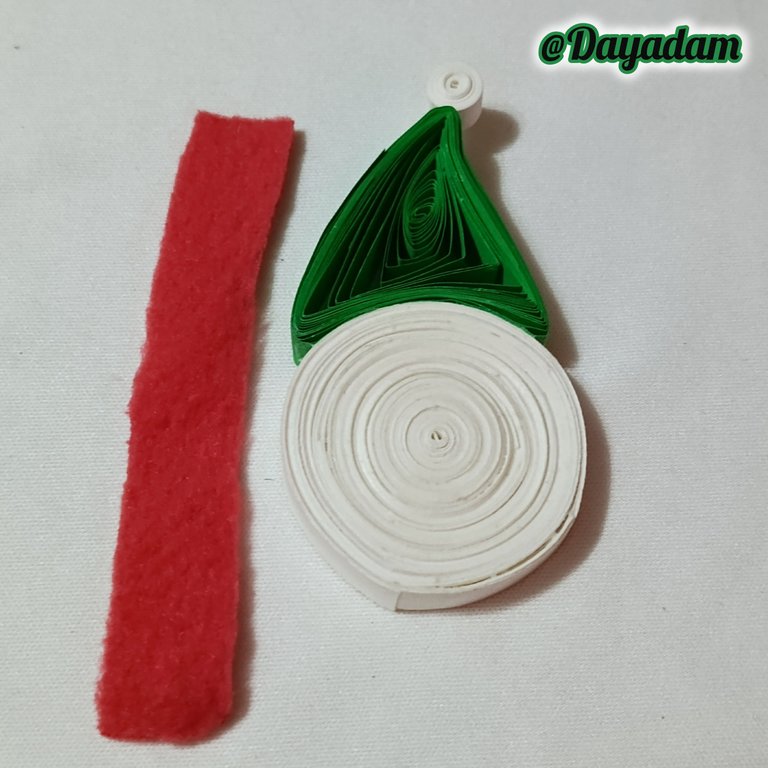
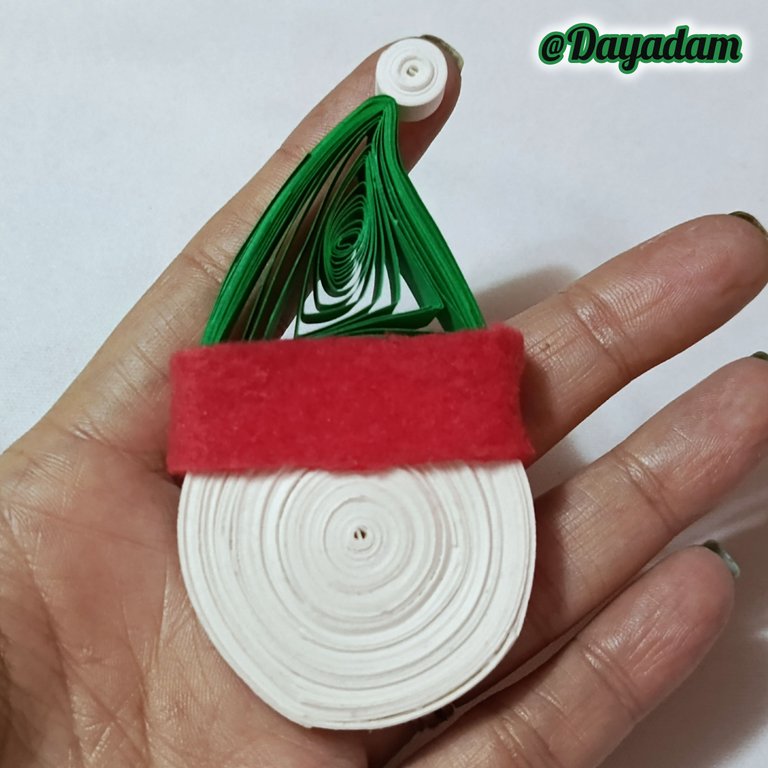
- I glued the hat of the circle which is the face of the snowman, to decorate the hat I glued a strip of red polar blanket around it.

• Para realizar el sombrero del muñeco de nieve, tomé cinta para quilling de color verde de 4 mm de ancho, realicé un círculo abierto el cual moldee según la forma requerida.
• Una vez listo, lleve a cabo un pequeño círculo cerrado de color blanco el cual pegue en su punta.
• Pegué el sombrero del círculo el cual es la cara del muñeco de nieve, para decorar el sombrero pegue una franja de manta polar color roja alrededor del mismo.
 |  |
|---|
 |  |  |
|---|
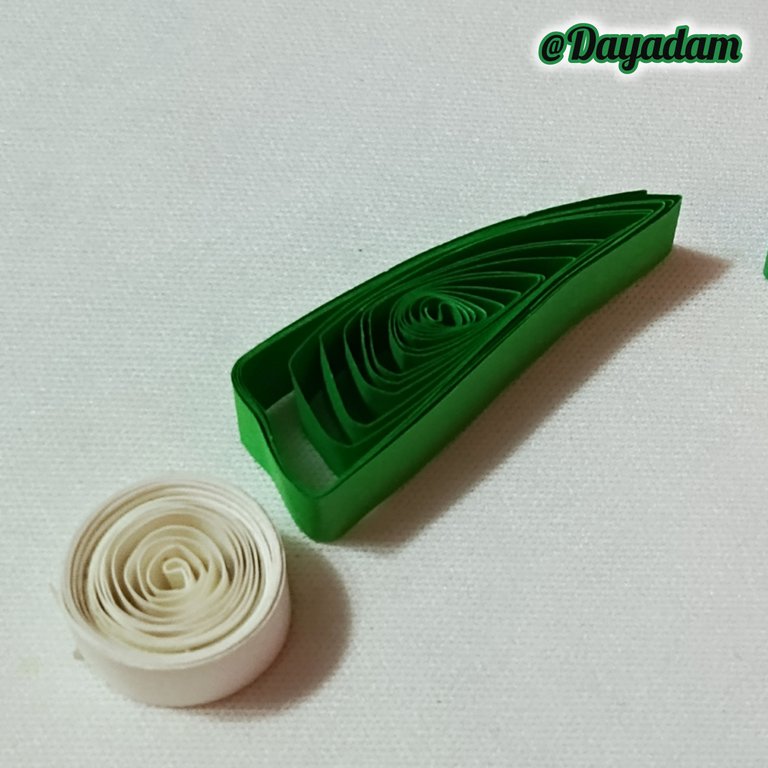
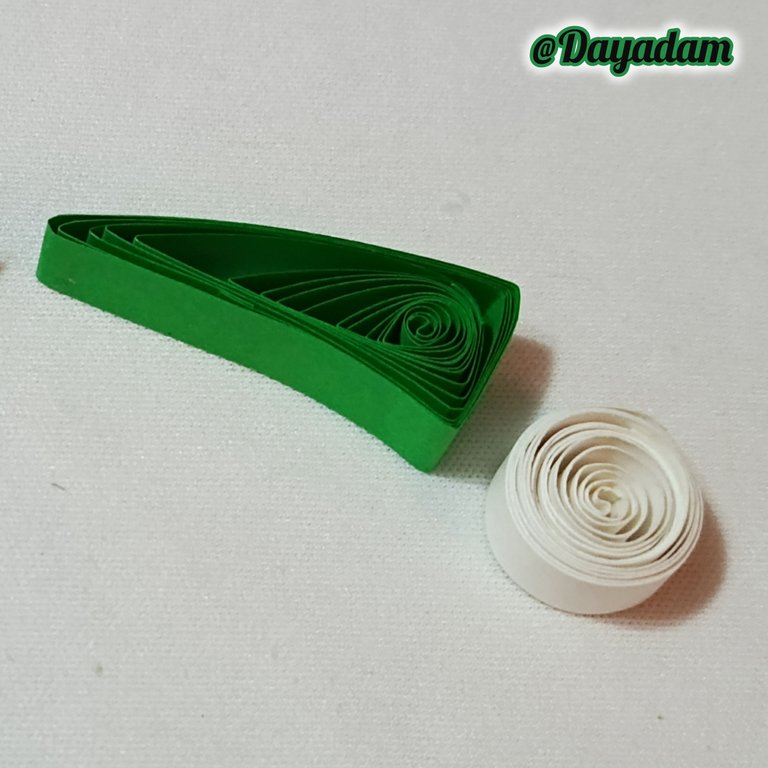
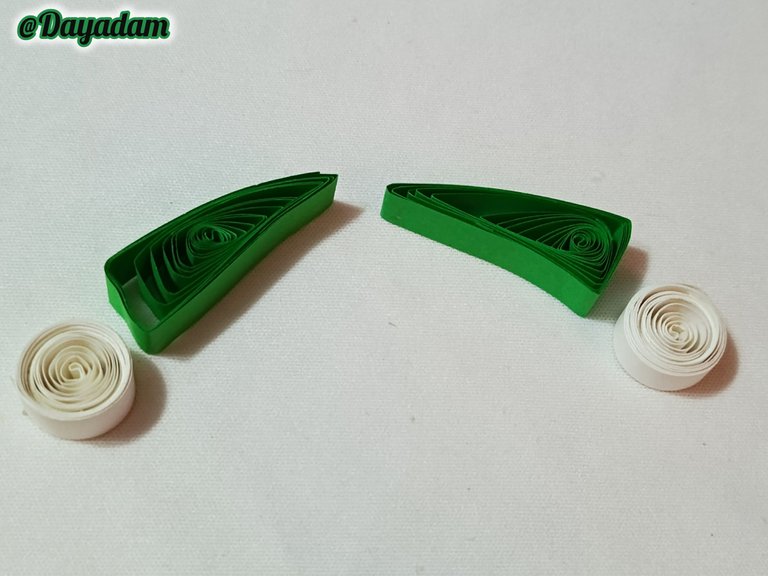
- To make the arms of the doll, I made two open circles with green quilling tape 4 mm wide, mold as you can see in the pictures.
- For the hands I made 2 white circles, which I glued to the piece I made previously, you are in the hands of the doll.
- I glued these arms to the bottom of the snowman's face, one on each side.

• Para llevar a cabo los brazos del muñeco, realicé dos círculos abiertos con cinta para quilling de color verde de 4 mm de ancho, molde tal como pueden ver en las imágenes.
• Para las manos realicé 2 círculos blancos, los cuales pegué a la pieza que realicé con anterioridad, estás en las manos del muñeco.
• Pegué estos brazos en la parte de abajo de la cara del muñeco de nieve, uno de cada lado.
 |  |  |
|---|
 |  |
|---|
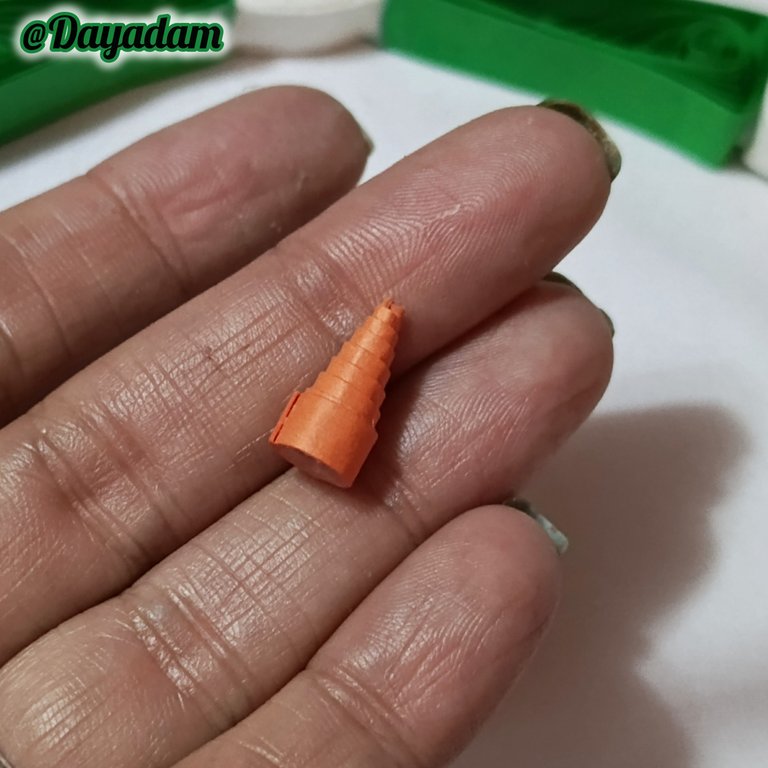
- To make the nose I made an orange cone with 3 mm wide quilling tape.
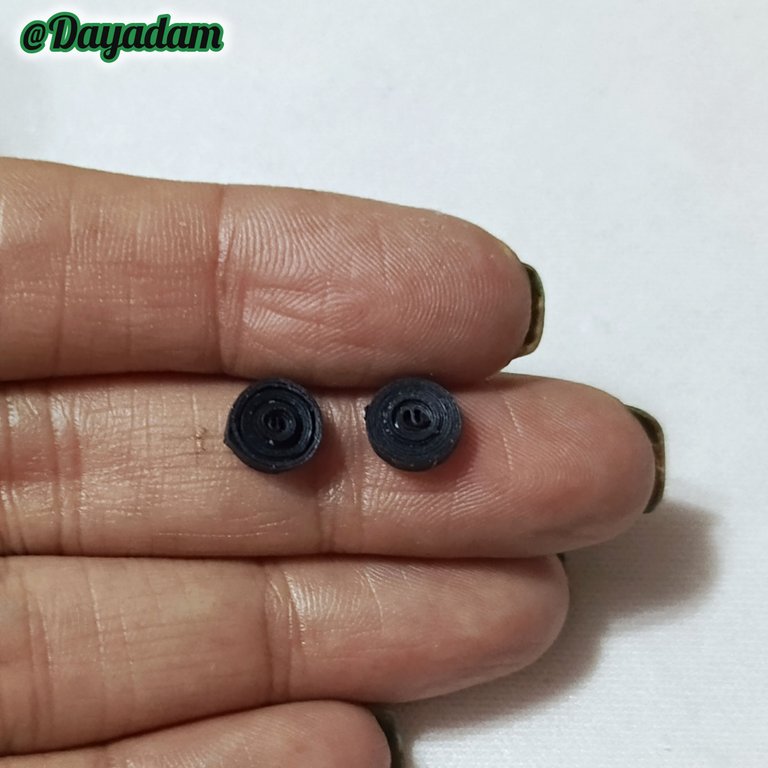
- The eyes were made by making two closed circles with black ribbon 1 mm wide.
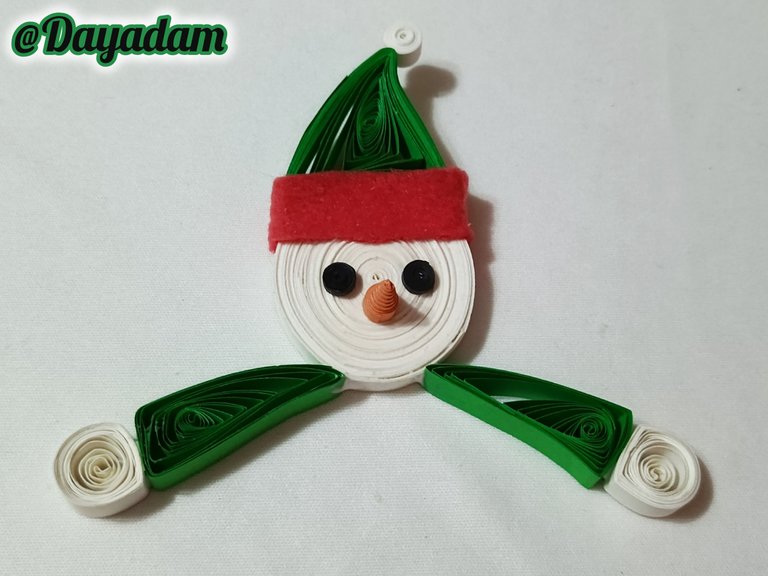
- I proceeded to glue the nose and eyes of the doll's face.

• Para llevar a cabo la nariz realicé un cono de color anaranjado con cinta para quilling de 3 mm de ancho.
• Los ojos los realicé llevando a cabo dos círculos cerrados con cintas de color negro de 1 milímetro de ancho.
• Procedí a pegar la nariz y ojos, de la cara del muñeco.
 |  |
|---|
 |
|---|
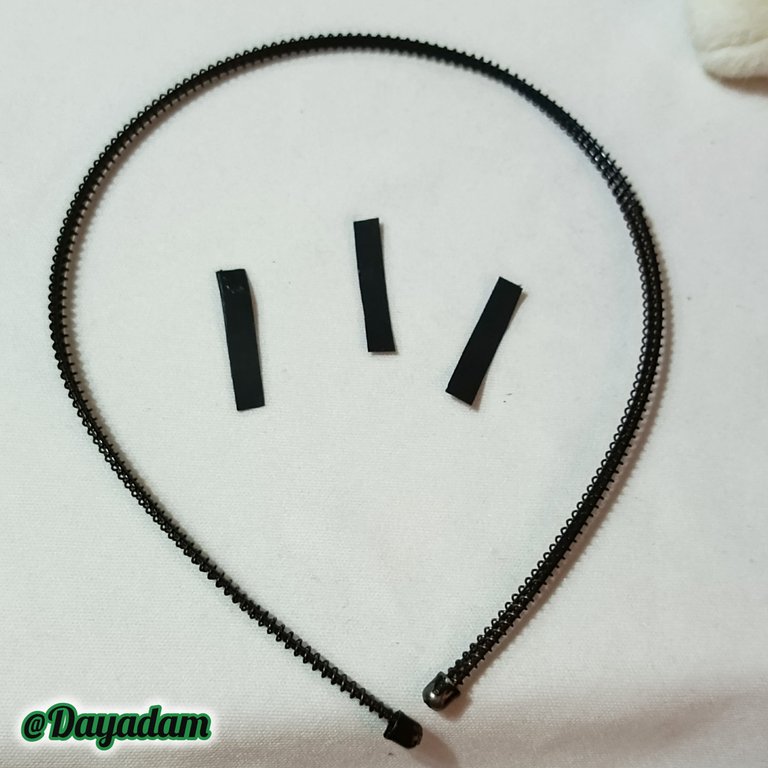
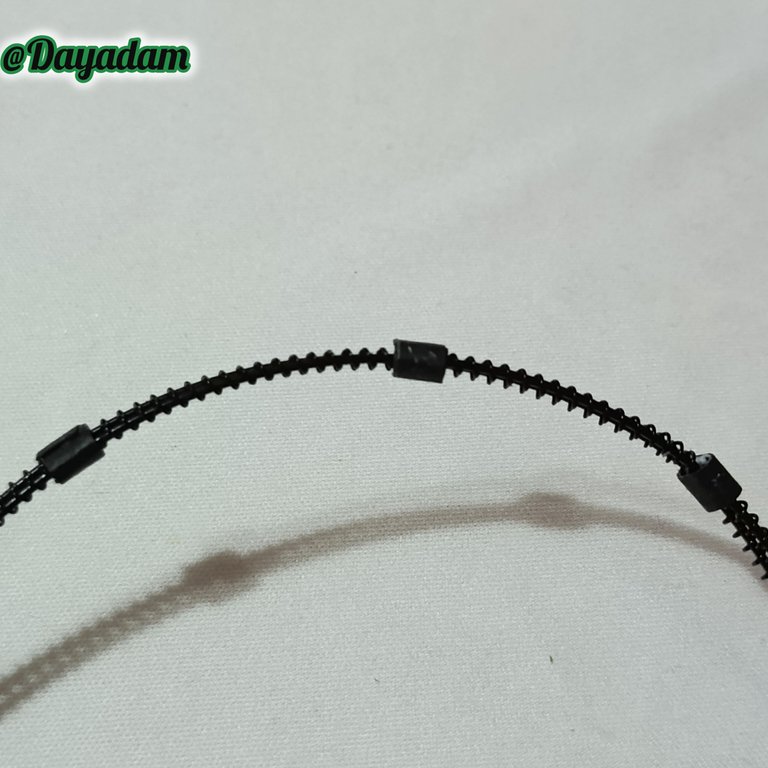
- At this point we take the headband, and 3 pieces of black quilling, we are going to roll in three points of the same sealing with extra strong white glue.
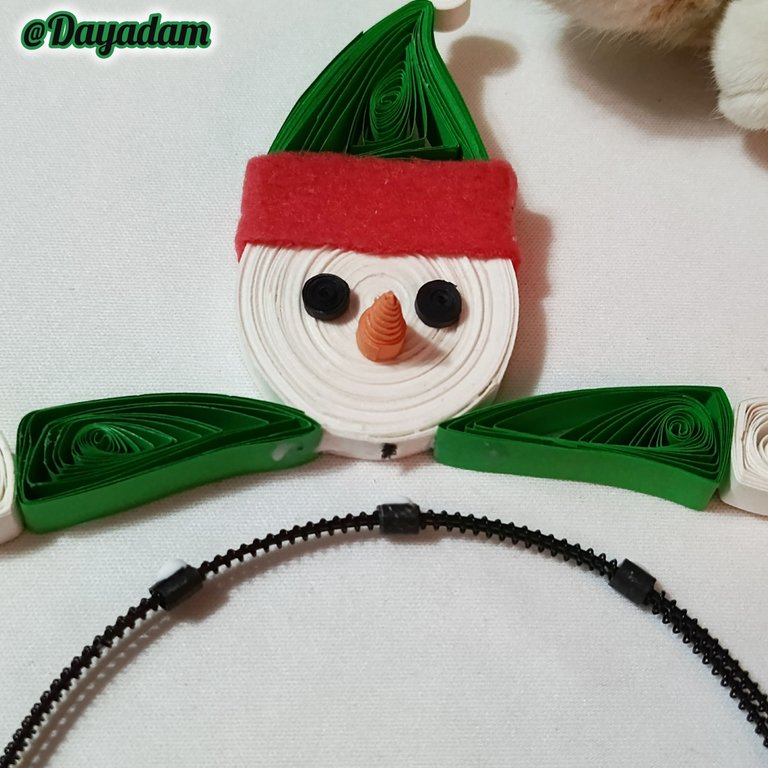
- We are going to glue the snowman with extra strong white glue, joining the 3 pieces of quilling that we put on the headband.
- At this point we take the headband, and 3 pieces of black quilling, we are going to roll in three points of the same sealing with extra strong white glue.
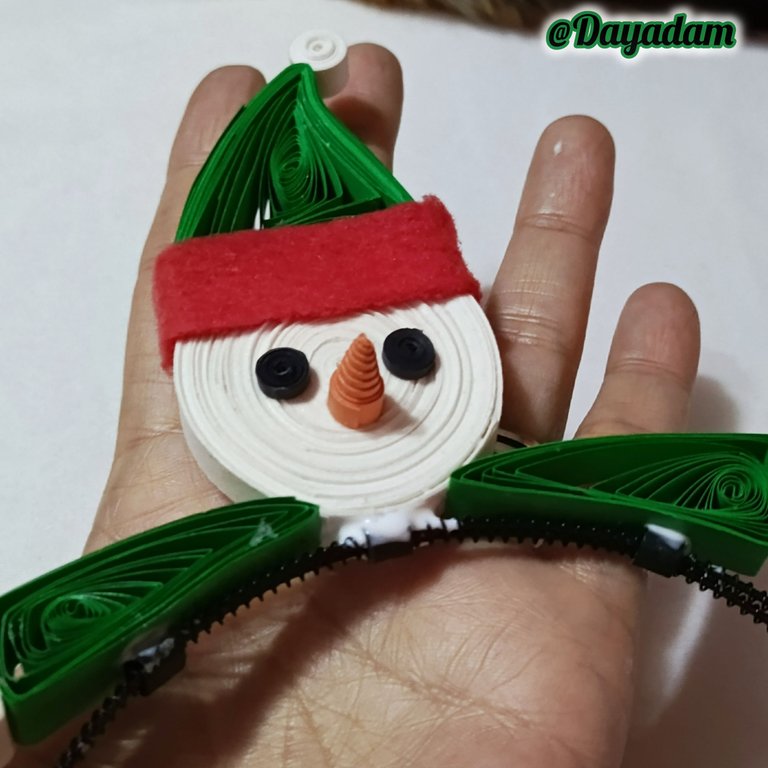
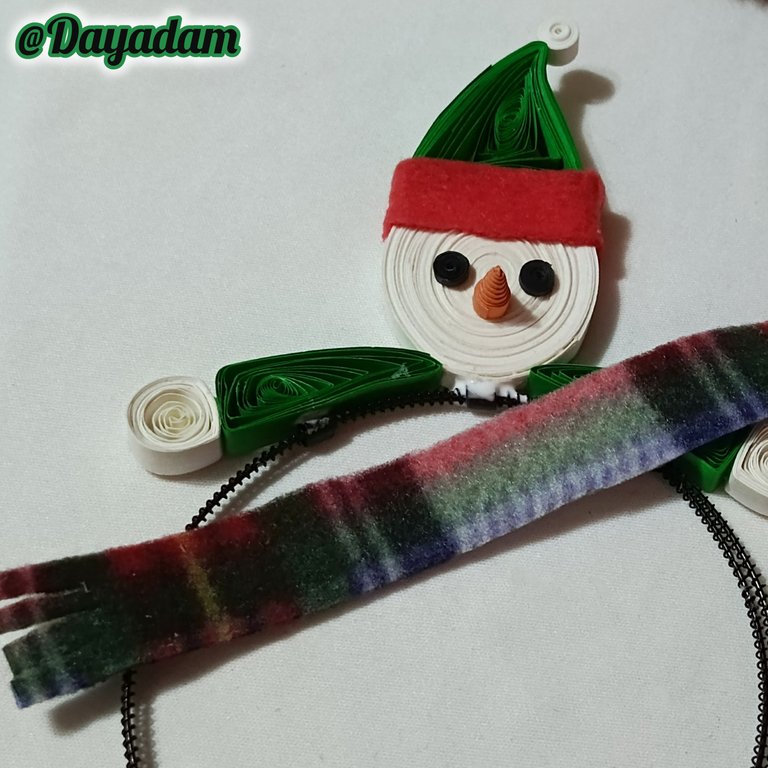
- Finally I took a piece of printed polar blanket, cut at the ends to make a scarf which I placed between the head and arms of the snowman.
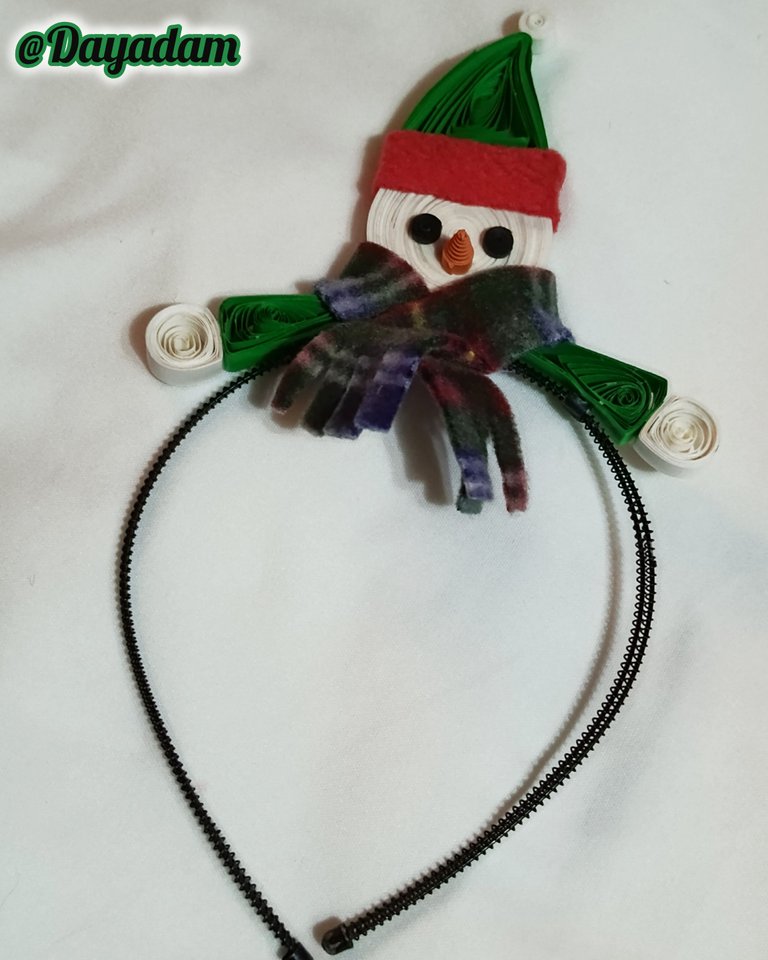
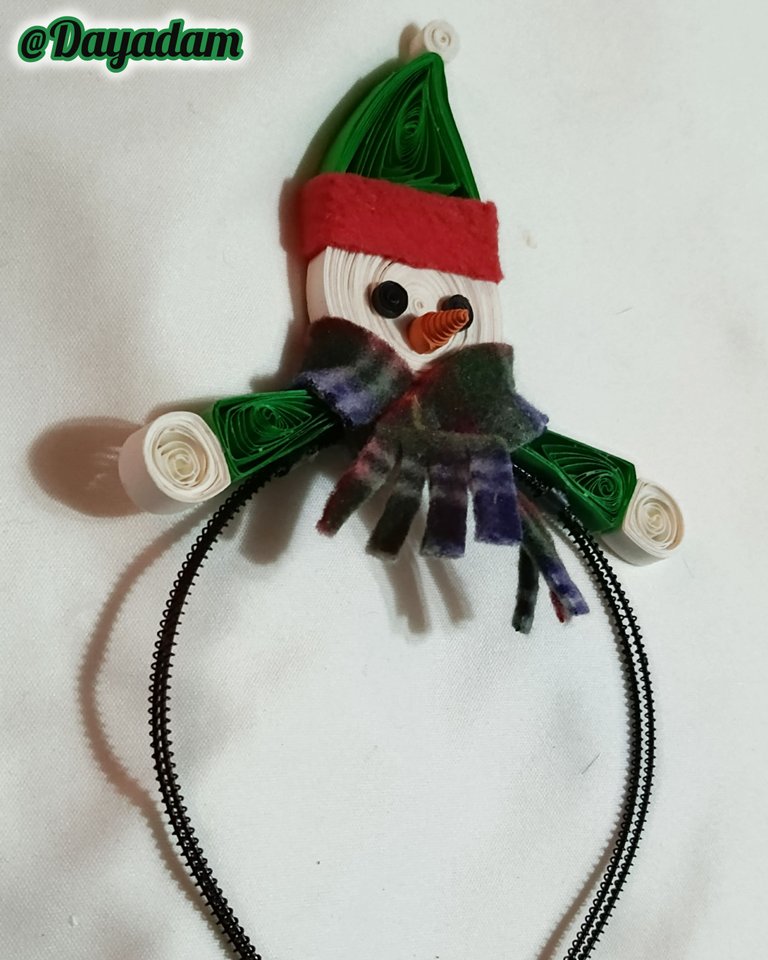
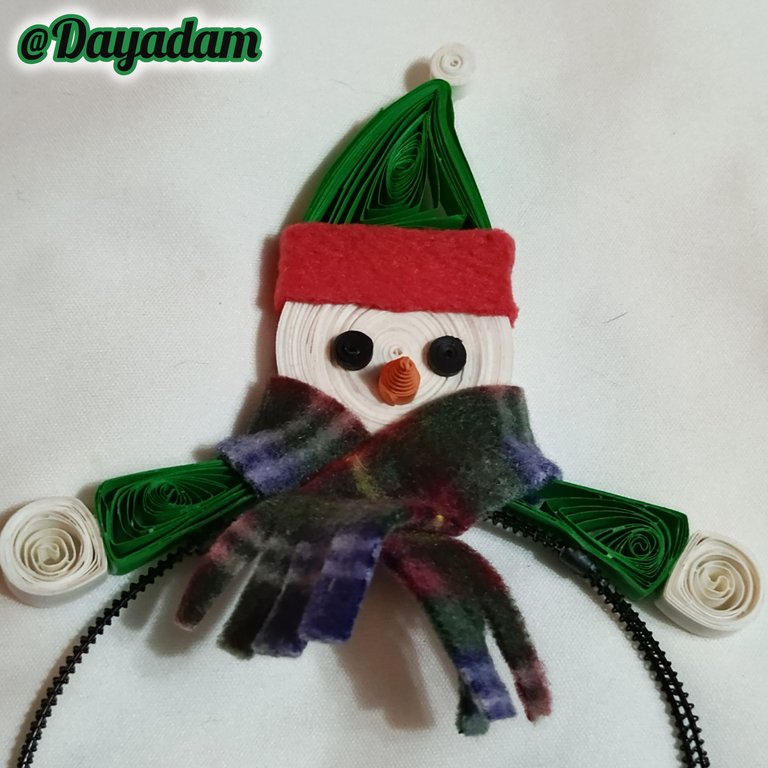
This way we have ready, this Christmas headband with a decorative snowman in the quilling technique.
This is part of my participation in the initiative of our artisan community HiveDiy together with Inleo de Activate Diademas Navideñas,I leave you the guidelines in the following link, and I invite to participate @chacald.dcymt @yolimarag and @taniagonzale.

• Llegado a este punto tomamos la diadema, y 3 trozos de quilling de color negro, vamos a enrollar en tres puntos de la misma sellando con pega blanca extra fuerte.
• Vamos a pegar el muñeco de nieve con pega blanca extra fuerte, uniendo de los 3 trozos de quilling qué colocamos en la diadema.
• Llegado a este punto tomamos la diadema, y 3 trozos de quilling de color negro, vamos a enrollar en tres puntos de la misma sellando con pega blanca extra fuerte.
• Para finalizar tomé un trozo de manta polar estampada, corte en las puntas para realizar una bufanda la cual coloqué entre la cabeza y los brazos del muñeco de nieve.
De esta manera tenemos lista, esta diadema de navidad con un muñeco de nieve decorativo en la técnica de quilling.
Esta es parte de mi participacion en la iniciativa de nuestra comunidad de artesanos HiveDiy junto a Inleo de Activate Diademas Navideñas,te dejo las pautas en el siguiente link, e invito a participar a @chacald.dcymt @yolimarag y @taniagonzale.
 |  |  |
|---|
 |  |
|---|

 |  |  |
|---|
 |
|---|
 |
|---|

What did you think, did you like it?
I hope you did, I hope you liked my explanation, procedure and photos, I made them with love for you.
"Let out that muse that inspires you, and let your imagination fly".
Thank you all, see you next time 🎄🎅✨.

¿Que les pareció, les gustó?
Espero que sí, que les haya gustado mi explicación, procedimiento y fotos, los hice con mucho cariño por y para ustedes.
"Deja salir esa musa que te inspira, y deja volar tu imaginación".
Gracias a todos, nos vemos en la próxima.🎄🎅✨


Posted Using InLeo Alpha


