Hello Hive Learners, and happy Sunday for all of you...
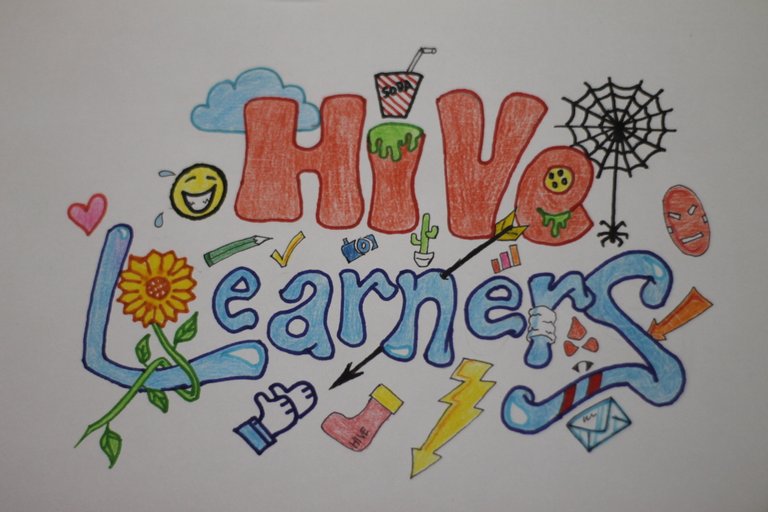

On this Sunday Creative occasion I'm going to do something a little different, and I happen to have just bought my new Colored Pencils as well as some Watercolors for coloring. This time I want to try to make a Doodle with the word Hive Learners, the Doodle itself is a random image that is made to fill a certain area or area of the paper. Honestly, I've just learned it and this time I'll try it directly on this post.
And it just so happens that this week we are commemorating even one year of the Hive Learners community.
So, let's take a look step by step when i making this Doodle...


Previously I would prepare the tools, of course the tools that I use would be very easy to obtain and are the tools that many children bring to school.
The tools are:
- Paper A4
- Pencil 2B
- Rubber Eraser
- Pen ( Oil Ink )
- Coloring Pencils
- Water Colour
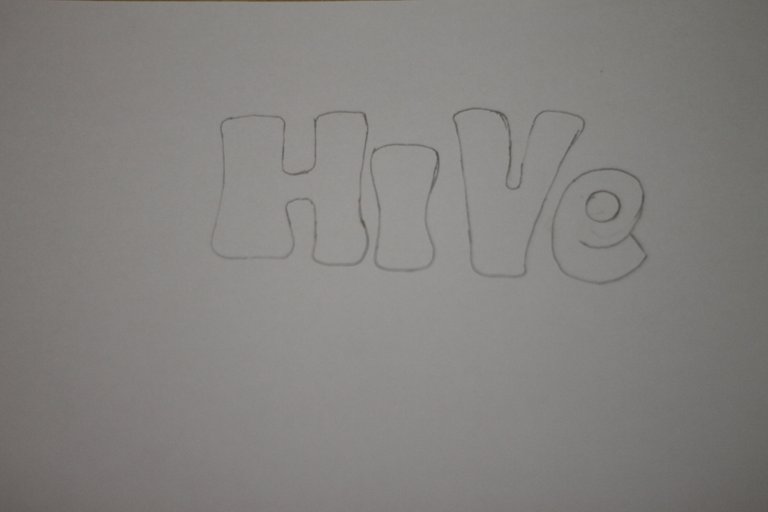
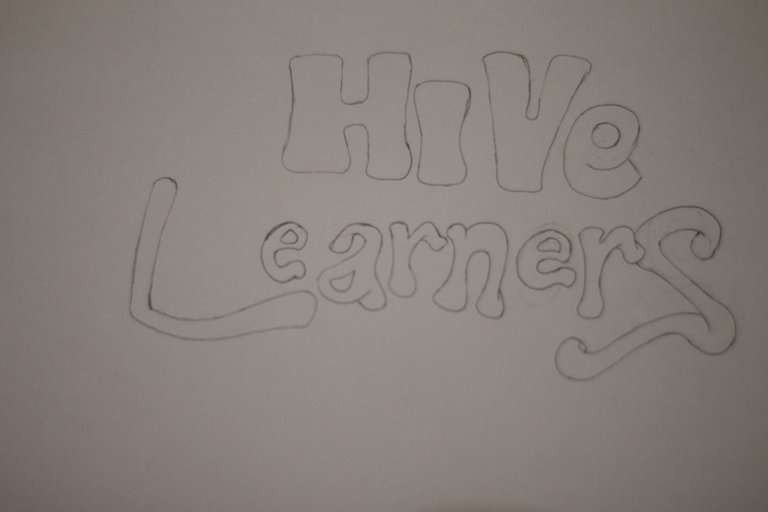
As usual, I started by scratching my pencil on the paper, and this time it happened that it wasn't a sketch or anything like that, I just made writing with two different types of fonts. Actually making a Doodle with writing is an easy thing because we only need to highlight the writing and the Doodle is only to enliven the writing.
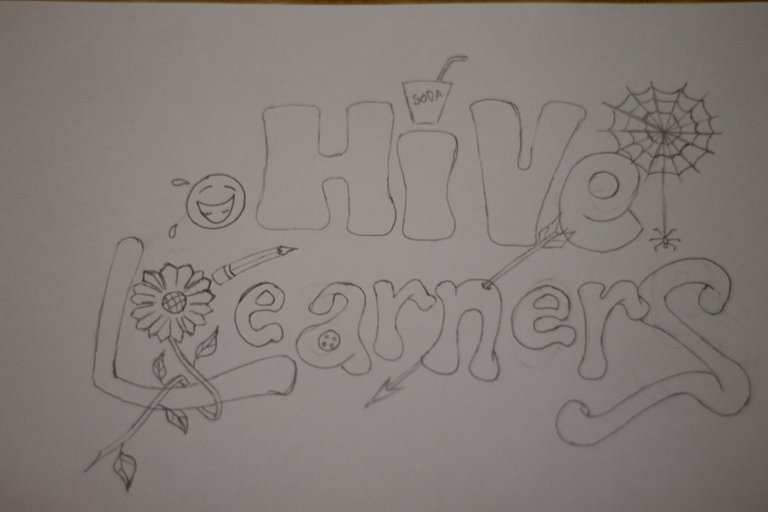
After I'm done with the writing, I will create some objects for the main Doodle, it can be said that this main Doodle is a reference and also to beautify the writing like the main decoration. I have to make it in pencil first so I can erase later if I make a mistake.
By the way, when I made this Doodle, the pictures I was going to make weren't perfectly conceptualized, and I made pictures of whatever objects popped up in my head and immediately drew them spontaneously, therefore if there are pictures that don't quite fit or are wrong, i can delete it.
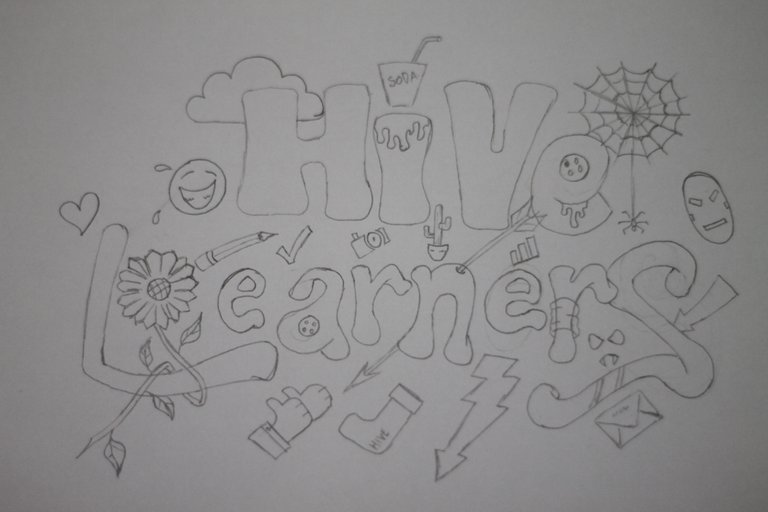
For the rest I just fill in the blank spaces between the letters in the text, and I add some random pictures to it.
And this is the result of the first stage...
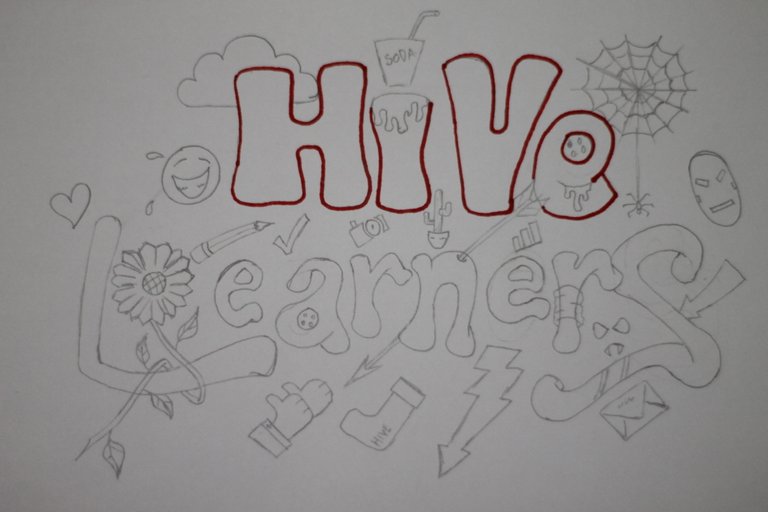
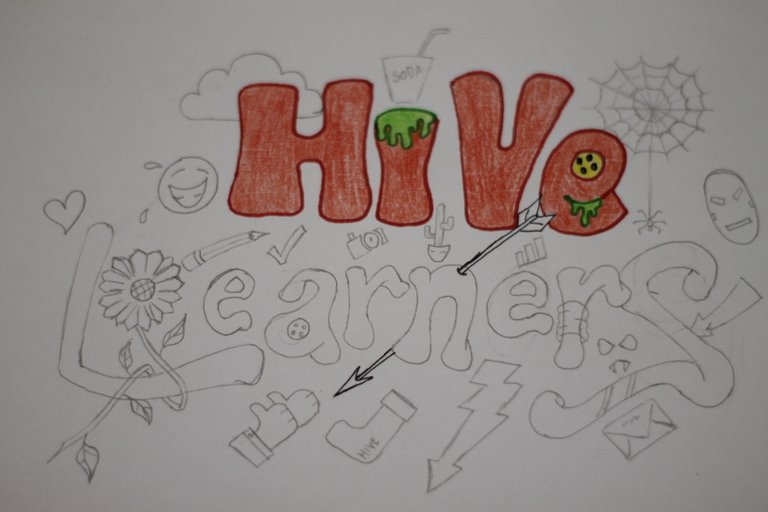
When finished with my pencils, I proceed to the coloring stage, and this is where the key lies, namely in the coloring technique with two different types of paint, Colored Pencils and Watercolors (Color Pens).
The combination of these two types of Colored Pencils makes the colors look better and don't look bland. The technique is that first I will make lines with Watercolor to make it look firmer, and I color the space inside with Colored Pencils. You can see that the combination of the two is perfect.
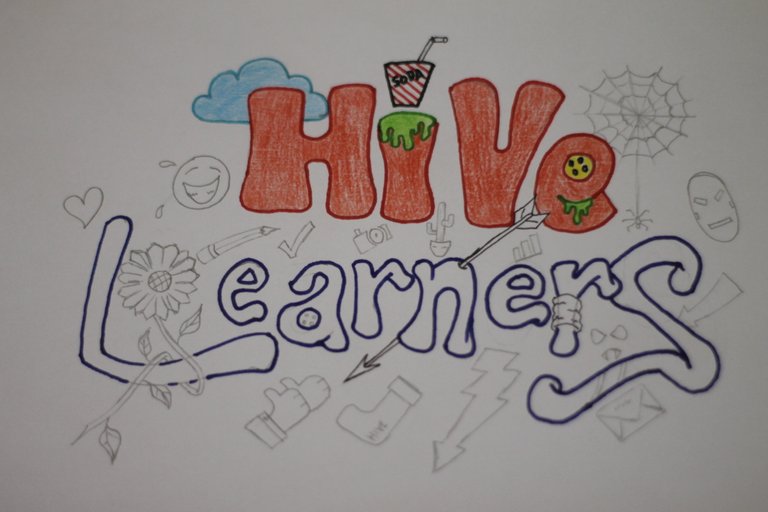
After I'm done with one line of words at the top, I'll continue with the line of words at the bottom, and this time I'm using dark blue as the line and later I'll add light blue as the main color.
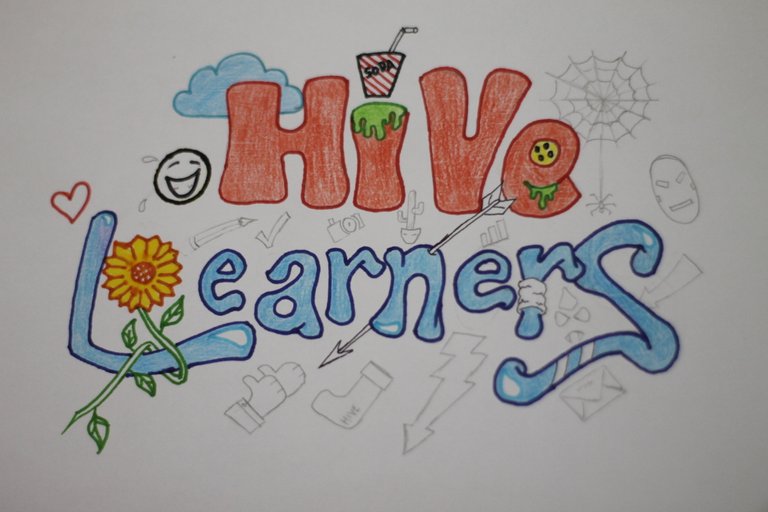
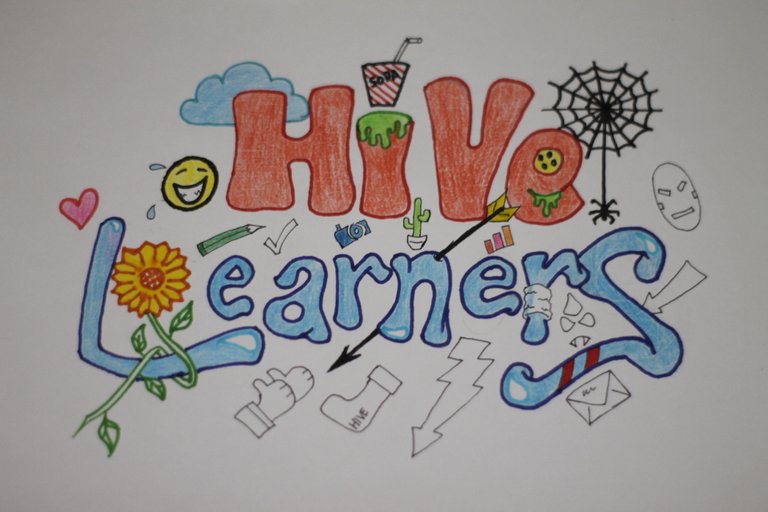
After finishing with the writing, I continued to color small objects as Doodles, of course for small drawings I didn't immediately use Watercolor to color the lines, but this is where my Oil Ink Pen comes in. For small-sized images, of course the Watercolor nib is too big, that's why I use Oil Ink Pen because the nib is very small around 0.5mm, and small pictures have sharp edges because of that.

After the coloring is done, and it takes approximately 2 hours from the first to the last, here are the final results. I also don't forget to make a sparkling effect on some of the letters in the bottom line of writing to make it look more 3D and nicer.
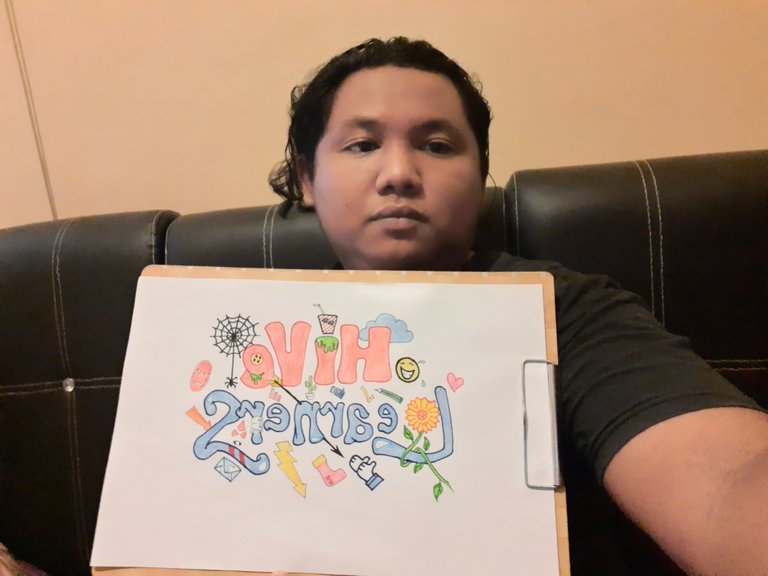
That's the Doodle I made for Sunday Creative this time, I hope you like it and see you on Sunday Creative next week, and Happy Anniversary for one year of Hive Learners Community, i hope this community is still better and bigger. 🎉🎉🎊


