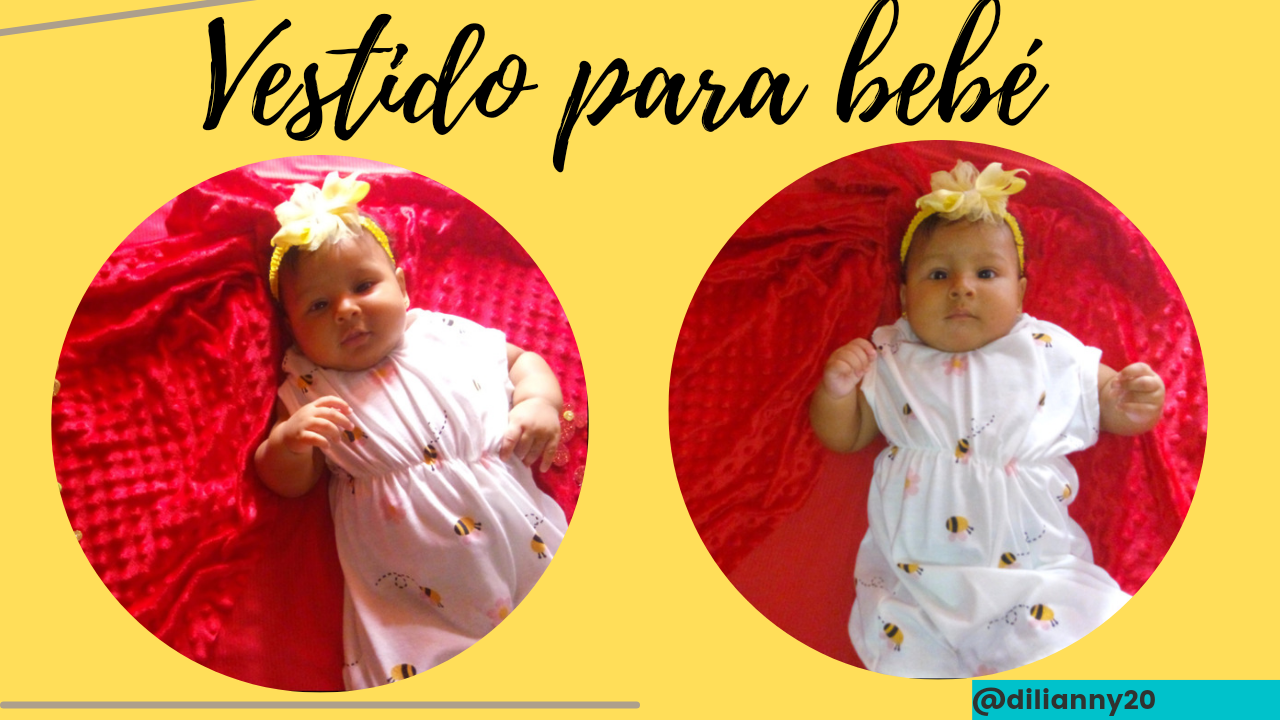

Hola amigos de Hive Diy ❤️ por aquí vengo después de varios meses a compartir con ustedes un tutorial de cómo hacer un lindo vestido para bebés de 5 a 7 meses, esto depende también de como es la contextura del bebé, este tipo de tela de algodón me gustan mucho, es ideal para la Ropita de los bebés, por su suavidad no le causan alergias,y bueno hay gran variedad de colores☺️🥰💚
Hello friends of Hive Diy ❤️ here I come after several months to share with you a tutorial on how to make a cute dress for babies from 5 to 7 months, this also depends on how is the baby's build, this type of cotton fabric I like a lot, it is ideal for baby clothes, because of its softness does not cause allergies, and well there are a variety of colors☺️🥰💚

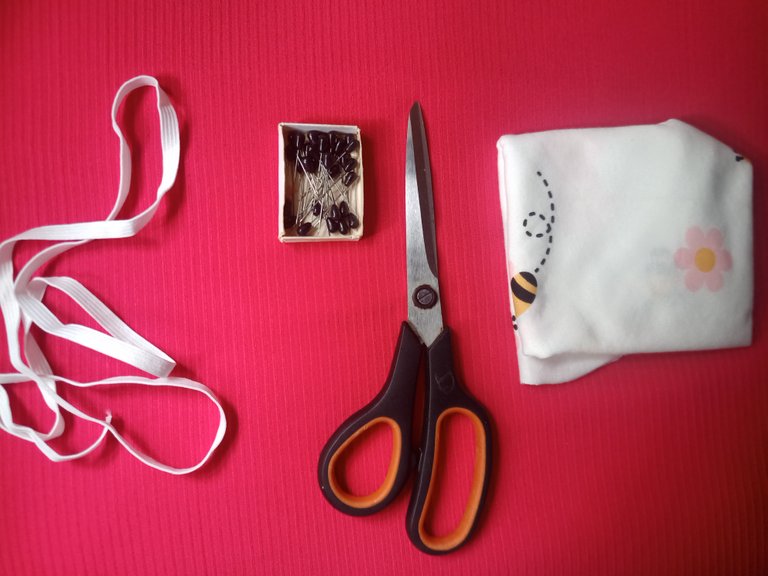
Materiales//Materials
- 🌸 Tela de algodón estampada
- 🌸 Ganchillos
- 🌸Tijera ✂
- 🌸 Máquina de coser
- 🌸 Cinta elástica de 0,5 cm
- 🌸 Printed cotton fabric
- 🌸 Crochet hooks
- 🌸Scissors ✂
- 🌸 Sewing machine
- 🌸 0.5 cm elastic tape
procedimiento//Procedure
Lo primero que demos hacer el tomar la tela y doblarla, luego con ayuda de los ganchillos vamos a sujetar bien para que no se nos rueda nuestra tela, luego tomamos la tijera y vamos a cortar un círculo que sera la parte de los hombros, luego cortamos otro para el cuello. La parte delantera del cuello debe ser más bajo, debemos tener esto en cuenta.
The first thing we need to do is to take the fabric and fold it, then with the help of the crochet hooks we will hold it well so that our fabric does not roll, then we take the scissors and we will cut a circle that will be the part of the shoulders, then we cut another one for the neck. The front part of the neck should be lower, we must take this into account.
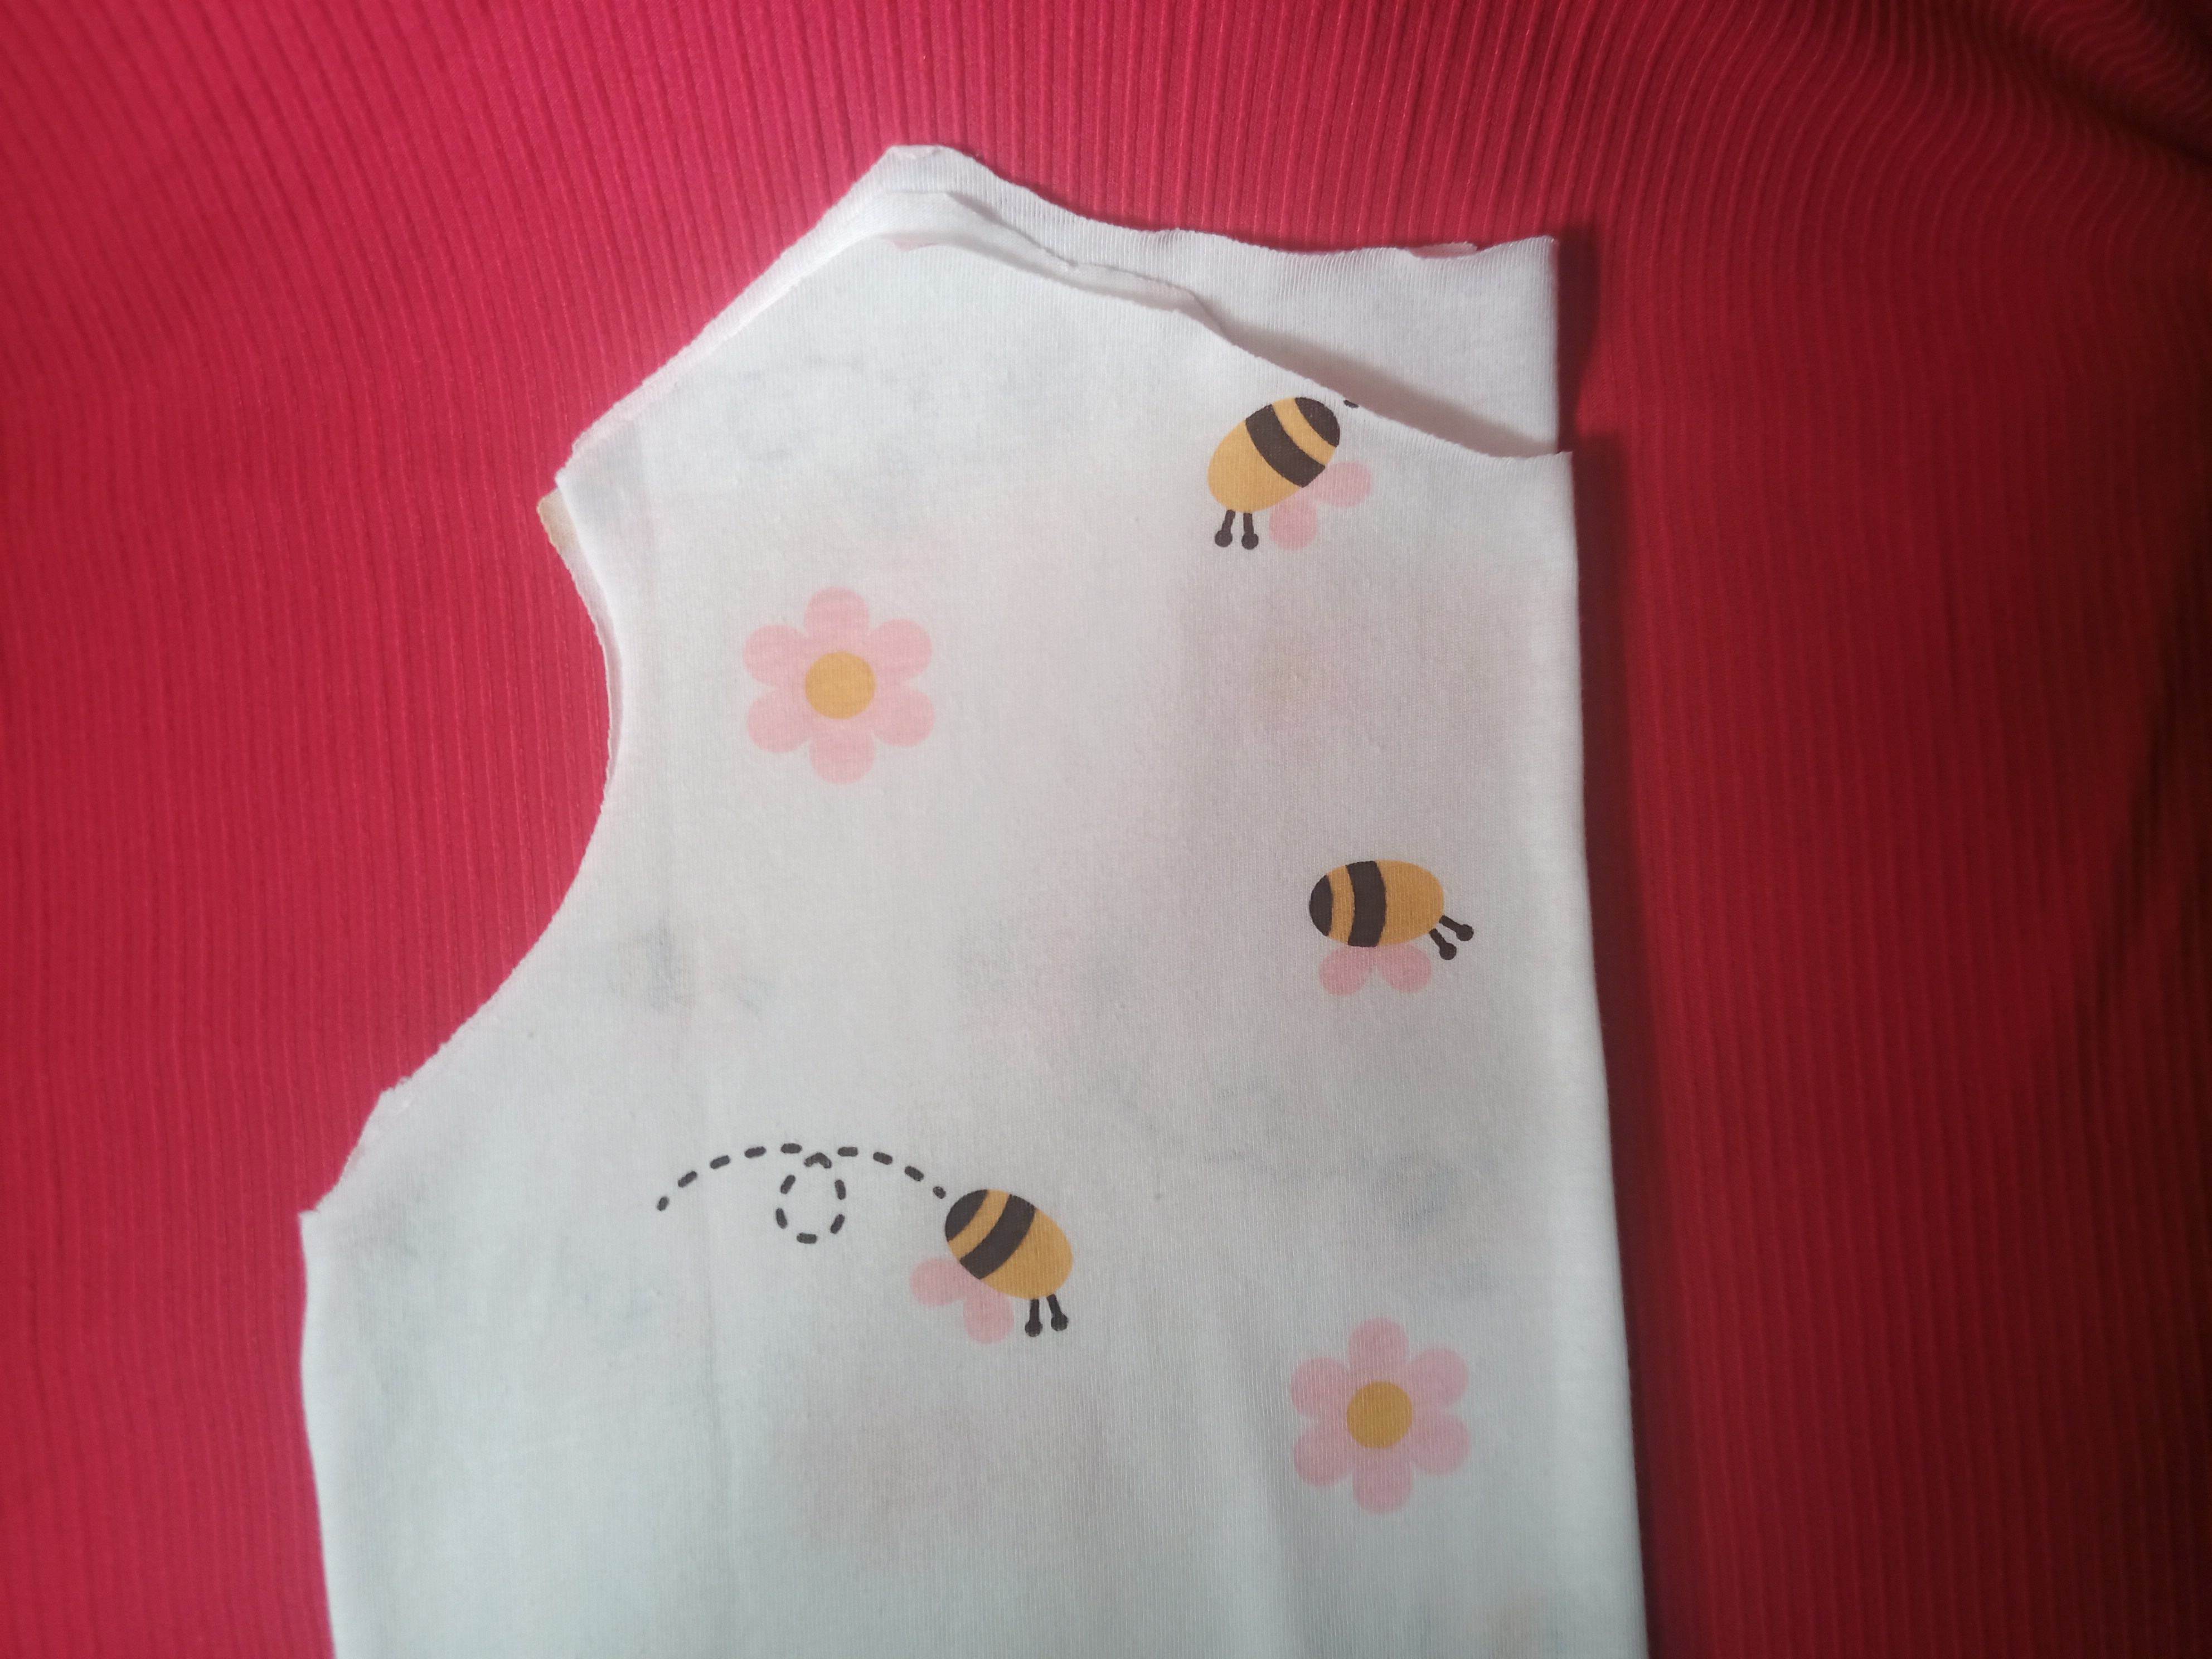
Ahora vamos a unir la tela en la parte derecha y vamos a coser los hombros para unirlos, pasos una costura recta y luego el la costura en forma de zig zag para que quede bien la costura.
Now we are going to join the fabric on the right side and we are going to sew the shoulders to join them, sew a straight seam and then zig zag the seam in order to get a good seam.

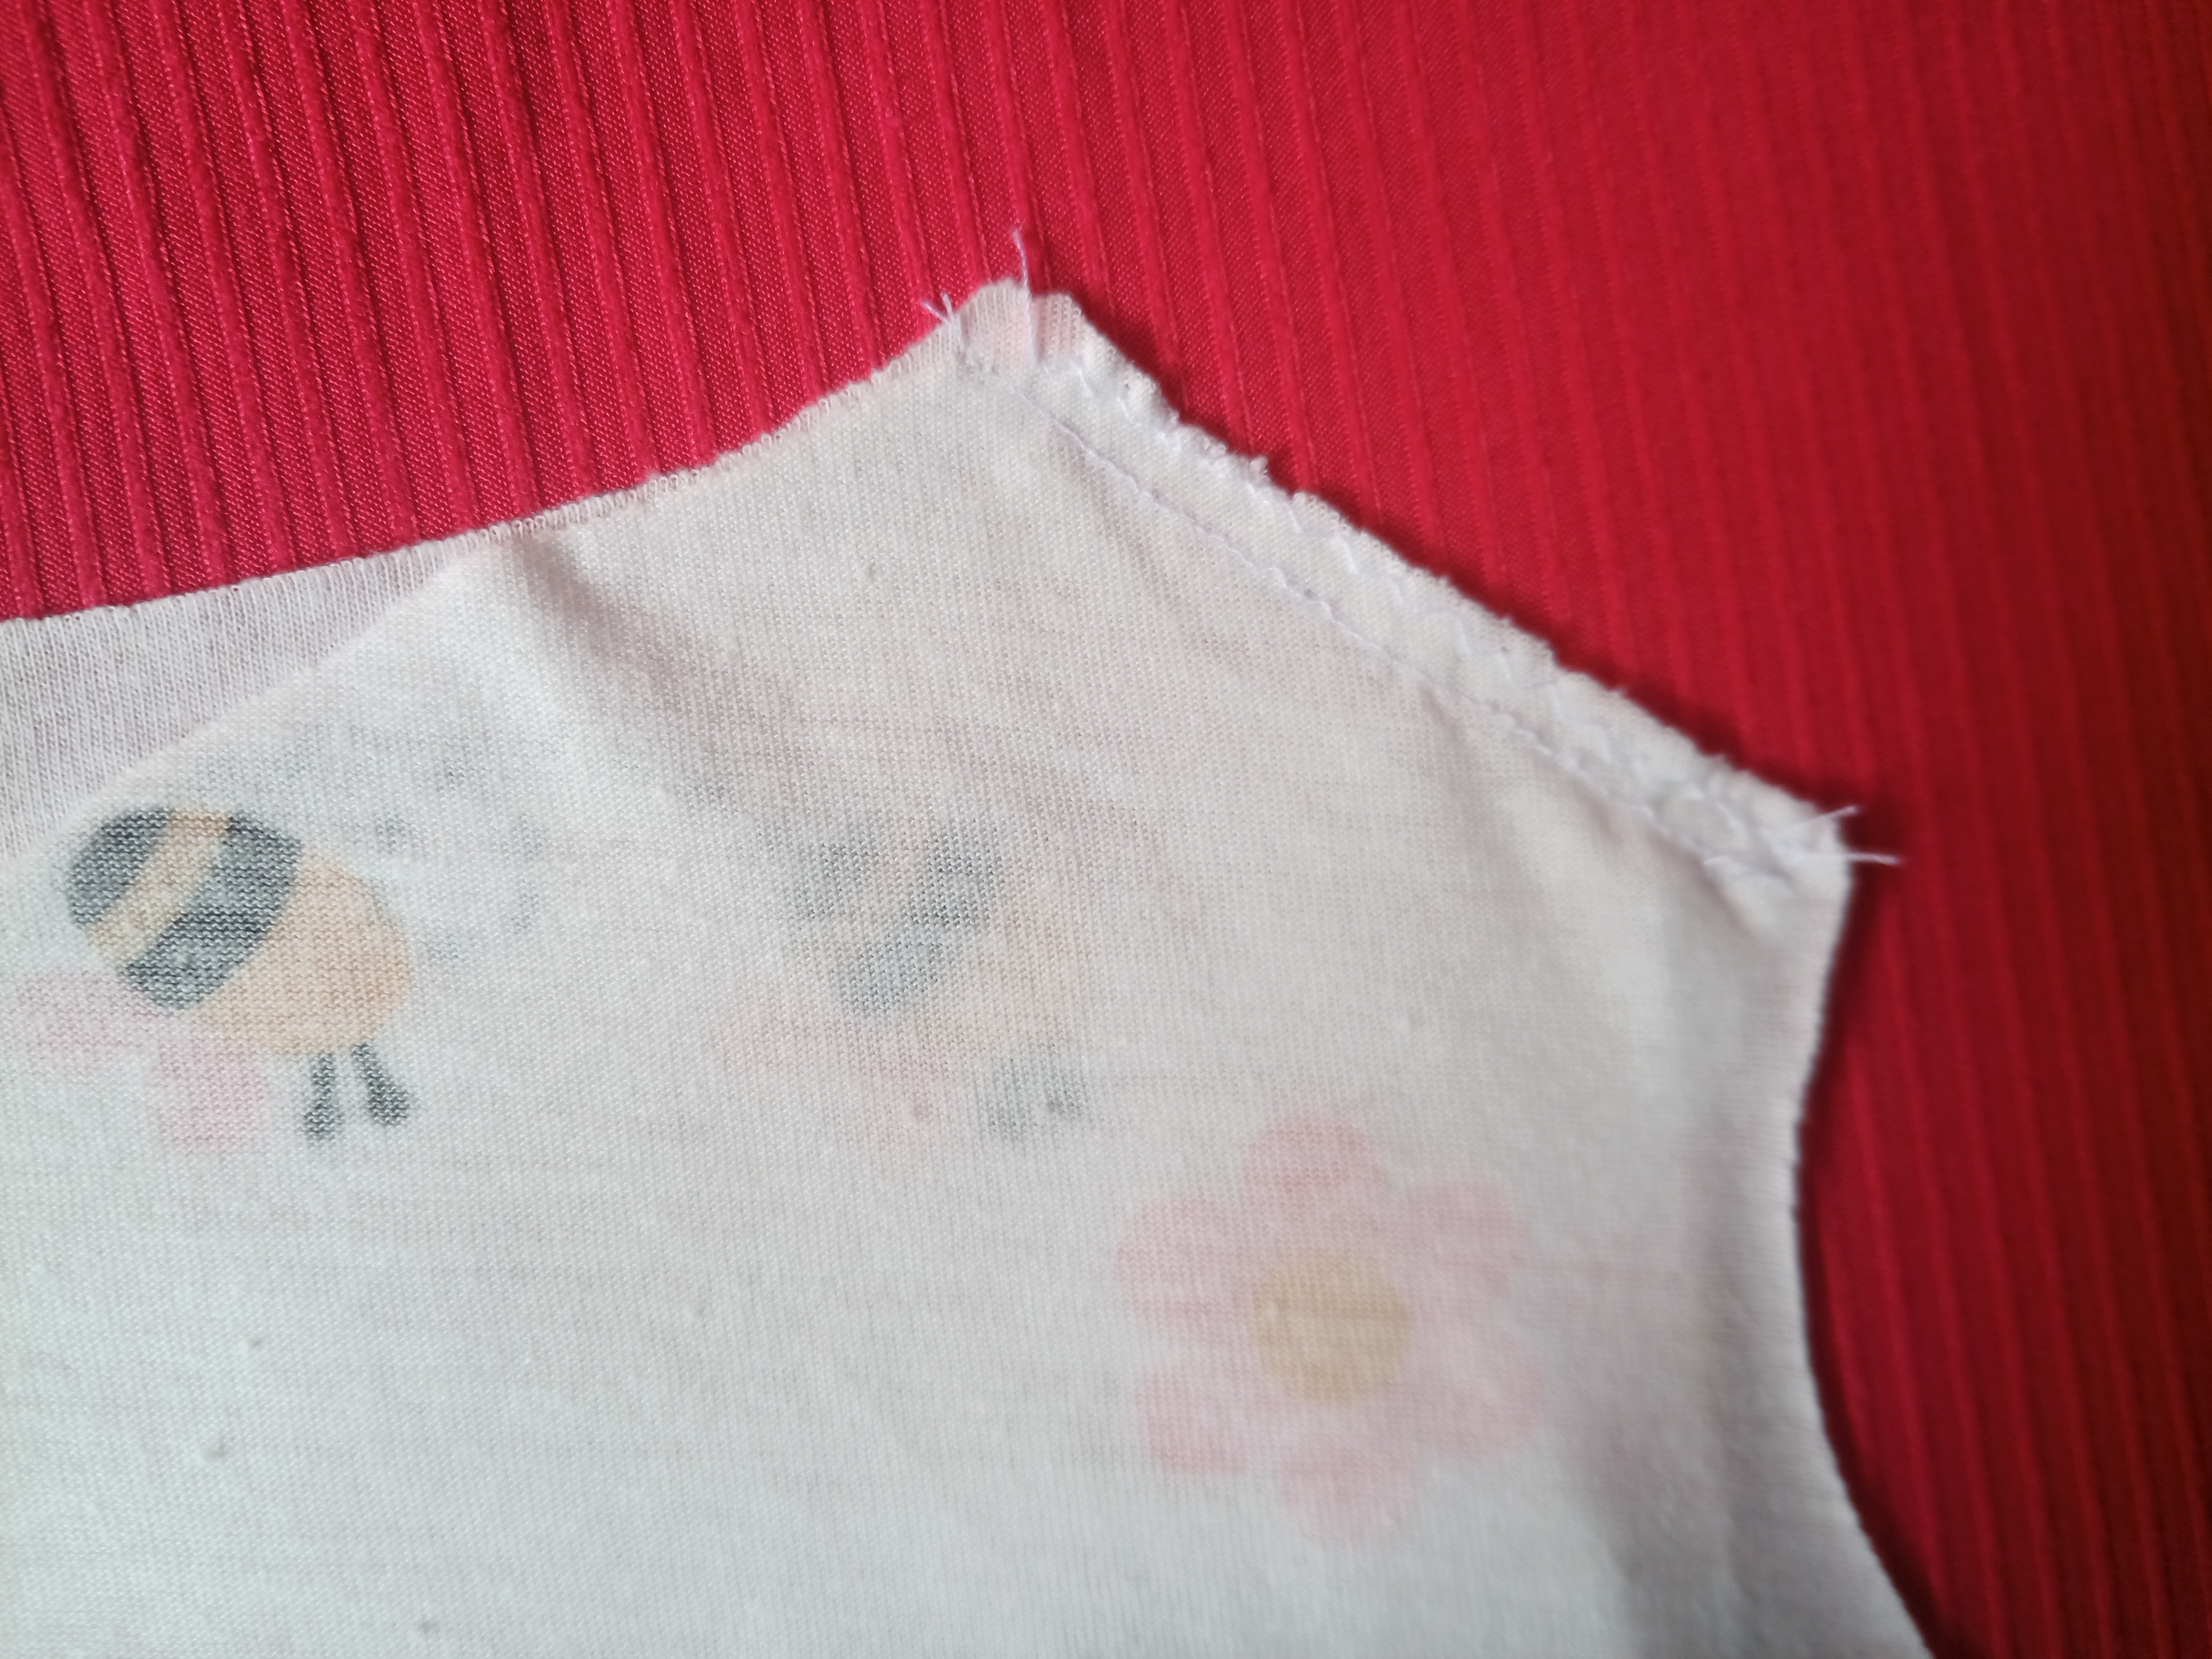
Luego de coser los hombros vamos a cortar una tira de 3 cm de ancho y 25 cm de largo
After sewing the shoulders, we will cut a strip 3 cm wide and 25 cm long.
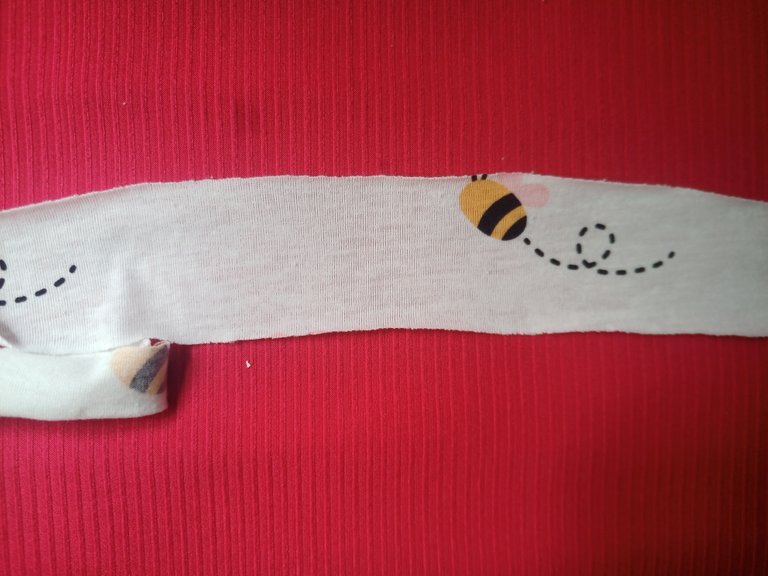
Ahora en este paso vamos a colocar el cuerpo del vestido del lado derecho y de la tira colocaremos la parte posterior.luego con la máquina de coser pasamos una costura recta.
Now in this step we are going to place the body of the dress on the right side and from the strip we will place the back part.then with the sewing machine we pass a straight seam.


Luego del paso anterior vamos hacer lo mismo con el otro hombro y el cuello, luego de pegar la tela debemos hacer un dobles hacia dentro y volver a pasar una costura recta. Luego se coloca la elástica en el centro del vestido, se debe estirar e ir cosiendo para que quede bien, y ya para culminar se pasa la costura recta por los lados, y se realiza el dobles en los bordes del vestido.
After the previous step we are going to do the same with the other shoulder and the neck, after gluing the fabric we must make a double inwards and sew a straight seam again. Then place the elastic in the center of the dress, stretch it and sew it so that it fits well, and to finish we pass the straight seam on the sides, and we make the doubles on the edges of the dress.
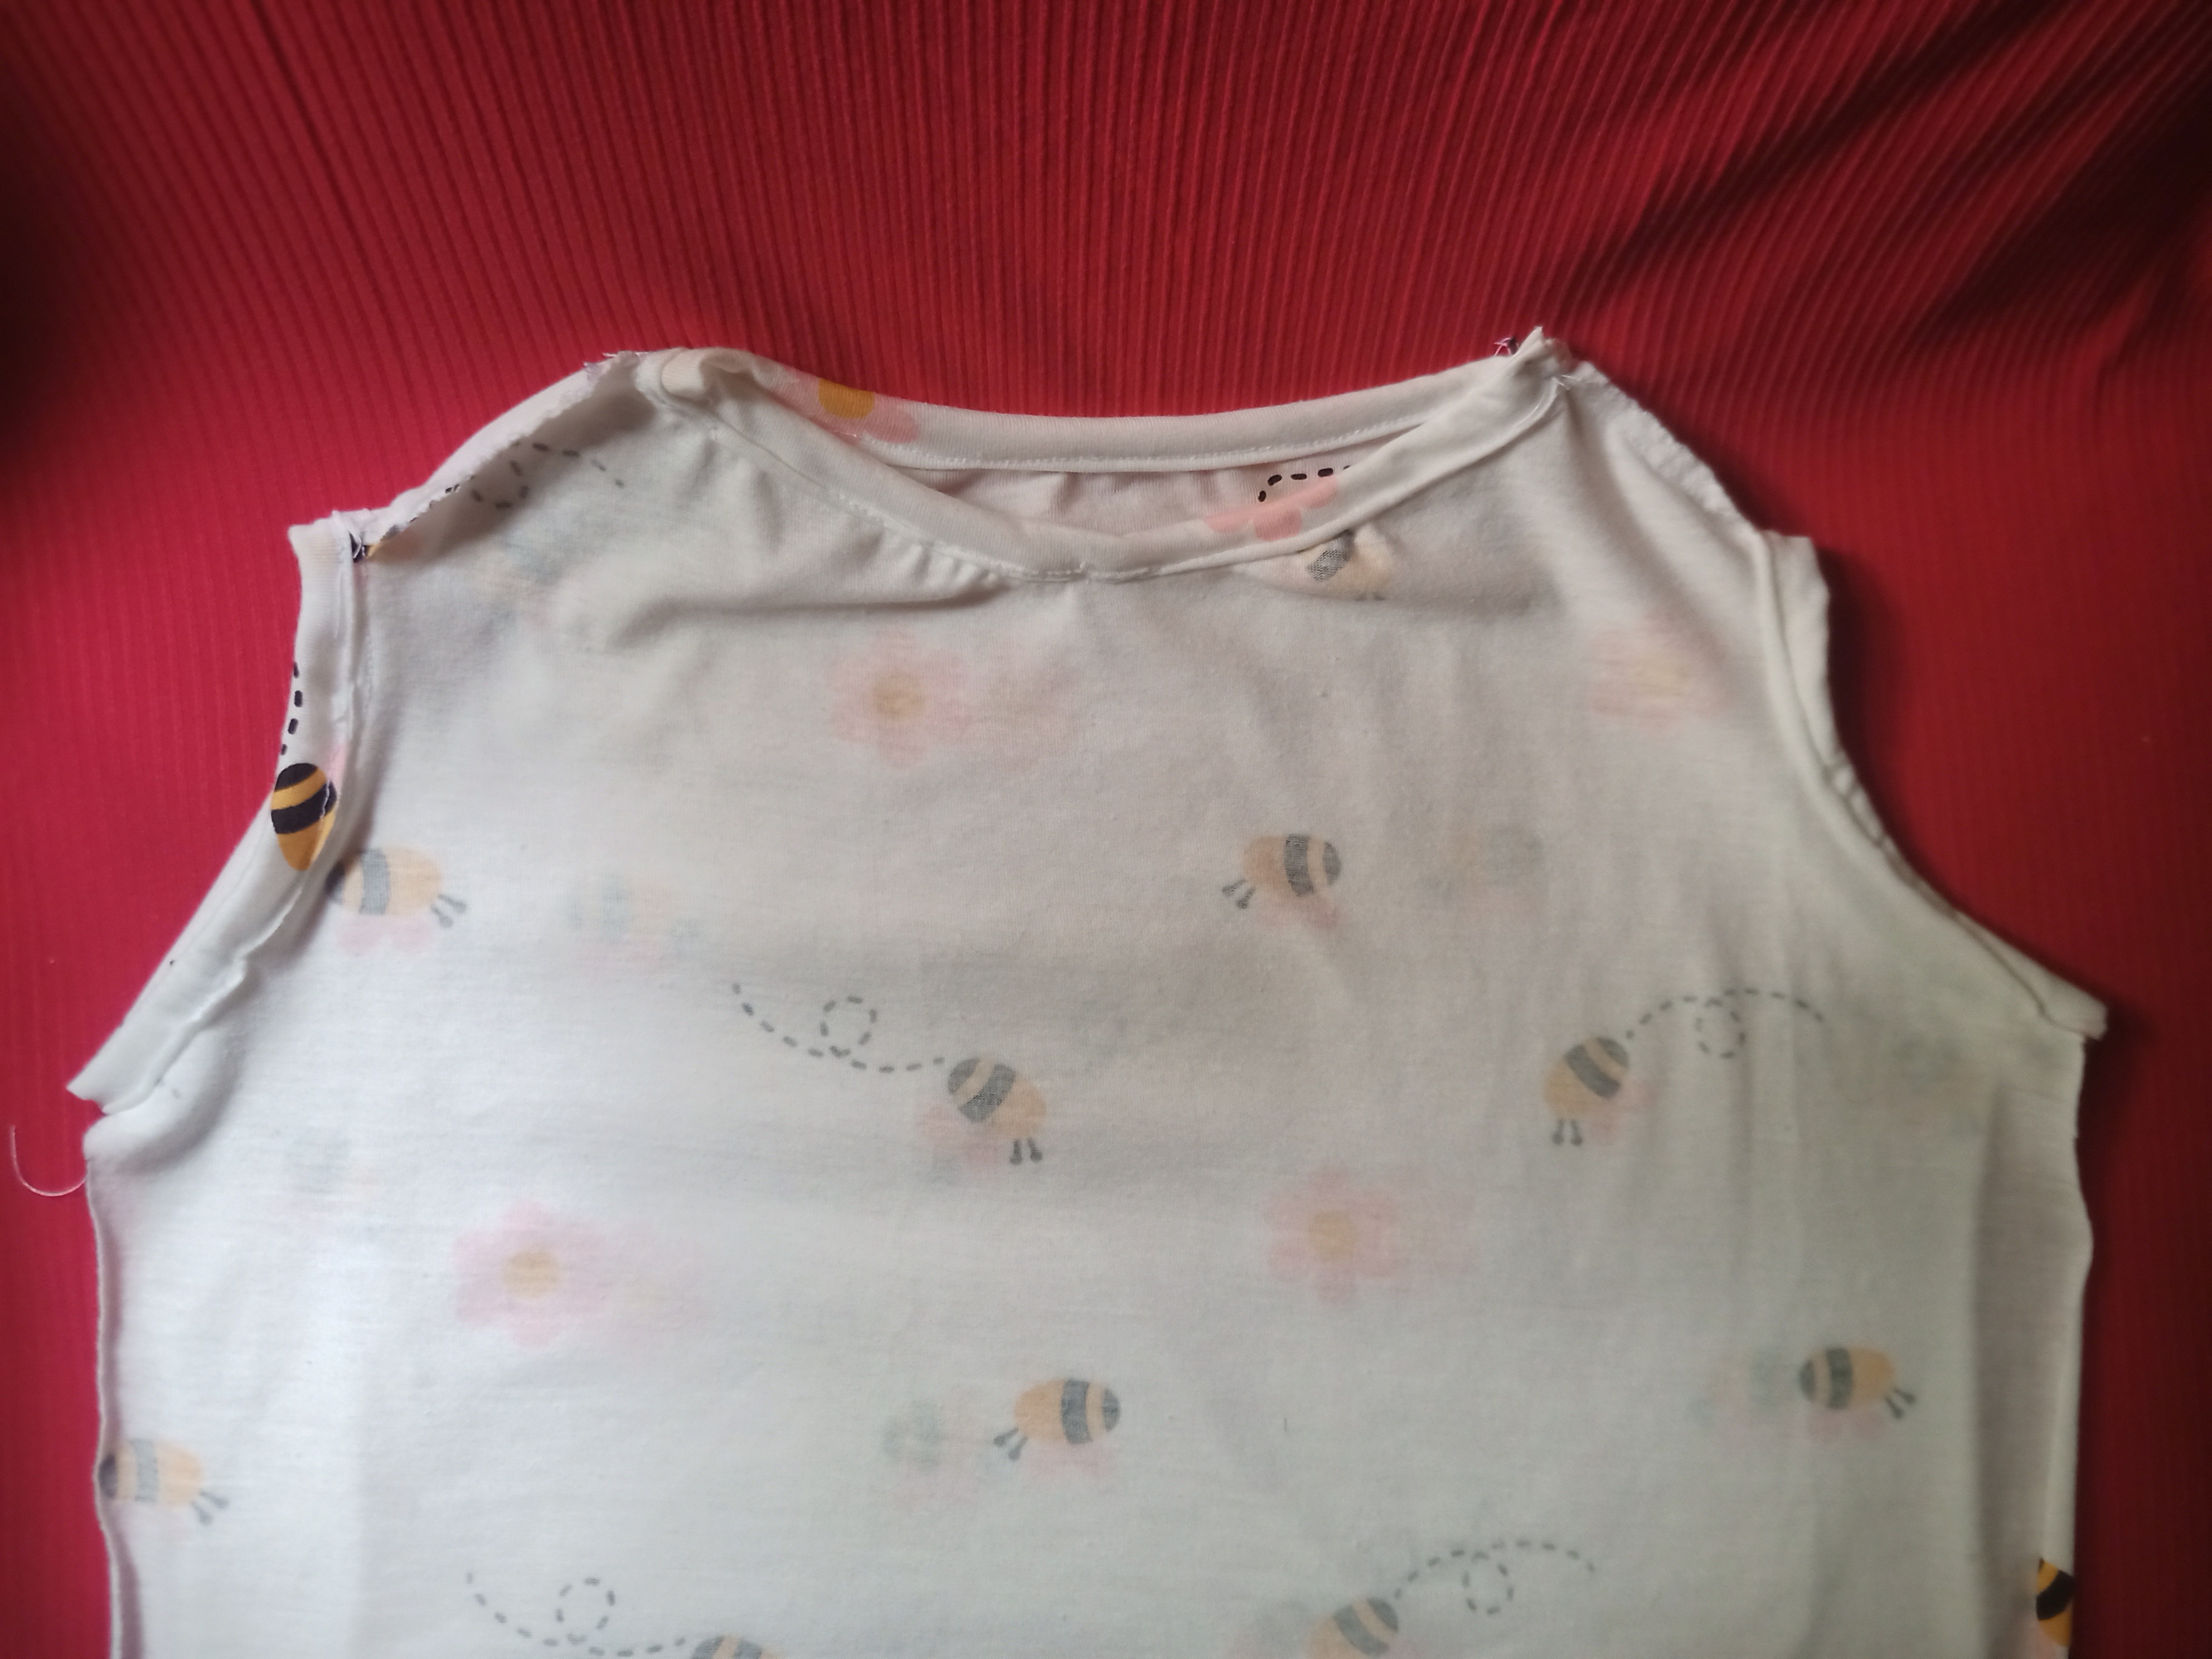
Resultado//Result


All pictures are my property, taken with my umidigi phone.
