Fotografía de mi propiedad editada en Canva.

Hola mis queridos amigos de hive DIY, estoy muy contenta de poder compartir hoy con ustedes sobre una manualidad que para mí es muy útil, bueno primero debo comentarles que me encanta leer, es muy relajante y muy bueno ya que tiene diversos beneficios, mejora nuestro intelecto, y ayuda a enriquecer la imaginación.
Pero hay muchas veces que no tengo como marcar una página que me ha gustado mucho y esto hace que se me pierda, es por eso que les traigo este material, ya que después de utilizarlo es muy fácil encontrar algún capitulo.💖💖
Hello my dear friends of hive diy, I am very happy to share with you today about a craft that for me is very useful, well first I must tell you that I love reading, it is very relaxing and very good because it has several benefits, improves our intellect, and helps to enrich the imagination.
But there are many times that I do not have how to mark a page that I really liked and this makes me get lost, that's why I bring you this material, because after using it is very easy to find a chapter.💖💖
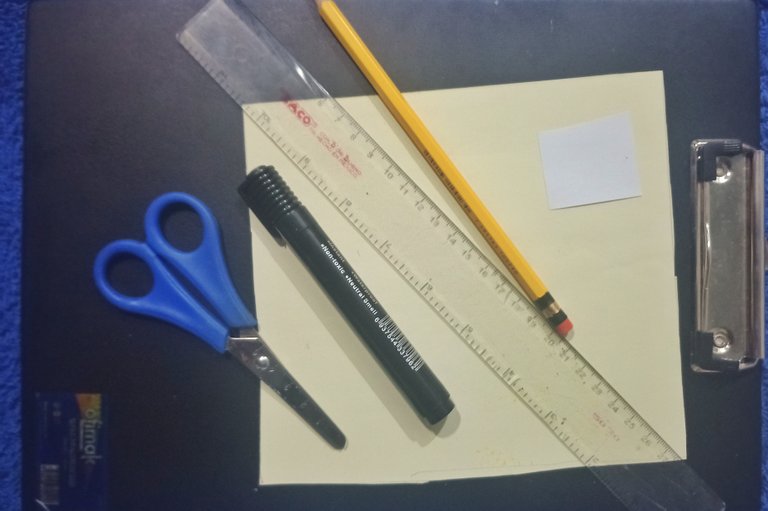
Materiales // Materials 📝✍️✍️
🌺 Cartulina blanca
🌺Tijera ✂
🌺pega blanca
🌺 Lápiz
🌺 marcador negro
🌺Regla
🌺 White cardboard
🌺Scissors ✂
🌺 White glue
🌺 Pencil
🌺 black marker
🌺 Ruler

Procedimiento // Procedure
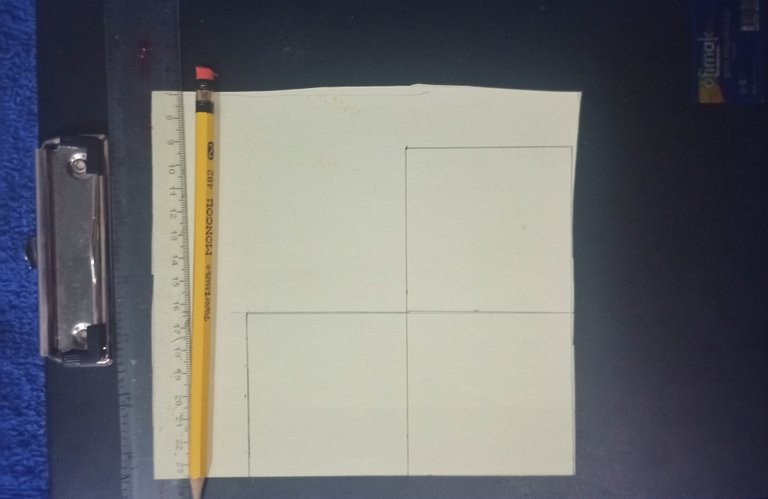
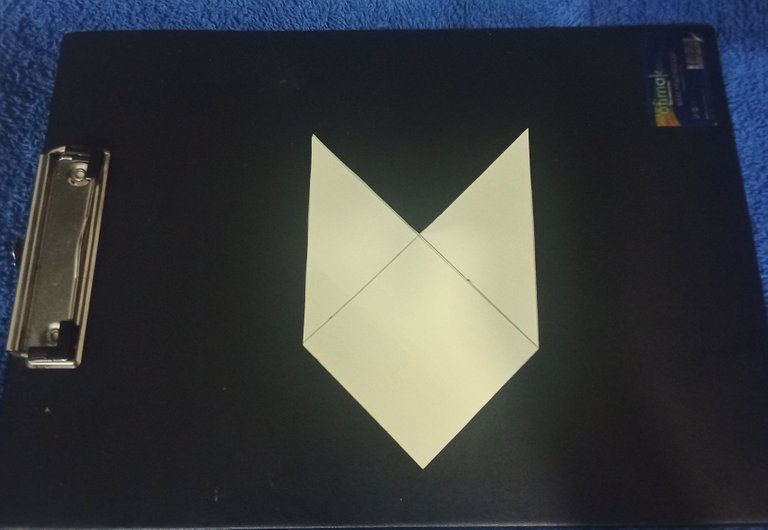
Paso 1: Para hacer nuestro hermoso marcalibros con forma de osito panda lo primero que debemos hacer es tomar la cartulina blanca, luego el lápiz y nuestra regla, después de esto vamos a realizar 3 cuadrados con las medidas de 7 cm de largo y 7 cm de ancho. Nos va a quedar dos cuadrados arriba y 2 a los lados.
Step 1: To make our beautiful bookmark in the shape of a panda bear the first thing to do is to take the white cardboard, then the pencil and our ruler, after this we will make 3 squares with the measures of 7 cm long and 7 cm wide. We will have two squares on the top and 2 on the sides.
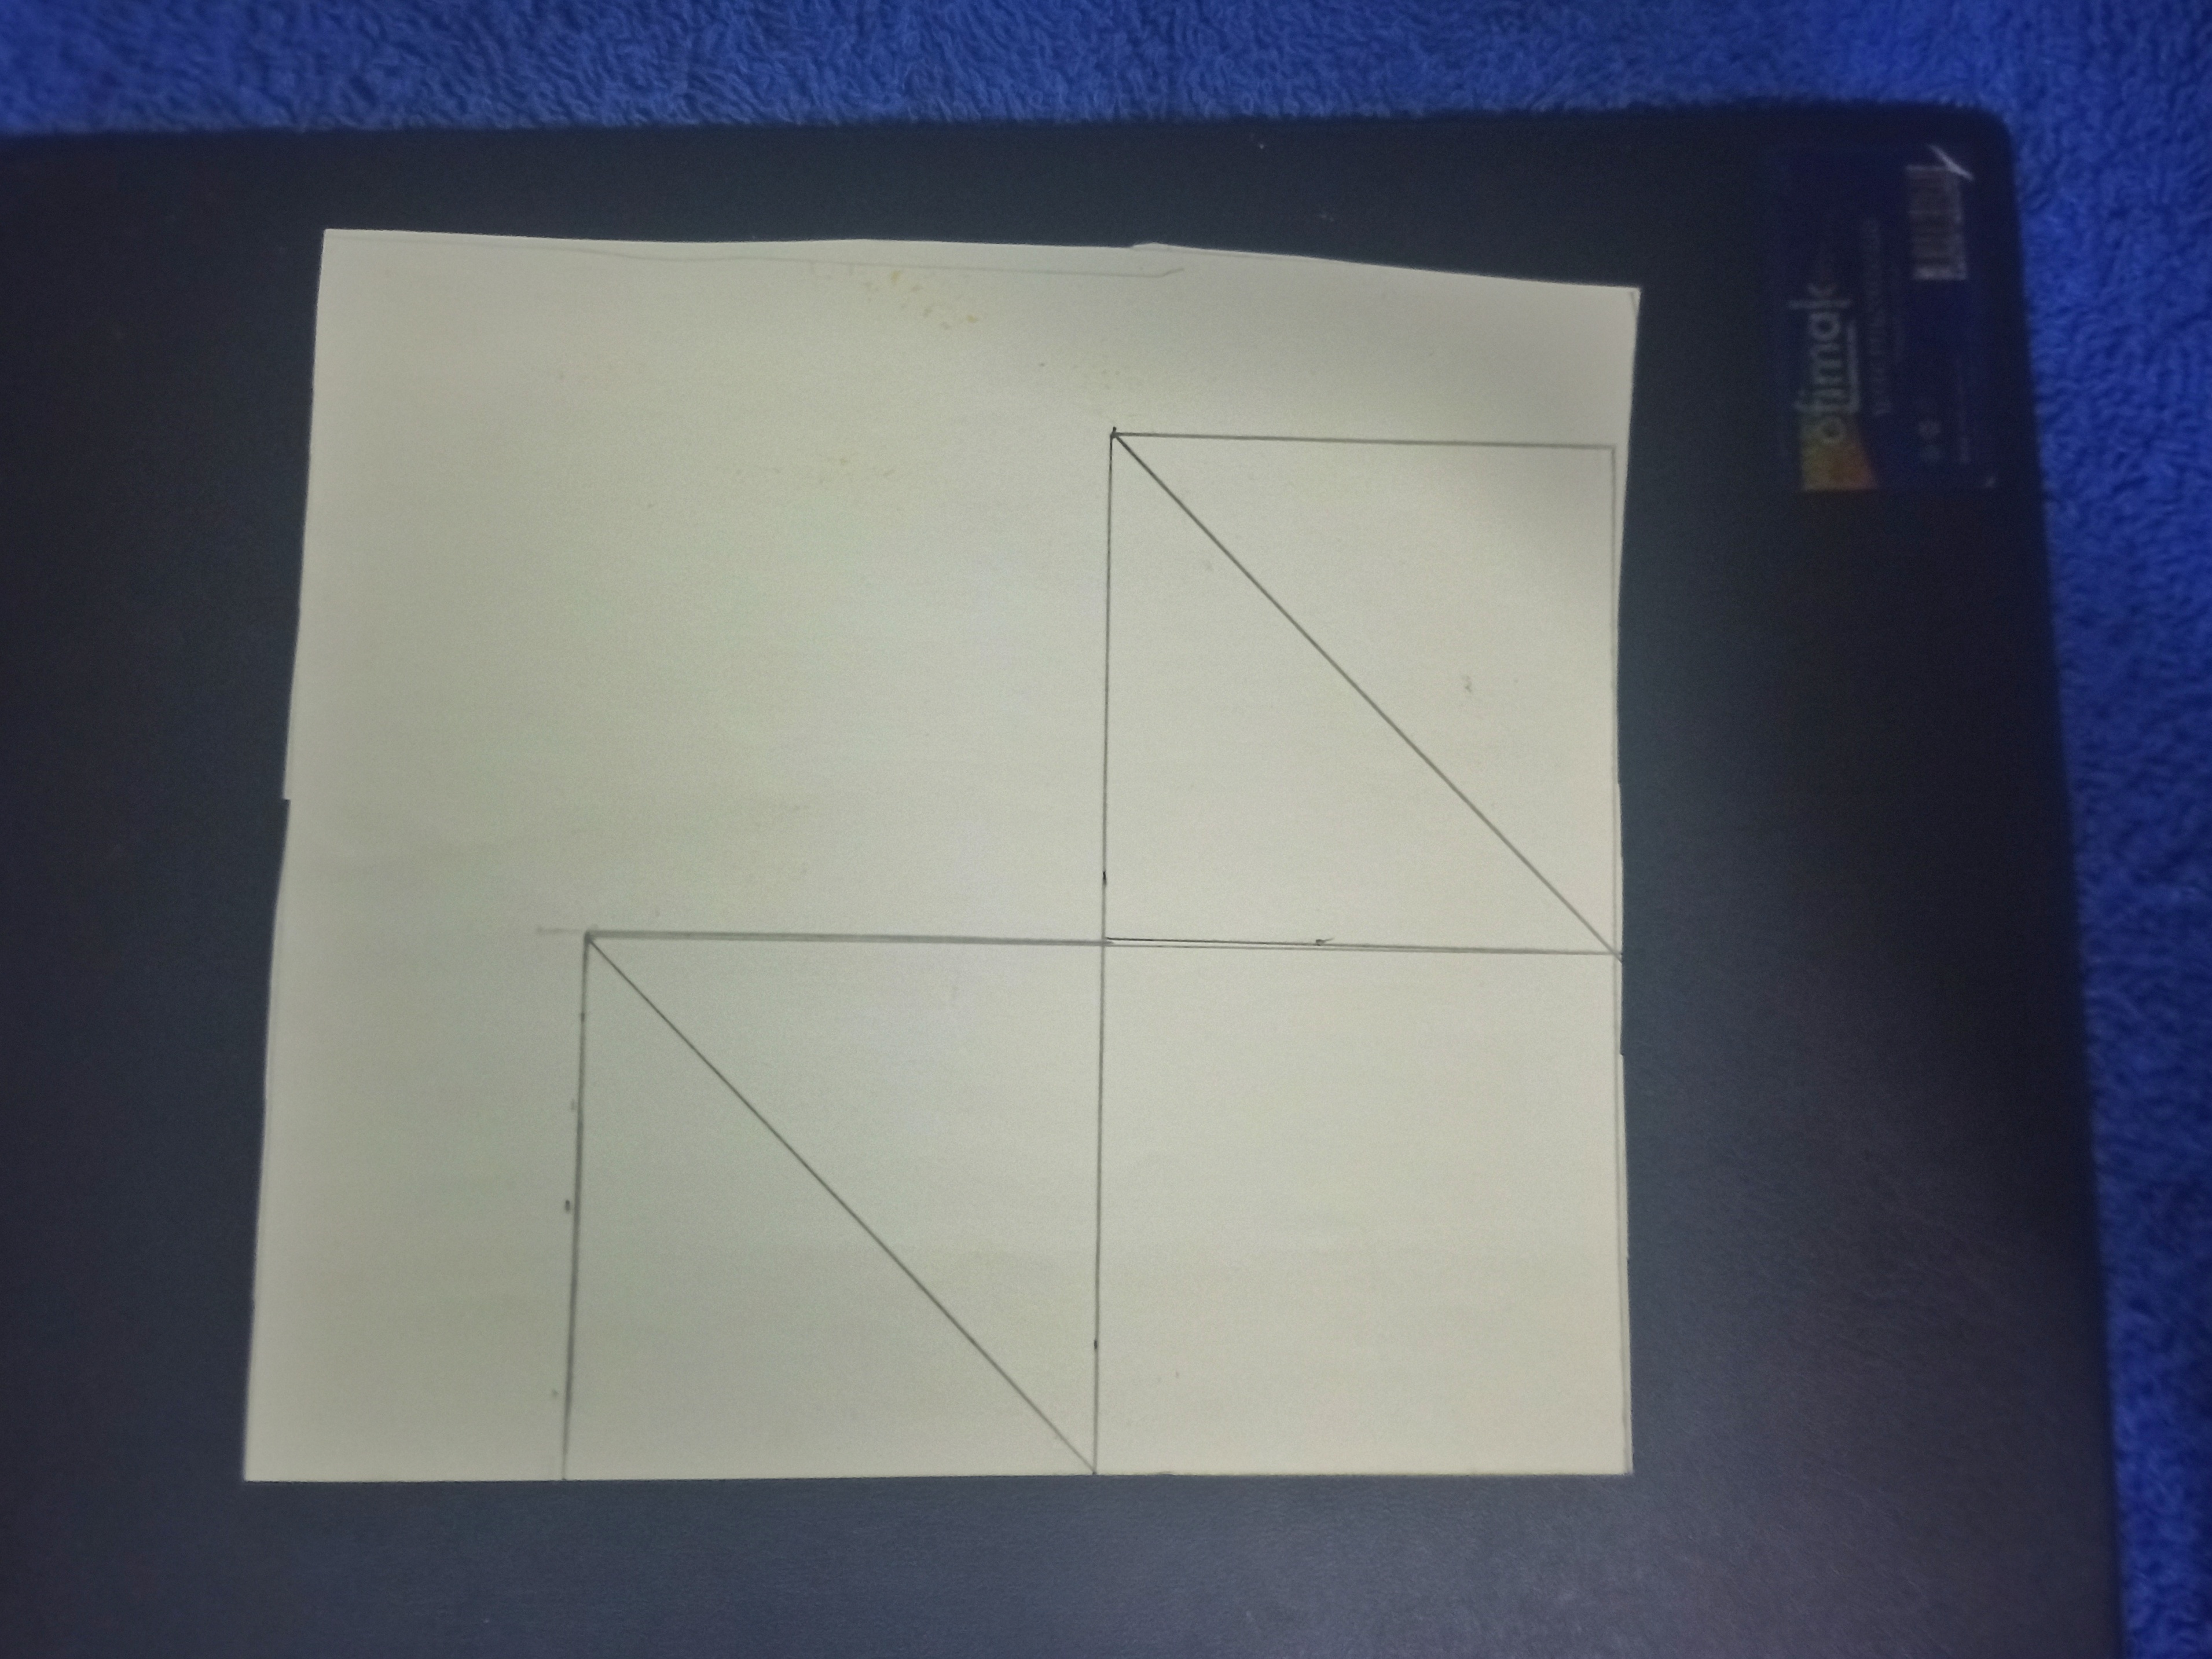
Paso 2: Luego tome la regla y realice una línea por todo el centro de los cuadrados que estan ubicados en los extremos, despues de hacer esto tome la tijera y con su hice un recorte.
Step 2: Then take the ruler and make a line all around the center of the squares that are located at the ends, after doing this take the scissors and with them I made a cutout.
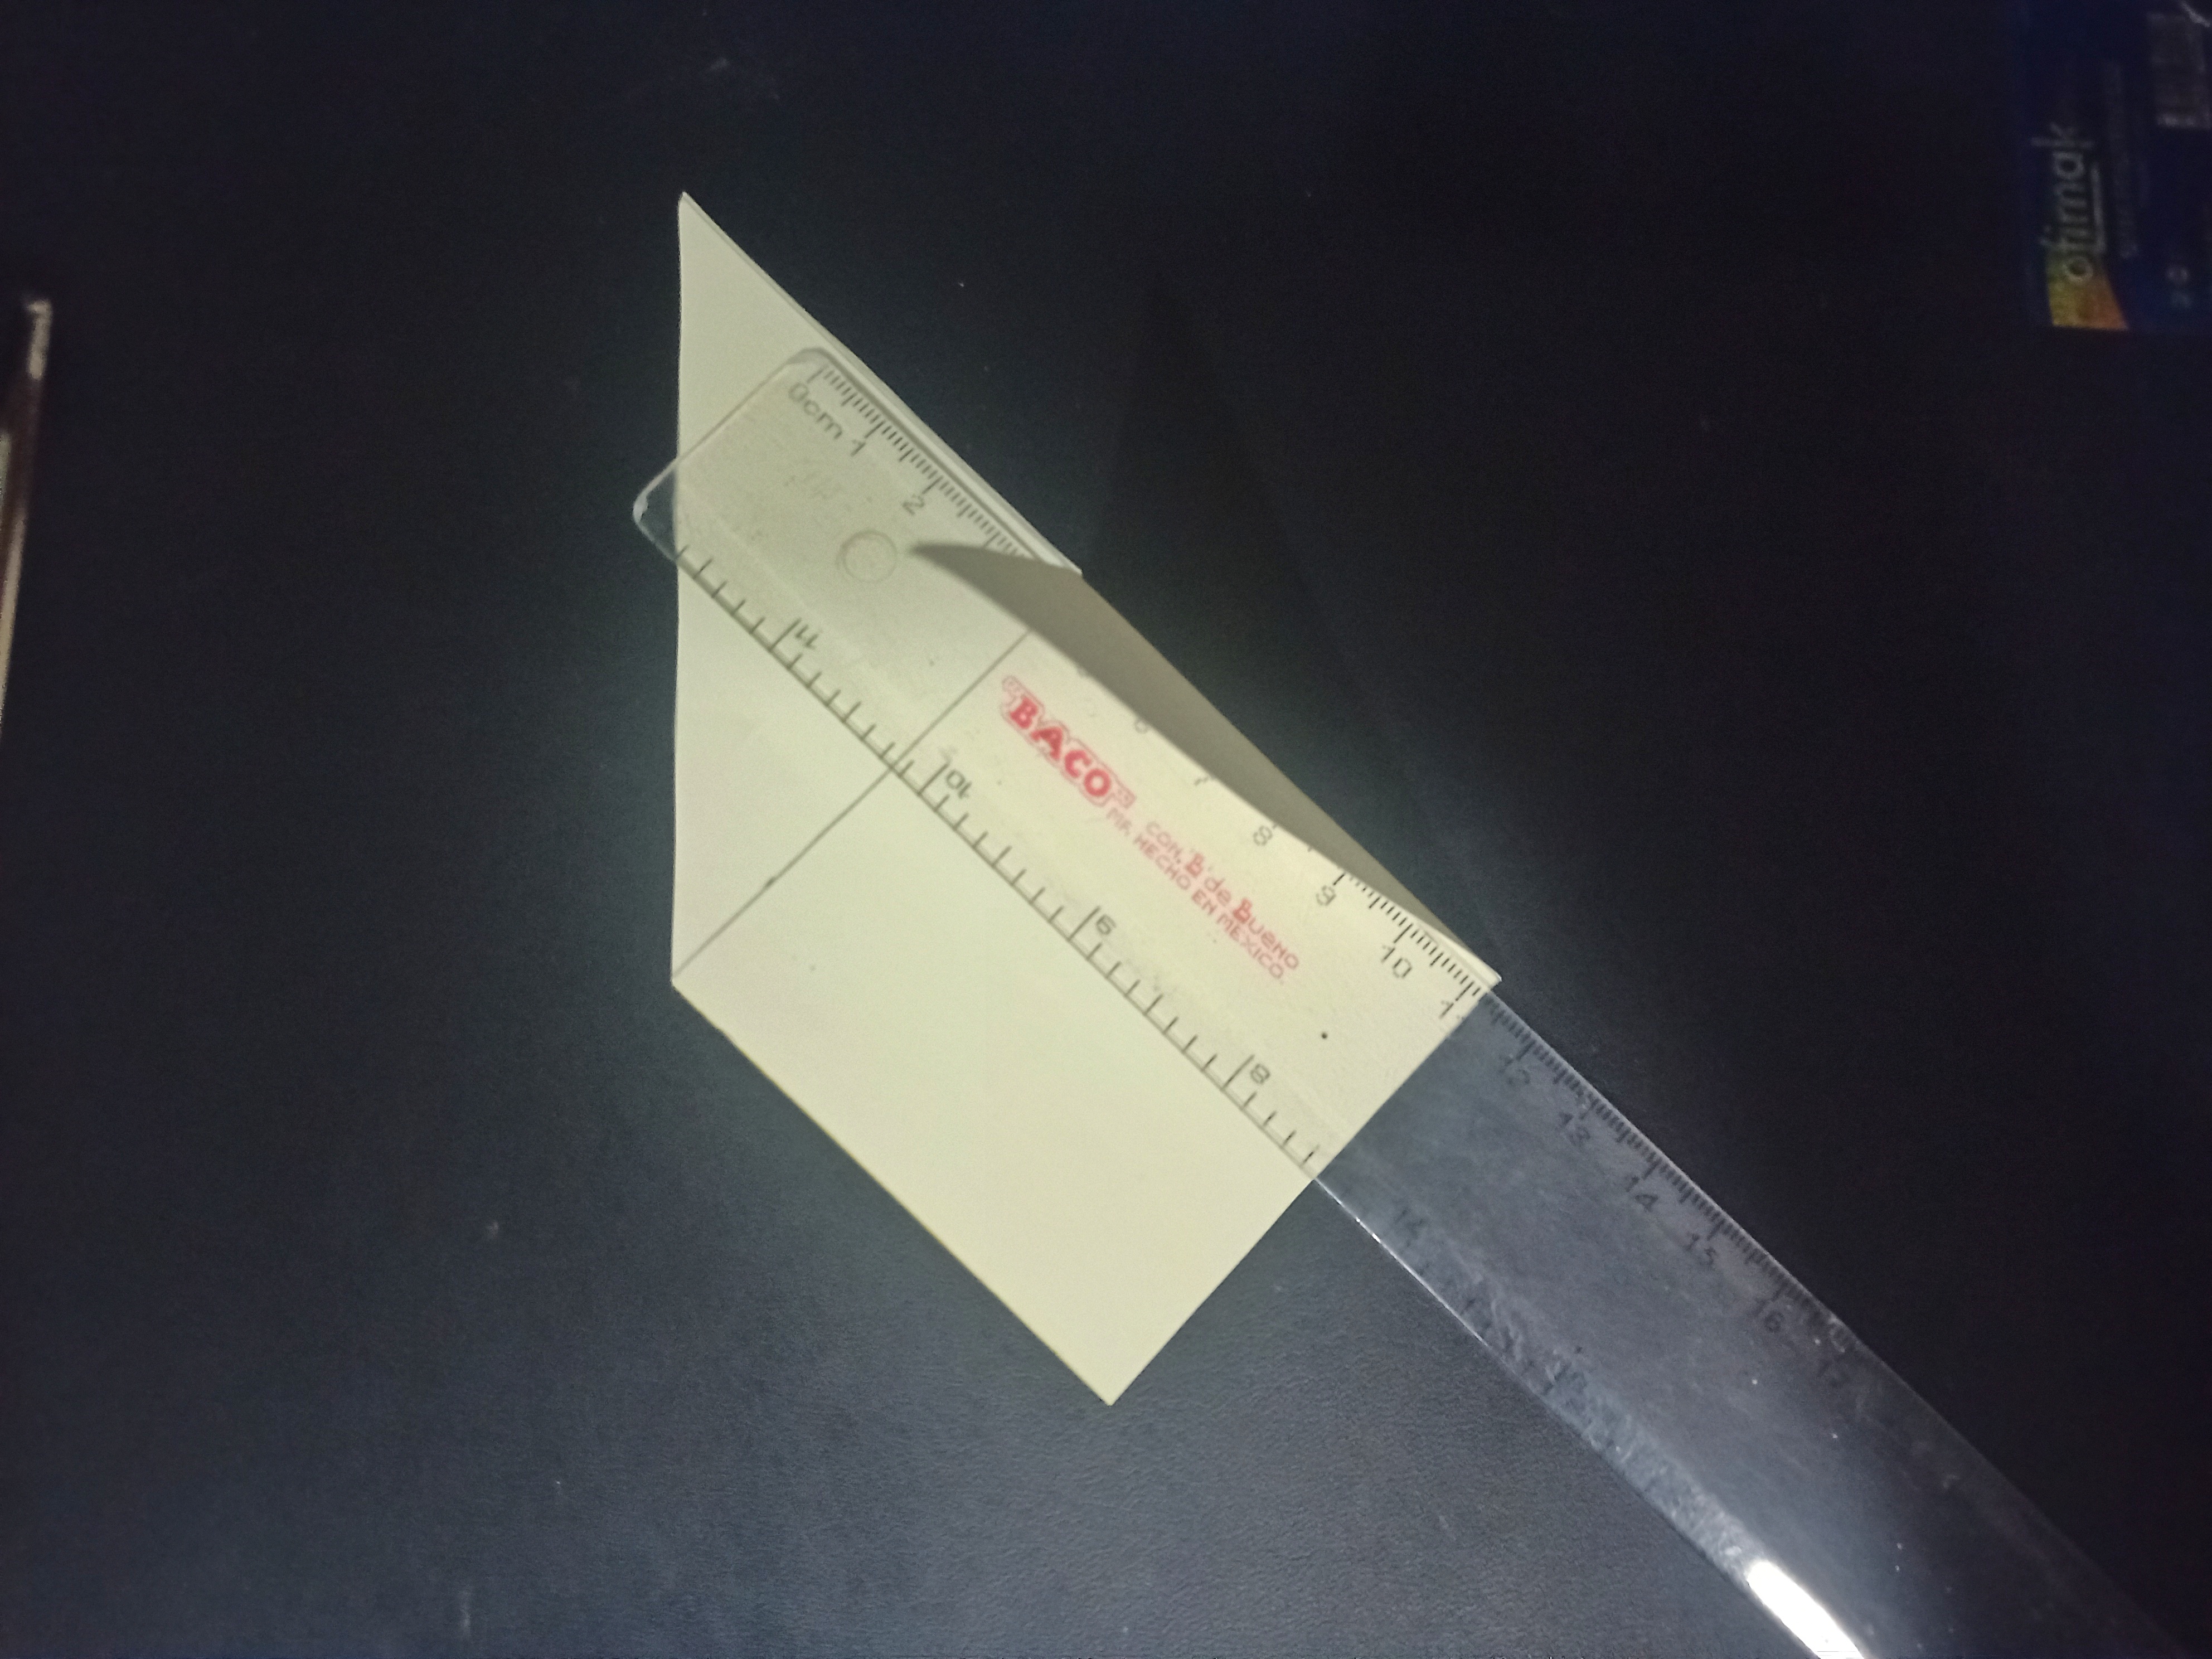
Paso 3: Ahora con la regla hice dos dobles hacia la parte interior para que se hiciera más fácil ponerle movilidad a los lados de la cartulina, despues de esto le coloqué un poco de pega blanca, esto se debe hacer solo con un lado y luego unir, es decir solo se le echa pegamento a una parte, al final debe quedar una abertura.
Step 3: Now with the ruler I made two doubles towards the inside to make it easier to put mobility to the sides of the cardboard, after this I put a little white glue, this should be done only with one side and then join, that is only glue a part, at the end there should be an opening.
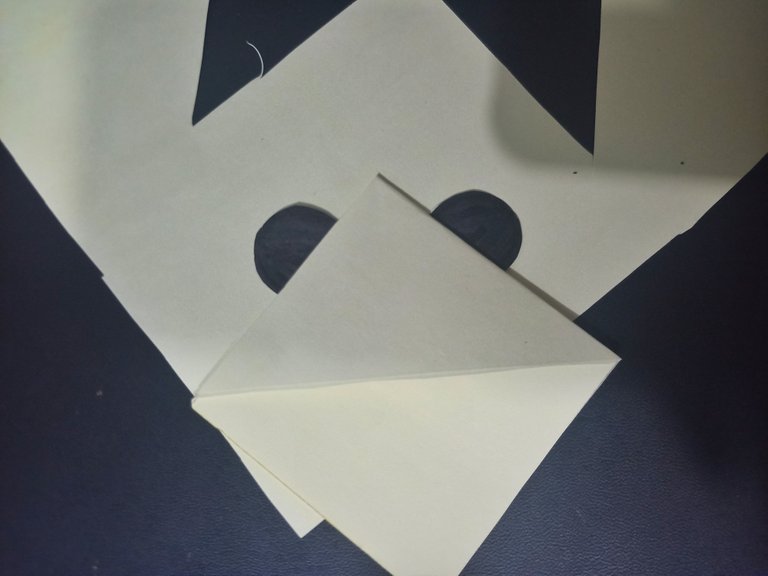
Paso 4: Ahora como hare un oso panda dibuje dos orejitas redondas y con marcador las pinte y luego la pegue en la parte trasera de la figura.
Step 4: Now as I am going to make a panda bear I drew two little round ears and with marker I painted them and then glued them on the back of the figure.
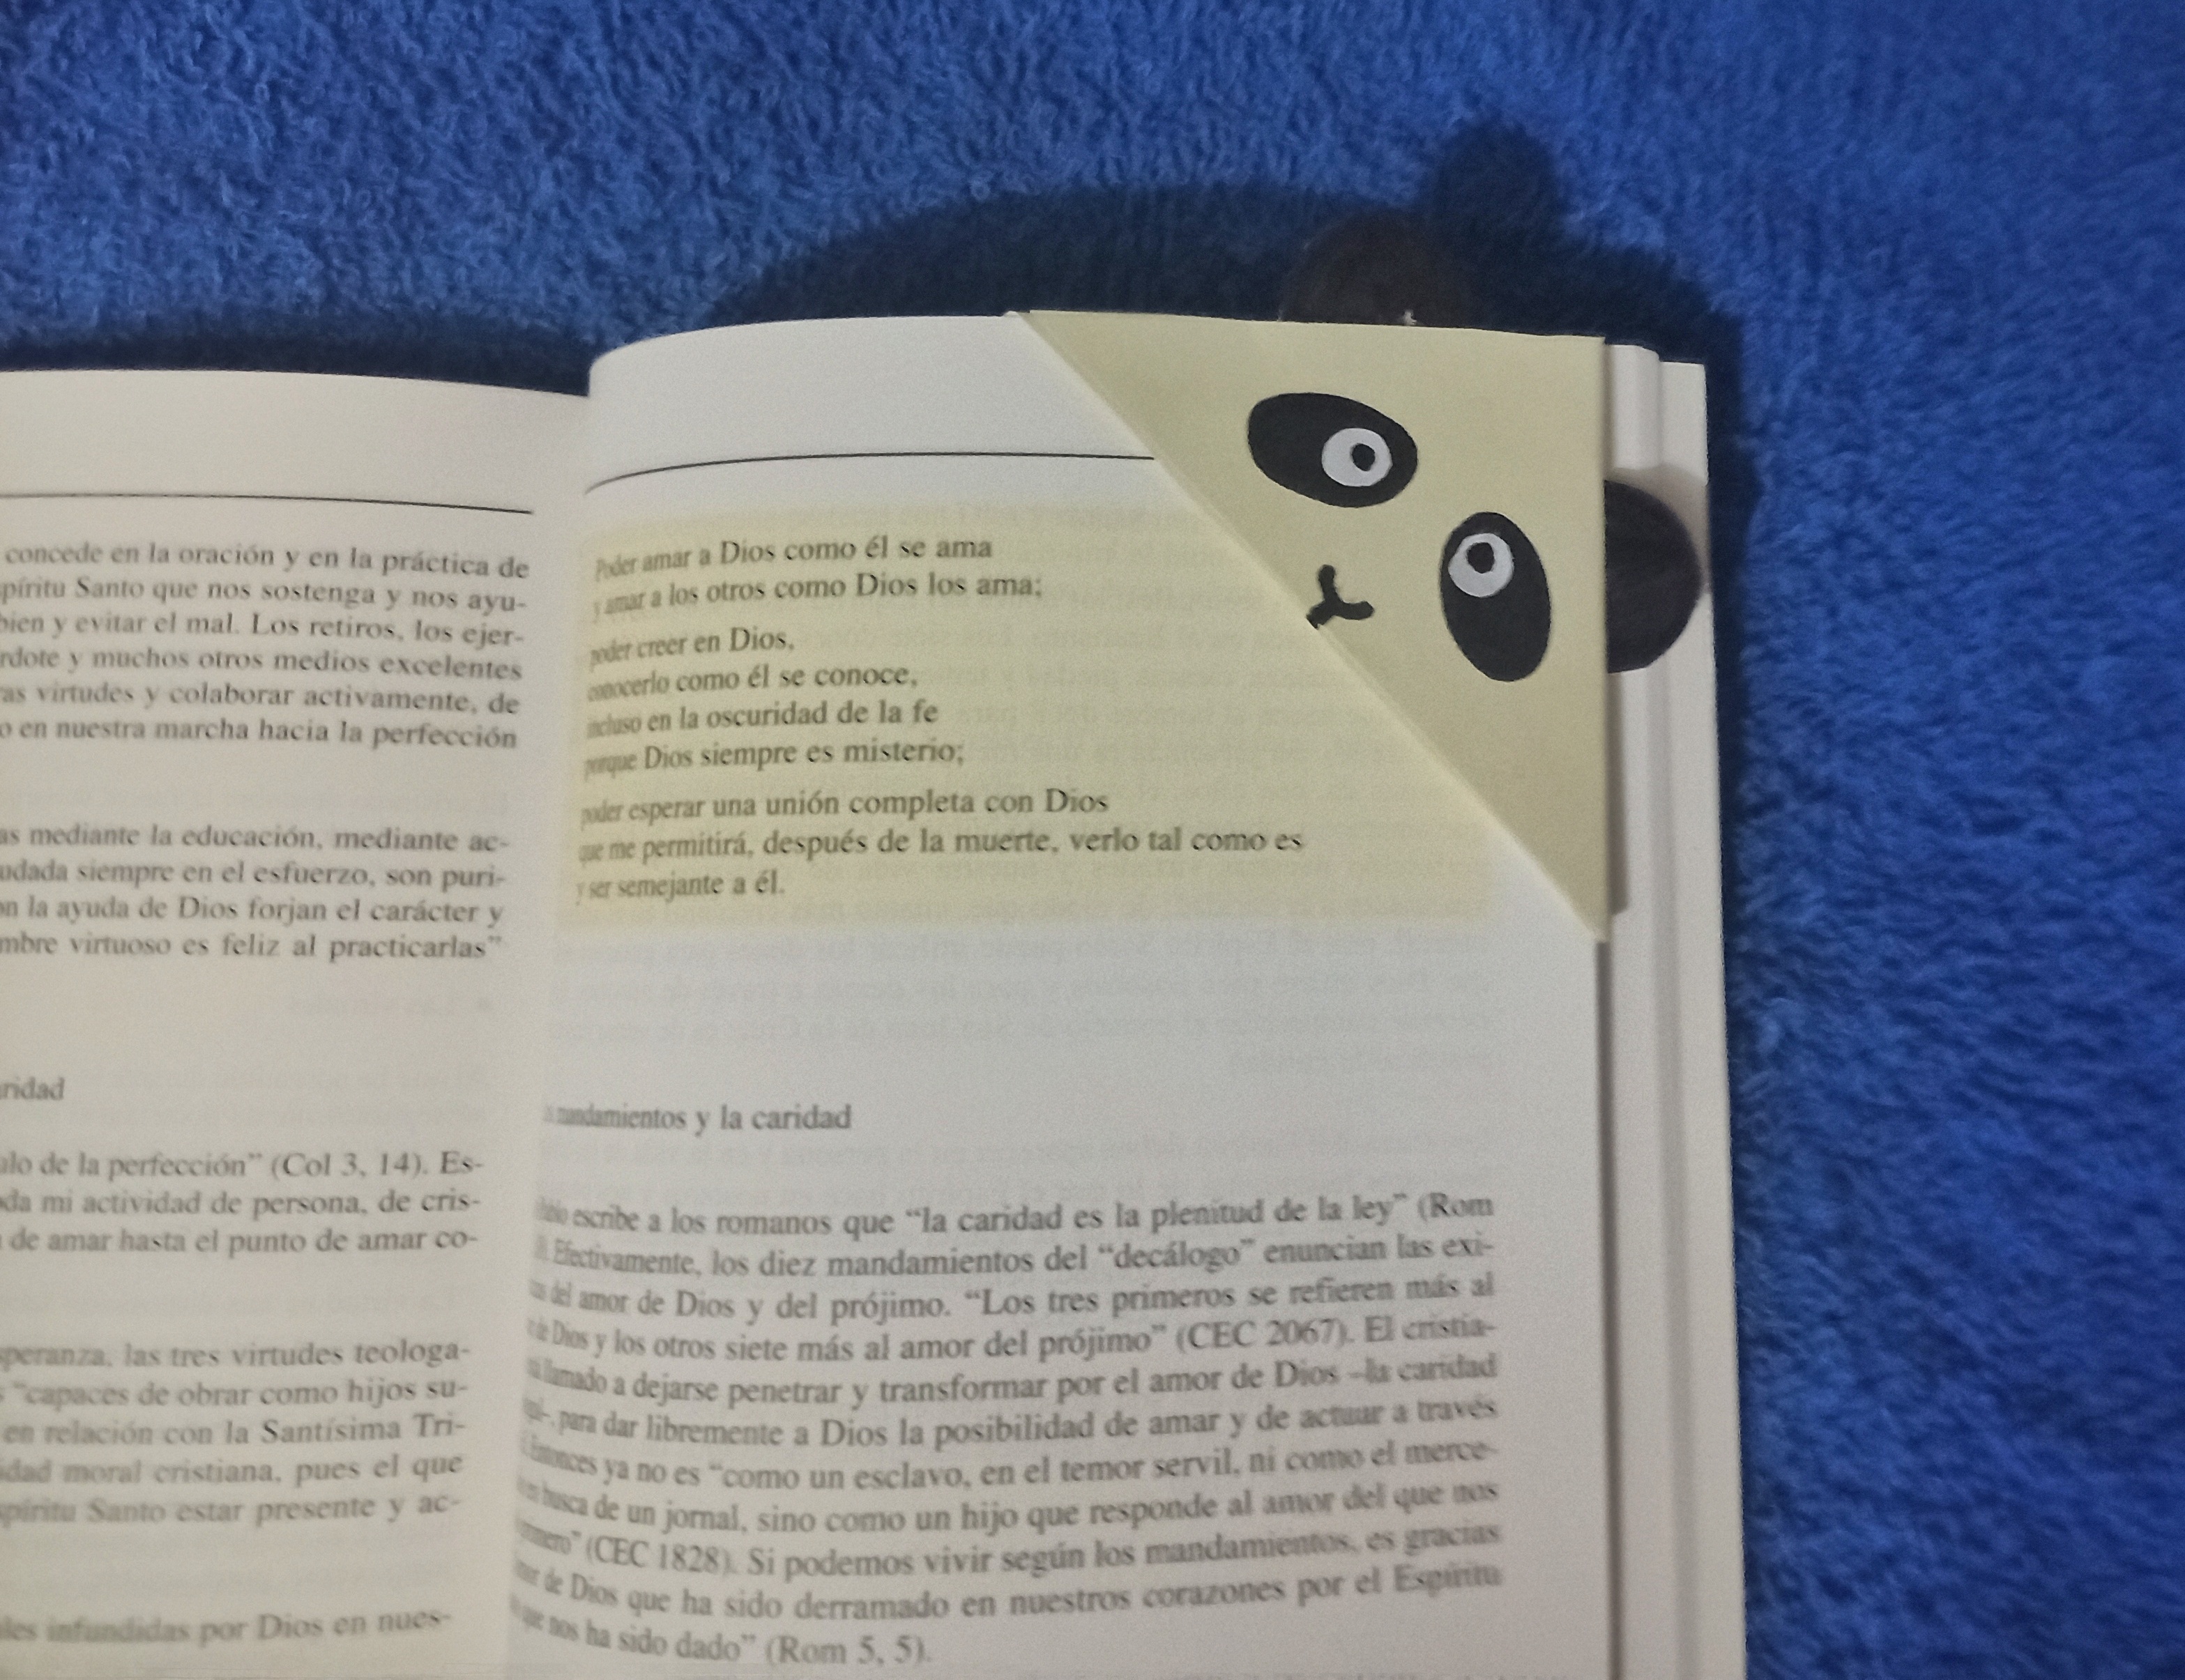
Paso 5: Ahora solo me faltaria pintar los ojos del hermoso panda y el ocico, le agregué los detalles y listo. Así quedo el lindo marcalibros.
Step 5: Now I just need to paint the eyes of the beautiful panda and the eye, I added the details and that's it. This is how the cute bookmark looks like.
Resultado // Result
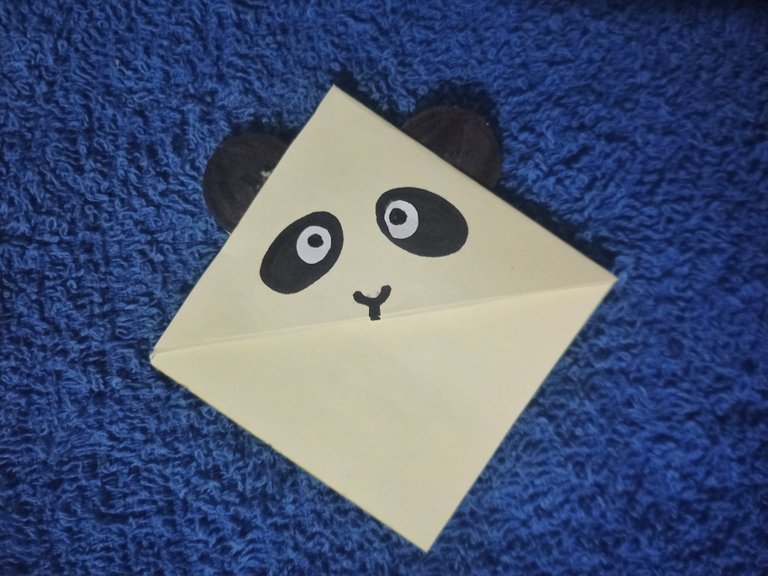
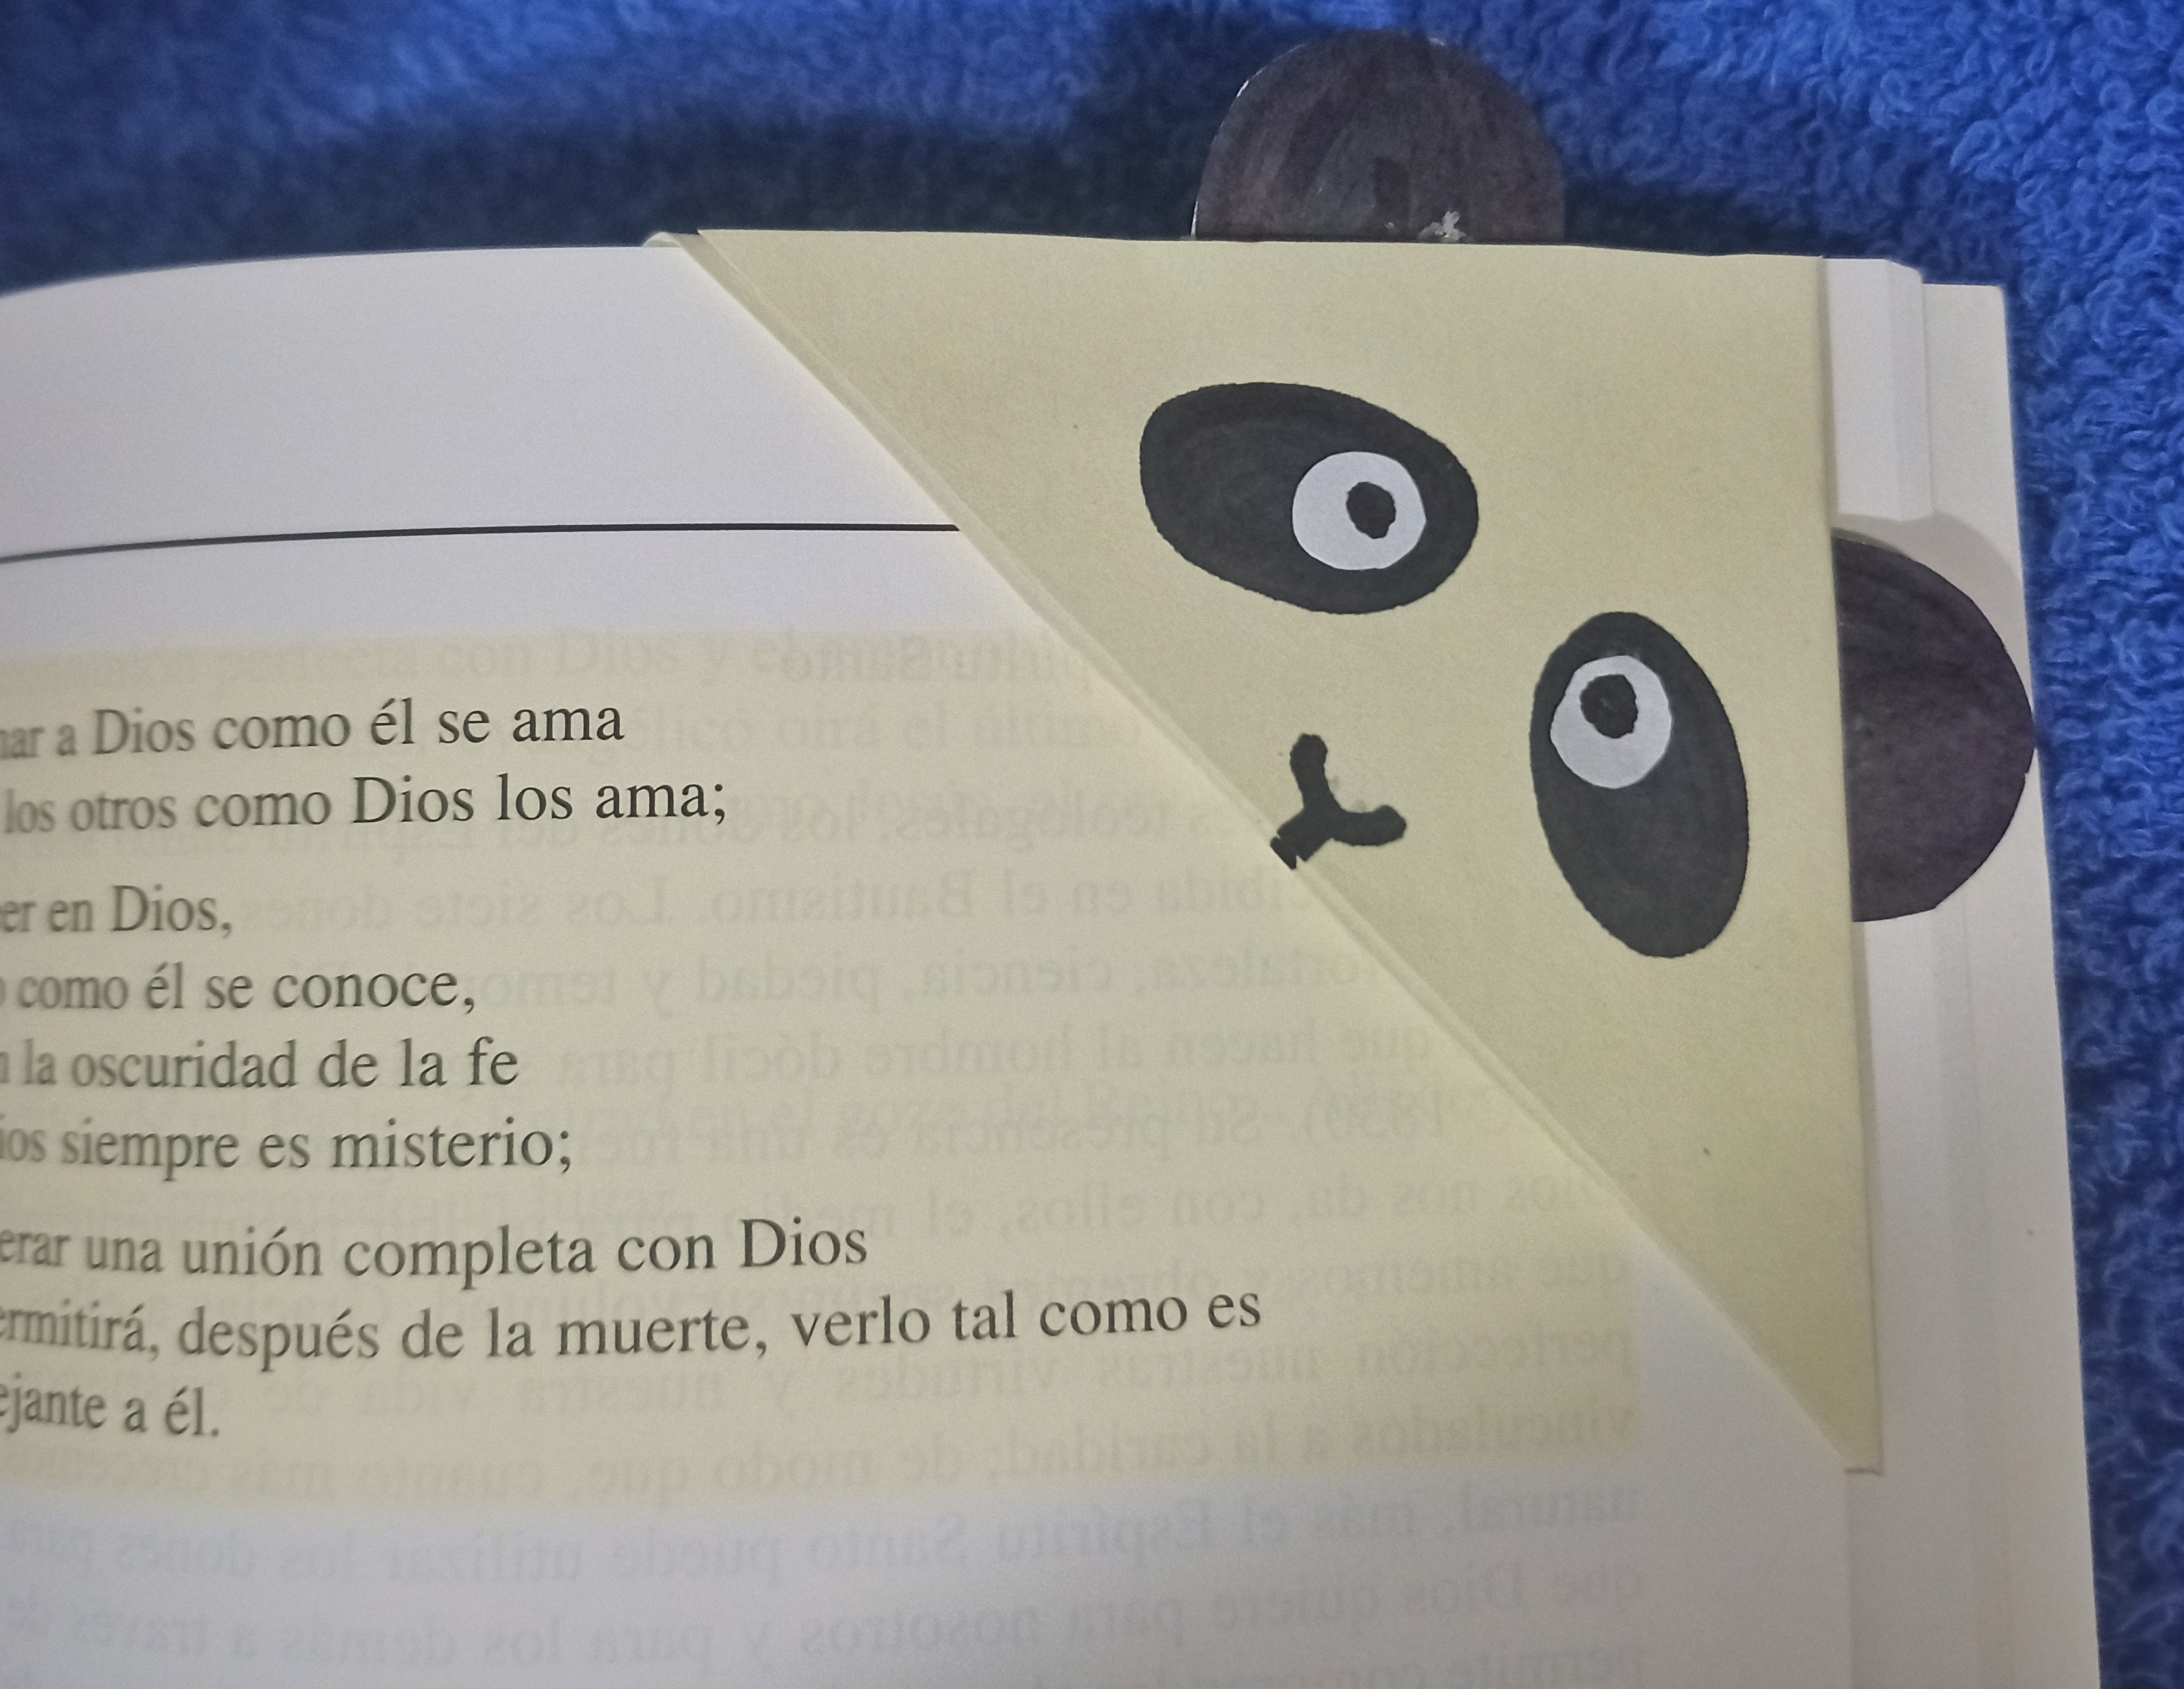

Fotografía de mi propiedad editadas en Canva.
Muchas gracias por tomarte el tiempo de ver mi publicación, espero que te sirva este tutorial, hasta la próxima amigos💖💕✨
Thank you so much for taking the time to view my post, I hope you find this tutorial helpful, until next time friends💖💕✨
All pictures are my property, taken with my umidigi phone.
