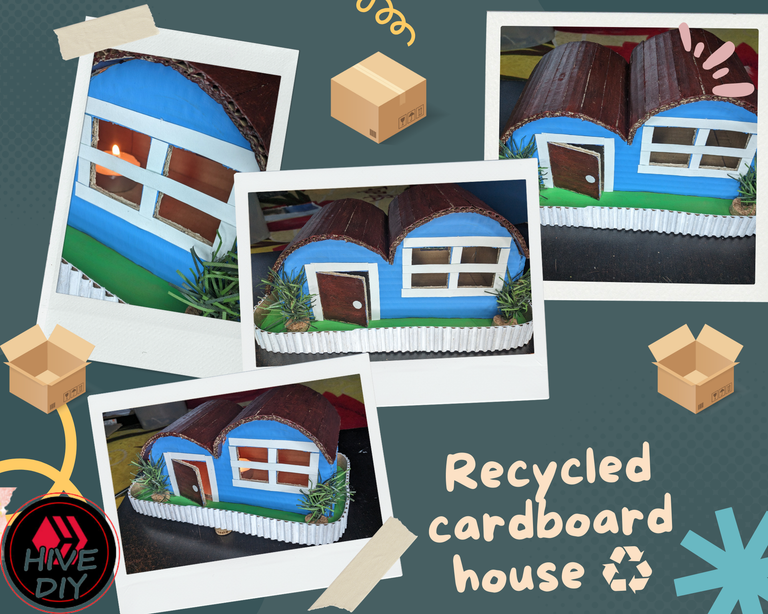
Saludos amigos de la comunidad Diy. Hace unas horas publiqué un momento en liketu donde mostraba una caja de cartón junto a una frase que decía que para algunos quizás era solo una caja, pero que para mí era una oportunidad creativa. Pero la cuestión es que no solo es una oportunidad creativa, ya que es una oportunidad ecológica en sí. Y como en anteriores publicaciones dije que diciembre sería mi mes eco-amigo, pues aquí les traigo otra manualidad orientada al reciclaje y el cuidado del medio ambiente.
El día de hoy quiero mostrarles de una forma amena como fue que cree esta casa de cartón reciclado. Espero que les guste y disfruten del proceso, que es lo que verdaderamente vale la pena sin importar el resultado. Recuerden que todos llevamos dentro a un artista, no importa el talento. Las cosas más simples son arte ante los ojos de quienes las aprecian.
Greetings friends of the Diy community. A few hours ago I posted a moment on Liketu where I showed a cardboard box along with a sentence that said that for some people maybe it was just a box, but for me, it was a creative opportunity. But the point is that it is not only a creative opportunity, as it is an ecological opportunity itself. And since in previous posts, I said that December would be my eco-friendly month, here I bring you another craft oriented to recycling and environmental care.
Today I want to show you in a fun way how I created this recycled cardboard house. I hope you like it and enjoy the process, which is what is really worth it no matter the result. Remember that we all have an artist inside, no matter how talented we are. The simplest things are art in the eyes of those who appreciate them.
 |  |
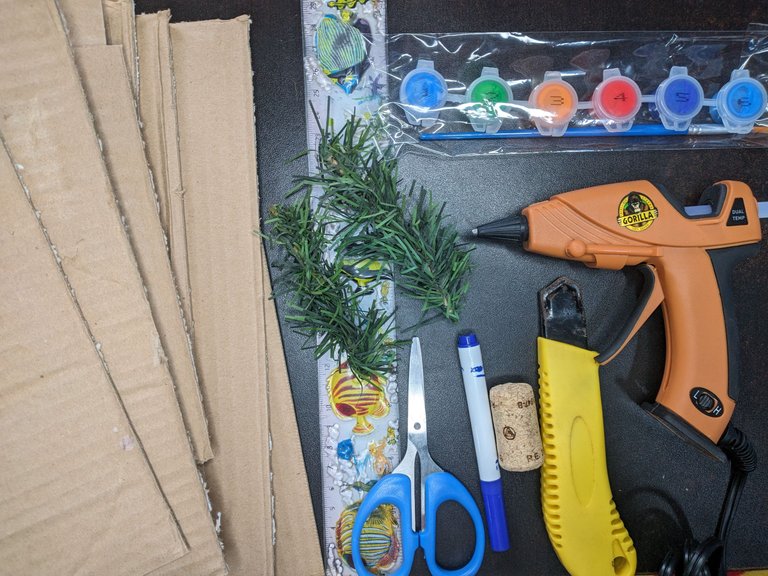
✂️ Materiales // Materials ✂️
- Cartón (aproximadamente 6 unidades de 25cmx25cm)
- Pinturas acrílicas o de aceite (el color varía según los gustos)
- Tijeras o cúter
- Regla y marcador
- Pistola de silicona o pegamento
- Corcho de botella
- Rama de árbol de navidad
- Cardboard (approximately 6 units of 25cmx25cm)
- Acrylic or oil paints (color varies according to taste)
- Scissors or cutter
- Ruler and marker
- Silicone or glue gun
- Bottle cork
- Christmas tree branch
📝 Paso a paso // Step by step 📝
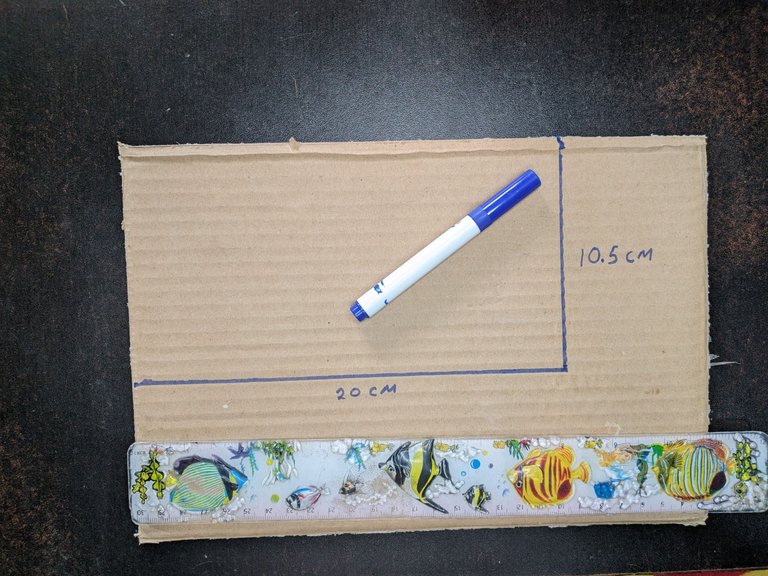
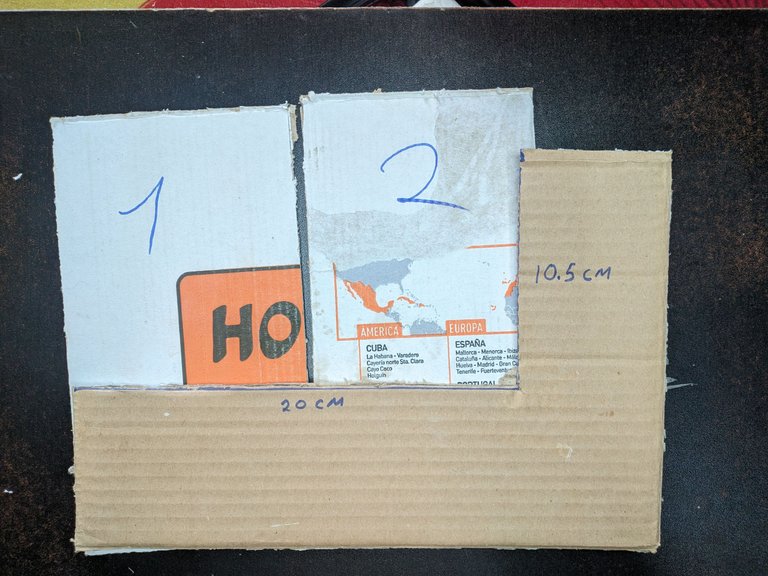
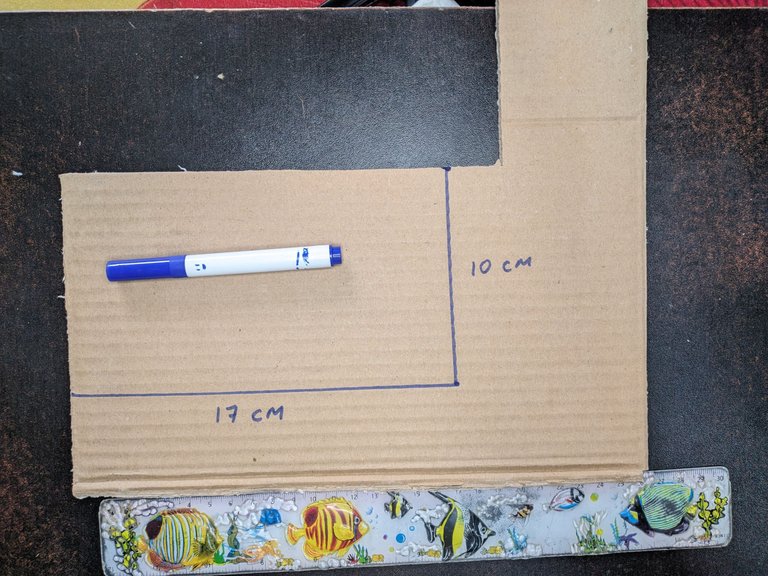
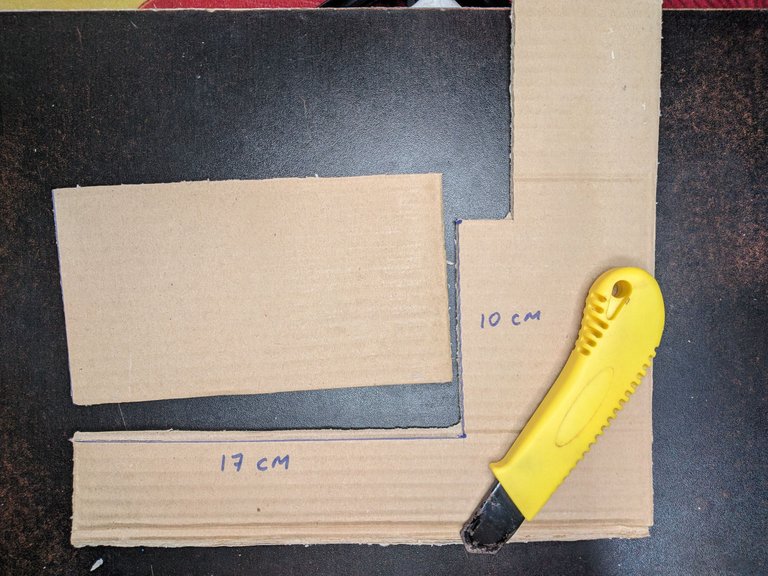
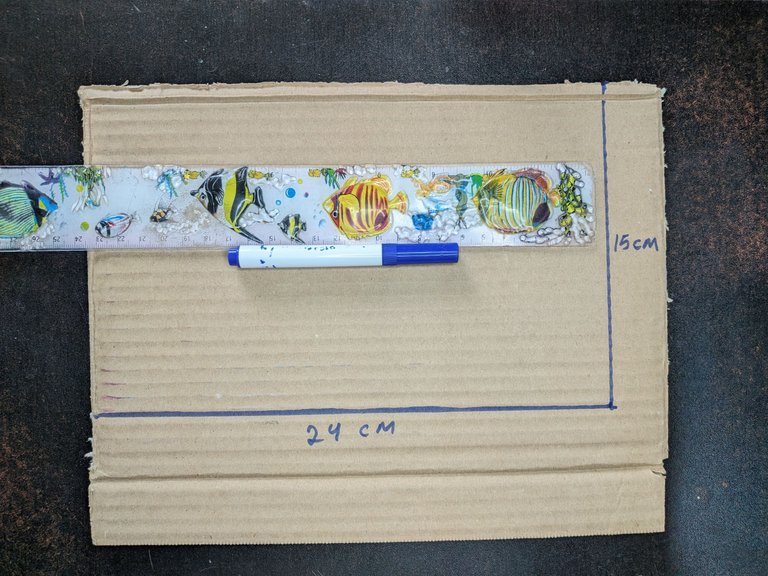
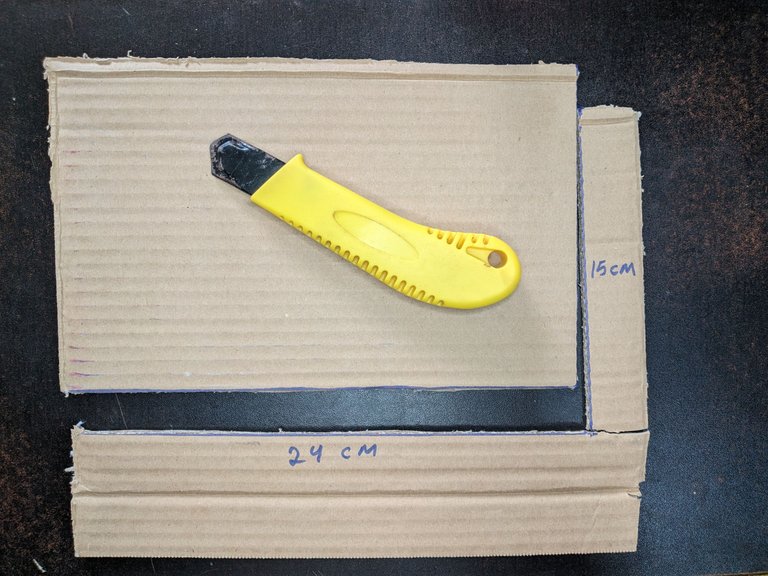
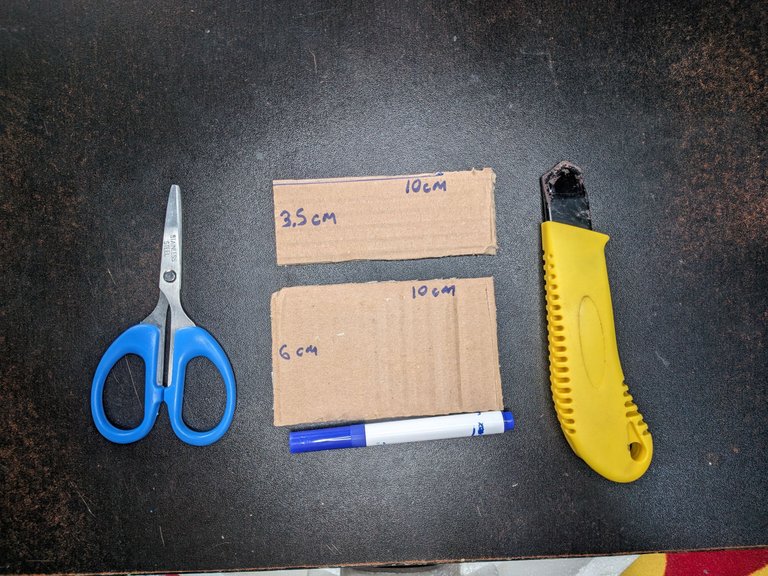
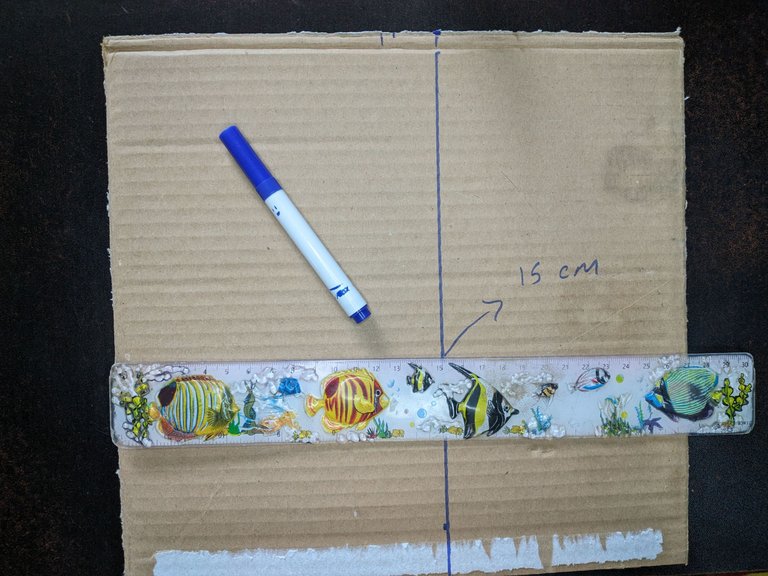
Primeramente, marcamos y recortamos 7 piezas de cartón con las siguientes medidas:
- 2 piezas de 20 cm x 10.5 cm
- 1 pieza de 17 cm x 10 cm
- 1 pieza de 24 cm x 15 cm
- 1 pieza de 3.5 cm x 10 cm
- 1 pieza de 6 cm x 10 cm
- 1 pieza de 15 cm x 25 cm
First, we mark and cut out 7 pieces of cardboard with the following measurements:
- 2 pieces of 20 cm x 10.5 cm.
- 1 piece of 17 cm x 10 cm
- 1 piece of 24 cm x 15 cm
- 1 piece of 3.5 cm x 10 cm
- 1 piece of 6 cm x 10 cm
- 1 piece of 15 cm x 25 cm
 |
 |
 |
 |
 |
 |
 |  |
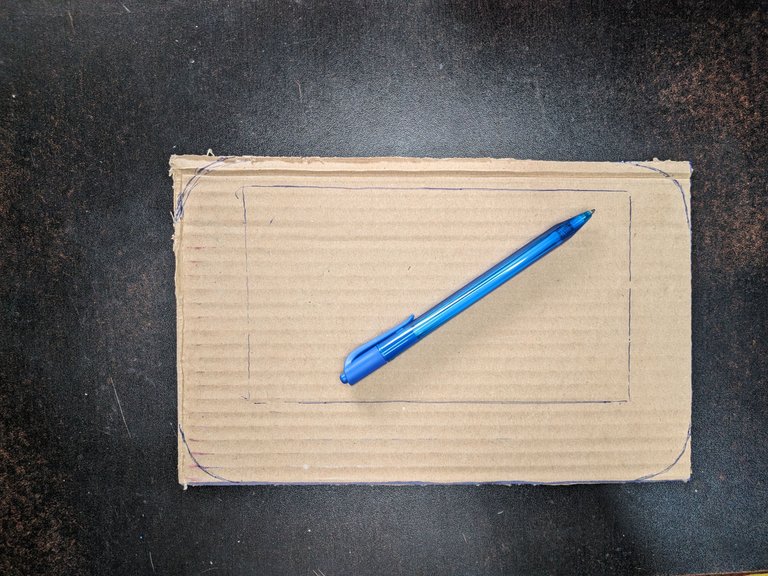
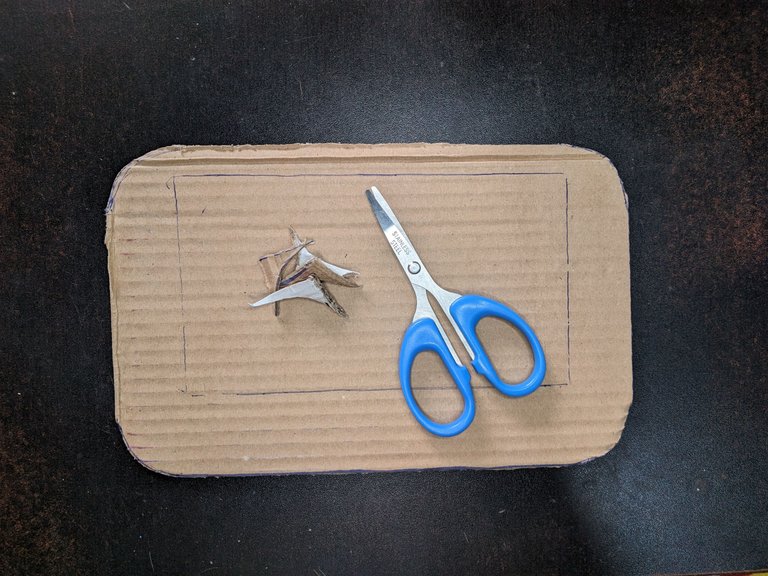
Luego a la pieza de 24 cm x 15 cm le marcamos el contorno de la pieza de 17 cm x 10 cm y luego le redondeamos los bordes. El contorno no debemos marcarlo en el medio, debe ser un poco hacia atrás.
Then to the piece of 24 cm x 15 cm we mark the outline of the piece of 17 cm x 10 cm and then we round the edges. The outline should not be marked in the middle, it should be a little to the back.
|  |
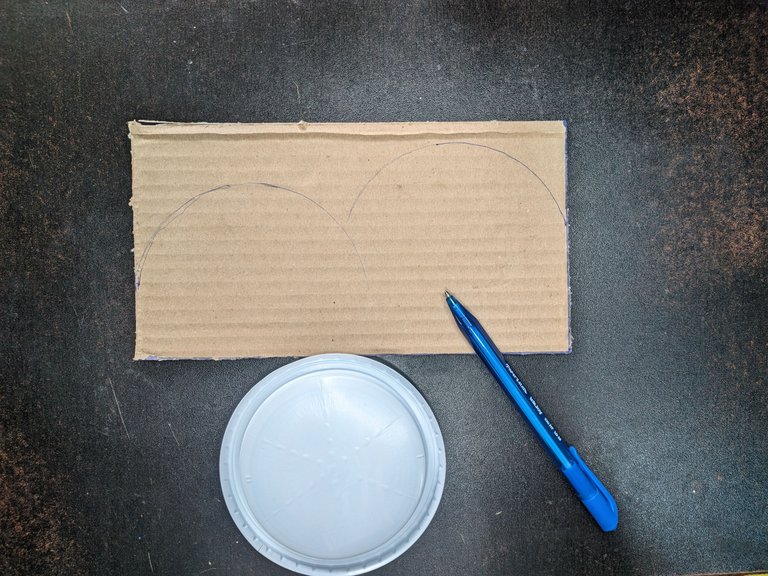
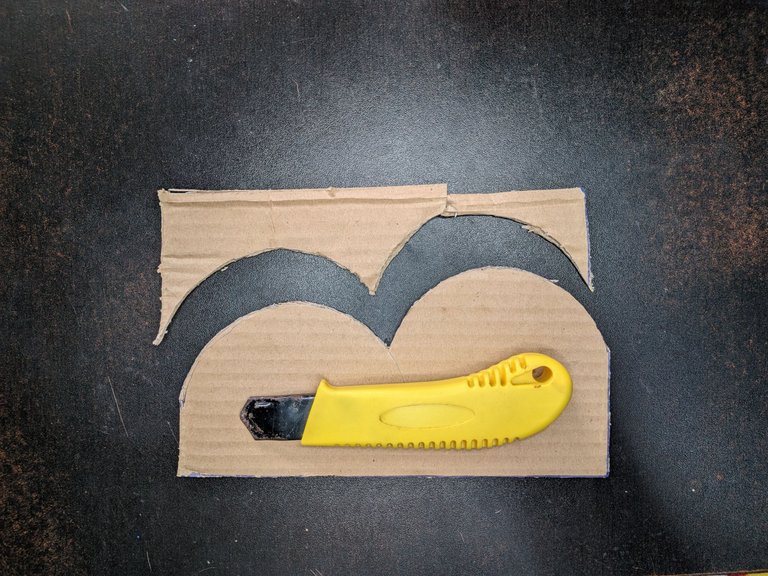
A las 2 piezas de 20 cm x 10.5 cm les dibujaremos y recortaremos unas formas circulares haciendo uso de un compás o de algún objeto. La posición de las marcas circulares la muestro a continuación.
To the 2 pieces of 20 cm x 10.5 cm we will draw and cut out some circular shapes using a compass or some object. The position of the circular marks is shown below.
 |  |
Para continuar a las 2 piezas que les dibujamos las formas circulares, les marcaremos y recortaremos las ventanas y la puerta.
To continue with the 2 pieces that we drew the circular shapes, we will mark and cut out the windows and the door.
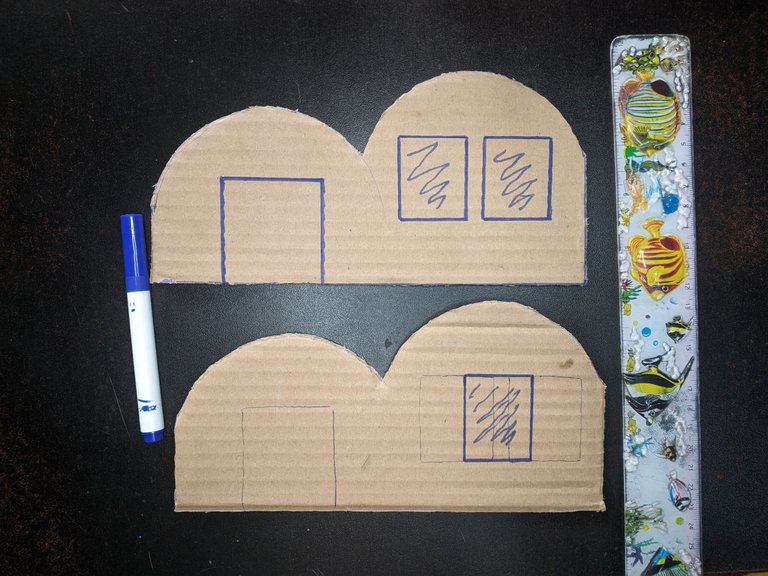
Hasta ahora ya tendríamos lo necesario para comenzar a armar la estructura base de la casa y colocar las paredes. Así que a la pieza de 24 cm x 15 cm le pegamos la pieza de 17 cm x 10 cm en el lugar que marcamos anteriormente. Y de igual forma pegamos las piezas de 20 cm x 10.5 cm en la parte frontal y trasera de la estructura base que se formó al unir las dos piezas anteriores.
At this point we would already have what we need to start assembling the base structure of the house and place the walls. So to the 24 cm x 15 cm piece, we glue the 17 cm x 10 cm piece in the place we marked previously. In the same way, we glued the 20 cm x 10.5 cm pieces on the front and back of the base structure that was formed by joining the two previous pieces.
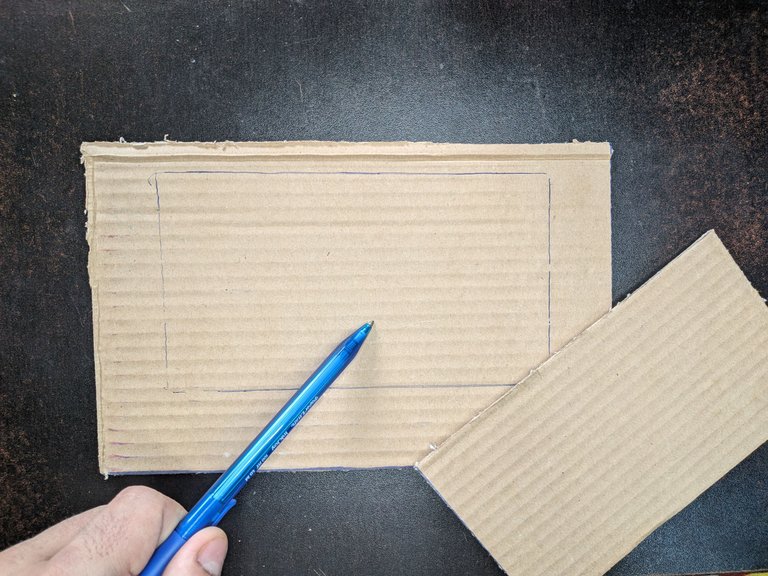
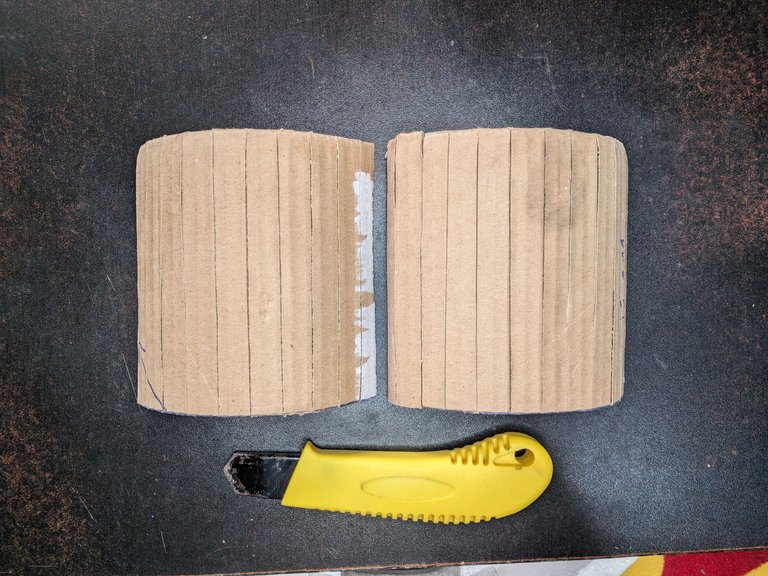
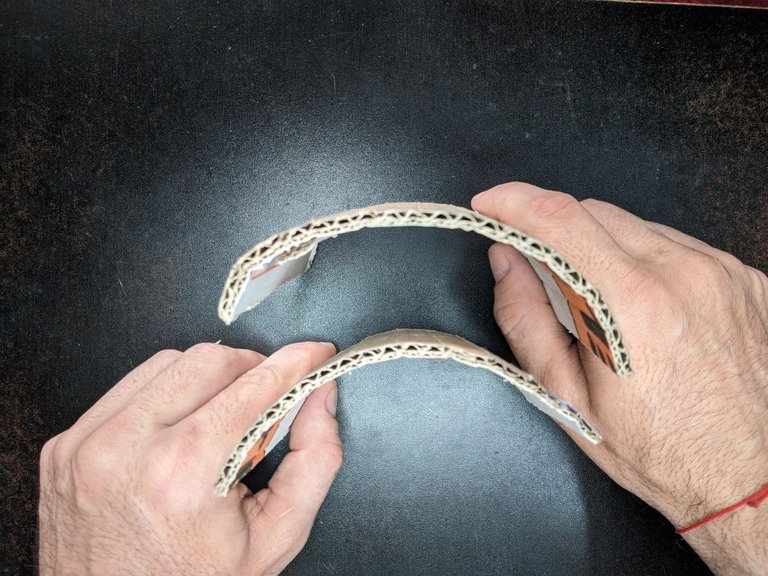
Una vez hecho esto ya tendríamos la estructura de la casa creada y empezaríamos a trabajar en el techo. Para el techo dividiremos la pieza de 15 cm x 25c cm en dos partes y le realizaremos cortes paralelos para garantizar que el cartón se doble y adquiera la forma semicircular de las paredes frontales y trasera de la casa.
Once this is done we will have the structure of the house created and we will start working on the roof. For the roof, we will divide the 15 cm x 25 cm piece into two parts and make parallel cuts to ensure that the cardboard folds and acquires the semicircular shape of the front and back walls of the house.
 |  |
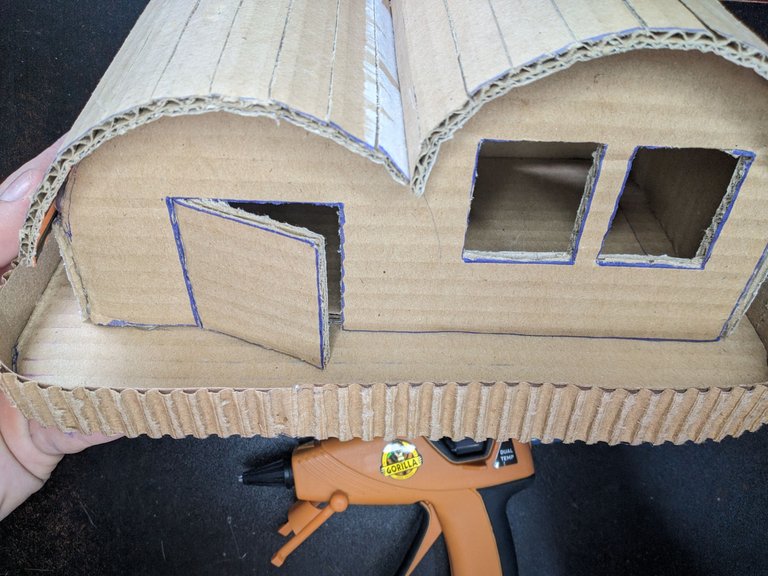
Ya solo quedaría pegar el techo, pero no sin antes pegar las piezas de 3.5 cm x 10 cm y la de 6 cm x 10 cm en sus respectivos lugares antes de pegar el techo.
The only thing left to do is to glue the roof, but not before gluing the 3.5 cm x 10 cm and the 6 cm x 10 cm pieces in their respective places before gluing the roof.
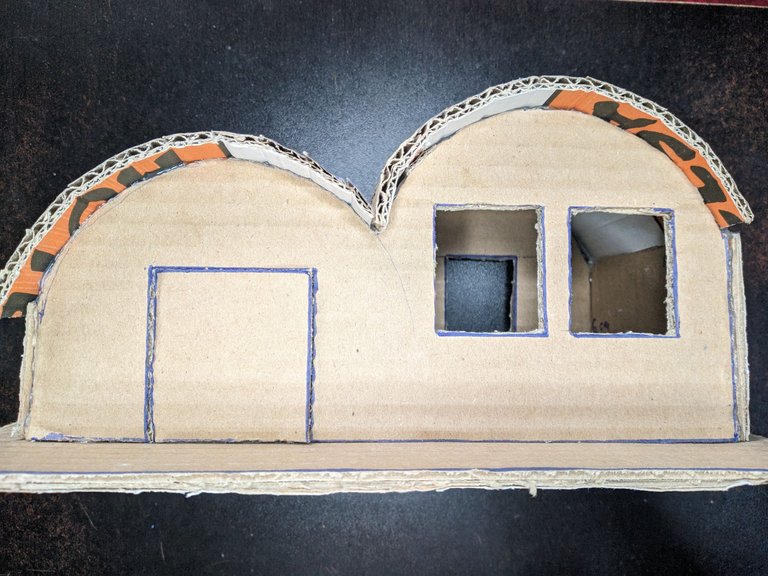
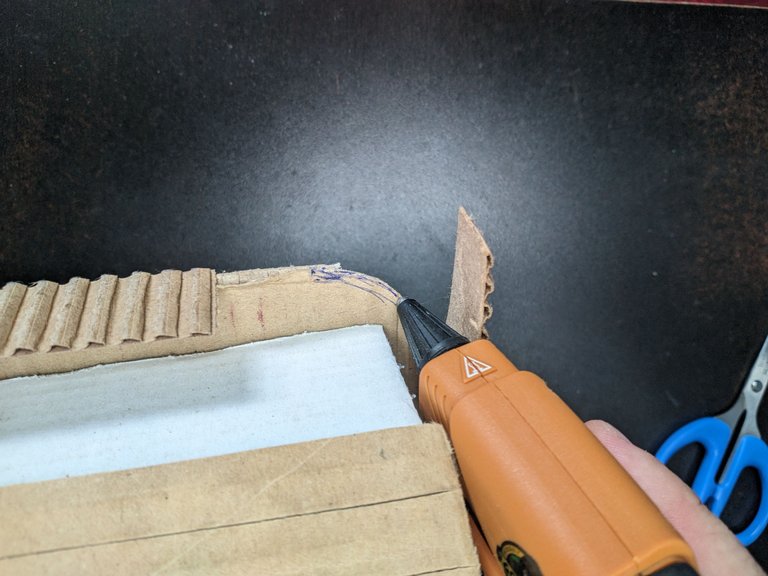
Con la estructura de la casa creada casi en su totalidad pasamos a la cerca(valla). Para elaborar la cerca(valla) cortaremos tiras de cartón al que previamente le quitaremos una de sus caras.
With the structure of the house almost completely created, we move on to the fence. To make the fence we will cut strips of cardboard from which we will previously remove one of its sides.
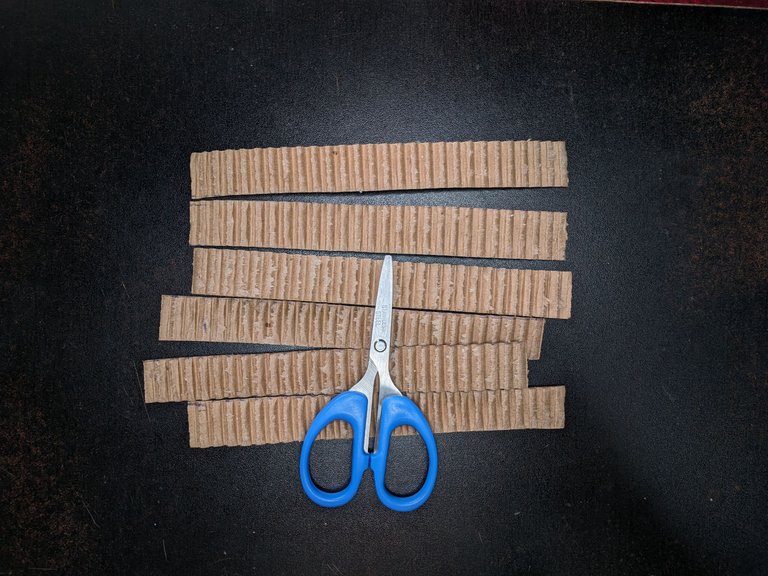
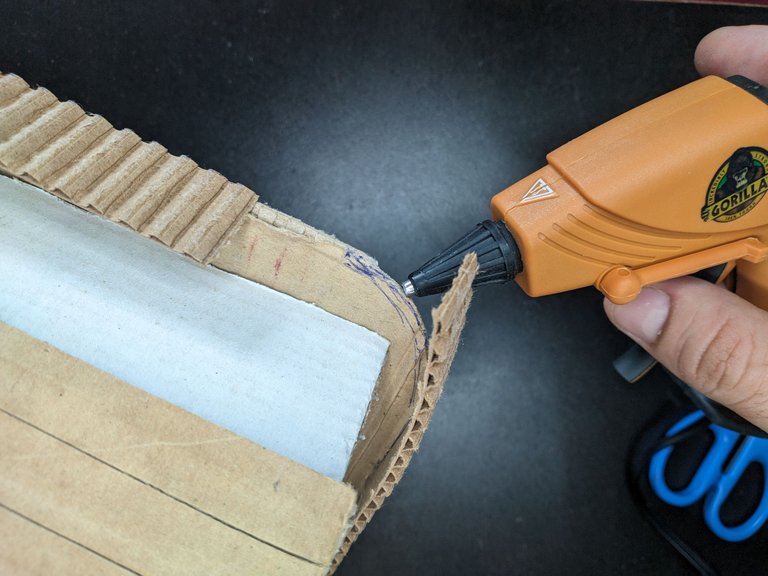
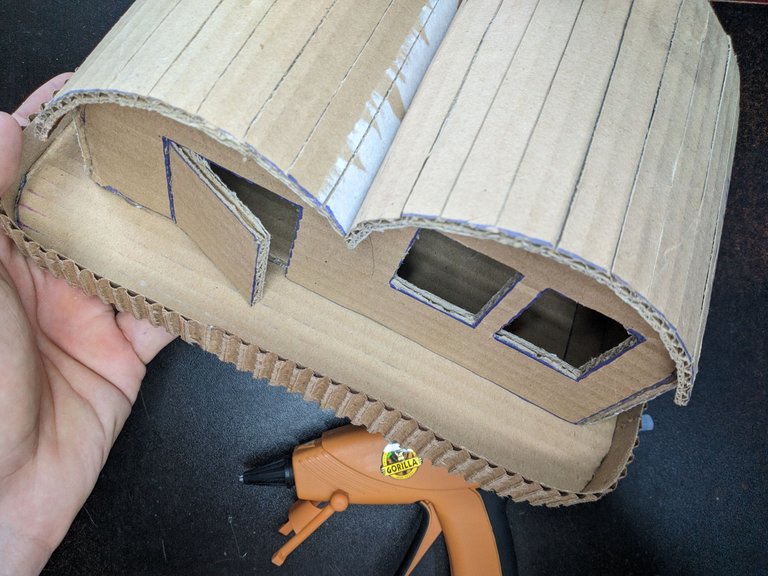
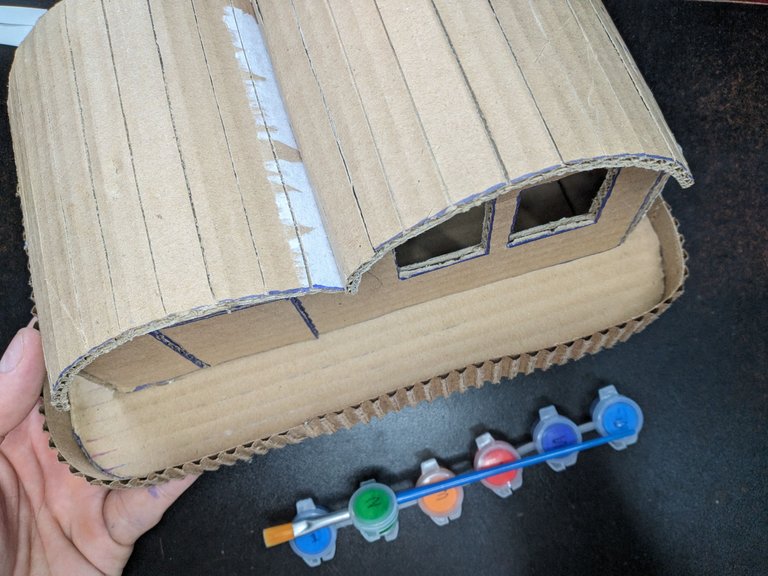
Seguidamente, pegaremos estas tiras de cartón por todo el borde exterior de la base donde creamos la estructura de la casa.
Next, we glue these cardboard strips all around the outer edge of the base where we create the structure of the house.
 |  |
 |  |
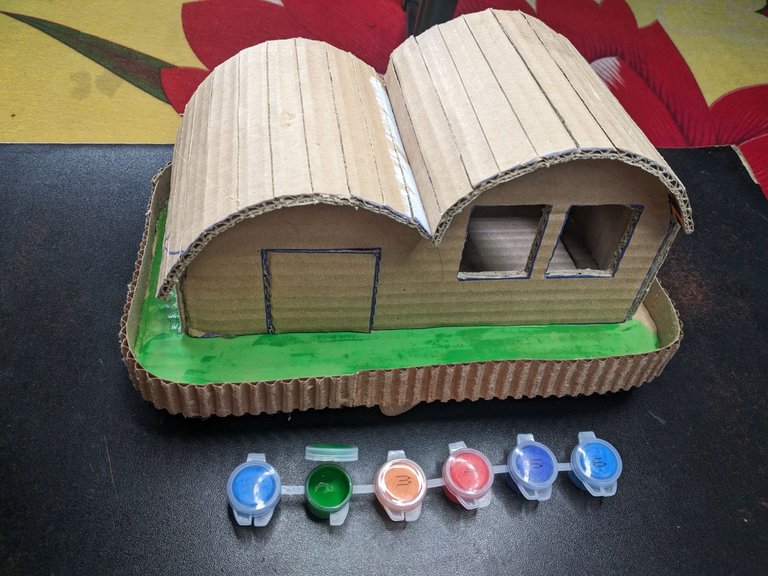
Hasta aquí paramos un poco de cortar y pegar, pues daremos paso a dar color y vida a la casita. Primeramente, pintamos la base de verde simulando un césped.
So far we have stopped cutting and pasting because we will give color and life to the house. First, we painted the base green to simulate a lawn.
 |  |
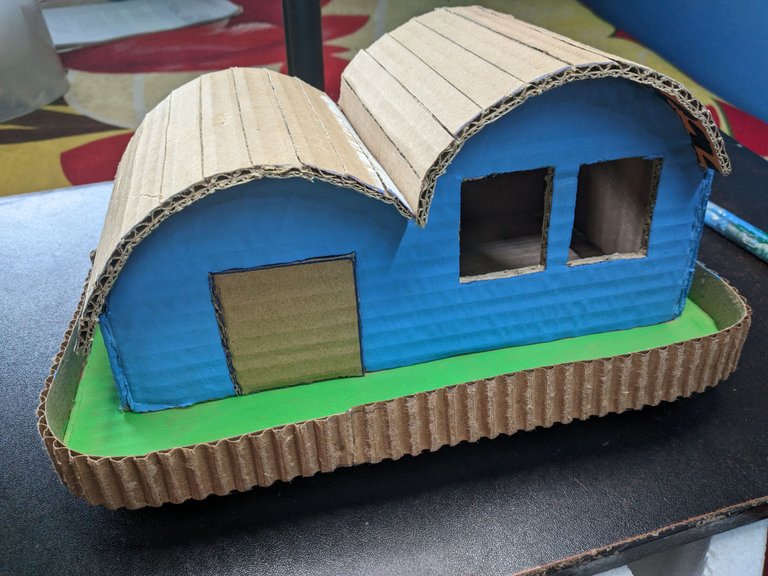
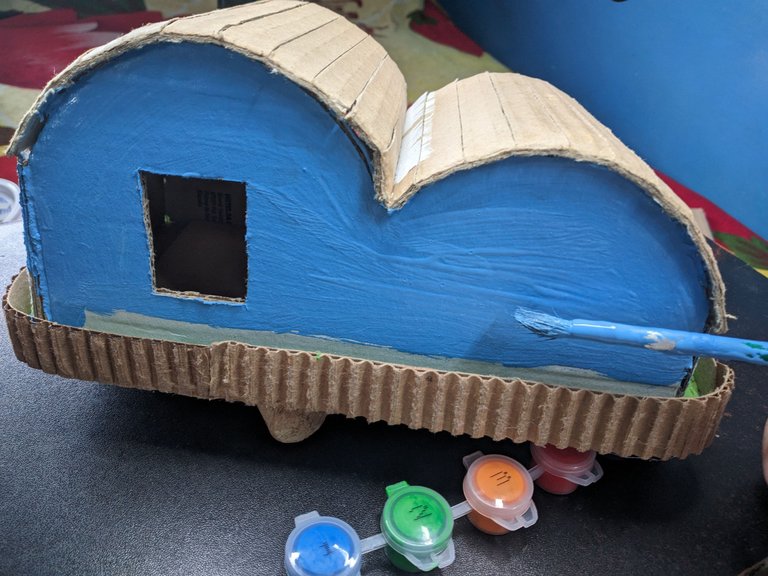
Luego pintamos las paredes de azul, pero teniendo mucho cuidado de no manchar la zona que pintamos anteriormente.
Then we paint the walls blue, but we were very careful not to stain the area we painted before.
 |  |
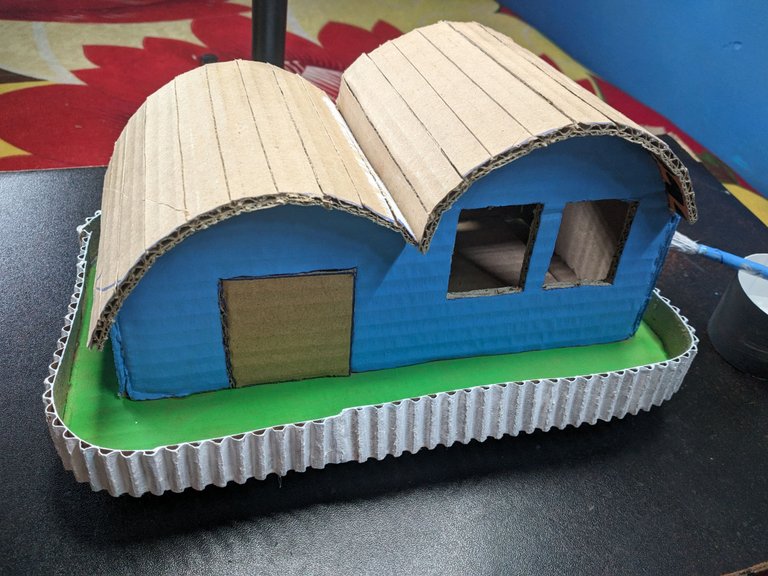
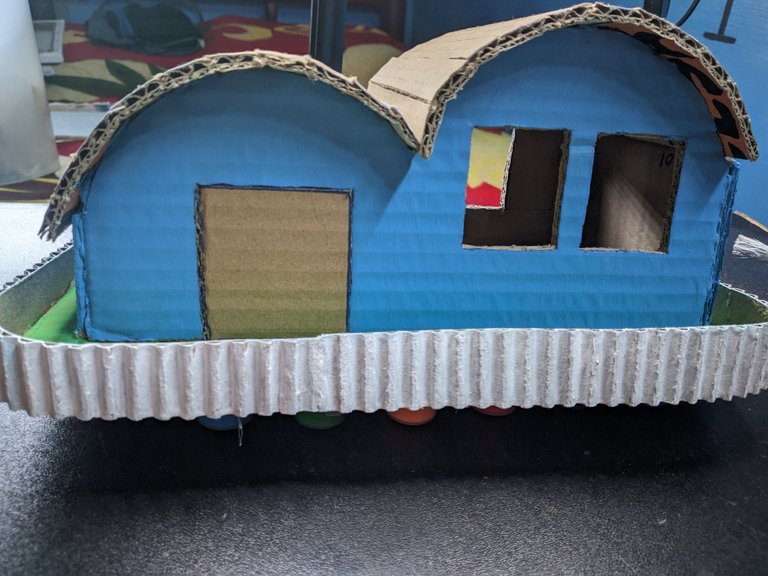
Luego de pintar las paredes de azul procedemos a pintar la cerca(valla) de color blanco.
After painting the walls blue we proceed to paint the fence white.
 |  |
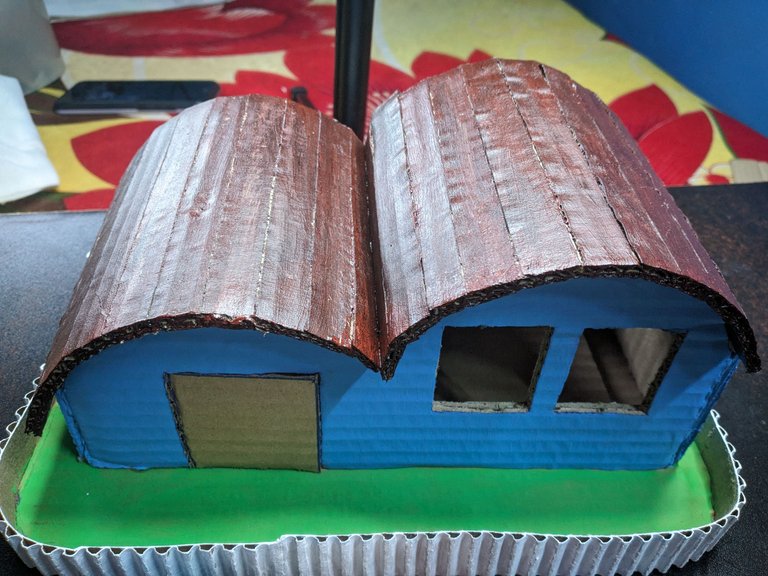
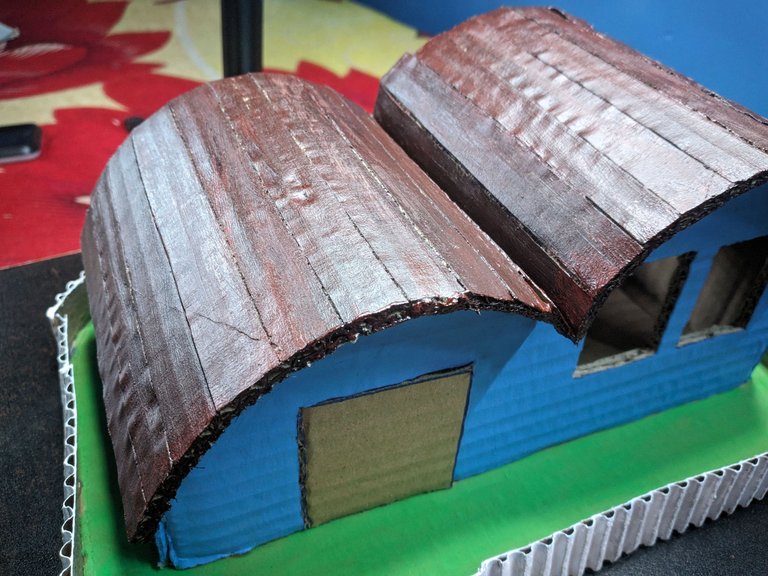
Y para terminal con los colores pintamos el techo y la puerta de la casa de un color carmelita oscuro que simule madera o algo así.
And to finish with the colors we painted the roof and the door of the house in a dark carmelite color that simulates wood or something like that.
 |  |
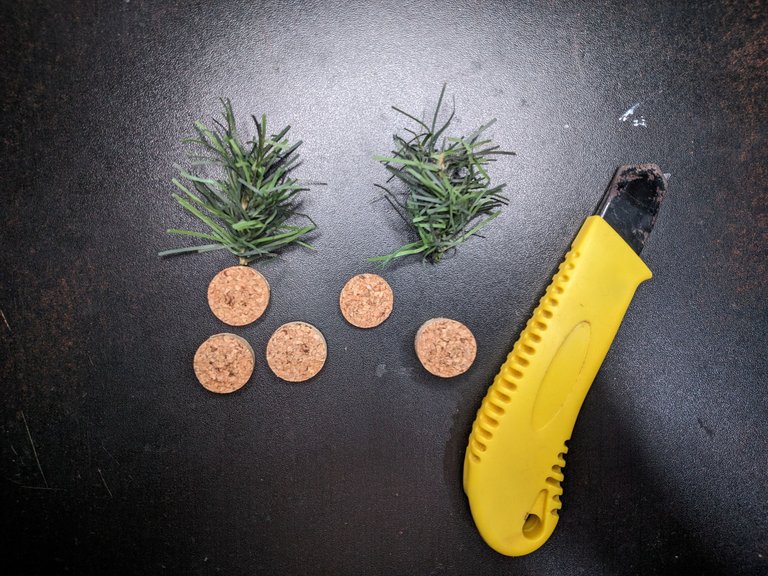
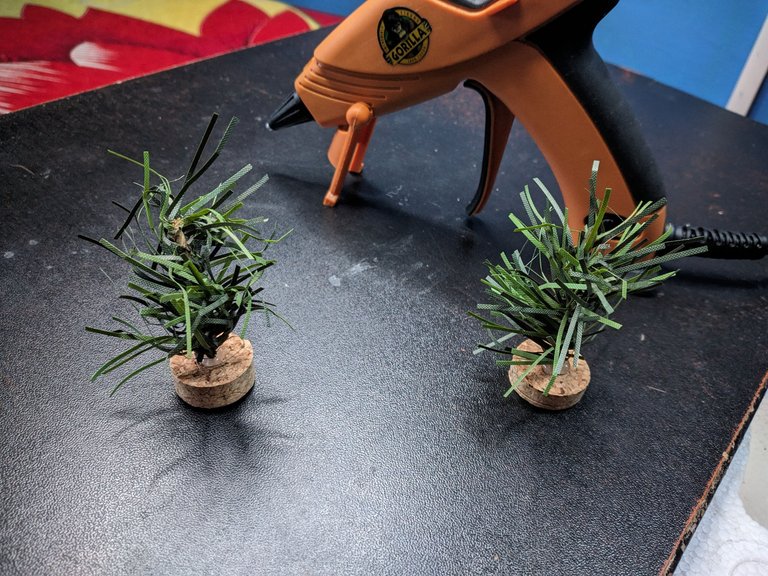
A partir de aquí es creatividad estilo libre pues lo que queda son decoraciones y adornos. En mi caso sentía que al jardín le faltaba vida y cree dos platitas artificiales usando un pedazo de corcho como maceta y dos trozos de rama de árbol de navidad.
From here on it is free-style creativity because what remains are decorations and ornaments. In my case, I felt that the garden lacked life and I created two artificial saucers using a piece of cork as a flowerpot and two pieces of Christmas tree branch.
 |  |
Pegué las mini plantas en la parte frontal de la casita y con un cartón blanco fino hice una especie de marcos para las ventanas y la puerta.
I glued the mini plants to the front of the little house and with thin white cardboard I made some sort of frames for the windows and door.
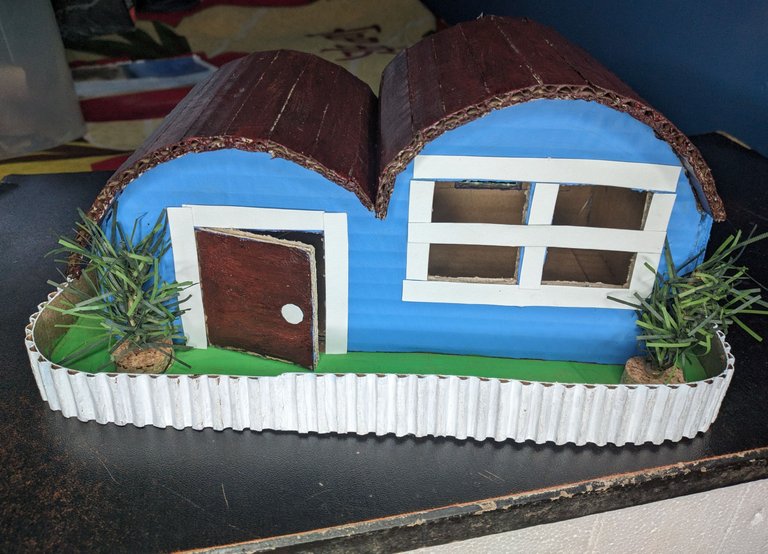 |  |
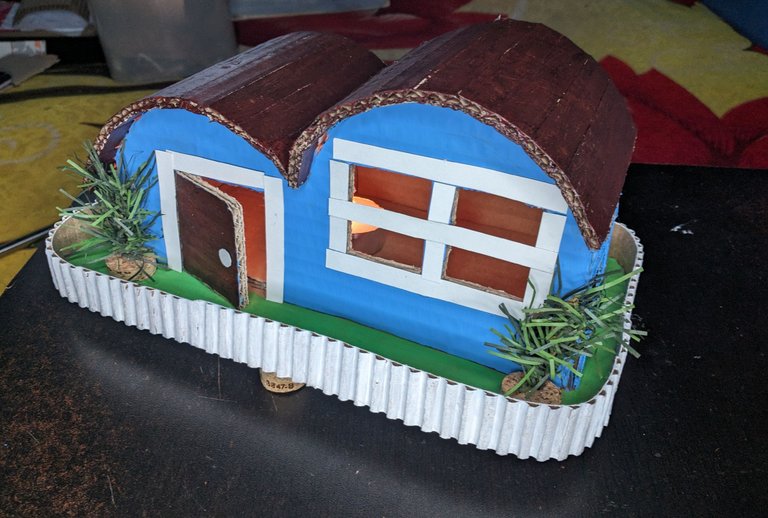
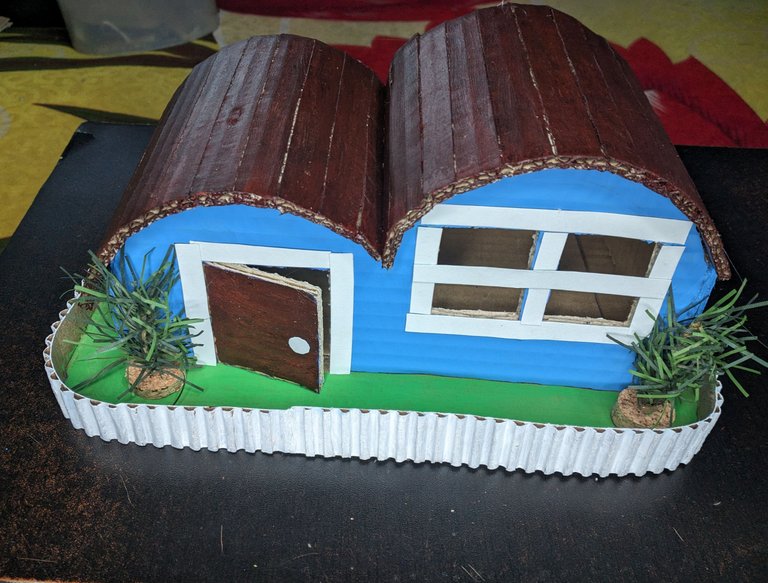
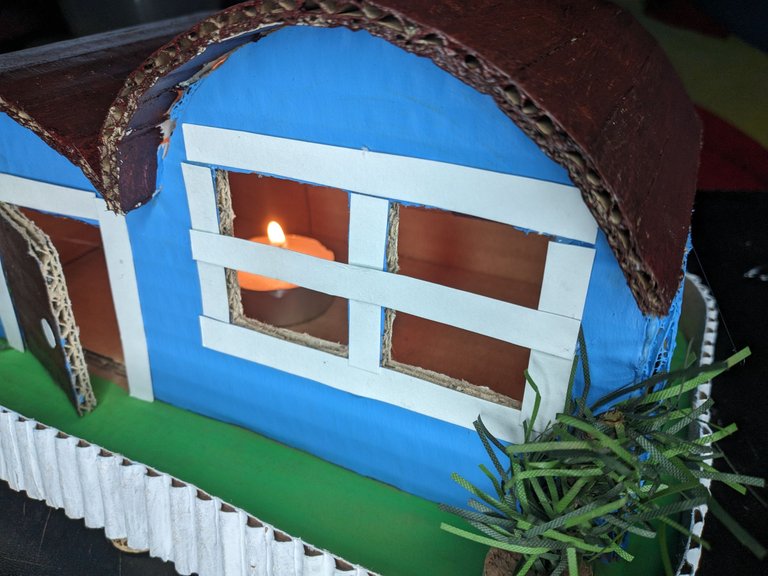
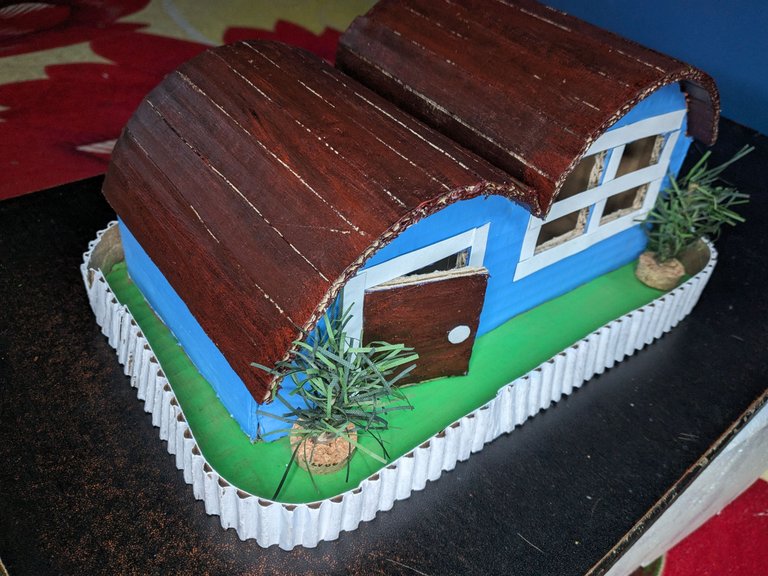
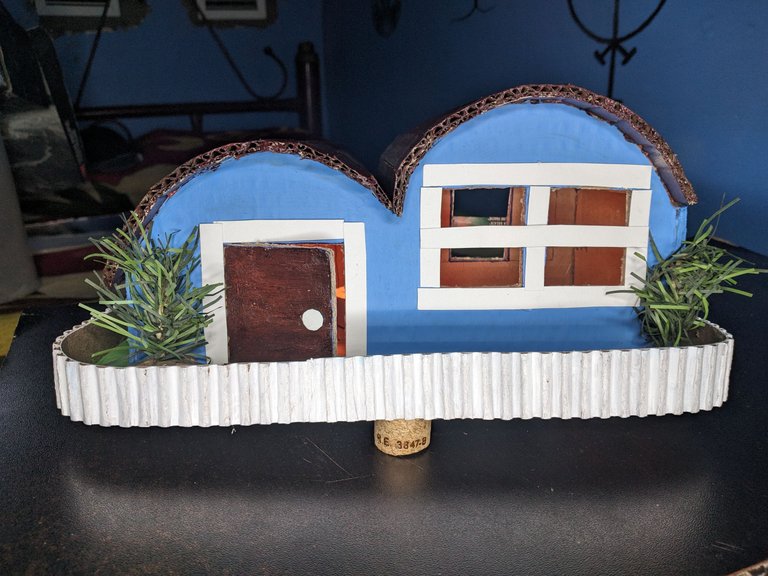
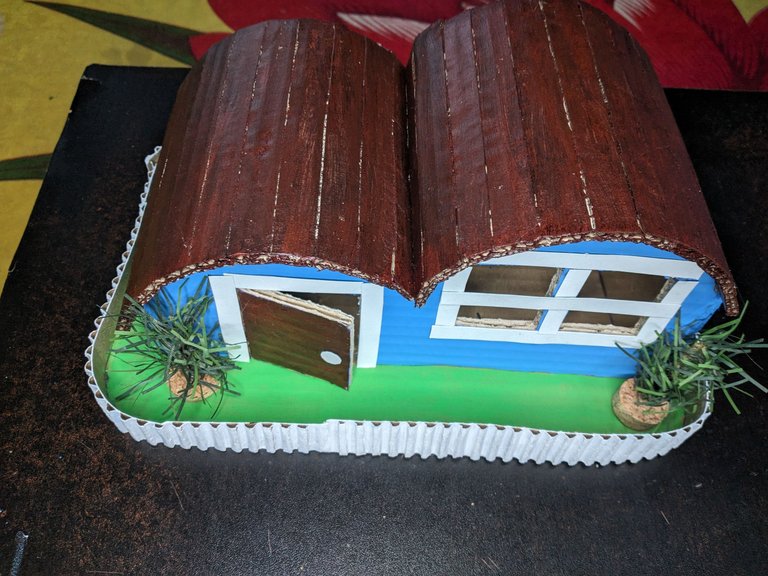
Y así terminaríamos esta casita de cartón reciclado para que los duendes o elfos de la navidad vivan en ella.
And so we would finish this recycled cardboard house for Christmas elves or elves to live in it.
 |  |
 |  |

Muchas gracias por leer mi post. Si te gustó, por favor deja un comentario y considera seguirme para no perderte mis próximas publicaciones. Me encantaría saber tu opinión y tus ideas sobre el tema que traté en este post. ¡Nos vemos en el próximo!
Thank you very much for reading my post. If you liked it, please leave a comment and consider following me so you don't miss my next posts. I'd love to know your opinion and your thoughts about the topic I discussed in this post, see you in the next one!

Cover page created in Canva
Logo and banner property of @hive-130560 and Hive Diy Community
Translated by DeepL
