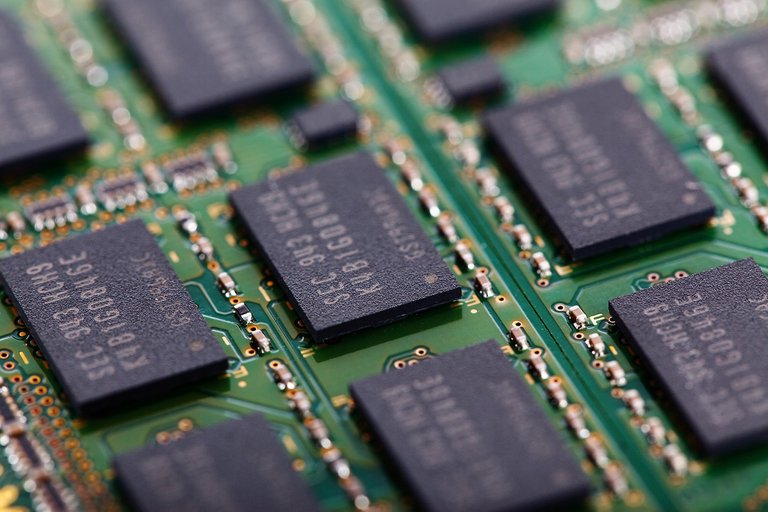
It is often said that a microcontroller is a computer, this small chip should have integrated all the basic components that make a computer work, is that so?
Actually it is, although with very small capacities in comparison these also have a ram memory and a data storage memory as if it were a hard disk.
This memory is called EEPROM and in this article we will discover its importance and in future articles we will see how to use it for the benefit of our projects.
A menudo se suele decir que un microcontrolador es un ordenador, este pequeño chip debería tener integrados todos los componentes básicos que hacen funcionar un computador ¿Es así?.
En realidad lo es, aunque con capacidades muy pequeñas en comparación estos también tienen una memoria ram y una memoria de almacenamiento de datos como si de un disco duro se tratase.
Esta memoria se llama EEPROM y en este artículo vamos a descubrir importancia de esta y en artículos futuros veremos cómo usarla en beneficio de nuestros proyectos.
 ColiN00B Pixabay
When we create a program for a microcontroller, as we have seen in the past, we set a series of parameters that the program will always execute at power on, these values can be considered as default values and even if they are modified during program execution once the microcontroller is restarted these values also do.
For example, we create a variable to store a temperature data for an ADC channel, during the execution of the program this variable will constantly store the value read and we can use it to display that value. But if we restart the microcontroller that variable will not have been saved as a document in a storage unit.
Cuando creamos un programa para un microcontrolador, como hemos visto en el pasado, se establecen una serie de parámetros que el programa siempre ejecutará al encender, estos valores se pueden considerar como valores por defecto y aunque se modifiquen durante la ejecución del programa una vez el microcontrolador se reinicie estos valores también lo hacen.
Por ejemplo, creamos una variable para almacenar un dato de temperatura por un canal ADC, durante la ejecución del programa está variable almacenará constantemente el valor leído y podremos usarla para mostrar dicho valor. Pero si reiniciamos el microcontrolador esa variable no se habrá guardado como lo haría un documento en una unidad de almacenamiento.
 PublicDomainPictures Pixabay
EEPROM is a type of non-volatile memory present in microcontrollers, most of the time it is not usually used for program execution but there are circumstances in which it is important to keep a record of events.
If a system shuts down and there are different variables that can cause this shutdown the best way to know what was the cause would be to be able to consult what was the value of the variables before the shutdown.
On the other hand, it is also possible to establish customized configurations for a user in certain systems avoiding that the user must configure the system at each power up.
In PIC microcontrollers the memories are based on a certain number of registers, this number depends on the microcontroller model. Most of these registers are 8 bits, this means that in each register a data with a value between 0 and 256 can be stored.
To write a register using C language just use one line of code as follows:
La EEPROM es un tipo de memoria no volátil presente en los microcontroladores, la mayoría de las veces no suele usarse para la ejecución de programas pero existen circunstancias en las que es importante guardar un registro de los eventos.
Si un sistema se apaga y existen distintas variables que pueden provocar este apagado la mejor forma de saber cual fue la causa sería poder consultar cual era el valor de las variables antes del apagado.
Por otro lado también se pueden establecer configuraciones personalizadas para un usuario en ciertos sistemas evitando que el usuario deba configurar el sistema en cada encendido.
En los microcontroladores PIC las memorias están basadas en cierta cantidad de registros, esta cantidad depende del modelo de microcontrolador. La mayoría de estos registros son de 8bits, esto significa que en cada registro se puede guardar un dato con un valor entre 0 y 256.
Para escribir un registro usando Lenguaje C solo basta usar una línea de código como sigue:
write_eeprom(add, dat);
Where add represents the memory address, this address consists of a number, if the PIC has 250 registers address 0 would store the DAT data in register 0.
To read and use a stored data the following instruction is used:
Dónde add representa la dirección de memoria, esta dirección consiste en un número, si el PIC tiene 250 registros la dirección 0 almacenaría el dato DAT en el registro 0.
Para leer y usar un dato almacenado se usa la siguiente instrucción:
read_eeprom(add);
Where add is the number corresponding to the register we want to consult.
When programming in assembly language it is common to use these registers because you need to move data between registers to process them, in C language you can create variables even in the same line where they will be used.
The difference between a variable and a register is that the variable takes the configured value each time the program is restarted, however a register can store a value in the EEPROM memory and keep it no matter how many times the microcontroller is restarted, the only way to modify it is with the instruction described.
In the following articles we will apply some examples in simulation and we will also use the PIC18F2550 to make real tests.
Donde add es el número correspondiente al registro que queremos consultar.
Cuando se programa en lenguaje ensamblador es común el uso de estos registros porque se necesita mover datos entre registros para poder procesarlos, en lenguaje C se pueden crear variables incluso en la mísma línea donde se van a usar.
La diferencia entre una variable y un registro es que la variable toma el valor configurado cada vez que se reinicia el programa, sin embargo un registro puede guardar un valor en la memoria EEPROM y mantenerlo sin importar cuantas veces se reinicie el microcontrolador, la única forma de modificarlo es con la instrucción descrita.
En los siguientes artículos vamos a aplicar algunos ejemplos en simulación y también usaremos el PIC18F2550 para hacer pruebas reales.

If you want to give an extra boost to the blog with a donation you can send it to the addresses:
Si quieres darle un impulso extra al blog con una donación puedes enviarla a las direcciones:
BEP-20: 0x5Aee5e3e3ED3203e77eF0d8Bb3E3a420E5229Ce0
ERC-20: 0x5Aee5e3e3ED3203e77eF0d8Bb3E3a420E5229Ce0
Arbitrum One: 0x5Aee5e3e3ED3203e77eF0d8Bb3E3a420E5229Ce0
Polygon: 0x5Aee5e3e3ED3203e77eF0d8Bb3E3a420E5229Ce0
Avalanche: 0x5Aee5e3e3ED3203e77eF0d8Bb3E3a420E5229Ce0
