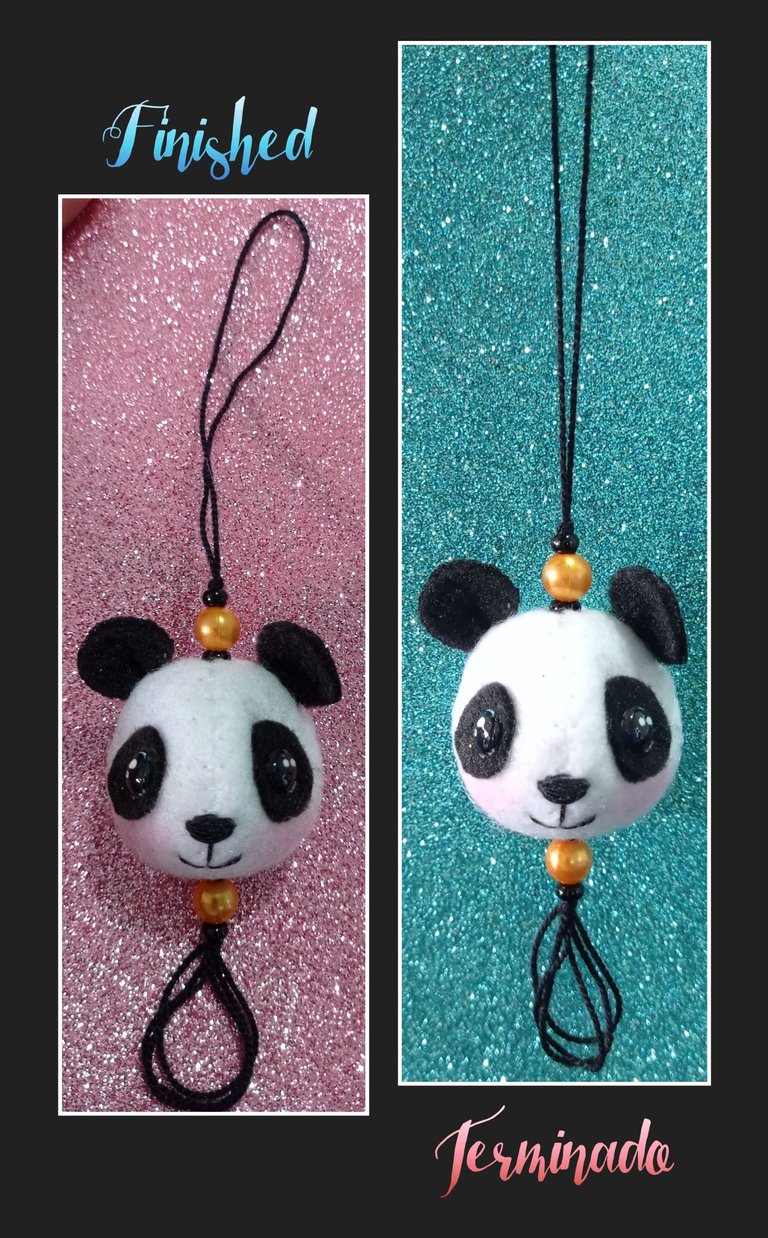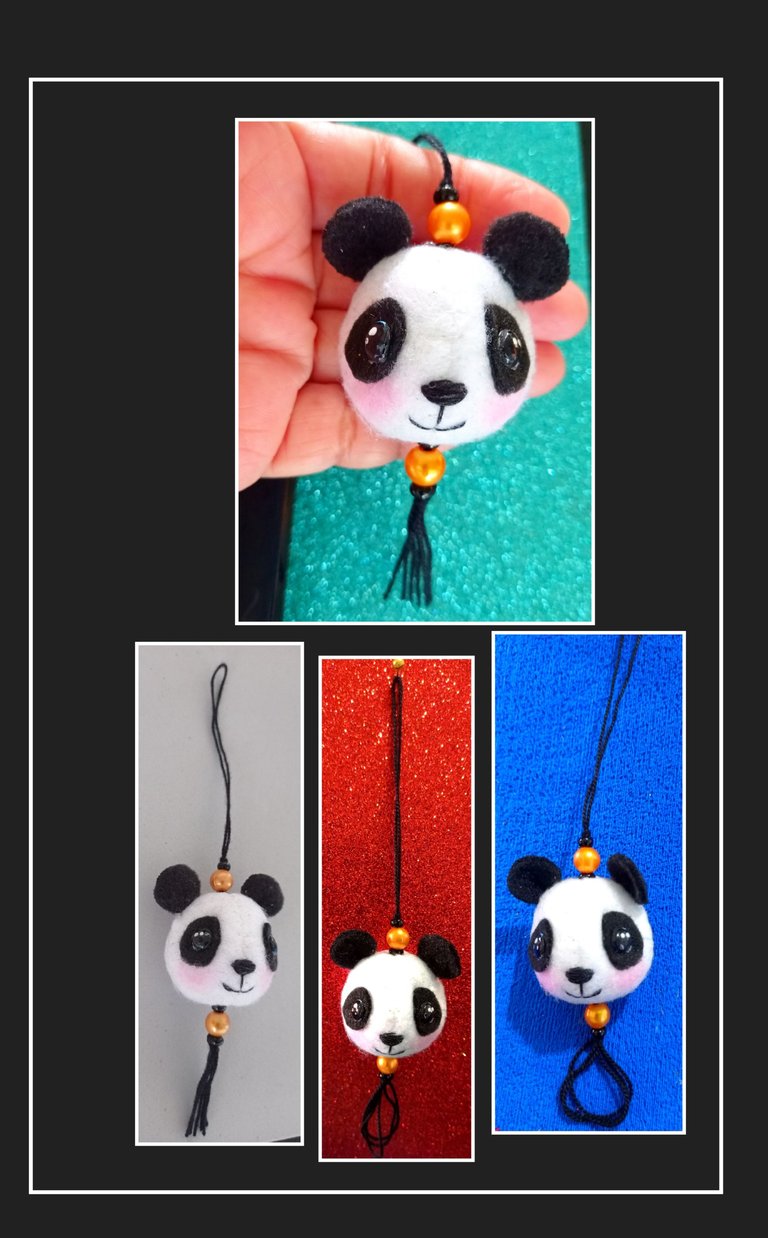
Diseña y crea un lindo colgante para decorar tu teléfono móvil. ESP/ENG Design and create a cute pendant to decorate your cell phone

in #hive-1305603 months ago

Muy buenas noches mis queridos creadores y visitantes de esta linda comunidad

Bienvenidos al lugar donde siempre nos es grato compartir nuestros trabajos con ustedes y donde cada día aprendemos viendo nuevos tutoriales. Y hoy también quiero contribuir mostrándoles este paso a paso, donde diseñé un lindo Colgante (Oso Panda) para teléfono móvil, hecho con pedacitos de tela, hilo de tejer y esferas de bisutería, son muy fáciles de realizar y por eso te invito a que me acompañes y aprendas, si te gustan puedes realizar para la venta y emprender un negocio...un dinerito extra, nunca está demás.

Ah, y puedes hacer con este molde, la cabeza de muchos animalitos, solo debes modificar o poner ciertas piezas.


Así que para eso vas a necesitar:
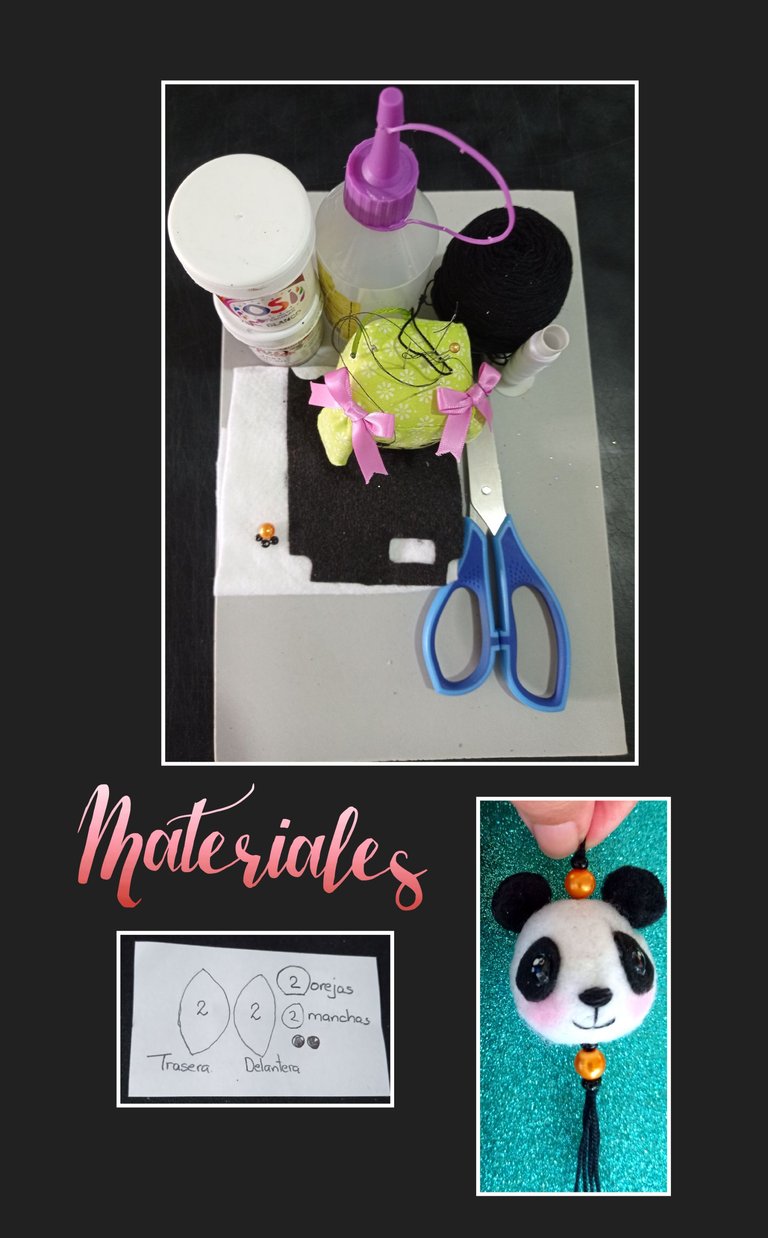
Fieltro o pedacitos de tela blanca y negra.
Hilos de coser y de tejer.
Mostacillas y perlas de bisutería.
Algodón o relleno, Agujas.
Pedacito de foami y lápiz.
Marcador o pintura blanca y negra
Tiza y Molde.

Comencemos:

Paso 1:
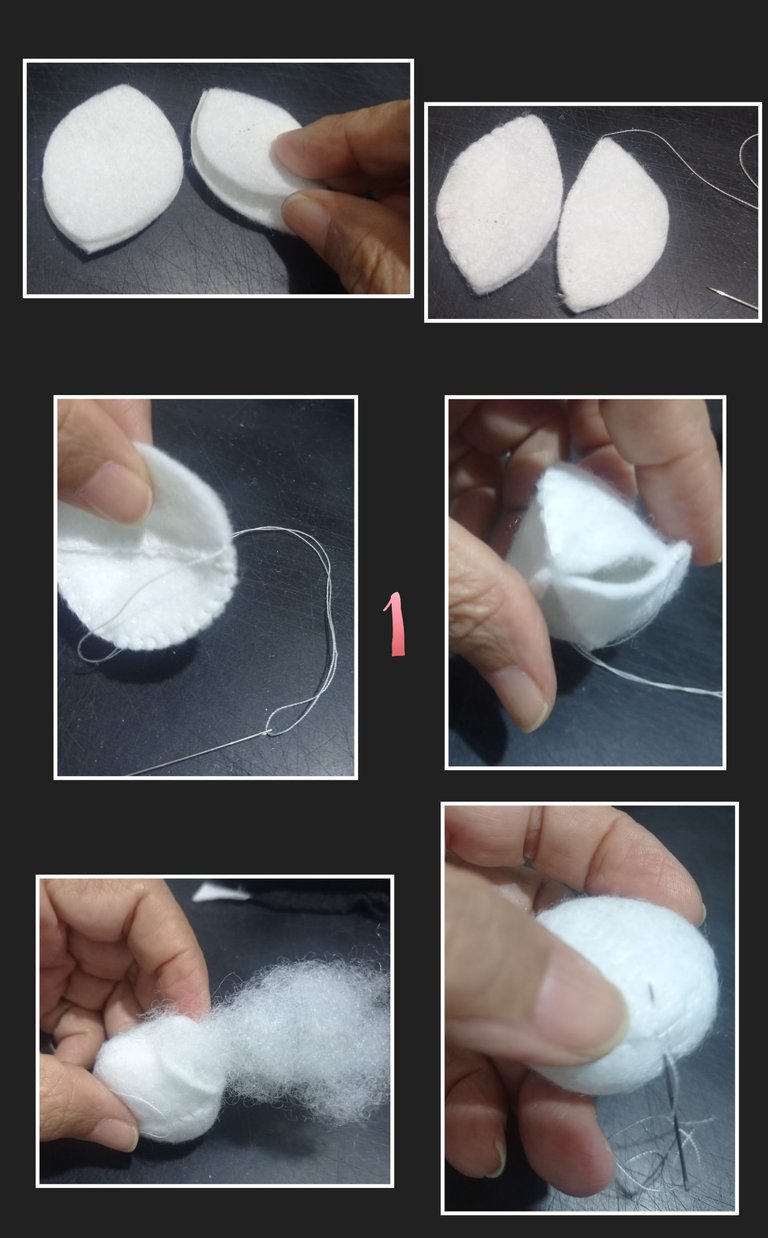
  • Recorta el molde y marca sobre la tela, recortarás 2 piezas delanteras y 2 traseras. luego cose con punto ojal estas partes por el lado menos curvo y después une las 4 piezas y deja un pequeño orificio para voltear y rellenar.
  • Cierra y remata la costura en la parte baja, quedará como una esfera.

Paso 2:
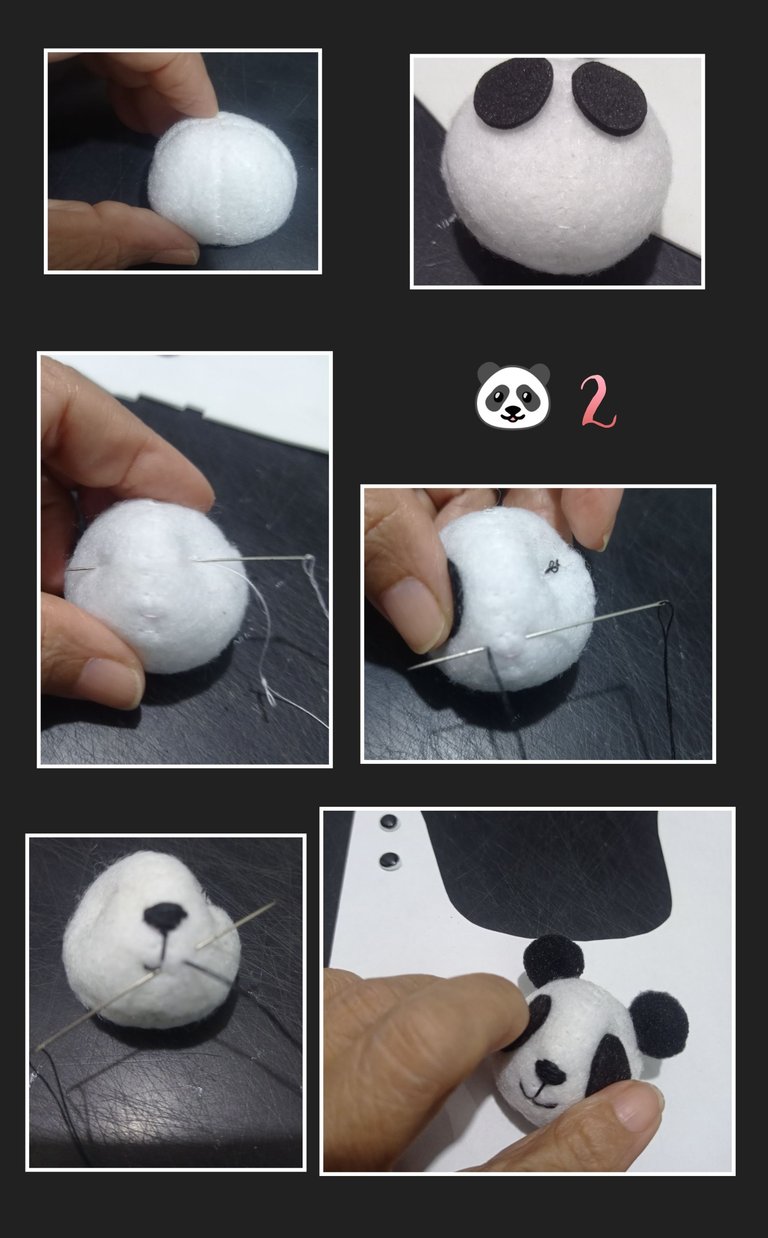
  • Después de cerrar la cabecita, corta las manchas negras, luego enhebra una aguja y traspasa de lado a lado en la parte donde irán los ojos y cose prensando el hilo para que queden un poco hundidas como muestra la foto.
  • Luego comienza o bordar en forma de triángulo la nariz con hilo negro desde los más ancho hasta abajo y luego haz una puntada hacia abajo y has puntadas para formar la boca.
  • Cose las orejas y pega las manchas negras en el lugar de los ojos.
  • Para hacer los ojos, recorta dos mini círculos y coloca a termoformar en la plancha y luego pinta el centro con marcador o pintura negra

Paso 3:
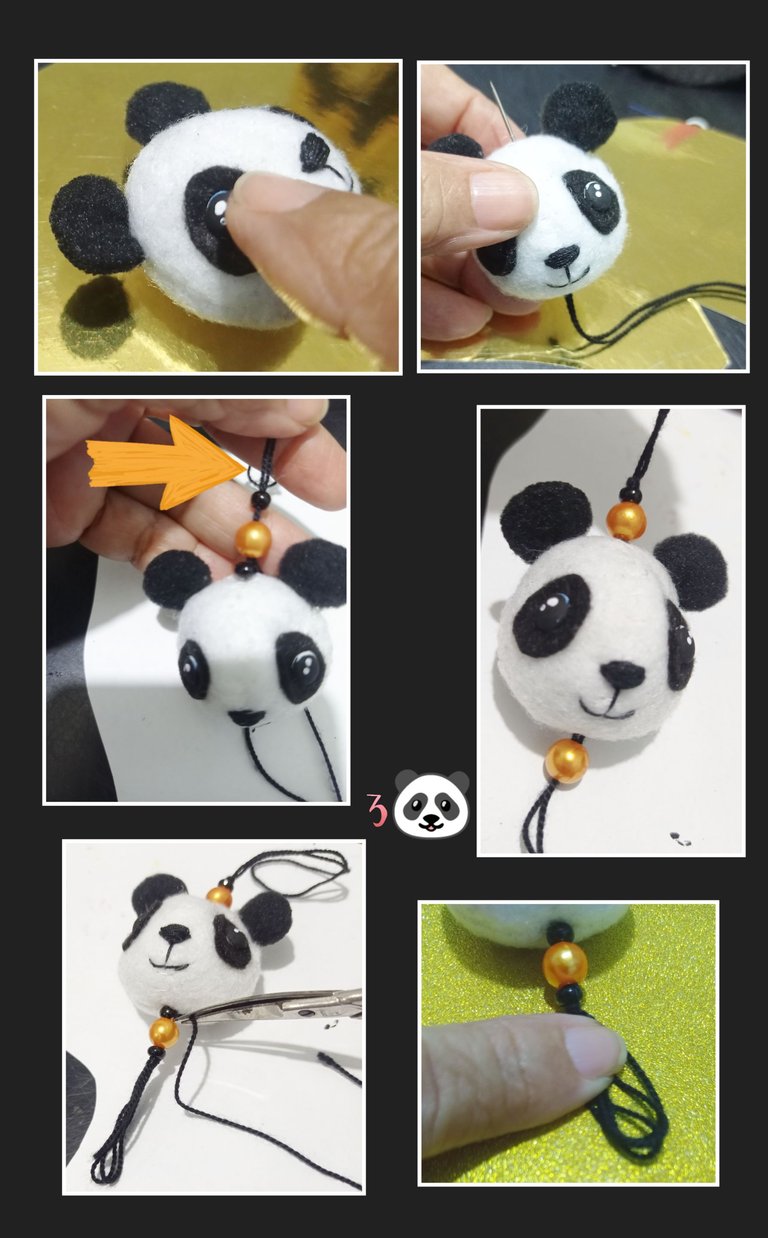
  • Aplica silicón y pega en las manchas de la cara y deja secar.
  • Luego con una aguja gruesa, enhebra con hilo de tejer negro aproximadamente 40 cms y traspasa por todo el centro de la cabeza, de abajo hacia arriba y deja suficiente hilo negro en la parte baja.
  • Luego inserta una mostacilla negra, después una cuenta naranja, nuevamente una negra y pasa la aguja por el centro de la cabeza, de arriba hacia abajo y haz un nudo justo en la mostacilla de arriba (donde indica la flecha) para fijarla.
  • luego repite e inserta igual las mostacillas y perla, dejando varias hebras de hilo en la parte baja, las puedes dejar así o recortar.
  • Luego anuda en la parte de arriba y corta con la tijera y así quedará listo.

Como puedes ver es fácil de realizar y los materiales son muy pocos y económico.


Paso 4:
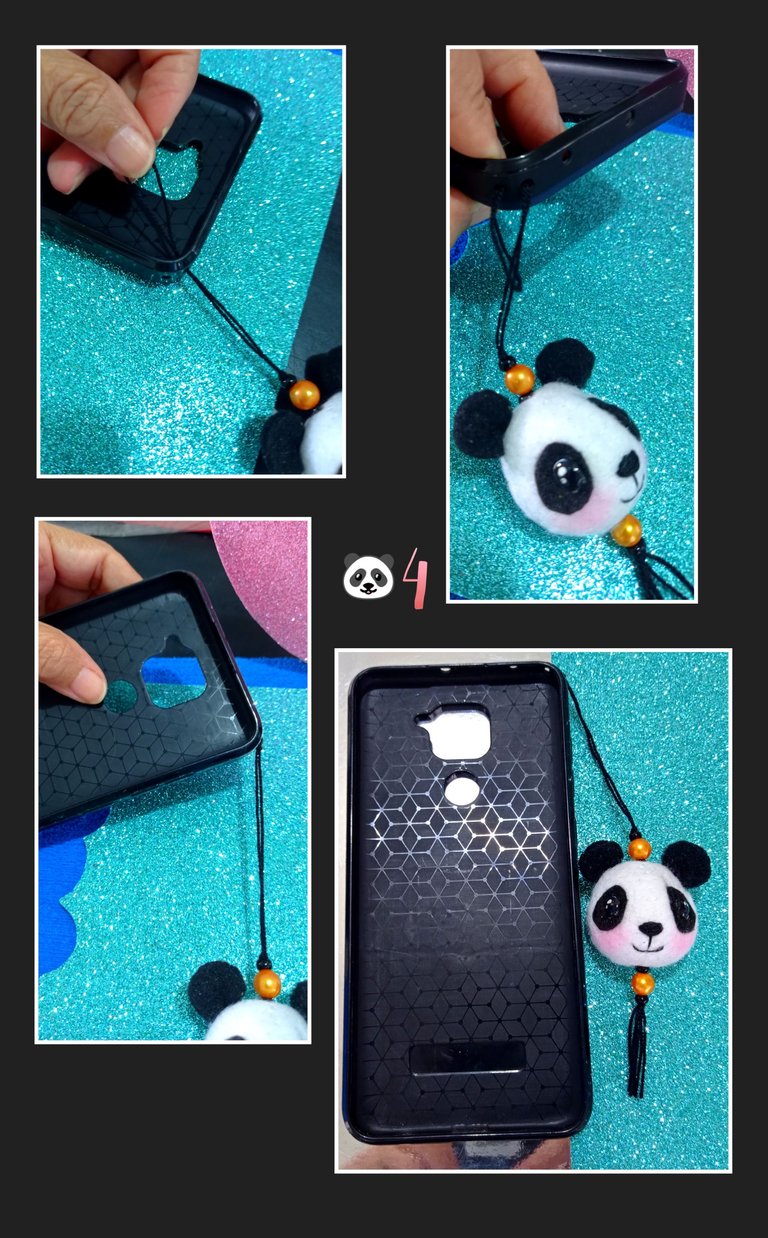
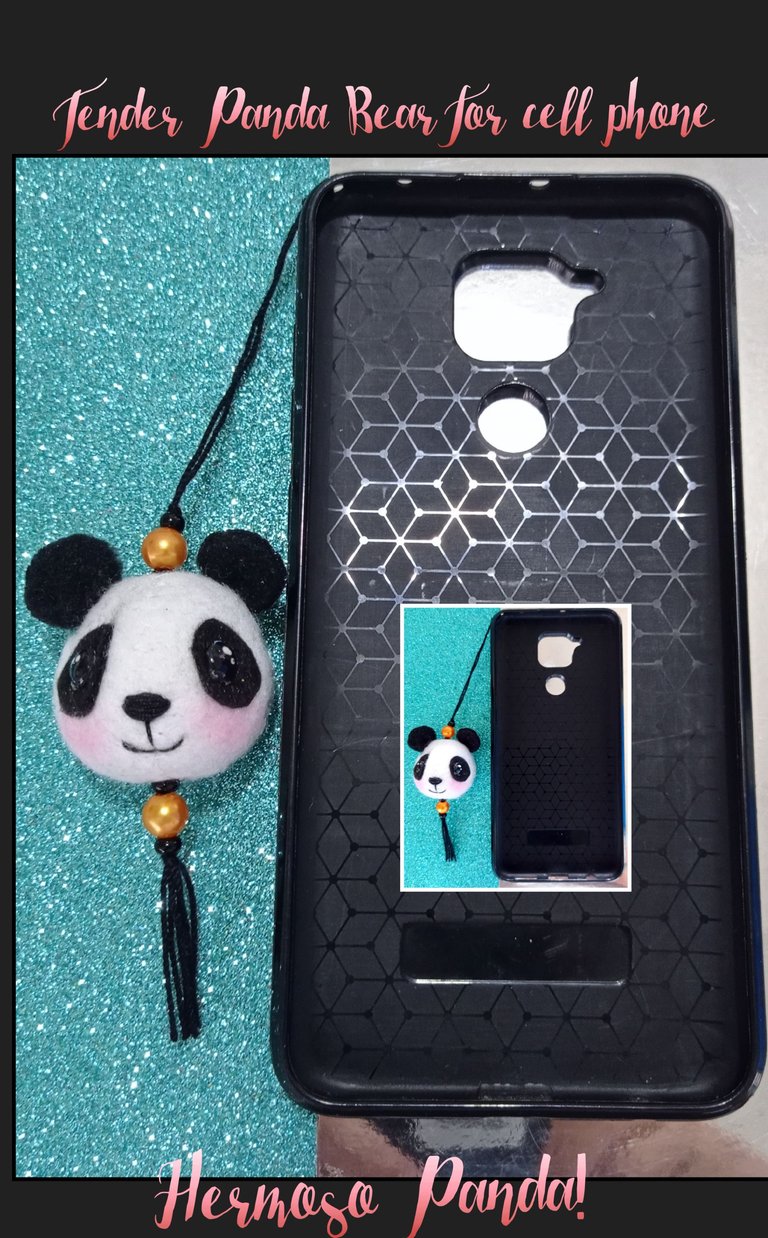
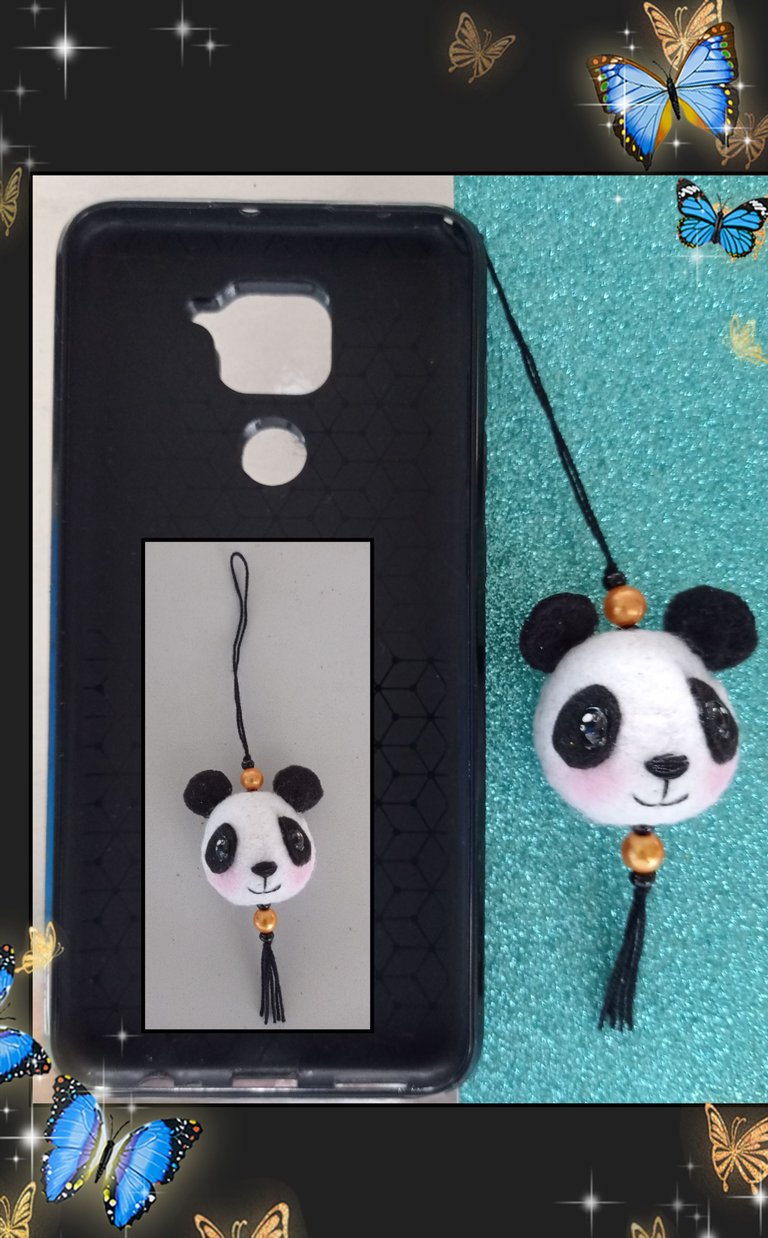
  • Para colocar el colgante al celular, inserta el hilo de adentro hacia afuera, por los orificios del forro y luego anuda para guindar y listo.
    Así quedará listo par insertar tu celular y poder lucir.
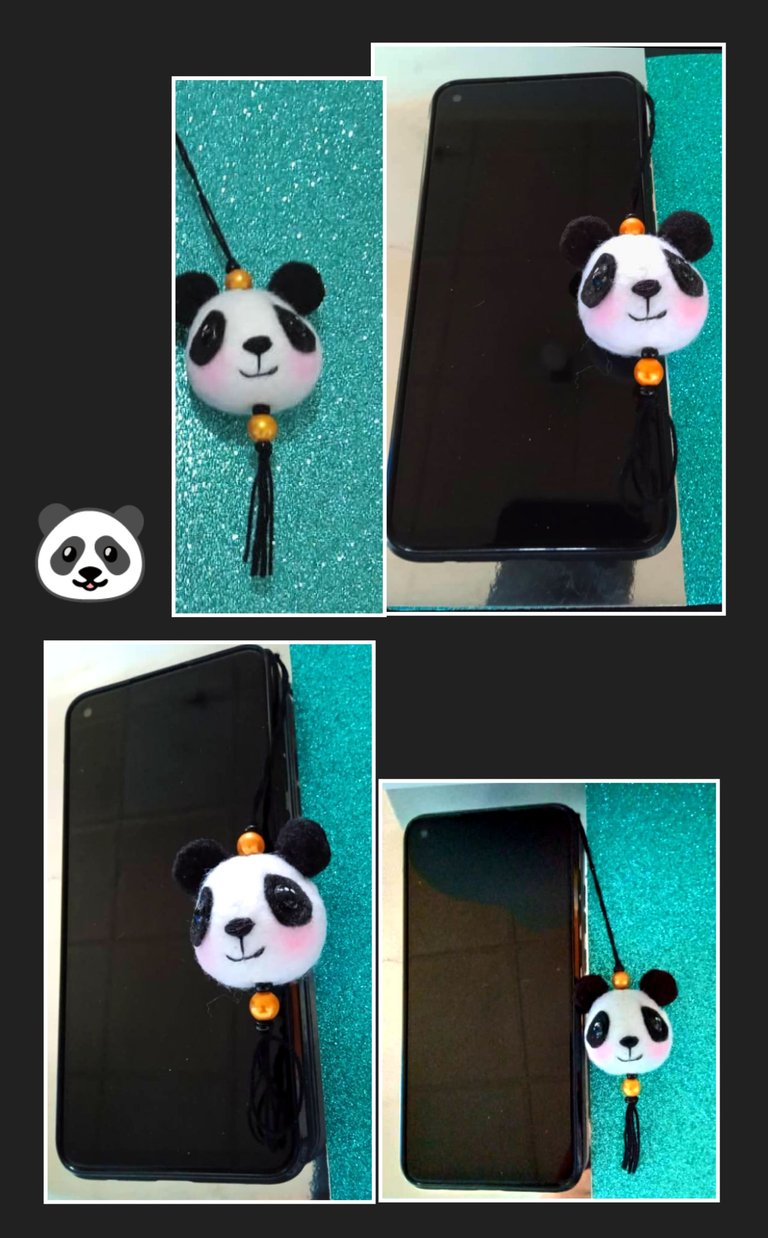
    Así que aquí te dejo unas fotos por si te animas y haces uno para ti.
Mi publicación la edité con Etiquetas HTML, traductor DeepL, Editor de fotos GridArt.
Las fotos son de mi propiedad y capturadas con mi Redmi Note 9.
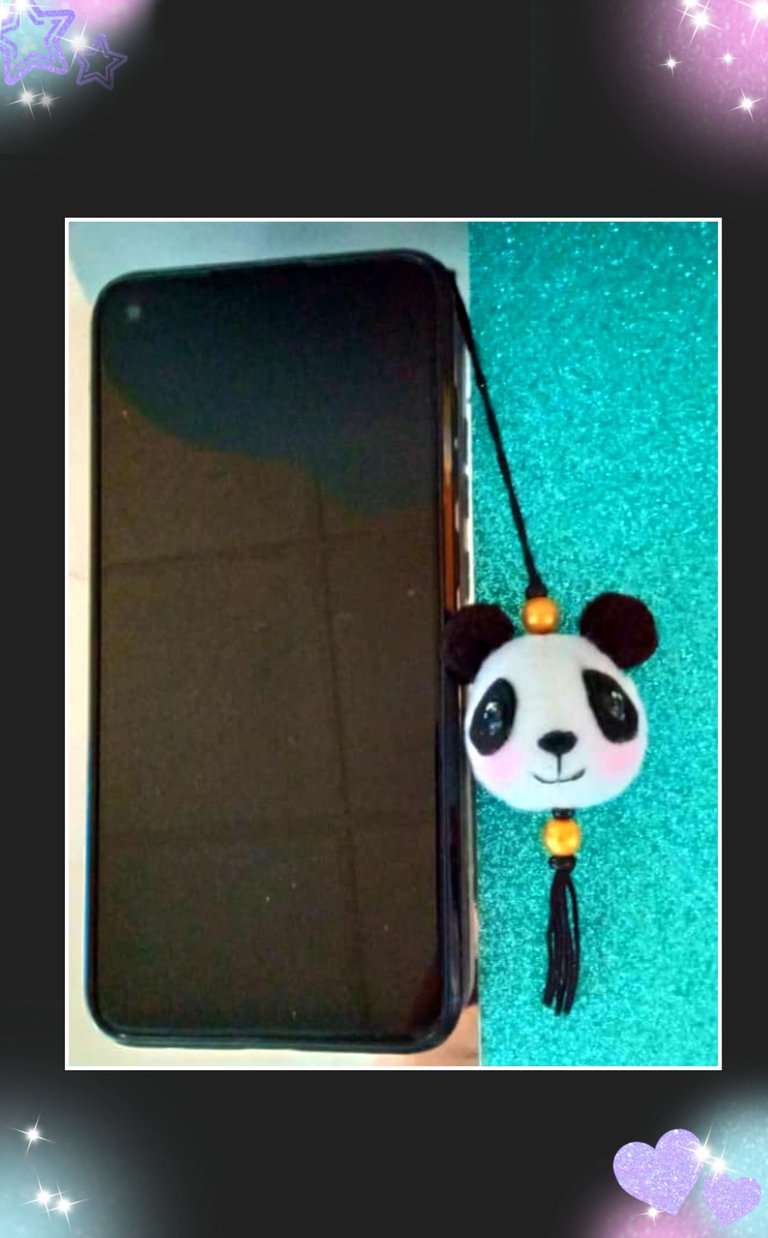


Ahora me despido feliz de haber compartido con todos ustedes, esperando y deseando hayan aprendido de mi publicación y como siempre no duden en preguntar si tienes alguna duda.

Muchas gracias por tu comentario y apoyo.

Espero verte en mi próxima publicación.
Saludos y bendiciones para todos

English:

Good evening my dear creators and visitors of this beautiful community.

Welcome to the place where we are always happy to share our work with you and where every day we learn by watching new tutorials. And today I also want to contribute by showing you this step by step, where I designed a cute Pendant (Panda Bear) for cell phone, made with bits of fabric, knitting yarn and jewelry spheres, are very easy to make and so I invite you to join me and learn, if you like you can make for sale and start a b usiness ... a little extra money, never hurts.

Oh, and you can make with this mold, the head of many animals, you just have to modify or put certain pieces.


So for that you will need:

Felt or pieces of black and white fabric.
Sewing and knitting threads.
Beads and costume jewelry beads.
Cotton or stuffing, needles.
Piece of foami and pencil.
Black and white marker or paint.
Chalk and Mold.

Let's start:

Step 1:

  • Cut out the mold and mark on the fabric, you will cut out 2 front pieces and 2 back pieces. then sew with buttonhole stitch these parts on the less curved side and then join the 4 pieces and leave a small hole to turn over and fill.
  • Close and finish the seam at the bottom, it will look like a sphere.

Step 2

  • After closing the little head, cut the black spots, then thread a needle and go through from side to side where the eyes will go and sew pressing the thread so that they are a little sunken as shown in the photo.
  • Then start or embroider in a triangle shape the nose with black thread from the widest to the bottom and then stitch down and stitch to form the mouth.
  • Sew the ears and glue the black spots in place of the eyes.
  • To make the eyes, cut out two mini circles and place to thermoform on the iron and then paint the center with marker or black paint.

Step 3

  • Apply silicone and glue on the spots on the face and let dry.
  • Then with a thick needle, thread with black knitting yarn approximately 40 cms and go all the way through the center of the head, from bottom to top and leave enough black yarn at the bottom.
  • Then insert a black bead, then an orange bead, then a black bead again and pass the needle through the center of the head, from top to bottom and tie a knot right at the top bead (where the arrow indicates) to secure it.
  • Then repeat and insert the same beads and pearl, leaving several strands of thread at the bottom, you can leave them like that or cut them.
  • Then knot at the top and cut with the scissors and it will be ready.

As you can see it is easy to make and the materials are very few and inexpensive.


Step 4

  • To attach the pendant to the cell phone, insert the thread from the inside out, through the holes in the lining and then tie a knot to hang and you're done.
    This way it will be ready to insert your cell phone and be able to show it off.
    **So here I leave you some pictures in case you dare to make one for you.

I edited my publication with HTML Tags, translator DeepL, GridArt photo editor.
The photos are my own and captured with my Redmi Note 9.


Ahora me despido feliz de haber compartido con todos ustedes, esperando y deseando hayan aprendido de mi publicación y como siempre no duden en preguntar si tienes alguna duda.

Muchas gracias por tu comentario y apoyo.

Espero verte en mi próxima publicación.
Saludos y bendiciones para todos

Sort:  

Que lindo quedó, me gustó el resultado 🤗

Buen día amiga, que bueno que te gustó.
Gracias por comentar


🎉 Upvoted 🎉
👏 Keep Up the good work on Hive ♦️ 👏
❤️ @equipodelta suggested sagarkothari88 to upvote your post ❤️
--
Support Back
Join Discord
Hive Inbox App
HiFind - Manual Curation Assistant

Bendecido día queridos @hivecurators y @equipodelta muchas gracias por su apoyo y voto a mi publicación.
Saludos.

Me encantan los panditas, son animales tan tiernos y graciosos jaja yo siempre me rio con las caidas que se mandan, son de goma 😂

Te quedo muy lindo el colgante 😊

Hola Buhito, sí son muy lindos y graciosos jajajaja, así es.
Me alegra que te haya gustado.
Gracias por tu apoyo y comentario.

You combined different materials to make this? Aren't you a genius? You have done an amazing job, well done friend.

Buen día @diyhub.
Sí, me gusta combinar materiales a veces por facilidad y otras porque le dan un toque distinto a las piezas y quedan muy bonitas.
Me siento muy feliz al saber que le ha gustado mi publicación.
Muchas gracias por su lindo comentario.
Saludos.

Thanks for sharing your experience with us!
TIBLogo

You have been curated on behalf of Inner Blocks: a community encouraging first hand content, and each individual living their best life. Come join the Inner Blocks Community , and check out @innerblocks! #lifehappening

Buenas noches y mis sinceros agradecimientos con la comunidad @innerblocks por su apoyo a mi publicación.