
💜💜💜
[Esp]
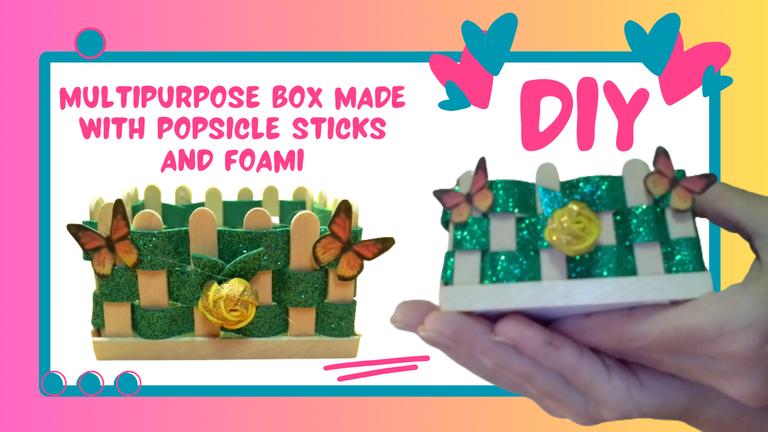
Saludos a toda la comunidad amante de las manualidades.
Hace un tiempo que compré unos palitos de helado para hacer cajas multiusos y guardar cosas pequeñas que normalmente dejamos en nuestros escritorios. Pocos materiales necesitamos para elaborarla, fácil, económico, sencillo y personalizado a tu gusto, con aquello que tengas a tu alcance, solo necesité foami, palitos de helado, silicón caliente, un trozo de cartón dorado que me quedó de otra manualidad que reciclando podemos darle otros usos.
Hice unas florecitas para decorar, estas flores que hoy presento, están en otras de mis manualidades que enseño a realizar, son muy fáciles y quedan bien junto algunos stickers que también me quedan de mis explosiones de creatividad en el scrapbook.
Trato de estar lo más activa que puedo, pues hay días en los que mi condición de salud me impide o el medicamento.
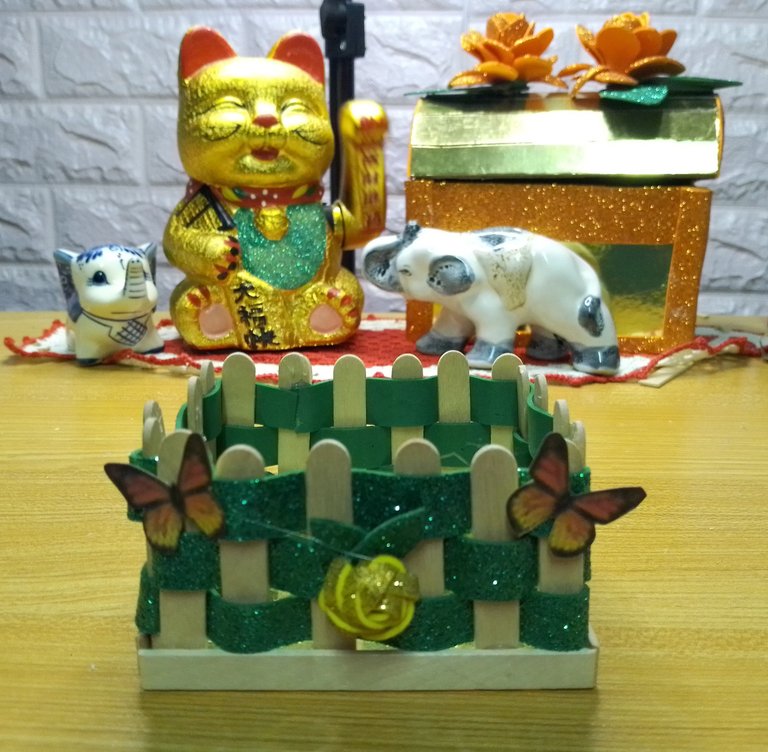
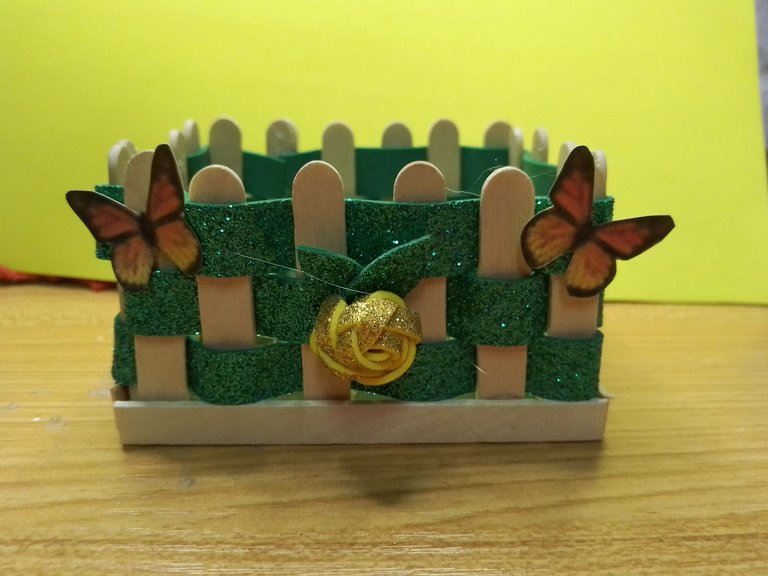
Elaboré esta cajita para depositar pequeñas cosas en mi escritorio y me sirva de decoración.
Puedes darle el uso que desees, hasta para presentar obsequios donde incluyas dulces, colocados dentro de bolsas de papel celofán quedarán geniales.
Acompáñame a ver su paso a paso y las ideas que puedes obtener.
! [English version]
[Eng]
**Greetings to all the craft-loving community!
Some time ago I bought some popsicle sticks to make multipurpose boxes to store small things that we usually leave on our desks. Few materials needed to make it, easy, economical, simple and customized to your liking, with what you have at your fingertips, I only needed foami, popsicle sticks, hot silicone, a piece of gold cardboard that I had left from another craft that can be recycled to give it other uses.
I made some flowers to decorate, these flowers that I present today, are in other of my crafts that I teach to make, they are very easy and look good with some stickers that I also have left from my creativity explosions in the scrapbook.
I try to be as active as I can, because there are days when my health condition prevents me or the medication.
I made this little box to put little things on my desk and serve as decoration.
You can use it as you wish, even to present gifts where you include candy, placed inside cellophane bags they will look great.
Join me to see its step by step and the ideas you can get.
💜💜💜

Materiales / Materials
[Esp]
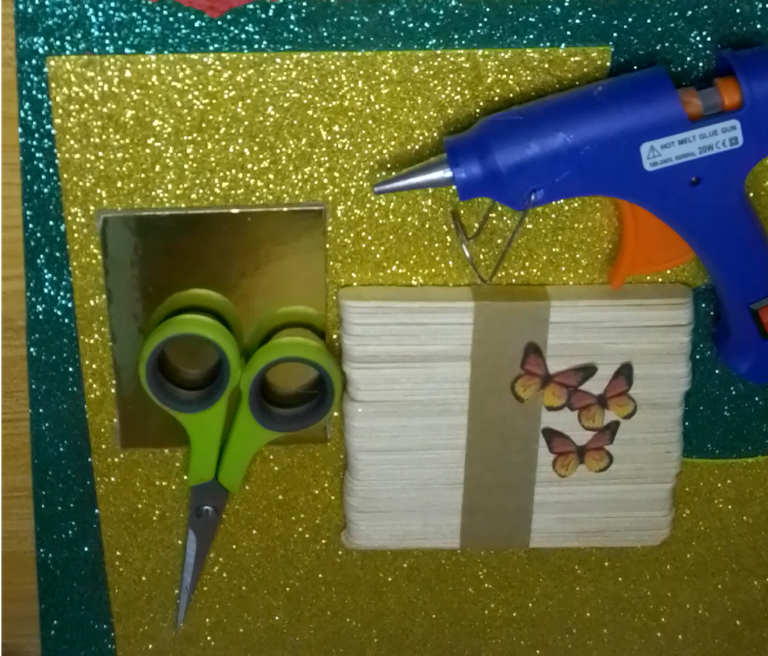
💜 Pegatinas mariposas,
💜 Tijera.
💜 Pistola de silicón caliente,
💜 Palitos de helado y un rectángulo de cartón.
💜 Foami escarchado en colores variados.
! [English version]
[Eng]
💜 Butterfly stickers,
💜 Scissors.
💜 Hot silicone gun,
💜 Popsicle sticks and a cardboard rectangle.
💜 Frosted foami in assorted colors.

Step by Step / Paso a Paso

Step 1️⃣/ Paso 1️⃣
 |  |
[Esp]
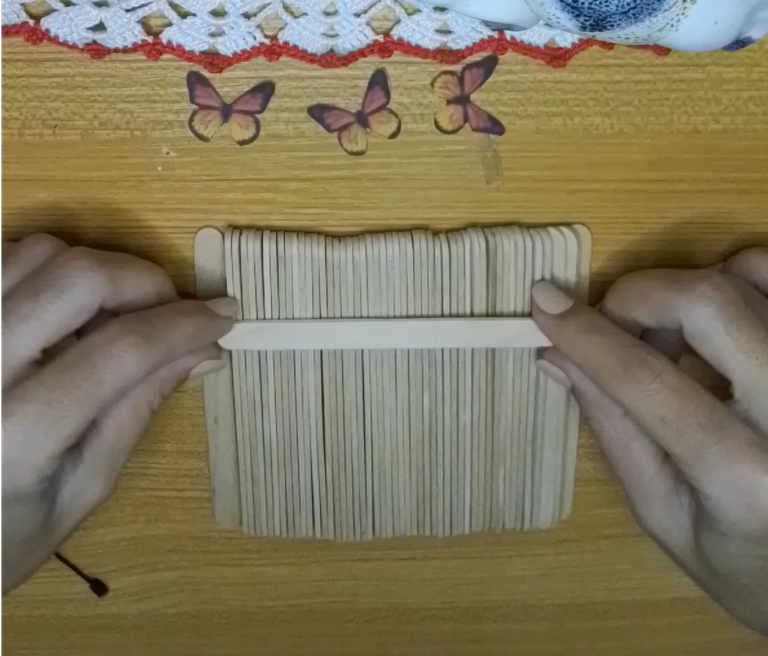
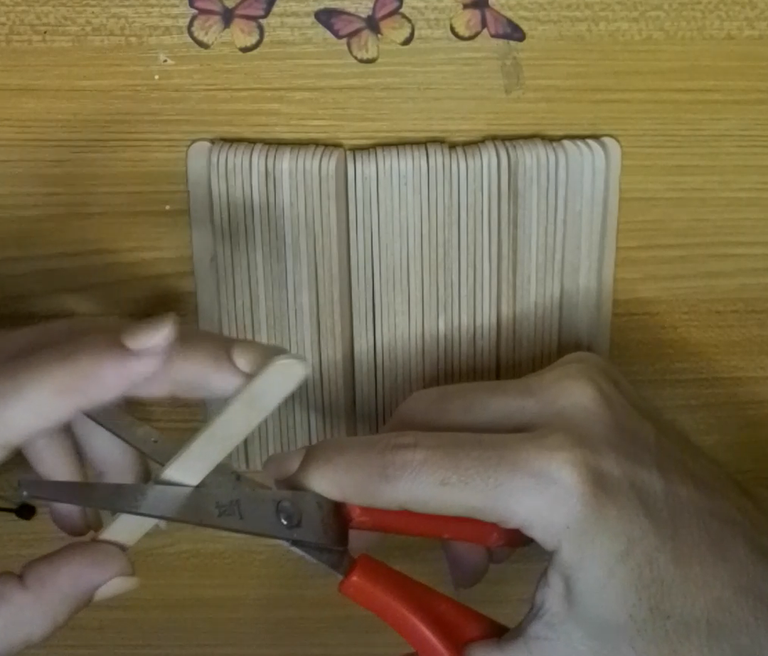
Toma un palito de helado y mide el centro, corta con una tijera u otra herramienta.
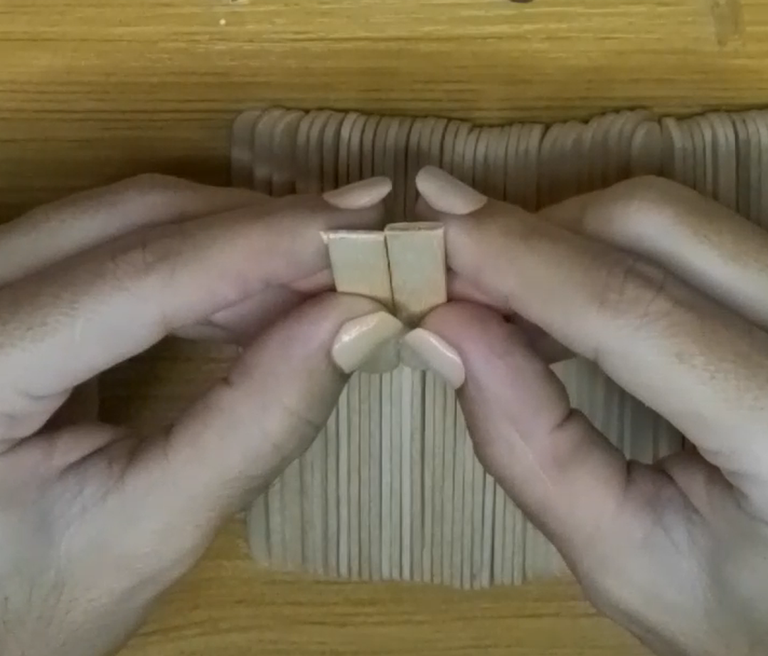
Verifica que tengan la misma medida. Usa uno de ellos como molde para cortar cuantos palitos necesites.
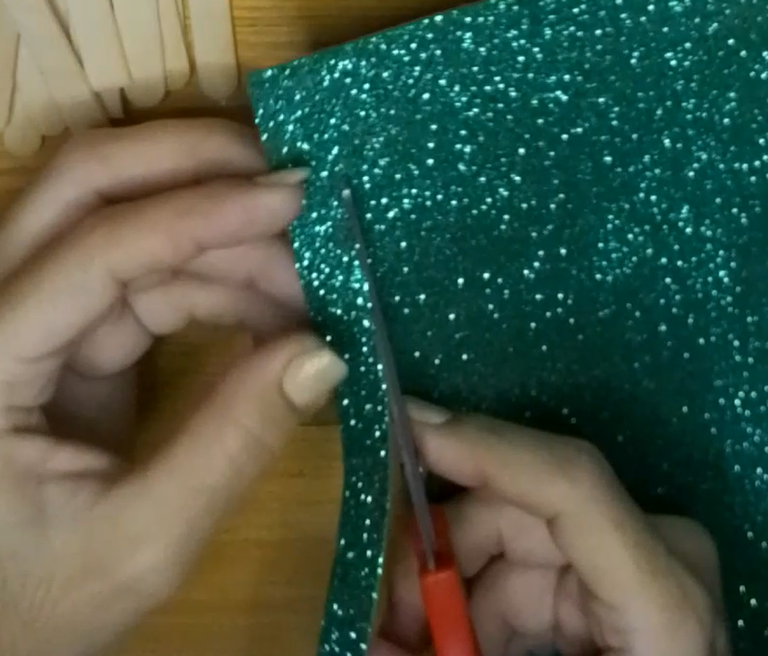
Toma el foami escarchado de tu preferencia y recorta unas tiras de 1 centímetro aproximadamente, recorta las que sean necesarias.
! [English version]
[Eng]
Take a popsicle stick and measure the center, cut with a scissors or other tool.
Make sure they are the same size. Use one of them as a mold to cut as many sticks as you need.
Take the frosted foami of your choice and cut out strips of about 1 centimeter, cut as many as you need.
Step 2️⃣/ paso 2️⃣
 |  ) ) |

[Esp]
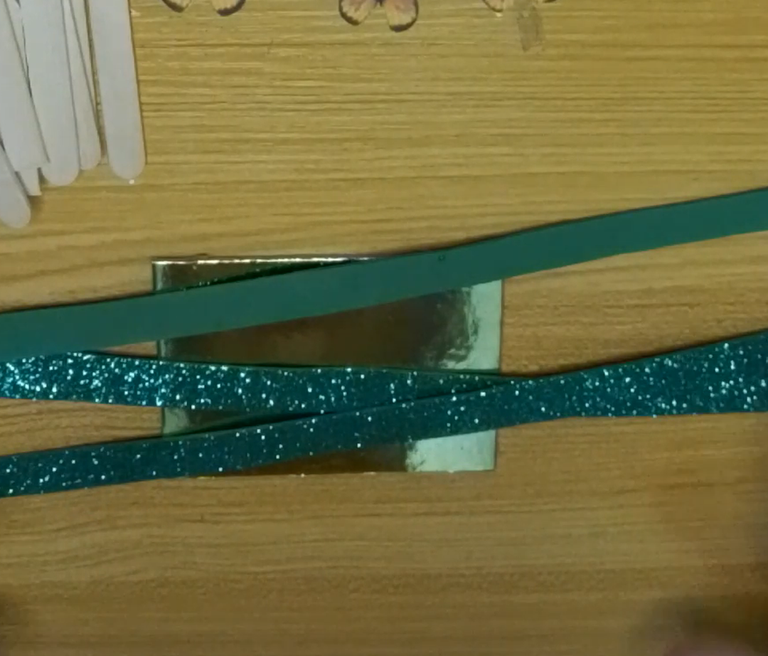
Yo ya tenía el rectángulo de cartón dorado recortado, me quedó de restos de otra manualidad y no quise botarlo porque es un buen material y podría darle otro uso. Si no tienes pues, toma cualquier trozo de cartón y recorta un rectángulo del tamaño de tu preferencia, recuerda forrarlo si no tiene una superficie bonita como la del material que tengo.
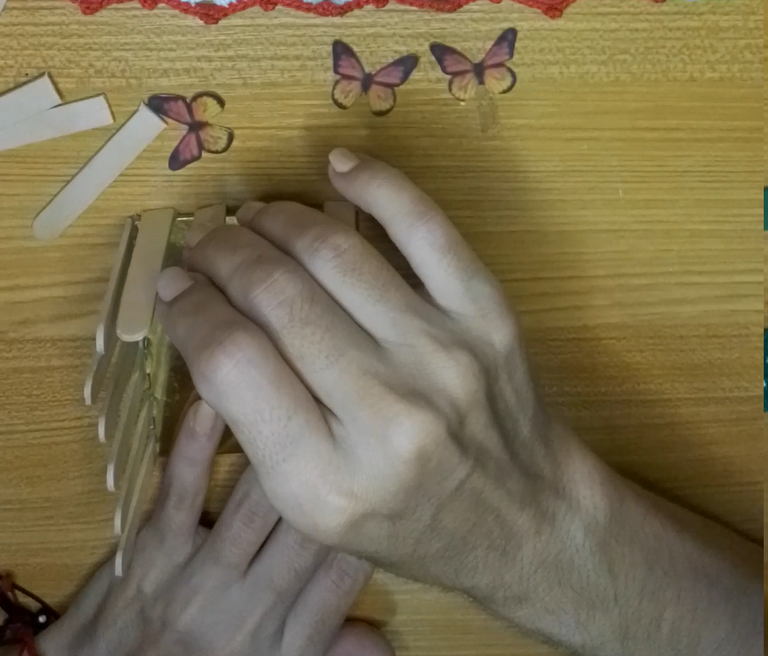
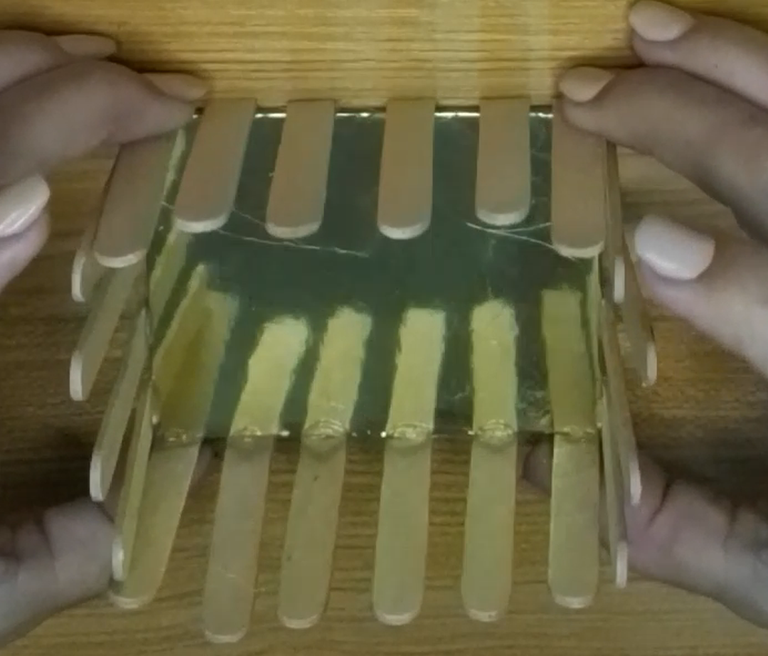
Comienza a pegar una a una con ayuda del silicón caliente, deja una separación entre cada palito de helado que vas pegando por todo al rededor del rectángulo.
Para que quede un buen acabado y sea resistente, sugiero que pegues palitos de helado en la base de la caja como muestra la última imagen.
! [English version]
[Eng]
I already had the golden cardboard rectangle cut out, I had some leftovers from another craft and I didn't want to throw it away because it's a good material and I could use it for another purpose. If you don't have it, take any piece of cardboard and cut out a rectangle of the size of your choice, remember to line it if it doesn't have a nice surface like the material I have.
Start gluing one by one with the help of hot silicone, leaving a gap between each popsicle stick that you are gluing all around the rectangle.
For a good and resistant finish, I suggest that you glue popsicle sticks on the base of the box as shown in the last image.
Step 3️⃣/ paso 3️⃣
 |  |
[Esp]
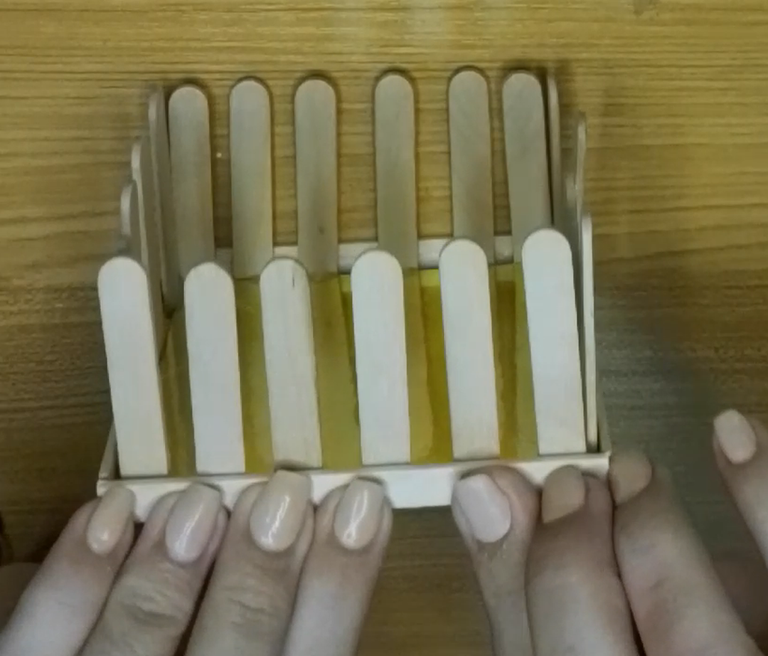
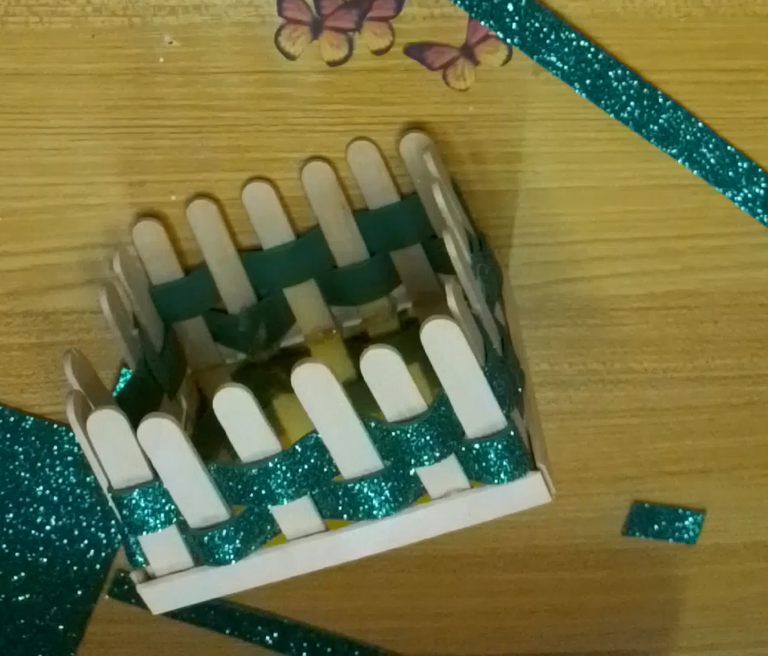
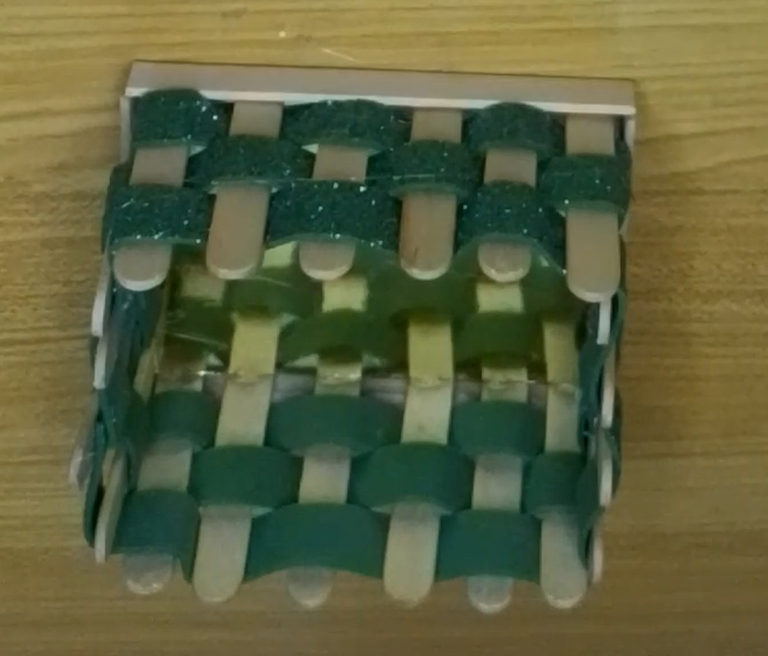
Repite el proceso anterior por cada lado de la caja.
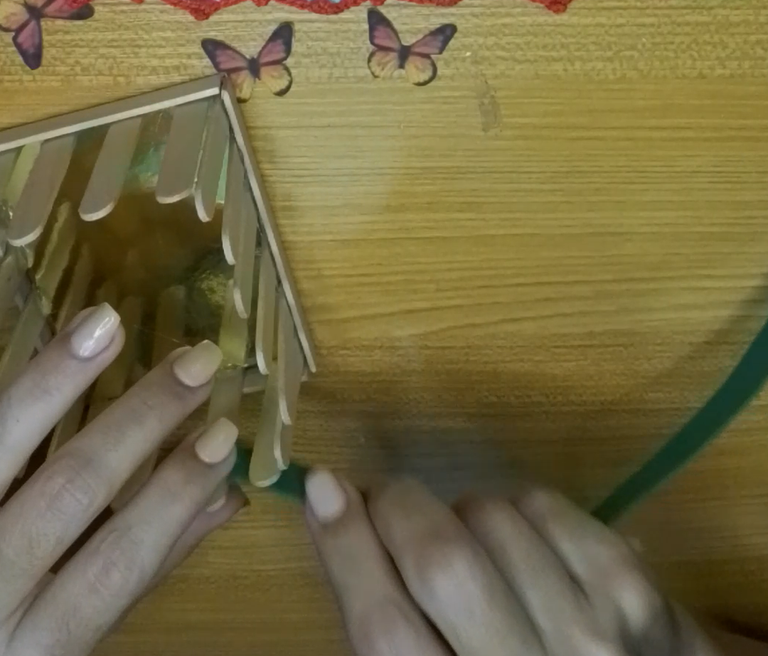
toma las tiras de foami que previamente cortaste y comienza a entrelazar la cesta, uno dentro, uno fuera, de manera que cubras toda la cesta.
! [English version]
[Eng]
Repeat the above process for each side of the box.
Take the foami strips that you previously cut and begin to weave the basket, one inside, one outside, so that you cover the entire basket.
Step 4️⃣/ paso 4️⃣
 | ! | |
 |  |
[Esp]
Hora de decorar...
Usa lo que tengas a tu alcance, yo haré una florecita.
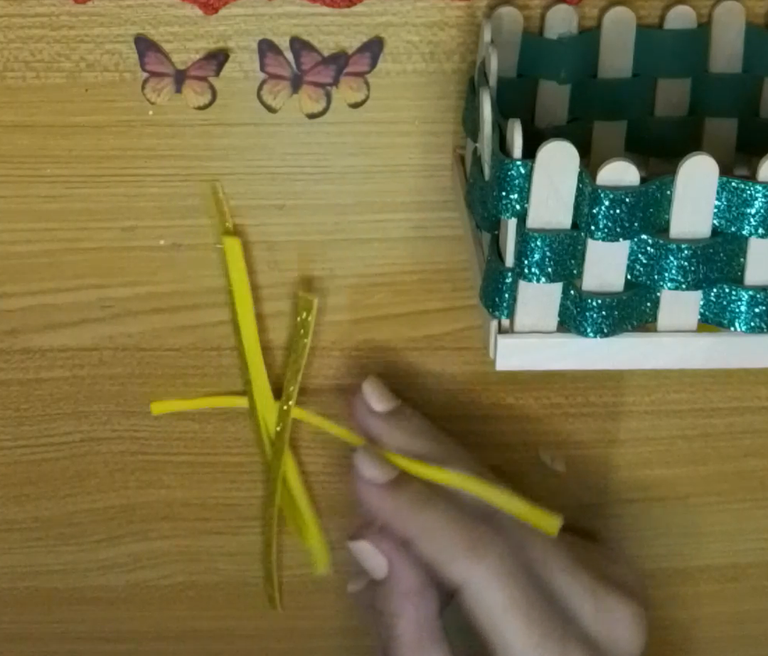
Recorta tres tiras de foami del mismo largo, procura no sean tan largas.
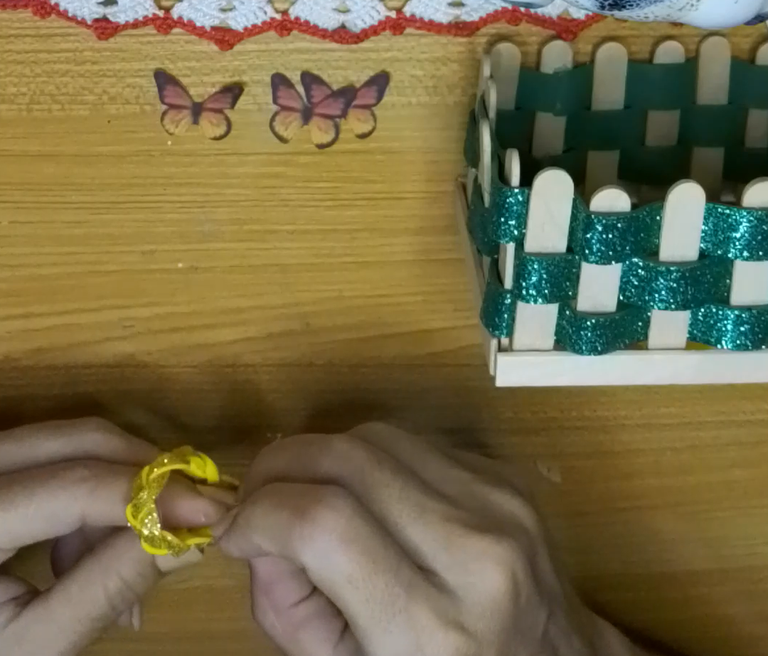
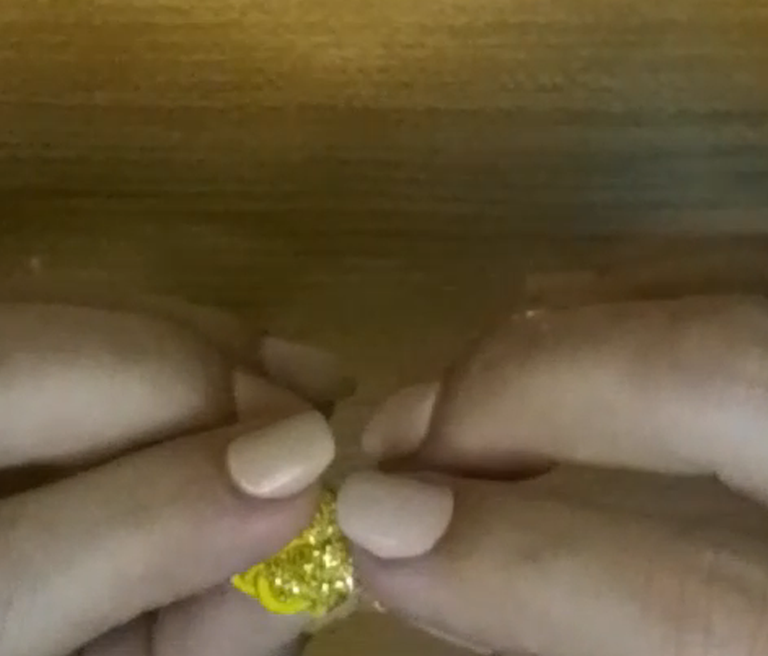
Une las puntas del foami con el silicón caliente, comienza a entrelazar tejiendo una clineja con las tres tiras de foami.
Luego de terminar de tejer pega las puntas para que no se suelte.
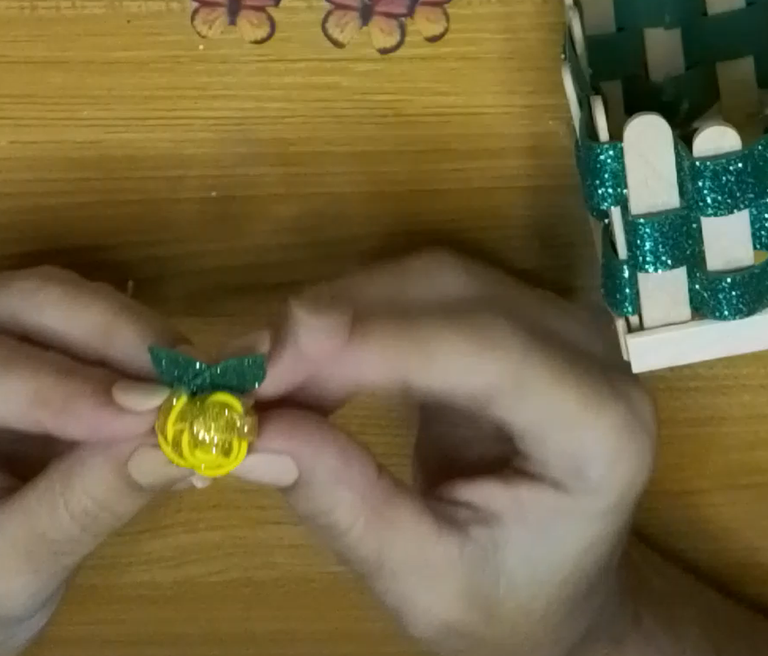
Comienza a enrollar el foami sobre sí, en la medida que enrolles la flor se mostrará por sí sola, al terminar pega la punta por la parte de atrás y coloca dos hojitas para decorar la flor.
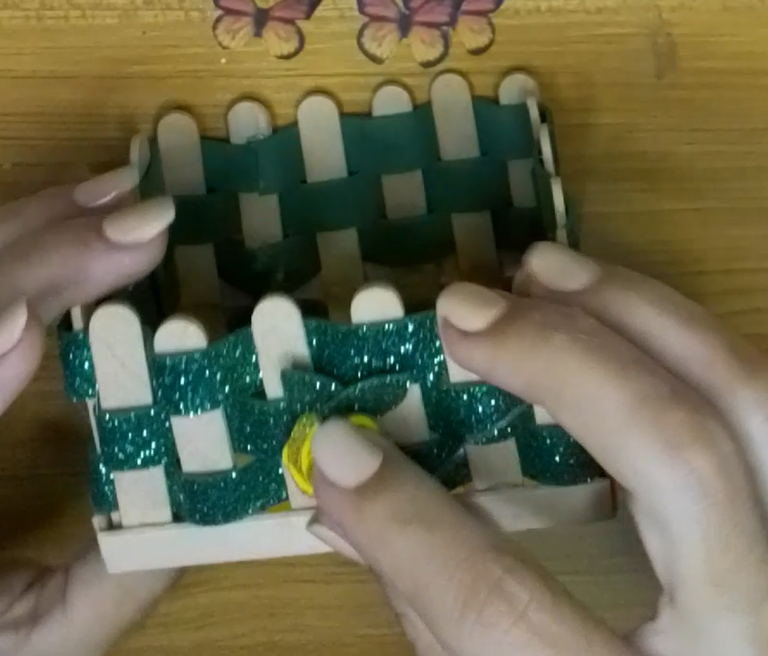
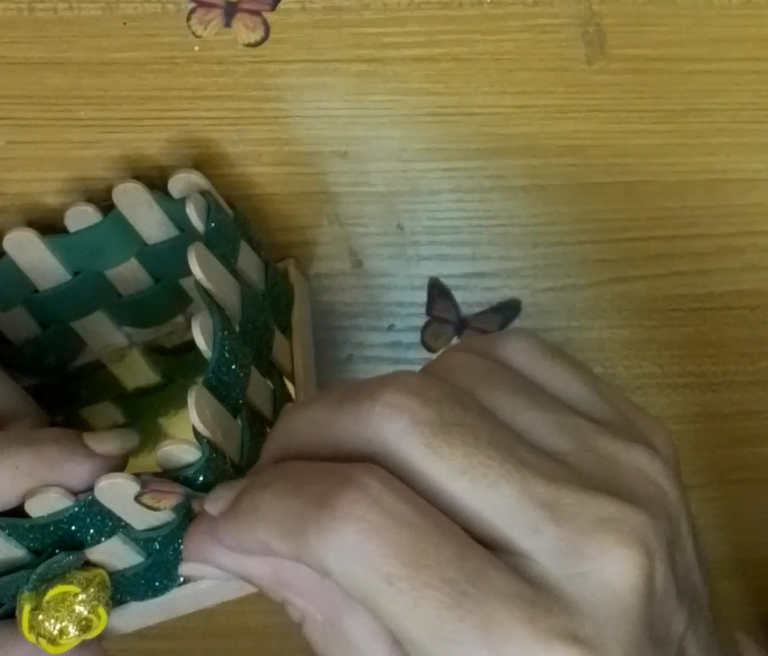
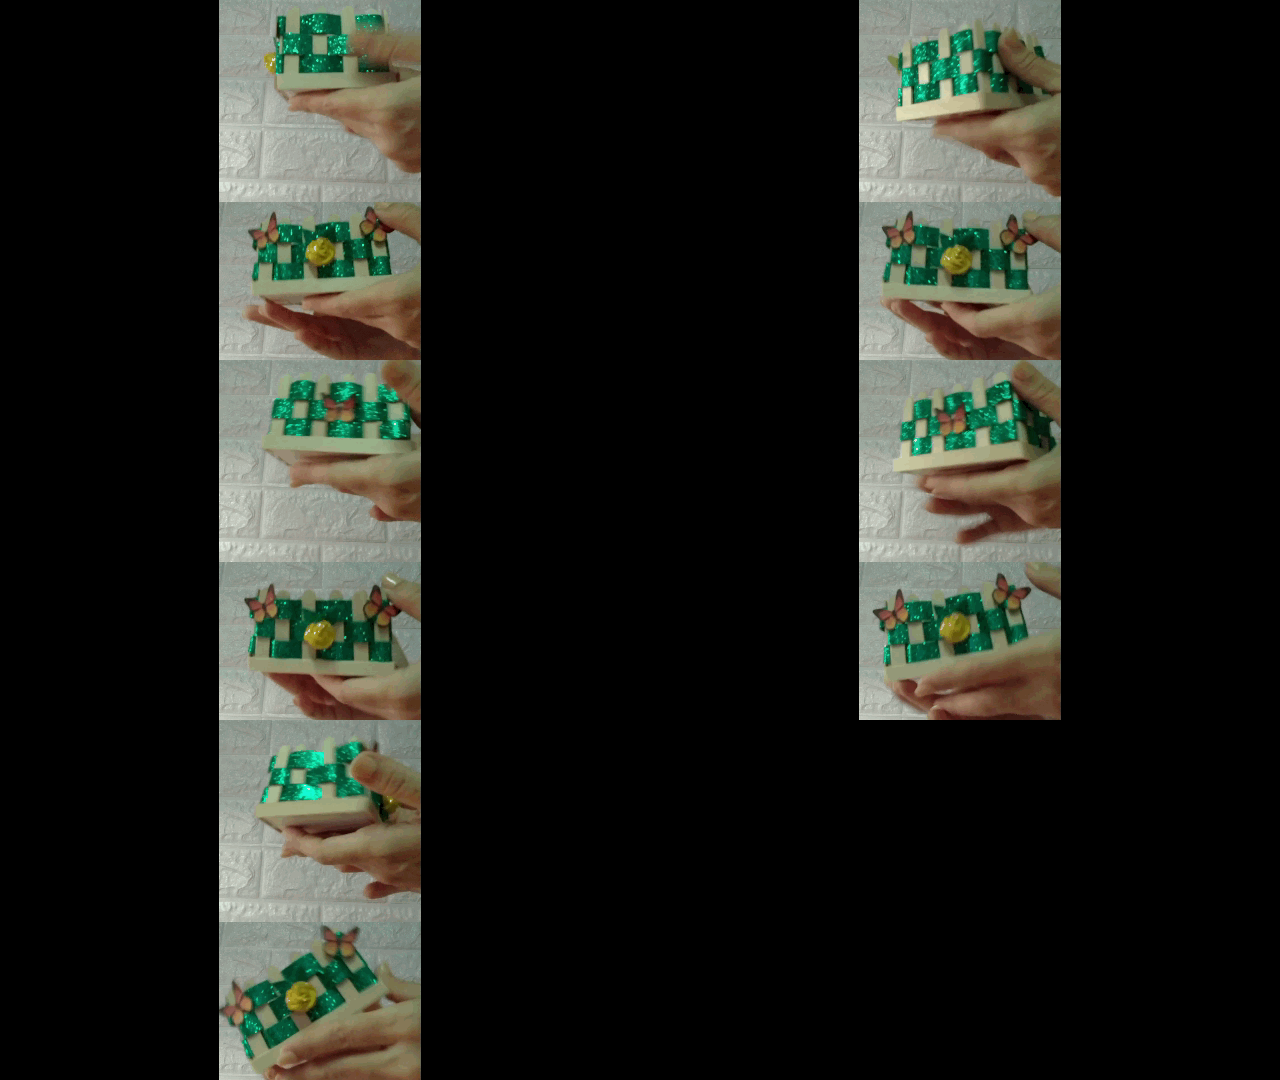
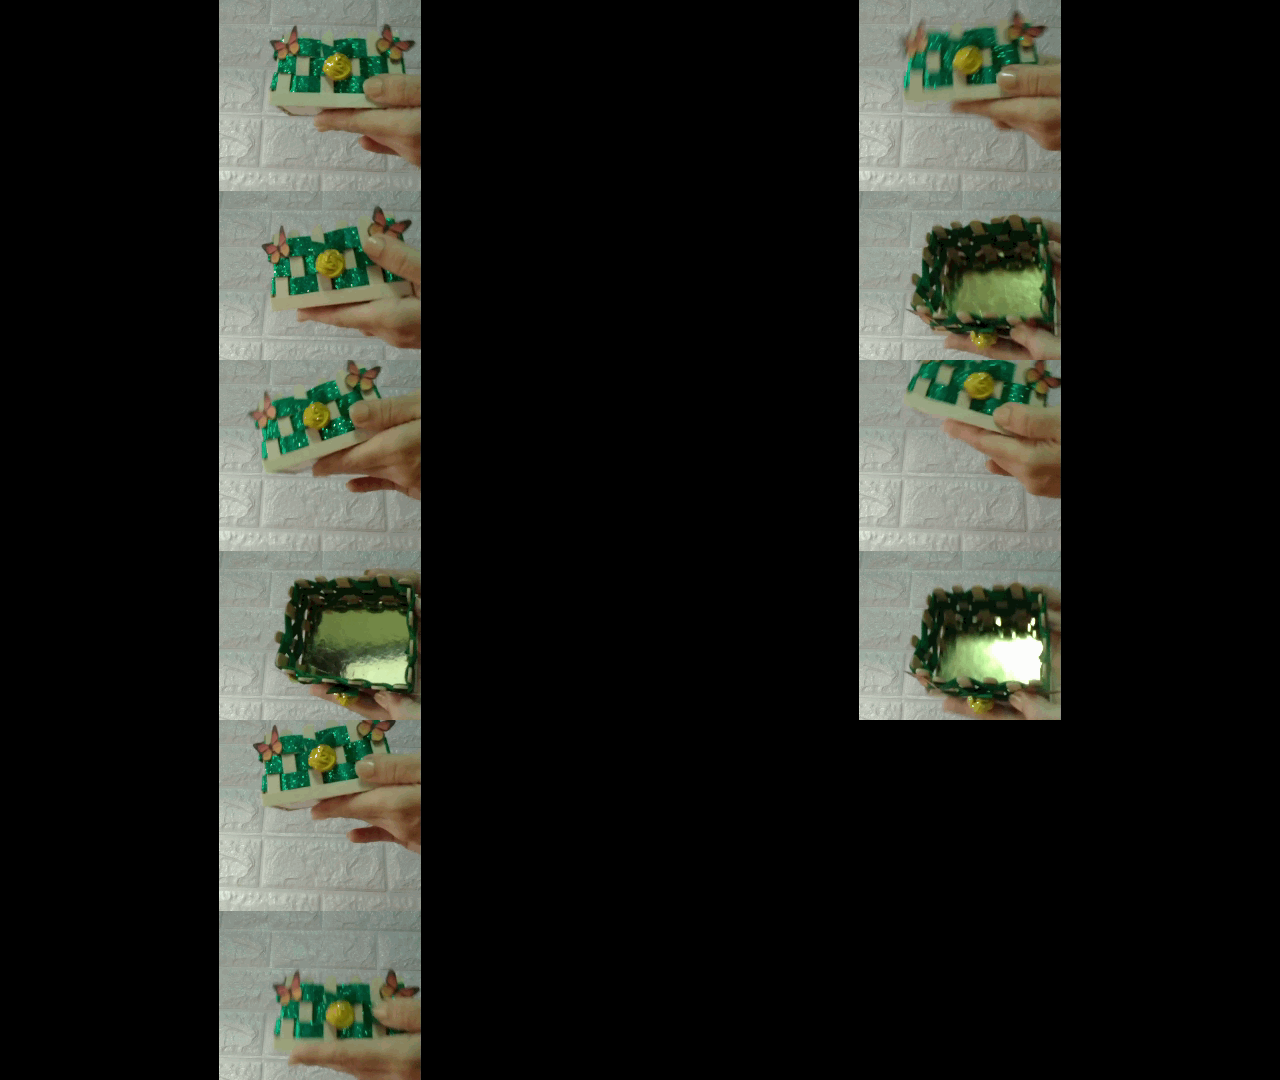
Pega la flor a la caja y luego las maripositas.
Con ello concluimos el proyecto, espero que sea de buen agrado para ustedes y les guste.
Bendiciones para todos.
! [English version]
[Eng]
Time to decorate...
Use whatever you have at your disposal, I will make a little flower.
Cut three strips of foami of the same length, try not to be too long.
Join the ends of the foami with the hot silicone, start weaving a web with the three strips of foami.
After finishing the weaving, glue the ends together so that they do not come loose.
Begin to roll the foami on itself, as you roll the flower will show by itself, when you finish glue the tip on the back and place two leaves to decorate the flower.
Glue the flower to the box and then the butterflies.
This concludes the project, I hope you like it and I hope you like it.
Blessings to all.
Hecho con amor/ Made with love.

Credits / Créditos.

Program: MediBang Paint Pro.
Tablet Huion model 420
Las fotos fueron tomadas con mi teléfono ZTE Blade A5 2020
The photos were taken with my ZTE Blade A5 2020 phone.
💜💜💜


💜💜💜
![]() 👉
👉  👉
👉  👉
👉 
Here / Bríndame un café


