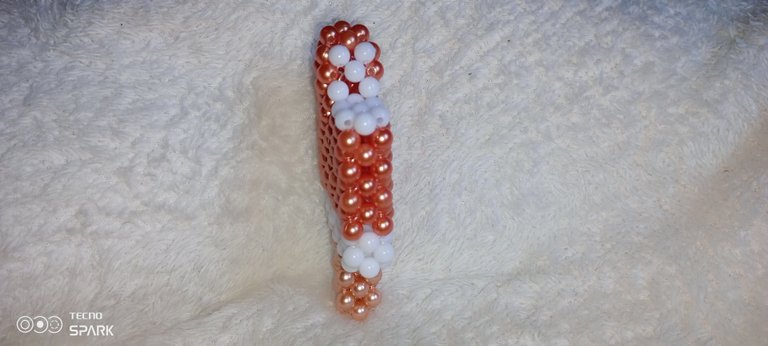
The thing I love most about bead making is that you can create just anything you want; all you need is the right size and color of bead, the right size of bead thread, a scissor, and your creative mind. So, yesterday, I wanted to spice things up a bit for my son while he was sleeping; by the time he woke up, I had made this delicious-looking ice cream to surprise him and brighten up his day. And oh boy, he was very excited 😊, and Mummy is happy.

So, dearest hivers, come along and let me show you how it's made. Materials used
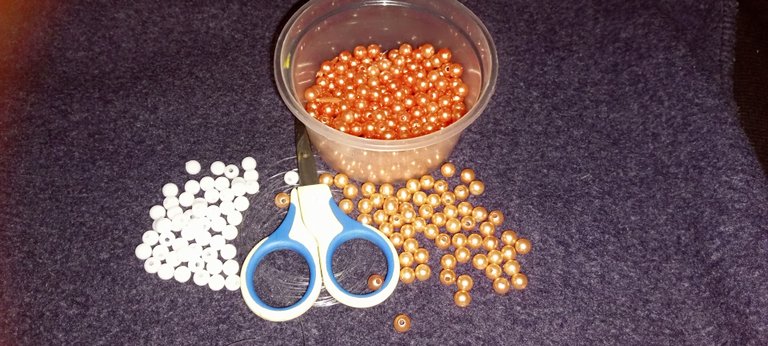
To make the ice cream, I used the following:
✓ Fishline 0.5 by size
✓ scissors ✂️
✓ pearl beads, color white, deep rose color, and very light rose color.
Step-by-step process:
The process is very simple and a little time-consuming; once I figure out the pattern to use, I can finish one in less than an hour.
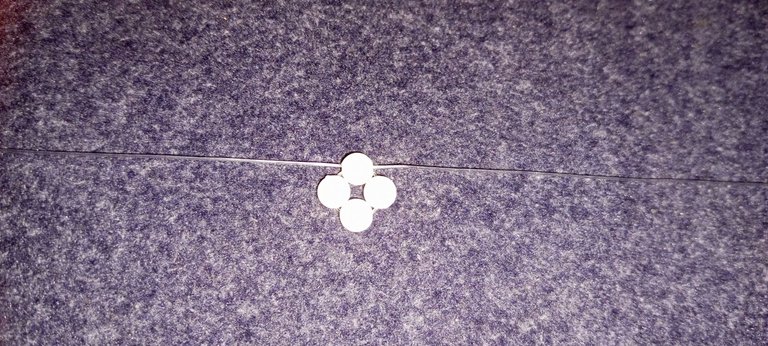
Step 1:
I started by putting 4 white beads on my fishline, 120 cm in length, and then crossed both sides of the fishlines with the 4th bead.
Step 2:
Using white beads, I put one bead on my left fishline and one bead on my right fishline and then crossed both lines with one bead. I repeated this process two more times to make four rings of beads.
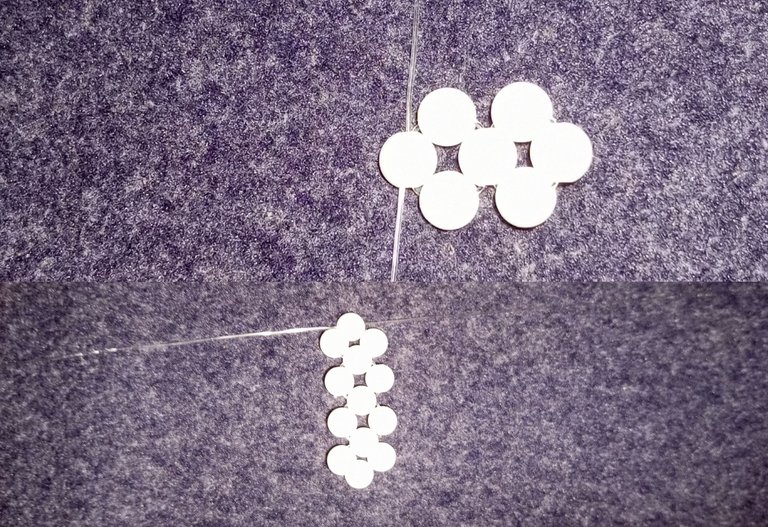
Step 3:
Still, on white beads, I put two beads on my left fishline and one bead to cross both lines. This makes the line turn to face a new direction for the next step.
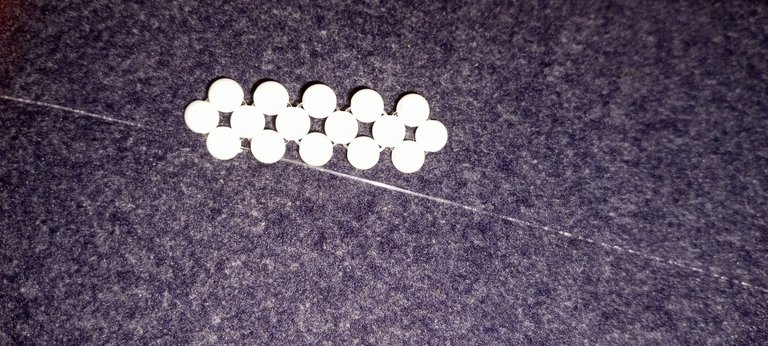
Step 4:
I put 2 rose beads on my left fishline and crossed both lines with one bead. From there, I passed my right fishline through the next bead, put another bead to my left fishline, and crossed both lines with one bead. I repeated this process two more times. On the last ring of beads, I put two beads on my left fishline and then crossed both lines with one bead.
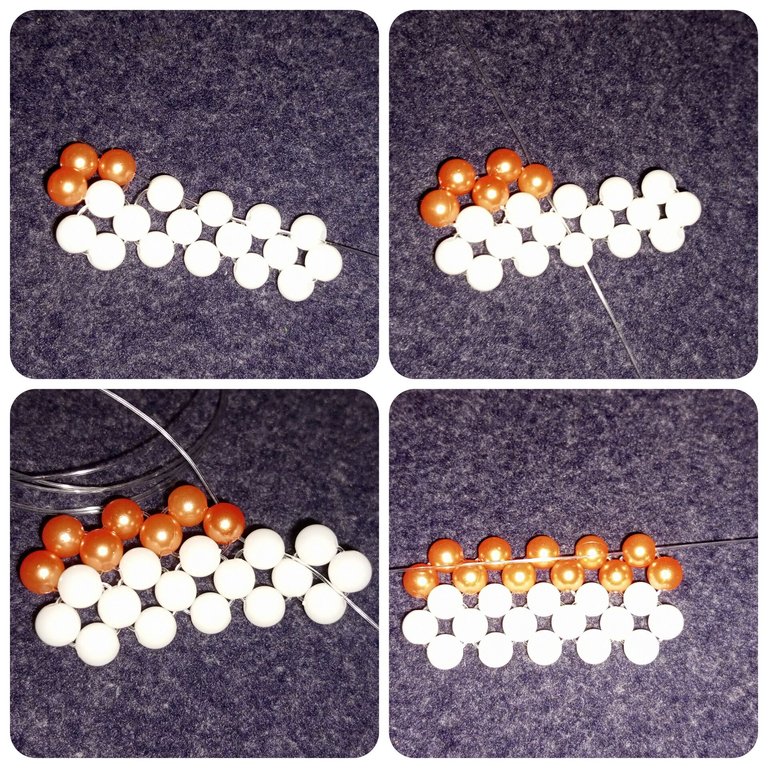
Step 5:
I simply repeat step 4 above to add another line of rose beads. 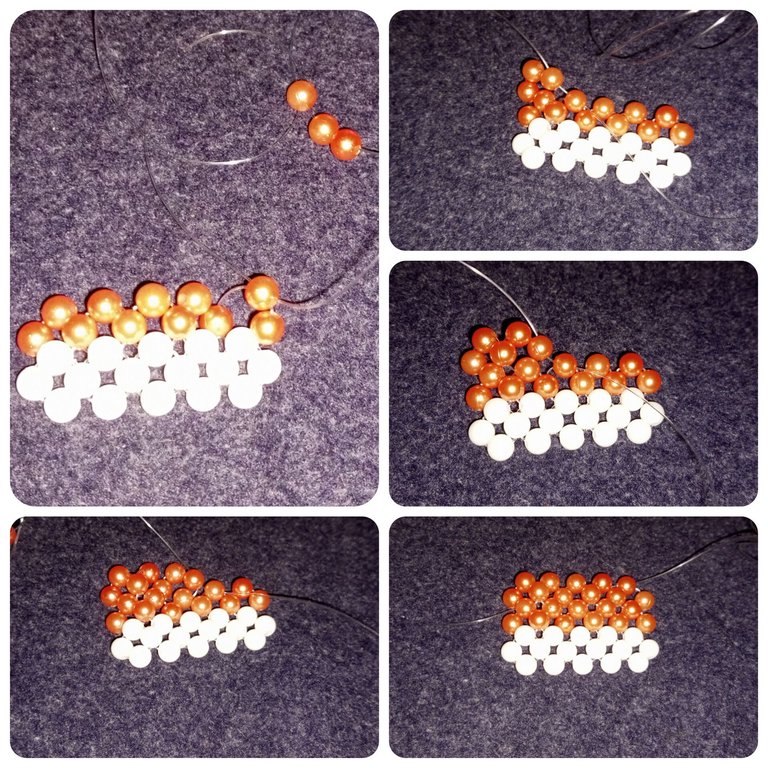
Step 6:
I repeated step 4 to add to the line of beads.
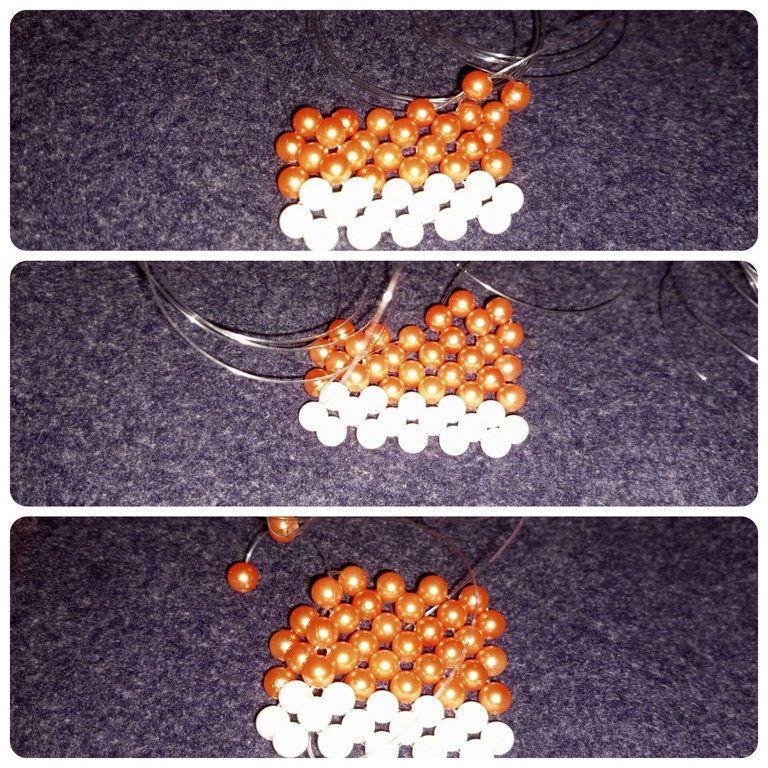
Step 7:
I started this line by adding one rose bead to my right fishline and one white bead to my left fishline and then crossed both lines with one rose bead.
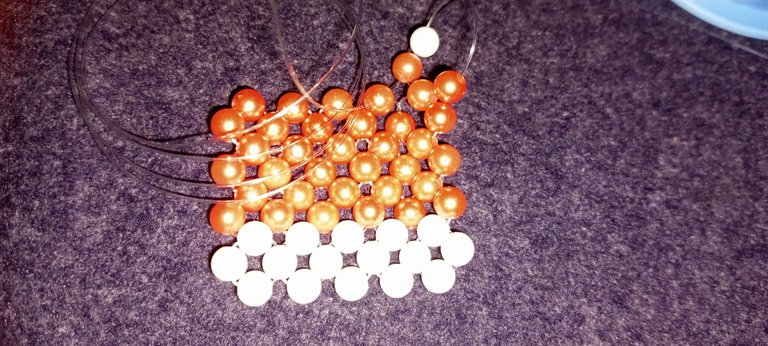
Step 8:
To make the second ring on this line, I passed my left fishline to the next bead, added one white bead to my right fishline, and crossed both lines with one rose bead.
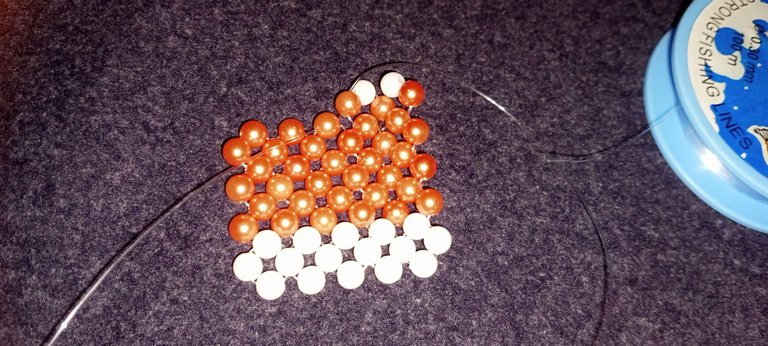
Step 9:
I passed my right fishline to the next bead, added one rose bead to my left fishline, and then crossed both lines with one rose bead.
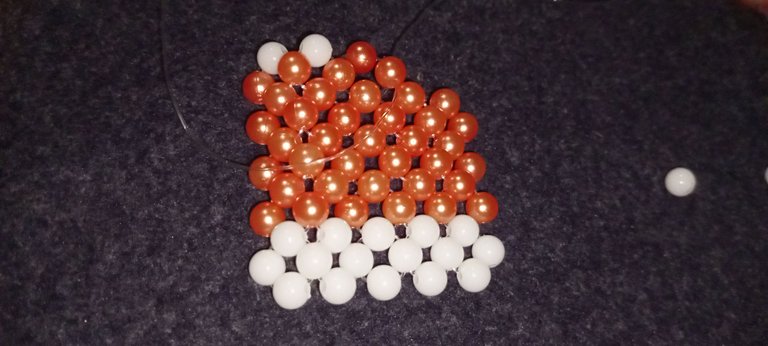
Step 10:
I repeated step 9 above with the rose beads one more time and went further to complete this line by adding one rose bead to my right fishline and then crossing both lines with one rose bead.
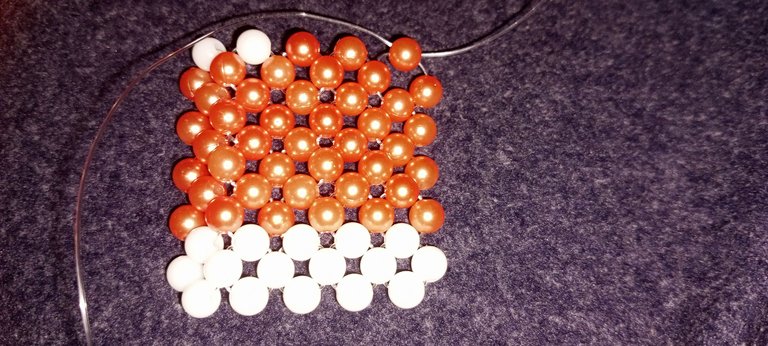
Step 11:
To start another line of beads, I added two rose beads to my left and then crossed both lines with one rose bead. 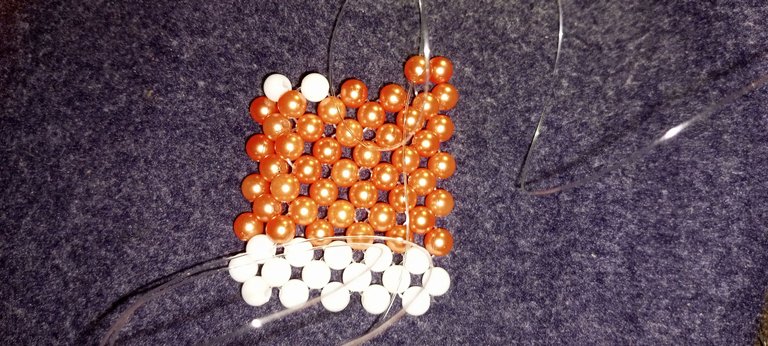
Step 12:
I passed my right fishline through the next rose bead and then added one rose bead to my left fishline and crossed both lines with one rose bead. 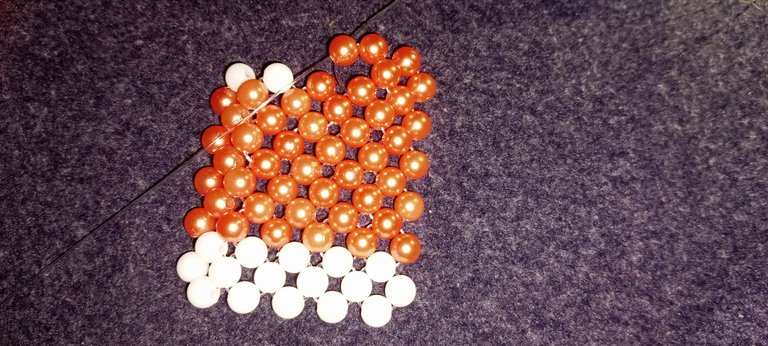
Step 13:
To complete this line, I passed my left fishline through the next bead, added one white bead to my left fishline, and then crossed both lines with one rose bead. 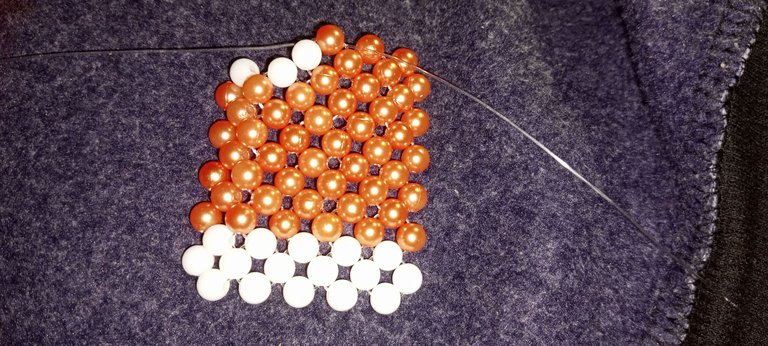
Step 14:
Here I added one white bead to my left fishline and then crossed both lines with one rose bead. To complete this line, I added one rose bead to my left fishline and then crossed both lines with one rose bead. To complete the upper part of the ice cream, I will do the hand of the ice cream in the next step.
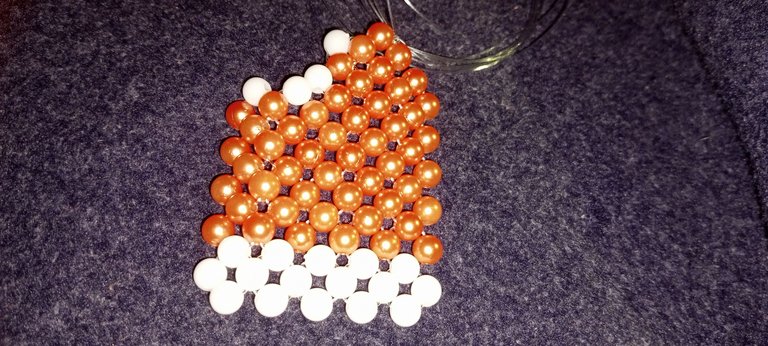
Step 15:
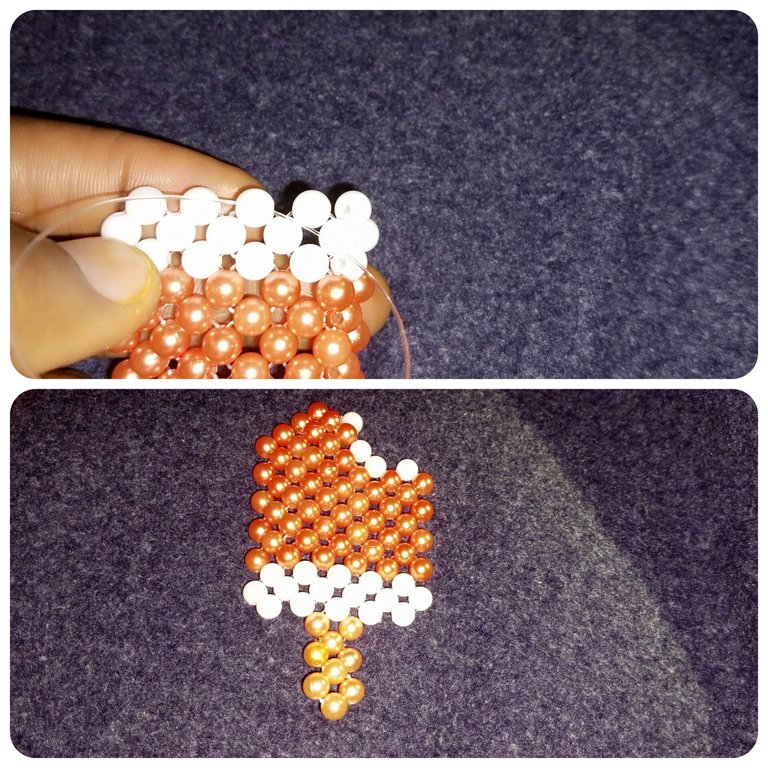
Here, I made the hand for the ice cream. I cut a little fishline and inserted it in the third bead, as shown below, and then I added three rings of light-colored rose beads, and that made half of the ice cream.
Step 16:
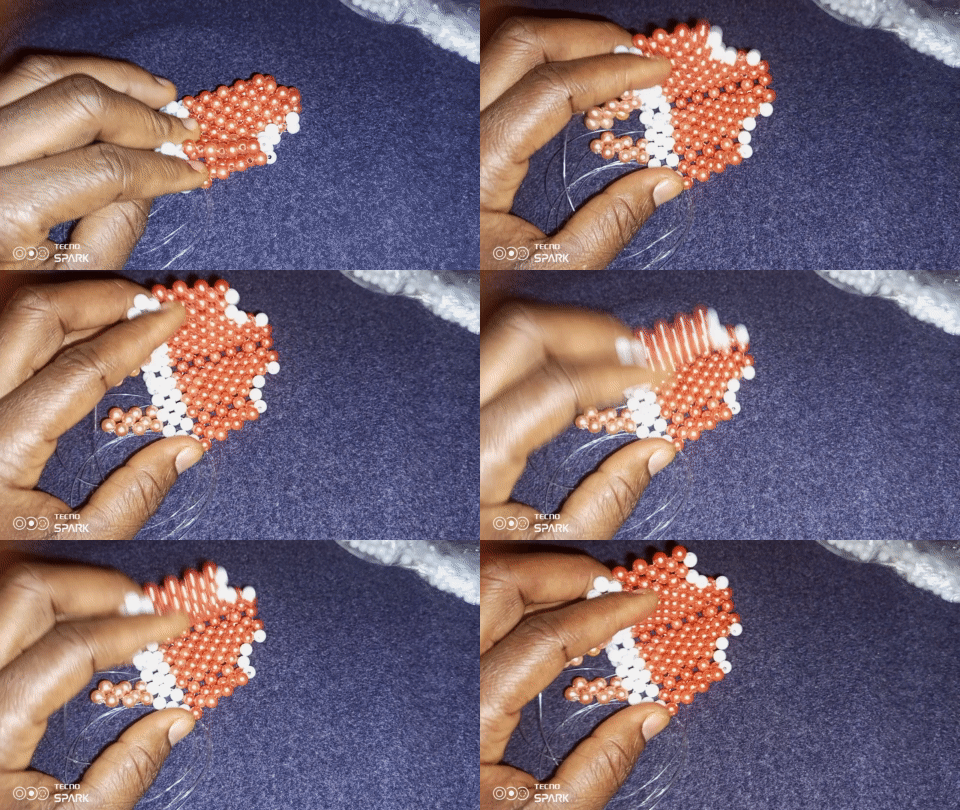
I simply repeat all the steps above to make the other half of the ice cream, bring them together, and join them with a single bead round. And we have our beautiful ice cream ready for some fun time for my son.
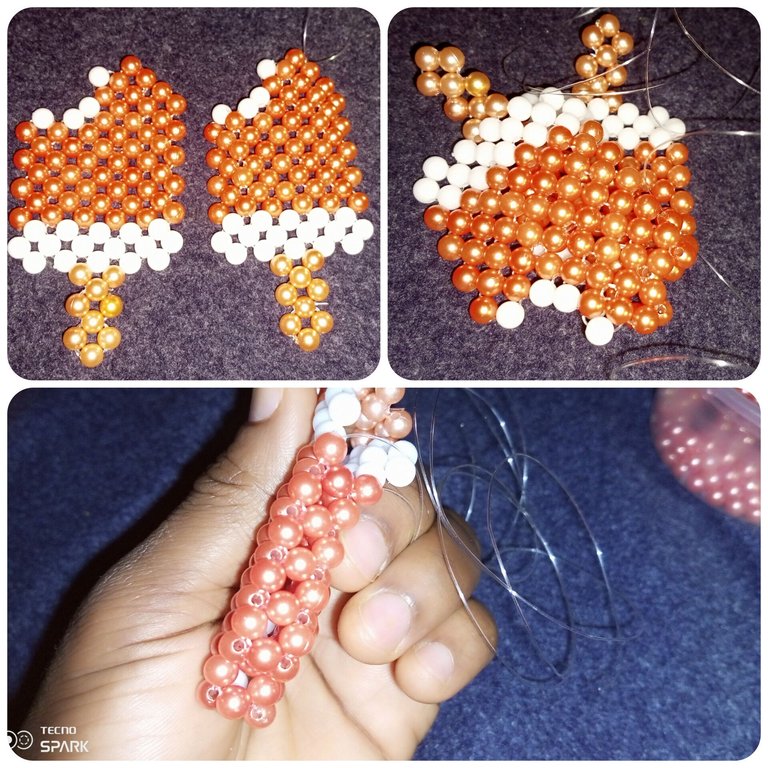
Still on the joining the two
And the final look! What do you think? Made with lots of special motherly love 💕
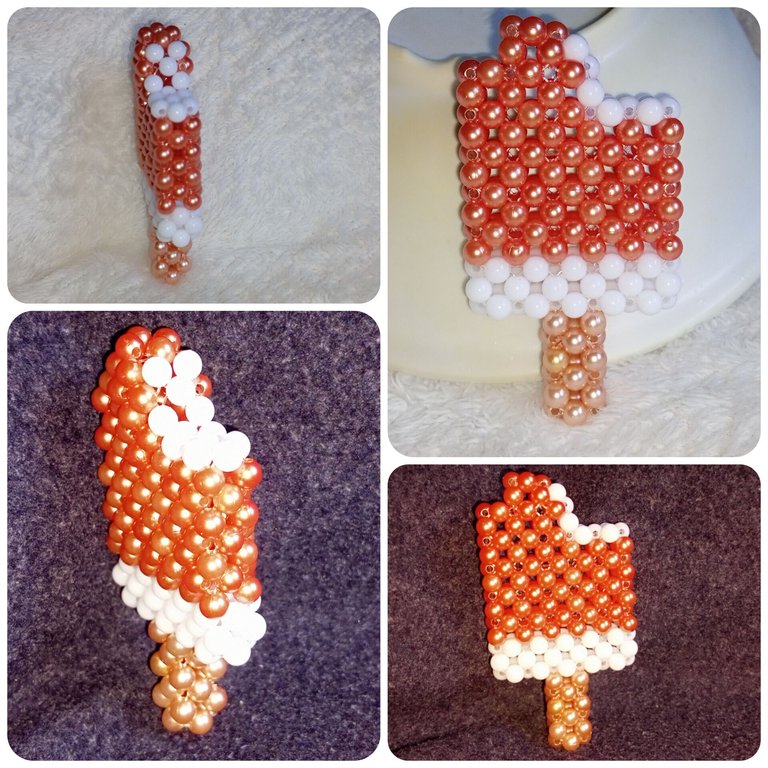

A virtual bite for you, and feel free to blame the little child in me for this one 😊 after all, the owner of the ice cream won't let me get a clear shot of him with the ice cream.
The end
All images are mine @funshee😊❣️


