Hello there! 😊 Welcome back to our little adventure!
I wanted to put a hold on my beading Alphabet for a while; I have a lot of earring projects lined up that are very demanding for my time. But I won't for a few reasons. One, I haven't beaded any letters for my son in over a week, and he is kind of bored with the old ones. I miss his excitement each time he sees a new beaded alphabet.
Second, I just got some beautiful beads in different colors that I simply cannot wait to work with and show you guys. And lastly, I have someone I want to shout out to. If I'm to count those people who have been great blessings to me on this platform, I will count her twice. We crossed paths a while back, and we still managed to find each other interesting until now.
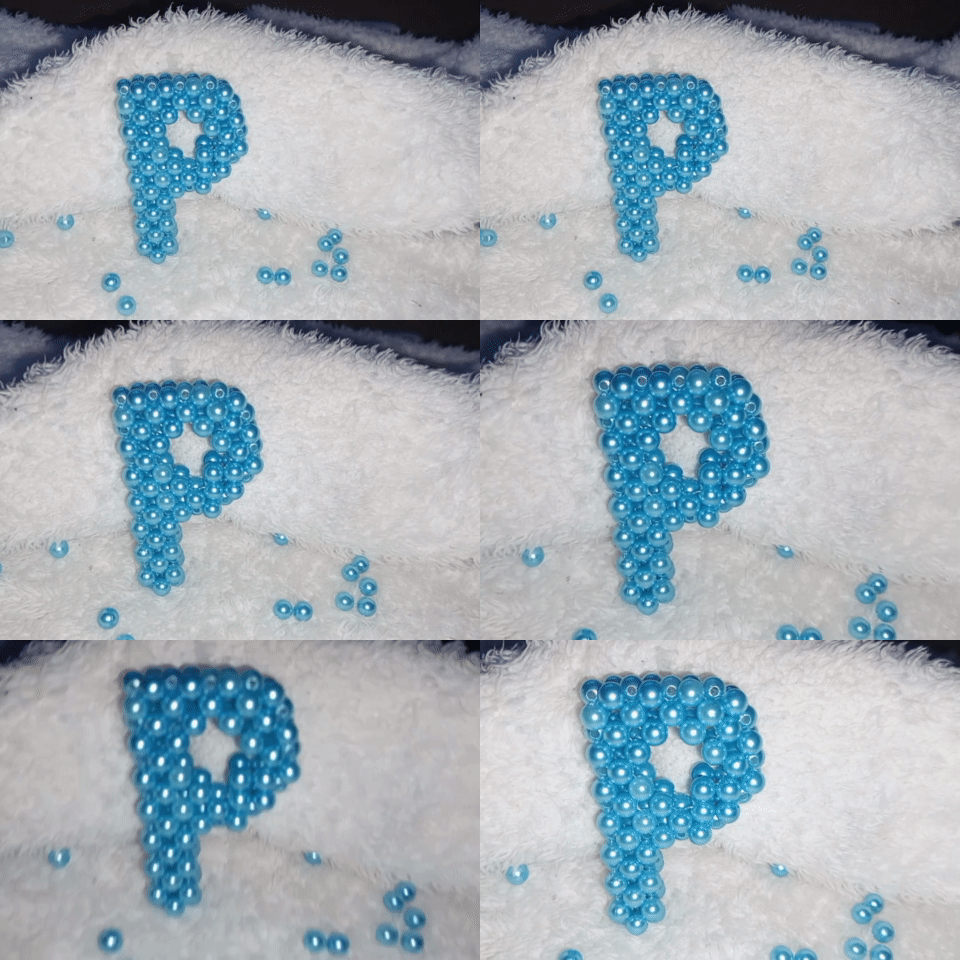
She is amazing and a hardworking Hiver; her commitment and dedication inspired me, and for that, I'm letting you know she is awesome. But before I tell you who she is, you should already know the drill by now. Hehe; why don't we bead her this beautiful 'P'?
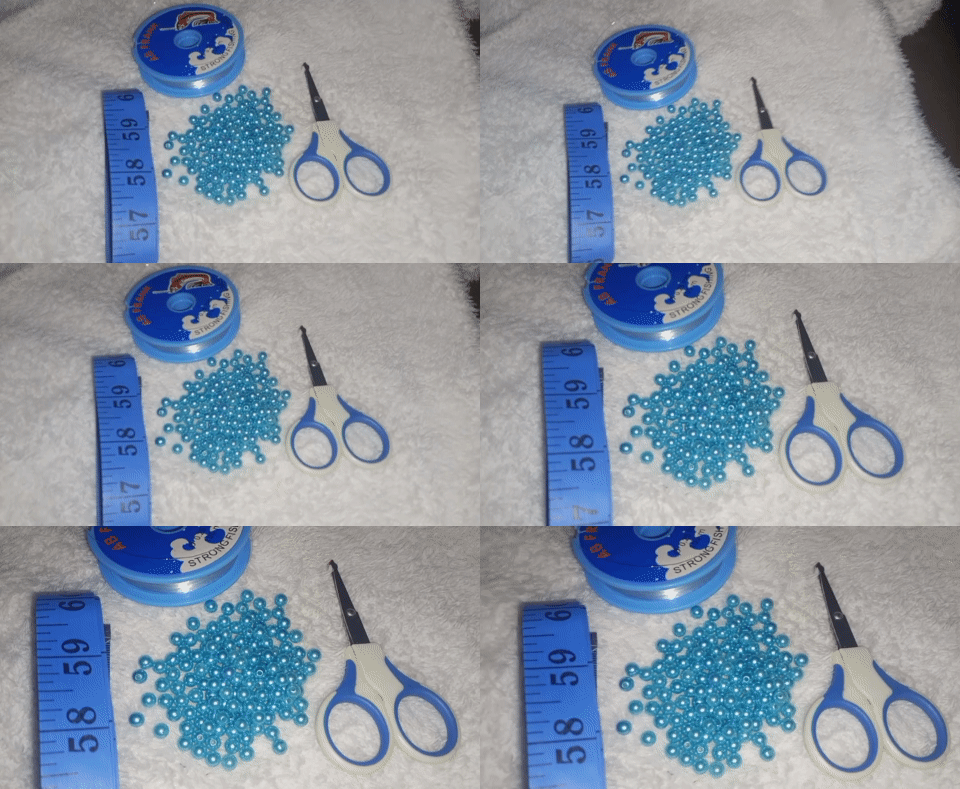
Below are the four materials I will be using;
Size 4 pearl beads, scissors,0.25 fishline, and a measuring tape.
Step-by-step process;
Step 1:
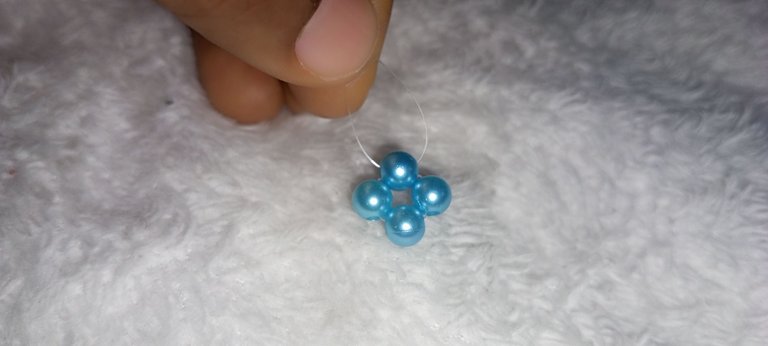
I wanted to make six rings of beads, so I started by measuring a 120 cm fishline. I put four beads on it, then crossed both fishlines with the fourth bead.
Step 2:
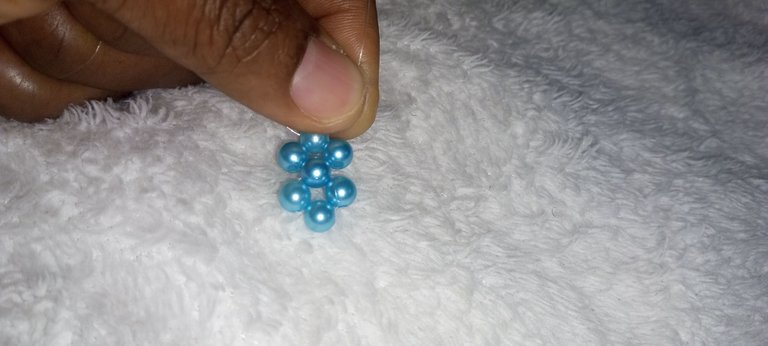
I put one bead to my left fishline and one bead to the right fishline then crossed both lines with one bead.
Step 3:
I continue to repeat step 2 above until I have six rings of beads.
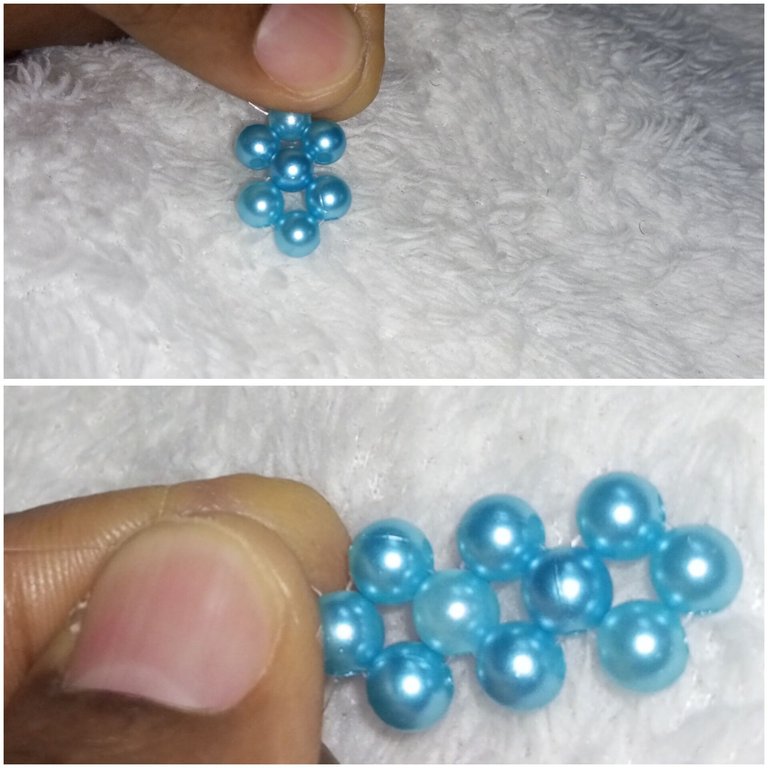
Step 4:
I put three beads to the left fishline then crossed both lines with the third bead. This made the line turn, so I could make the head of the 'P'
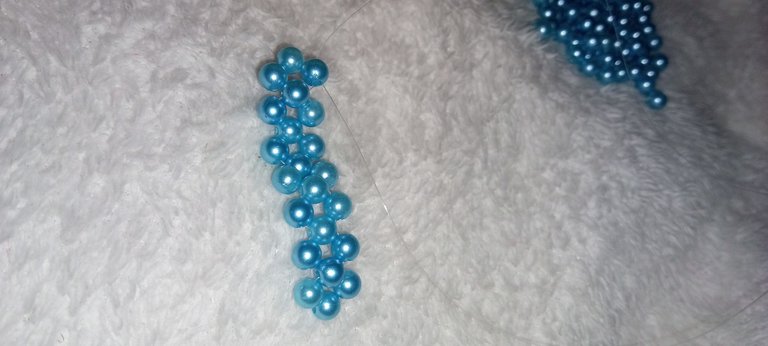
Step 5:
I put one bead to the left, one bead to the right fishline then crossed both lines with one bead
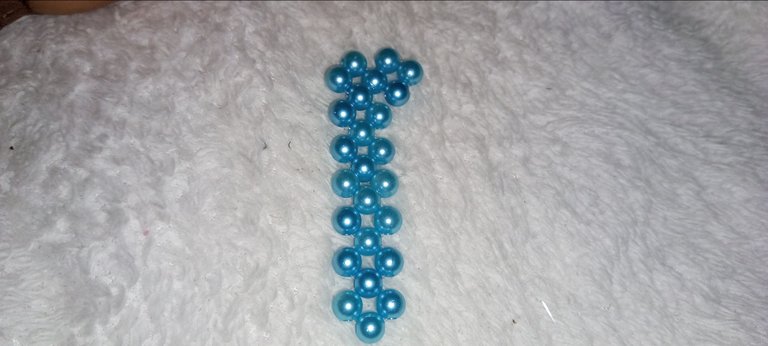
Step 6:
I put one bead to the left fishline, and one bead to the right fishline and then crossed both lines with one bead.
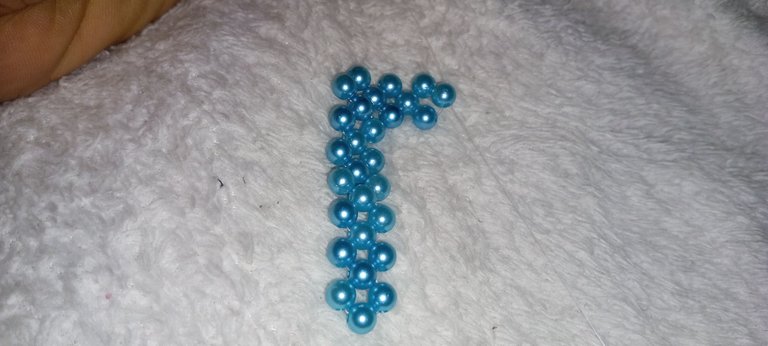
Step 7:
I put one bead to the left fishline and then crossed both lines with one bead
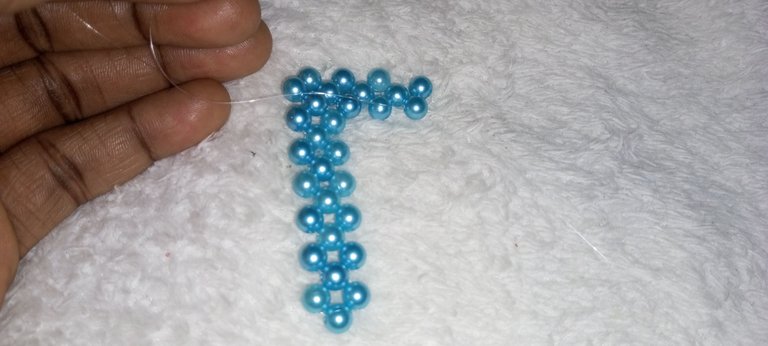
Step 8:
I put one bead on the left fishline, one bead on the right fishline, and then crossed both lines with one bead.
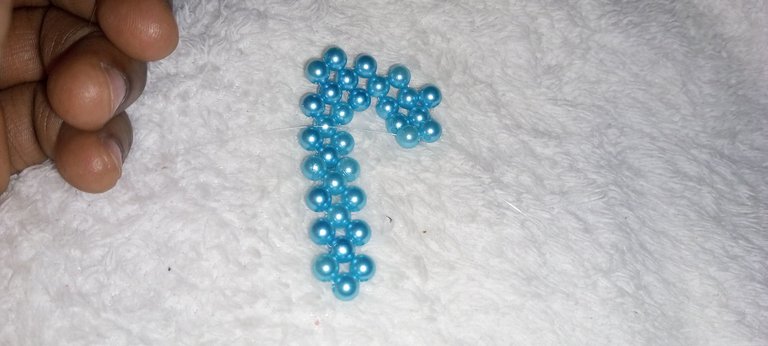
Step 9:
I put one bead to the left fishline, then crossed both lines with one bead.
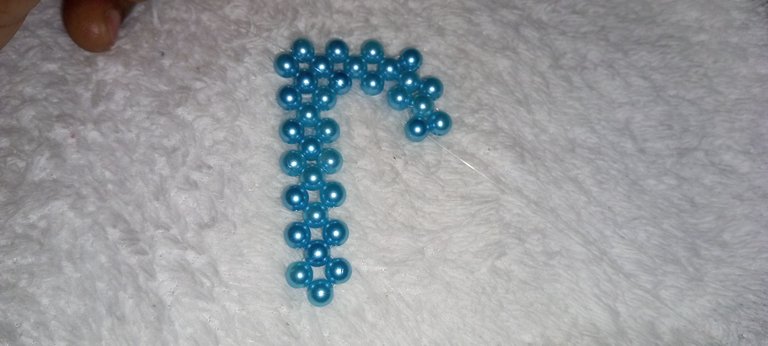
Step 10:
I put one bead to the left fishline, and one bead to the right fishline and then crossed both lines with one bead.
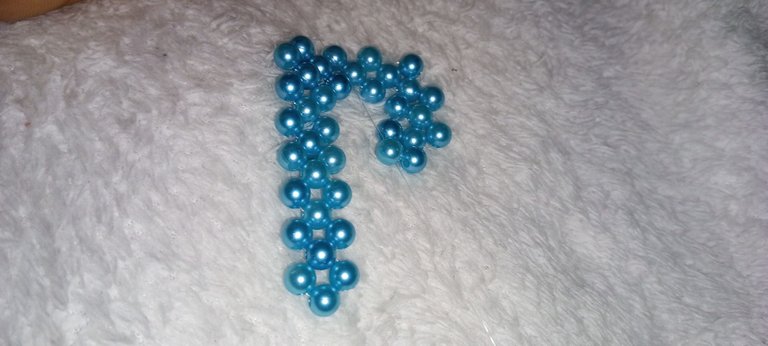
Step 11:
I put one bead to the left fishline and one bead to cross both lines
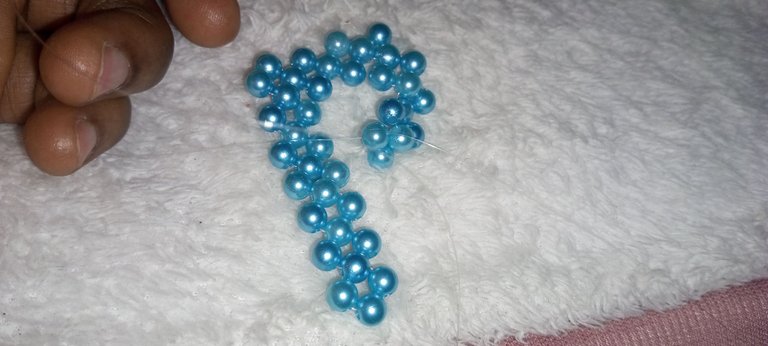
Step 12:
I put one bead to the left fishline and one bead to the right fishline and here I passed the two fishlines through the fourth bead on the tail of the 'P'
I simply tied the knots and that gives me half part of the 'P'.
Note I do not cut off the excess fishlines because I will be using them later. This is something I just learned how to do, hehe.
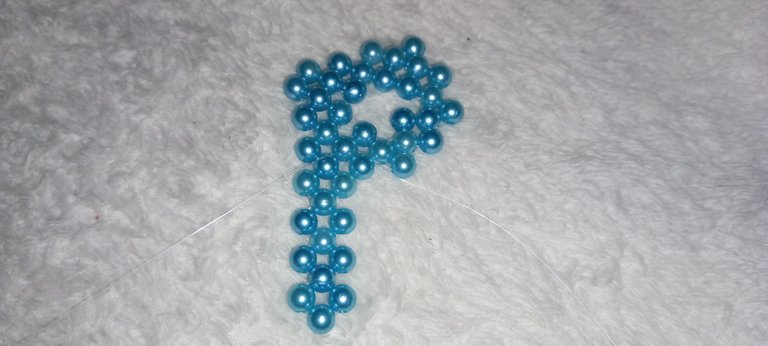
Step 13:
I repeated steps 1 to 12 above to make the other half of the 'P'
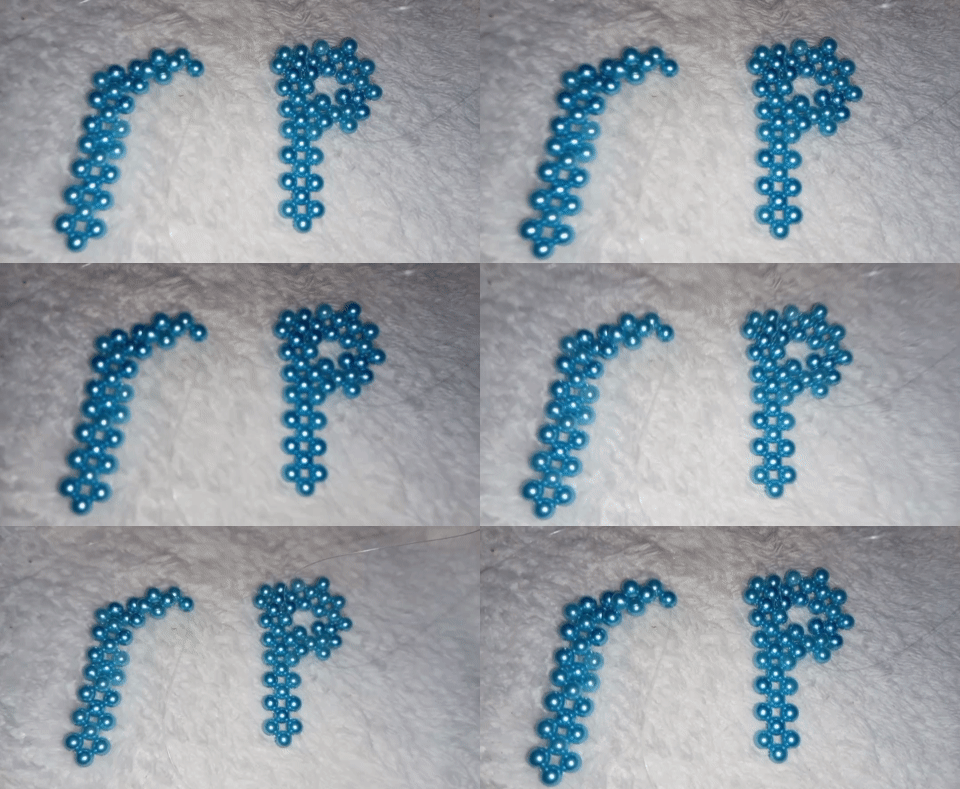
Look at that, lovely huh?
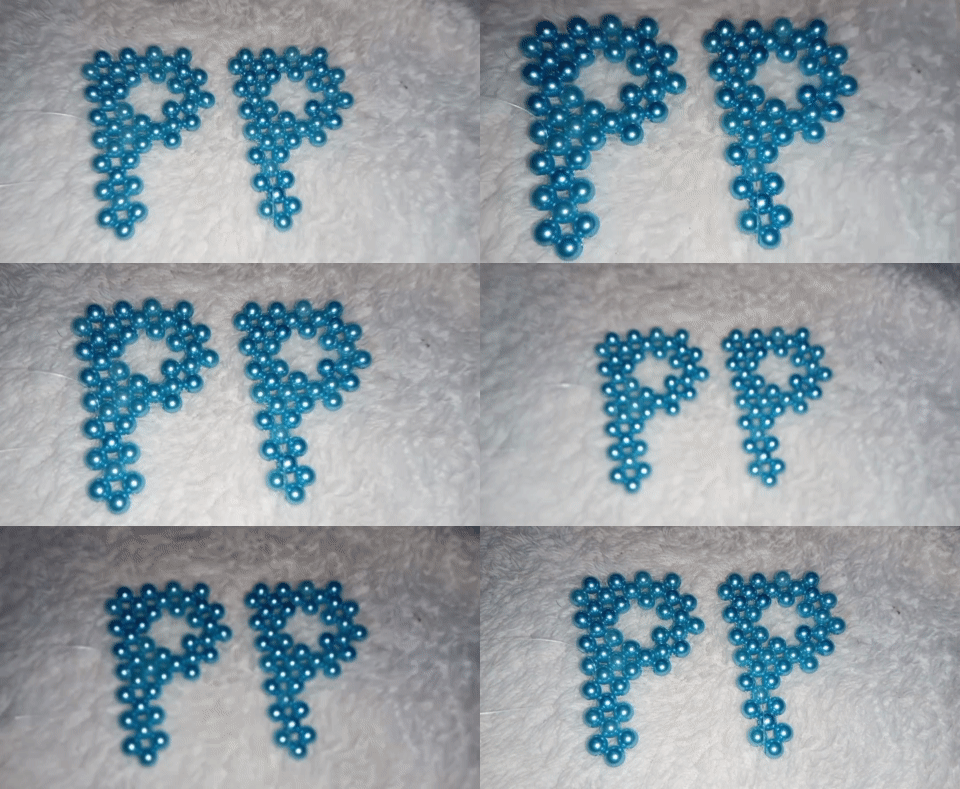
Step 14:
I simply brought the two half parts of the 'P' and joined them together by continuously passing the two fishlines with one bead, using the excess fishlines above.
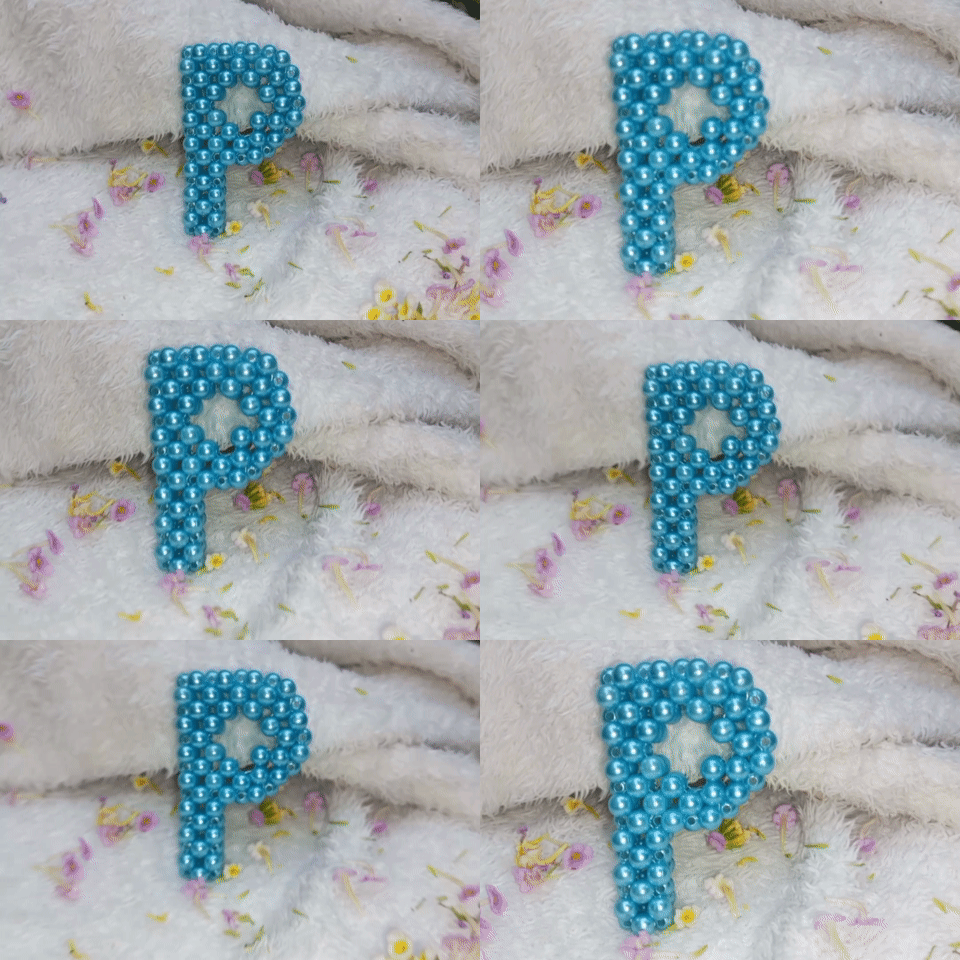
And here we have our beautiful letter 'P'
Dear @princessbusayo this one is specially made for you and I hope you like it😍
Over to your friends, who is your favorite Hiver, drop their names in the comment section, and let's give them a shout-out when I bead their initials together let's spread good vibes😊
The end
Thank you so much for your time and your attention.
All Images belong to me @funshee ❣️🙏😊
