Been a while since i posted a buidl post. This one took me a while to put together!
Re-aligning Road Meshes
The original Dl road meshes i am currently modding are way above their pivot point, to account for their small inclined road edges they had, so, i have to edit all the roads again in Blender to set their positioning a bit lower.
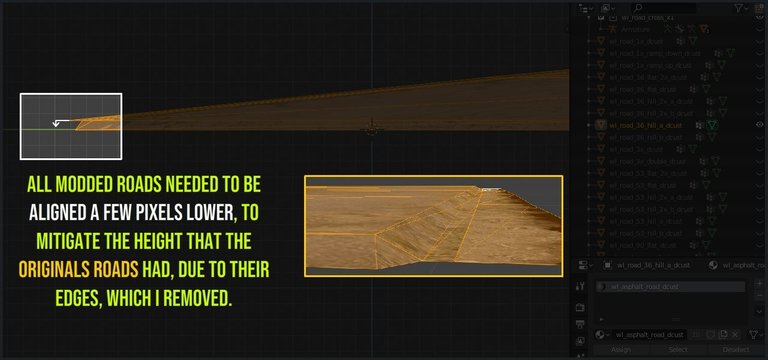
Now all the modded versions of the road meshes sit much closer to the ground. Just close enough so that the buggy doesn't hit a "bump" when it passes over them, and just a bit off the ground so there's no z-fighting: textures applied to models which are on the same z-axis value in the world will fight over which one gets to be shown, resulting in a flickering between the textures, seen in-game.
This would occur between the terrain and the road textures if i placed the road model at zero on the z-axis, which is where the terrain mesh resides, so i've positioned them ever so slightly above 0.

New Texture for Road Fork Piece
Next, i'll be working on creating a new texture for DL's road fork, as to not end up with that noticeable seam, which the OG DL road fork has.
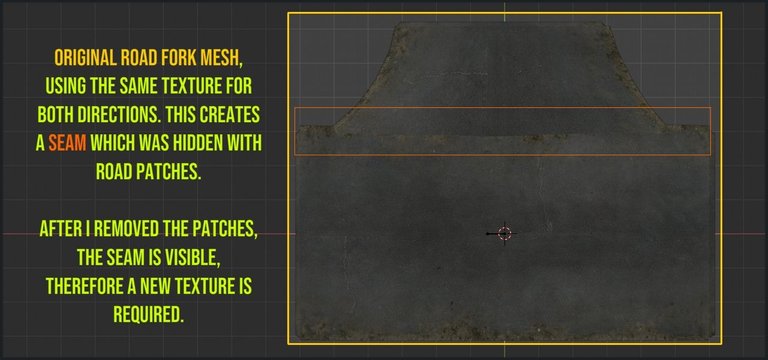
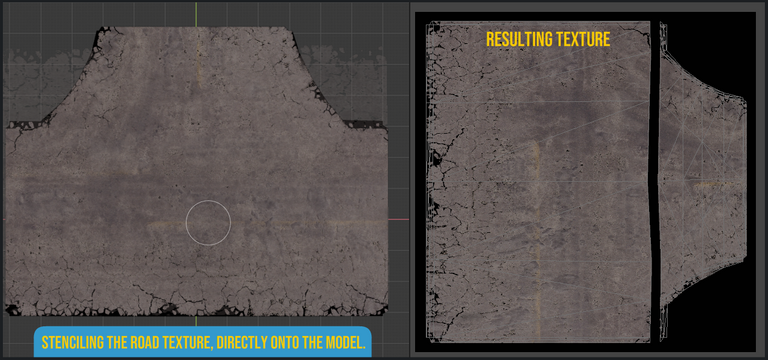
I'll create a new, blank texture for the fork model, on which i will stencil paint the road texture onto. The resulting image is a brand new texture, which i will save and export from Blender, importing it into the Dev Tools, to use on the fork model.
Up close though, the separation between meshes is very noticeable. This is a lighting issues, affected by the material for the road, in the Dev Tools. Something i'll have to spend some time and tinker with until i figure it.
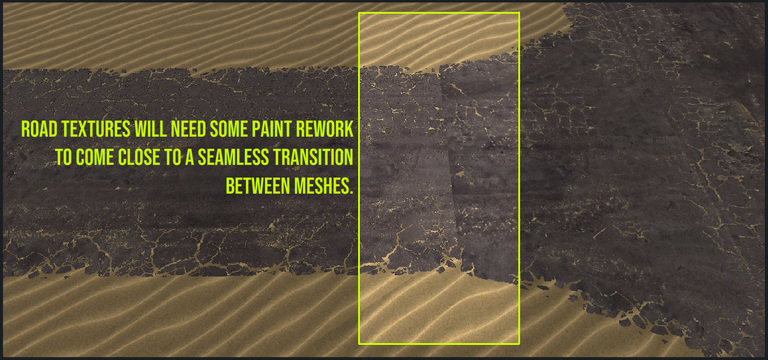

Re-work on Road Texture
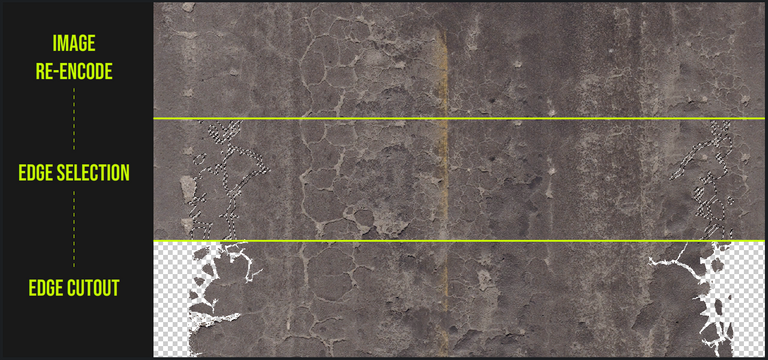
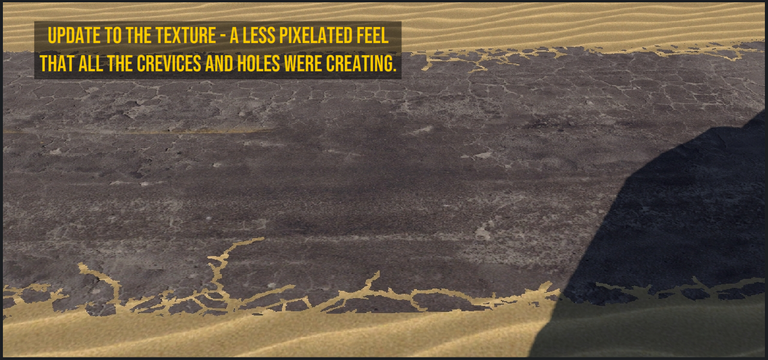
For now, i'm going to deal with the fact that i'm not enjoying seeing all those holes in the middle of the roads. The cracks and creases on the edges are fine, but the road's got too many tiny holes and it's just too much of a pixel-fest in-game. Just a matter of re-encoding the image to remove all the transparency in the pixels and cutting out the edges to keep the edge creases.
Final result.

More Road Creation
There's a couple of types of roads in DL. The ones i'm modding are the ones that have the most variations. But, they are single-lane roads and i need double-wide roads, to implement on the map, so i'll be creating a few double-wide road models of my own.
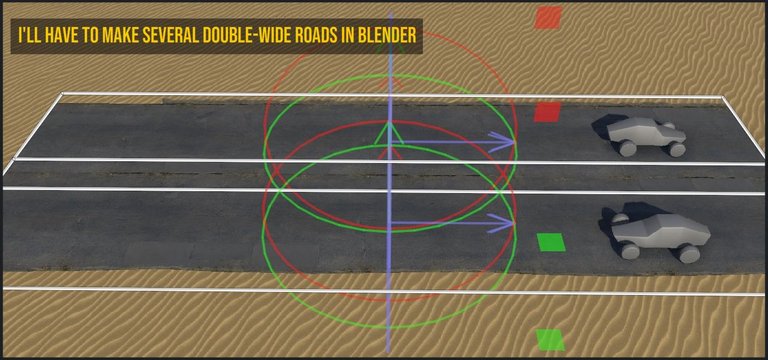
As for the texture for these double-wide roads, i could stencil-paint a new texture onto the new models, but i've already got a double-wide road texture, ripped from the same source of the road texture i've been using.
For the straight road, in Blender, all i need to do is double the width of the single-lane road and then in Photoshop, make the same adjustments to the double-wide road texture, to remove the tiny holes in the middle of the road; the same thing as i did for the single-lane road texture.
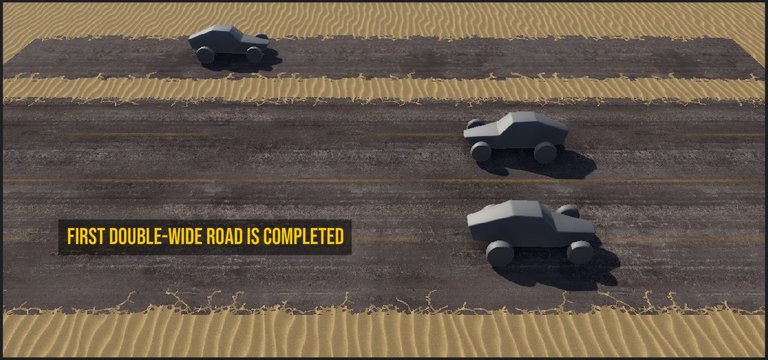
Easy.
Now for the curved road. And how to double their width. I can't simply scale them on an axis; they're curved. Scaling on a single axis would deform the curve, and not scale it correctly.
Using the "Active Element" Pivot Point, in Blender, i can select each edge that goes across the road, and scale each individual one, making a correct scale.
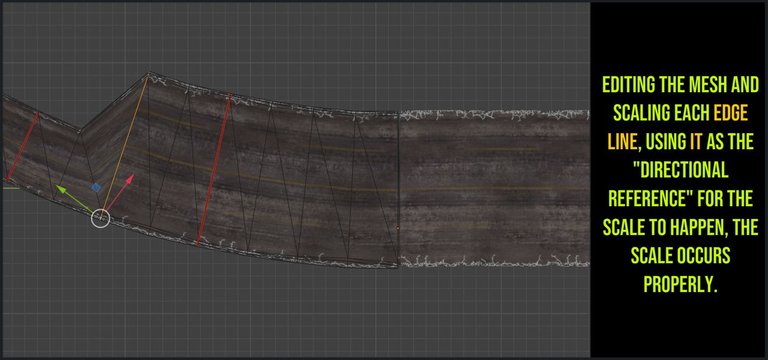
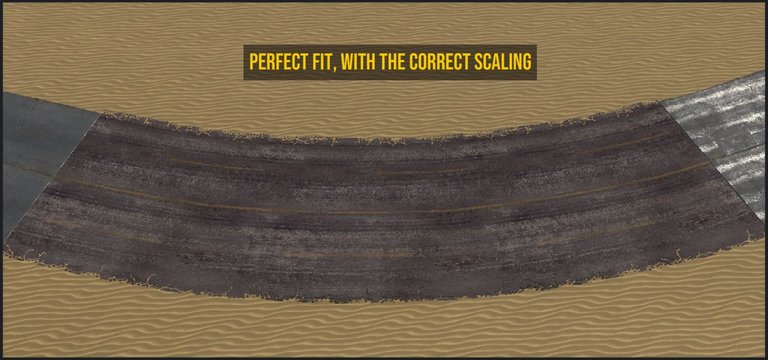
Exported from Blender, and into the Dev Tools, and replaced the two DL-original, curved roads that where filling that gap.
And lastly, i need a double-wide road fork. Simple enough, like the straight road; a simple matter of doubling its size. Then stencil paint yet a new texture, using the double-wide texture.
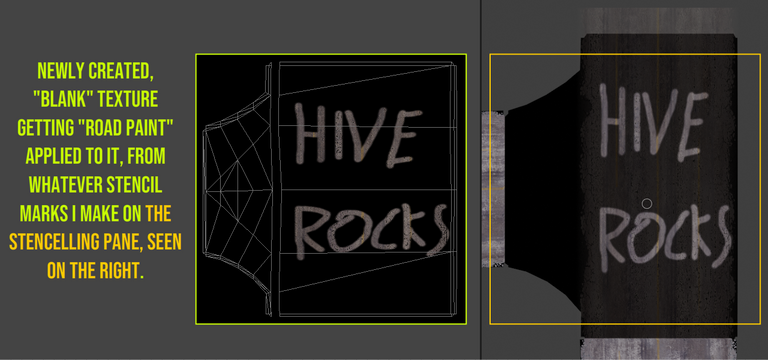
Texture and mesh imported into the Dev Tools.
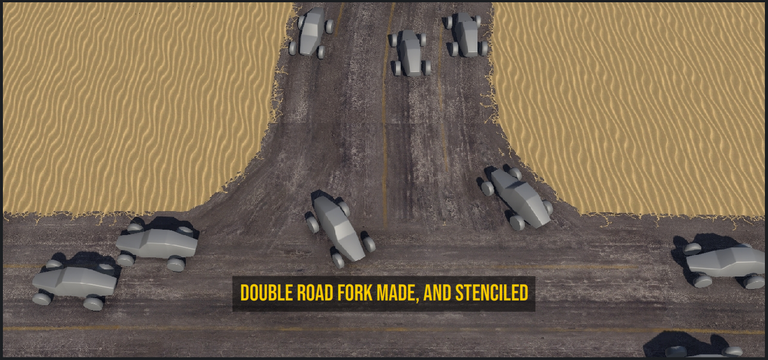
And most of the work is finalized. I now have a extended, and modded road system. A few kinks with the lighting and the road material to figured out, but aside from that, i can go ahead and replace all the road i had on the map with the modded ones. Something i will show in a next post.
For now, i'll leave you with a few extra pictures.

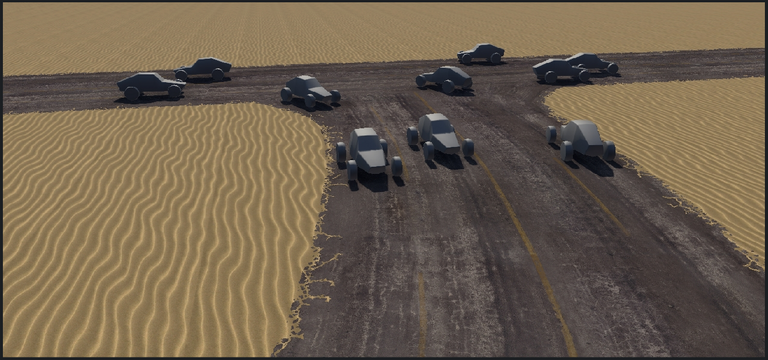
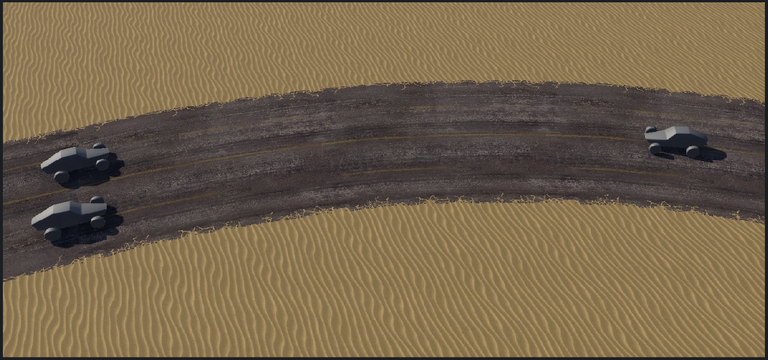
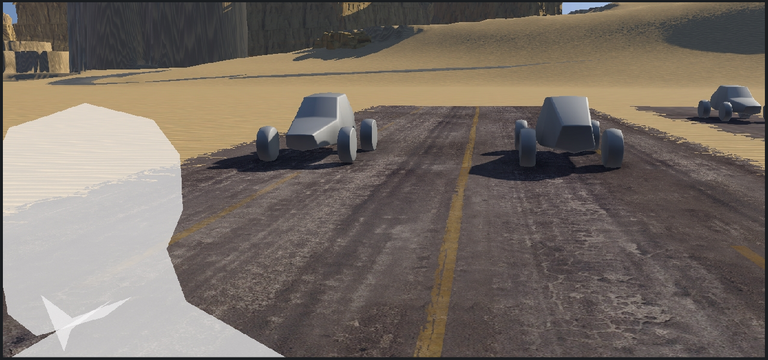

I hope you enjoyed this post. It was quite some work this one.
In the next one i'll have all the roads replaced on the map, ready to show some pictures of that, and then i'll move onto some more vertex pushing, moving mountains from here to there!
Thanks for reading.


