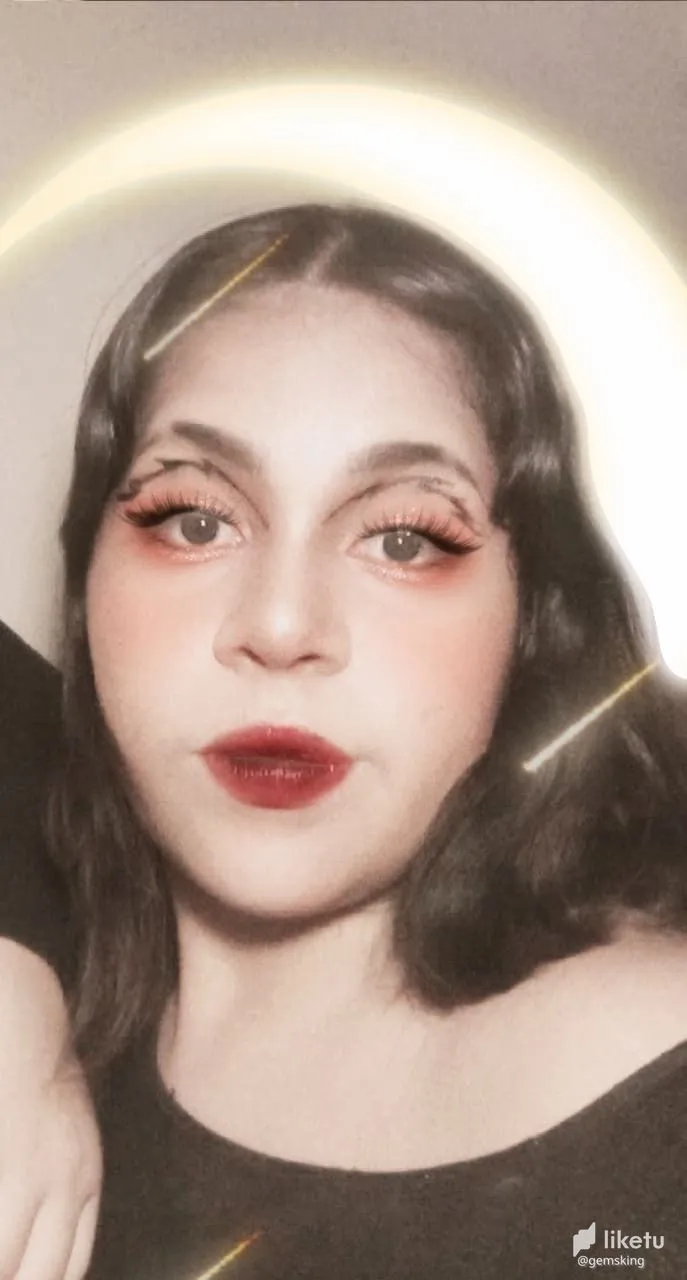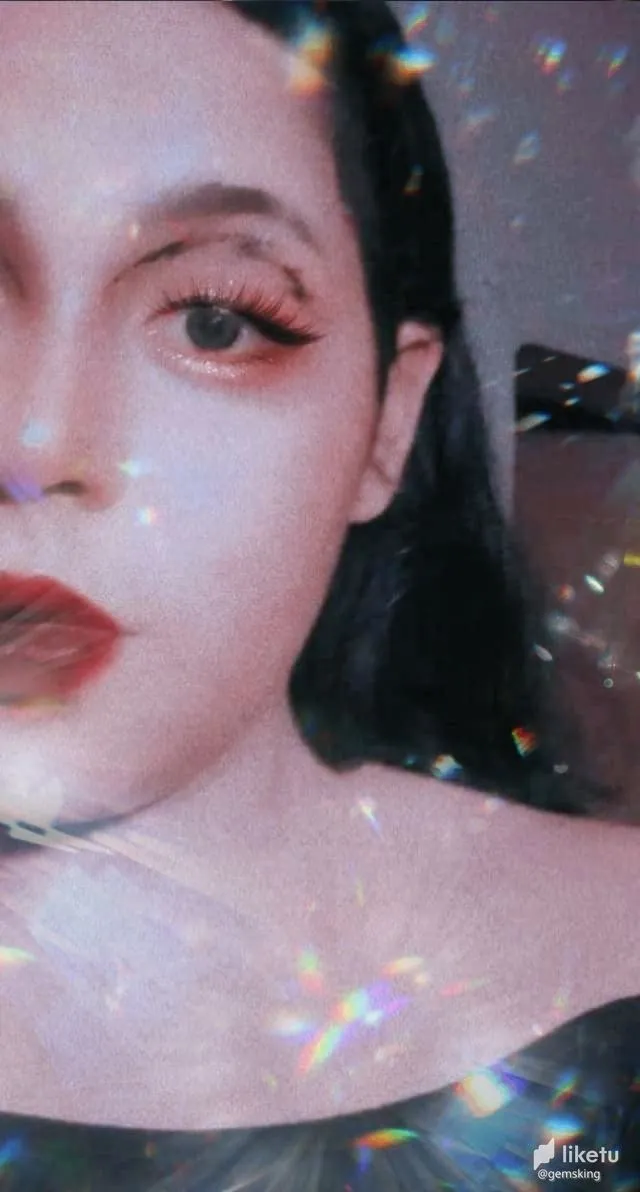


♥️ Hello, how are you? My dear readers, today I want to show you something different here on hive and if you like makeup that is not as produced or simpler, this is your tutorial blog.
♥♥️ Materials to perform makeup:
✔ Primer or Pre-Base
✔ Make-up base suitable for skin tone, with sun protection
✔ Concealer
✔Outline
✔ Compact powder
✔ Pencil or eyebrow shadows
✔ Palette of shadows and glitters
✔ Black eyeliner
✔ Cream or white eye pencil
✔ Mascara for eyelashes
✔ Blush
✔ illuminator
✔ lipstick
✔ Makeup brushes
💛 Step 1 First, the most important thing is to clean our face to clean dirt and impurities from the pores and have a better finish.
💛Step 2 After cleaning and drying our faces well 😊 we proceed to place primer or pre-base to give it better pigmentation and so that the base would be given better to our face, we wait a few minutes for the product to dry and start drawing our eyebrow and correct it with concealer.
. 💛Step 3 Now it is time to put on the base and blend it with a sponge or brush (note: depending on the amount of base it will look loaded or dense and the base will crack when it dries, it is recommended to use little product and not saturate our skin) and We seal with compact powder or after shining... TIP: Blend the base with a brush and with the sponge blur the lines left by the application of the base with the brush and have a more professional finish😍.
💛Step 4 Resuming our process, the next thing to do is contour our face. Normally I only contour my nose to make it straighter, but if you want to contour your entire face, do it only respecting the shape of your face to have better results ( If you don't know what I'm talking about, comment if you want me to write about how to contour the face according to the shape of your bone structure).
💛Step 5 We apply the concealer on the dark circles and on the nose, correcting any mistake with the contour and blurring the concealer with a sponge.
💛 Step 6 We seal with compact powder.
.💛Step 7We apply the color shadow of your choice from the beginning of the tear duct, mobile eyelid and ending in the palpebral corner of the eye.
💛Step 8 Then on the lower eyelid a thin eyeliner from the pupil to the palpebral corner of the eye.
💛Step 9 This step and the next one are optional. With a brown pencil we draw the bag of the eye and if it is too dark we blur it with the sponge
💛Step 10 And finally we do the eyeliner and we are ready and beautiful to be ourselves. ♥♥ I hope to share my life, knowledge and talents with you my dear readers....
If I want to have a contact with me here I leave the link of my instagram
https://www.instagram.com/gemsking04/
https://www.instagram.com/glmd04/
♥️ Hola, ¿Cómo están? mis queridos lectores hoy les quiero mostrar algo diferente aqui en hive y si les gustan los maquillajes no tan producidos o mas sencillo este es tu blog tutorial .
♥♥️Materiales para realizar el maquillaje:
✔ Primer o Pre-Base
✔ Base de maquillaje adecuada a al tono de piel, con protección solar
✔ Corrector
✔Contorno
✔ Polvo compacto
✔ Lápiz o sombras de cejas
✔ Paleta de sombras y brillos
✔ Delineador de ojos negro
✔ Lápiz de ojos color crema o blanco
✔ Máscara para pestañas
✔ Rubor
✔ iluminador
✔ Lápiz labial
✔ Brochas de maquillaje
💛Paso 1 Primero lo mas importante limpiar nuestro rostro rostro para limpiar la suciedad e impurezas de los poros y tener un mejor acabado
💛Paso 2 Después de limpiar y secarnos bien la carita 😊 procedemos a colocar primer o pre base para darle mejor pigmentación y para que se a diera mejor la base a nuestro rostro,esperamos unos minutos para que el producto seque e iniciamos a dibujar nuestra ceja y corregir la con corrector.
. 💛Paso 3 Ahora corresponde colocarnos la base y difuminar la con una esponja o pincel (nota: dependiendo la cantidad de base se vera cargado o densa y se agrietara la base al secarse lo recomendable es usar poco producto y no saturar nuestra piel) y sellamos con polvo compacto o tras lucido... CONSEJO:Difuminar la base con un pincel y con la esponja difuminar las rayas que deja la aplicación de la base con el pincel y tener un acabado mas profesional😍.
💛Paso 4 Reanudando nuestro proceso lo siguiente que hay que hacer es contornear nuestro rostro Yo normalmente solo contorneo mi nariz para hacerla mas recta,pero si tu deseas contornear todo tu rostro has lo solo respetando la forma de tu rostro para tener mejores resultados( si no sabes de que hablo comenta si quieres que escriba de como contornear el rostro segun la forma de la forma de tu estructura ósea ).
💛Paso 5 Aplicamos el corrector en las ojeras y en la nariz corrigiendo algún error con el contorno y difuminar el corrector con una esponja.
💛Paso 6 Sellamos con polvo compacto.
.💛Paso 7Aplicamos sombra de color de tu preferencia desde el comienzo del lagrimal,parpado móvil y terminando en la esquina palpebral del ojo.
💛Paso 8 Luego en el parpado inferior un delineado delgado desde la pupila hasta la esquina palpebral del ojo.
💛Paso 9 Este paso y el siguiente son opcionales. Con un lápiz marrón dibujamos la bolsa del ojo y si está muy oscura la difuminamos con la esponja
💛Paso 10Y finalmente hacemos el delineador y estamos listas y hermosas para ser nosotras mismas. ♥♥ Espero poder compartir mi vida,conocimientos y talentos con ustedes mis queridos lectores....
Si quiero tener un contacto con migo aquí les dejo el link de mi instagram
https://www.instagram.com/gemsking04/
https://www.instagram.com/glmd04/
For the best experience view this post on Liketu

